
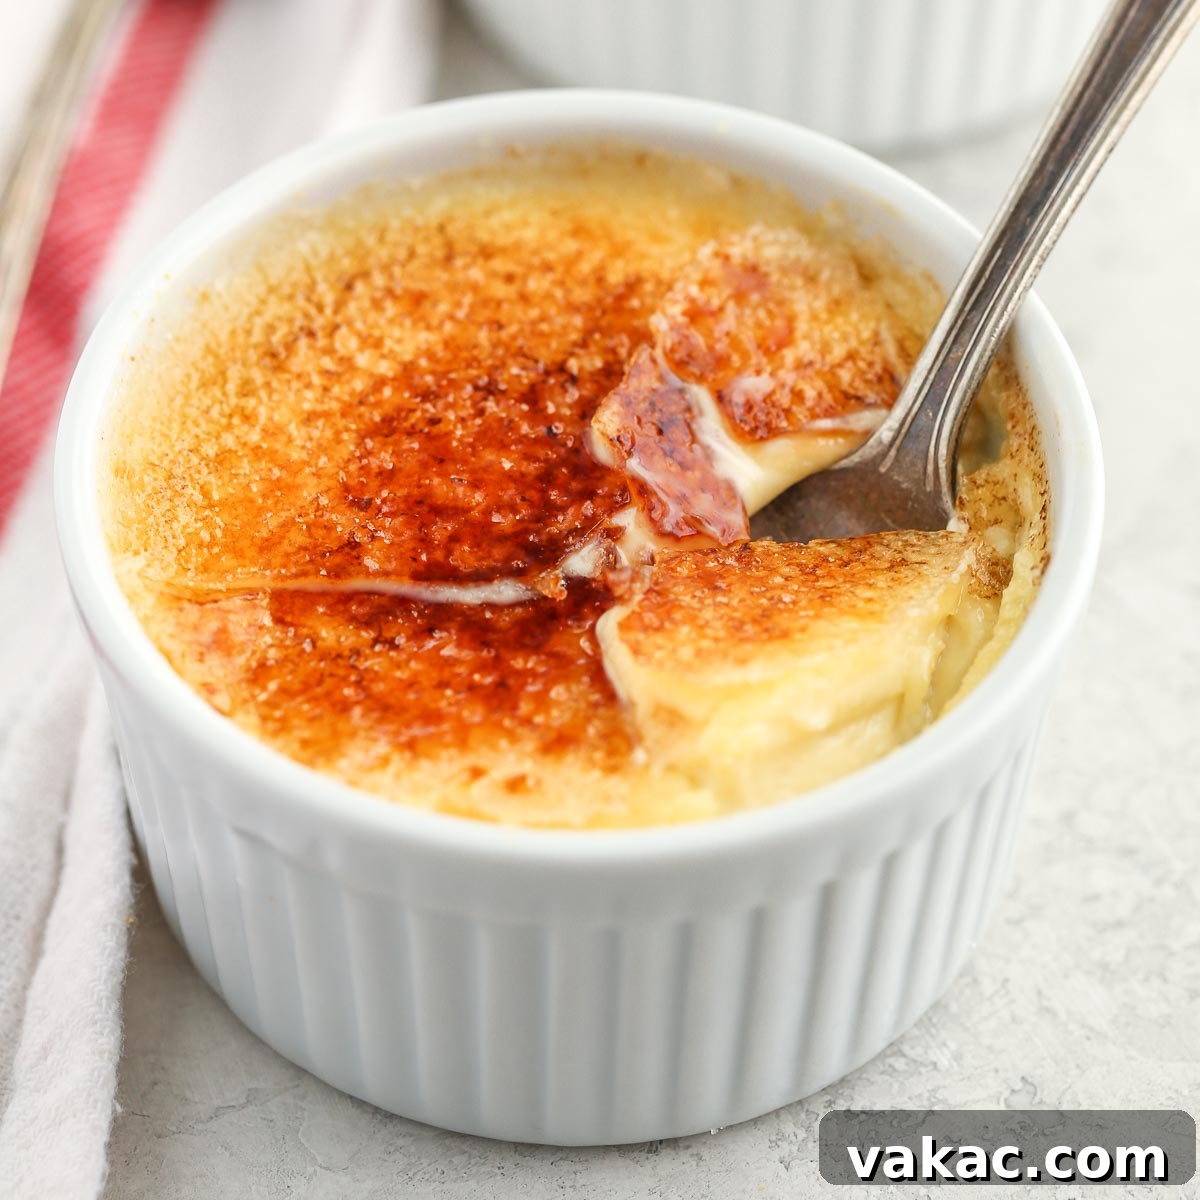
Easy Crème Brûlée: Indulge in a Classic French Dessert with Just 4 Ingredients
Experience the elegance of French cuisine right in your own kitchen with this incredibly easy Crème Brûlée recipe. Crafted with just four simple ingredients, this timeless dessert boasts a luxuriously rich, velvety custard base crowned with an irresistibly crisp, golden caramelized sugar topping. Perfect for special occasions or a sophisticated everyday treat, it’s a dessert that impresses every time.
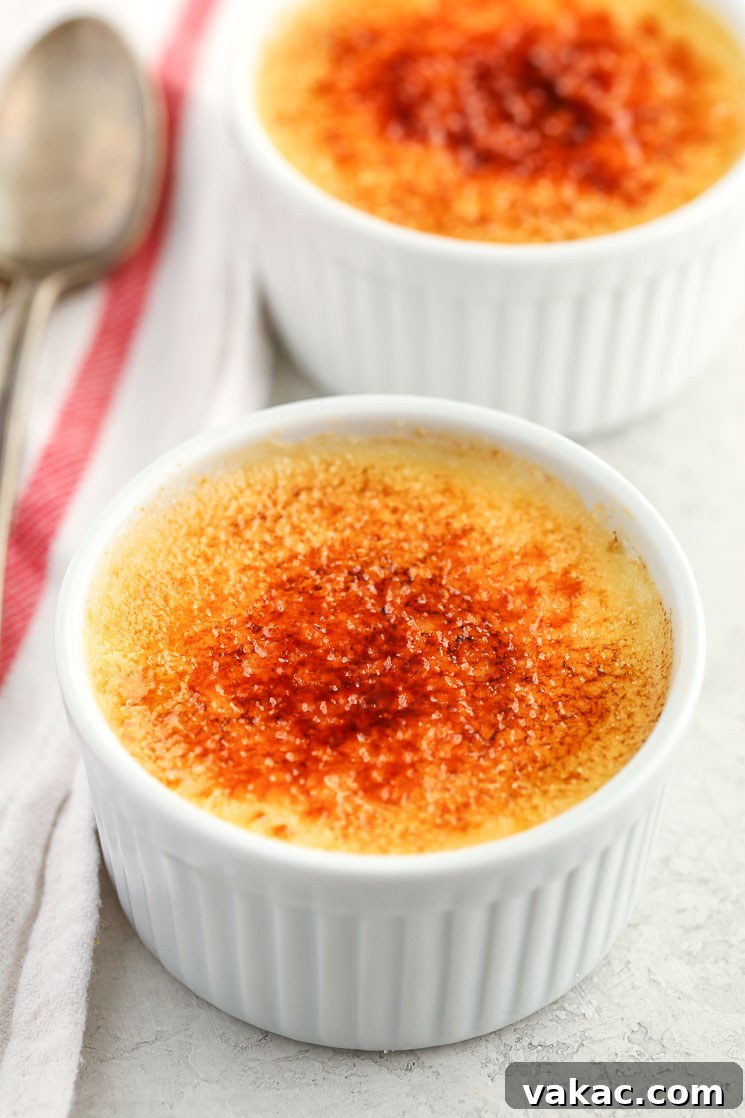
Are you searching for the perfect dessert to elevate your next gathering, impress a loved one, or simply treat yourself to something extraordinary? Look no further than this delightful homemade Crème Brûlée! While its name might conjure images of complex culinary techniques and gourmet restaurants, the truth is, this classic French dessert is surprisingly straightforward to prepare at home.
Forget the intimidation factor! Our recipe demystifies Crème Brûlée, proving that you don’t need a lengthy ingredient list or years of culinary experience to create a truly spectacular dessert. In fact, you’ll only need four essential components: fresh egg yolks, granulated sugar, rich heavy whipping cream, and a touch of pure vanilla extract. That’s all it takes to achieve a dessert that’s both deeply satisfying and incredibly elegant.
This recipe is designed to yield four exquisite servings, making it ideal for a small dinner party or a cozy evening in. However, its versatility means you can effortlessly halve the proportions to create a romantic dessert for two. And for those who don’t own a kitchen torch – the traditional tool for achieving that iconic crackable sugar crust – we’ll guide you through a simple oven broiling method to ensure every Crème Brûlée is perfectly caramelized and ready to delight.
The Simple Magic Behind Crème Brûlée: Just 4 Key Ingredients
The secret to an exceptional Crème Brûlée lies not in a long list of exotic ingredients, but in the quality and proper handling of a few fundamental ones. Our ingredient list is delightfully short, ensuring a pure, unadulterated flavor that truly shines through.
- Egg Yolks: These are the heart of your custard, providing richness, structure, and that beautiful pale yellow hue. For best results, use large, fresh eggs. Don’t discard those leftover egg whites! They can be repurposed for a fluffy omelette, a delicate meringue, or even an angel food cake.
- Granulated Sugar: This plays a dual role in our recipe. It sweetens the creamy custard to perfection and, most importantly, forms that signature crisp, caramelized layer on top. While standard granulated sugar works wonderfully, superfine sugar can also be used for an even quicker caramelization if you have it.
- Heavy Whipping Cream: For that signature decadent creaminess, heavy whipping cream is non-negotiable. Look for cream with at least 36% milk fat content; anything less will result in a less rich and potentially thinner custard. This high fat content is crucial for the silky texture and luxurious mouthfeel.
- Pure Vanilla Extract: A splash of pure vanilla extract elevates the flavor of the custard, adding warmth and depth. While imitation vanilla can be used, pure vanilla extract offers a superior, more authentic taste that truly complements the richness of the cream and eggs. Consider using vanilla bean paste for an even more pronounced vanilla flavor and beautiful flecks!
Crafting Perfection: A Step-by-Step Guide to Homemade Crème Brûlée
Embark on your Crème Brûlée journey with confidence, following these clear and concise steps to achieve dessert perfection. The process is simpler than you might imagine, resulting in a show-stopping treat that will impress even the most discerning palates.
Preparing for Success: The Water Bath
Before you begin mixing, preheat your oven to 325°F (163°C) and place a large pot of water on the stove to boil. This boiling water is essential for creating a “bain-marie,” or water bath, which is a gentle cooking method vital for Crème Brûlée. A water bath ensures your custard bakes slowly and evenly, preventing it from cracking, curdling, or becoming rubbery. It creates a moist, stable environment, leading to that perfectly smooth, silky texture we all adore.
Creating the Custard Base: Whisking Eggs and Sugar
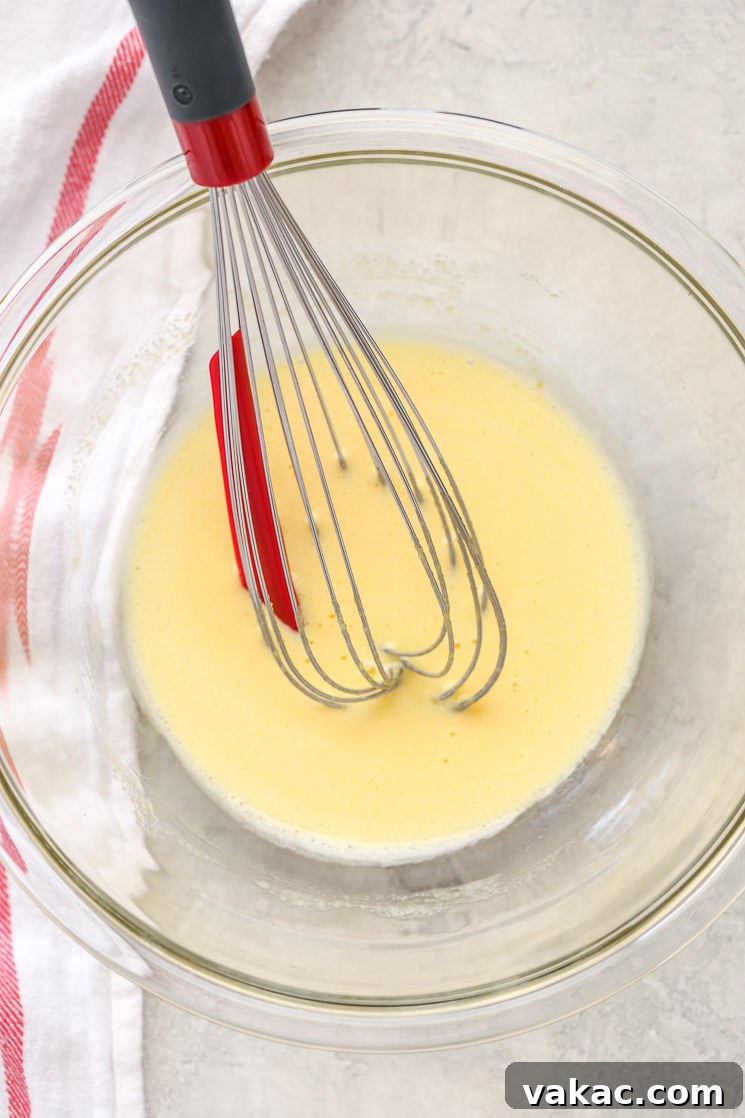
In a spacious mixing bowl, combine your six egg yolks with the granulated sugar. Whisk them vigorously until the mixture is thoroughly blended and takes on a pale yellow color, slightly lighter than the raw yolks themselves, as depicted in the image above. This step aerates the yolks slightly and dissolves the sugar, creating a smooth foundation for your custard. Once achieved, set this bowl aside while you prepare the cream.
The Art of Tempering: Heating the Cream
While some simpler recipes might suggest merely whisking all ingredients together, our method involves heating the heavy whipping cream first. This crucial step, known as tempering the eggs, is key to achieving a consistently smooth custard. Heating the cream gradually brings the egg mixture up to temperature, preventing the eggs from scrambling when combined with the hot liquid and later exposed to the oven’s heat. It’s a small extra step that makes a significant difference in texture.
Combining and Straining: For the Ultimate Silkiness
Pour your heavy whipping cream into a medium-sized saucepan and heat it over medium heat, stirring occasionally. Watch for it to become steaming and show small bubbles forming around the edges – this indicates it’s hot enough, but don’t let it boil rapidly. Remove the saucepan from the heat immediately and stir in the pure vanilla extract. The next critical step is tempering the eggs, which gently raises their temperature to prevent them from cooking too quickly when combined with the hot cream. This step is easier than it sounds, we promise!
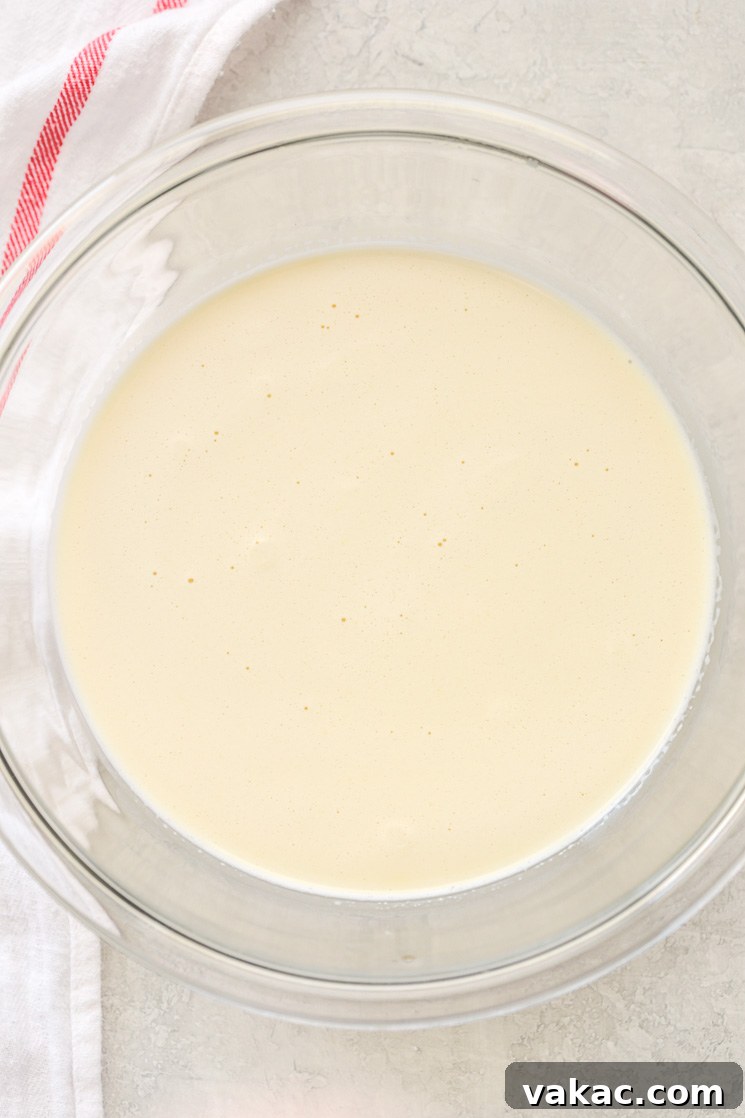
To temper the eggs: Slowly pour approximately half a cup of the warm cream into your egg and sugar mixture while continuously whisking. This gradual addition and constant whisking prevent the eggs from scrambling. Once incorporated, slowly pour in the remaining warm cream, continuing to whisk until the mixture is fully combined and uniform. You might notice a thin layer of foam on the surface; we recommend gently skimming this off with a spoon to ensure a perfectly smooth finish on your baked Crème Brûlée.
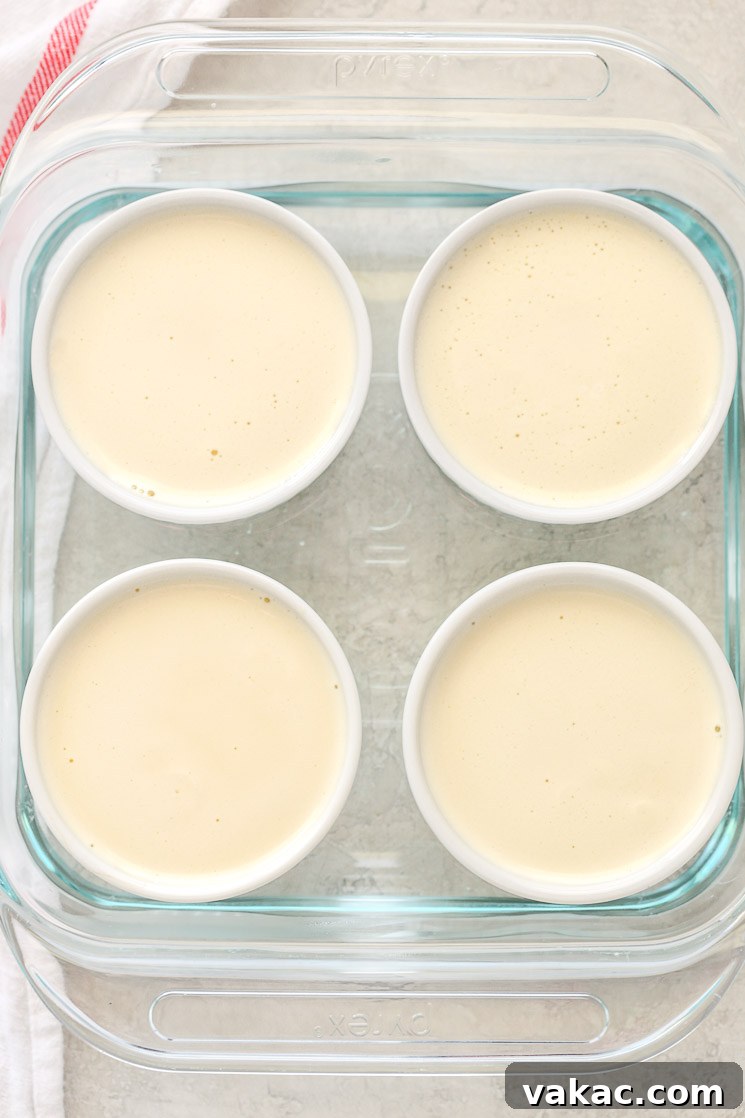
Even with careful tempering, it’s always best practice to strain the custard mixture. This extra step guarantees a silky-smooth texture by removing any minuscule bits of cooked egg that might have formed, or any tiny impurities. We find a fine-mesh strainer works best. Pour the strained mixture into a large glass measuring cup with a spout; this makes pouring into the ramekins much easier and tidier.
Baking to Perfection: The Water Bath Method
Carefully divide your smooth Crème Brûlée mixture among four 6-ounce ramekins. While you can certainly use any size ramekins you have, we particularly love these 6-ounce ramekins for their ideal portion size and versatility – they’re also perfect for making our molten chocolate lava cakes for two!
Place the filled ramekins into a larger baking dish. Now, carefully pour the boiling water you prepared earlier into the baking dish, filling it about one-third of the way. The water should come up approximately halfway along the sides of your ramekins. This water bath (bain-marie) is crucial for even, gentle baking, ensuring a custardy interior that is perfectly set but still incredibly tender.
Carefully transfer the baking dish with the ramekins to your preheated oven. Bake for approximately 35 to 45 minutes, or until the edges of the custard are set, but the centers still have a slight, delicate jiggle. Once baked, remove the baking dish from the oven and, using tongs or oven mitts, carefully transfer the hot ramekins to a wire rack to cool completely at room temperature. After they’ve cooled, cover each ramekin tightly with plastic wrap and refrigerate for a minimum of 4 hours, or ideally, overnight. Chilling is essential for the custard to fully set and achieve its perfect texture.
The Iconic Finish: Caramelizing the Sugar Topping
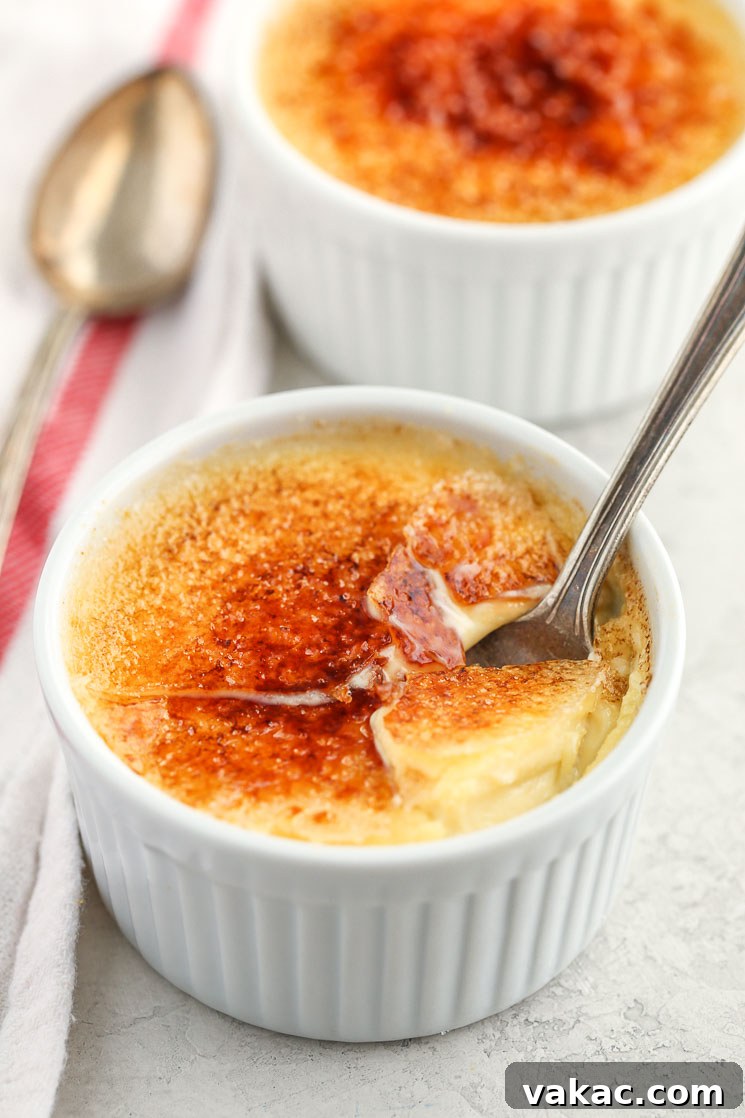
Once your Crème Brûlées are thoroughly chilled and set, it’s time for the grand finale: creating that signature caramelized sugar crust! First, gently blot the tops of each custard with a paper towel to remove any condensation that may have formed during chilling. This ensures the sugar adheres properly and caramelizes beautifully. Sprinkle about 1.5 to 2 teaspoons of granulated sugar (superfine sugar is excellent if you have it for a finer, quicker caramelization) evenly over the top of each custard, gently tilting the ramekin to create an even layer.
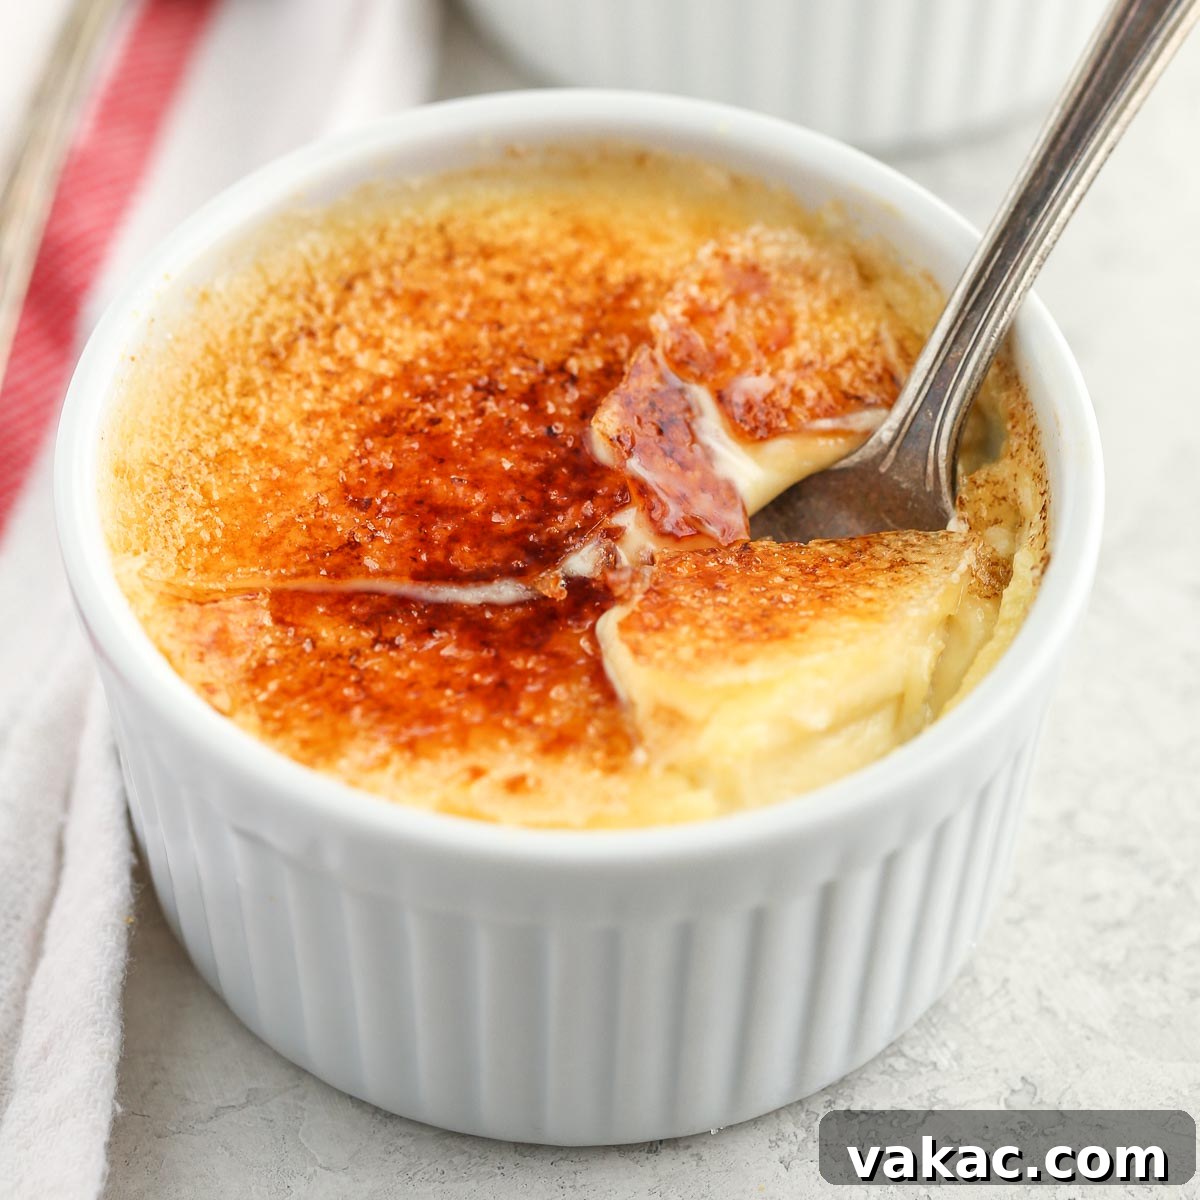
The traditional and most effective method is to use a small kitchen torch. Wave the torch flame steadily over the sugar, keeping it moving, until the sugar melts, bubbles, and turns a rich amber color. Be careful not to burn it! Allow the caramelized sugar to cool and harden for 1 to 2 minutes. You’ll hear a satisfying “crack” when you tap it with a spoon. Serve immediately to enjoy the delightful contrast between the warm, crisp topping and the cold, creamy custard beneath. If not serving immediately, you can refrigerate them for a few hours, but the topping is best when freshly torched.
Frequently Asked Questions About Crème Brûlée
Here are answers to some common questions that arise when making this classic dessert:
How Long Do You Bake Crème Brûlée?
Crème Brûlée typically bakes for about 35 to 45 minutes in a 325°F (163°C) oven when using 6-ounce ramekins. The exact baking time can vary slightly depending on your oven calibration and the specific size and material of your ramekins. You’ll know they are perfectly done when the edges appear set and firm, but the very center still retains a slight, delicate jiggly movement when gently shaken. Over-baking can lead to a rubbery texture, so keep a close eye on them!
Do I Have to Use a Kitchen Torch for Crème Brûlée?
While a small kitchen torch provides the most precise and consistent caramelization for that iconic crackle, it is absolutely not mandatory! You can achieve a beautiful caramelized topping using your oven’s broiler. If you opt for the broiler method, we highly recommend chilling your custards for an additional 30 minutes to an hour after broiling to re-chill the custard, as the broiler will warm them up. Detailed instructions for the broiler method are provided in the recipe notes below, ensuring you can enjoy this dessert regardless of your kitchen equipment.
Can I Prepare This Crème Brûlée Recipe in Advance?
Yes, Crème Brûlée is an excellent dessert for making ahead of time! You can bake the custards as instructed in the recipe, allow them to cool completely, and then cover them tightly with plastic wrap. They will keep beautifully in the refrigerator for up to 3 days. The key is to add the granulated sugar and caramelize the topping with your torch or broiler *just before* you are ready to serve. This preserves the crispness of the sugar crust, ensuring that satisfying crack every time.
What if my Crème Brûlée is watery or curdled?
Watery custard often results from under-baking or not allowing enough chilling time. Ensure the center has that slight jiggle, not a liquid wobble, and chill for at least 4 hours. Curdling typically occurs if the eggs are not properly tempered; adding hot cream too quickly without whisking can scramble the eggs. Straining the mixture is a good safeguard against small curds.
Can I use light cream or half-and-half?
For the authentic, rich, and creamy texture of Crème Brûlée, heavy whipping cream (with at least 36% fat) is highly recommended. Lighter creams or half-and-half will yield a much thinner, less luxurious custard and may not set as firmly. The high fat content is crucial for both flavor and texture.
Expert Baking Tips for Flawless Crème Brûlée
Achieving Crème Brûlée perfection is simple with a few insider tips:
- Always Start with a Water Bath: Don’t skip the boiling water prep! Setting a pot of water on the stove to boil before you begin mixing your custard is crucial. This water bath (bain-marie) creates a gentle, moist cooking environment in the oven, ensuring your Crème Brûlée bakes slowly and evenly, preventing cracks and yielding a perfectly smooth, silky texture.
- Master the Tempering Technique: When it’s time to incorporate the warm heavy whipping cream into your egg yolk and sugar mixture, remember to pour slowly and whisk continuously. Add about half a cup of warm cream initially, whisking thoroughly, before gradually adding the rest. This vital tempering step slowly raises the temperature of the egg yolks, preventing them from scrambling and ensuring a smooth, lump-free custard.
- Skim the Foam for a Pristine Surface: After you’ve fully whisked in the warm heavy whipping cream, you might notice a thin layer of foam on top of your custard mixture. For the smoothest, most professional-looking Crème Brûlée surface, we highly recommend gently skimming this foam off with a spoon before straining the mixture and filling your ramekins.
- Blot Away Moisture Before Caramelizing: Once your Crème Brûlée custards have been chilled, there might be some condensation on their surface. Before sprinkling the sugar for caramelization, gently blot the tops with a clean paper towel. This ensures the sugar adheres evenly and caramelizes properly, leading to a perfectly crisp and satisfying crust.
- Explore Flavor Variations: While classic vanilla is divine, don’t hesitate to experiment! For a seasonal twist, be sure to try our pumpkin crème brûlée next. Other popular variations include coffee, chocolate, lavender, or citrus-infused custards.
More Easy & Elegant Dessert Recipes to Try!
If you’ve fallen in love with the simplicity and elegance of this Crème Brûlée, you’ll adore these other straightforward yet impressive dessert recipes:
- Mini Oreo Cheesecakes: Indulge in individual portions of creamy cheesecake atop a crushed Oreo crust.
- Chocolate Mousse: A light, airy, and rich chocolate delight that’s surprisingly easy to whip up.
- Mini Pumpkin Pies: Perfect individual pies for the fall season, bursting with warm spices.
- Classic Chocolate Fudge: A timeless, melt-in-your-mouth treat that requires minimal effort.
- Apple Hand Pies: Flaky pastry pockets filled with spiced apple goodness, ideal for on-the-go indulgence.
Crème Brûlée
Pin Recipe
Leave a Review
Ingredients
- 6 large egg yolks
- 1/3 cup (70 grams) granulated sugar
- 2 cups (480 ml) heavy whipping cream
- 1 and 1/2 teaspoons pure vanilla extract
- 2 tablespoons (25 grams) granulated sugar (for the topping)
Instructions
-
Preheat the oven to 325°F (163°C). Place a large pot of water on the stove to boil.
-
In a large mixing bowl, whisk together the egg yolks and sugar until well blended and it just starts to lighten in color. Set aside.
-
Pour the heavy whipping cream in a medium-sized saucepan and heat over medium heat. Stir occasionally until the cream is warm and bubbling around the edges. Remove the cream from the heat and stir in the vanilla extract.
-
Slowly pour about 1/2 cup of the warm heavy whipping cream into the egg and sugar mixture making sure to whisk well as you’re pouring it in. Then, slowly pour in the remaining cream and continue whisking until fully combined. If there’s a thin layer of foam on top of the mixture, you can skim this off with a spoon at this point.
-
Strain the mixture through a fine mesh strainer, then evenly distribute between four 6-ounce ramekins.
-
Pour the boiling water into an 8-inch square baking pan (or larger pan if you prefer) about 1/3 of the way full. Carefully place the ramekins in the baking dish. The water should come about halfway up the sides of the ramekins. If needed, add a little more boiling water to the pan.
-
Carefully place the baking pan in the oven. Bake at 325°F (163°C) for 35 to 45 minutes or until the edges are set and the center is slightly jiggly. Remove from the oven and carefully remove the ramekins from the pan using tongs or pot holders and transfer to a wire rack to cool completely. Once cooled, cover tightly and refrigerate for at least 4 hours or overnight.
-
Once chilled, blot the tops of each custard with a paper towel to remove any excess moisture. Sprinkle 1 and 1/2 teaspoons of sugar on top of each custard, shake it around into one even layer, then use a small kitchen torch to carefully caramelize the sugar. Allow the sugar to harden for 1 to 2 minutes, then serve and enjoy, or refrigerate for a few hours until ready to serve.
Notes
To prepare ahead of time: Bake the custards as the recipe instructs and cool completely at room temperature. Once cooled, cover each ramekin tightly with plastic wrap and store them in the refrigerator for up to 3 days. Right before serving, add the granulated sugar on top and use a kitchen torch or the broiler method to caramelize the topping for that perfect crisp crust.
Slightly adapted from Betty Crocker.