

Melt-in-Your-Mouth Homemade Cream Cheese Mints: The Ultimate Guide
Step into a world of sweet, refreshing delight with these exquisite homemade cream cheese mints. Renowned for their incredible melt-in-your-mouth texture and vibrant minty flavor, these delightful confections are surprisingly easy to make. Whether you’re looking for a charming after-dinner treat, a unique gift for friends and family during the holidays, or elegant favors for special occasions like weddings and baby showers, these cream cheese mints are an absolute showstopper. Forget store-bought options; once you taste these luscious, smooth mints, you’ll never go back!

Why You’ll Fall in Love with These Cream Cheese Mints
These smooth, sweet, and perfectly peppermint-infused treats are often affectionately called “wedding mints” due to their popularity at celebratory events. Their distinctive characteristic is how quickly and smoothly they dissolve on your tongue, leaving a delightful cooling sensation and a burst of minty freshness. But their appeal extends far beyond special occasions!
Enjoy them as an elegant after-dinner mint, offering a sophisticated palate cleanser that complements any meal. Or, if you’re like us, you’ll find yourself reaching for them as a sweet little pick-me-up throughout the day. What makes this recipe truly special is its incredible versatility. With just a few drops of gel food coloring, you can transform these simple mints into festive delights suitable for any holiday or themed event.
Imagine vibrant red and green mints adorning your Christmas dessert table, or delicate pastel shades perfect for Easter, Mother’s Day, baby showers, and bridal showers. The possibilities are endless, making them a personal favorite for edible gifting. Beyond their beautiful appearance and incredible taste, the joy of making these mints lies in their simplicity. You need just five basic ingredients to create these irresistible, underrated homemade treats that are adored by everyone who tries them.
Essential Ingredients for Perfect Cream Cheese Mints
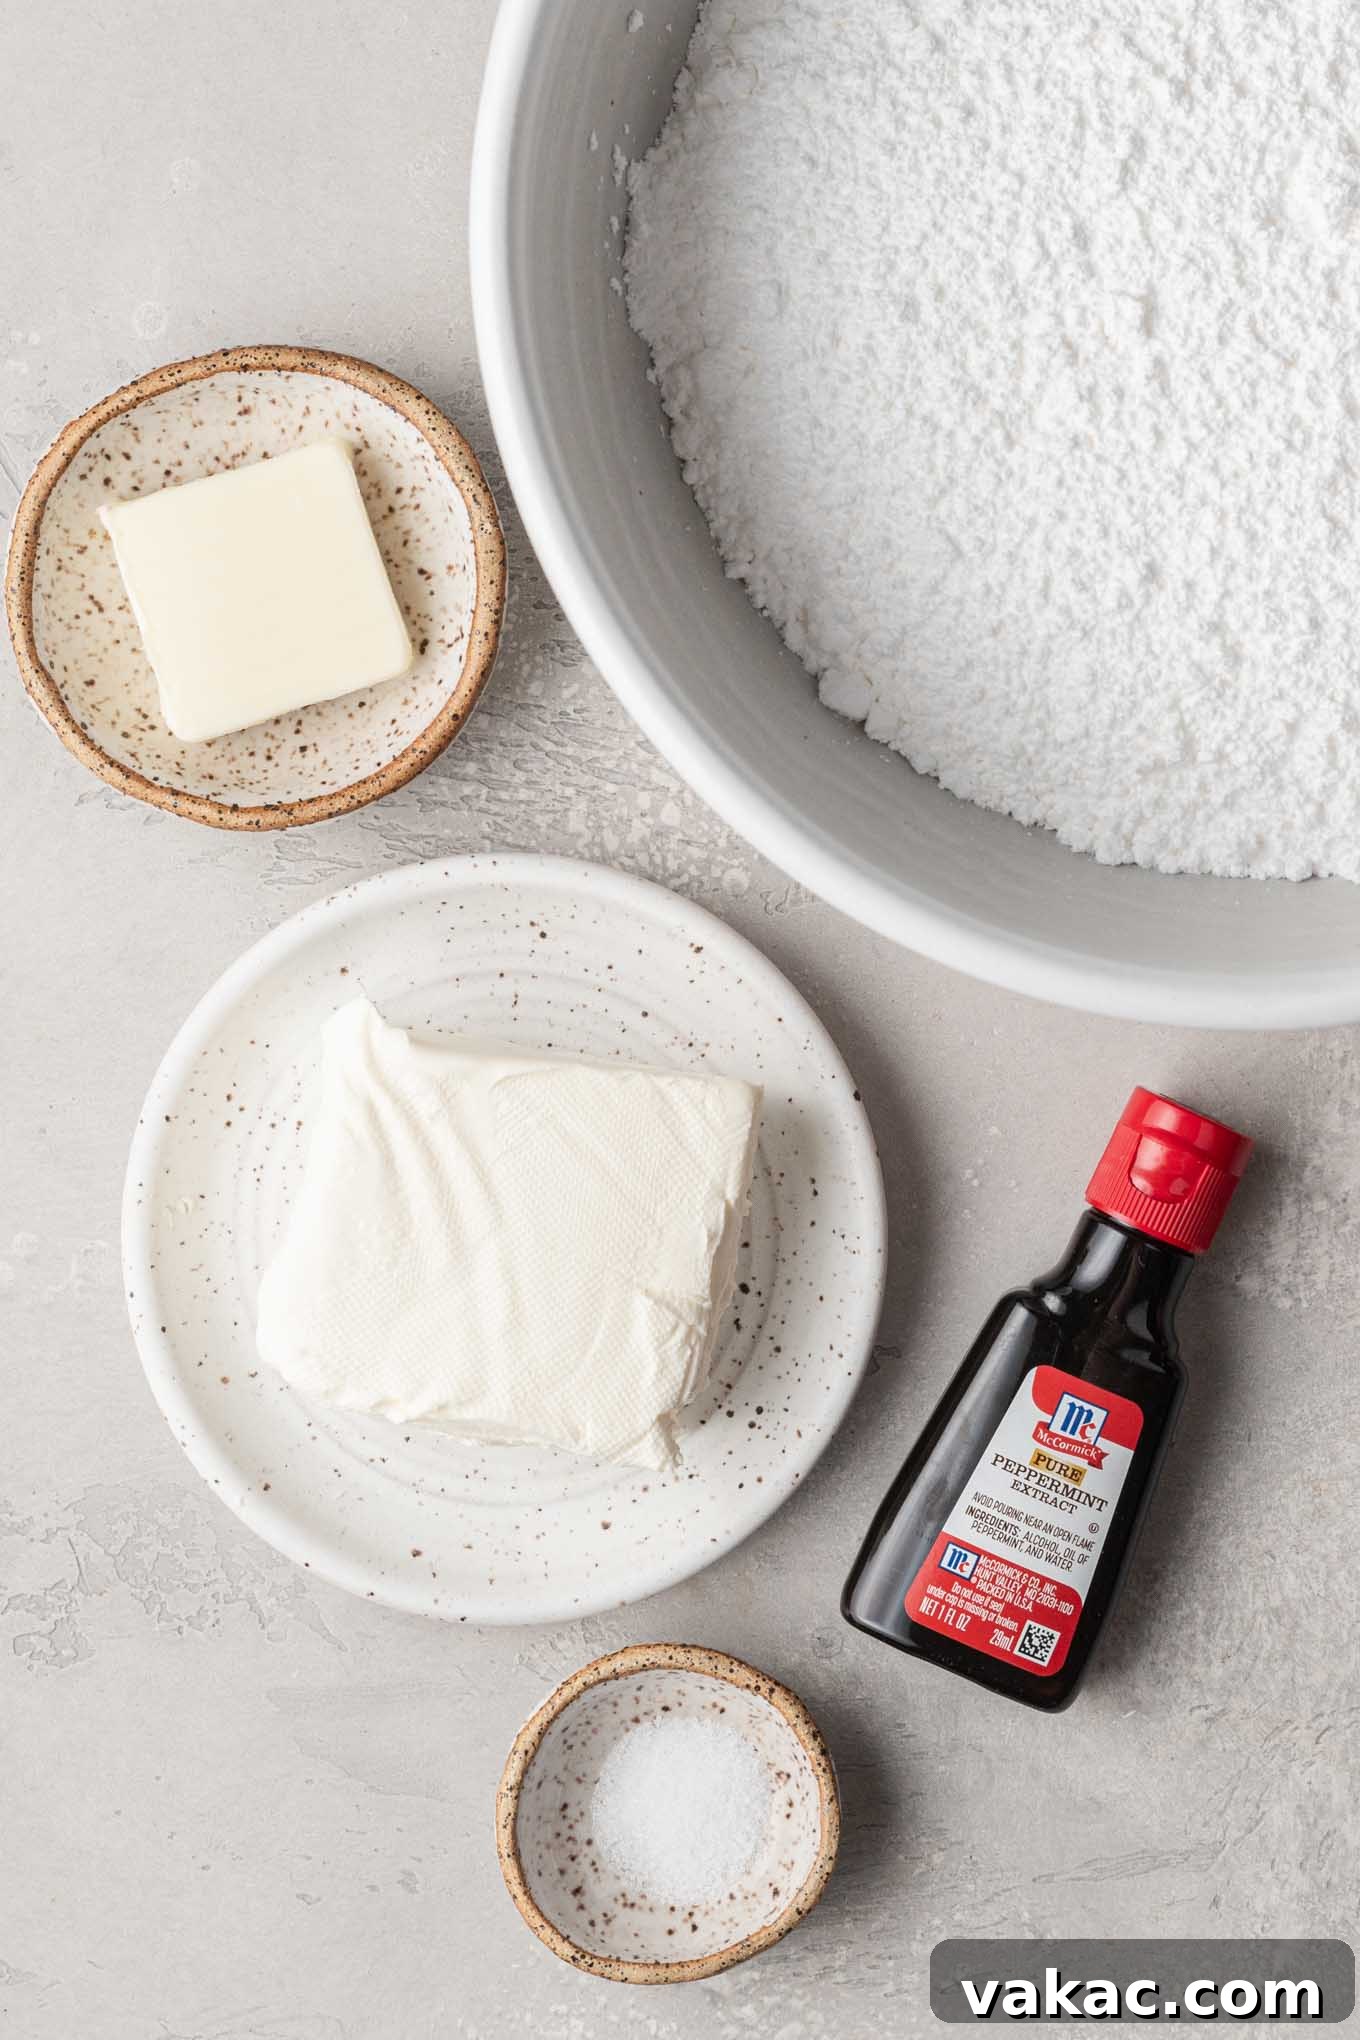
Crafting this simple yet elegant recipe for cream cheese mints is incredibly straightforward, relying on just five core ingredients. While gel food coloring is optional, it’s highly recommended for those looking to add a pop of color and customize their mints for various occasions, making them ideal for gifting.
- Peppermint Extract: This is a crucial ingredient for achieving that classic, refreshing mint flavor. It’s imperative to use peppermint extract, not general “mint extract.” Standard mint extract often contains spearmint, which can impart a flavor reminiscent of toothpaste, especially if you’re heavy-handed. Peppermint delivers a clean, bright, and universally loved minty taste.
- Cream Cheese: For the best texture and consistency, you absolutely must use full-fat, brick-style cream cheese. Do not opt for whipped or light cream cheese, as these contain too much water and will prevent your mints from setting correctly and achieving their signature smooth, melt-in-your-mouth texture. Ensure it’s softened to room temperature for easier mixing.
- Butter: A small amount of butter is the secret to the mints’ velvety smooth consistency that allows them to truly melt in your mouth. Unsalted butter is generally preferred in baking to control the salt content, but if all you have is salted butter, it will work just fine; just be mindful when adding the extra pinch of salt. Ensure it’s also softened.
- Powdered Sugar (Confectioners’ Sugar): This fine sugar is indispensable for both sweetening the mints and giving them their characteristic smooth, non-gritty texture. Granulated sugar would result in a coarse, unpleasant mouthfeel. You’ll need a generous amount, which will be added gradually.
- Salt: A tiny pinch of salt acts as a flavor enhancer. It doesn’t make the mints salty, but rather brightens and deepens the peppermint flavor, balancing the sweetness and preventing the mints from tasting one-dimensional.
- Gel Food Coloring (Optional but Recommended): For vibrant and professional-looking mints, gel food coloring is the way to go. Unlike liquid food coloring, gel colors are highly concentrated, meaning you need only a tiny drop to achieve intense hues without altering the consistency of the mint dough. Liquid colors can thin out the mixture, making it difficult to work with. Brands like Americolor are excellent choices for their quality and vibrant results.
Step-by-Step Guide: How to Make Irresistible Cream Cheese Mints
Creating these delightful cream cheese mints is a rewarding and relatively simple process. Follow these detailed steps to ensure perfectly smooth, flavorful, and beautifully shaped mints every time.
- Prepare Your Workspace: Begin by lining two large baking sheets with parchment paper. This non-stick surface is essential for drying the mints without them sticking. Set these aside where they won’t be disturbed.
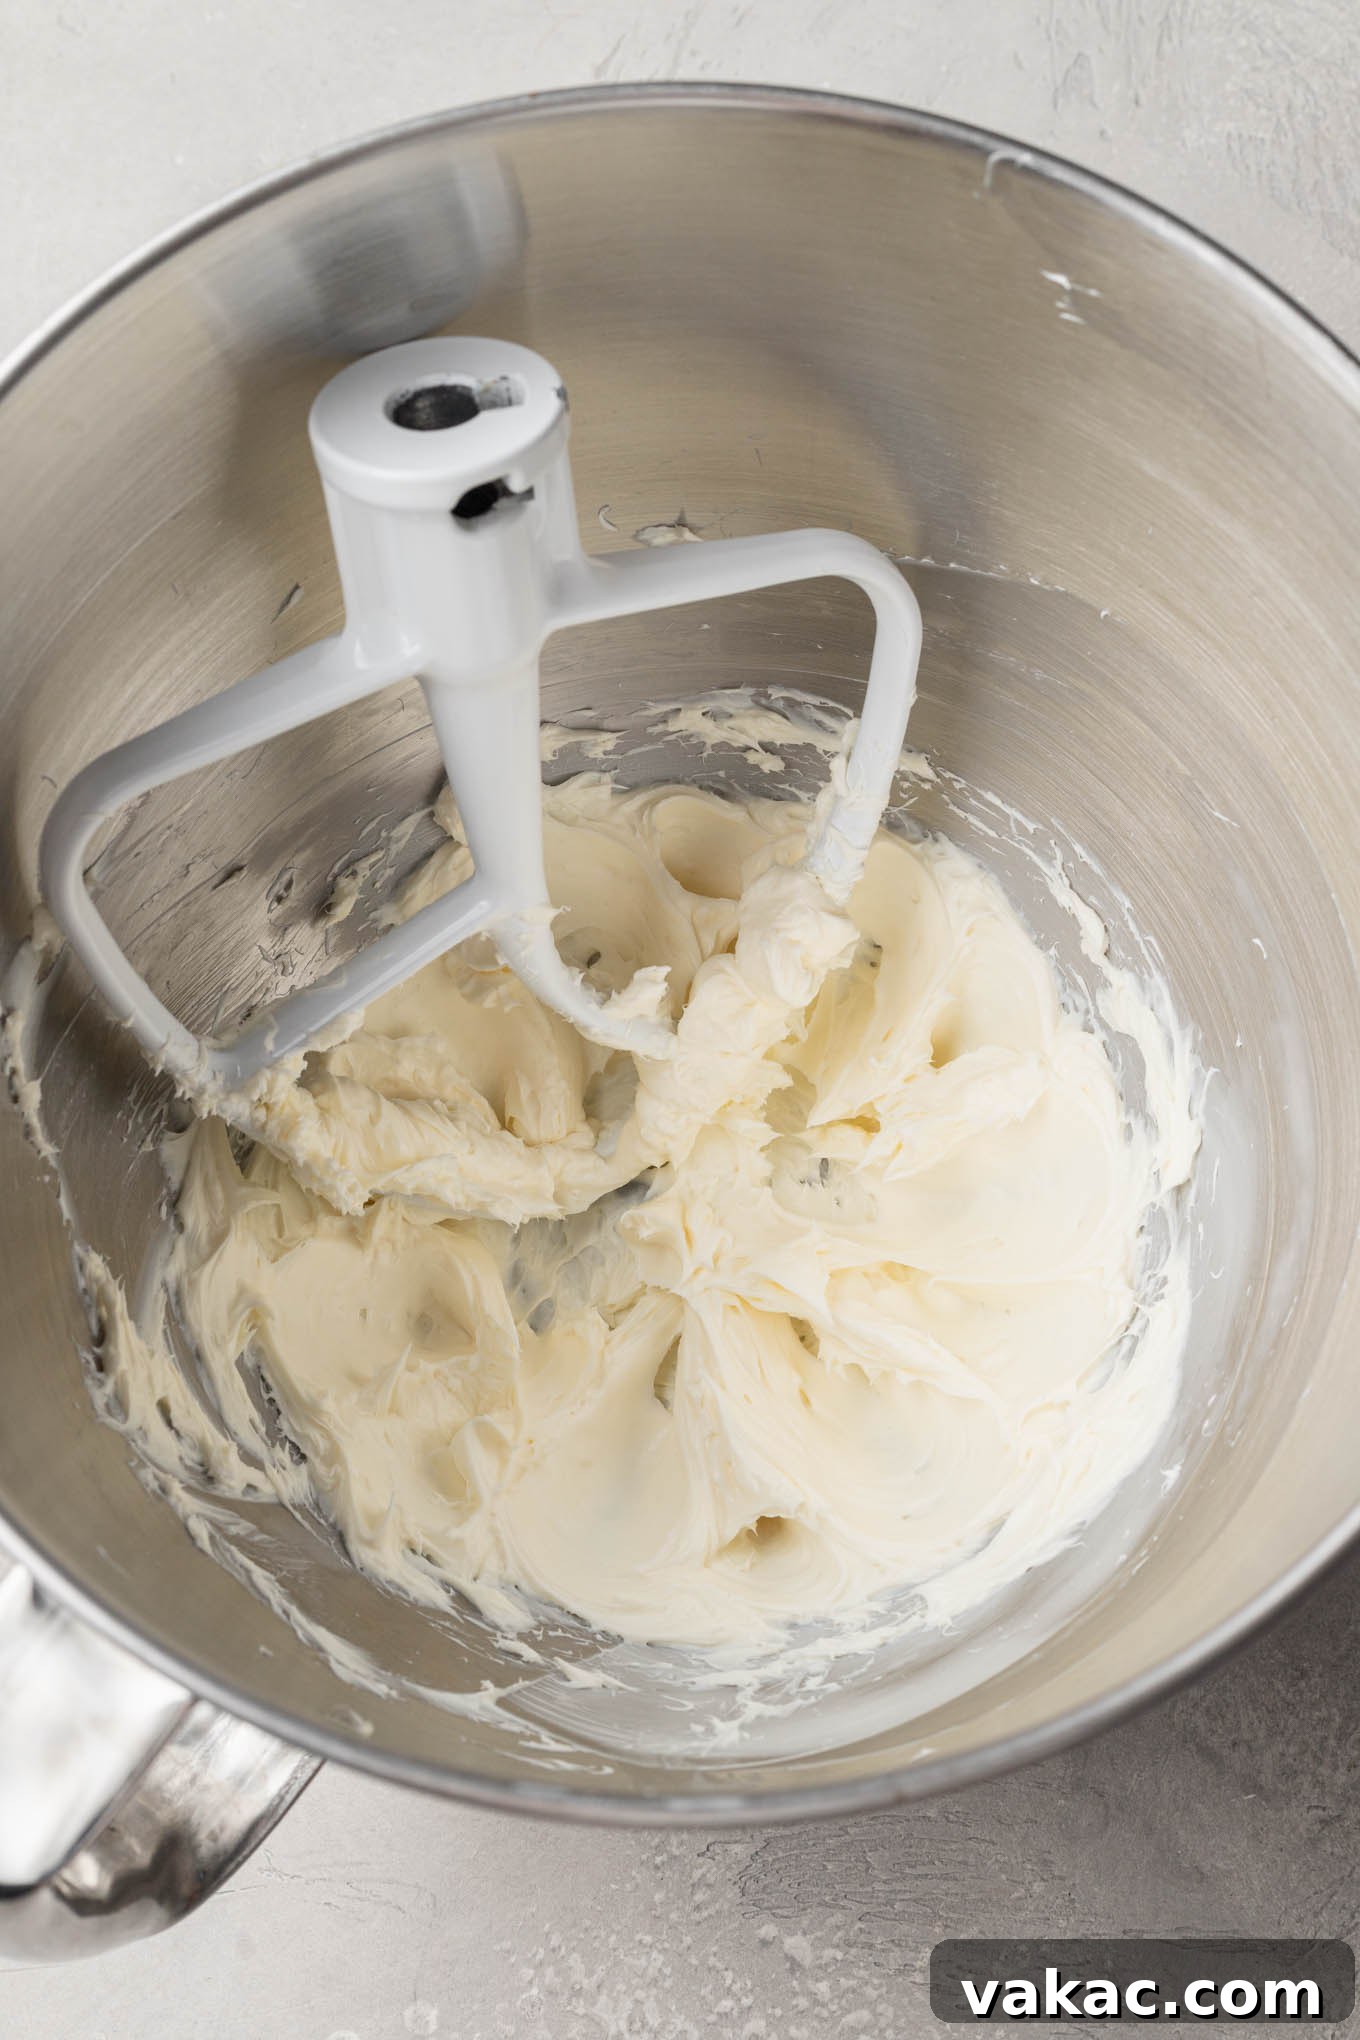
- Cream the Base: In the bowl of a stand mixer fitted with the paddle attachment, or using a large mixing bowl with a handheld electric mixer, combine the softened brick-style cream cheese and softened butter. Beat them together on medium speed until the mixture is completely smooth, light, and free of lumps. This typically takes 2-3 minutes. Make sure to occasionally stop and scrape down the sides and bottom of the bowl to ensure everything is evenly incorporated.
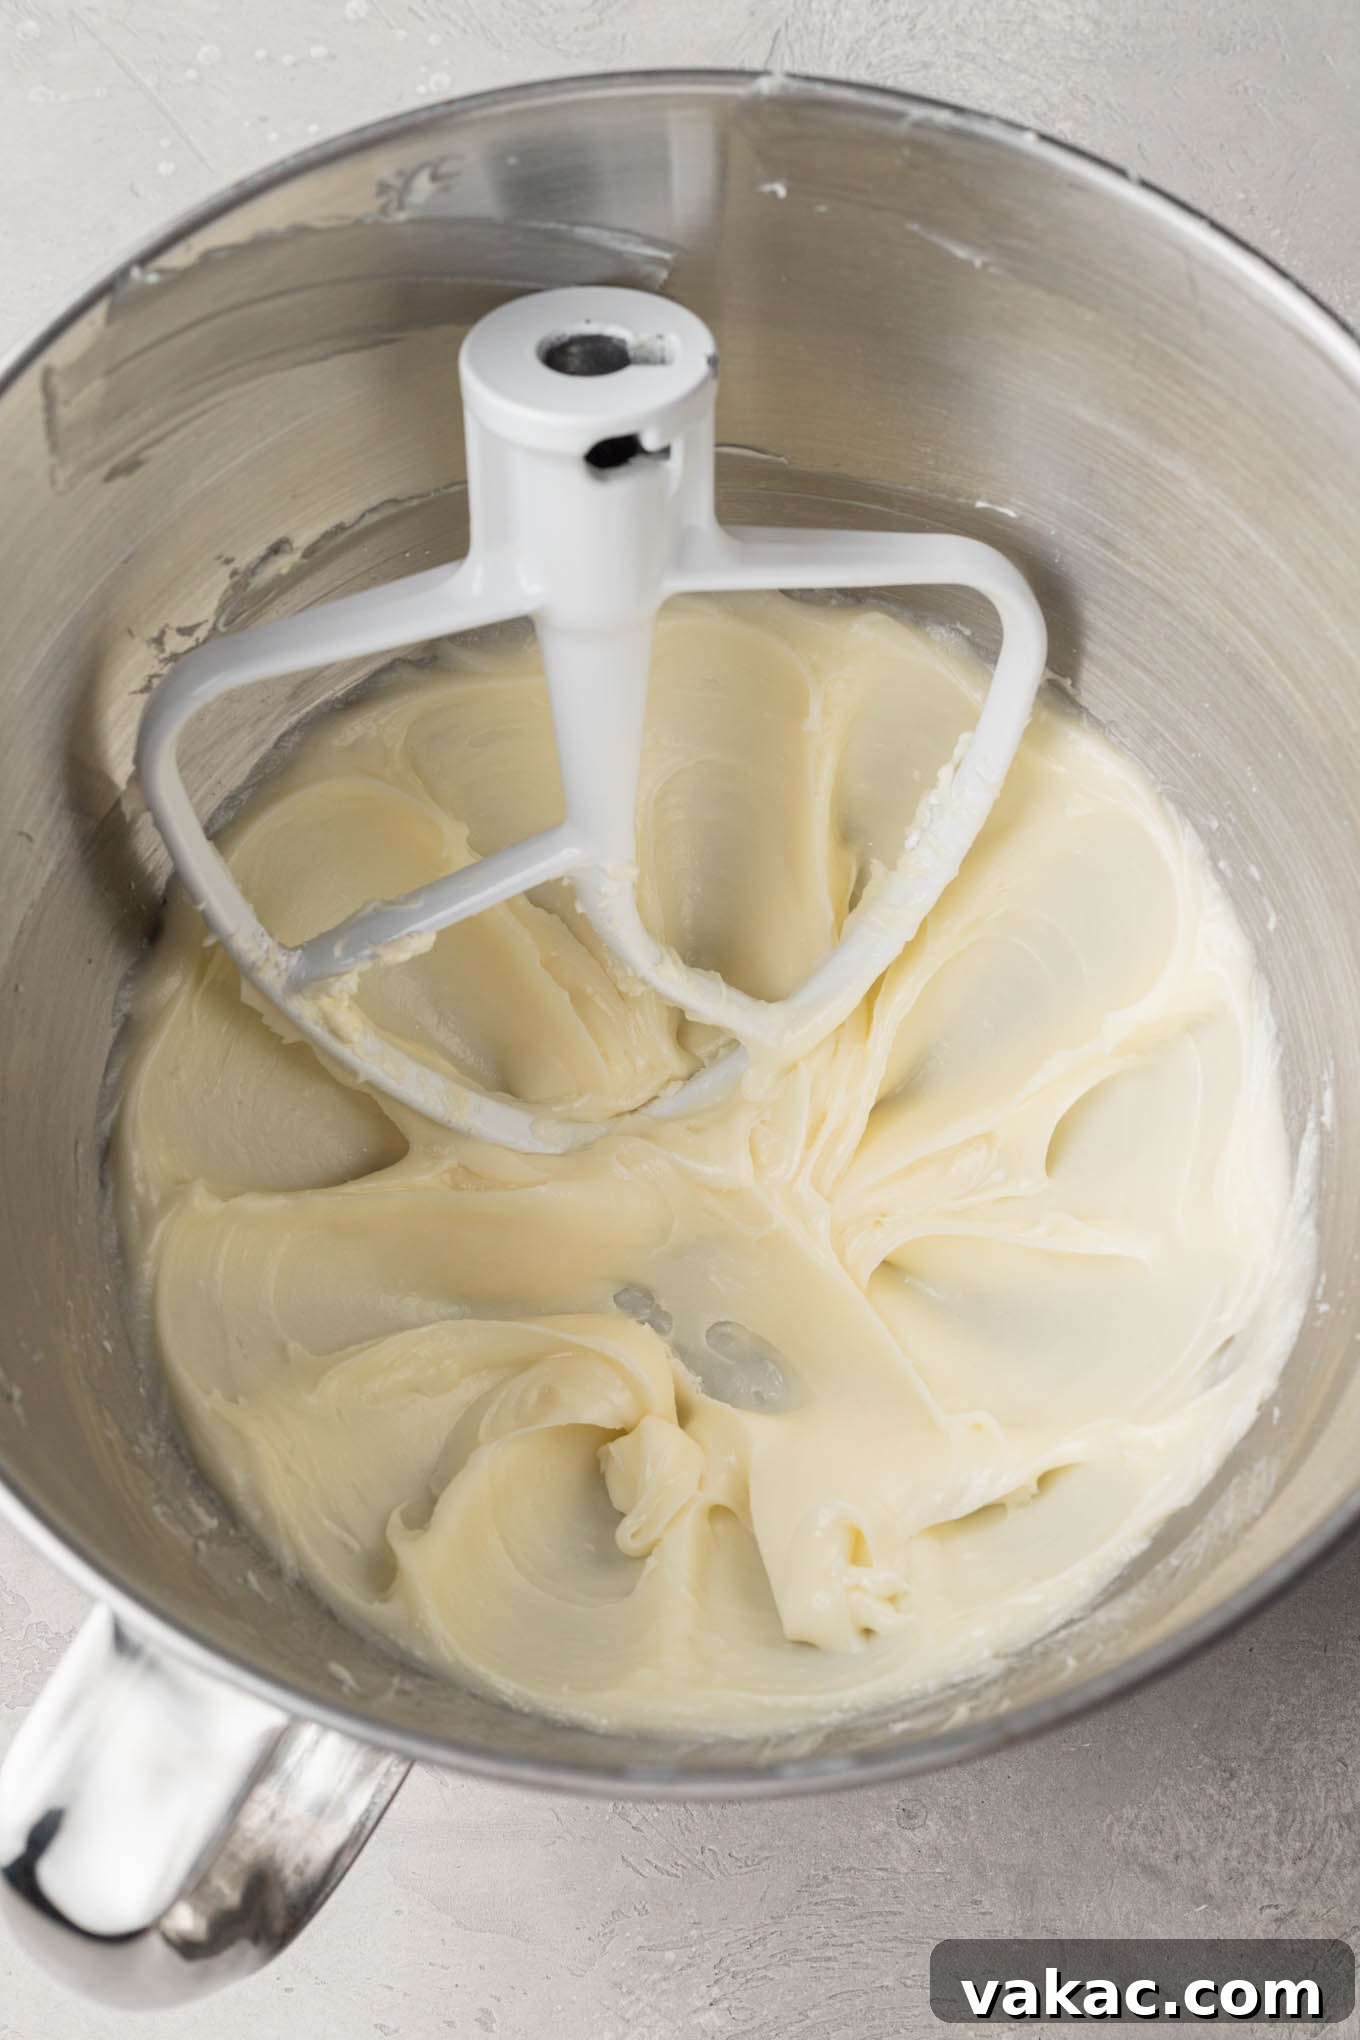
- First Sugar Addition & Flavoring: Add just 1 cup (120 grams) of powdered sugar to the cream cheese and butter mixture. Mix on low speed until it’s just combined. Stop and thoroughly scrape down the sides of the mixing bowl once more. Then, add the ½ teaspoon of peppermint extract and the ⅛ teaspoon of salt. Continue mixing on low speed until these ingredients are fully and evenly distributed throughout the mixture. The aroma of peppermint should now be noticeable!
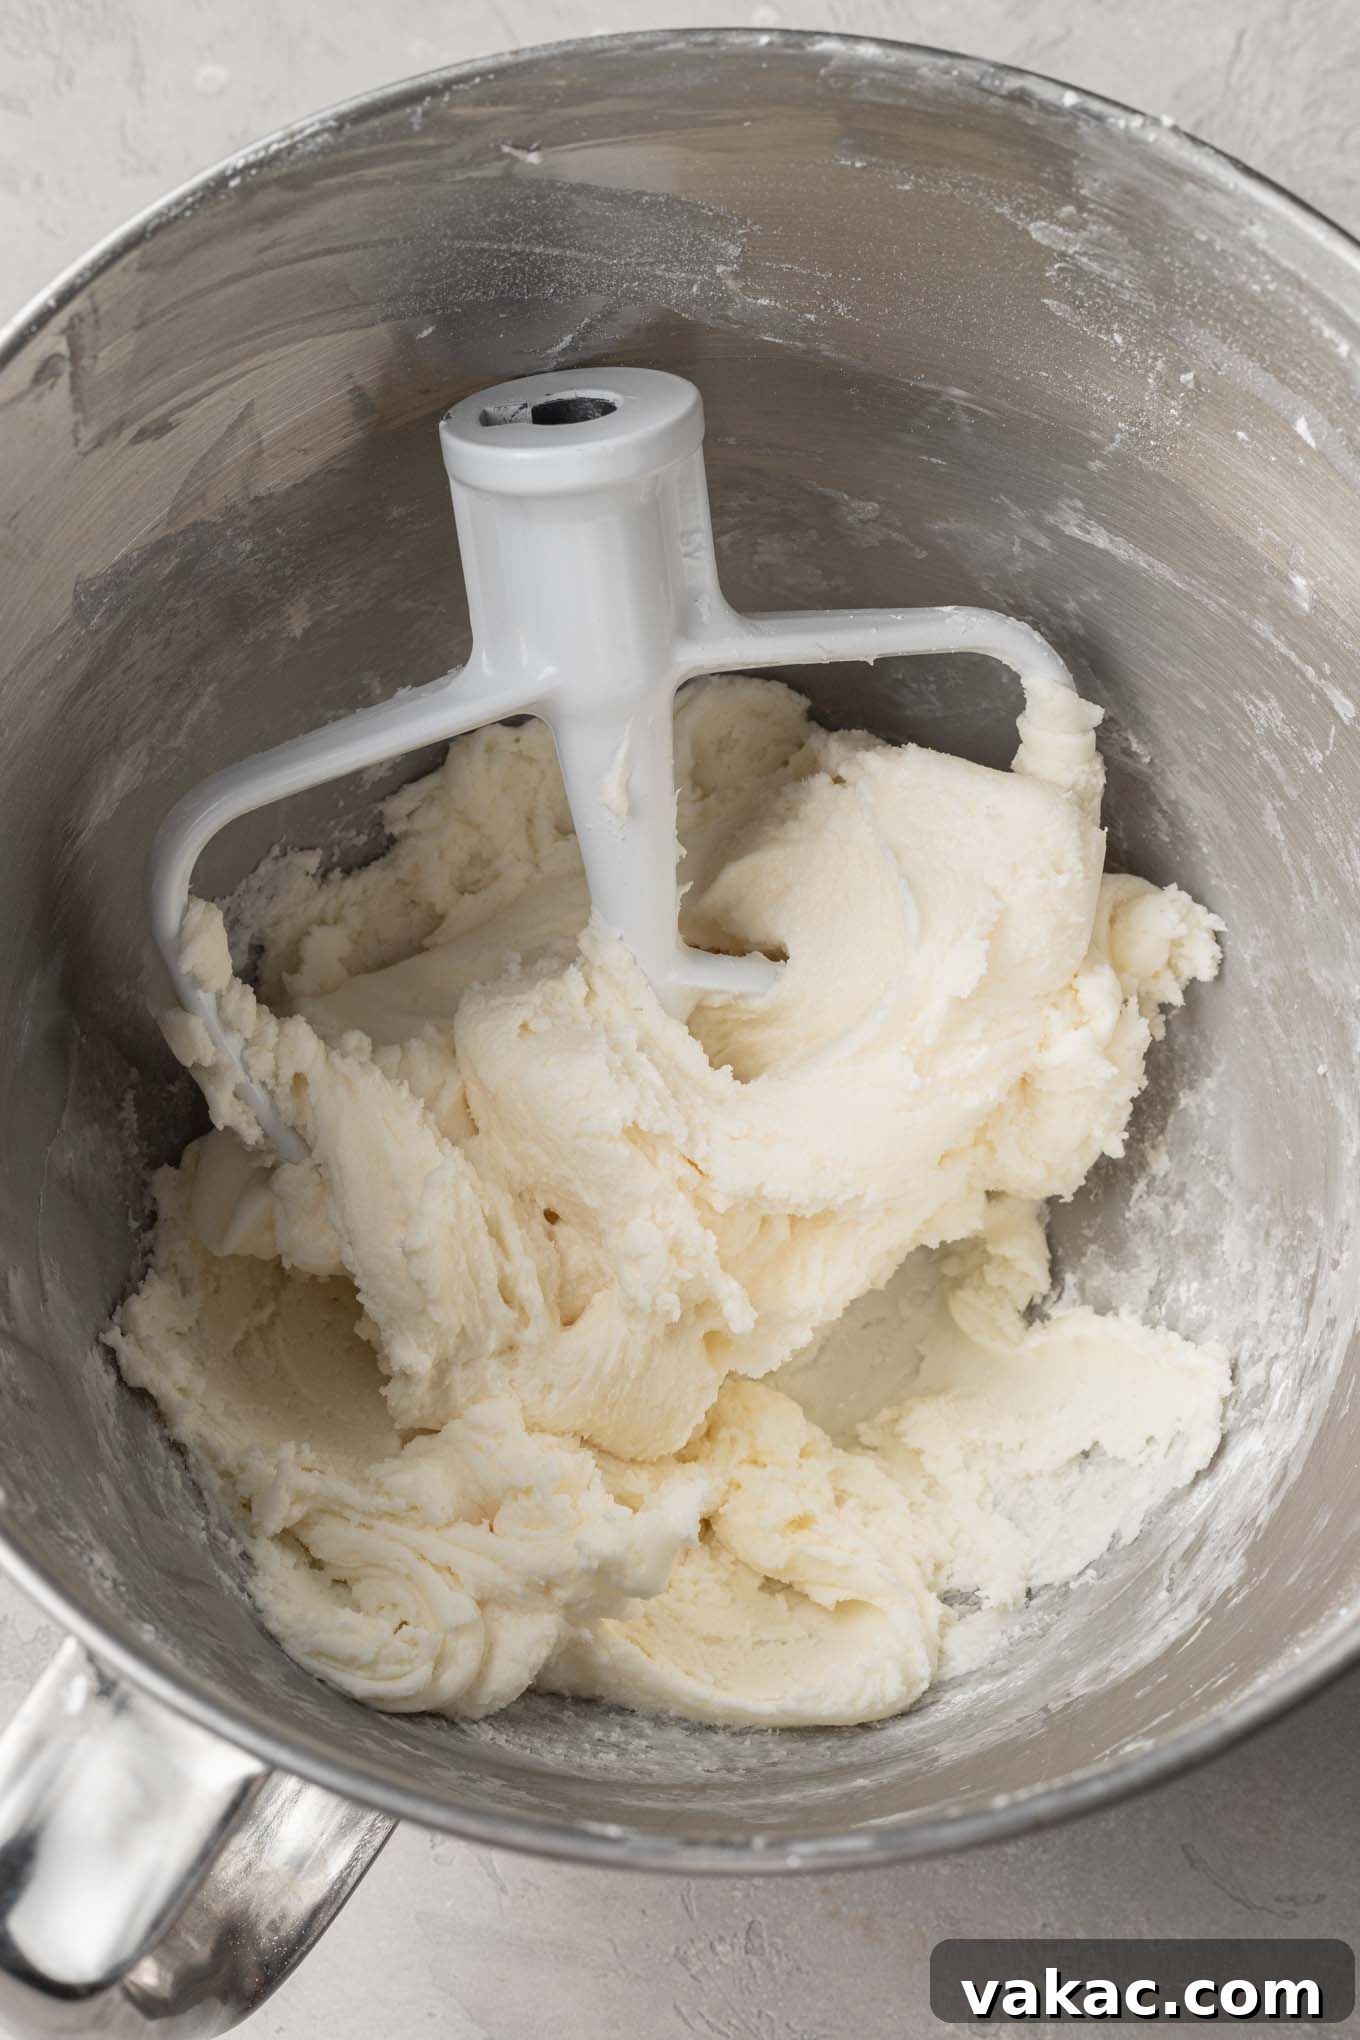
- Gradual Sugar Incorporation for Perfect Consistency: This step is critical for achieving the ideal playdough-like consistency. With the mixer on a very low speed, begin adding the remaining 3 cups (360 grams) of powdered sugar. Do NOT dump all the sugar in at once, as this will result in a crumbly, unmanageable dough that is difficult to combine properly. Instead, add the powdered sugar one large, heaping spoonful at a time, allowing each addition to be mostly incorporated before adding the next. This slow process allows the sugar to be fully absorbed, creating a smooth and pliable dough. You may need to stop the mixer a few times to scrape down the sides of the bowl again to ensure all the sugar is worked in. Once all the sugar has been added, scrape down the bowl one last time and beat the mixture on medium-low speed for a full minute to ensure it’s perfectly smooth and well-developed. The final consistency should resemble soft playdough – firm enough to hold its shape but still pliable. If it feels too sticky, you can gradually mix in an additional tablespoon of powdered sugar at a time until the desired texture is reached.
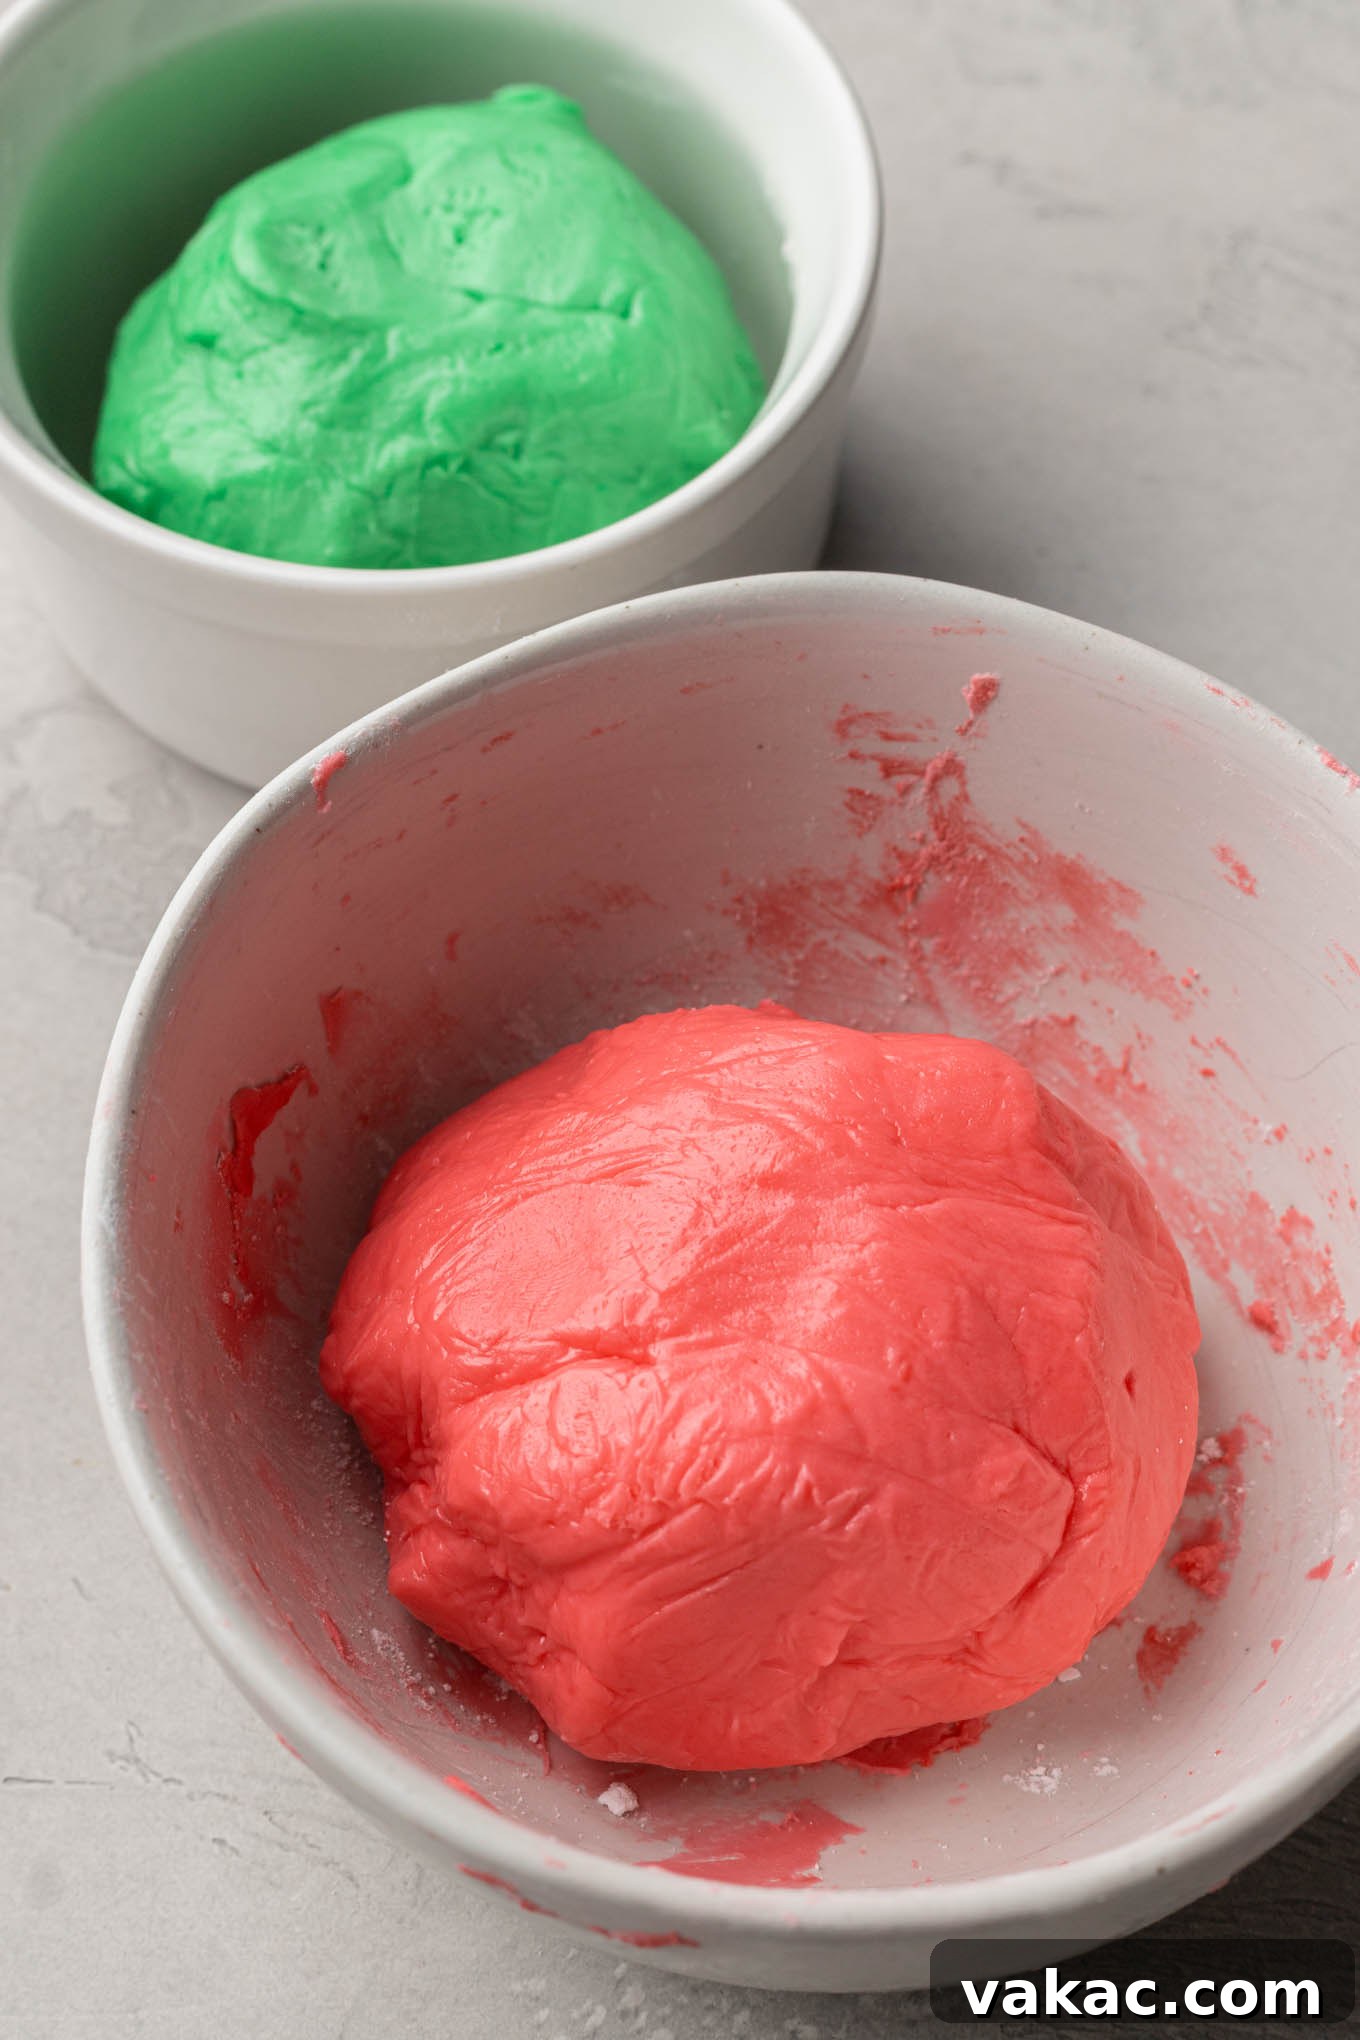
- Add Color (Optional): If you plan to color your mints, divide the mint mixture evenly into separate mixing bowls based on the number of colors you wish to prepare. Add a tiny drop of gel food coloring to each bowl. Mix thoroughly until the color is vibrant and evenly distributed. For best results, you can even knead the food coloring into the mint mixture(s) using your hands, which you might want to lightly dust with powdered sugar to prevent sticking. When working with multiple colors, it is crucial to tightly cover the portions of dough you are not currently shaping with plastic wrap. This prevents them from drying out, which can lead to cracks later on when you roll them.
- Shape the Mints: Starting with one color at a time, scoop out teaspoon-sized portions of the mint mixture. Gently roll each portion between your palms to form a smooth, uniform ball. Work quickly to prevent the dough from drying out too much. Place the rolled balls onto your parchment paper-lined baking trays, leaving a small space between each mint.
- Create the Signature Indentation: To give your mints their classic look, dip a clean fork into powdered sugar (this prevents sticking). Gently press the tines of the fork into the center of each mint ball, creating a shallow indentation. Repeat this process for all the rolled mints, re-dipping the fork in powdered sugar as needed. Continue with each remaining color until all the dough has been shaped.

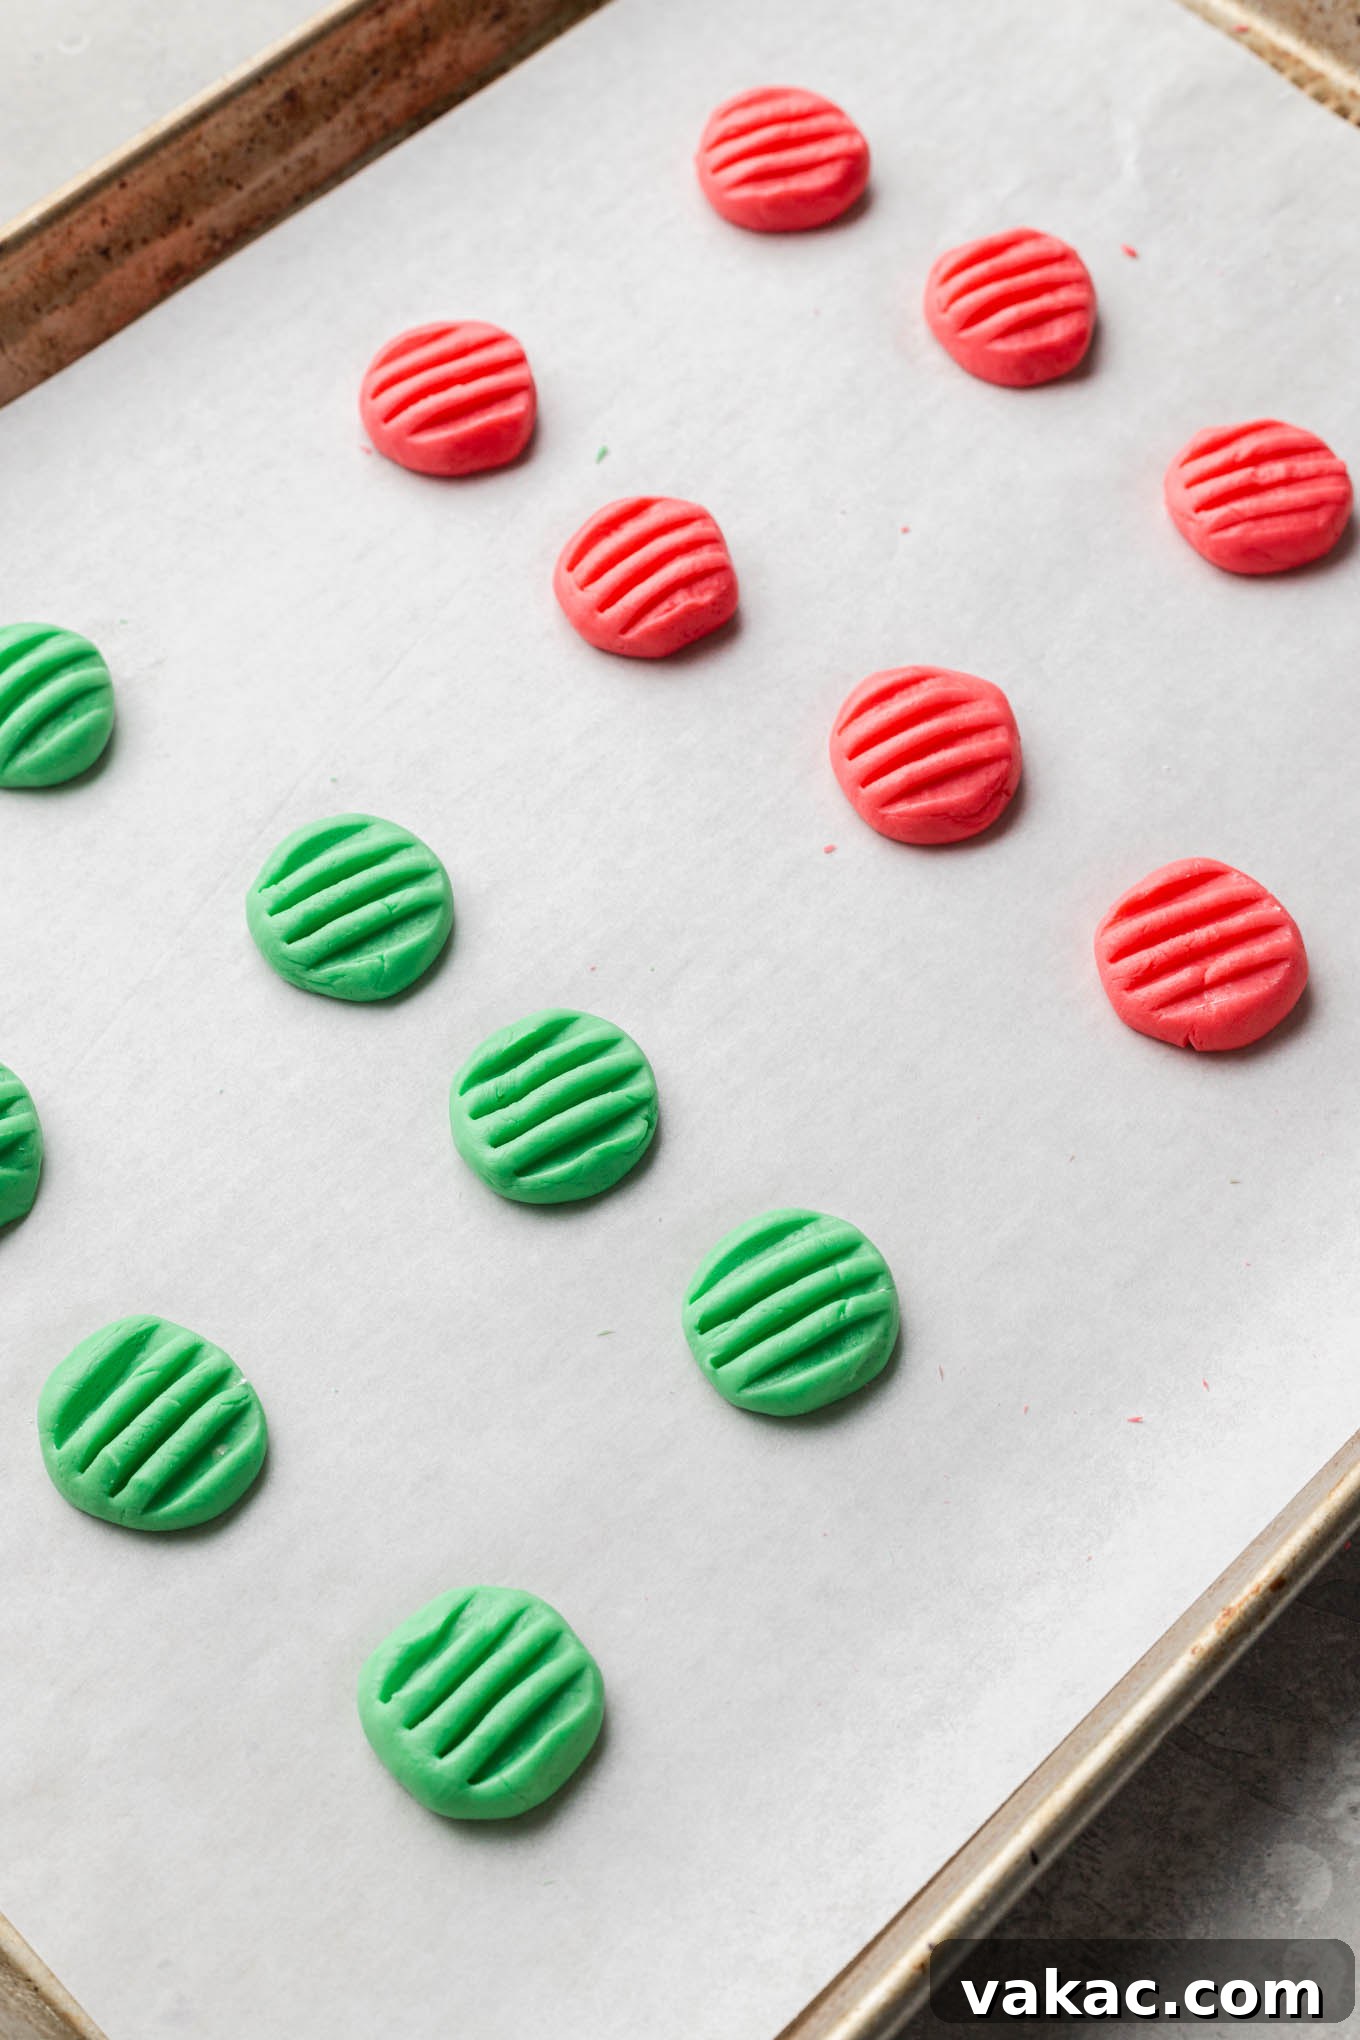
- Air Dry: Allow the shaped mints to air dry at room temperature for at least two hours, and ideally 3-4 hours. This step is important for developing a slightly firm exterior, which helps them hold their shape and prevents them from sticking together. If, after the initial drying period, the bottoms of your mints still feel a bit soft, gently flip them over and let them dry for another hour.
- Refrigerate and Store: Once the mints have sufficiently dried, transfer the baking sheets to the refrigerator. These mints must be refrigerated due to their cream cheese content. Store them in an airtight container in the fridge until you are ready to serve. They will keep well for up to one week.

Frequently Asked Questions About Cream Cheese Mints
Can peppermint oil be used instead of peppermint extract?
Yes, food-grade peppermint oil (which is distinct from essential oils used for aromatherapy) can be used as a substitute. However, peppermint oil is significantly more potent than extract. This recipe has only been tested with peppermint extract, so if you use oil, you will need to adjust the quantity. Start with a very small amount, perhaps ¼ teaspoon, and taste the mixture carefully, adding tiny drops as needed, to avoid an overpowering flavor. Err on the side of caution, as a little goes a long way with oils.
Can I use a different type of mint extract?
Absolutely! While peppermint is traditional, you can certainly experiment with other mint extracts if you prefer a different profile. However, a word of caution: I highly recommend avoiding anything that contains spearmint extract. Spearmint has a very distinct flavor that can, unfortunately, make these otherwise delicious cream cheese mints taste remarkably similar to toothpaste, which is usually not the desired outcome!
What role does butter play in this recipe?
The small but mighty amount of butter called for in these homemade mints is a crucial ingredient for their signature texture. It contributes to the richness and smoothness of the dough, helping to create that luscious, melt-in-your-mouth quality that makes these mints so irresistible. Without it, the texture might be firmer or less velvety.
Do the mints need to be refrigerated?
Yes, refrigeration is essential for these cream cheese mints. Since they are made with cream cheese, a dairy product, they must be stored in the refrigerator after their initial air-drying period to maintain freshness, prevent spoilage, and ensure food safety. Always keep them in an airtight container to protect their flavor and texture.
Why are my mints crumbly or too sticky?
If your mints are crumbly, it’s likely due to not gradually adding the powdered sugar. Dumping it all at once can make it hard to incorporate properly. If they are too sticky, the dough might need more powdered sugar. Add it one tablespoon at a time, mixing until it reaches a playdough-like consistency that’s easy to handle. Ensure your cream cheese and butter were softened but not melted, as too much moisture can affect the texture.
Creative Recipe Variations for Your Cream Cheese Mints
While this recipe for cream cheese mints is designed to be simple yet elegantly delicious, it also serves as a fantastic canvas for your creativity. Feel free to experiment with these exciting variations to tailor your mints to any taste or occasion:
- Explore a Spectrum of Colors: The power of gel food coloring allows for endless possibilities! Go beyond traditional red and green. Create soft pastel colors like pink, blue, yellow, and lavender for Easter, charming baby showers, or elegant wedding showers. Try vibrant pinks and reds for Valentine’s Day, or patriotic red, white, and blue for the 4th of July. The visual appeal dramatically enhances their charm.
- Experiment with Different Extracts: While peppermint defines these as “mints,” you can easily transform their flavor profile by swapping out the extract. Consider using lemon extract for a bright, zesty treat, almond extract for a nutty, aromatic twist, or even a hint of vanilla or coconut extract for a completely different experience. Just remember to use extracts designed for baking, not essential oils (unless food-grade and used in tiny quantities as discussed earlier).
- Shape Them Differently: Move beyond the traditional fork-pressed rounds! You can pipe the dough into intricate designs using a pastry bag fitted with a decorative tip (like a star or rosette). Alternatively, press the dough into small candy molds (grease lightly if needed) for more complex shapes like flowers, hearts, or holiday-themed figures. Ensure the molds are small enough for the dough’s consistency.
- Add Sparkle with Sprinkles: If you prefer to keep your mints white or a single, subtle color, sprinkles are a fantastic way to add visual interest and a festive touch. Gently fold your favorite nonpareils, jimmies, or sugar pearls into the dough before shaping. Or, after shaping, lightly press the mints into a shallow dish of sprinkles to coat them.
- Indulge in Chocolate Dipping: For an extra layer of decadence, consider dipping your finished mints in chocolate. Melt some semi-sweet, dark, or even white chocolate (use high-quality melting wafers or temper correctly for best results). Dip half or all of each mint, then place them on parchment paper to set. A sprinkle of sea salt on top of chocolate-dipped mints adds a gourmet touch.

Expert Tips for Flawless Cream Cheese Mints
- Resist the Urge to Over-Flavor: When it comes to peppermint extract, less is often more. Do not be tempted to add more peppermint extract than the recipe specifies. The recommended amount ensures a perfectly balanced, refreshing mint flavor. Adding too much can quickly lead to an overwhelming, almost medicinal taste that detracts from the delicate cream cheese base. Stick to the ½ teaspoon for optimal results.
- Shape Promptly After Rolling: Once you’ve rolled your mints into smooth balls, make sure to press them down with the fork relatively quickly. This immediate shaping helps to prevent them from developing small cracks as they begin to dry out. Working efficiently ensures a smooth, unblemished surface on your finished mints.
- Cover Unused Dough: If you are working with multiple colors of the cream cheese mixture, it’s absolutely crucial to tightly cover the portions you are not actively shaping with plastic wrap. Exposure to air will cause the dough to dry out prematurely, making it difficult to roll smoothly and increasing the likelihood of cracks appearing on the surface of your mints after they’ve been shaped. Keep it sealed to maintain pliability.
- Room Temperature is Key: Ensure both your cream cheese and butter are properly softened to room temperature. This allows them to cream together smoothly and incorporate the powdered sugar without lumps, leading to a much better texture in your final mints.
- Powdered Sugar for Sticky Hands: If the mint dough becomes a bit sticky while you’re rolling or kneading in food coloring, simply dust your hands with a small amount of powdered sugar. This prevents sticking and makes the shaping process much easier without altering the recipe’s balance.
- Patience with Drying: Don’t rush the air-drying process. Giving the mints ample time (2-4 hours) at room temperature helps them develop that slightly firm exterior, preventing them from feeling greasy or overly soft when handled, and enhancing their shelf stability.
More Refreshing Mint Desserts to Explore!
If you’re a fan of the invigorating flavor of mint, especially when paired with rich chocolate, you’re in for a treat! These cream cheese mints are just the beginning. Dive into some of our other favorite mint-infused dessert recipes that are sure to satisfy your cravings:
- Decadent Chocolate Peppermint Cookies
- Irresistible Mint Chocolate Cookie Cups
- Classic Homemade Peppermint Patties
- Festive Peppermint Bark
- Rich Mint Chocolate Truffles

Cream Cheese Mints Recipe
These delightful homemade cream cheese mints offer a refreshing minty flavor and an incredible melt-in-your-mouth texture. They are perfect for serving guests after a meal, bringing to potlucks, or packaging as thoughtful gifts for friends and family during the holidays or special events.
Prep Time: 45 mins
Drying Time: 3 hrs
Total Time: 3 hrs 45 mins
Servings: 60 mints
Ingredients:
- 4 ounces brick-style cream cheese, softened (113 grams)
- 1 tablespoon unsalted butter, softened (14 grams)
- 4 cups powdered sugar, divided (480 grams)
- ½ teaspoon peppermint extract
- ⅛ teaspoon salt
- Optional: Gel food coloring
Instructions:
- Line two large baking sheets with parchment paper and set them aside.
- In the bowl of a stand mixer fitted with the paddle attachment, or in a large mixing bowl using a handheld mixer, beat the softened cream cheese and butter together until completely smooth and creamy.
- Mix in 1 cup (120 grams) of powdered sugar until well combined. Stop and scrape down the sides of the bowl. Then, mix in the peppermint extract and salt until fully incorporated.
- With the mixer on low-medium speed, gradually add the remaining 3 cups (360 grams) of powdered sugar, one heaping spoonful at a time. Ensure each addition is mostly incorporated before adding the next. If needed, stop a few times and scrape down the sides of the bowl.
- Once all of the sugar is added, scrape down the mixing bowl and mix on medium-low speed for one more minute. The mixture should have a consistency similar to playdough – firm enough to shape but still pliable. If it’s too sticky, mix in a tablespoon of powdered sugar at a time until the right consistency is achieved.
- If using, divide the mixture between several different bowls, add your desired gel food coloring to each, and mix until fully combined. If necessary, you can lightly dust your hands with powdered sugar and work the food coloring into the dough by hand. Remember to tightly cover any colored dough you aren’t immediately working with plastic wrap to prevent it from drying out.
- Starting with the first color, scoop teaspoon-sized balls of the mixture and place them onto the prepared baking sheets. Quickly roll each portion into a smooth ball using your hands. Dip a fork in powdered sugar, then gently press each ball down with the tines of the fork to create an indentation. Repeat this process with the remaining colors until all the dough has been shaped.
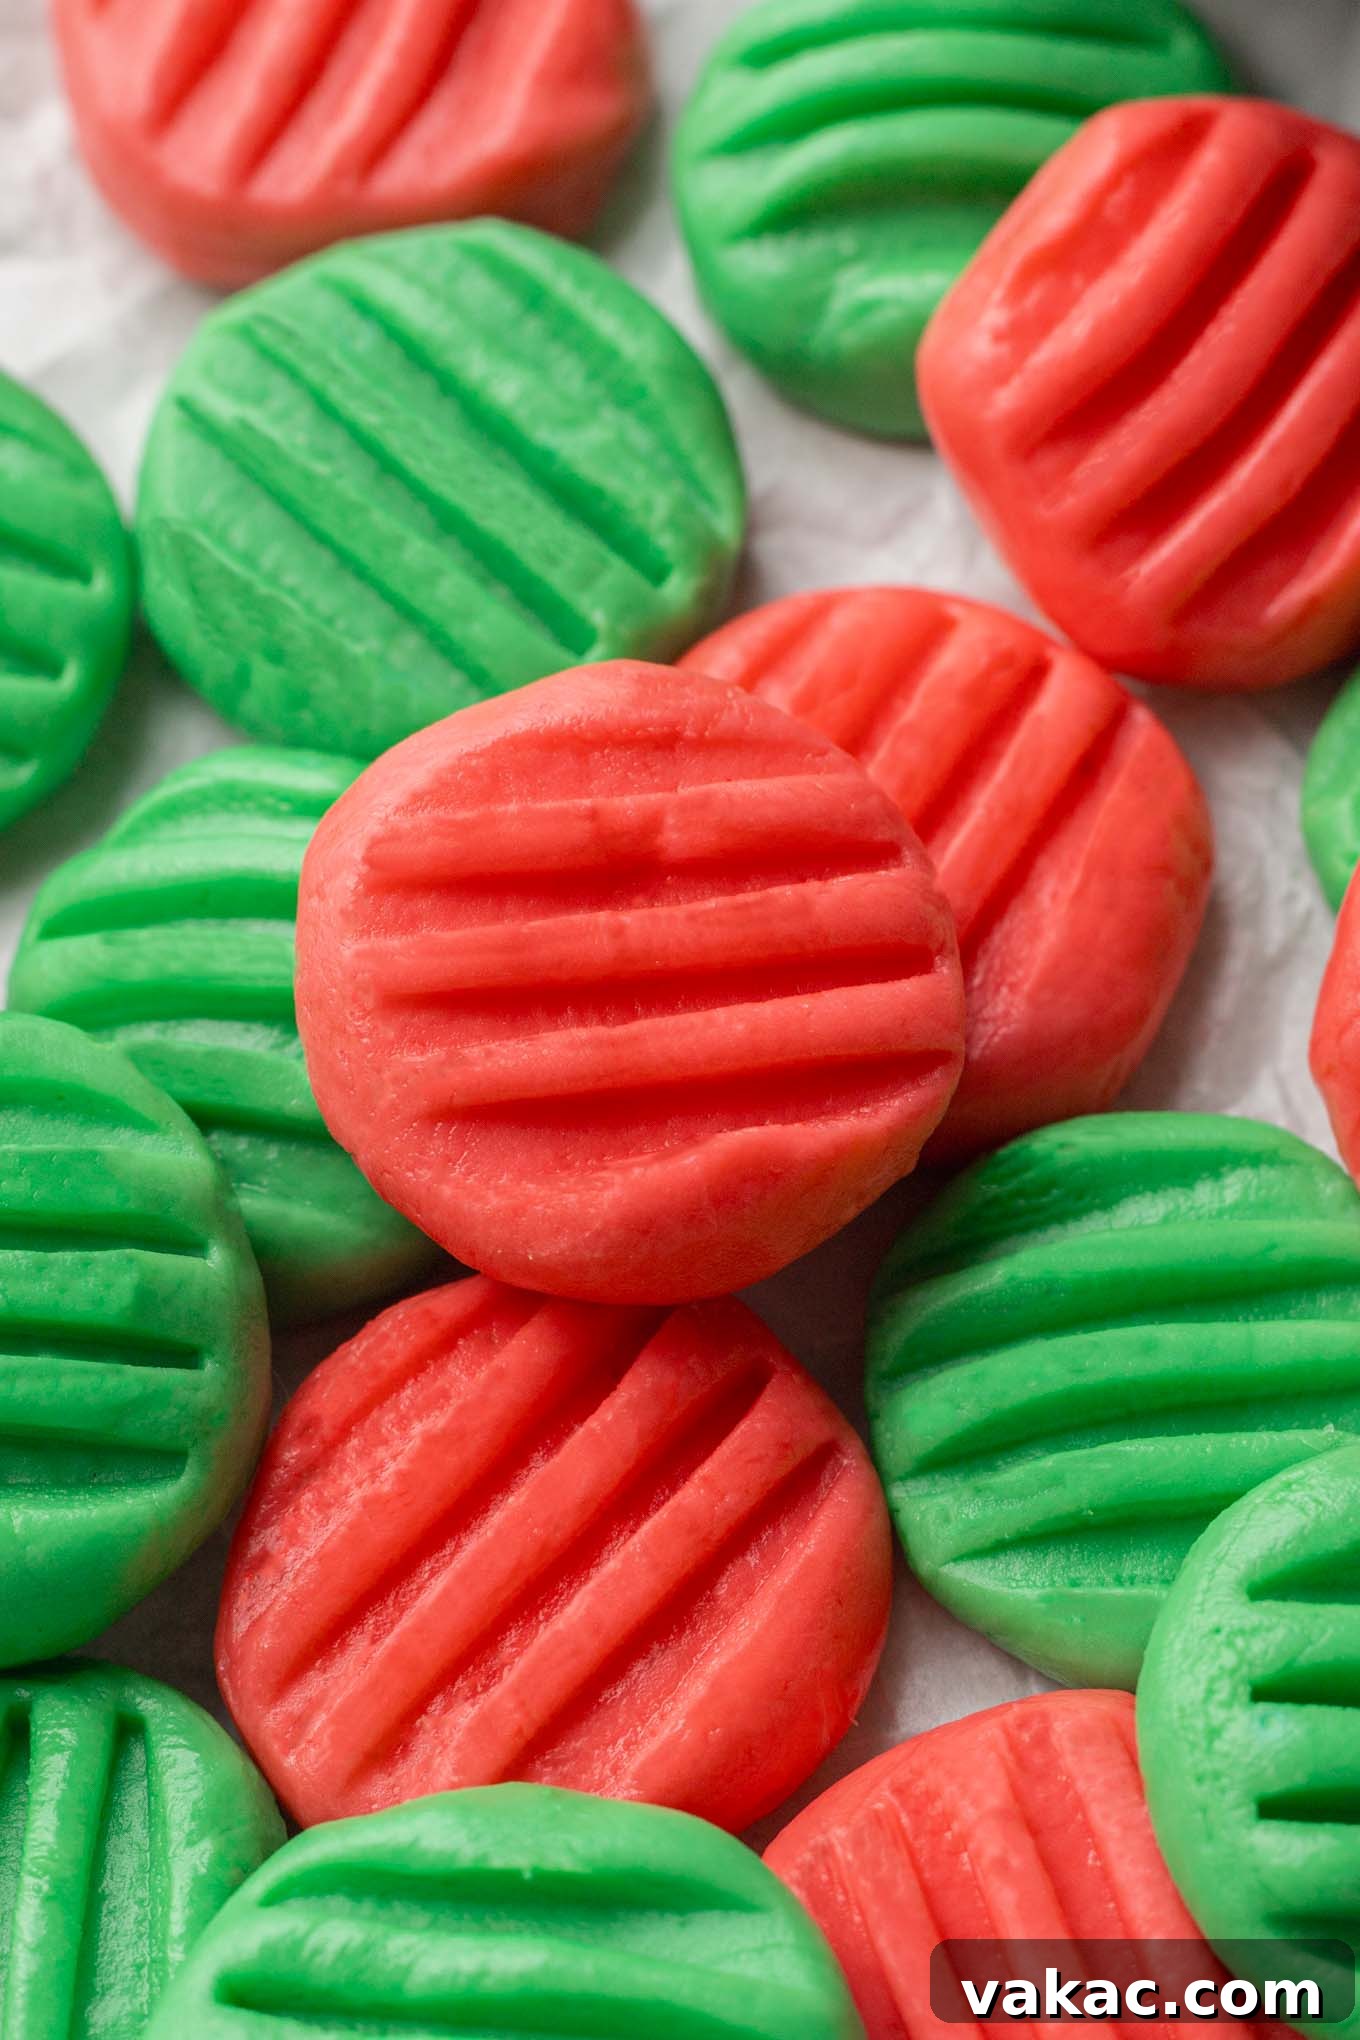
- Allow the mints to air dry at room temperature for 2 to 3 hours. If the bottoms still feel soft, gently flip them over and let them dry for another hour.
- Once the mints have dried sufficiently, store them in an airtight container in the fridge until ready to serve.
Notes:
- Storage Instructions: Cream cheese mints may be stored in an airtight container in the fridge for up to one week.
- Freezing Instructions: These mints freeze exceptionally well for up to 3 months. Store them in a large freezer bag, separating layers with parchment paper to prevent sticking. Thaw overnight in the fridge before serving.
Cuisine: American
Course: Dessert
Author: Danielle Rye