
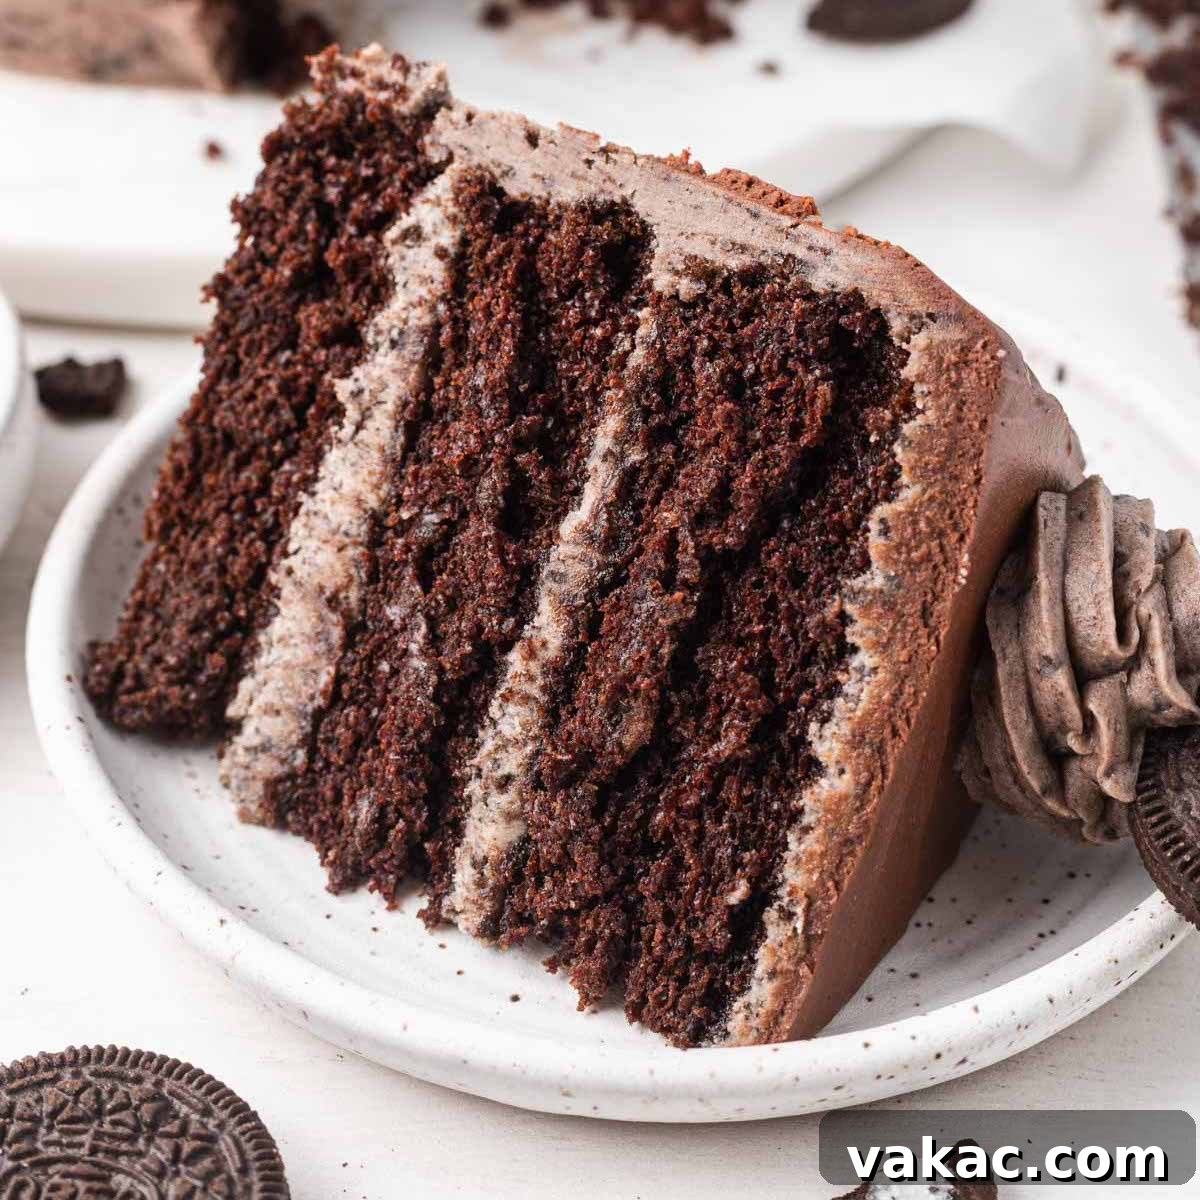
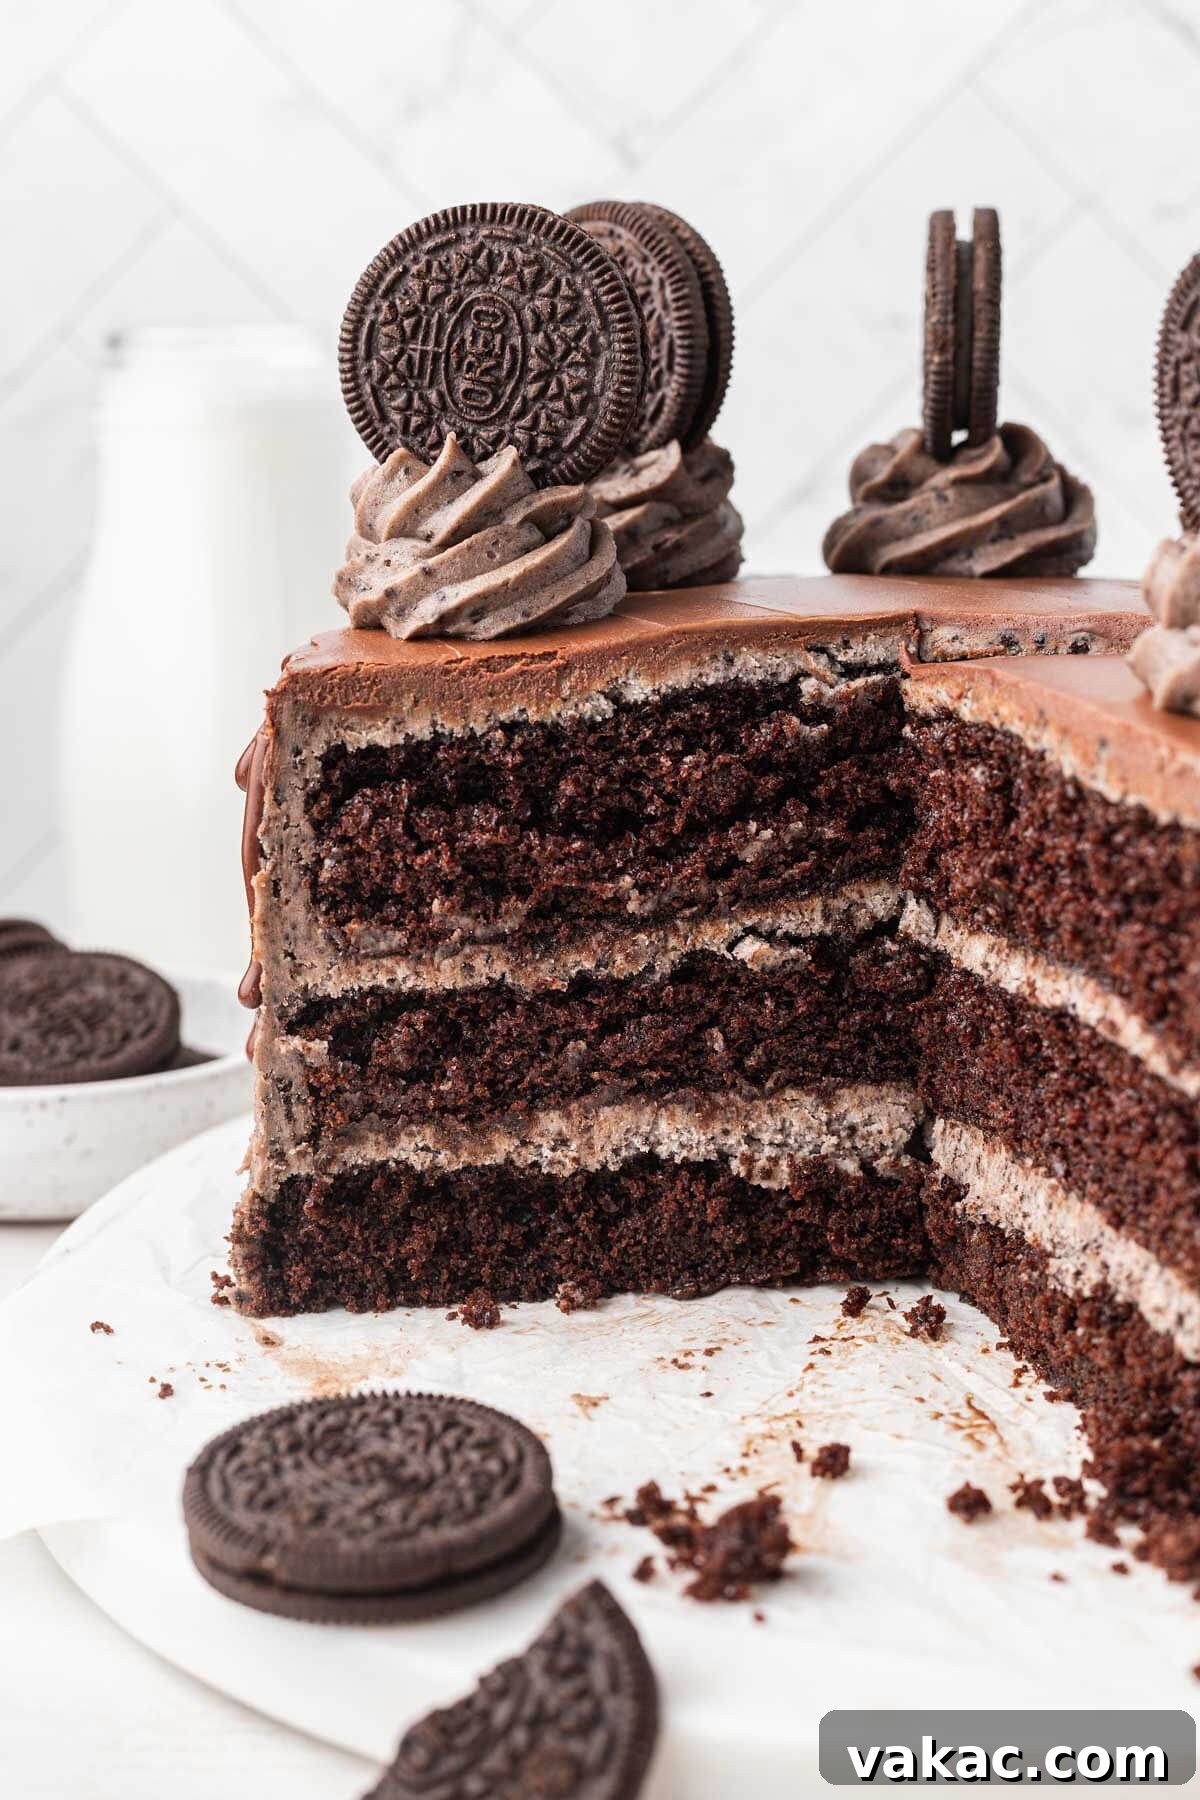
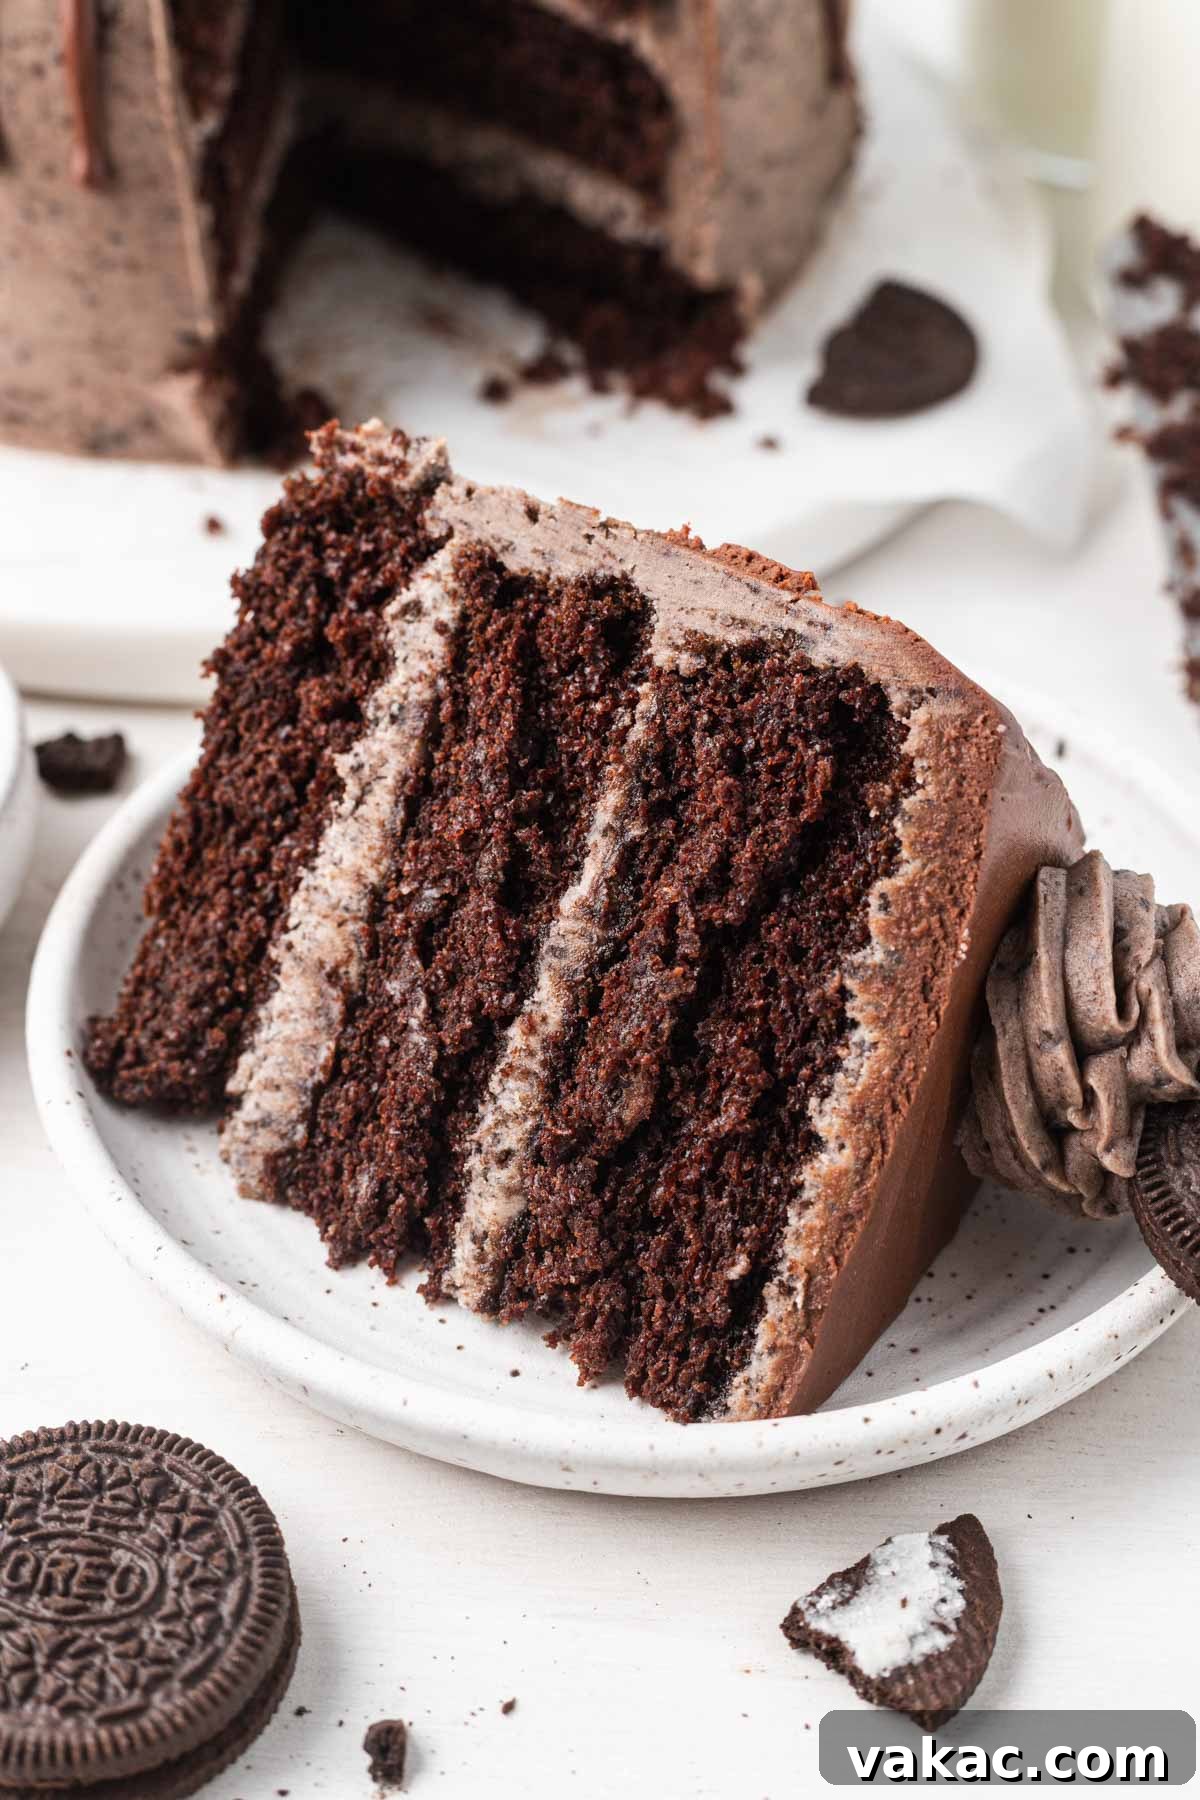
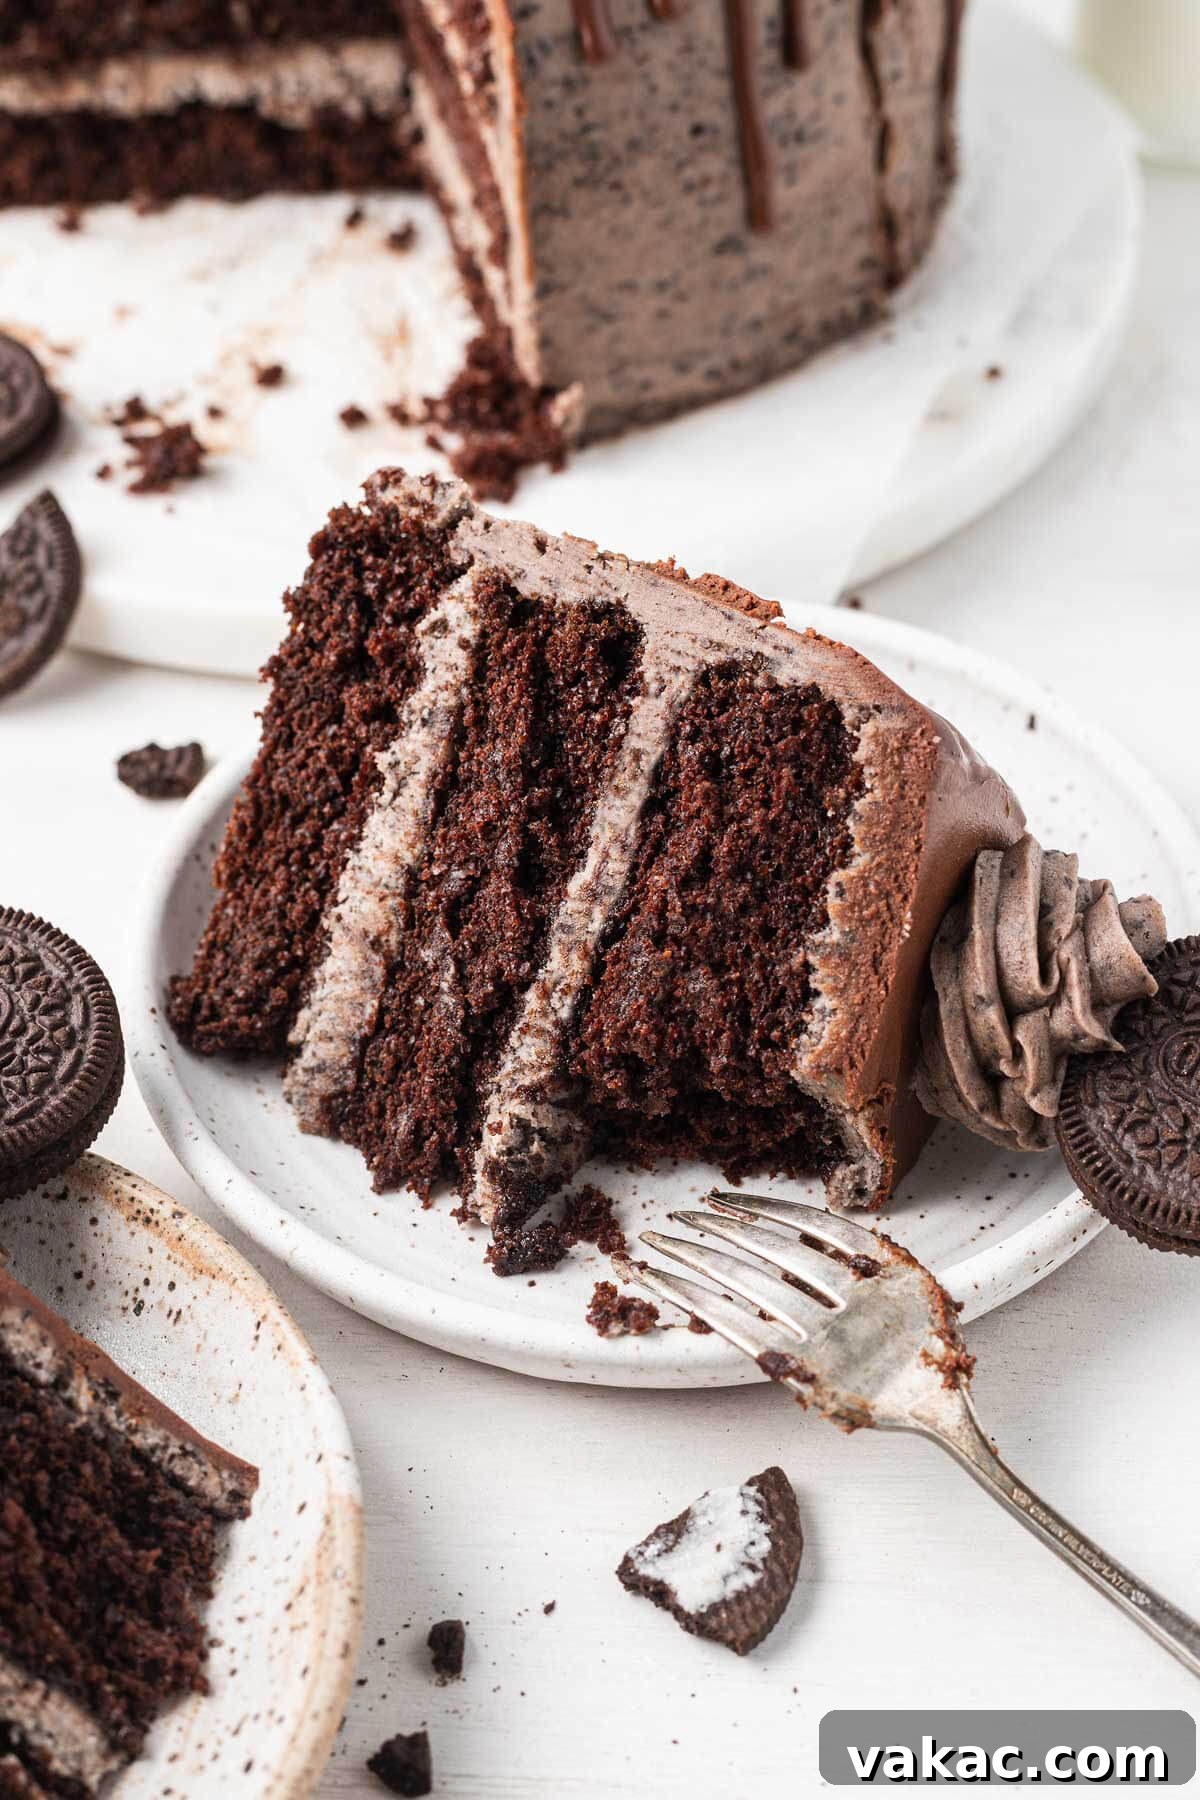
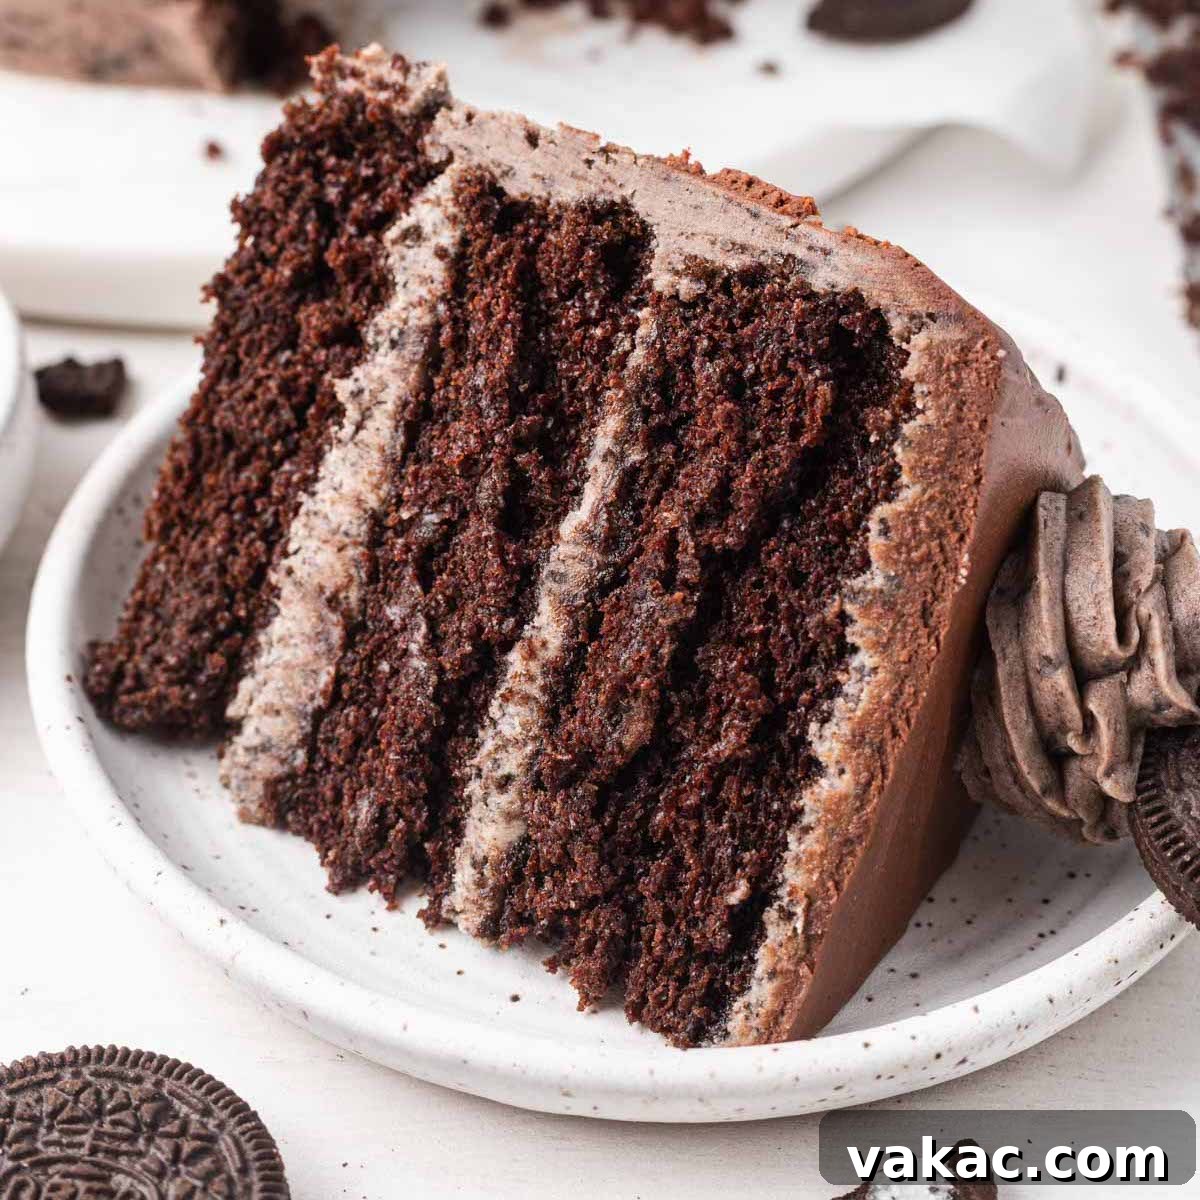
Welcome, fellow dessert enthusiasts and devoted Oreo lovers! Prepare to embark on a delectable journey with this show-stopping Oreo cake recipe. This isn’t just any cake; it’s a celebration of rich, deep chocolate harmoniously blended with the irresistible crunch and creamy sweetness of America’s favorite cookie. Imagine slicing into a beautifully layered creation, revealing moist chocolate cake embraced by a luscious Oreo buttercream frosting, all crowned with an elegant chocolate ganache drip and, of course, more Oreos. Whether you’re planning a birthday bash, a special anniversary, or simply seeking to elevate your weekend baking, this impressive yet surprisingly easy-to-make cake promises to be the star of any occasion. It’s a dessert that not only looks incredible but delivers an unforgettable taste experience, satisfying even the most intense chocolate and Oreo cravings.
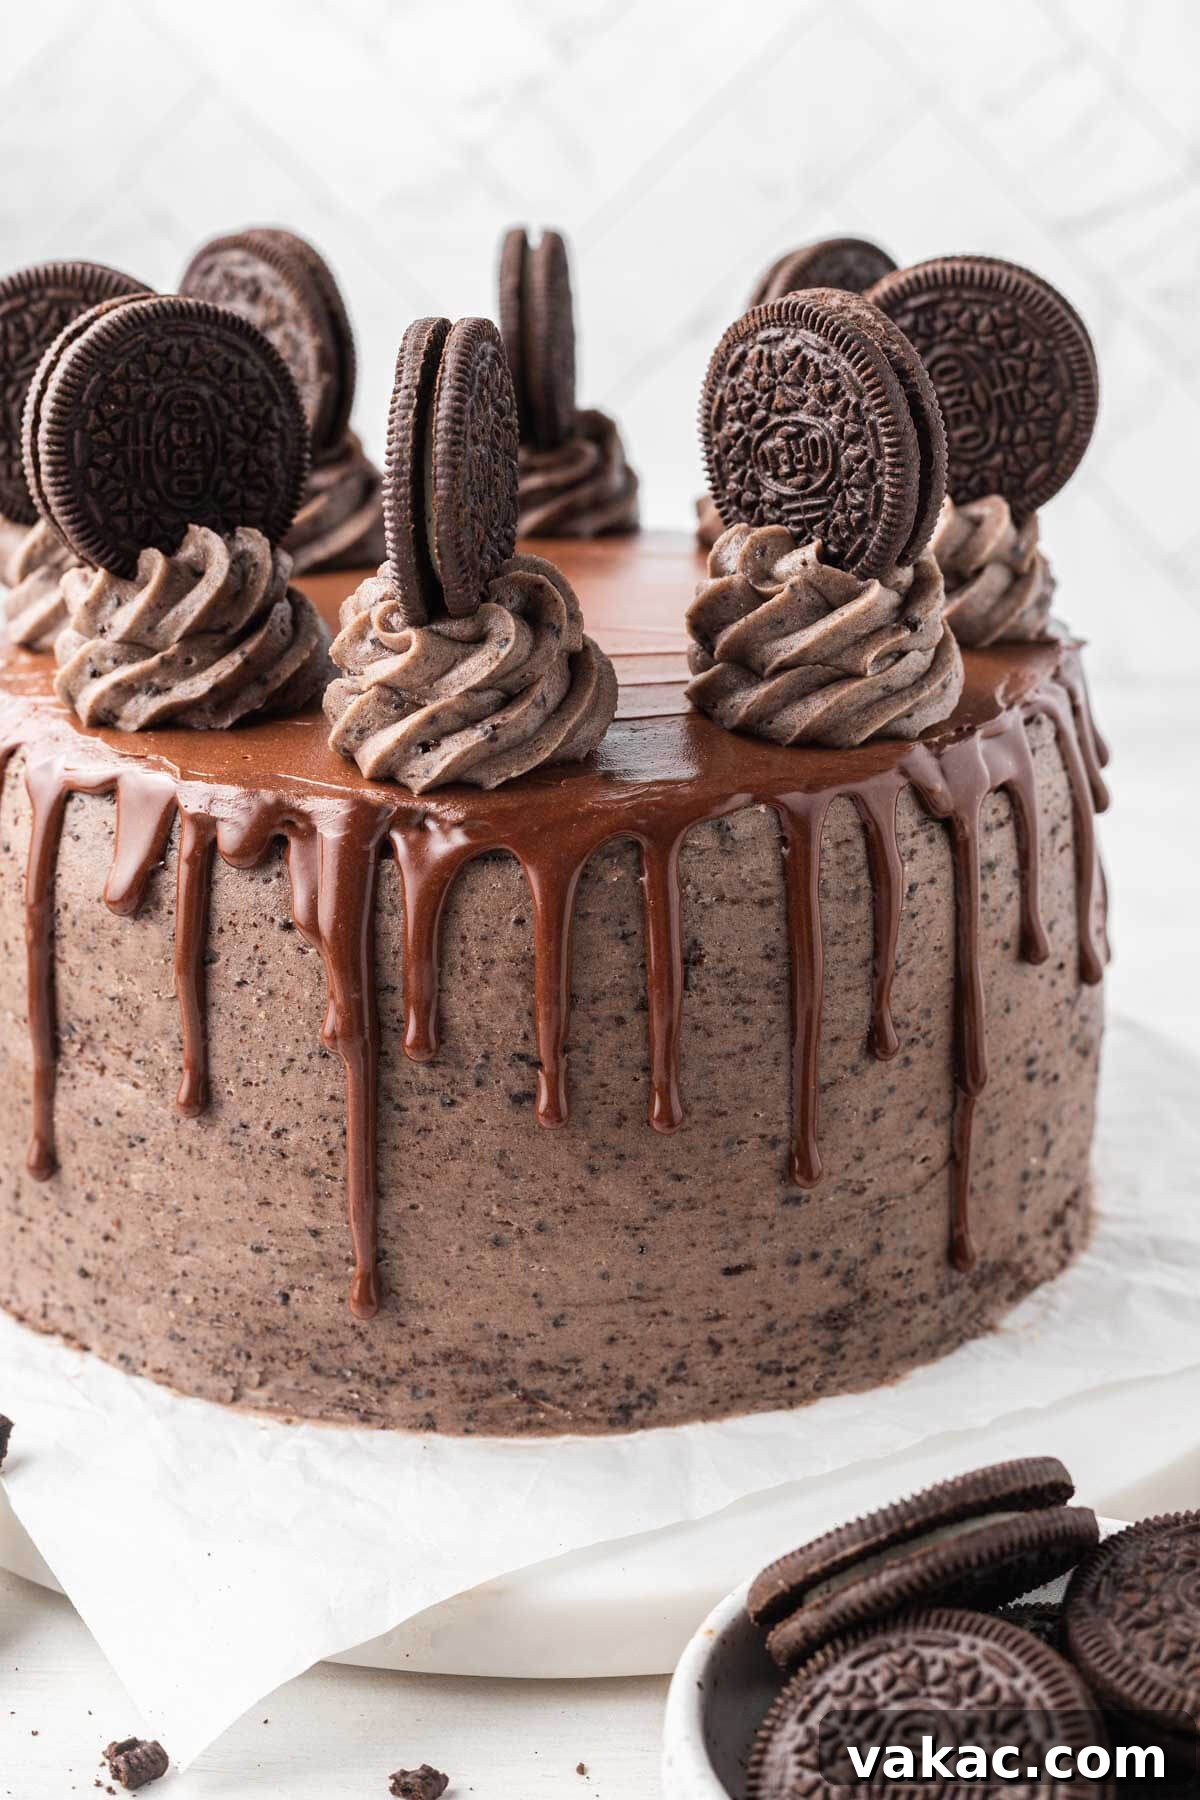
For those who consider themselves true Oreo connoisseurs, this recipe is crafted specifically for you. It’s a bold and incredibly rich cake that doesn’t shy away from flavor. The foundation of this masterpiece lies in its chocolate cake layers, meticulously crafted with buttermilk to ensure unparalleled moisture and a tender, melt-in-your-mouth crumb. This secret ingredient is key to achieving a cake that’s both robust in flavor and delightfully soft in texture.
But what truly makes this an Oreo cake is, of course, the extraordinary Oreo buttercream frosting. This isn’t just a hint of Oreo; it’s a full-bodied embrace, incorporating a generous twenty regular Oreos (filling and all!) into its velvety depths. And because we believe a chocolate cake can always benefit from an extra touch of chocolatey decadence, we’ve included an optional but highly recommended chocolate ganache drip. This glossy, bittersweet finish not only adds another layer of flavor but also elevates the cake’s visual appeal, turning it into a true showstopper. Get ready to bake a cake that will be talked about long after the last crumb is gone!
Essential Ingredients for Your Ultimate Oreo Cake
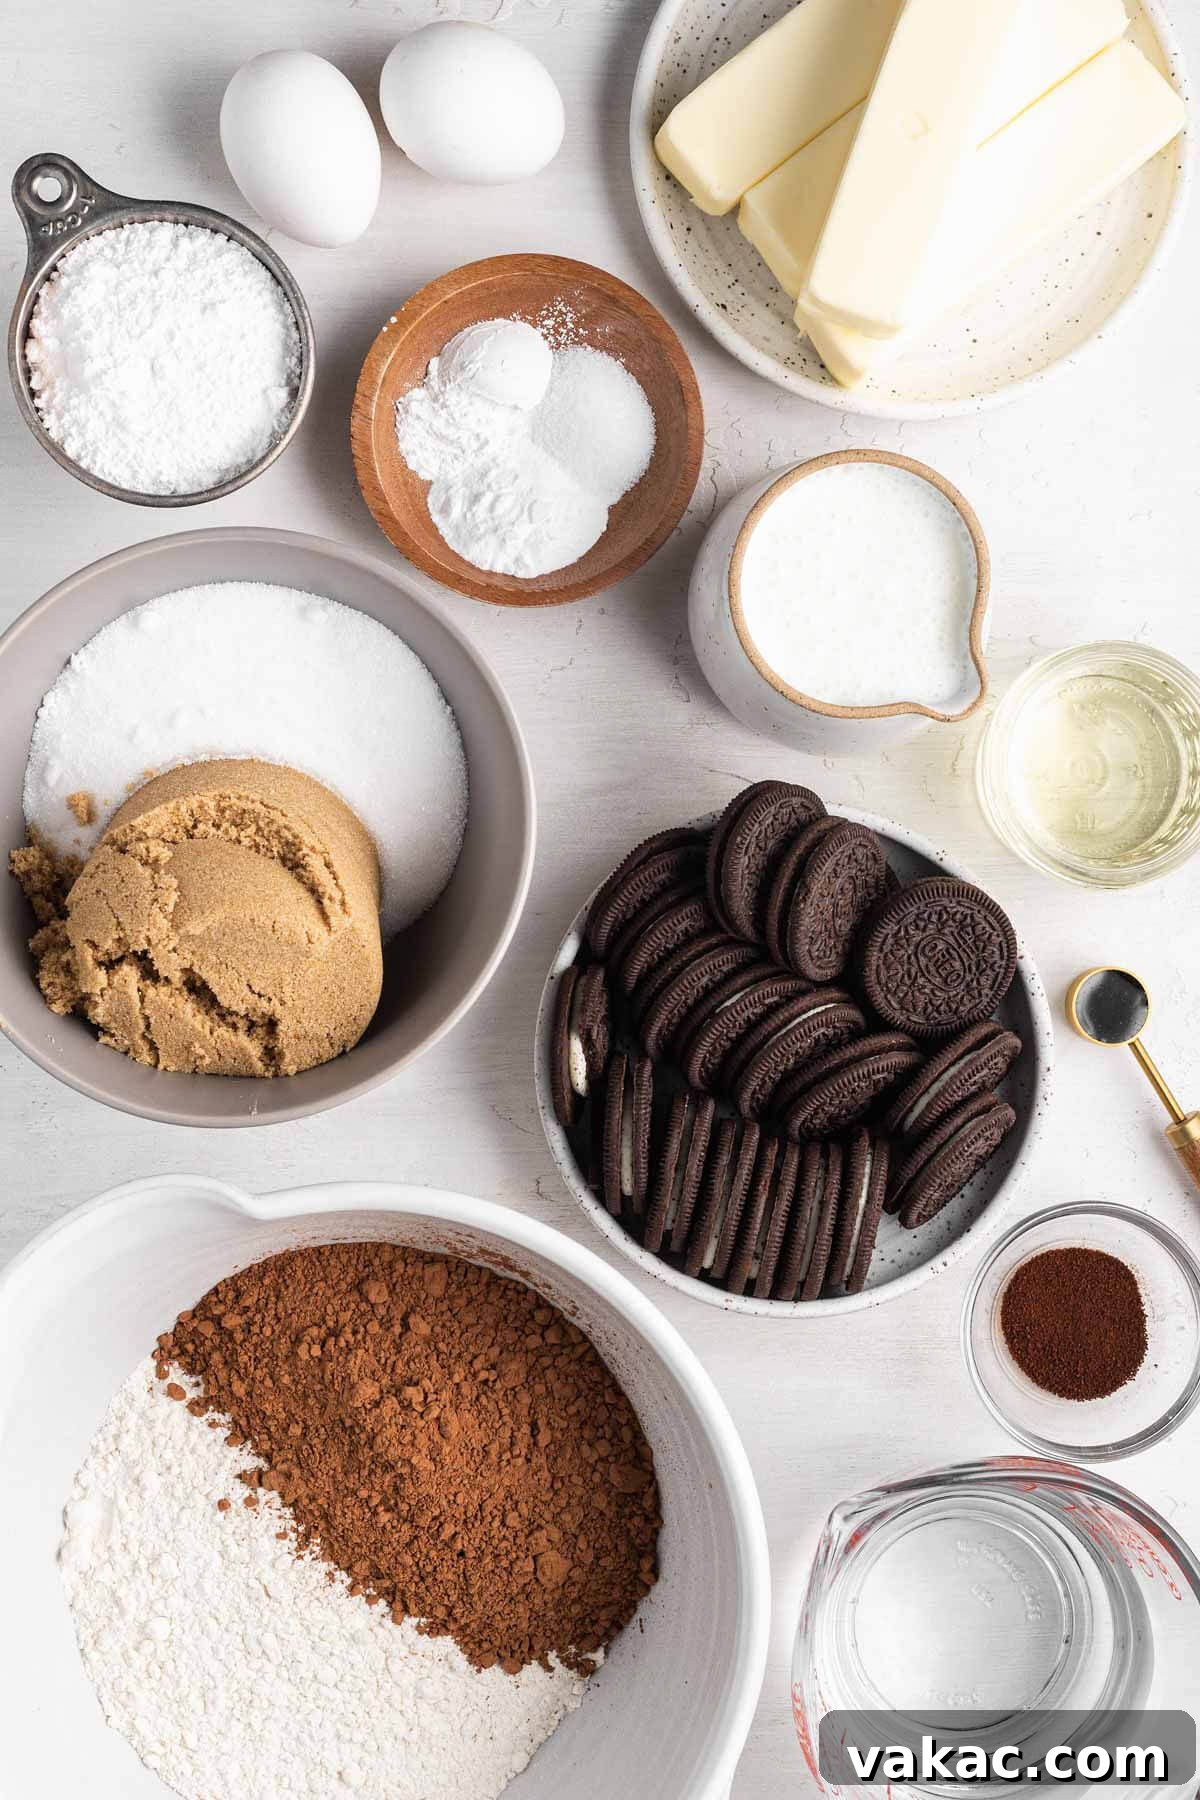
While the ingredient list for this decadent Oreo cake might seem extensive at first glance, don’t be intimidated! Many of these items are likely staples in your pantry already. We’ll walk you through the key components, explaining their role in creating the perfect moist chocolate cake layers and the irresistible Oreo buttercream frosting. Understanding each ingredient will not only make the baking process smoother but also help you appreciate the science behind a truly amazing dessert.
- All-Purpose Flour: The structural backbone of our cake. Ensure you spoon and level your flour for accuracy. Too much flour can lead to a dense, dry cake, so precision here is important for that delicate crumb.
- Unsweetened Natural Cocoa Powder: This is where the rich chocolate flavor of our cake comes from. Natural cocoa powder is acidic and reacts with baking soda to help the cake rise, creating a light and airy texture. Avoid using Dutch-processed cocoa powder for this recipe, as it’s less acidic and won’t interact properly with the baking soda, potentially affecting the cake’s rise and overall texture.
- Baking Soda & Baking Powder: These leavening agents are crucial for a light and fluffy cake. Baking soda reacts with the acidic buttermilk and cocoa powder, while baking powder provides an extra lift, ensuring a beautiful rise and tender crumb.
- Salt: A pinch of salt is vital in any baking recipe. It balances the sweetness, enhances the chocolate flavor, and brings out the depth of all the other ingredients. Don’t skip it!
- Granulated Sugar & Light Brown Sugar: A combination of sugars provides both sweetness and moisture. Granulated sugar offers sweetness and helps tenderize the cake, while brown sugar adds a subtle caramel note and contributes to the cake’s moistness and rich flavor.
- Canola or Vegetable Oil: Using oil instead of butter in the cake batter ensures a super moist cake that stays tender for longer. Oil is 100% fat, whereas butter contains water, which can contribute to a drier crumb. It also helps achieve a fine, soft texture.
- Buttermilk: The unsung hero for a soft and tender crumb, buttermilk is indispensable for a truly moist chocolate cake. Its acidity reacts with the baking soda, creating air pockets that result in a light texture. If you don’t have buttermilk on hand, don’t fret! You can easily make a quick substitute by adding 1 tablespoon of white vinegar or lemon juice to a measuring cup and filling the rest with whole milk until it reaches 1 cup. Let it sit for 5-10 minutes until it slightly curdles.
- Large Eggs: Eggs serve multiple purposes: they bind the ingredients together, provide structure, add moisture, and contribute to the richness and flavor of the cake. Ensure they are at room temperature for better emulsification with other ingredients.
- Pure Vanilla Extract: A touch of vanilla enhances and complements the chocolate flavor, adding a layer of aromatic depth to the cake.
- Boiling Water: This might seem unusual, but boiling water blooms the cocoa powder, intensifying its chocolate flavor and ensuring a deep, rich color. It also helps create a thin batter, which can contribute to a more tender cake.
- Instant Espresso Powder: While optional, this ingredient is highly recommended. It doesn’t make the cake taste like coffee; instead, it subtly amplifies and deepens the chocolate flavor, making it taste even more luxurious. If you choose to omit the espresso powder, you’ll still need to add the boiling water to the batter.
- Unsalted Butter (Softened): For the buttercream frosting, unsalted butter is key. Using softened butter ensures a smooth, creamy frosting that’s easy to whip and spread. Make sure it’s at room temperature – not melted, not cold.
- Powdered Sugar (Confectioners’ Sugar): This finely milled sugar is essential for a smooth, lump-free buttercream. Its powdery texture dissolves easily, creating a silky consistency.
- Heavy Cream: Makes for an even richer, creamier frosting. Heavy cream adds body and a luxurious mouthfeel. If desired, you can substitute with whole milk, but heavy cream will yield a more decadent result.
- Oreos: The star of our show! You’ll need about 20 regular Oreos to create the iconic flavor and texture in the buttercream. And here’s a crucial tip: use the entire cookie, filling and all. There’s no need to scoop out the cream beforehand; it only adds to the deliciousness and creaminess of the frosting. For the best results, finely crush them in a food processor or blender.
- Semi-Sweet Chocolate (for Ganache): High-quality semi-sweet chocolate, finely chopped, is essential for a smooth, glossy ganache. Chopping it finely helps it melt evenly when combined with hot cream.
How to Craft Your Dream Oreo Cake: A Step-by-Step Guide
Creating this magnificent Oreo cake involves three main components: baking the moist chocolate cake layers, preparing the luscious Oreo buttercream frosting, and, if you desire an extra touch of elegance, making the chocolate ganache drip. Patience is key, especially when it comes to cooling. Remember, completely cooled cake layers are paramount to a perfectly assembled cake. Rushing this step will lead to melted frosting and a messy result.
Part 1: Baking the Moist Chocolate Cake Layers
- Preparation is Key: Begin by preheating your oven to 350ºF (180°C). This ensures your oven is at the correct temperature for even baking. Next, meticulously prepare three 8-inch round cake pans. Generously grease each pan, then line the bottom with parchment paper. This crucial step prevents sticking and makes for easy cake removal. Set them aside, ready for the batter.
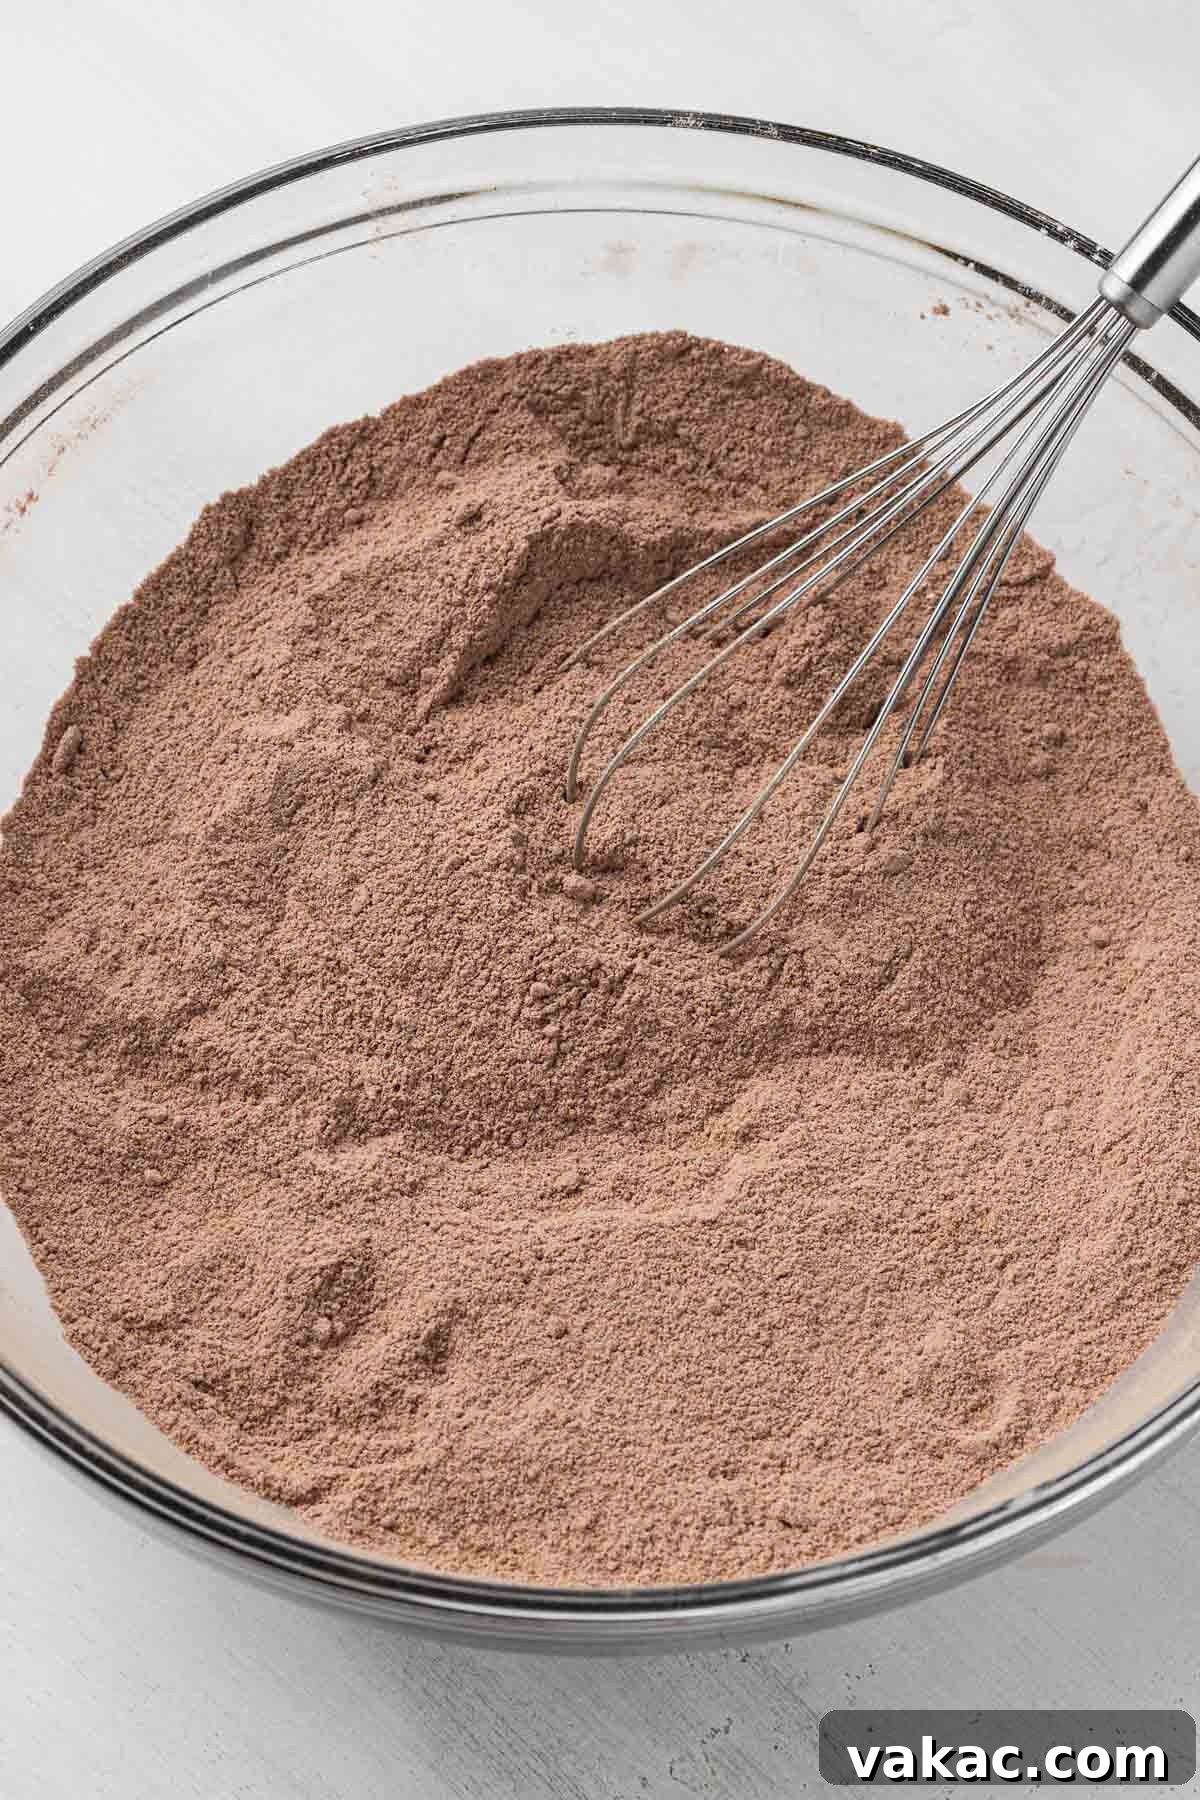
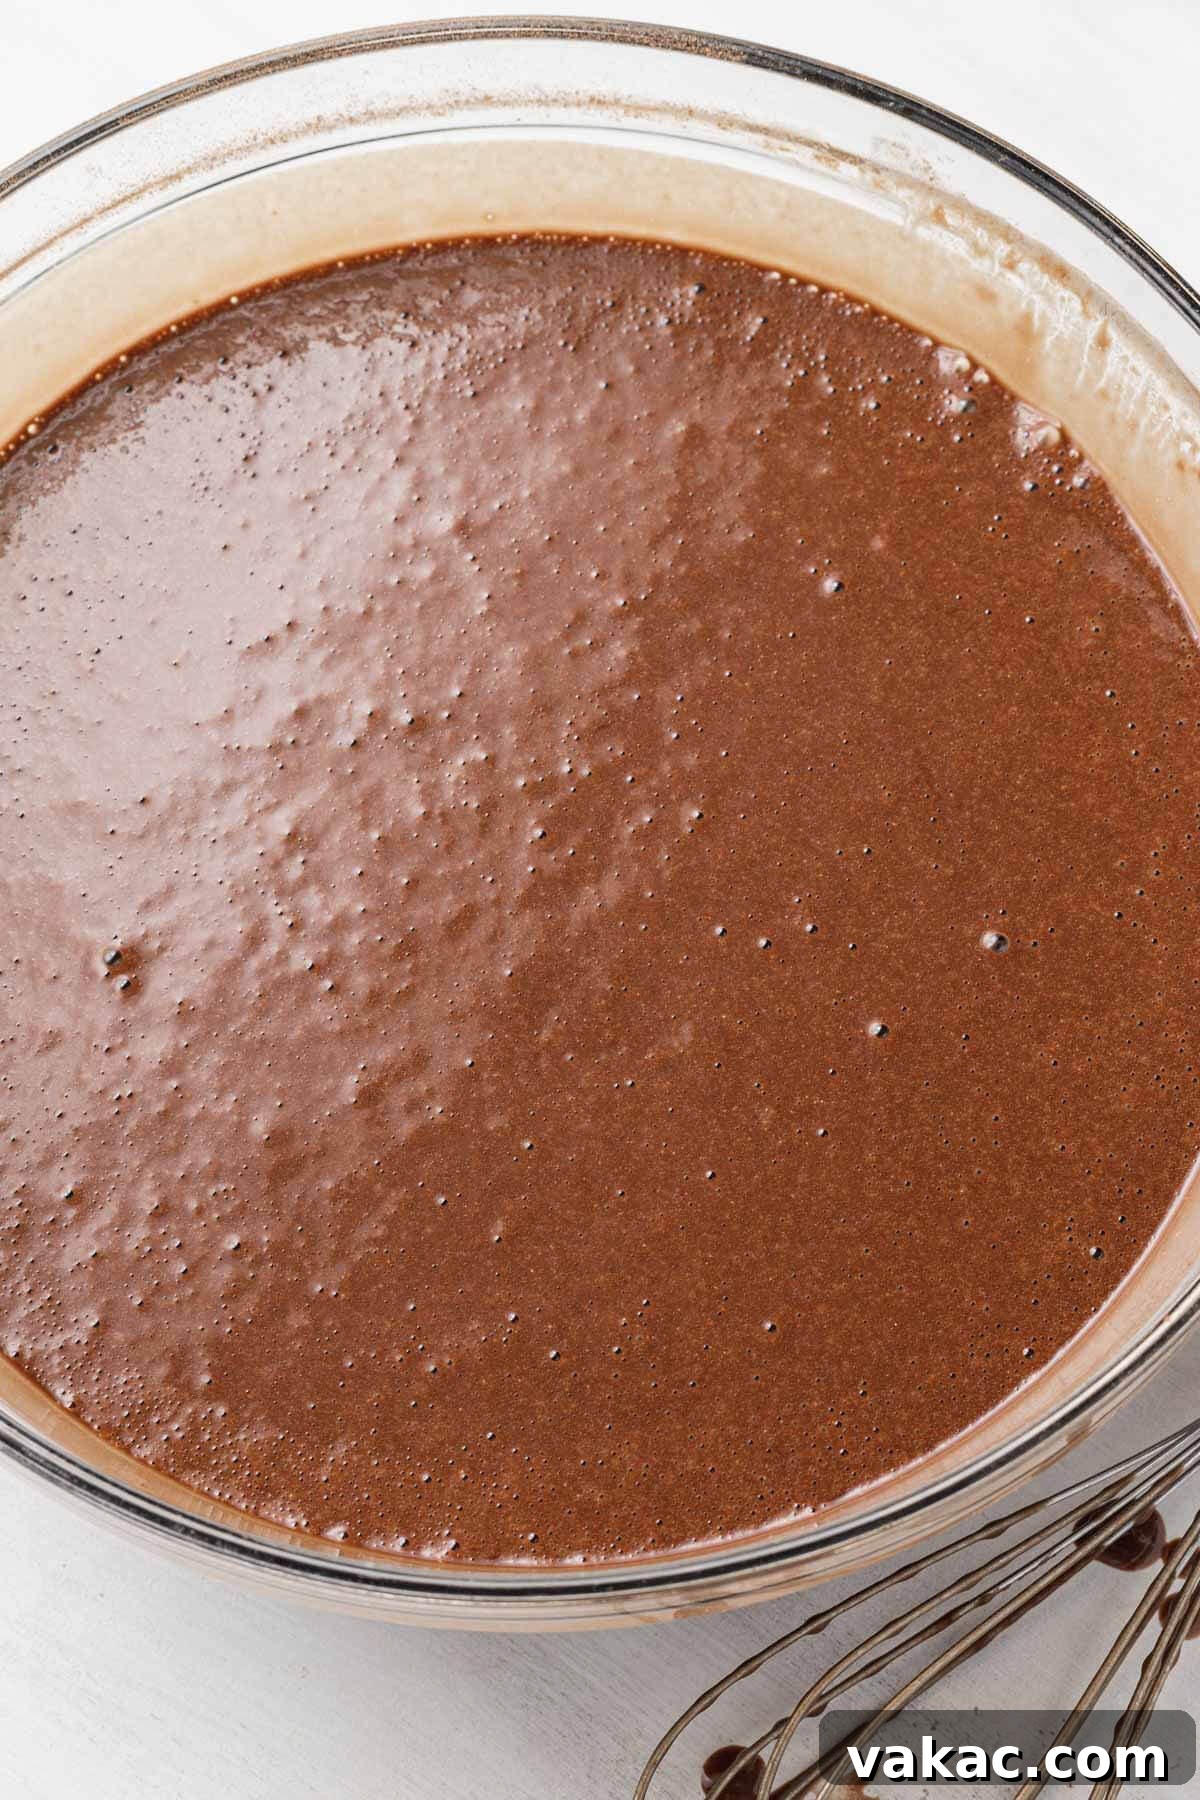
- Crafting the Chocolate Batter: In a large mixing bowl, start by sifting together all your dry ingredients: the all-purpose flour, unsweetened natural cocoa powder, baking soda, baking powder, and salt. Sifting helps to aerate the mixture and prevent lumps, ensuring a smooth cake batter. Once sifted, whisk in both the granulated sugar and packed light brown sugar until they are thoroughly combined with the dry ingredients. In a separate bowl, combine the wet ingredients: canola or vegetable oil, buttermilk, large eggs, and pure vanilla extract. Whisk these together until smooth. Gradually add the wet ingredients to the dry mixture, mixing until just combined. At this point, the batter will be quite thick, almost resembling brownie batter.
- The “Secret” Ingredient: Next, dissolve the instant espresso powder (if using) into the cup of boiling water. Stir well until it’s completely dissolved. Carefully add this hot liquid to your cake batter and stir gently until everything is just combined and the batter becomes smooth. Don’t overmix; overmixing can lead to a tough cake. The batter will be noticeably thinner after adding the boiling water, which is perfectly normal and desired for a moist result.
- Baking to Perfection: Divide the thin batter evenly among your three prepared cake pans. You can use a kitchen scale for precision if you wish. Place the pans into your preheated oven and bake for 25 to 30 minutes. To test for doneness, insert a toothpick into the center of a cake layer; it should come out clean. The tops should also spring back gently when lightly touched.
- The Importance of Cooling: Once the cake layers are baked, remove them from the oven. Allow them to cool in their pans on a wire rack for about 20-30 minutes. This resting period helps the cakes firm up. After 20 minutes, run a thin knife around the edges of each pan, then carefully invert the cake layers onto the wire rack. Gently peel off the parchment paper from the bottoms. It is absolutely essential to let the cake layers cool completely to room temperature before you even think about frosting them. Warm cake plus cold frosting equals a sliding, melting disaster! You can even refrigerate them for an hour or two once fully cooled to make them easier to handle.
Part 2: Whipping Up the Dreamy Oreo Buttercream Frosting
After your chocolate cake layers have cooled completely and are ready for their sweet embrace, it’s time to create the star of the show: the rich and creamy Oreo buttercream frosting. This frosting is packed with flavor and texture, thanks to plenty of crushed Oreos.
- Creaming the Butter and Powdered Sugar: In the bowl of a stand mixer fitted with the paddle attachment (or using a large mixing bowl with a handheld electric mixer), begin by beating the softened unsalted butter on medium speed for about 1 minute. You want it to be light, fluffy, and completely smooth. Then, gradually add the powdered sugar. This frosting uses quite a substantial amount of sugar, so we recommend adding it in batches, about 2 cups (240 grams) at a time, mixing thoroughly after each addition. This helps prevent a sugar cloud in your kitchen and ensures the sugar is fully incorporated. Continue beating until the mixture is well combined and has a crumbly but soft texture.
- Adding the Liquid Gold and Flavor: Next, pour in the heavy cream (or whole milk, if substituting), pure vanilla extract, and a pinch of salt. Mix on medium speed until the frosting becomes incredibly light, fluffy, and creamy. Scrape down the sides of the bowl periodically to ensure all ingredients are well combined and there are no hidden pockets of unmixed butter or sugar.
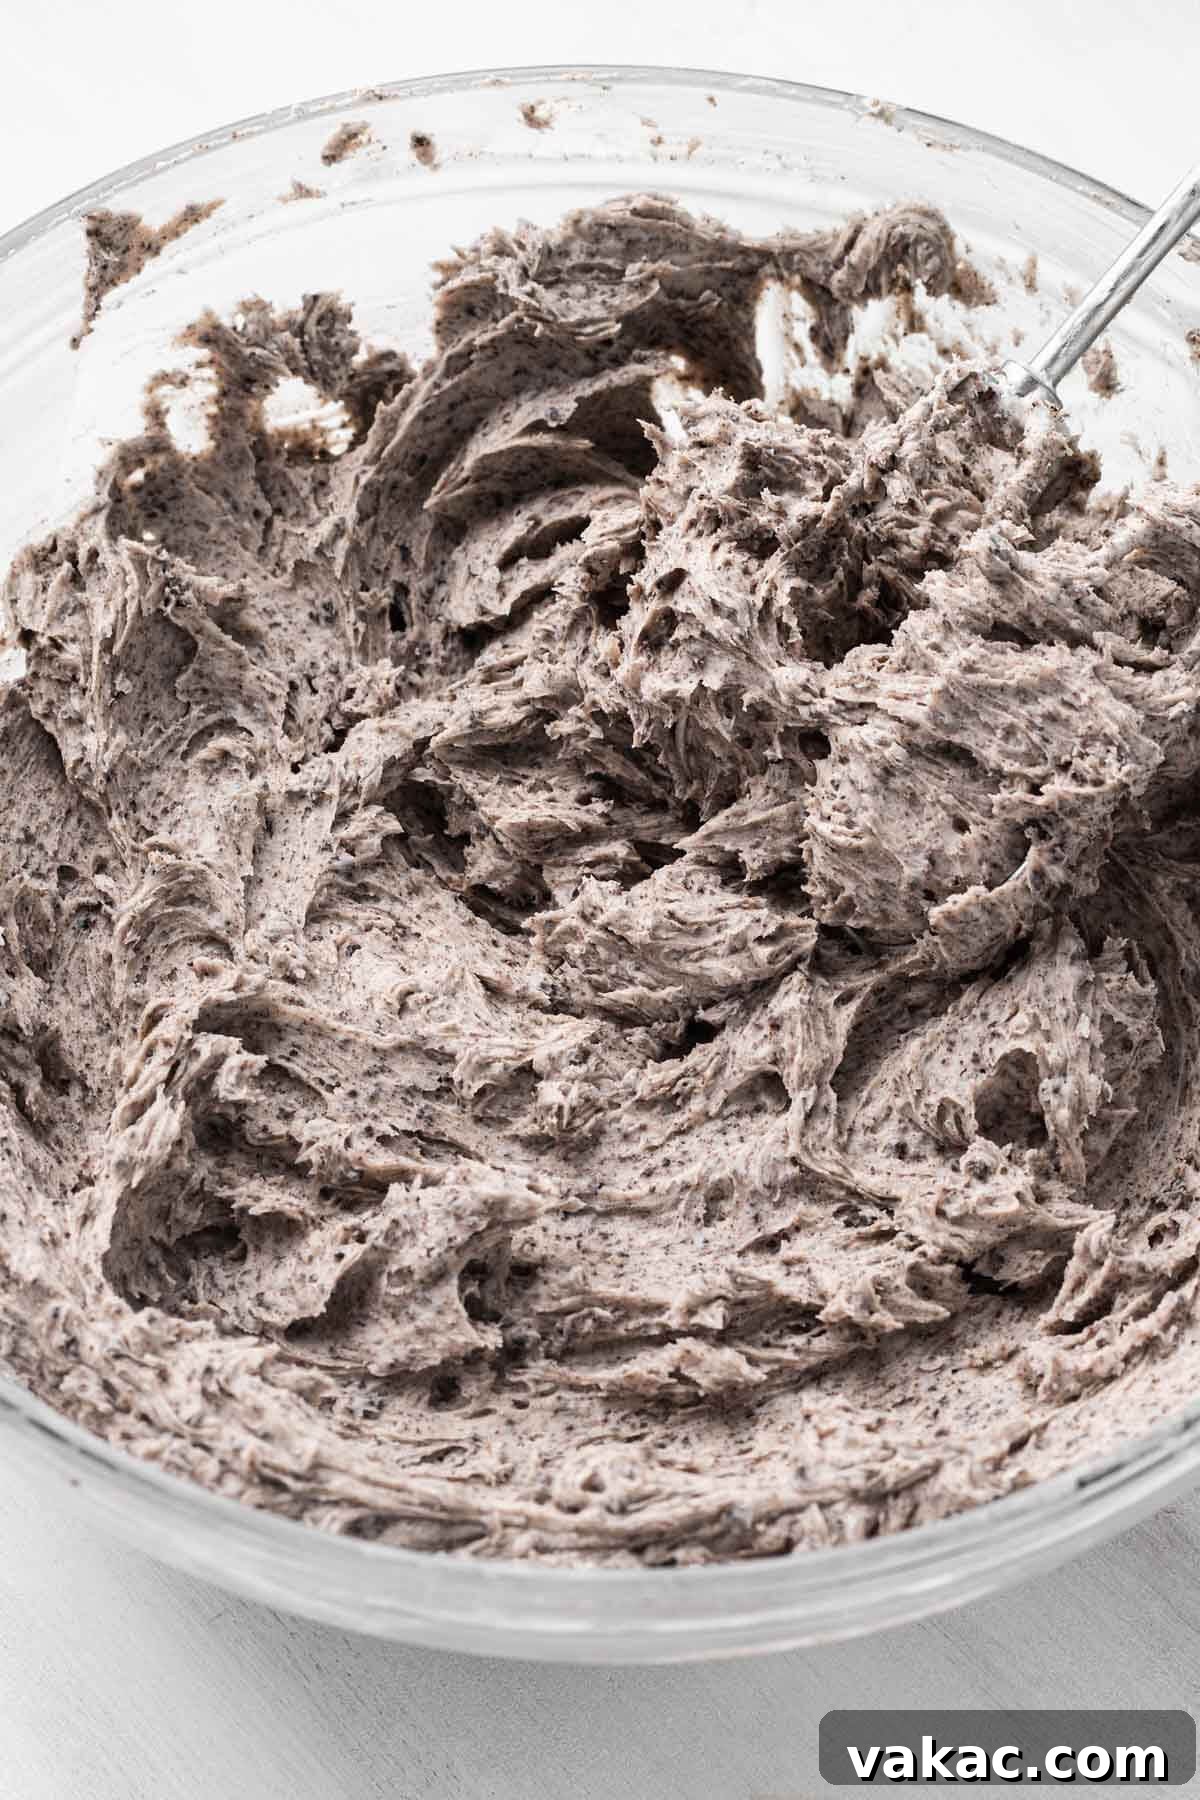
- The Oreo Grand Finale: Finally, it’s time for the star ingredient! Add the finely crushed Oreos to the buttercream. For the best texture, we highly recommend crushing your Oreos in a food processor or blender to achieve fine crumbs. Mix on low-medium speed until the Oreo crumbs are evenly distributed throughout the frosting. Be careful not to overmix at this stage; you want the texture of the crumbs without pulverizing them completely. The result will be a delightfully textured and intensely flavored Oreo buttercream that’s ready to transform your cake!
Part 3: Assembling Your Magnificent Layer Cake
With your perfectly cooled cake layers and rich Oreo buttercream ready, it’s time for the exciting part: assembling your show-stopping cake. A well-assembled cake is not only beautiful but also structurally sound. Take your time with each step for a professional finish.
- Leveling for Perfection: Before you begin stacking, we highly recommend leveling the tops of each cake layer. Cake layers often dome slightly during baking. A level cake ensures even layers and a stable structure. You can achieve this with a serrated knife or a specialized cake leveler. For best results, chill the leveled cake layers in the refrigerator for 15-20 minutes, which makes them firmer and easier to work with.
- Securing Your Foundation: To prevent your cake from sliding around during frosting, place a small dollop (about a tablespoon) of frosting onto the center of your cardboard cake round or directly onto your cake stand. This acts as a delicious “glue” to anchor the first layer.
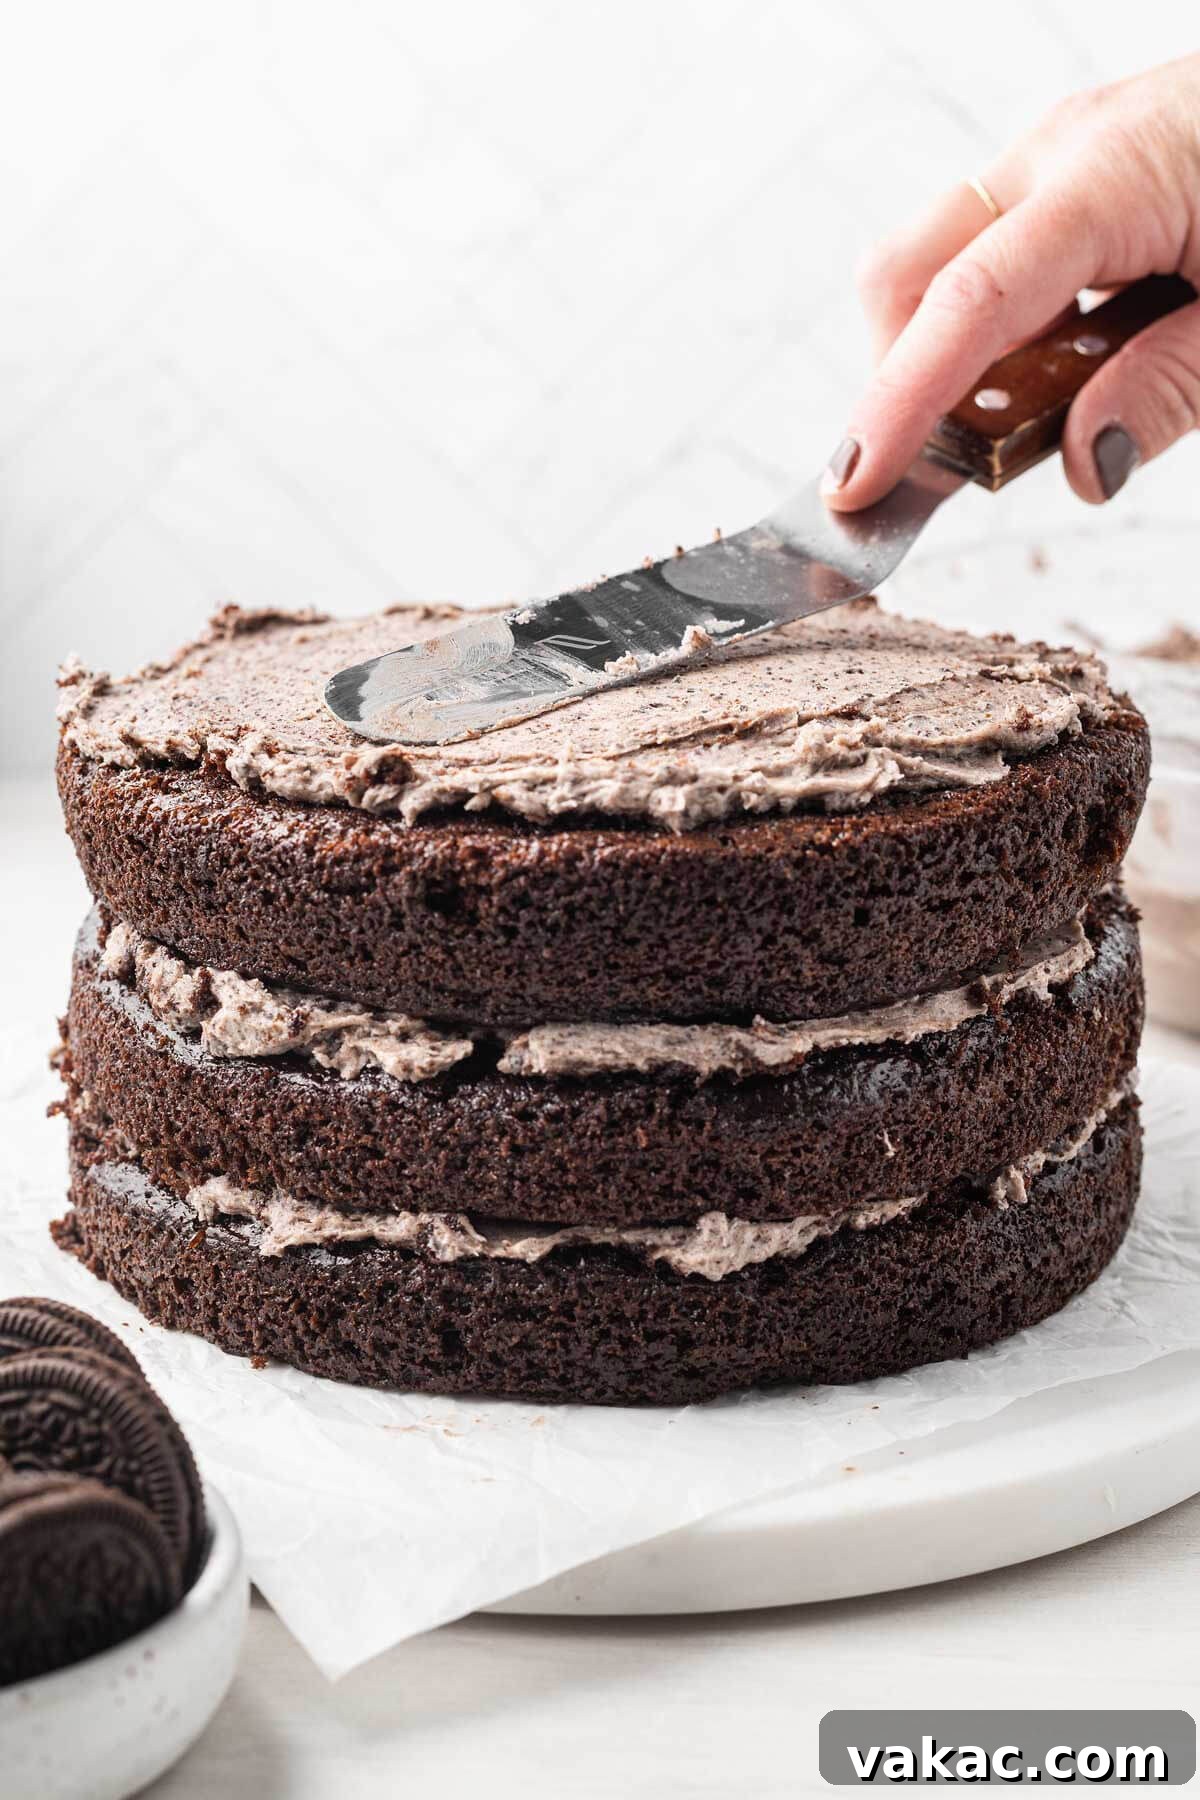
- First Layer & Frosting: Carefully place the first leveled cake layer in the center of your prepared cake stand, pressing gently to secure it to the frosting dollop. Scoop roughly ¾ cup to 1 cup of the Oreo buttercream frosting onto this first layer. Using an angled spatula or the back of a spoon, spread the frosting evenly across the top, ensuring it reaches the edges.
- Second Layer & Frosting: Place the second cake layer on top of the frosted layer. For a truly flat top, flip this layer upside down so that the bottom (which is usually flat) now faces upwards. Add another ¾ cup to 1 cup of frosting and spread it evenly, just as you did with the first layer.
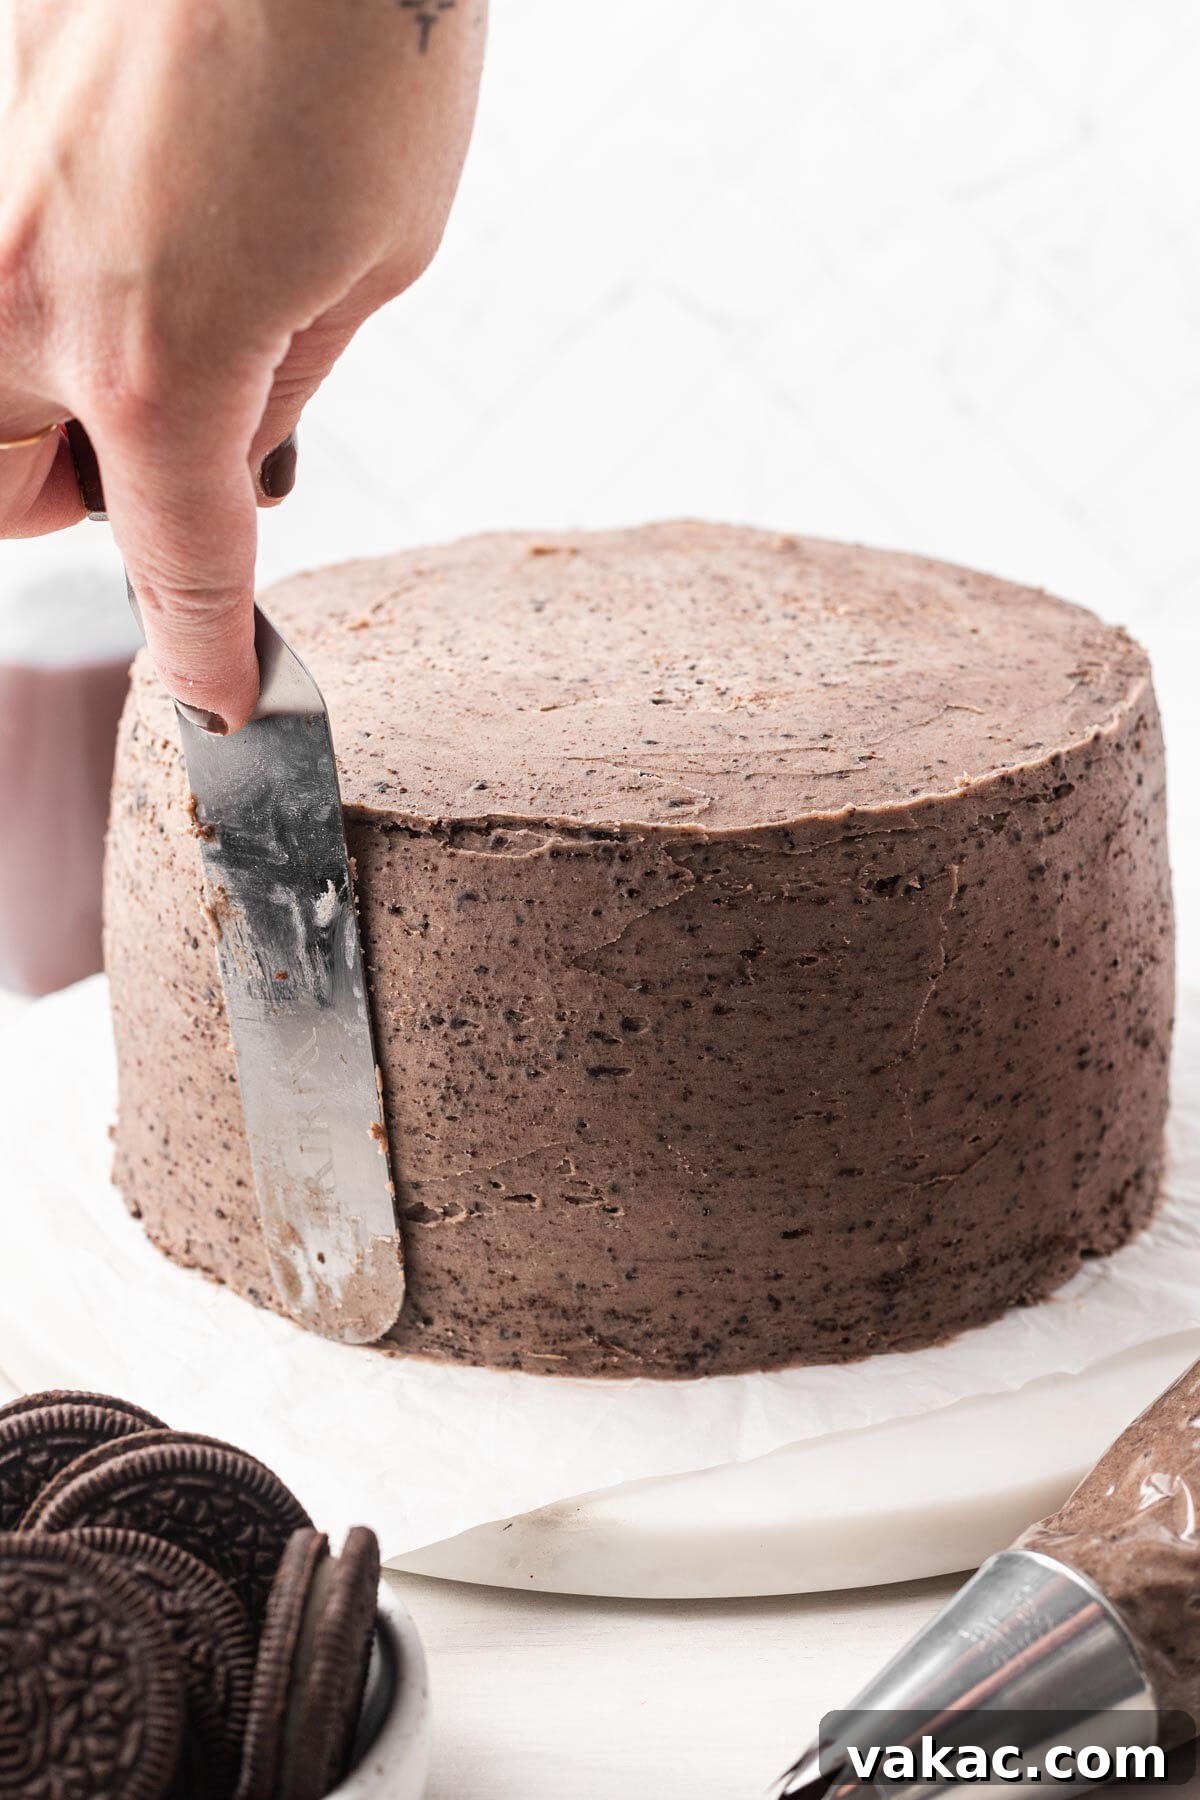
- Third Layer & Final Frosting: Repeat the layering process with the third and final cake layer, also placing it upside down to ensure a smooth top surface for your finished cake. Now, use the remaining frosting to meticulously frost the top and sides of your entire layer cake. An angled spatula is your best friend here, making it significantly easier to achieve smooth, even coverage. However, a regular knife can also work with a bit more patience and practice. If you plan to pipe additional decorations on top later, remember to reserve 1 to 1 ½ cups of frosting for that purpose.
- Chill Time is Crucial: Once the cake is fully frosted, place it in the refrigerator. Allowing the cake to chill for at least 30 minutes (or longer) helps the frosting set and firm up. This firm base is essential before attempting the chocolate ganache drip, ensuring clean, defined drips that don’t melt into the frosting.
Part 4: The Optional (But Highly Recommended) Chocolate Ganache Drip & Finishing Touches
Once your cake is beautifully frosted and sufficiently chilled, you’re ready to add the crowning glory: a luxurious chocolate ganache drip. This step, while optional, truly elevates the presentation and adds another layer of irresistible chocolate flavor. Remember, the chilled cake is essential for crisp, well-defined drips!
- Making the Ganache: For the ganache, place your finely chopped semi-sweet chocolate in a heatproof bowl. In a separate microwave-safe bowl (or a glass measuring cup), heat the heavy whipping cream in the microwave for 45 seconds to 1 minute, or until it’s simmering but not boiling vigorously. Keep a close eye on it to prevent it from bubbling over. Pour the hot cream over the chopped chocolate and let it sit undisturbed for 2 to 3 minutes. This allows the heat from the cream to melt the chocolate. After resting, start stirring slowly from the center of the bowl, gradually expanding your stirring motion outwards until the mixture transforms into a smooth, glossy, and beautifully combined ganache. For a more detailed guide on achieving the perfect consistency, refer to our post on how to make chocolate ganache here.
- Achieving the Perfect Drip Consistency: Set the ganache aside for 20 to 30 minutes, or until it has cooled to a pourable yet slightly thickened consistency. It should be warm to the touch but not hot. Test the consistency on the back of a spoon – it should coat the spoon and run off slowly. If it’s too thin, it will run straight down the cake; too thick, and it won’t drip at all.
- The Elegant Drip: Remove your chilled cake from the refrigerator. Carefully transfer the ganache into a piping bag with a small tip snipped off, or a squeeze bottle for better control. Alternatively, you can use a small spoon. Begin by gently applying the ganache around the top edge of the cake, allowing it to naturally drip down the sides. Adjust the amount of ganache at each drip point to create varying lengths for a more organic look. Once you’ve created your desired drips, pour the remaining ganache over the top of the cake and spread it smoothly with an offset spatula or the back of a spoon, creating an even, glossy layer.
- Garnish and Serve: Allow the ganache to firm up slightly in the refrigerator for about 10-15 minutes. Once set, retrieve any reserved Oreo buttercream frosting. Pipe decorative dollops or swirls around the top edge of the cake using a piping bag fitted with your favorite star tip. To complete this masterpiece, nestle a whole Oreo cookie into each swirl of frosting, or arrange them artfully on top for a truly irresistible finish. Your show-stopping Oreo cake is now ready to be admired and devoured!
Frequently Asked Questions About Your Oreo Cake
Baking can sometimes lead to questions, especially when tackling a magnificent layer cake. Here are answers to some common queries to ensure your Oreo cake baking experience is as smooth and successful as possible.
Can This Recipe Be Made as Cupcakes?
Absolutely! This chocolate Oreo cake recipe lends itself wonderfully to cupcakes. However, for optimal results and scaling, we highly recommend following our dedicated chocolate Oreo cupcake recipe instead. That recipe is specifically designed to yield between 16 to 18 perfect cupcakes, ensuring proper baking times and ingredient ratios tailored for individual portions. It’s very similar in flavor profile but adjusted for the cupcake format.
Can a Different Cake Flavor Be Used with Oreo Frosting?
Yes, if you’re looking for a delightful twist and prefer not to make a chocolate Oreo cake, you can certainly pair the luscious Oreo buttercream with a different cake base. Our classic white cake recipe would be an excellent choice. It provides a beautiful contrast to the rich Oreo frosting. You can bake that white cake recipe in three 8-inch round pans for roughly the same amount of baking time as our chocolate cake layers. The vanilla notes of the white cake will perfectly complement the sweet crunch of the Oreo frosting.
What Type of Oreos Should Be Used for the Frosting?
For the best and most authentic Oreo flavor and texture in your buttercream, we strongly recommend using regular, classic Oreos. These are the original cookies with their distinct chocolate wafers and sweet cream filling. It’s crucial to use the entire cookie, filling and all, when crushing them for the frosting. The cream filling contributes to the frosting’s overall sweetness, richness, and slight chewiness, adding to the delightful experience. Avoid using “Double Stuf” or flavored Oreos, as they might alter the balance and consistency of the frosting.
Storage and Freezing Instructions for Your Oreo Cake
Proper storage is essential to keep your delicious Oreo cake fresh and moist, allowing you to enjoy it for days to come. Here’s how to best store both assembled and unassembled components of your cake:
Unfrosted Cake Layers:
If you’re preparing ahead, unfrosted chocolate cake layers can be wrapped tightly in plastic wrap (and then optionally in aluminum foil) and stored at room temperature for up to two days. For slightly longer storage, you can refrigerate them for up to four days. This is a great tip for busy bakers!
Oreo Buttercream Frosting:
The Oreo buttercream frosting can also be prepared one to two days in advance. Store it in an airtight container and refrigerate. Before using, allow it to come to room temperature and then re-whip it briefly with an electric mixer to restore its creamy, fluffy texture.
Assembled and Frosted Cake:
Once the cake is fully frosted and assembled with the delicious Oreo buttercream and ganache, it should be stored in an airtight cake carrier or covered loosely with plastic wrap. Refrigerate the assembled cake for up to four days. Bringing a slice to room temperature for 15-20 minutes before serving can enhance its flavor and texture.
Freezing Instructions:
Both the unfrosted cake layers and the Oreo frosting are excellent candidates for freezing, allowing you to enjoy this delightful treat even months later:
- Freezing Cake Layers: Once the cake layers are completely cool, wrap each layer individually and tightly in multiple layers of plastic wrap, followed by a layer of aluminum foil. This double protection prevents freezer burn. Store them in an airtight freezer bag or container. Unfrosted cake layers can be frozen for up to three months. When ready to use, thaw them overnight in the refrigerator, then bring them to room temperature before assembling.
- Freezing Oreo Frosting: The Oreo buttercream frosting can also be frozen! Transfer it to an airtight freezer-safe container, pressing a piece of plastic wrap directly onto the surface of the frosting before sealing. Freeze for up to three months. To use, thaw the frosting overnight in the refrigerator. Once thawed, bring it to room temperature and re-whip it with an electric mixer for a few minutes until it’s light, fluffy, and smooth again. This re-whipping step is crucial to restore its original consistency.
Expert Baking Tips for a Flawless Oreo Cake
Achieving a bakery-worthy Oreo cake is within your reach! These expert tips will help ensure every step, from baking the layers to the final garnish, is a success, leading to a truly impressive and delicious result.
- Chill Your Cake Layers: For easier handling and a smoother frosting experience, we strongly recommend chilling your cake layers in the refrigerator for at least 15-20 minutes after they have fully cooled and been leveled. Cold, firm cake layers are much less prone to tearing and crumbs mixing into your beautiful frosting. Some bakers even chill them overnight for ultimate ease.
- Embrace the Whole Oreo: When making the Oreo buttercream, don’t waste time scooping out the cream filling! Use the entire Oreo cookie, filling and all. The cream filling contributes to the frosting’s richness, creaminess, and flavor, adding to its authentic Oreo taste. Finely crush them in a food processor for the best incorporation.
- Mastering the Ganache Drip: The chocolate ganache drip adds a touch of professional flair. While a piping bag with a tiny corner snipped off or even a small spoon can work, a squeeze bottle offers the most control for creating perfectly even drips around the cake. Practice on an overturned bowl first if you’re nervous about your technique. The key is to start with small drops and let gravity do the work.
- Repurpose Cake Scraps: Don’t let those leveled cake scraps go to waste! Save them, along with any leftover frosting, to create delicious homemade chocolate cake pops. It’s a fun and creative way to minimize waste and extend the life of your baking efforts.
- Room Temperature Ingredients for Frosting: Ensure your butter for the buttercream is truly softened to room temperature, but not melted. This allows it to cream properly with the powdered sugar, resulting in a light and airy frosting. Cold butter will lead to a lumpy, dense frosting, while melted butter will make it greasy.
- Don’t Overmix the Cake Batter: After adding the wet ingredients to the dry, and especially after adding the boiling water, mix the cake batter only until the ingredients are just combined and smooth. Overmixing develops the gluten in the flour, which can lead to a tough, dry cake.
- Parchment Paper is Your Friend: Always line the bottom of your cake pans with parchment paper. This simple step guarantees that your cake layers will release easily from the pans without sticking or tearing, preserving their perfect shape.
More Irresistible Oreo Desserts to Explore!
If this rich Oreo cake has ignited your passion for all things Oreo, you’re in luck! The versatility of this beloved cookie means endless possibilities for delightful treats. Here are more fantastic Oreo-inspired dessert recipes to try your hand at:
- Oreo Fudge: A super easy, no-bake fudge recipe bursting with Oreo chunks.
- Oreo Balls: Classic no-bake treats made with crushed Oreos and cream cheese, often dipped in chocolate.
- Mini Oreo Cheesecakes: Adorable, individual cheesecakes featuring an Oreo crust and creamy Oreo filling.
- Chocolate Oreo Cupcakes: Perfect for individual servings, these cupcakes mirror the flavors of our layer cake.
- No-Bake Oreo Cheesecake: A refreshingly simple yet incredibly decadent cheesecake that requires no oven.
Recipe Video
Watch the magic unfold! Follow along with our detailed video tutorial to visually guide you through each step of baking and decorating this spectacular Oreo cake. Seeing the techniques in action will make the process even easier and more enjoyable. (Video content would typically be embedded here.)
Oreo Cake
Pin Recipe
Save
Leave a Review
Ingredients
Chocolate Cake
- 2 cups all-purpose flour spooned & leveled (250 grams)
- ¾ cup unsweetened natural cocoa powder (65 grams)
- 1 ½ teaspoons baking soda
- 1 ½ teaspoons baking powder
- 1 teaspoon salt
- 1 cup granulated sugar (200 grams)
- 1 cup packed light brown sugar (200 grams)
- ½ cup canola or vegetable oil (120 ml)
- 1 cup buttermilk (240 ml)
- 2 large eggs
- 2 teaspoons pure vanilla extract
- 1 cup boiling water (240 ml)
- 1 teaspoon instant espresso powder optional but recommended
Oreo Buttercream Frosting
- 2 cups unsalted butter softened (4 sticks; 450 grams)
- 6 cups powdered sugar (720 grams)
- ⅓ cup heavy whipping cream or milk (60 ml)
- 2 teaspoons pure vanilla extract
- ¼ teaspoon salt
- 20 regular Oreos finely crushed (I recommend using a blender or food processor)
Chocolate Ganache Drip
- 4 ounces semi-sweet chocolate chopped (113 grams)
- ½ cup heavy whipping cream (120 ml)
Instructions
-
To make the chocolate cake: Preheat the oven to 350°F (180°C). Spray three 8-inch round cake pans with nonstick cooking spray, line the bottom of each pan with parchment paper, and set aside.
-
In a large mixing bowl, sift the flour, cocoa powder, baking soda, baking powder, and salt together. Whisk in the granulated sugar and brown sugar until well combined.
-
Add the oil, buttermilk, eggs, and vanilla extract and mix until just combined, the batter should be thick like brownie batter.
-
Add the instant espresso powder to the cup of boiling water and mix until fully dissolved. Add to the mixing bowl and mix until just combined and smooth, the batter will be very thin.
-
Divide the batter evenly between the three prepared cake pans.
-
Bake for 25 to 30 minutes or until a toothpick inserted into the center of the cakes comes out clean and the tops spring back when lightly touched.
-
Remove from the oven and transfer to a wire rack to cool in the pans for 20 to 30 minutes. Run a knife around the outside of each cake layer in the pan then carefully remove the cakes from the pans (peel off the parchment paper, if needed) and place on the wire rack to cool completely.
-
To make the Oreo buttercream frosting: In the bowl of a stand mixer fitted with the paddle attachment, or in a large mixing bowl using a handheld mixer, beat the butter on medium speed for about 1 minute or until smooth.
-
Mix in 2 cups (240 grams) of powdered sugar at a time, making sure to mix well after each addition.
-
Add the heavy whipping cream, vanilla extract, and salt and mix on medium speed until the mixture is well combined and creamy.
-
Add the Oreo crumbs and mix on low-medium speed until well combined, stopping to scrape down the sides of the bowl as needed.
-
To assemble the cake: Level the tops of each cake layer with a knife or cake leveler.
-
Add a tablespoon of buttercream to the center of a cardboard cake round or a cake stand to help the cake stick to the surface.
-
Place the first layer of cake onto your work surface. Scoop ¾ cup to 1 cup of frosting onto the first layer of cake and spread it around into one even layer with an angled spatula or the back of a spoon.
-
Place the second cake layer upside down on top of the frosted cake layer. Spread another ¾ cup to 1 cup of frosting on top and spread it around into one even layer.
-
Place the third cake layer upside down on top of the frosted cake layer. Use the remaining frosting to frost the top and sides of the cake. If piping some decorations on top, reserve 1 to 1 ½ cups of frosting for later.
-
Place the cake in the refrigerator and let it chill while you prepare the ganache.
-
To make the ganache (optional): Add the chopped chocolate to a large heatproof bowl and set aside.
-
Add the heavy whipping cream to a microwave safe bowl (or a glass measuring cup) and heat in the microwave for 45 seconds to 1 minute. Make sure to keep an eye on it so it doesn’t bubble over in the microwave.
-
Pour the warm heavy whipping cream over the chocolate and let it sit for 2 to 3 minutes. Start stirring slowly in the middle of the bowl, and continue stirring in one direction until the mixture is smooth and well combined.
-
Set aside for 20 to 30 minutes or until the mixture has cooled and thickened slightly.
-
Remove the cake from the refrigerator. Add the ganache to a piping bag or a squeeze bottle (or simply use a spoon) and add drips all around the top edge of the cake. Add the remaining ganache on top and spread it around into one even layer.
-
Allow the ganache to firm up slightly, then pipe the reserved frosting on top of the cake. Top with additional Oreos, if desired.
Notes
Freezing Instructions: The unfrosted cake layers and Oreo frosting can be frozen for up to three months in separate containers. Thaw overnight in the refrigerator and bring the frosting to room temperature before assembling the cake.