
The Ultimate Guide to Crafting Authentic Sticky Toffee Pudding
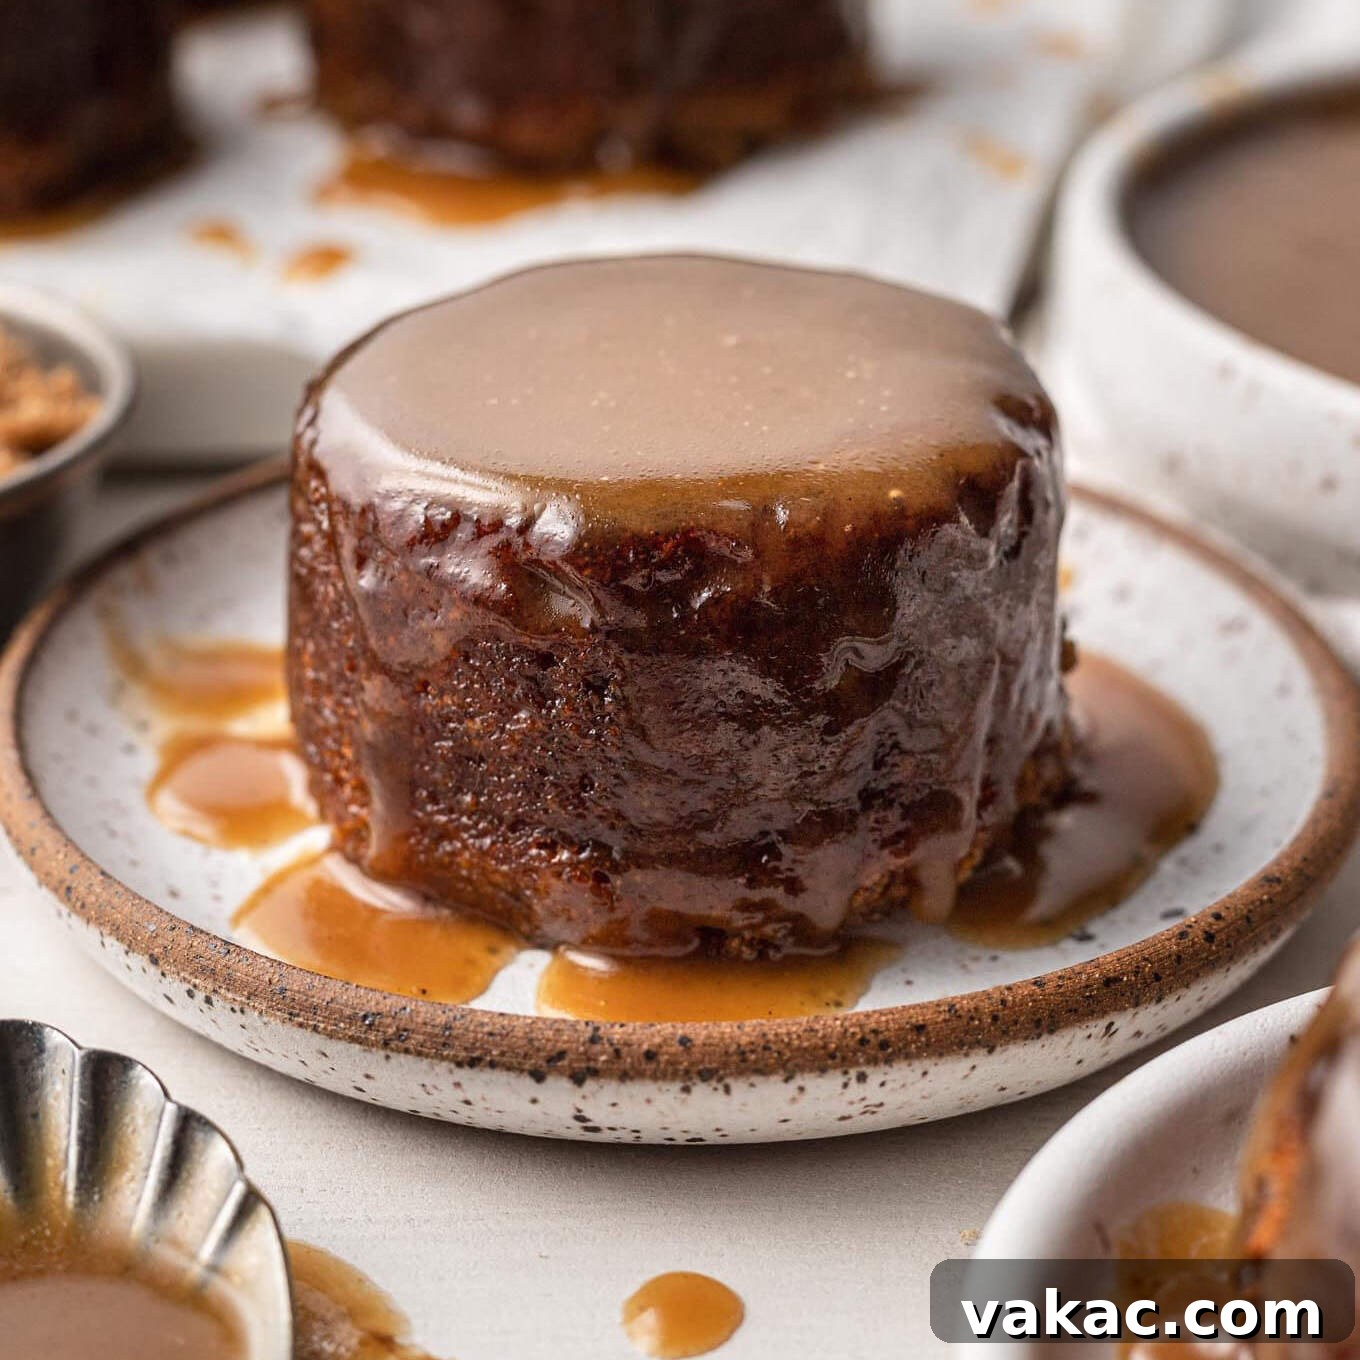
Discover the delightful world of Sticky Toffee Pudding, a beloved British classic that promises pure indulgence with every bite. This exquisite dessert features a wonderfully moist and dense sponge cake, richly infused with dates and molasses, generously smothered in a warm, buttery toffee sauce. Whether served alongside a scoop of creamy vanilla ice cream or enjoyed simply on its own, this dessert offers an unparalleled comforting experience that transports you straight to a cozy British pub. Prepare to captivate your taste buds with this iconic treat, perfect for any occasion that calls for a truly memorable dessert.
What is Sticky Toffee Pudding?
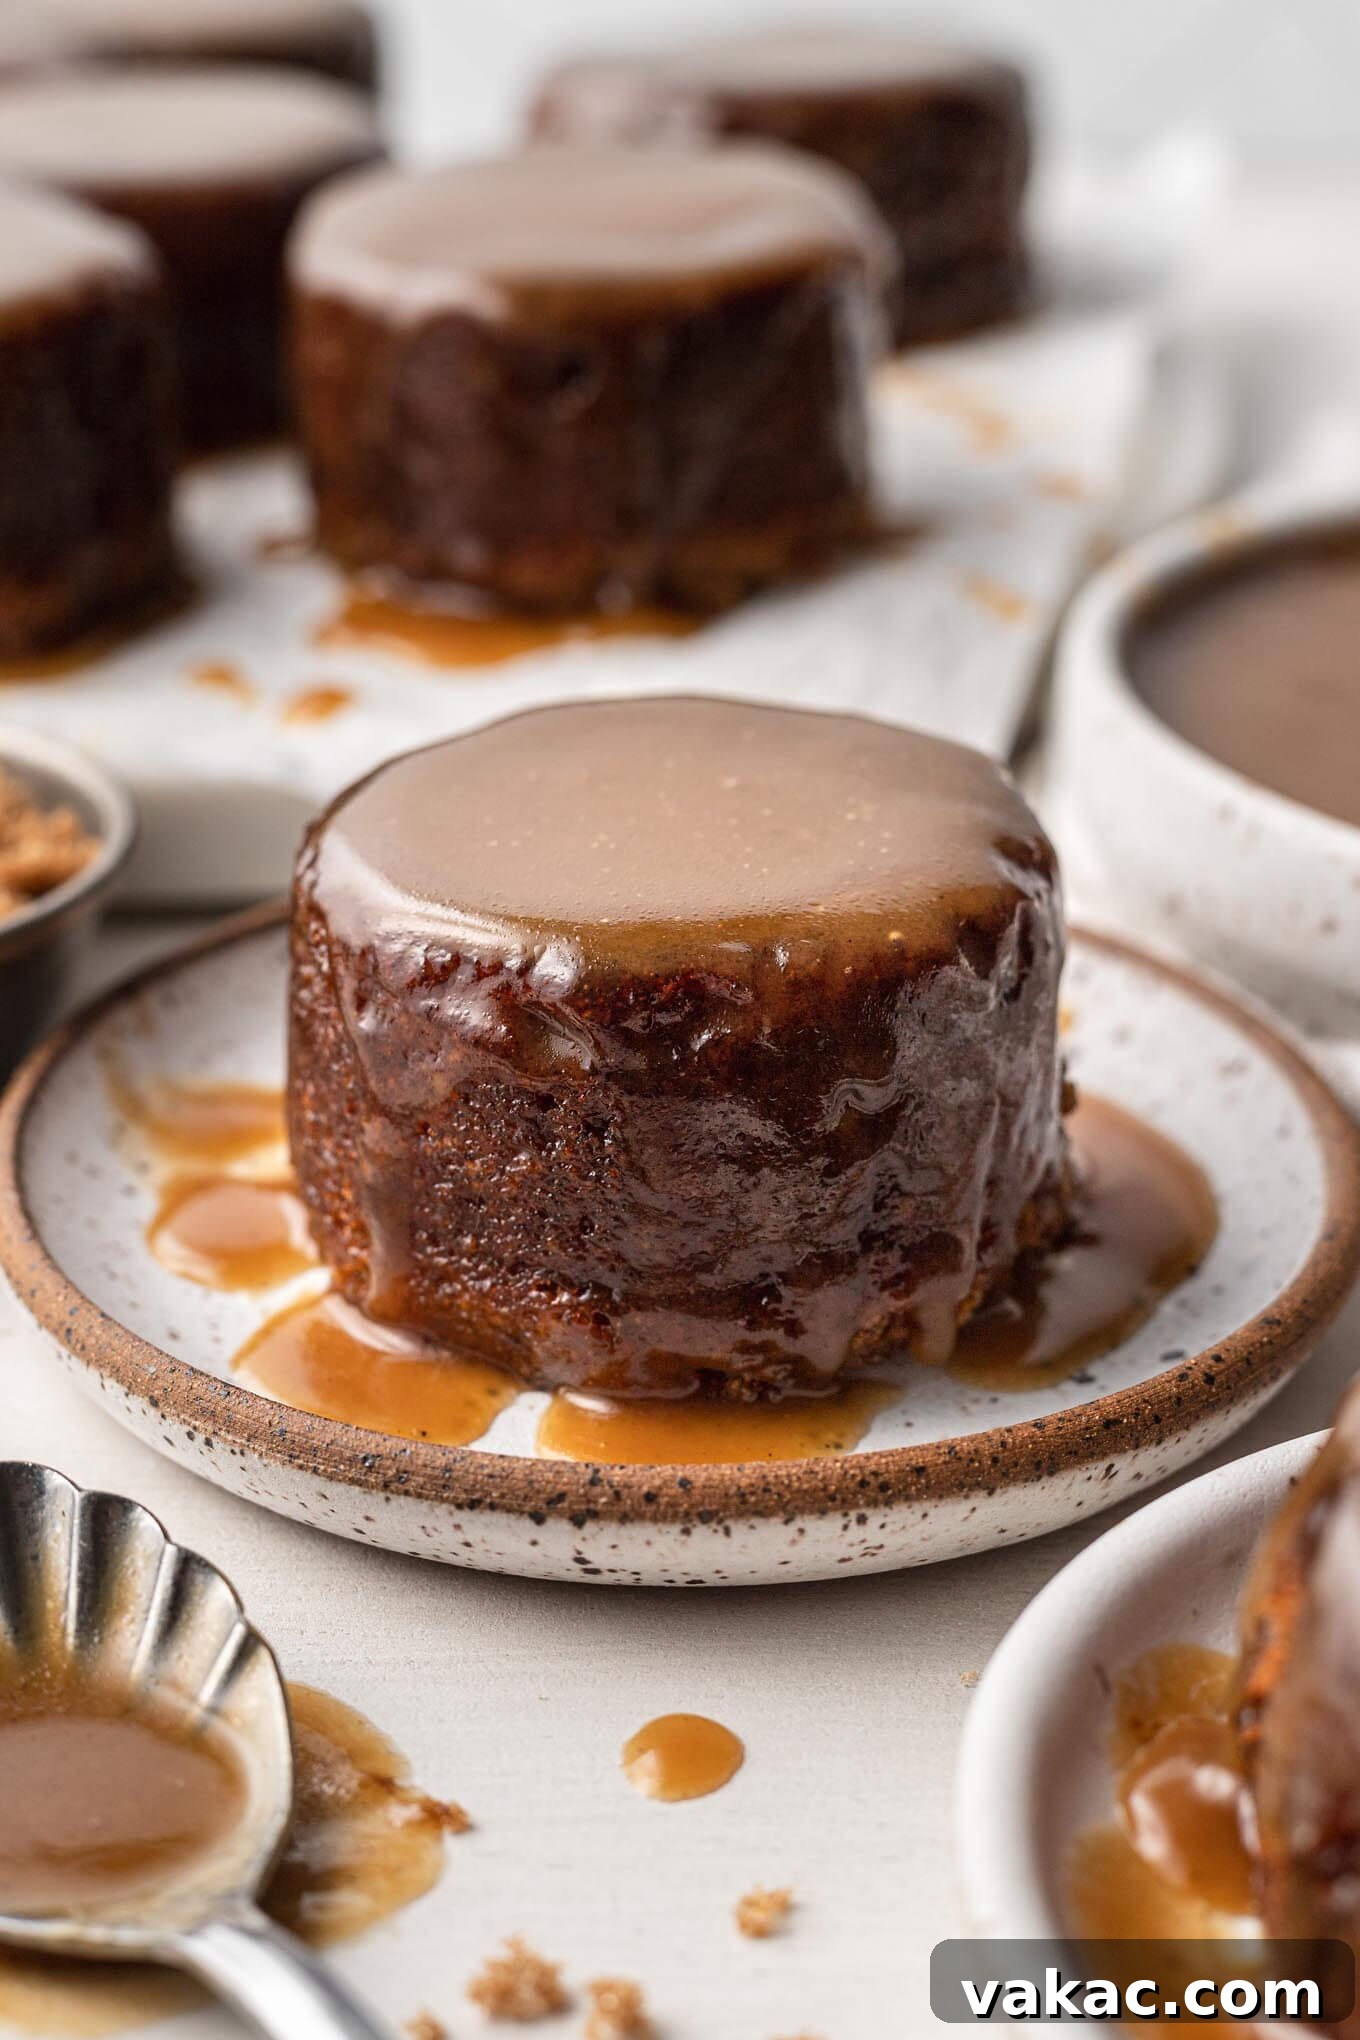
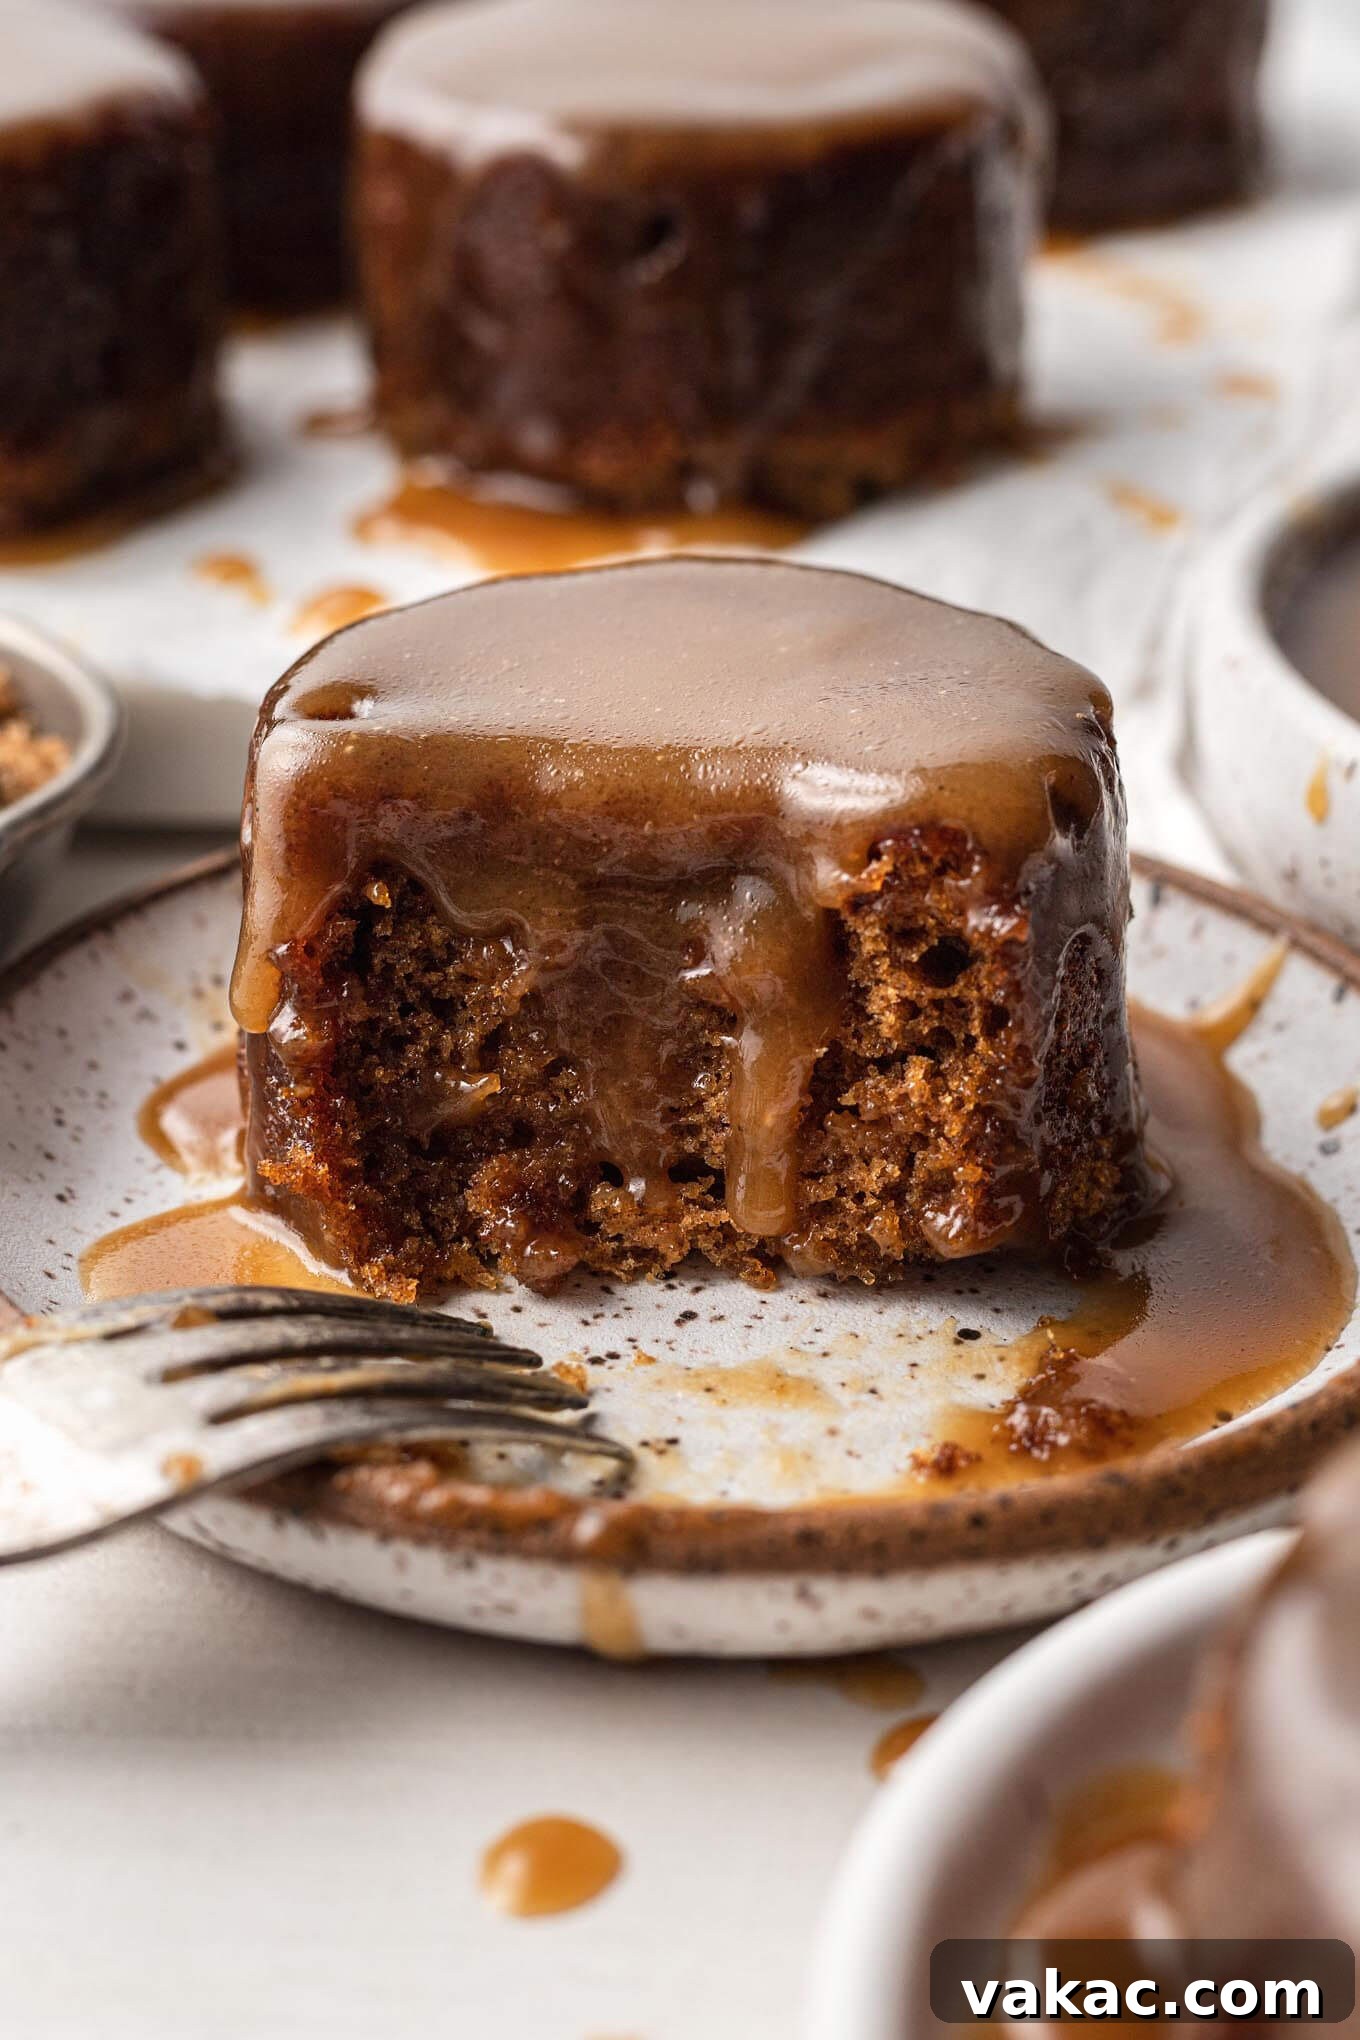
Sticky Toffee Pudding is far more than just a dessert; it’s a culinary institution in the United Kingdom. At its heart, it’s a steamed or baked sponge cake made predominantly with finely chopped dates, which lend a unique sweetness, dark color, and an incredibly moist, almost fudgy texture. Unlike many lighter American sponge cakes, this British rendition is characteristically dense, deeply flavored, and substantial.
The magic truly happens when this date-laden sponge meets its perfect partner: a luscious, dark toffee sauce. This sauce, often confused with caramel, has its own distinct identity. While both use butter, sugar, and cream, sticky toffee pudding sauce typically features dark brown sugar, giving it a deeper, more robust molasses-like flavor profile that perfectly complements the cake. It’s often prepared with a higher proportion of butter, contributing to its rich, velvety consistency and intense depth of flavor. The warm sauce is traditionally poured over the pudding just before serving, allowing it to soak into the cake, creating that signature “sticky” and incredibly satisfying texture.
The combination is nothing short of spectacular. The earthy sweetness of the dates, the subtle spice from the molasses in the cake, and the decadent, buttery embrace of the toffee sauce create a symphony of flavors and textures. It’s a dessert that warms you from the inside out, making it a perennial favorite, especially during colder months or as a festive holiday treat.
Why You’ll Love This Recipe
This particular Sticky Toffee Pudding recipe is designed to deliver an authentic taste and a truly enjoyable baking experience. Here’s why it stands out:
- Authentic Flavor Profile: Carefully developed to capture the true essence of a classic British Sticky Toffee Pudding, balancing sweetness with rich, deep flavors.
- Incredibly Moist Texture: The use of dates and molasses ensures a wonderfully dense yet tender sponge that practically melts in your mouth.
- Decadent Toffee Sauce: A generously buttery and sweet sauce that is the perfect counterpoint to the cake, adding irresistible stickiness and flavor.
- Straightforward Instructions: While it involves a few steps, the recipe is broken down into clear, easy-to-follow instructions, making it accessible for bakers of all skill levels.
- Versatile Serving: Delicious on its own, but also heavenly when paired with classic accompaniments like vanilla ice cream, custard, or clotted cream.
- Perfect for Any Occasion: Elegant enough for a dinner party, yet comforting enough for a cozy family dessert.
Essential Ingredients for the Perfect Pudding
Crafting this foreign treat is surprisingly simple, utilizing readily available ingredients. Let’s delve into the key components and why they matter:
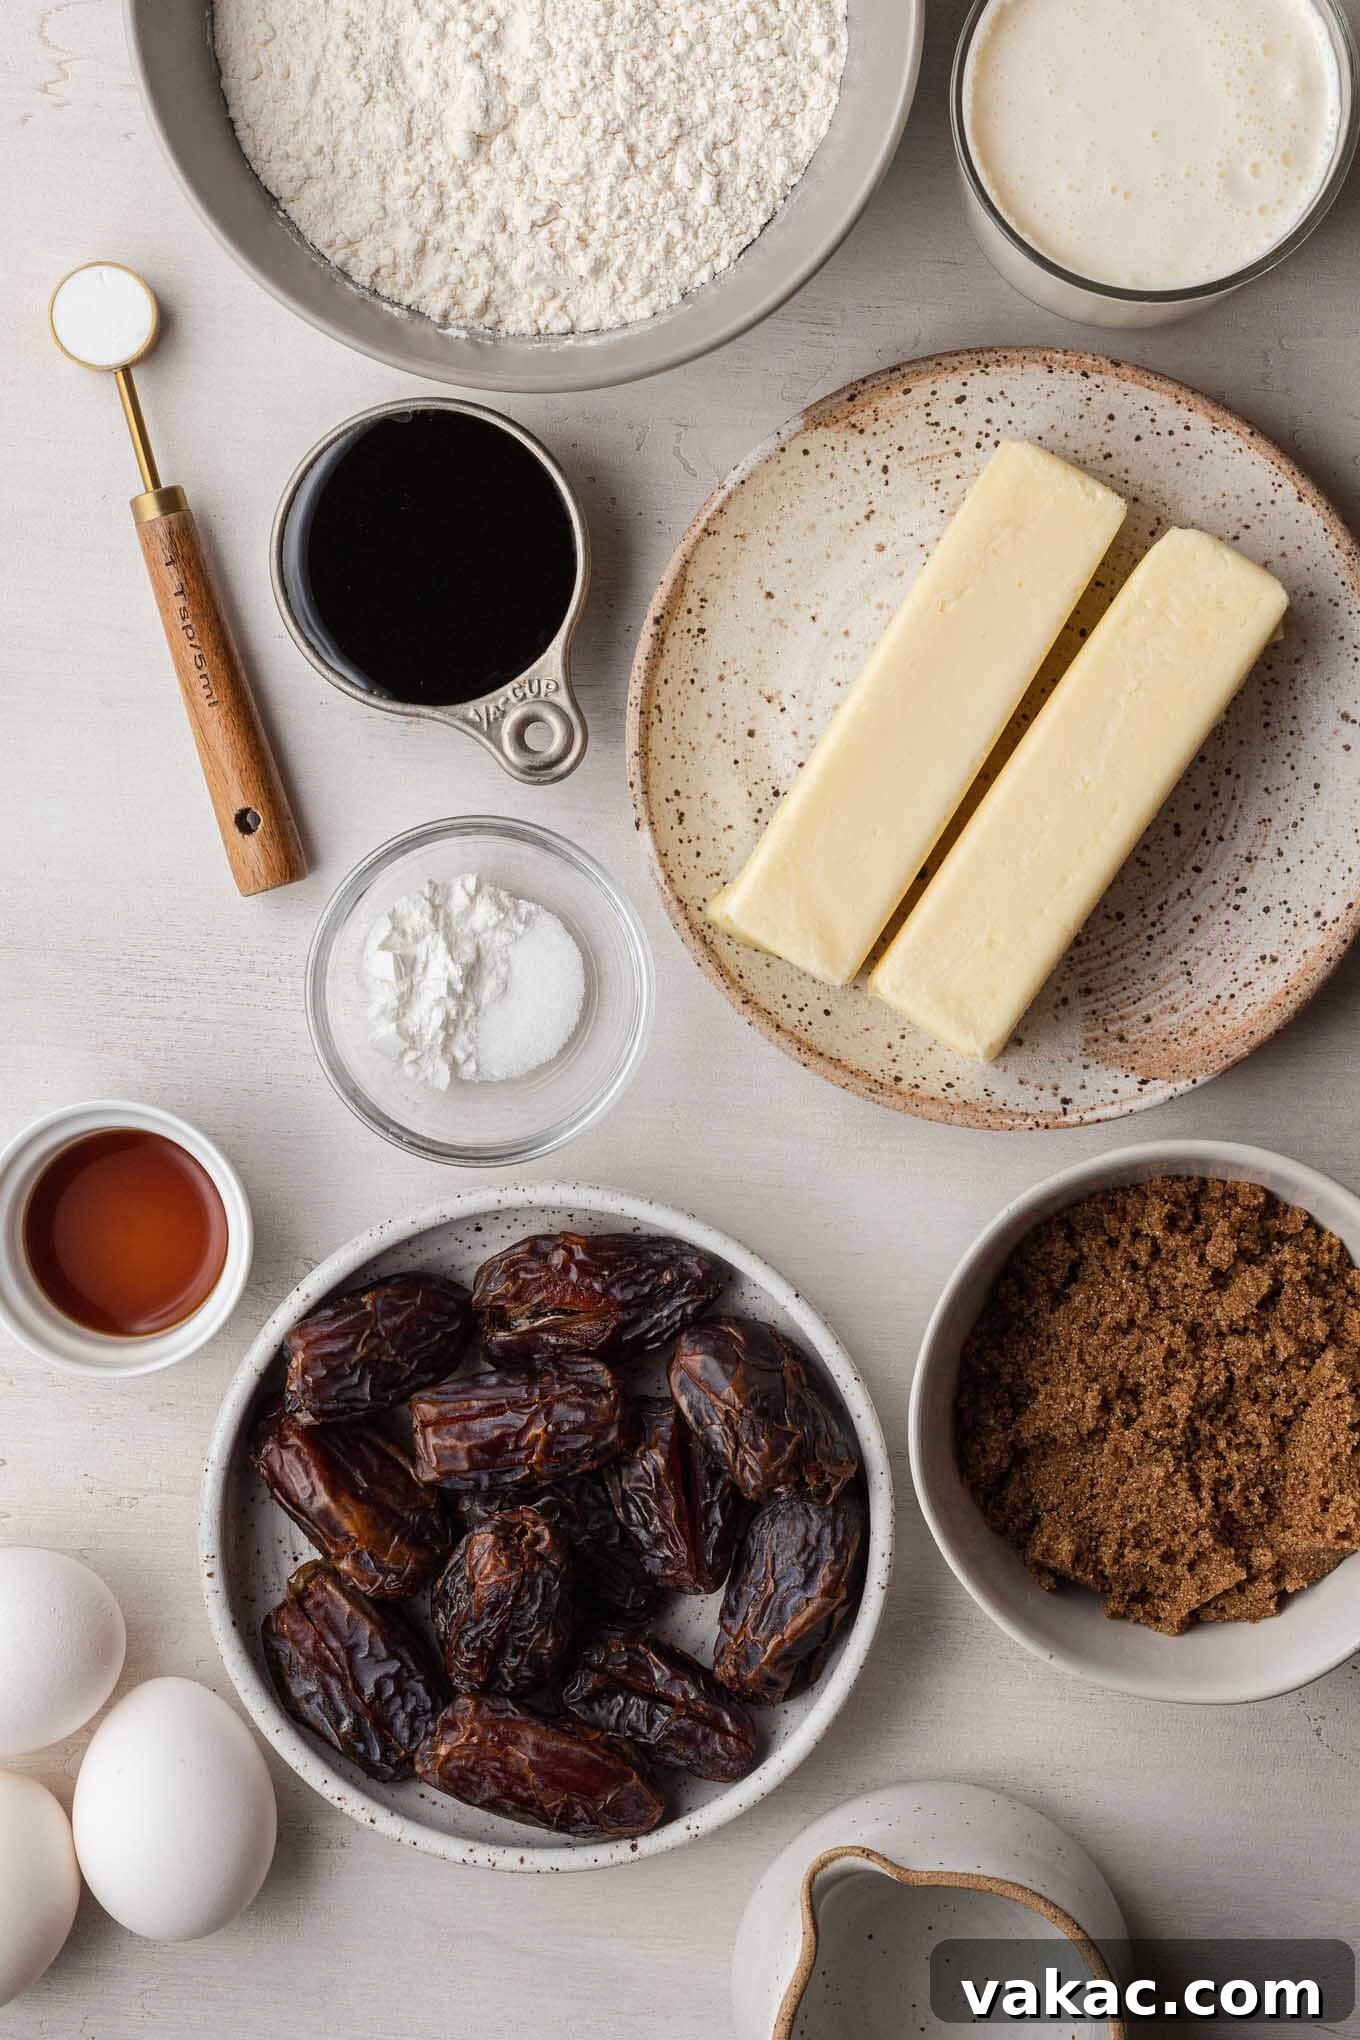
- Dates: The star of the show! Dates provide natural sweetness, moisture, and a distinct depth of flavor to the cake. Medjool dates are often preferred for their soft, plump texture and rich, caramel-like taste, but Deglet Noor dates also work beautifully, offering a slightly firmer texture. Ensure you remove the pits if your dates aren’t already pitted. They are crucial for the cake’s characteristic density and moistness.
- Molasses: For this recipe, it’s vital to use unsulphured molasses, such as Grandma’s brand, which has a milder, sweeter flavor. Avoid blackstrap molasses, as its strong, bitter notes will overpower the delicate balance of the pudding. Molasses contributes significantly to the cake’s dark color, depth of flavor, and incredible moisture.
- Brown Sugar: Dark brown sugar is indispensable for both the cake batter and the toffee sauce. Its higher molasses content imparts a rich, deep caramel flavor that granulated sugar simply cannot replicate. If you find yourself without dark brown sugar, you can easily make your own by combining granulated sugar with a small amount of molasses.
- Unsalted Butter: You’ll need a generous amount of unsalted butter for both the sponge cake and the toffee sauce. Using unsalted butter allows you to control the overall saltiness of the dish. For the cake, ensure your butter is softened to room temperature for optimal creaming with the sugar, which creates a light and airy base.
- Heavy Whipping Cream: Essential for the luxurious, velvety texture of the toffee sauce. Look for heavy cream with at least 36% fat content to ensure the sauce achieves its desired richness and thickness.
- All-Purpose Flour, Baking Powder, Baking Soda, Salt: These are your standard dry baking ingredients. The baking soda works synergistically with the dates (especially after boiling) to tenderize the cake, while baking powder provides lift. Flour forms the structure, and a pinch of salt balances the sweetness.
- Eggs: Large eggs, ideally at room temperature, help to bind the ingredients and contribute to the cake’s structure and richness. Room temperature eggs emulsify better with the butter and sugar, leading to a smoother batter.
- Pure Vanilla Extract: A touch of vanilla enhances the overall flavor profile of both the cake and the sauce, adding warmth and complexity.
How to Make Sticky Toffee Pudding: A Step-by-Step Guide
Creating this classic British dessert is a rewarding process. While it involves a few more steps than a simple cake, each stage is straightforward and contributes to the pudding’s exceptional flavor and texture. Follow these detailed instructions to achieve perfection.
Part 1: Crafting the Date Sponge Cake
- Prepare Your Ramekins: Preheat your oven to 350°F (180°C). Thoroughly grease ten 6-ounce ramekins with non-stick cooking spray or butter. This crucial step prevents the sticky cakes from adhering to the sides and ensures easy removal. Arrange the ramekins on a baking sheet for easier handling in and out of the oven.
- Soften the Dates: In a medium saucepan, combine the chopped, pitted dates with water. Bring the mixture to a boil over medium-high heat. Once boiling, immediately remove the saucepan from the heat and cover it with a lid. Allow the dates to steep in the hot water for about 10 minutes; this process makes them incredibly soft and easier to blend, while also extracting their natural sugars.
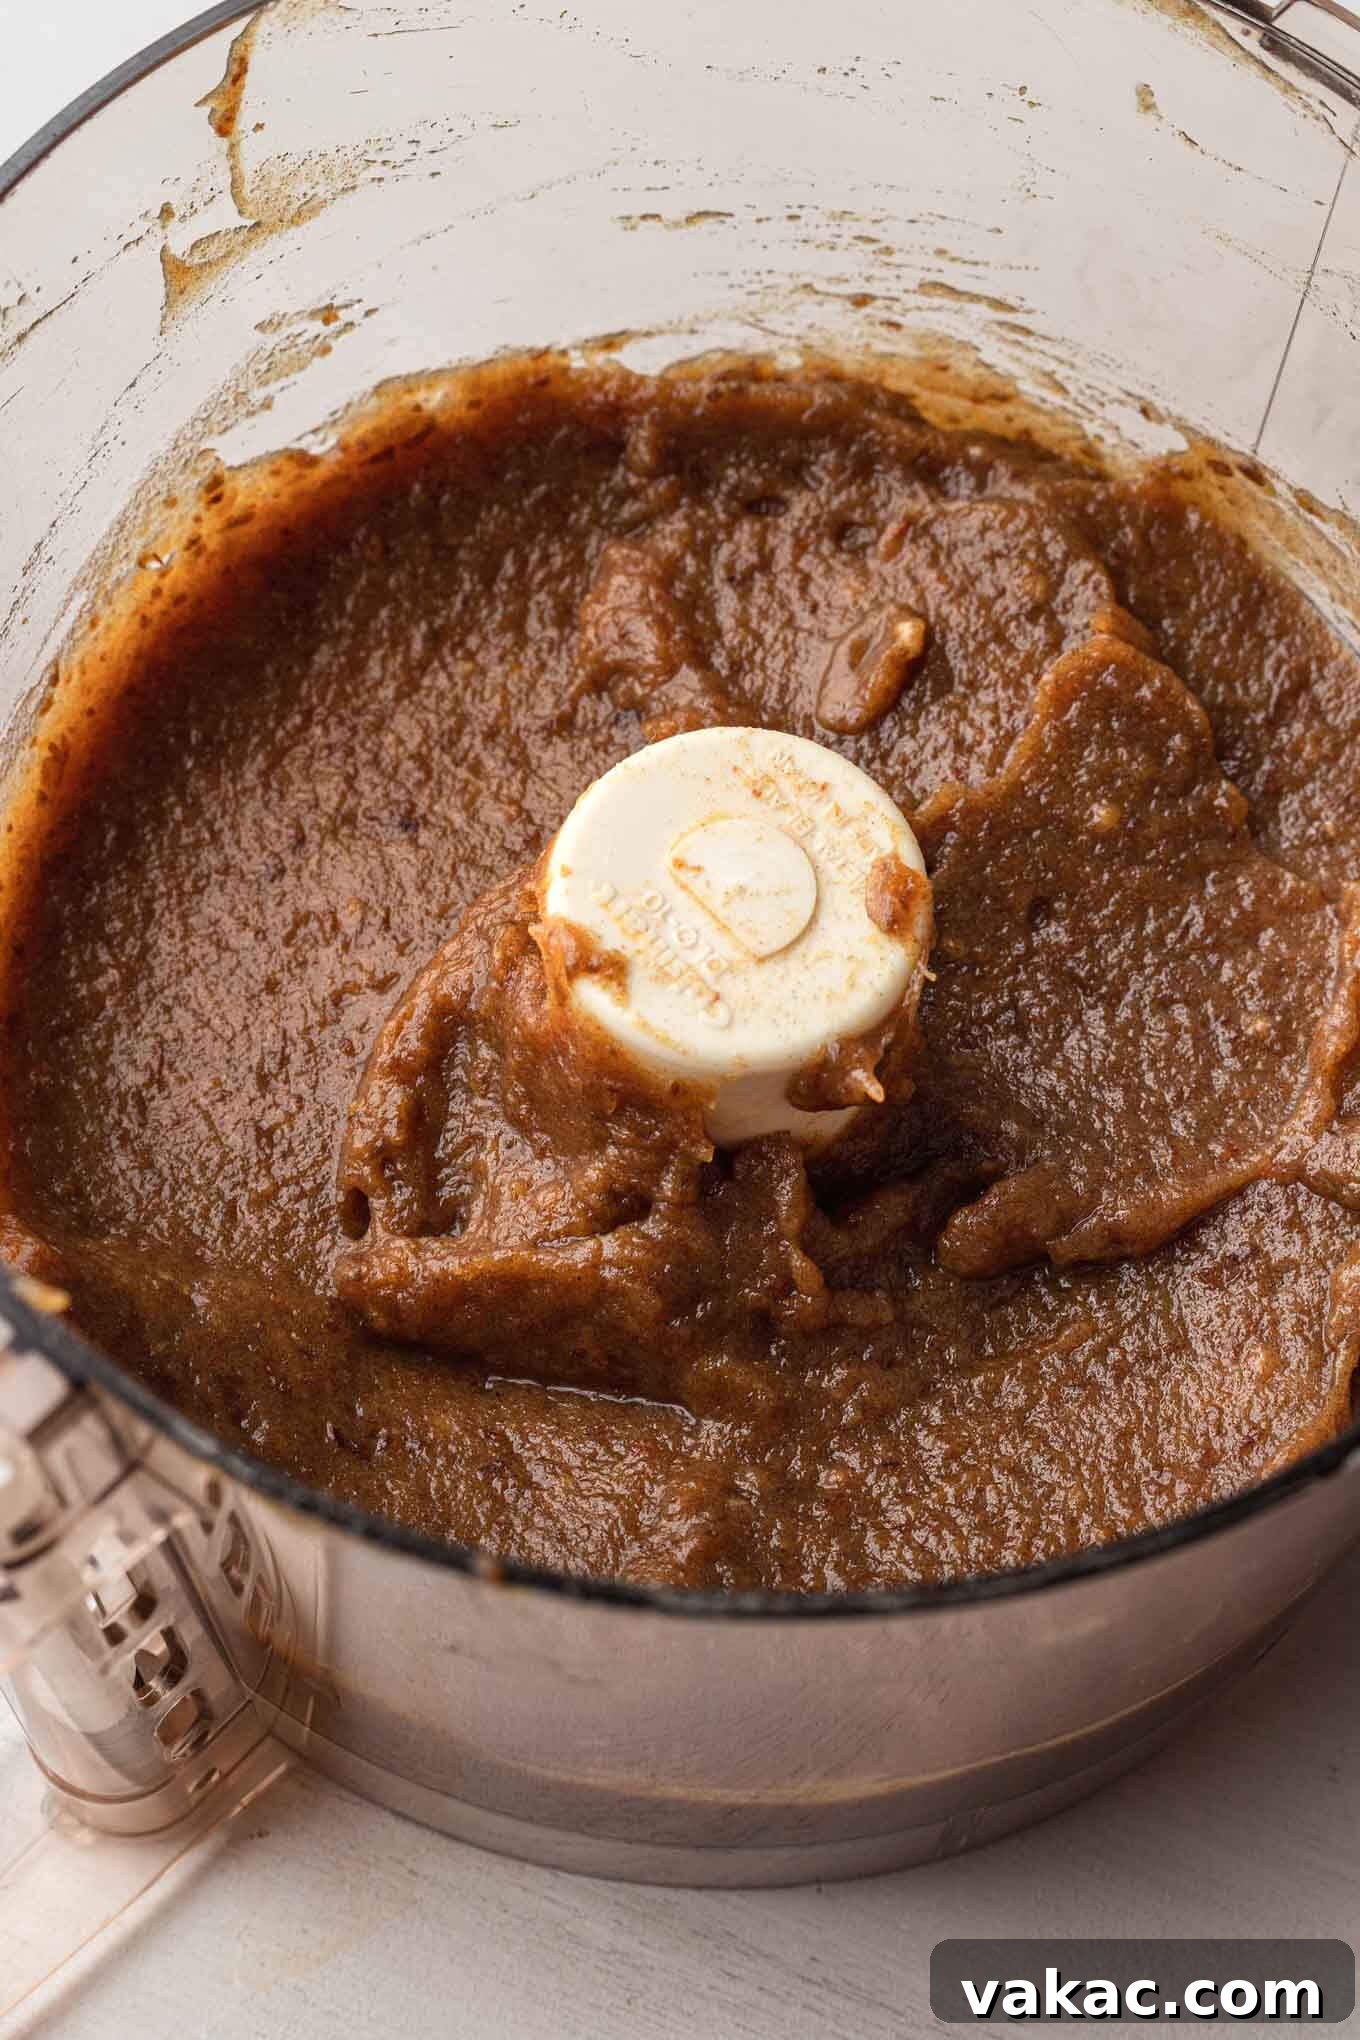
- Create the Date Paste: Carefully transfer the softened date mixture (including the water) to a food processor or a blender that is vented. Add the baking soda. Blend until a smooth, uniform paste forms. The baking soda reacts with the dates to tenderize them further, contributing to the cake’s signature texture. Set the paste aside to cool slightly.
- Combine Dry Ingredients: In a separate large mixing bowl, whisk together the all-purpose flour, baking powder, and salt. Whisking ensures these ingredients are evenly distributed, preventing lumps and ensuring consistent leavening. Set aside.
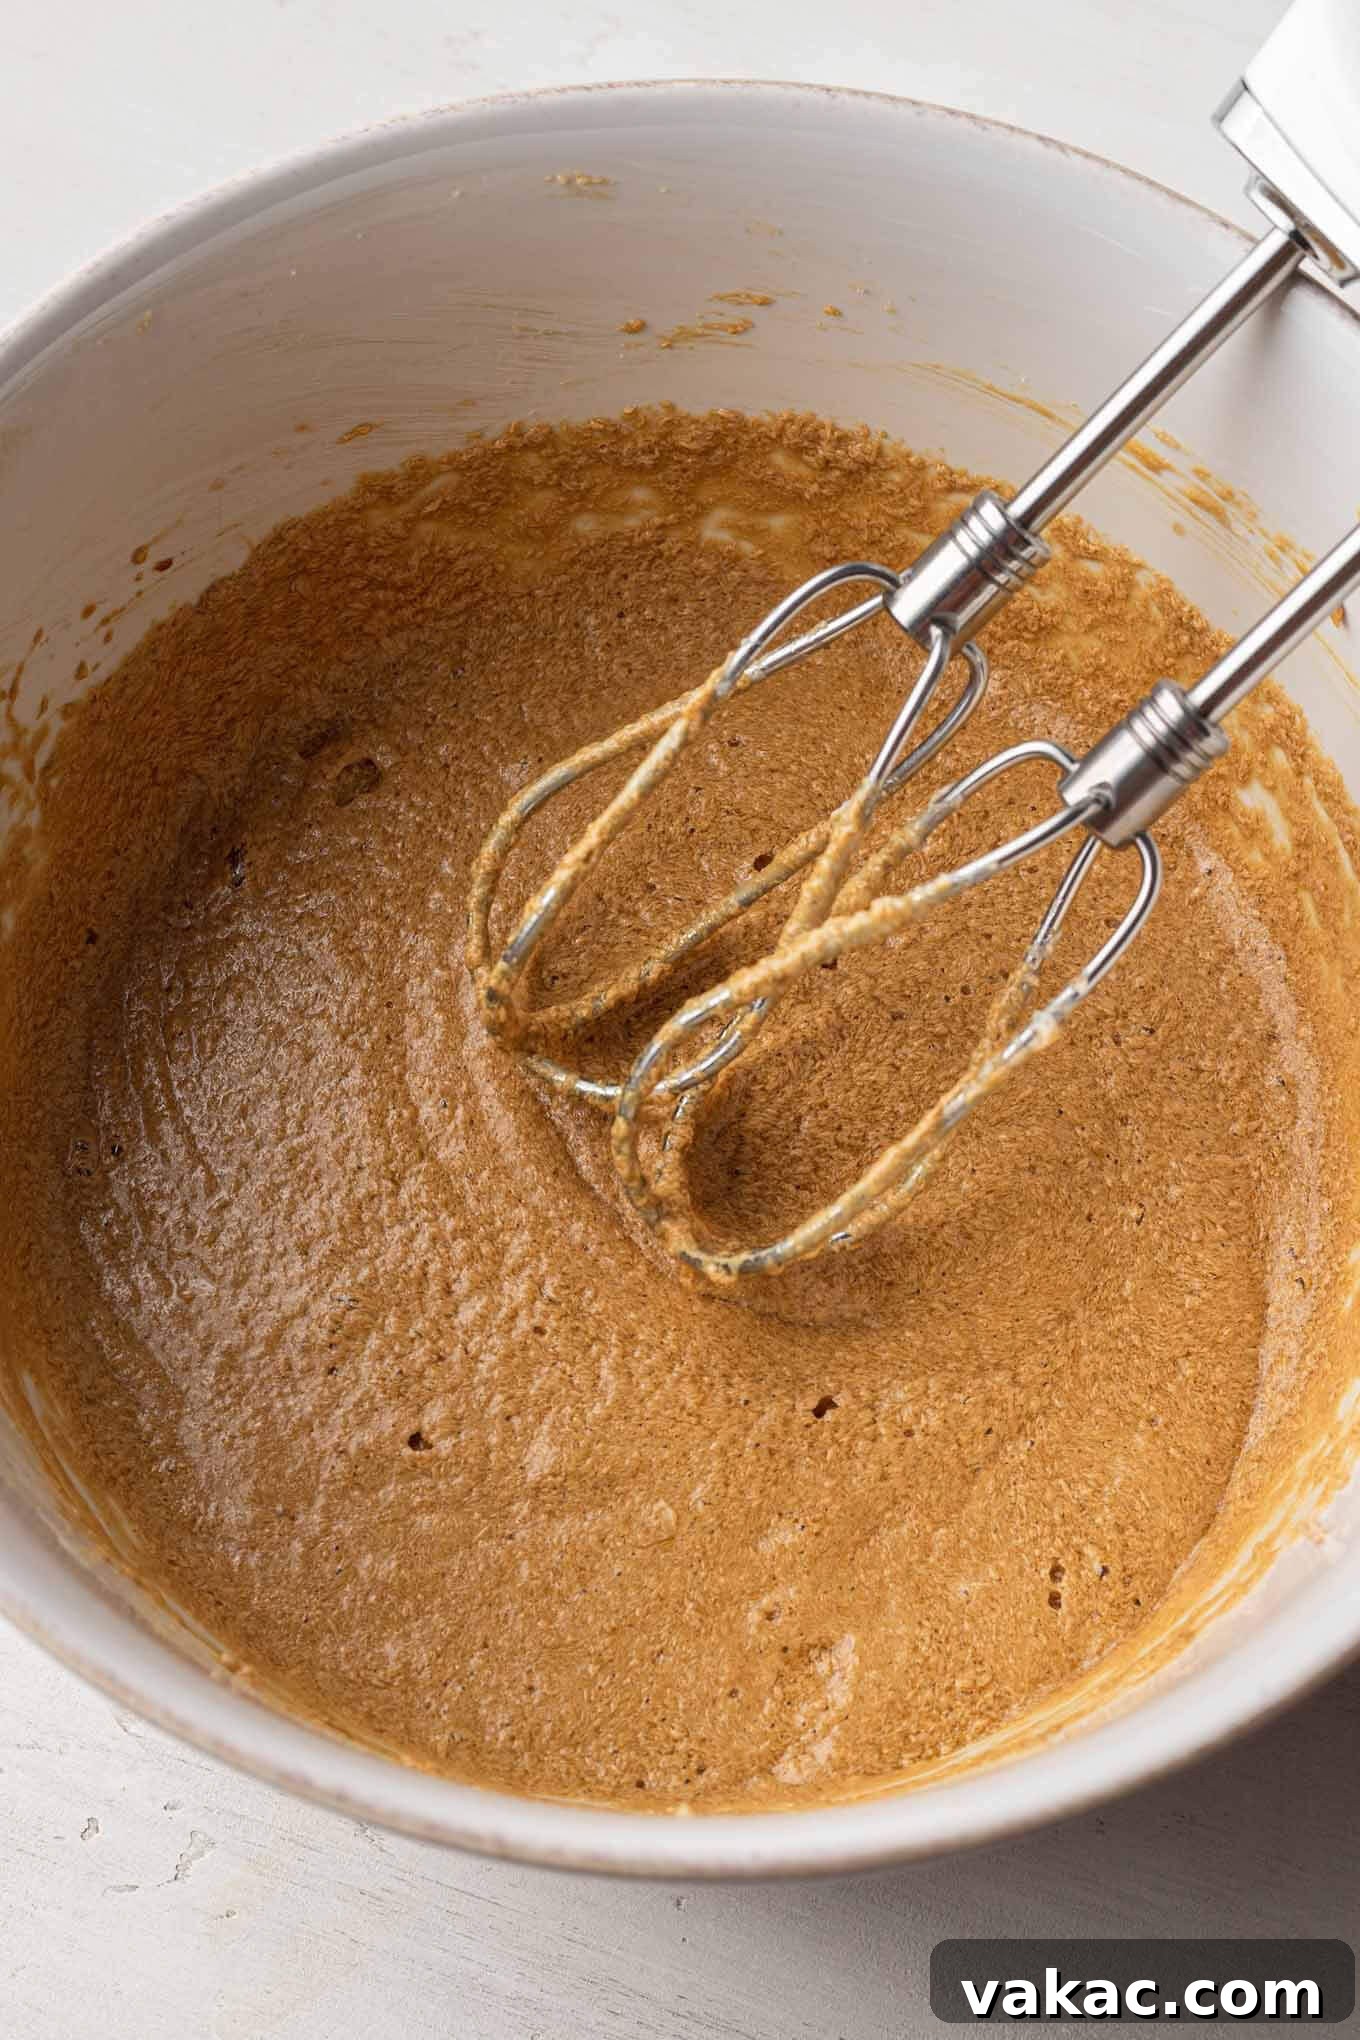
- Cream Butter and Sugar: In the bowl of an electric stand mixer fitted with a paddle attachment (or using a handheld electric mixer), beat the softened unsalted butter and packed dark brown sugar together. Cream them for 3 to 4 minutes on medium speed until the mixture becomes light, fluffy, and noticeably paler in color. This step incorporates air into the batter, which is essential for a tender cake. Then, mix in the unsulphured molasses until well combined.
- Incorporate Wet Ingredients: Add the large eggs to the butter mixture, one at a time, beating well after each addition until fully incorporated. This helps to emulsify the batter and prevent it from curdling. Finally, mix in the pure vanilla extract.
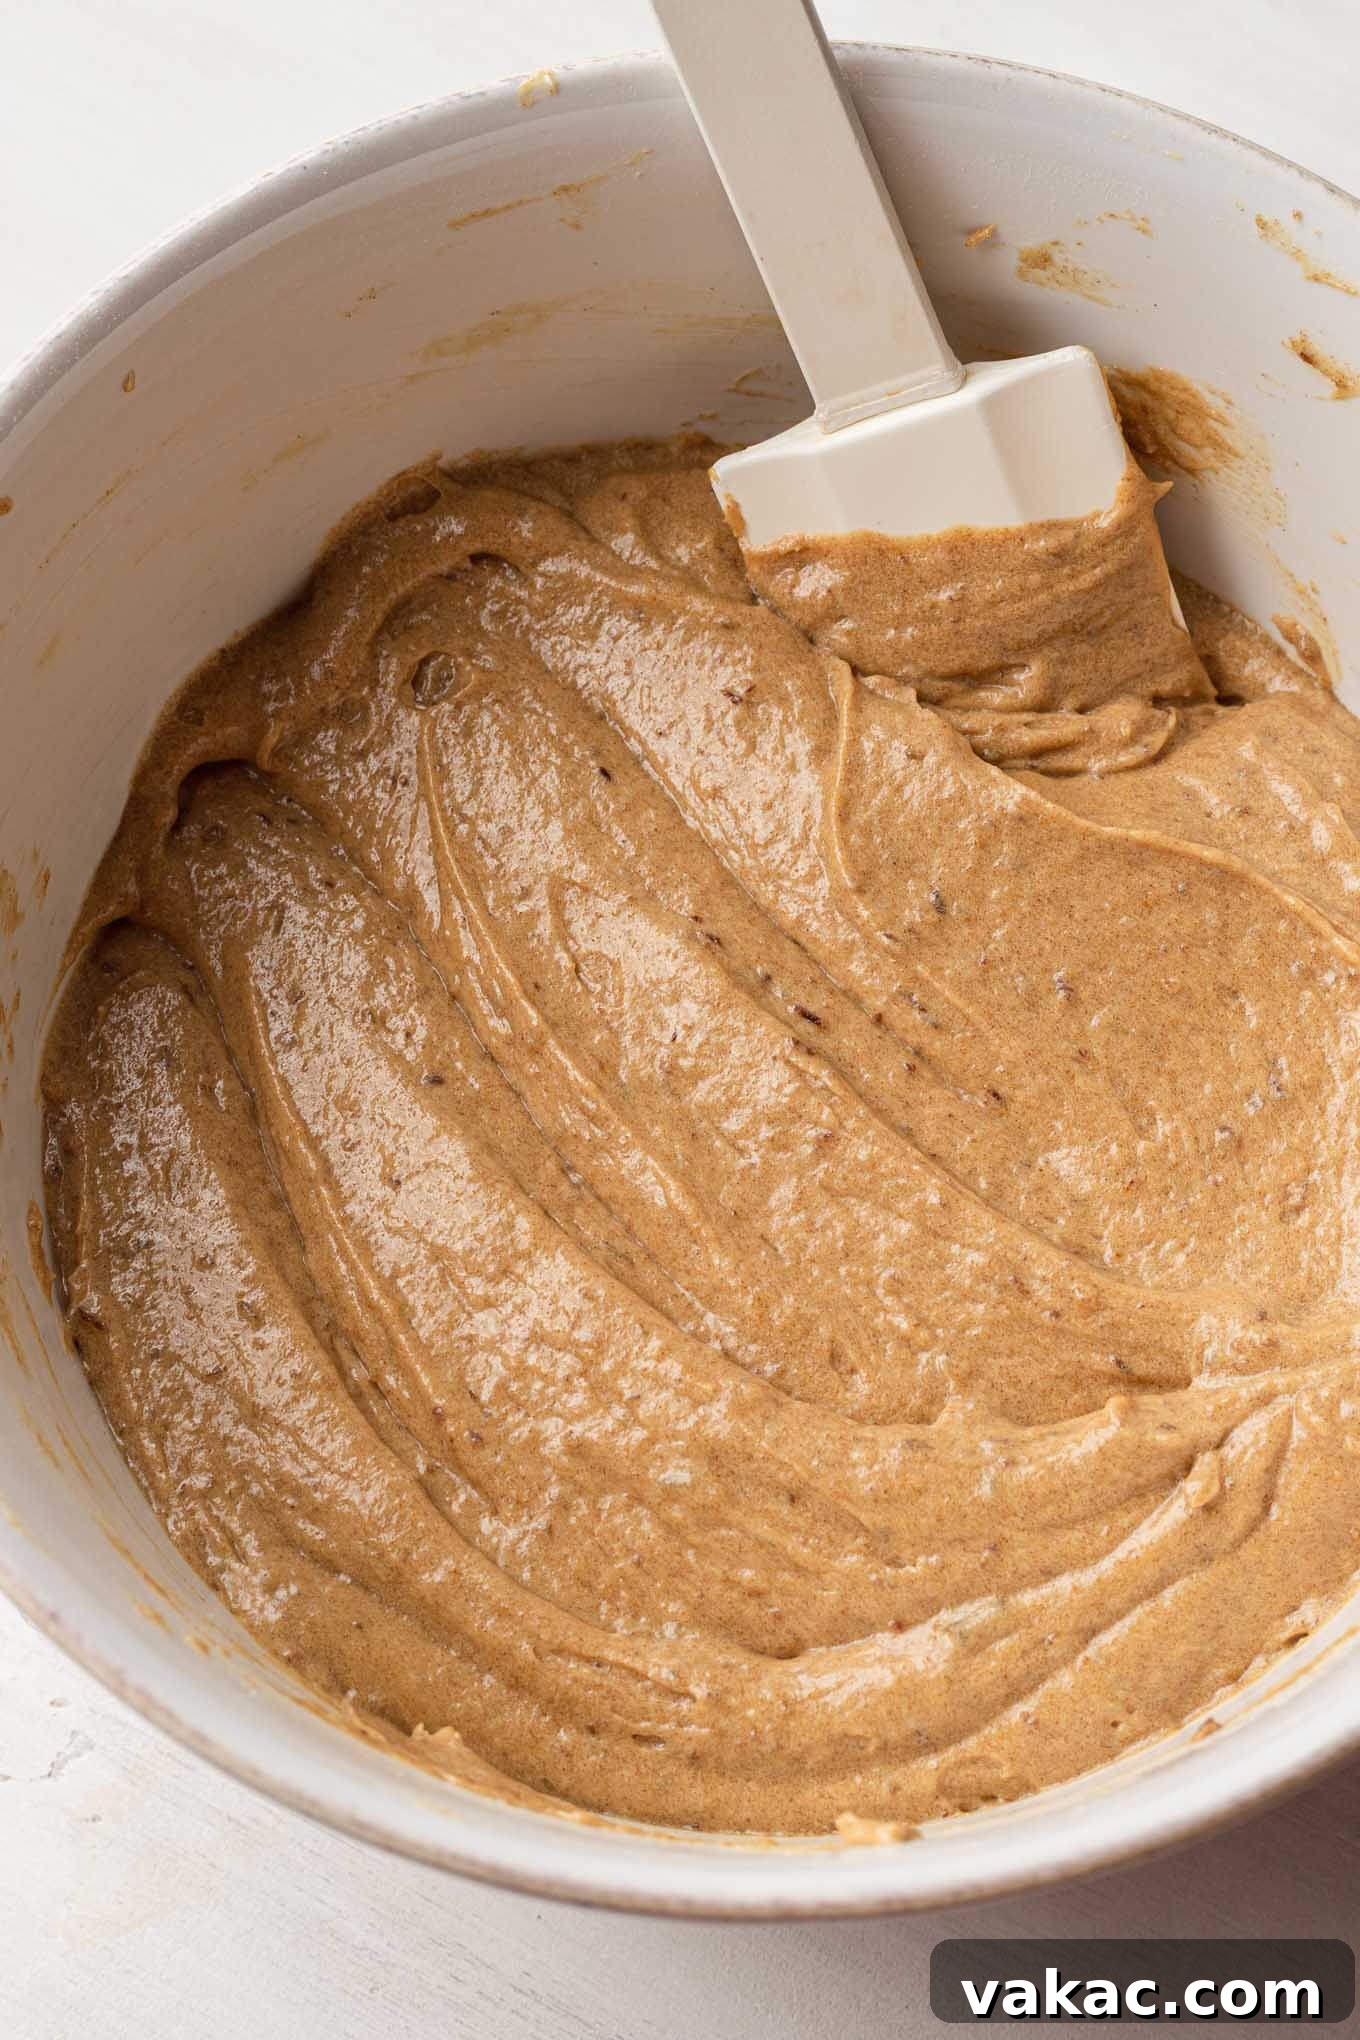
- Finish the Batter: With the mixer on low speed, gradually add the dry ingredients to the wet ingredients in two additions, alternating with the date paste. Begin and end with the dry ingredients. Mix each addition just until combined; overmixing can lead to a tough cake. The final batter will be thick and rich.
- Bake the Puddings: Divide the batter evenly among the 10 prepared ramekins, filling each approximately two-thirds of the way full. This allows room for the cakes to rise without overflowing. If you’re aiming for precision, each ramekin should hold about 105 grams of batter. Place the baking sheet with the ramekins into the preheated oven and bake for 23 to 28 minutes, or until a wooden skewer or toothpick inserted into the center of a cake comes out clean.
- Cool Slightly: Once baked, remove the ramekins from the oven and let them cool on a wire rack while you prepare the toffee sauce.
Part 2: Preparing the Luxurious Toffee Sauce
- Melt Butter and Combine: In a medium saucepan, melt the unsalted butter over medium heat. Once melted, stir in the packed dark brown sugar and heavy whipping cream.
- Simmer to Thicken: Bring the mixture to a gentle boil, stirring constantly to ensure the sugar dissolves. Once boiling, reduce the heat to low and simmer for about 5 to 6 minutes, stirring occasionally. The sauce will gradually thicken to a luscious, pourable consistency. Be careful not to let it boil too vigorously to prevent it from burning or becoming too thick.
- Finish the Sauce: Remove the saucepan from the heat. Stir in the pure vanilla extract and salt. The salt enhances the deep flavors of the toffee, providing a beautiful contrast to the sweetness.
Part 3: Assembly and Serving
- Prepare the Cakes: Once the ramekins have cooled enough to handle, you can optionally level the tops of each cake using a serrated knife for a perfectly flat surface, though this is not strictly necessary. Carefully run a butter knife around the edges of each cake to loosen it from the ramekin. Invert the ramekins onto individual serving plates to release the puddings.
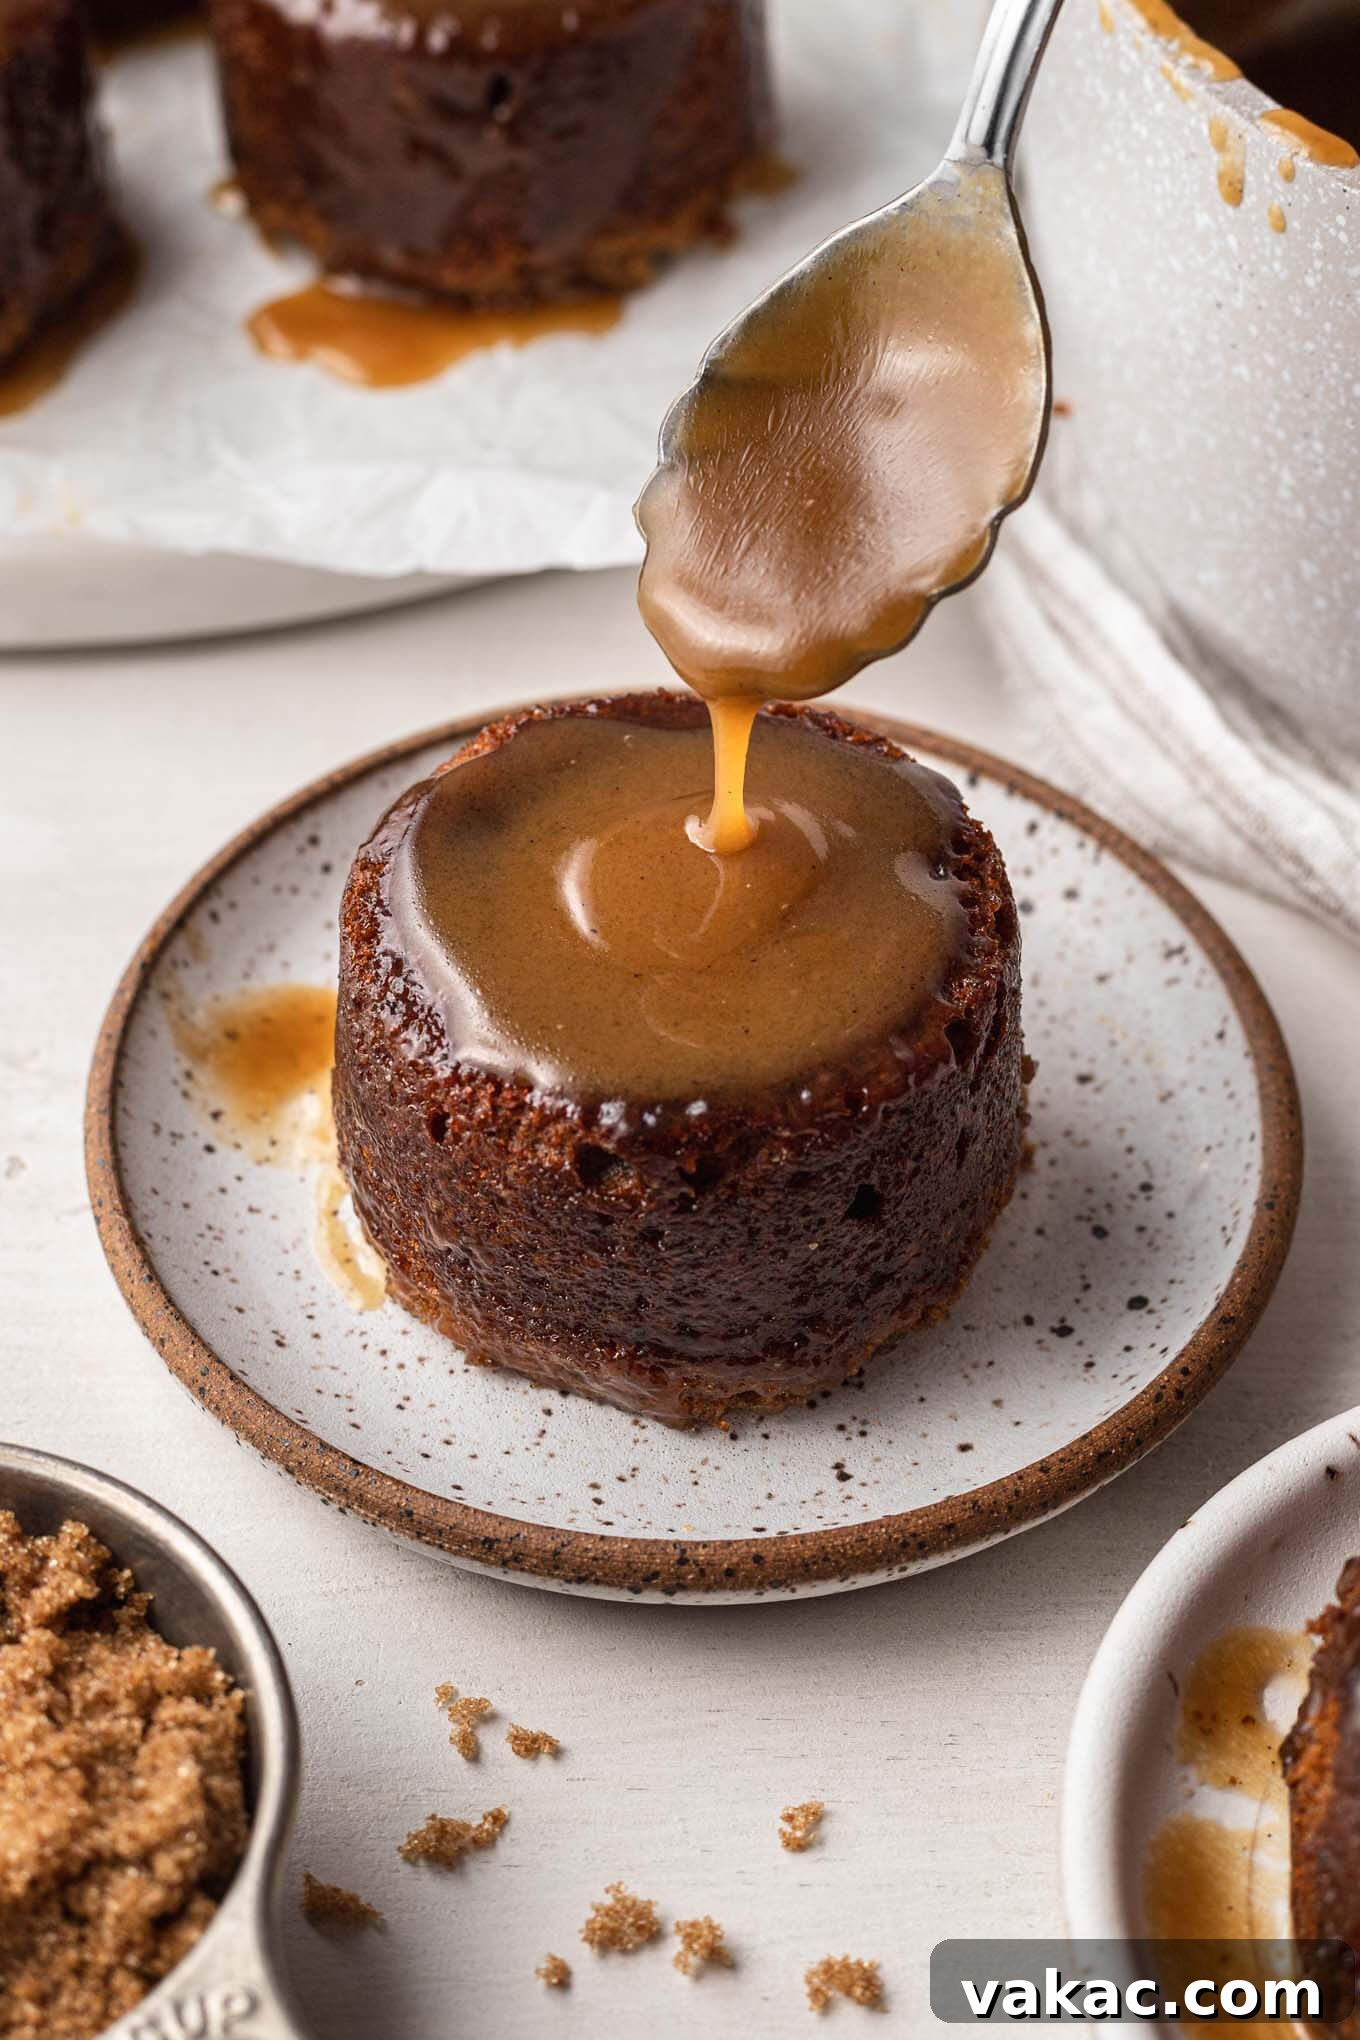
- Sauce the Puddings: While the cakes are still slightly warm, generously brush or spoon the warm toffee sauce over the top and sides of each pudding. The warmth of the cakes allows them to absorb the sauce beautifully, making them even stickier and more flavorful.
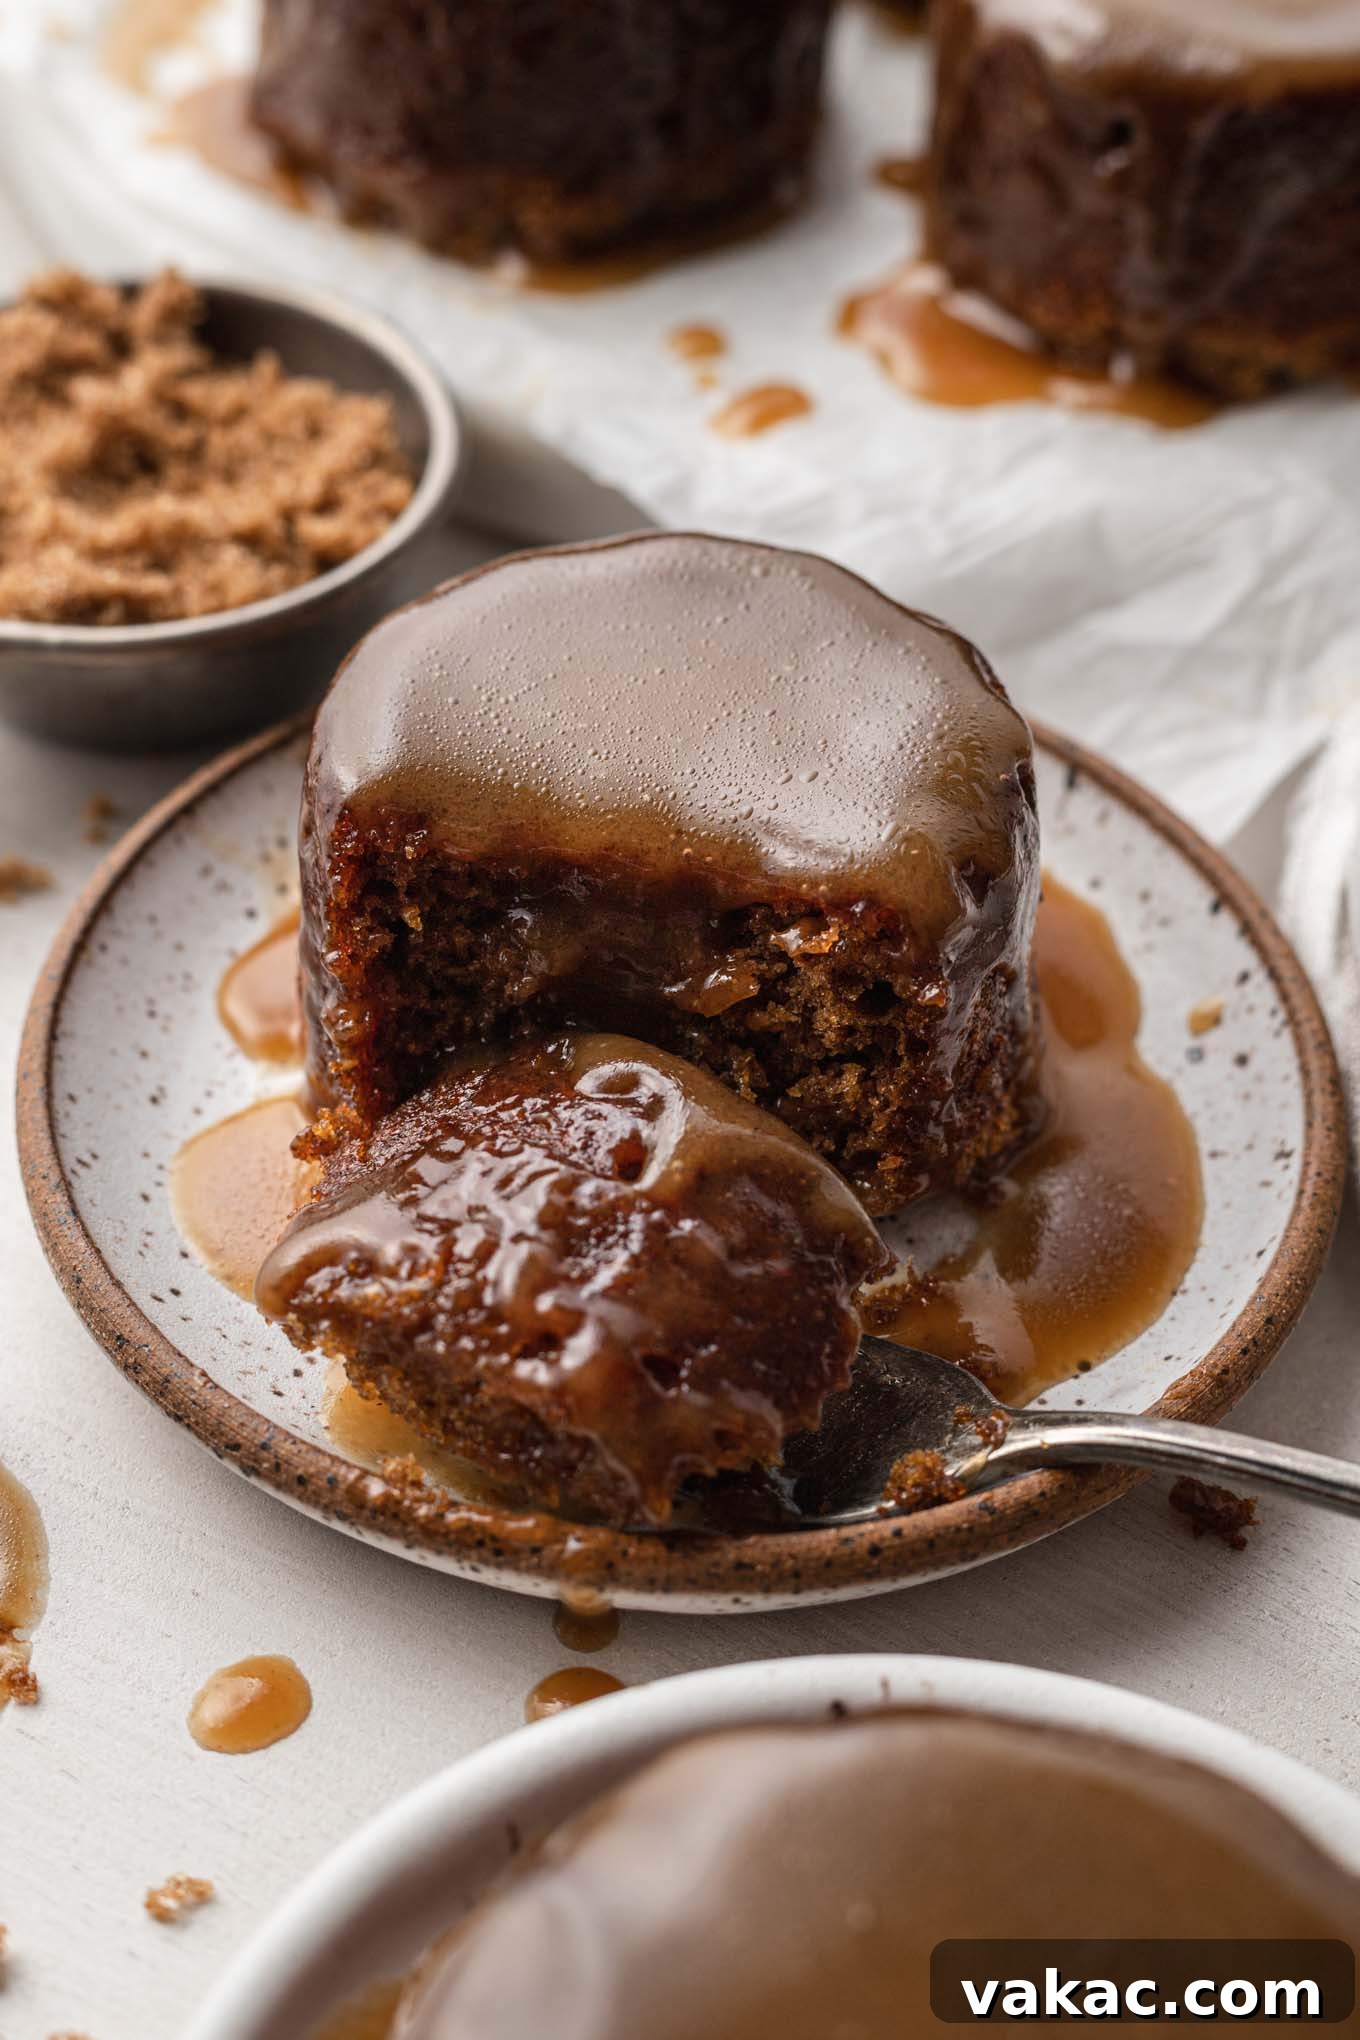
- Serve Immediately: Before serving, drizzle the remaining toffee sauce over each pudding. Serve warm with your preferred accompaniment.
Serving Suggestions for Sticky Toffee Pudding
While delicious on its own, Sticky Toffee Pudding truly shines with the right accompaniments. Here are some classic and delightful serving suggestions:
- Vanilla Ice Cream: The quintessential pairing! The cold, creamy ice cream provides a wonderful contrast to the warm, rich pudding and sauce.
- Custard: A traditional British choice, warm pouring custard is a sublime partner, adding an extra layer of comfort and creaminess.
- Clotted Cream: For an even richer, more luxurious experience, a dollop of thick clotted cream is an excellent addition, cutting through the sweetness with its tangy notes.
- Crème Fraîche: A lighter, slightly tart alternative to cream, crème fraîche adds a refreshing contrast that prevents the dessert from being overly rich.
- Whipped Cream: A simple swirl of freshly whipped cream can also do wonders.
- Chopped Nuts: A sprinkle of toasted pecans or walnuts can add a pleasant textural crunch and nutty flavor.
- Fresh Berries: A few fresh raspberries or blackberries offer a bright, acidic counterpoint to the pudding’s richness, especially lovely if serving in warmer months.
Make Ahead, Storage, and Freezing Tips
Sticky Toffee Pudding is at its absolute best when served warm and fresh, but it’s also a fantastic dessert to prepare in advance. Here’s how to store and reheat it:
Storage Instructions:
- For the Cakes: Cooled sticky toffee puddings (without the sauce applied) can be stored in an airtight container in the refrigerator for up to 4 days. Store the toffee sauce separately.
- For the Toffee Sauce: Any leftover toffee sauce can be stored in an airtight container in the fridge for up to a week.
Reheating Instructions:
- Cakes: To reheat individual puddings, place them in a microwave-safe dish and warm gently in the microwave for 30-60 seconds, or until heated through. Alternatively, you can warm them in a preheated oven at 300°F (150°C) for about 10-15 minutes.
- Toffee Sauce: Reheat the sauce gently in a small saucepan over low heat on the stovetop, stirring frequently, until warmed through and pourable. You can also warm it in the microwave in short bursts, stirring in between. Always re-drizzle warmed sauce over warm pudding just before serving.
Freezing Instructions:
- Cakes: Once the cakes have cooled completely, remove them from their ramekins. Wrap each pudding tightly in plastic wrap, then place them in a large freezer bag or an airtight freezer-safe container. They can be frozen for up to 3 months.
- Toffee Sauce: The toffee sauce can also be frozen in an airtight container for up to 3 months.
- To Thaw: Thaw frozen puddings and sauce overnight in the refrigerator. Reheat as per the instructions above before serving.
Baking Without Individual Ramekins
No ramekins? No problem! You can still enjoy this delicious dessert. Here are alternatives:
- 9×13 Inch Baking Pan: Pour the entire batter into a greased 9×13 inch baking pan. Bake at 350°F (180°C) for approximately 25-35 minutes, or until a toothpick inserted into the center comes out clean. Once cooled, slice into individual portions and serve with the warm toffee sauce.
- Muffin Tin: For smaller, individual portions, you can also use a greased muffin tin. Fill each cup about two-thirds full and adjust the baking time to around 15-20 minutes, or until a toothpick comes out clean.
Expert Baking Tips for Success
Achieve Sticky Toffee Pudding Perfection
- Cream Butter and Sugar Thoroughly: Don’t rush this step! Beat the softened butter and brown sugar together for a full 3 to 4 minutes. This process incorporates air into the mixture, resulting in a lighter, softer sponge cake.
- Don’t Overfill Ramekins: Only fill each ramekin about two-thirds of the way full. This prevents the batter from overflowing during baking and ensures a beautifully domed top.
- Use a Baking Sheet: Always place your ramekins on a sturdy baking sheet before putting them in the oven. This makes it much easier and safer to transfer them in and out of the hot oven.
- Time Your Sauce: Prepare the toffee sauce while the puddings are cooling slightly. This way, both components will be warm and ready for assembly at the same time, ensuring optimal absorption of the sauce into the cake.
- Leveling is Optional: You can trim the tops of the cakes with a serrated knife to create a perfectly flat surface, which can look very appealing and allows for even sauce distribution. However, if you prefer a more rustic look, feel free to skip this step.
- Warm Sauce, Warm Cake: For the best results, ensure both your pudding and your toffee sauce are warm when you combine them. This enhances the “stickiness” and allows the sauce to seep into the cake.
- Do Not Overmix the Batter: Once the flour is added, mix only until just combined. Overmixing develops gluten, which can lead to a tough, dry cake.
- Ensure Dates are Soft: The process of boiling and steeping the dates is critical. They should be very soft and easily blended into a smooth paste; this is key to the cake’s moistness and texture.
Frequently Asked Questions (FAQ)
Here are some common questions about making Sticky Toffee Pudding:
- Can I use different types of dates? While Medjool dates are recommended for their soft texture and rich flavor, Deglet Noor dates can also be used. Just ensure they are pitted and finely chopped. The flavor and moisture might vary slightly.
- Why is my cake dry? A dry cake is usually a sign of overbaking. Keep an eye on the puddings during the last few minutes of baking and remove them as soon as a toothpick comes out clean. Ensure your ingredients, especially butter and eggs, are at room temperature.
- My toffee sauce is too thin/thick. What can I do? If the sauce is too thin, return it to the stovetop and simmer gently for a few more minutes, stirring, until it reaches your desired consistency. If it’s too thick, you can whisk in a tablespoon or two of warm heavy cream until it thins out.
- Can I make this recipe gluten-free? This recipe is designed for all-purpose flour. Converting it to gluten-free would require specific gluten-free flour blends and potentially other adjustments to maintain the correct texture and moisture.
- Can I make this recipe vegan? This recipe relies heavily on butter, eggs, and heavy cream. A vegan version would require significant substitutions for these ingredients (e.g., plant-based butter, egg substitutes, vegan cream), fundamentally altering the recipe.
- How do I prevent my sauce from crystallizing? Ensure all the sugar is completely dissolved before the sauce comes to a boil. Avoid stirring the sauce once it begins to boil and during the simmering stage, as this can encourage sugar crystals to form.
More Delicious Desserts That Use Ramekins!
If you love using ramekins, try these other delightful individual desserts:
- Chocolate Mousse
- Crème Brûlée
- Single Serving Deep Dish Chocolate Chip Cookie
- Molten Chocolate Lava Cakes
- Pumpkin Crème Brûlée
Sticky Toffee Pudding Recipe
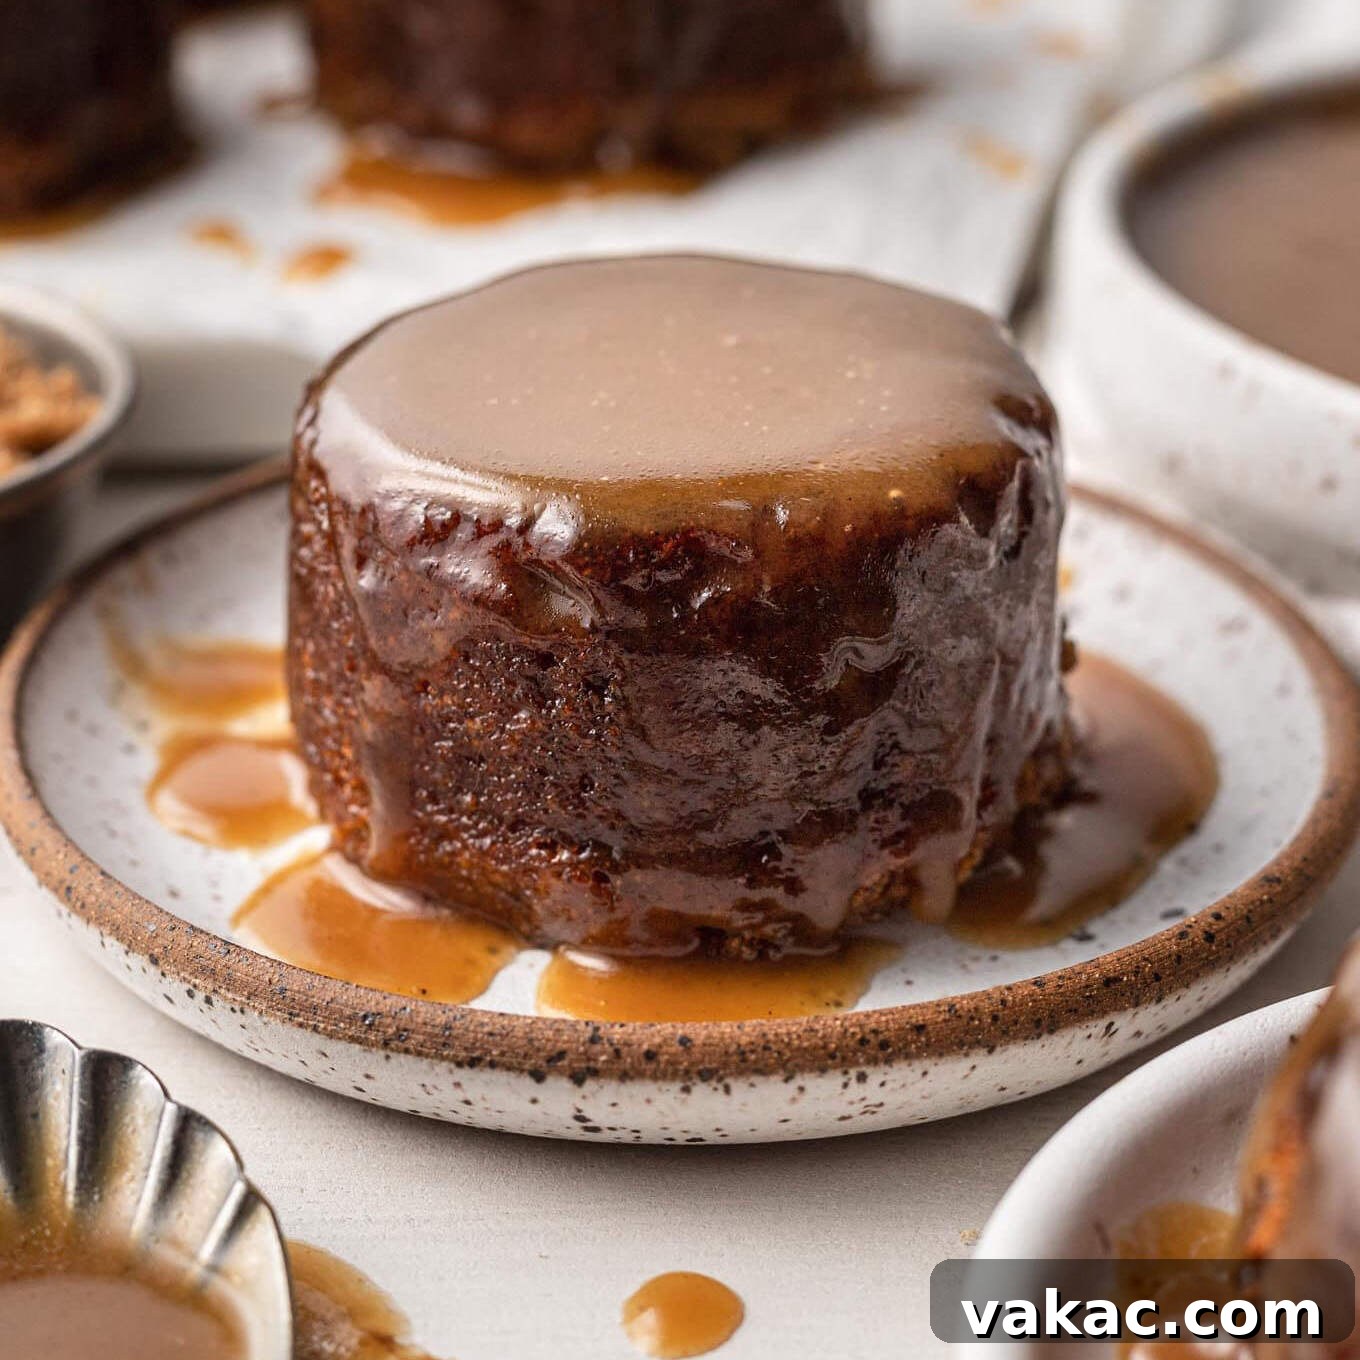
Sticky Toffee Pudding
Prep Time: 40 mins
Cook Time: 25 mins
Total Time: 1 hr 5 mins
This British classic features a delightfully dense sponge cake made with dates that’s topped with a rich toffee sauce. Serve your sticky toffee pudding with vanilla ice cream or enjoy as is!
Ingredients
Yields: 10 puddings
For the Cake
- 8 ounces pitted and chopped dates (preferably Medjool, 226 grams)
- 1 cup water (240 ml)
- 1 teaspoon baking soda
- 1 ¾ cups all-purpose flour (spooned & leveled, 220 grams)
- 1 teaspoon baking powder
- ¼ teaspoon salt
- ½ cup unsalted butter, softened (115 grams; 1 stick)
- ½ cup packed dark brown sugar (100 grams)
- ¼ cup unsulphured molasses (80 grams)
- 3 large eggs, at room temperature
- 2 teaspoon pure vanilla extract
For the Toffee Sauce
- ½ cup unsalted butter (115 grams; 1 stick)
- 1 cup packed dark brown sugar (200 grams)
- 1 ½ cups heavy whipping cream (360 grams)
- 1 teaspoon pure vanilla extract
- ⅛ teaspoon salt
Instructions
- To make the cakes: Preheat the oven to 350°F (180°C) and grease ten 6-ounce ramekins with nonstick cooking spray.
- Add the chopped dates and water to a medium saucepan and place over medium-high heat until the water begins to boil. Place a cover on top of the pot and remove from the heat. Allow to sit for 10 minutes.
- Transfer the water-date mixture to a food processor or a vented blender. Add the baking soda and blend until a smooth paste is formed. Set aside to cool slightly.
- In a large mixing bowl, whisk together the flour, baking powder, and salt. Set aside.
- In the bowl of an electric stand mixer fitted with a paddle attachment, or using a handheld electric mixer, beat the butter and brown sugar together for 3 to 4 minutes or until light and fluffy. Then, mix in the molasses.
- Add the eggs, one at a time, making sure to mix each one in until fully combined. Then, mix in the vanilla extract.
- Mix in the dry ingredients in two additions, alternating with the date mixture. Make sure to start and end with the dry ingredients and only mix in each addition until just combined.
- Divide the batter evenly between the ramekins, filling each ramekin about ⅔ of the way full. If you’re weighing the batter, it should be about 105 grams of batter per ramekin.
- Place all the ramekins on a baking sheet and bake for 23 to 28 minutes or until a toothpick inserted into the center of the cakes comes out clean.
- Remove from the oven and cool slightly on a wire rack while you prepare the toffee sauce.
- To make the toffee sauce: Melt the butter in a medium saucepan over medium heat, then mix in the brown sugar and heavy cream. Bring the mixture to a boil, then lower the heat and simmer for about 5 to 6 minutes, or until slightly thickened.
- Remove from the heat and stir in the vanilla extract and salt.
- To prepare them: Once the ramekins have cooled enough to handle, level the tops of each cake (optional). Carefully run a butter knife around the edges to loosen the cakes from the ramekins and flip the cakes out of the ramekins onto serving plates.
- While the cakes are still a little warm, use a pastry brush or spoon to brush the top and sides of each cake with the toffee sauce.
- Before serving, top with the remaining toffee sauce.
Notes
Storage Instructions: Cakes may be stored in an airtight container in the fridge for up to 4 days. Reheat gently in the microwave or oven and top with additional toffee sauce before serving.
Toffee sauce may be stored in an airtight container in the fridge as well. Reheat in the microwave or in a saucepan on the stove until warmed through.
Freezing Instructions: Once the cakes have cooled completely, remove them from the ramekins, wrap tightly with plastic wrap, and freeze in a large freezer bag/container for up to 3 months. Thaw overnight in the refrigerator. Reheat in the microwave and top with toffee sauce right before serving.
Don’t have ramekins? Pour the batter into a greased 9×13 inch baking pan and bake at 350°F for approximately 25-35 minutes or until a toothpick inserted into the center comes out clean. Once cooled, slice into pieces and serve with the toffee sauce.
Cuisine: British
Course: Dessert
Author: Danielle Rye
There you have it – a comprehensive guide to mastering the classic Sticky Toffee Pudding. This deeply satisfying dessert is a testament to the power of simple, quality ingredients transformed into something truly extraordinary. The combination of the moist, date-infused sponge and the rich, buttery toffee sauce creates a symphony of flavors and textures that is both comforting and utterly decadent. Whether you’re sharing it with loved ones or savoring a moment of indulgence alone, this pudding is sure to become a cherished addition to your recipe repertoire. Enjoy the process, and more importantly, enjoy every delicious spoonful!