
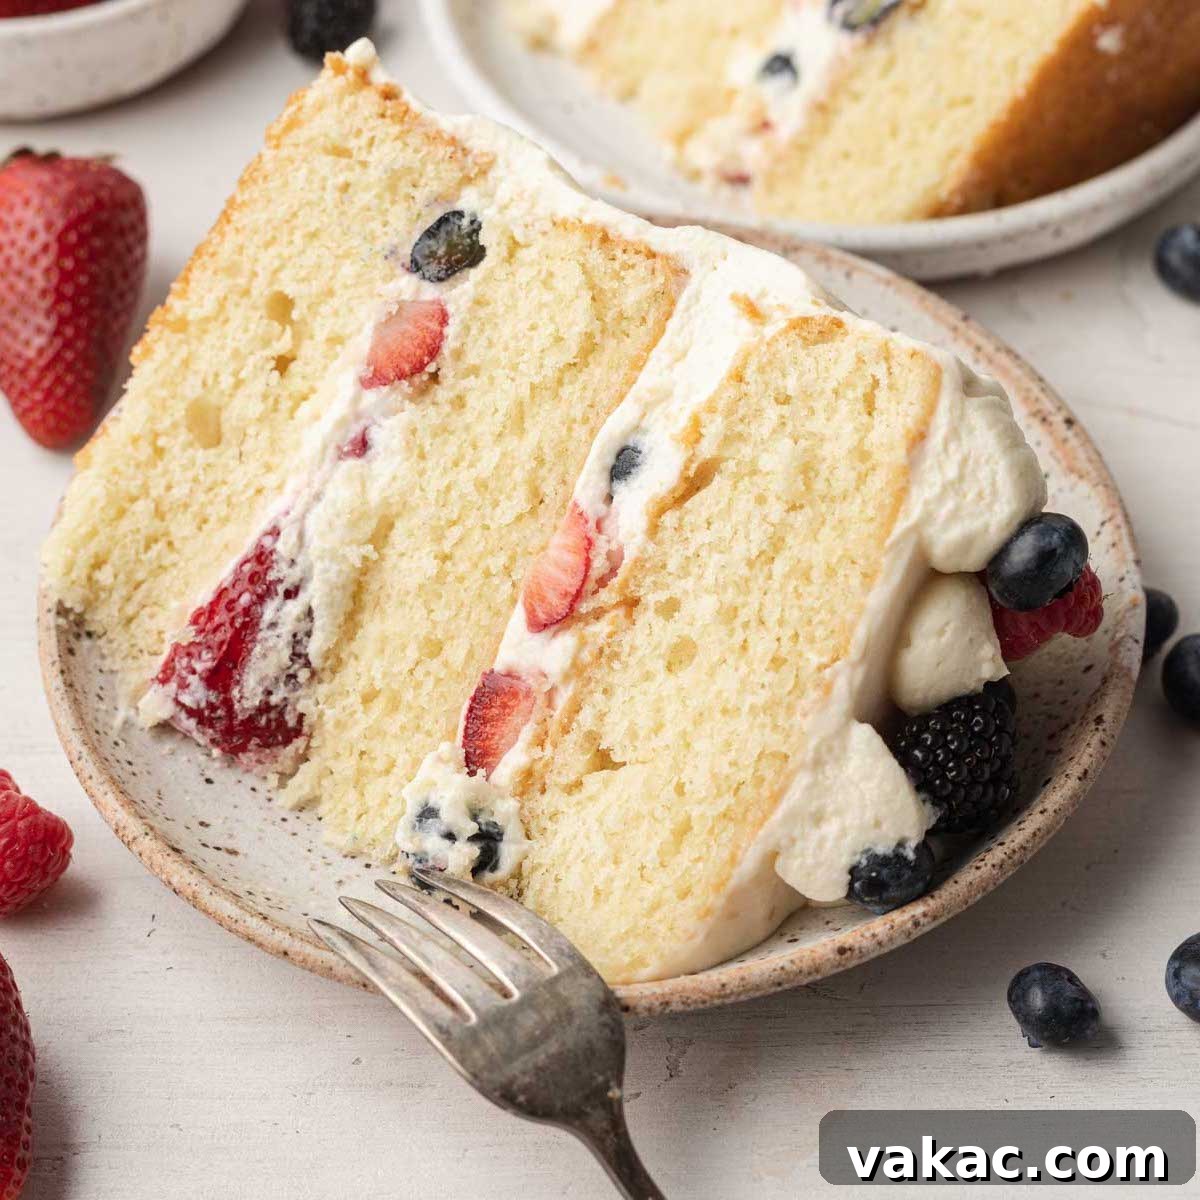
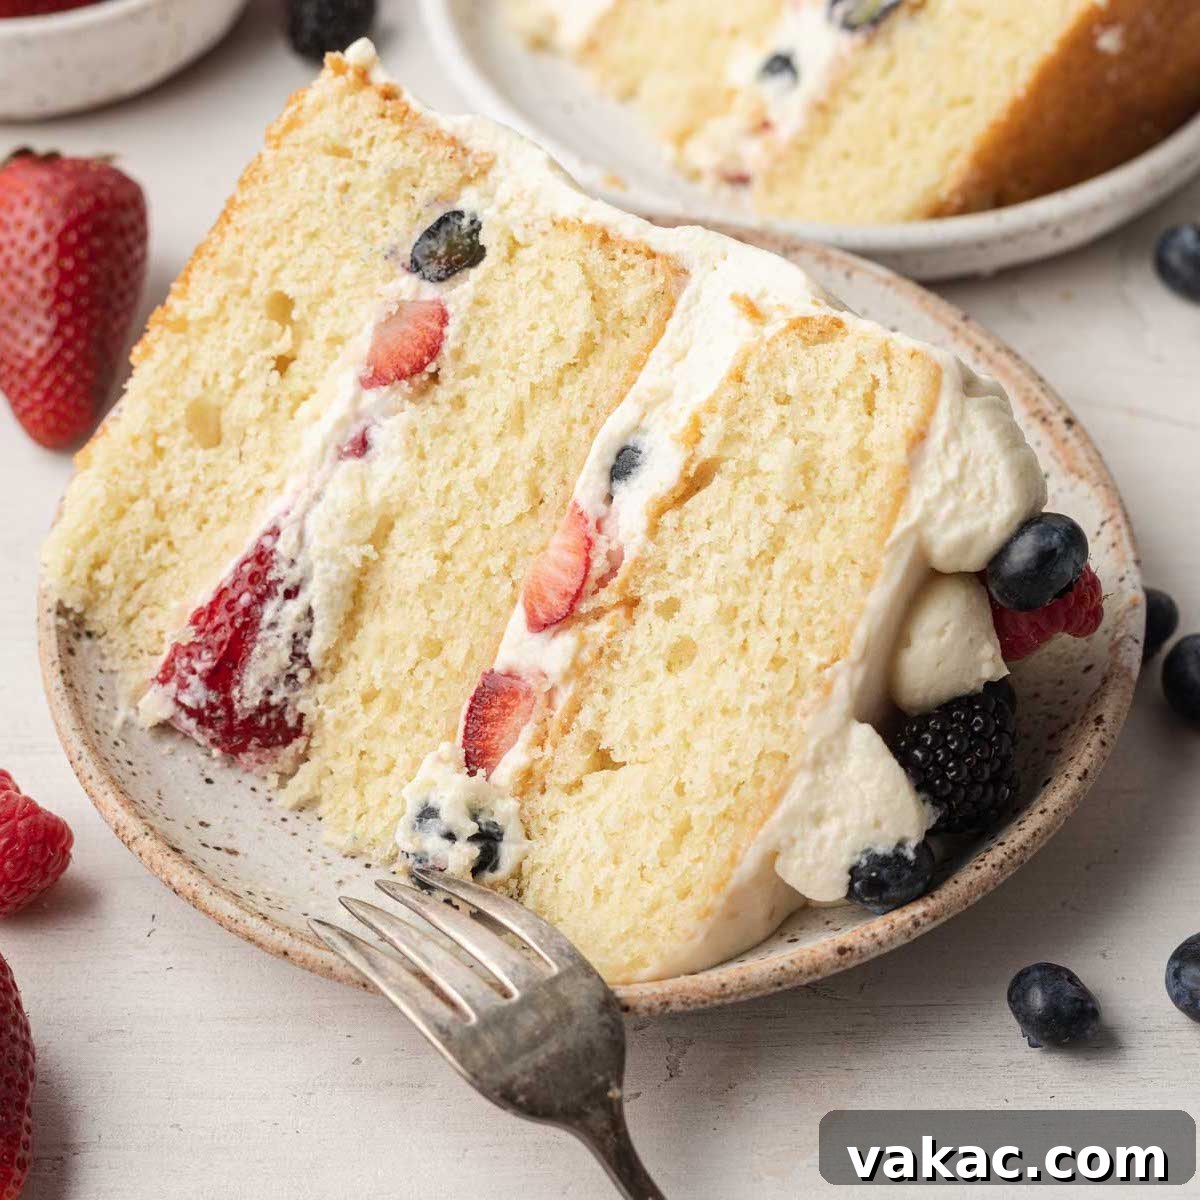
Indulge in the sublime elegance of this Chantilly cake, featuring delightfully moist vanilla cake layers embraced by a luxurious mascarpone-cream cheese frosting and bursting with fresh, vibrant berries. This sophisticated yet approachable dessert is a true showstopper, perfect for brightening any spring or summer gathering, or celebrating any special occasion.
This post is proudly sponsored by Danish Creamery, a brand synonymous with exceptional quality in dairy. As always, all culinary opinions and baking insights shared are my own.
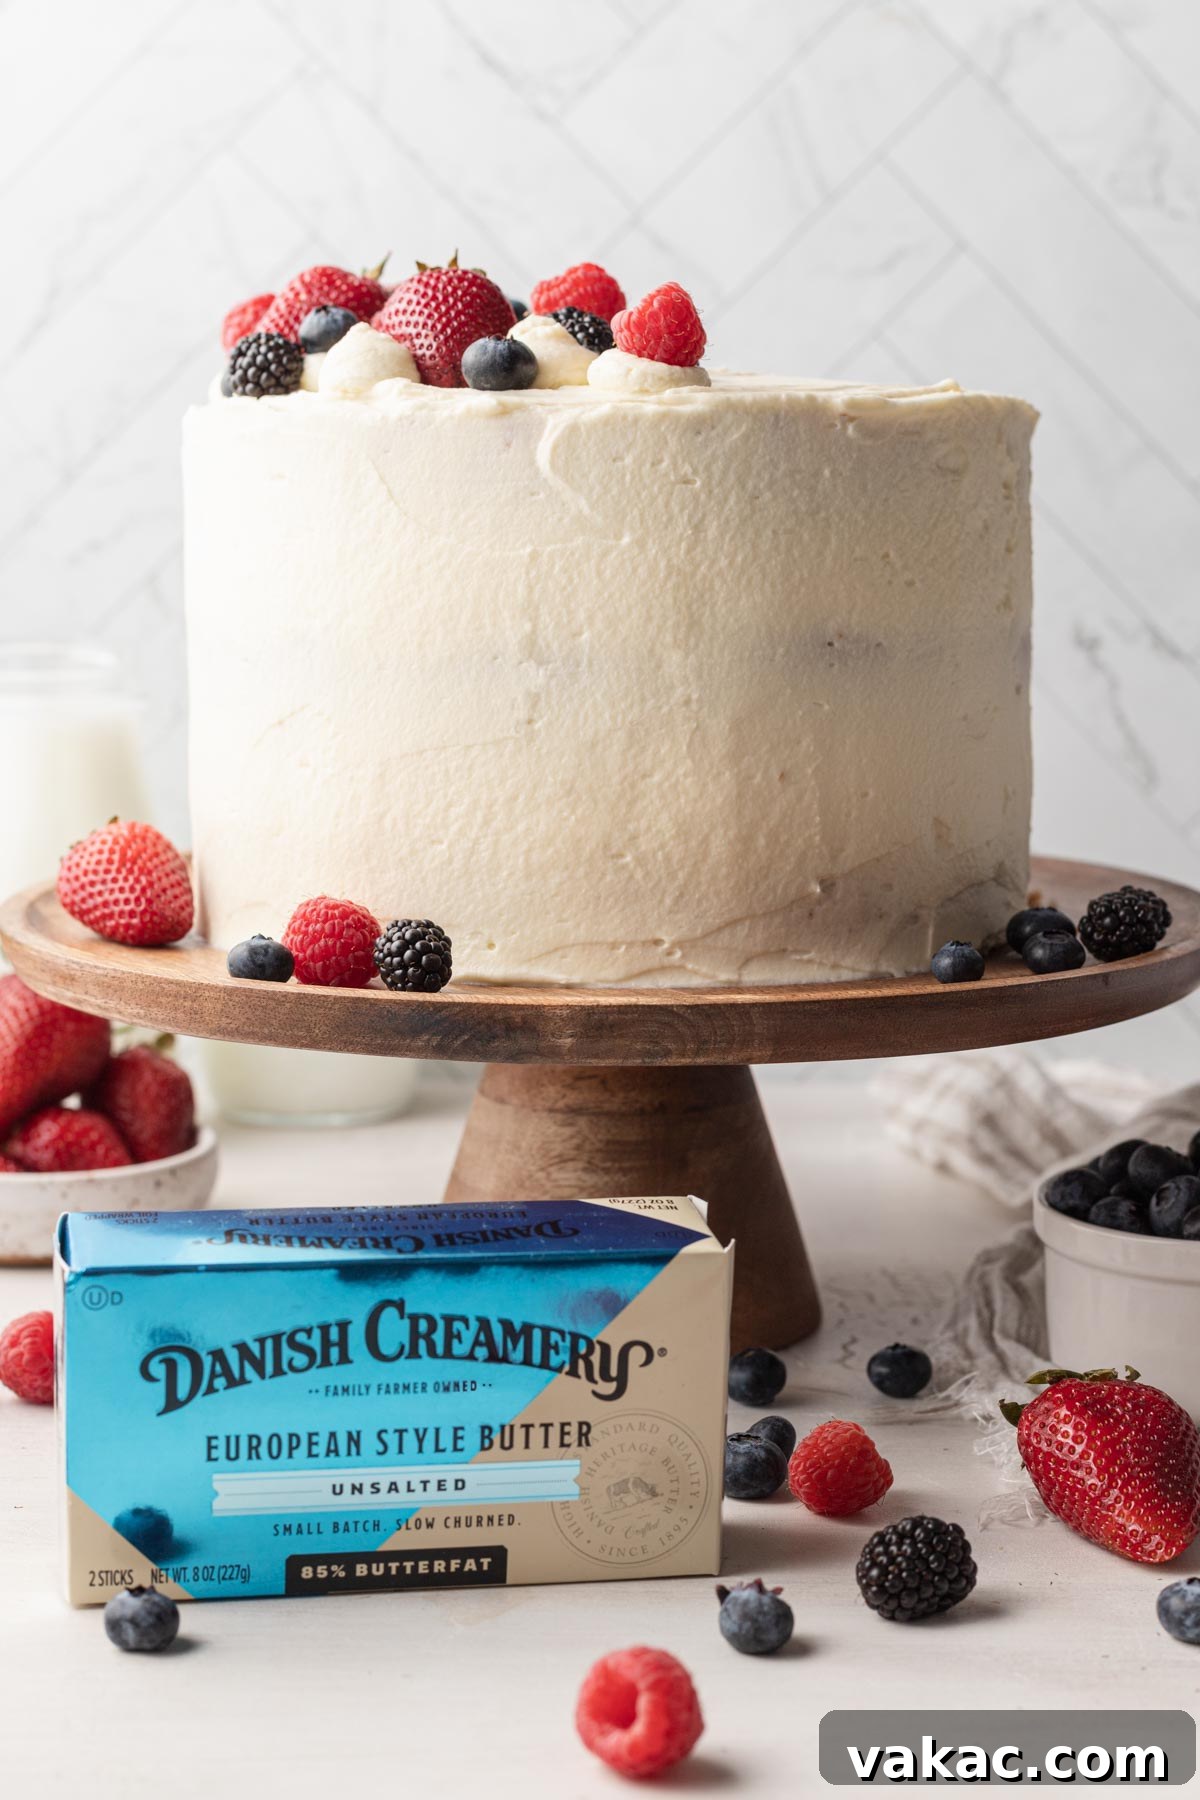
Mastering the Classic Chantilly Cake: Your Ultimate Guide
Few desserts capture the essence of light, fruity indulgence quite like a classic Chantilly cake. Beloved, especially in the Southern United States, this simple yet profoundly decadent layer cake brings together delicate vanilla cake, an incredibly rich Chantilly frosting, and a medley of seasonal fresh berries. It’s the quintessential warm-weather dessert, offering a refreshing counterpoint to its creamy richness.
What Makes a Chantilly Cake So Special?
The term “Chantilly” in French traditionally refers to sweetened whipped cream, a delicate and airy confection. However, the American interpretation of Chantilly cake elevates this concept significantly. In this exquisite recipe, the Chantilly frosting transcends simple whipped cream, evolving into a luxurious blend of homemade whipped cream, creamy mascarpone cheese, and tangy cream cheese. This unique combination results in a frosting that is both incredibly rich and surprisingly light and fluffy, striking a perfect balance between indulgence and ethereal texture.
Beyond its unique frosting, a true Chantilly cake is defined by its vibrant fresh fruit filling. When berries are at their peak — plump, juicy, and bursting with natural sweetness — they create an unparalleled harmony with the opulent frosting. The bright acidity and varied textures of the fruit cut through the creaminess, making each bite an unforgettable experience. This isn’t just a cake; it’s a celebration of flavors and textures, promising a truly show-stopping dessert that captivates every palate.
Essential Ingredients for Your Chantilly Berry Cake
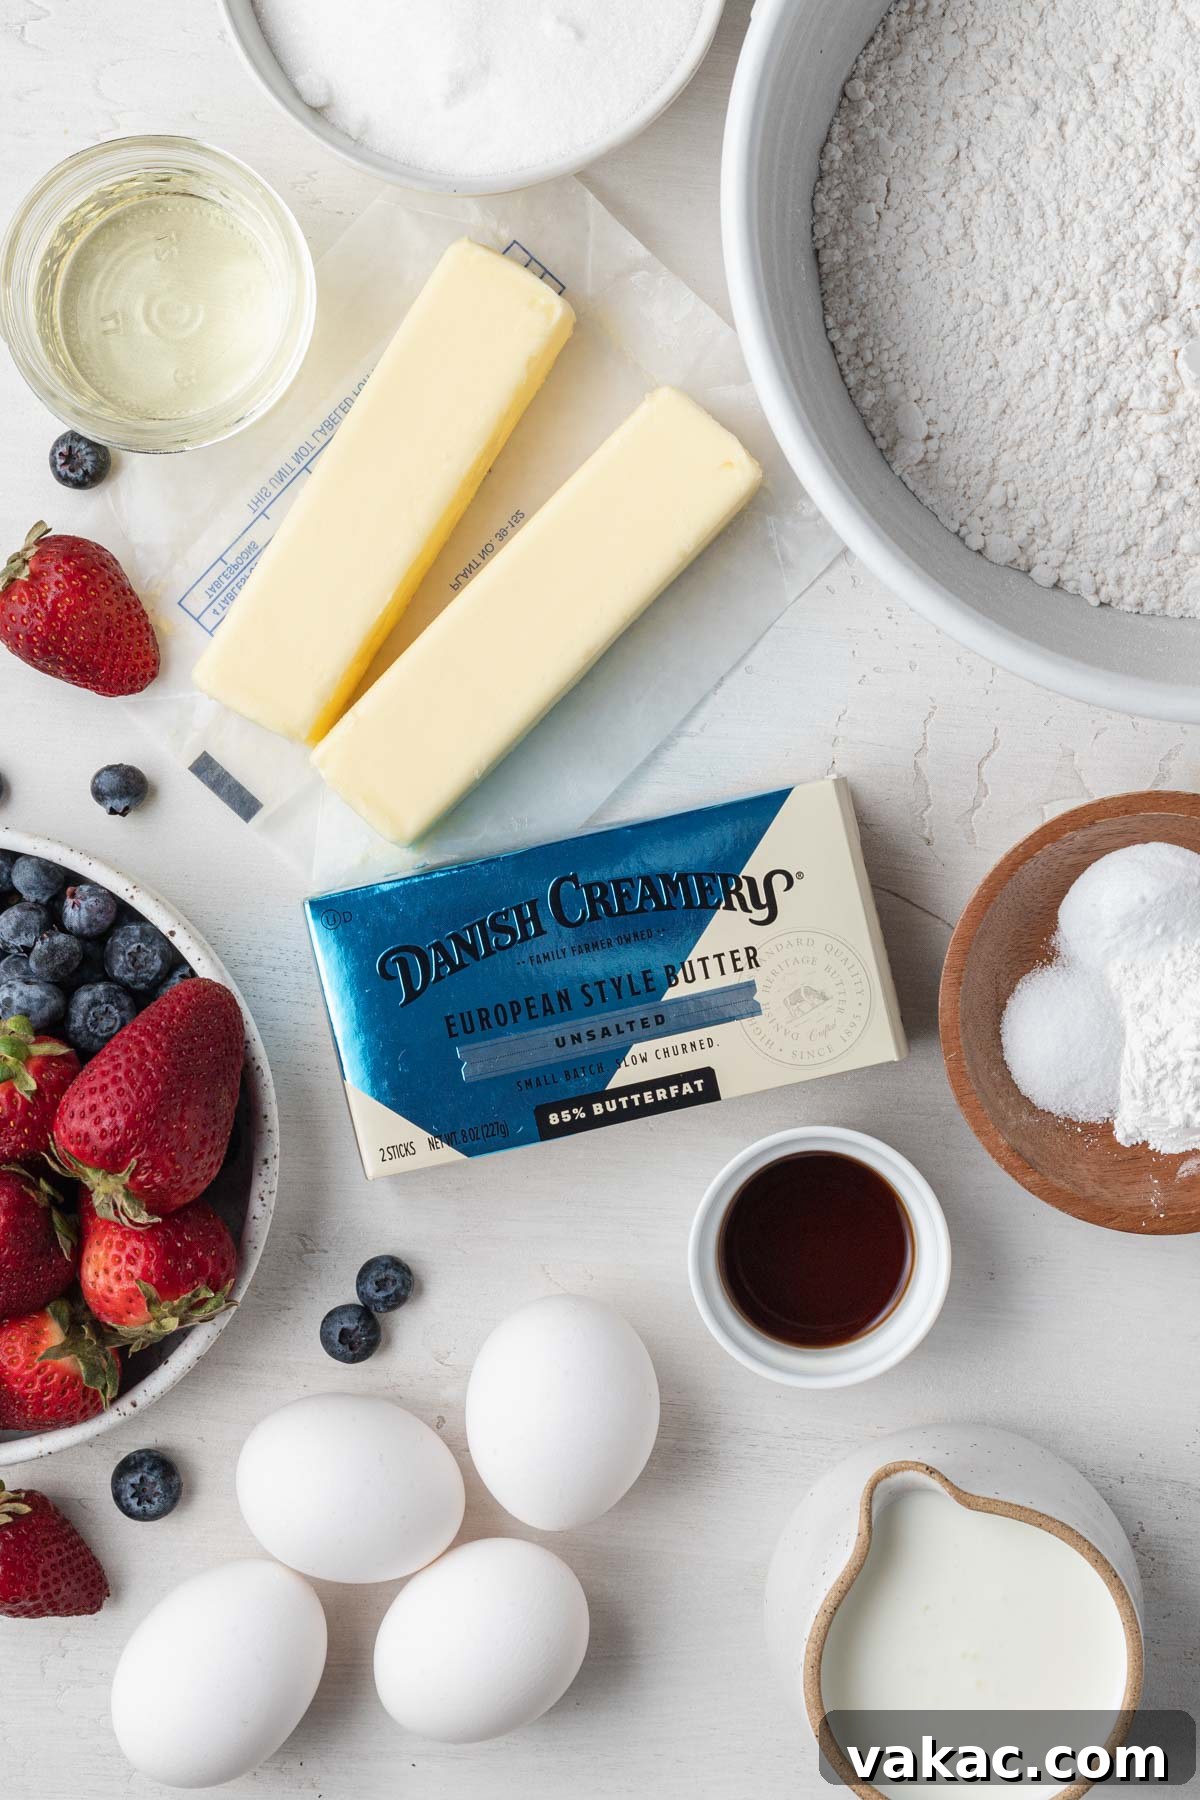
Creating this magnificent Chantilly berry cake involves three distinct, yet harmonious, components: the tender vanilla cake layers, the signature Chantilly frosting, and a luscious fresh fruit filling. While the full ingredient list is detailed in the recipe card below, let’s highlight some star players and delve into why they are crucial for achieving perfection.
- Almond Extract: While optional, a hint of almond extract adds a subtle yet sophisticated depth of flavor to both the cake and the frosting. Its delicate nutty note beautifully complements the sweet vanilla and tart berries, making it a highly recommended addition for an extra layer of complexity.
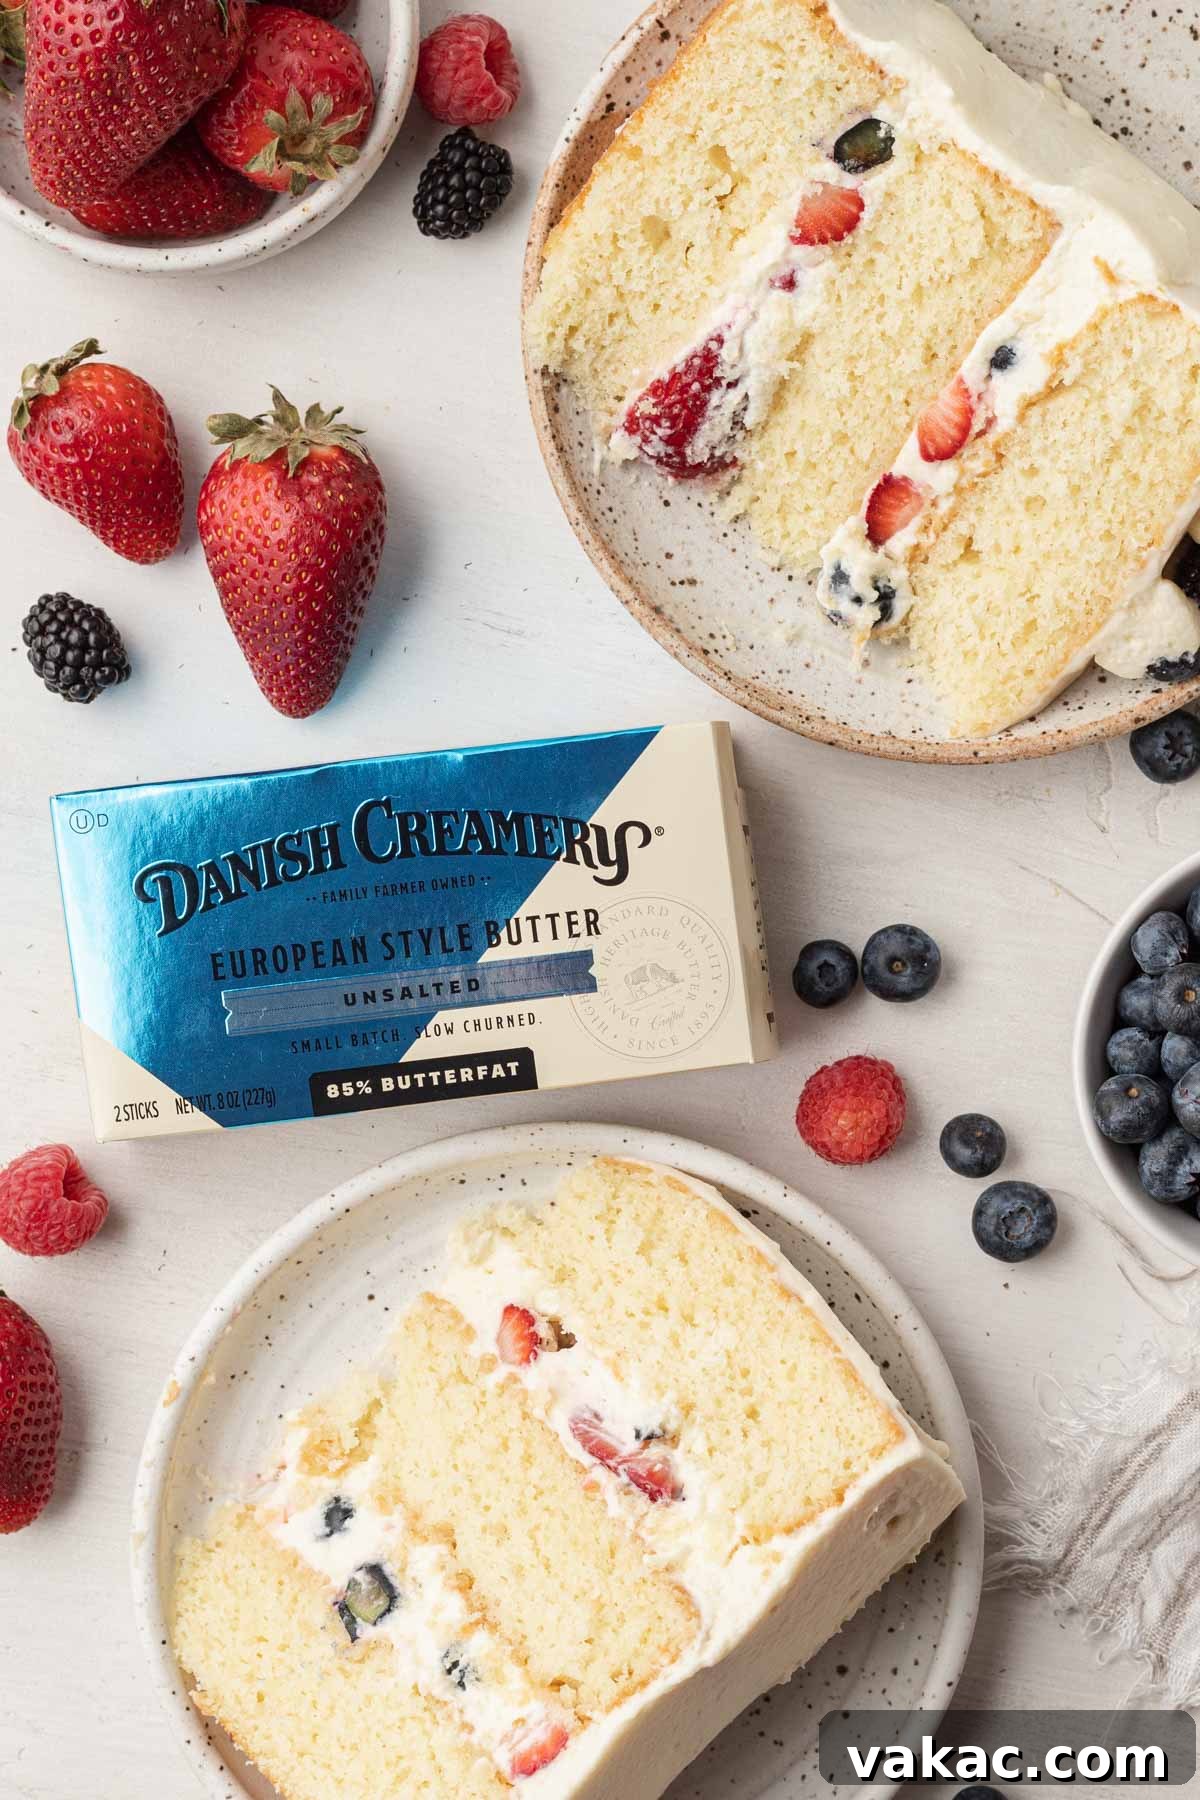
- Danish Creamery European Style Unsalted Butter: The foundation of any truly exceptional cake starts with superior butter. Danish Creamery’s European-style butter is my unwavering top choice for baking. What sets it apart is its impressive 85% butterfat content, which is notably higher than the typical 82-83% found in most other European-style butters. This higher butterfat translates into a richer flavor, a more tender crumb in the cake, and an incredibly smooth, luxurious texture in the frosting. Its slow-churned process in small batches ensures unparalleled quality, making it perfectly suited for elevating your baking.
- Cake Flour: The secret to light, airy, and exceptionally tender cake layers lies in using cake flour. With a lower protein content compared to all-purpose flour, cake flour develops less gluten, preventing a tough texture and ensuring your Chantilly cake has that coveted delicate crumb.
- Buttermilk: This humble ingredient is a powerhouse for moisture and tenderness. The acidity in buttermilk reacts with the leavening agents (baking soda and baking powder), contributing to the cake’s lift and creating an ultra-tender, melt-in-your-mouth crumb that’s simply irresistible.
- Mascarpone and Cream Cheese: The Chantilly frosting’s unique character comes from the masterful combination of these two spreadable cheeses. Mascarpone delivers a rich, buttery decadence, while cream cheese adds a delightful tang and stability. Using both is paramount; neither can fully replicate the complex flavor profile and luxurious mouthfeel that this dynamic duo creates. This blend ensures a frosting that is both indulgent and beautifully balanced.
Baking the Perfect Chantilly Cake: A Step-by-Step Guide
While this Chantilly cake recipe involves a few distinct stages, each step is straightforward and contributes to a truly spectacular result. Let’s walk through the baking process for the vanilla cake layers, ensuring they are perfectly moist and tender.
Preparing the Vanilla Cake Layers:
- Prepare the Pans: Begin by preheating your oven to 350ºF (175°C). This ensures a consistent baking temperature from the moment your batter enters the oven. Thoroughly spray three 8-inch round cake pans with non-stick baking spray, then line the bottoms with parchment paper. This crucial step prevents sticking and guarantees easy release of your delicate cake layers.
- Combine Dry Ingredients: In a large mixing bowl, whisk together the cake flour, baking powder, baking soda, and salt. Whisking ensures these ingredients are evenly distributed, which is vital for proper leavening and uniform texture. Set this aside.
- Combine Wet Ingredients: In a separate bowl or large measuring cup, whisk together the buttermilk, canola or vegetable oil, pure vanilla extract, and the optional almond extract. This pre-mix ensures all liquid flavors are well combined before incorporating into the main batter.
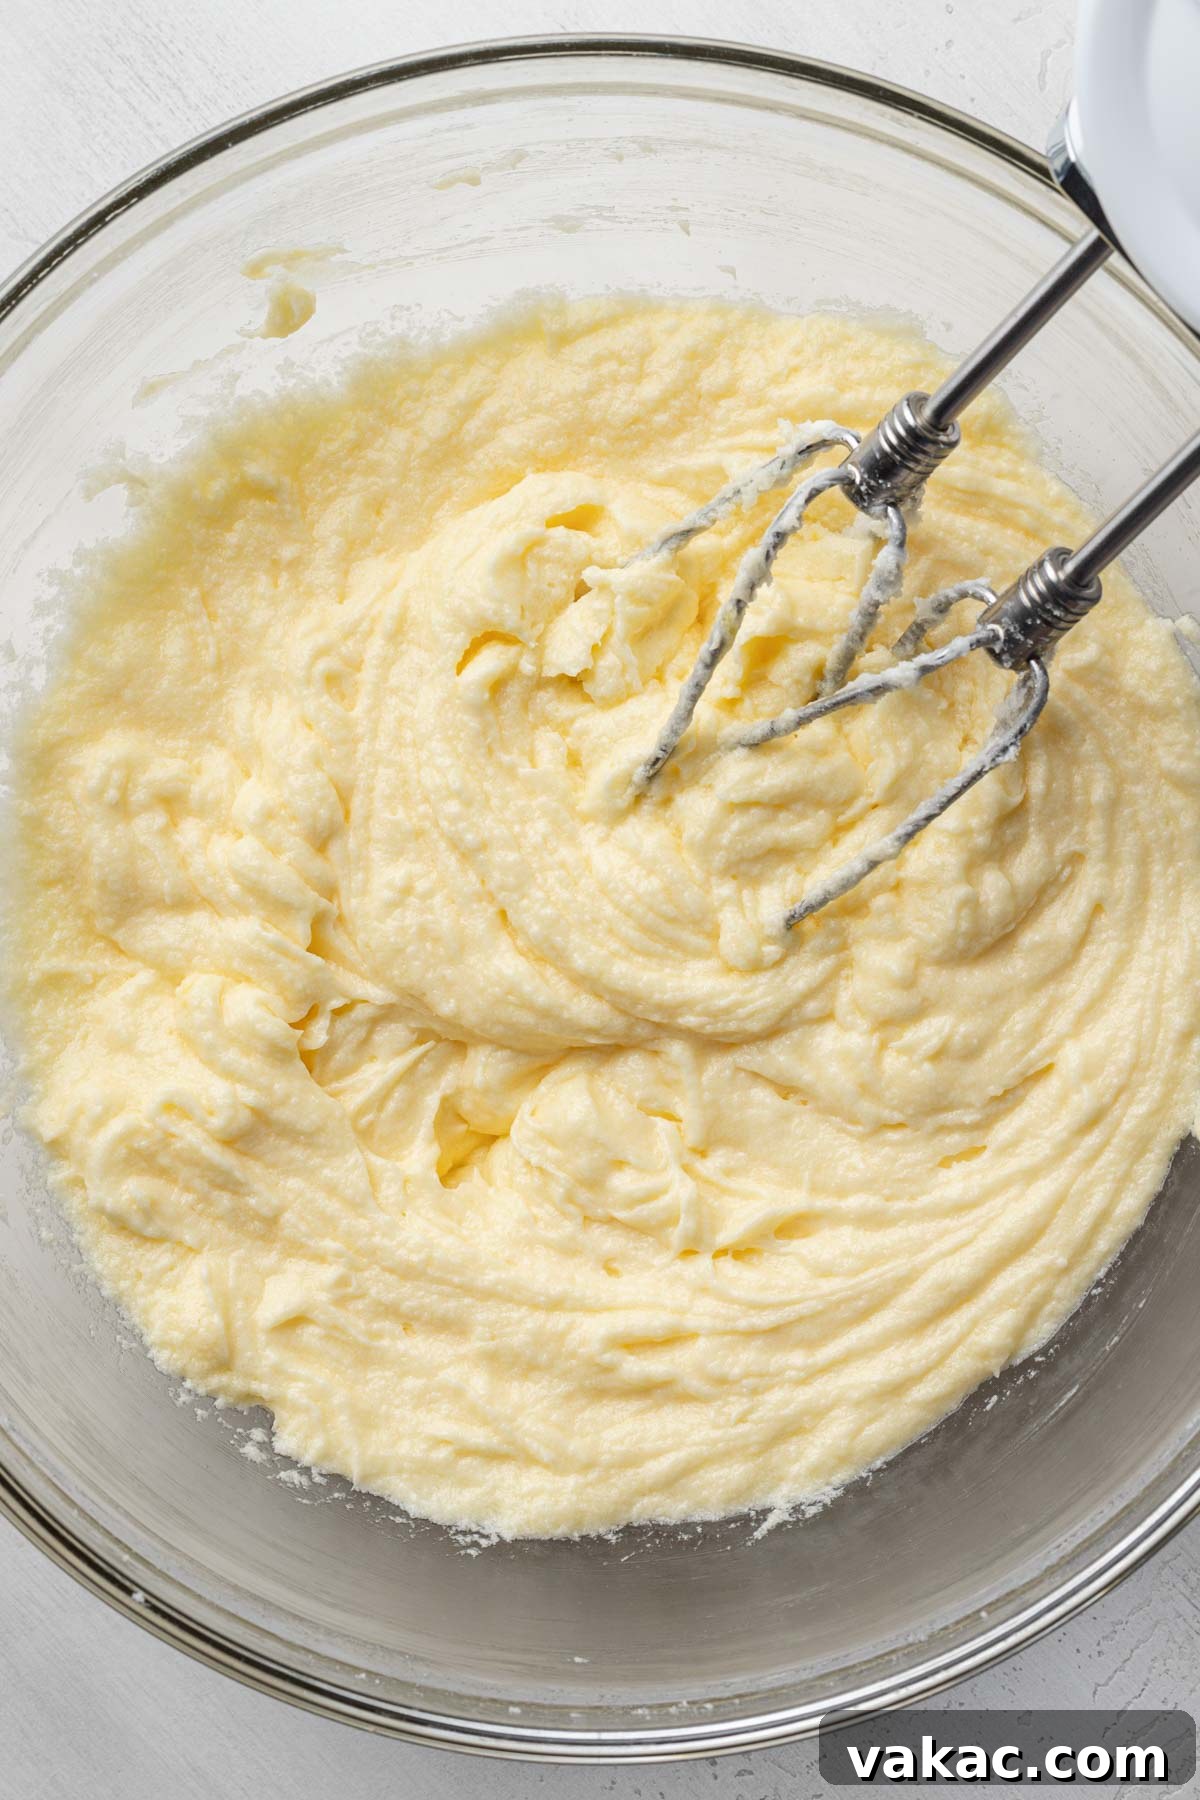
- Cream Butter and Sugars: Using a stand mixer fitted with a paddle attachment, or a handheld mixer, beat the softened Danish Creamery unsalted butter on low speed until smooth. Gradually add the granulated sugar, mixing until fully incorporated. Then, increase the speed to medium-high and beat for an additional 4 to 5 minutes. This creaming process incorporates air, resulting in a light and fluffy mixture that contributes to the cake’s tender crumb and airy texture. The mixture should become noticeably lighter in color and considerably fluffier.
- Incorporate Eggs: Add the large room temperature eggs one at a time, beating well after each addition until fully incorporated. Remember to scrape down the sides and bottom of the bowl frequently to ensure everything is evenly mixed and no pockets of unmixed ingredients remain.
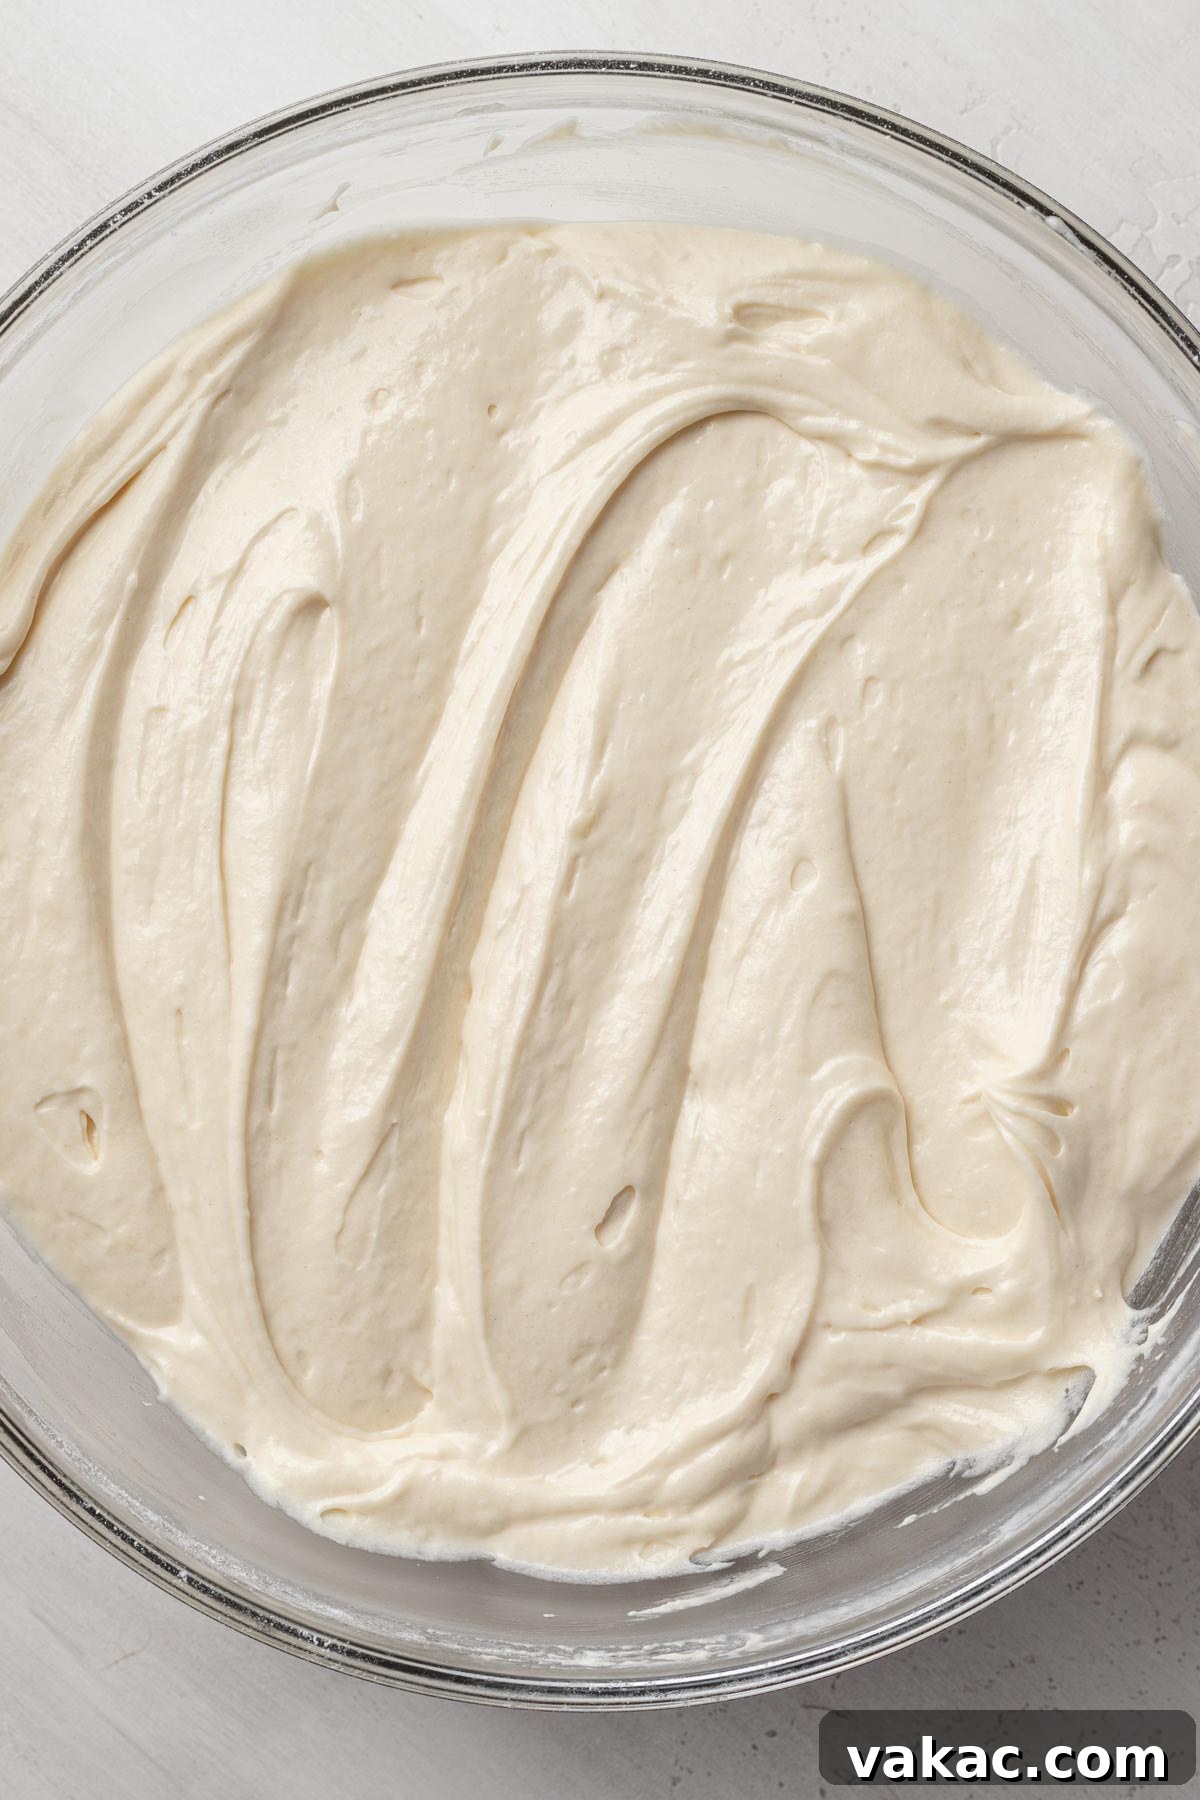
- Finish the Batter: This step requires careful attention to avoid overmixing. Add the dry ingredients to the butter mixture in three alternating additions with the buttermilk mixture, beginning and ending with the dry ingredients. Mix on low speed only until just combined after each addition. Overmixing at this stage can develop too much gluten, leading to a tough cake. A rubber spatula can be used to gently fold in any remaining streaks of dry ingredients at the very end, ensuring a uniform batter.
- Bake the Cake Layers: Divide the perfectly prepared batter evenly among your three prepared cake pans. Spread the batter gently into an even layer using an offset spatula. Bake for 25 to 30 minutes, or until a wooden toothpick inserted into the center of each cake layer comes out clean, indicating they are fully cooked.
- Cool the Cake Layers: Once baked, remove the pans from the oven and allow the cakes to cool in their pans for about 20 minutes. This allows them to firm up slightly before handling. After 20 minutes, carefully slide a knife around the edges of each cake, then invert them onto a wire cooling rack to cool completely. Ensure they are entirely cool before frosting to prevent your frosting from melting.
Crafting the Divine Chantilly Frosting:
While your cake layers are cooling, you can turn your attention to preparing the star of the show: the exquisite Chantilly frosting. Precision and temperature are key here.
- Whip the Heavy Cream: In the bowl of a stand mixer fitted with a whisk attachment, or using a handheld mixer, pour in the cold heavy whipping cream. Start mixing on low speed, then gradually increase to medium-high as the cream begins to thicken. Whip until firm, stiff peaks form. It’s crucial not to overmix, as this can result in a grainy texture. Once whipped, immediately transfer the stiffened cream to the refrigerator to keep it perfectly chilled while you prepare the remaining frosting components.
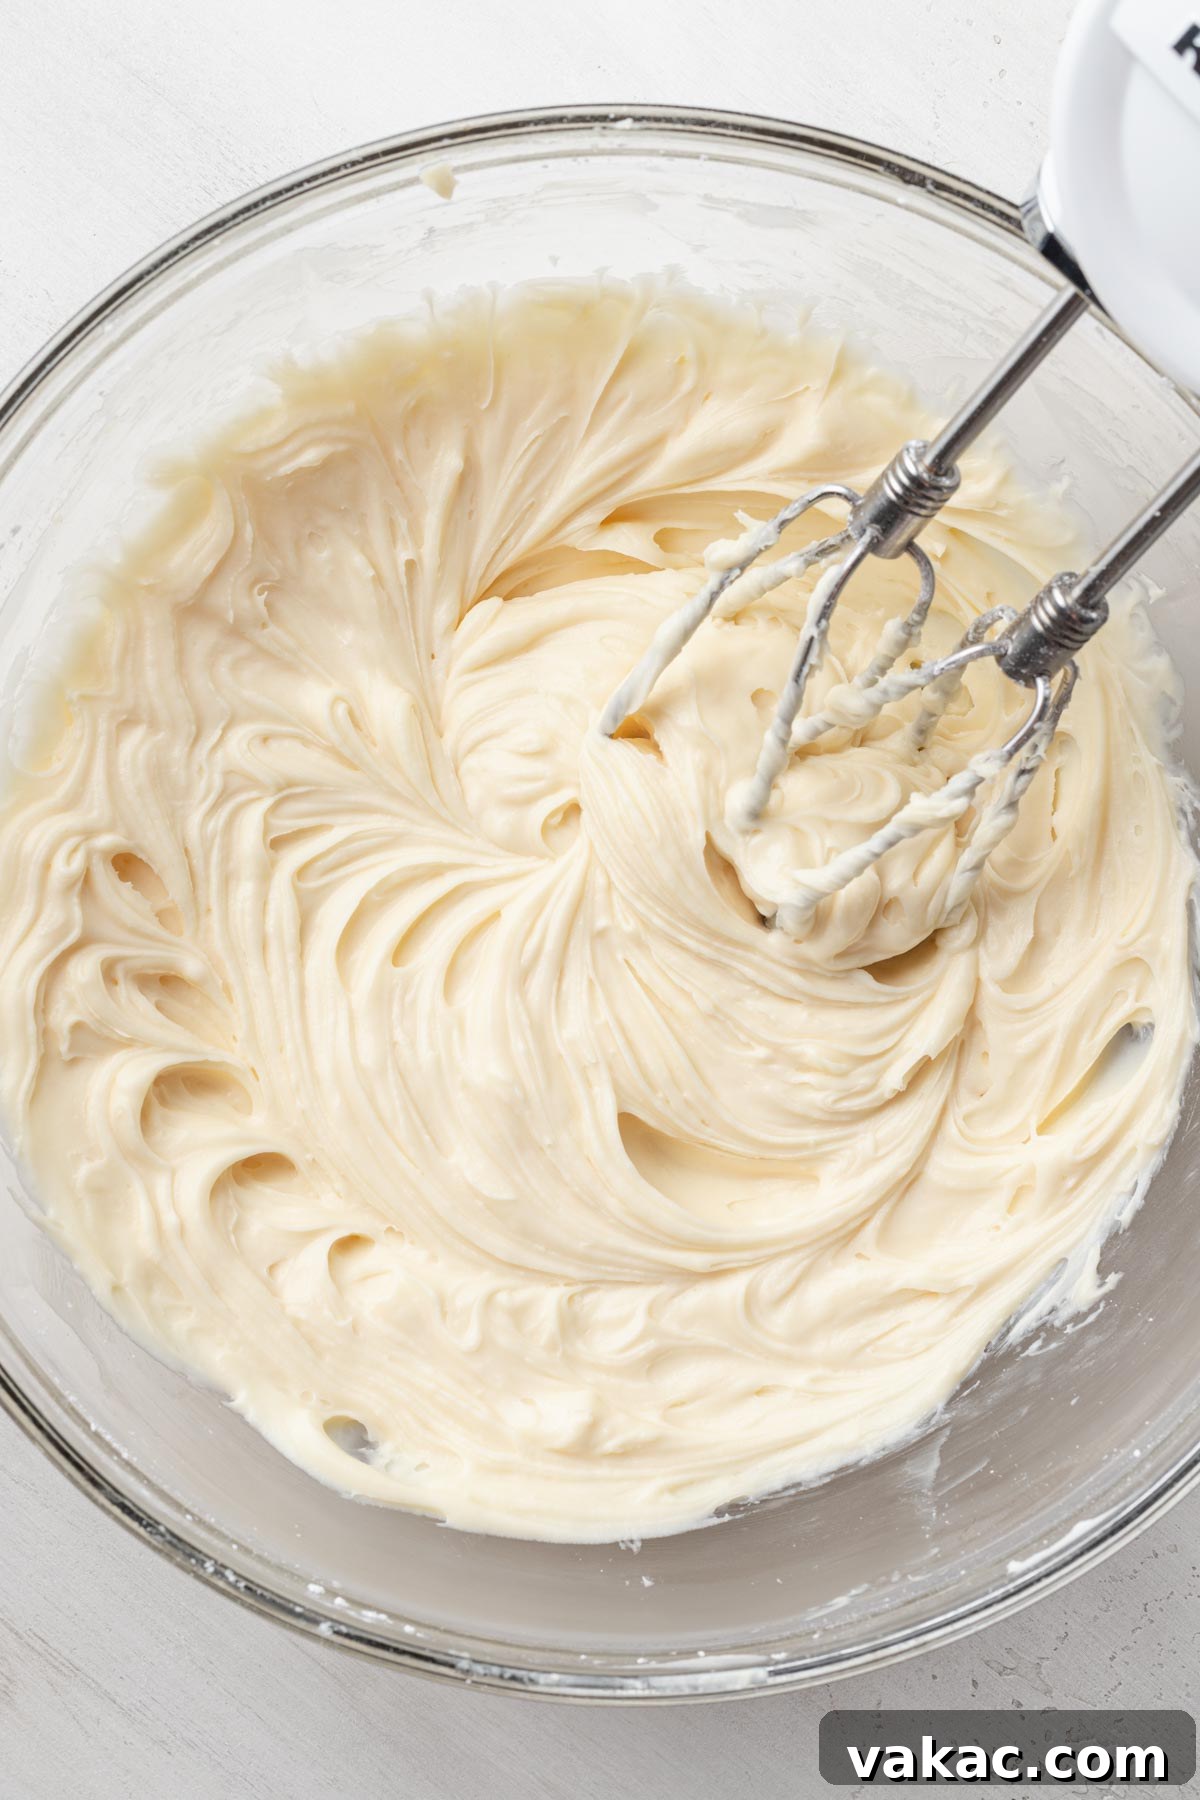
- Prepare the Cheese Mixture: In a separate large bowl, or using the stand mixer with the paddle attachment, beat the softened brick-style cream cheese until it is completely smooth and free of lumps. Then, add the mascarpone cheese (remembering our tip about its temperature – cool but not cold), powdered sugar, pure vanilla extract, and the optional almond extract. Mix on low speed until all ingredients are just combined and smooth. Be cautious not to overmix the mascarpone, as it can separate and become watery if overworked. Scrape down the sides of the bowl as needed to ensure a uniform consistency.
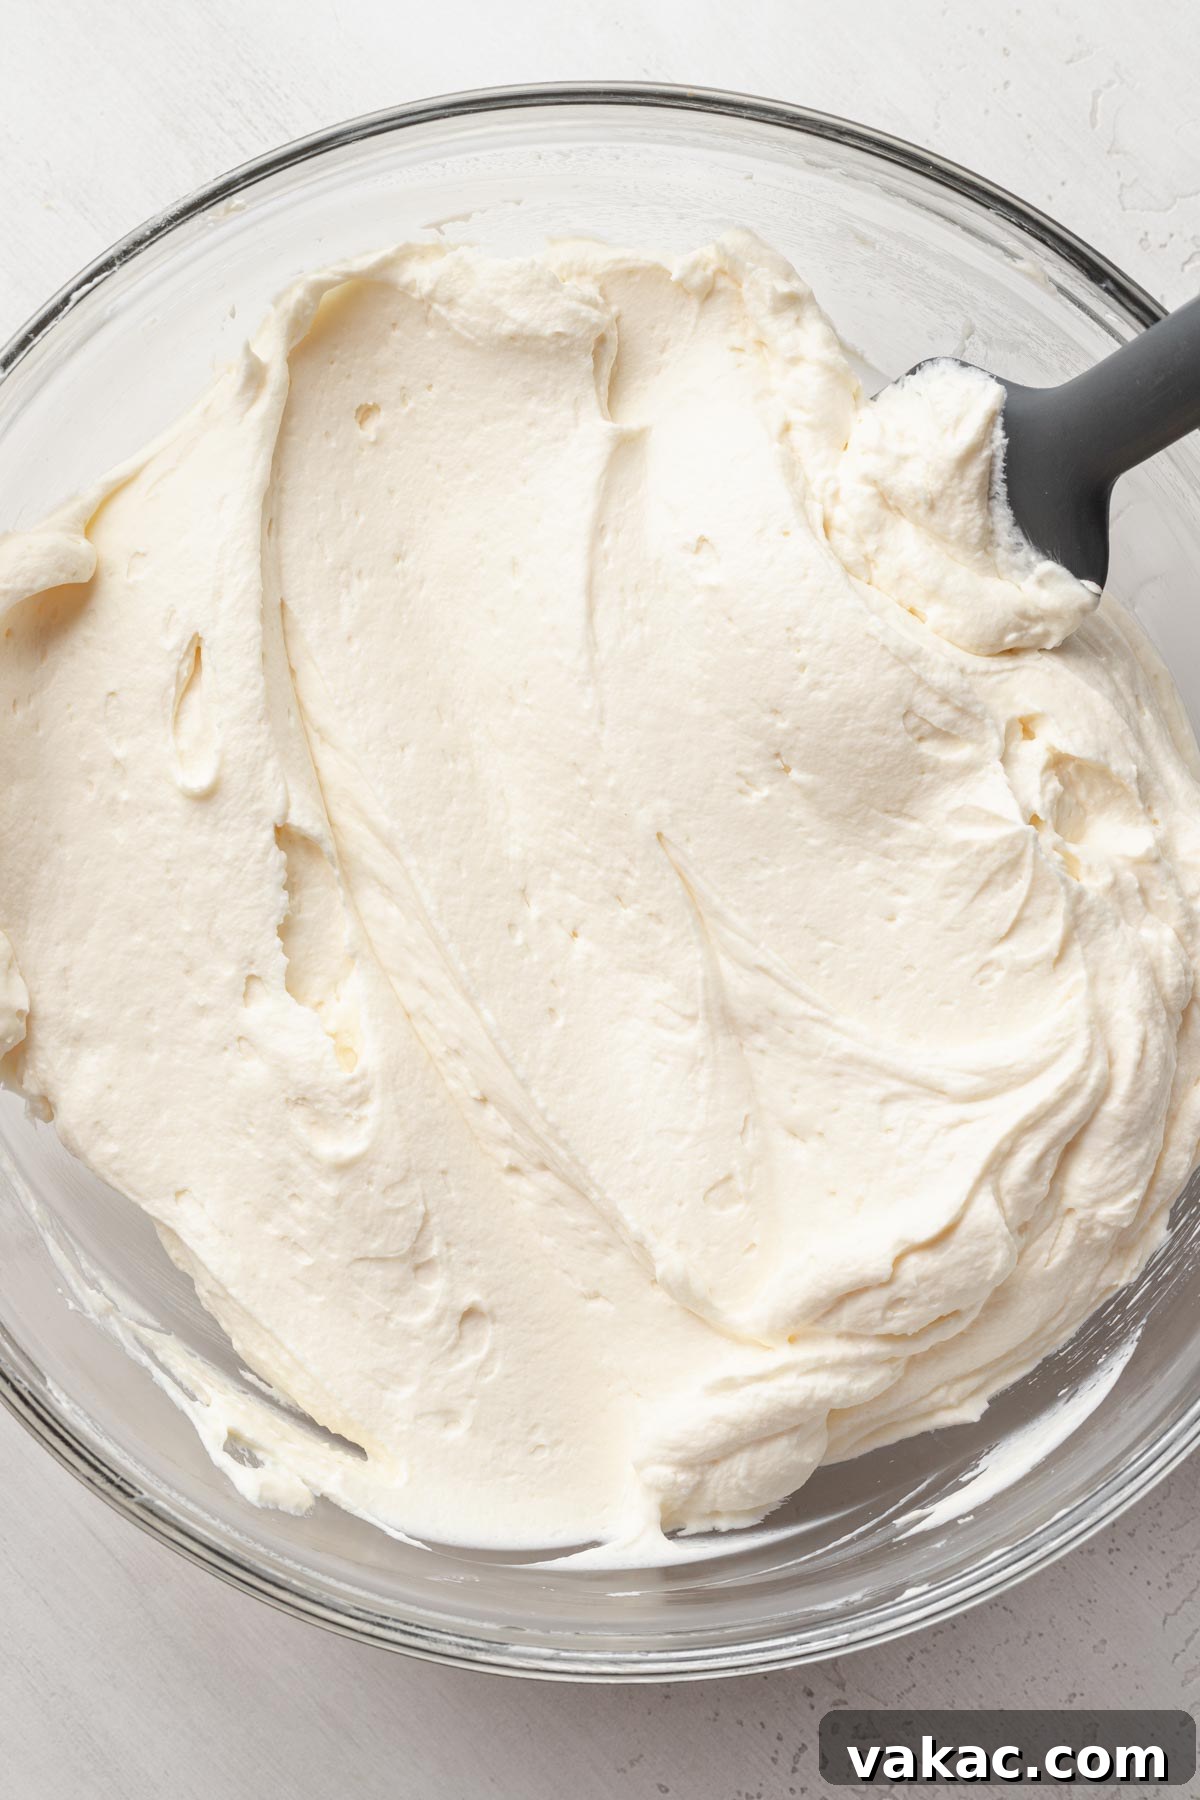
- Fold in the Whipped Cream: Retrieve the chilled whipped cream from the refrigerator. Using a rubber spatula, gently fold about one-third of the whipped cream into the cream cheese and mascarpone mixture until just combined. This lightens the mixture. Then, gently fold in the remaining whipped cream in two additions, taking care to preserve the airiness. You can use your mixer on its absolute lowest speed for a brief moment to assist in the folding, but primarily, aim for a light hand with the spatula to maintain the fluffy texture.
Assembling Your Magnificent Chantilly Cake
The assembly of this Chantilly cake is where its beauty truly comes to life. The key is to create delicious layers of cake, frosting, and fresh berries, ensuring each component supports the next. The frosting acts as an essential binder for the berries, keeping the cake layers stable and cohesive. Here’s a detailed guide to assembling your masterpiece:
- Prepare Cake Layers: First, ensure all your cooled cake layers are level. Use a serrated knife or a specialized cake leveler to carefully trim any domed tops, creating flat surfaces for stable stacking. This step is crucial for an even and professional-looking cake.
- Anchor the First Layer: To prevent your beautiful cake from sliding, place a small dollop (about a tablespoon) of Chantilly frosting onto the center of your chosen cake stand or serving platter. This creates a secure anchor for the first cake layer.
- Layer One: Carefully place the first leveled cake layer onto the frosting dollop on your cake stand. Scoop approximately ½ cup of the Chantilly frosting onto this layer and spread it evenly across the surface using an offset spatula or the back of a spoon.
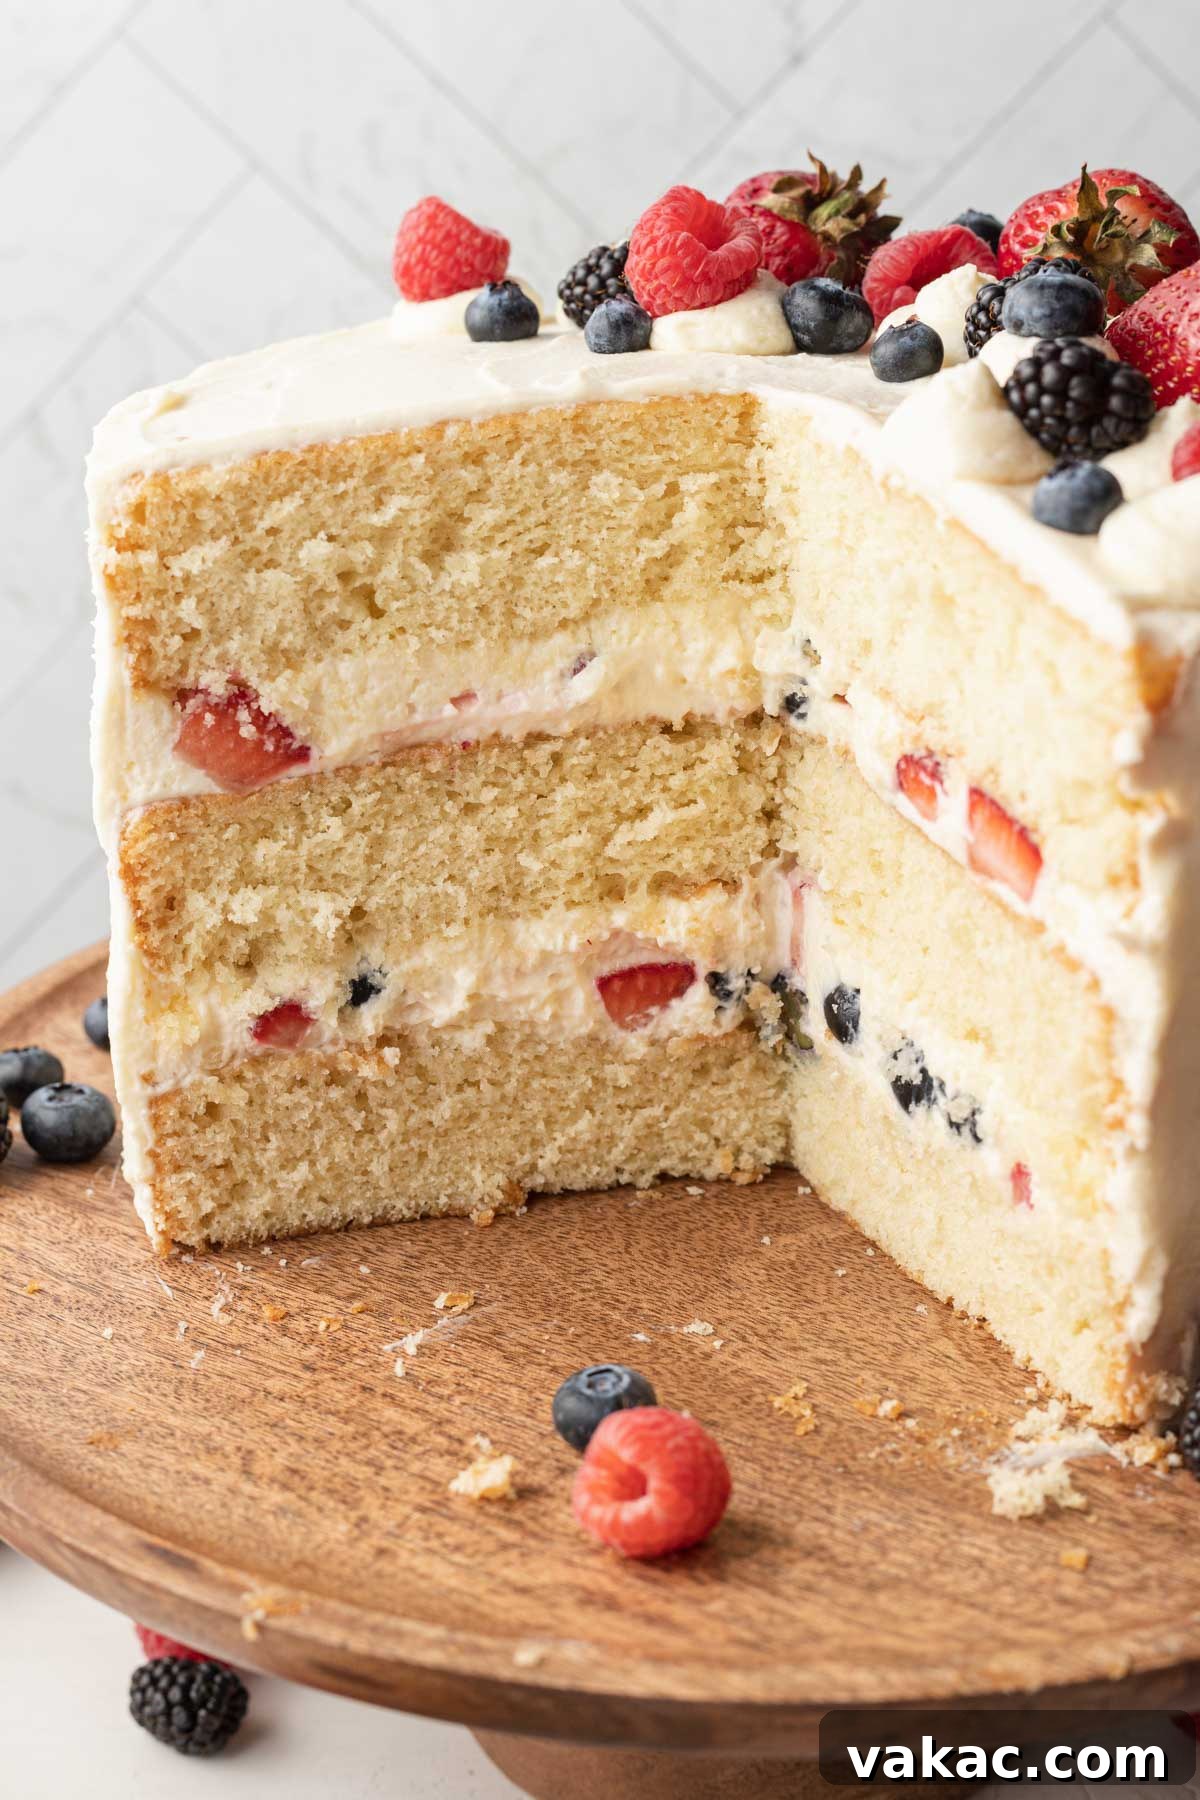
- Add Berries to Layer One: Arrange half of your quartered fresh strawberries and half of your fresh blueberries over the frosting layer. Gently press the berries into the frosting so they are nestled securely and won’t shift when the next cake layer is added.
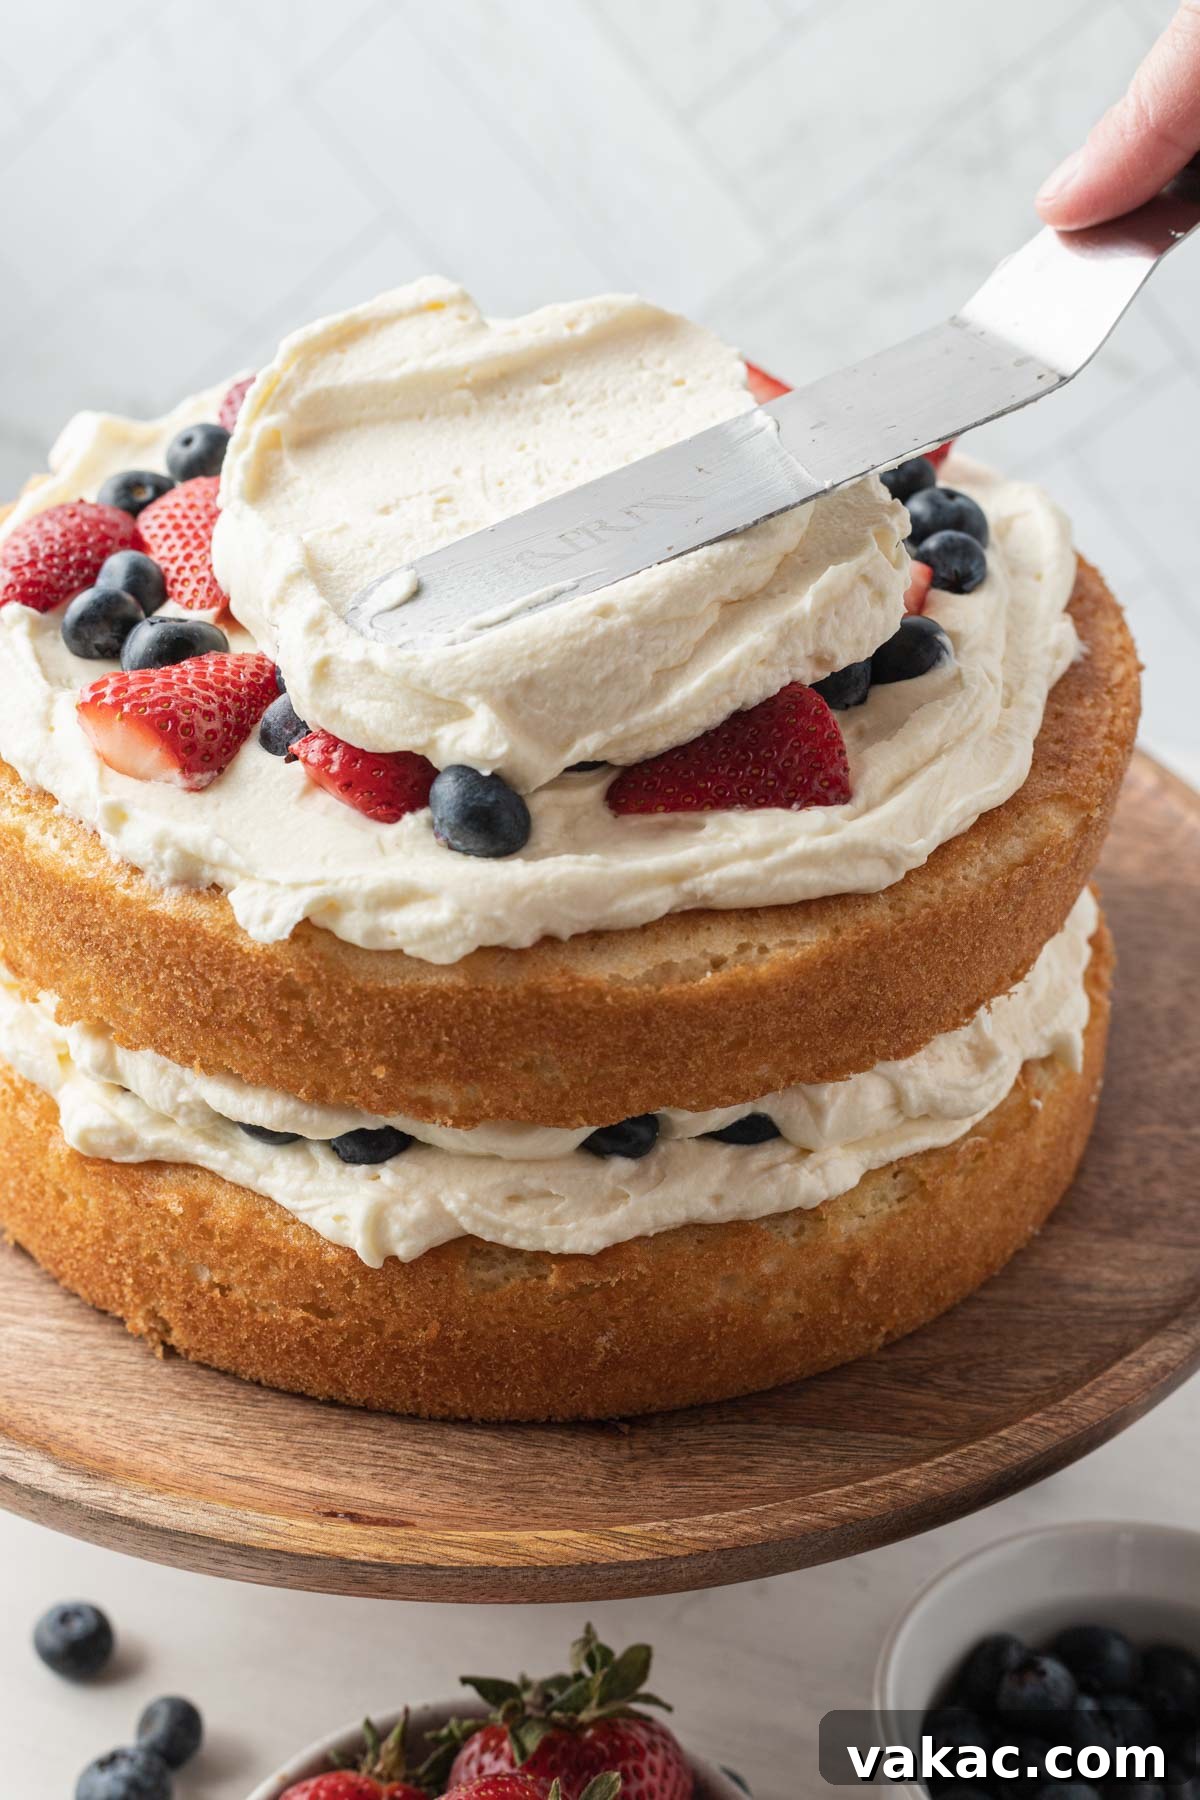
- Seal Layer One: Add another scoop of frosting (slightly more than ½ cup) over the berries, spreading it carefully to fully cover the fruit. This frosting layer not only adds more flavor but also acts as a barrier, protecting the cake from the moisture of the berries and providing a flat surface for the next cake layer.
- Layer Two: Place the second cake layer, ideally upside-down (the flat bottom will be the new top), directly over the frosted first layer. Repeat the same frosting and berry process: spread ½ cup of frosting, add the remaining half of strawberries and blueberries, gently press them in, and then top with another generous scoop of frosting (a little over ½ cup), spreading it evenly.
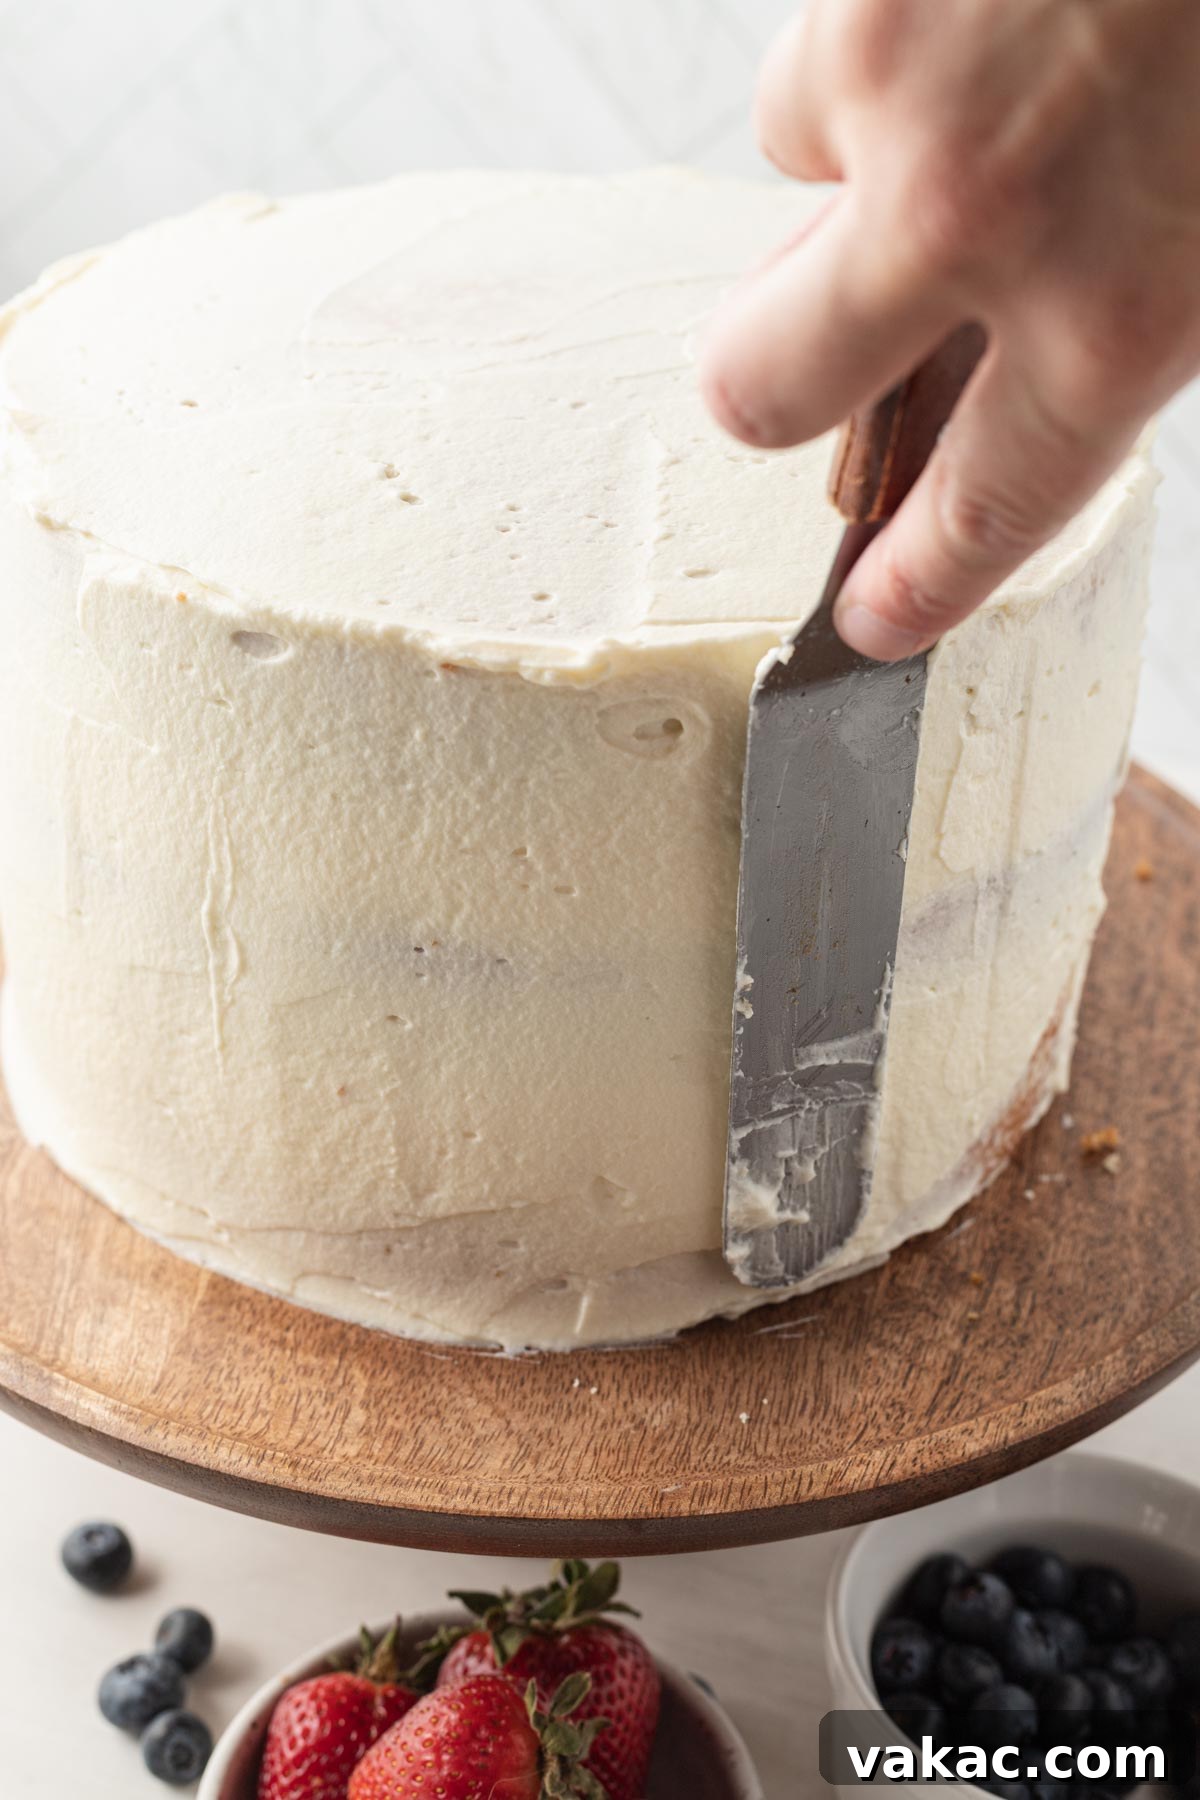
- Layer Three & Crumb Coat: Position the third and final cake layer upside-down on top of the second frosted layer. Now, apply a thin, even layer of frosting all over the entire cake – top and sides. This is known as a “crumb coat,” and its purpose is to trap any loose cake crumbs, preventing them from mixing into your final, pristine frosting layer. If desired, you can chill the cake in the refrigerator for 15-20 minutes at this point to set the crumb coat, making the final frosting step easier.
- Final Frosting: Once the crumb coat is set (or immediately if you skipped the chilling step), apply the remaining Chantilly frosting generously over the entire cake, smoothing the top and sides to your desired finish. If you plan to pipe decorative elements on top, it’s advisable to set aside about 1 ½ cups of frosting before the final spread.
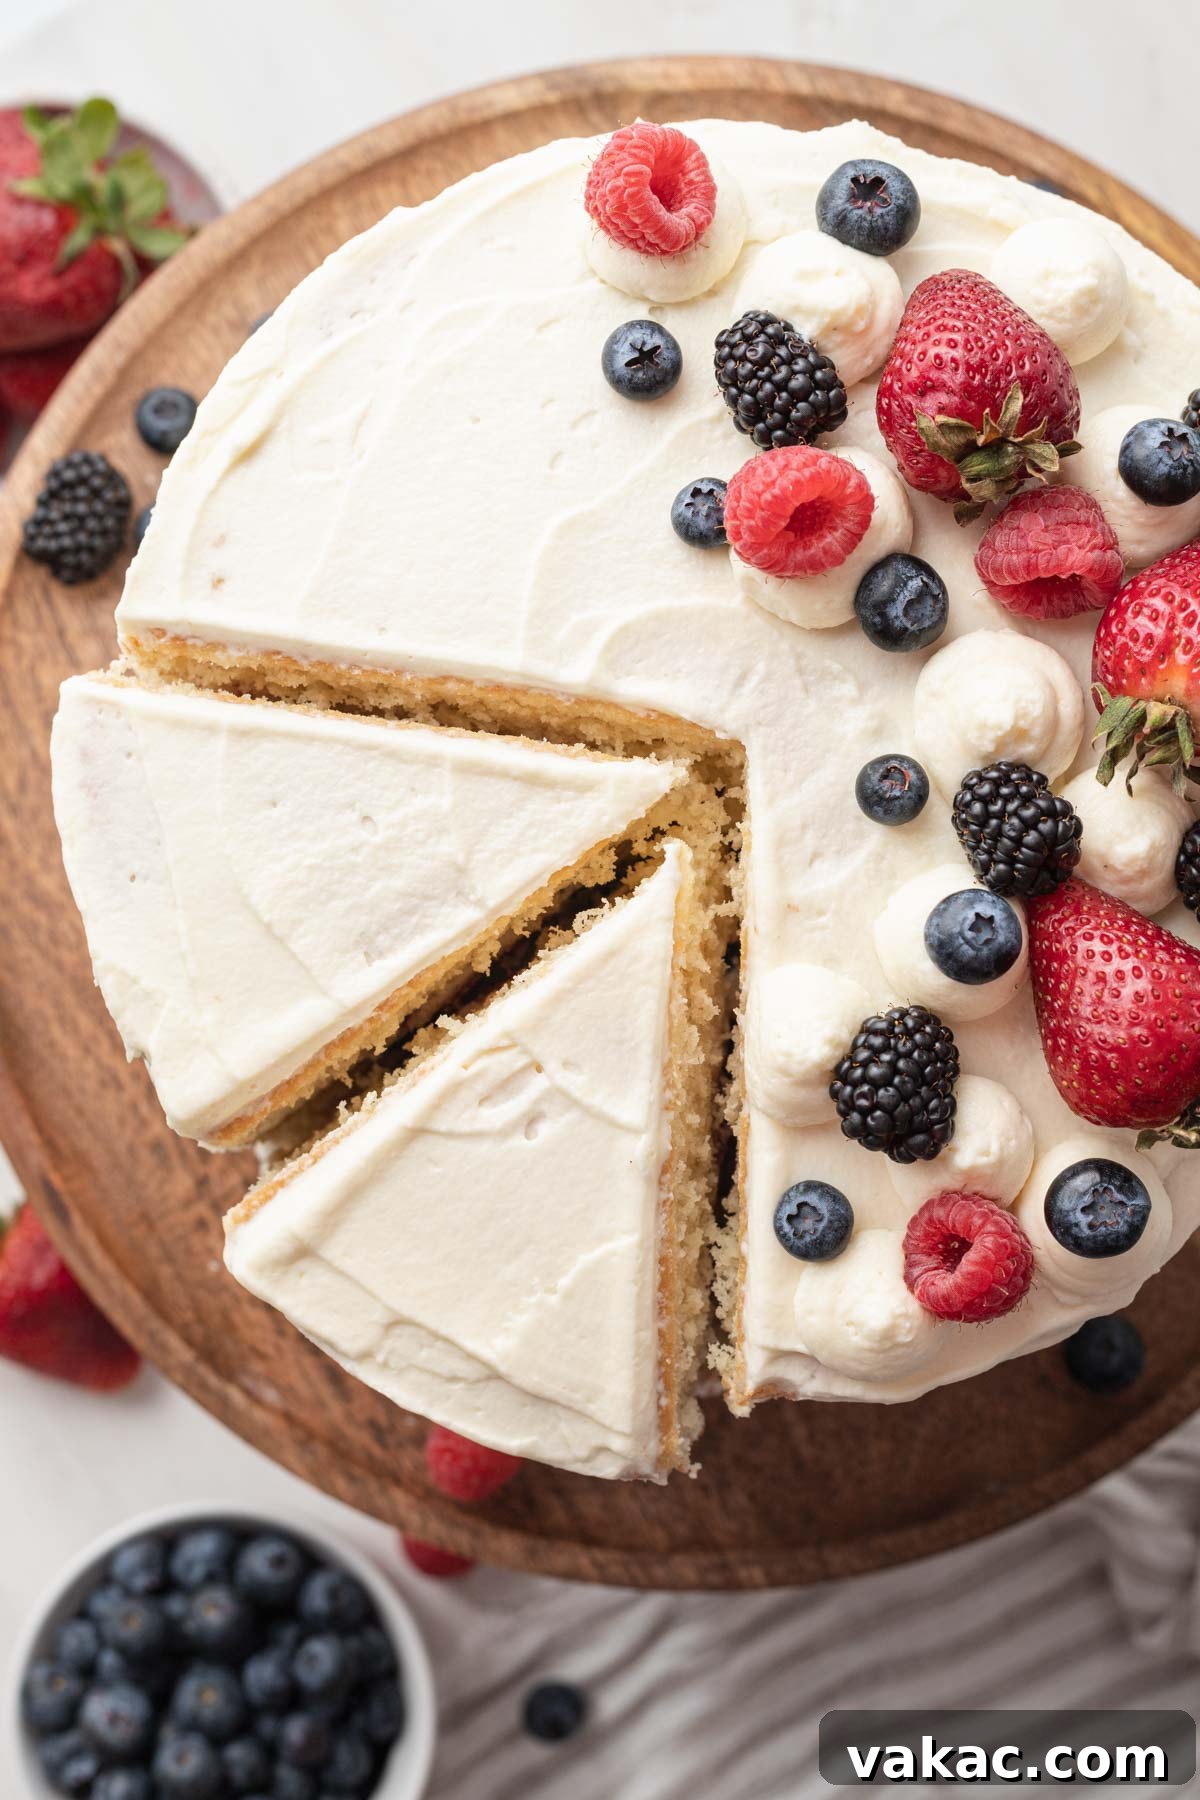
- Garnish and Serve: For a truly stunning presentation, garnish your finished Chantilly cake with an abundant array of fresh berries. I love using a colorful mix of whole strawberries, blueberries, blackberries, and raspberries to create a vibrant crown that signals the deliciousness within. Refrigerate the cake until you are ready to serve to ensure the frosting remains firm and the berries fresh.
Planning Ahead: Make-Ahead and Storage Tips for Your Chantilly Cake
Preparing a Chantilly cake can be a labor of love, but thoughtful planning allows you to spread out the work and enjoy the process. Here’s how to manage your time and keep your cake fresh:
Can This Recipe Be Made in Advance?
Absolutely! To simplify your baking schedule, you can prepare the vanilla cake layers one to two days before you plan to assemble the cake. Once fully cooled, wrap each cake layer tightly in plastic wrap (and then again in aluminum foil for extra protection) and store them in the refrigerator. This ensures they remain fresh and moist until you’re ready for the assembly phase. However, for optimal freshness and texture, I strongly recommend assembling the entire cake no more than one day before you intend to serve it. The fresh berries, while delicious, will naturally soften and release juices over time, which can affect the cake’s structural integrity and aesthetic if left assembled for too long.
Does Chantilly Cake Need To Be Refrigerated?
Given the rich and dairy-heavy Chantilly frosting, which features cream cheese, mascarpone, and heavy whipping cream, refrigeration is not just recommended but essential. These ingredients are perishable and require cold temperatures to maintain their quality, safety, and firmness. Once assembled, store your Chantilly cake in an airtight container in the refrigerator. Properly stored, it will remain fresh and delicious for 3 to 4 days. Always allow the cake to come to room temperature for about 30 minutes before serving for the best flavor and frosting texture.
Customizing Your Chantilly Cake: Recipe Substitutions
While this Chantilly cream cake recipe is carefully balanced for optimal results, there’s a little room for customization or ingredient swaps if you find yourself short on a specific item. Here are a few permissible substitutions:
- Cake Flour Alternatives: If you don’t have cake flour on hand, don’t fret! You can easily make a homemade cake flour substitute. Typically, this involves combining all-purpose flour with a small amount of cornstarch to mimic the lower protein content, ensuring your cake remains light and tender.
- Buttermilk Substitute: No buttermilk in the fridge? No problem. You can quickly whip up a buttermilk substitute by adding a tablespoon of lemon juice or white vinegar to regular milk and letting it sit for 5-10 minutes until it slightly curdles. This acidity is key for activating the leavening agents.
- Butter Choice: For the most superior results, I highly recommend sticking with Danish Creamery’s European-Style Unsalted Butter. Its high butterfat content and slow-churned richness truly elevate the cake’s flavor and texture. However, if salted butter is your only option, simply omit the extra ½ teaspoon of salt called for in the cake batter to balance the flavors.
- Almond Extract Flexibility: The almond extract provides a lovely, subtle counterpoint to the vanilla and berries. If you’re not a fan of almond flavor or simply don’t have it, feel free to omit it entirely. The cake will still be wonderfully delicious with just vanilla.
- Berry Variations: This recipe uses a classic combination of fresh blueberries and quartered strawberries between the cake layers. However, this is one of the most versatile aspects of the cake! Feel free to experiment with any fresh, seasonal berries you love—blackberries, raspberries, or a mix of several—for both the filling and the decorative topping. Just ensure they are ripe and fresh for the best taste.
Expert Baking Tips for a Flawless Chantilly Cake
Achieving bakery-quality results at home is entirely possible with a few professional insights:
- Mascarpone Temperature Matters: Unlike cream cheese, mascarpone cheese can be temperamental. Avoid using mascarpone that is at full room temperature, as it has a tendency to separate and become oily or grainy when mixed. I find the ideal consistency is achieved by removing it from the fridge about 15-20 minutes before use, so it’s still cool to the touch but no longer rock hard.
- Gentle Mascarpone Mixing: When incorporating mascarpone into your frosting, handle it with care. Overmixing can cause its delicate structure to break down, resulting in a grainy or watery frosting. It’s best to add mascarpone towards the end of the mixing process for the cheese mixture, and always on the lowest speed, mixing just until combined.
- Plan for Decoration: If you intend to pipe elaborate designs, borders, or rosettes on your finished cake, it’s wise to set aside about 1 to 1½ cups of the Chantilly frosting *before* you begin frosting the entire cake. This ensures you have a consistent and sufficient amount for your decorative touches.
- Room Temperature Ingredients (Cake): For the vanilla cake layers, ensure your butter and eggs are at proper room temperature. This allows them to cream together effectively, creating a smooth emulsion that holds more air, leading to a lighter, fluffier cake texture.
- Do Not Open Oven Door: Resist the temptation to open the oven door during the first 20 minutes of baking your cake layers. Sudden temperature changes can cause the cakes to sink in the middle. Trust your oven and the baking time.
- Chill for Cleaner Slicing: While the cake can be served immediately after assembly, chilling it for at least 1-2 hours (or even overnight) before slicing will make for much cleaner cuts and a more stable presentation, as the frosting will have ample time to set.
More Irresistible Berry Desserts You’ll Love:
- Lemon Blueberry Bread
- Strawberry Cake
- Blackberry Cobbler
- Homemade Strawberry Shortcakes
- Lemon Blueberry Bundt Cake
Chantilly Cake
Prep Time: 1 hr 15 mins
Cook Time: 30 mins
Total Time: 1 hr 45 mins
Moist vanilla cake layers are sandwiched together with rich mascarpone-cream cheese frosting and fresh berries in this elegant Chantilly cake recipe. Perfect for spring and summer gatherings!
Ingredients
Servings: 8 slices
Vanilla Cake
- 3 cups cake flour spooned & leveled (345 grams)
- 2 teaspoons baking powder
- ½ teaspoon baking soda
- ½ teaspoon salt
- 1 cup buttermilk at room temperature (240 ml)
- ¼ cup canola or vegetable oil (60 ml)
- 1 tablespoon pure vanilla extract
- ½ teaspoon pure almond extract (optional)
- 1 cup Danish Creamery unsalted butter softened (2 sticks; 230 grams)
- 2 cups granulated sugar (400 grams)
- 4 large eggs at room temperature
Chantilly Frosting
- 2 cups cold heavy whipping cream (480 ml)
- 8 ounces brick-style cream cheese softened (226 grams)
- 8 ounces mascarpone cool but not cold, remove it from the refrigerator about 20 minutes beforehand (226 grams)
- 2 cups powdered sugar (240 grams)
- 1 ½ teaspoons pure vanilla extract
- ¼ teaspoon almond extract (optional)
Fruit Filling
- 1 cup fresh quartered strawberries stems removed
- 1 cup fresh blueberries
- Optional topping: Fresh strawberries, blueberries, blackberries, or raspberries
Instructions
- To make the vanilla cake: Preheat the oven to 350°F (180°C). Spray three 8-inch round cake pans with nonstick cooking spray, line the bottom of the pans with parchment paper, and set aside.
- In a large mixing bowl, whisk the cake flour, baking powder, baking soda, and salt together until well combined. Set aside.
- In a large bowl or measuring cup, whisk the buttermilk, oil, vanilla extract, and almond extract together. Set aside.
- In the bowl of a stand mixer fitted with the paddle attachment or in a large mixing bowl using a handheld mixer, beat the butter on low speed until smooth, then slowly mix in the granulated sugar.
- Once all of the sugar is added, increase to medium speed and continue mixing for another 4 to 5 minutes or until the butter and sugar is light in color and fluffy.
- Mix in the eggs, one at a time, making sure to stop and scrape around the bottom and sides of the bowl as needed.
- Add the dry ingredients in three additions alternating with the buttermilk mixture (begin and end with the dry ingredients) on low speed. Mix in each addition until just combined, making sure not to over mix the batter.
- Use a rubber spatula to scrape around the bottom and sides of the bowl to ensure the batter is well combined.
- Evenly divide the cake batter between the three prepared cake pans and spread it around into one even layer.
- Bake for 25 to 30 minutes or until a toothpick inserted into the center of the cakes comes out clean. Remove from the oven and allow to cool in the pans for about 20 minutes. Slide a knife around the outside of the cakes, then carefully remove the cakes from the pans, and transfer them to a wire rack to cool completely.
- To make the chantilly frosting: In the bowl of a stand mixer fitted with the whisk attachment, or in a large mixing bowl using a handheld mixer, add the heavy whipping cream. Start mixing on low speed. Once the mixture starts to increase in volume, increase the speed to medium-high and mix until stiff peaks form. Be careful not to over mix the heavy cream or it can become grainy!
- Transfer the whipped cream to the refrigerator and let it chill while you mix together the rest of the frosting.
- In the bowl of a stand mixer fitted with the whisk or paddle attachment, or in a large mixing bowl using a handheld mixer, add the cream cheese and mix on medium speed until smooth. Then, mix in the mascarpone, powdered sugar, vanilla extract, and almond extract on low speed until just combined. If needed, stop and scrape down the sides of your bowl. Avoid over mixing at this step, otherwise the mascarpone can start to separate.
- Remove the whipped cream from the fridge. Use a rubber spatula to gently fold ⅓ of the whipped cream into the cream cheese/mascarpone mixture until just combined. Then, fold in the remaining whipped cream. If needed, you can use your mixer and mix on the lowest speed to help “fold” in the whipped cream.
- To assemble the cake: Level the tops of each cake layer with a knife or cake leveler.
- Add a tablespoon of frosting to the center of a cardboard cake round or a cake stand to help the cake stick to the surface.
- Place the first layer of cake onto your work surface. Scoop ½ cup of frosting onto the first layer of cake and spread it around into one even layer with an offset spatula or the back of a spoon. Add half of the quartered strawberries and half of the blueberries on top of the frosting and gently press them into it. Top the fresh fruit with another scoop of frosting (a little over ½ cup) and spread it around into one even layer.
- Place the second cake layer upside down on top of the frosted cake layer. Spread ½ cup of frosting onto the second layer of cake and spread it around into one even layer. Add the remaining half of the quartered strawberries and blueberries on top of the frosting and gently press them into it. Top the fresh fruit with another scoop of frosting (a little over ½ cup) and spread it around evenly.
- Place the third cake layer upside down on top of the frosted cake layer. Use a small amount of the frosting to apply a crumb coat to the entire outside of the cake. If needed, you can chill the cake at this point for 15 minutes. Use the remaining frosting to frost the top and sides of the cake. If you want to pipe some decorations on top, I suggest setting aside about 1 ½ cups.
- If desired, place a mixture of fresh fruit on top of the cake. I like to use a mixture of whole strawberries, blueberries, blackberries, and raspberries.
- Refrigerate until ready to serve.
Notes
Storage Instructions: Cake may be stored in an airtight container in the refrigerator for up to 4 days.
Cuisine: American
Course: Dessert
Author: Danielle Rye