
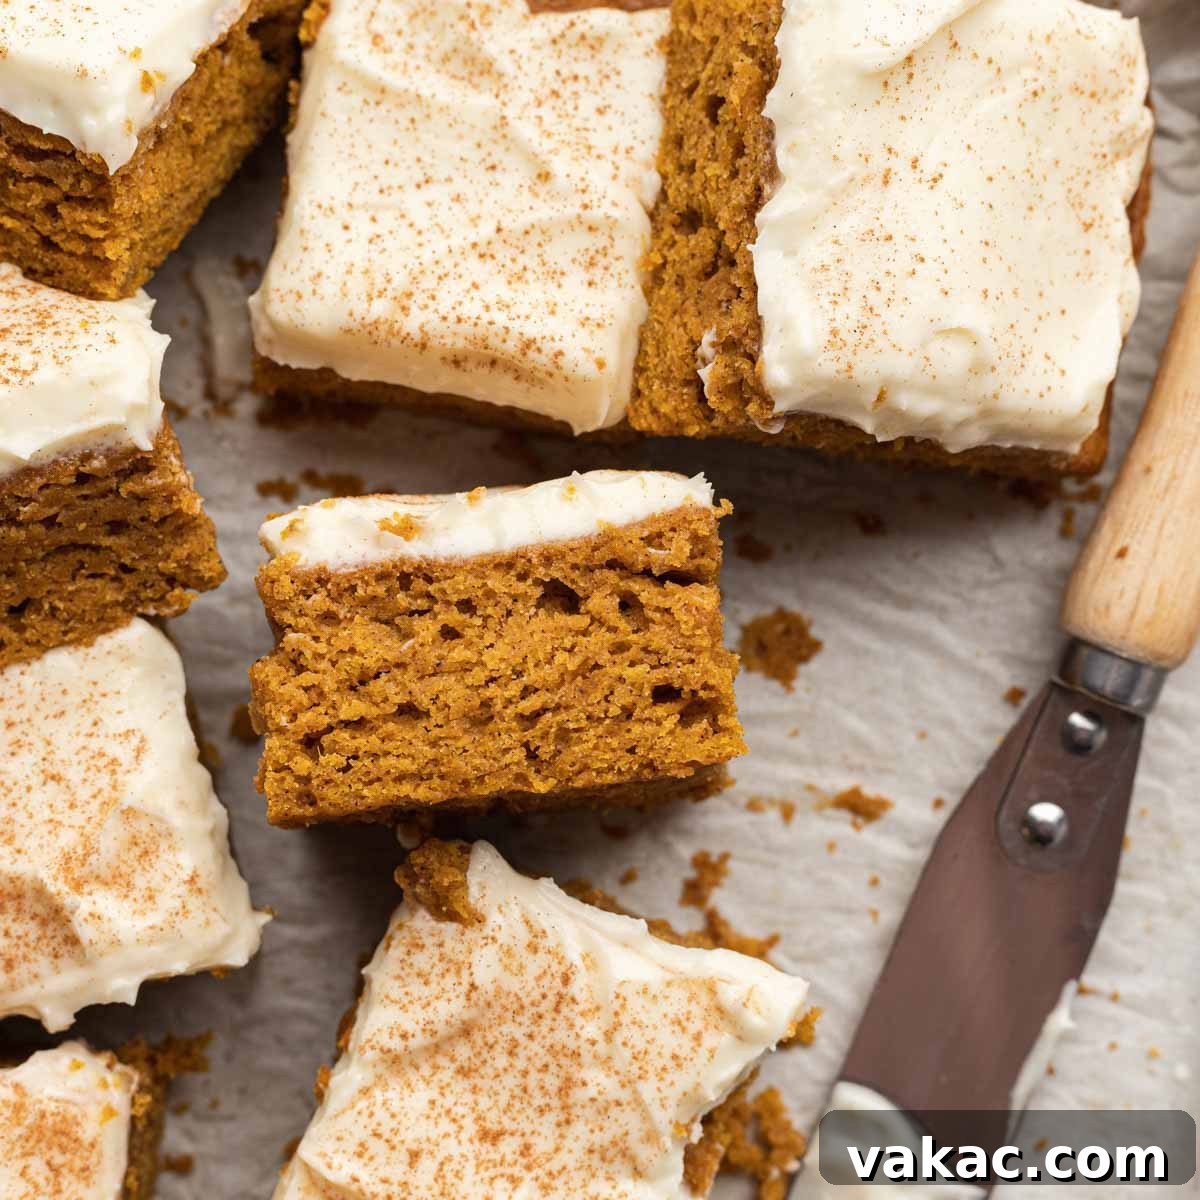
Welcome to your new favorite fall treat! These soft, perfectly spiced pumpkin bars, generously topped with a rich, tangy cream cheese frosting, are incredibly quick and easy to make. They embody the comforting essence of autumn, making them ideal for any gathering or a cozy night in.
This post is proudly sponsored by Danish Creamery, a brand whose commitment to quality butter I deeply admire. As always, all opinions and recipes shared are authentically my own.
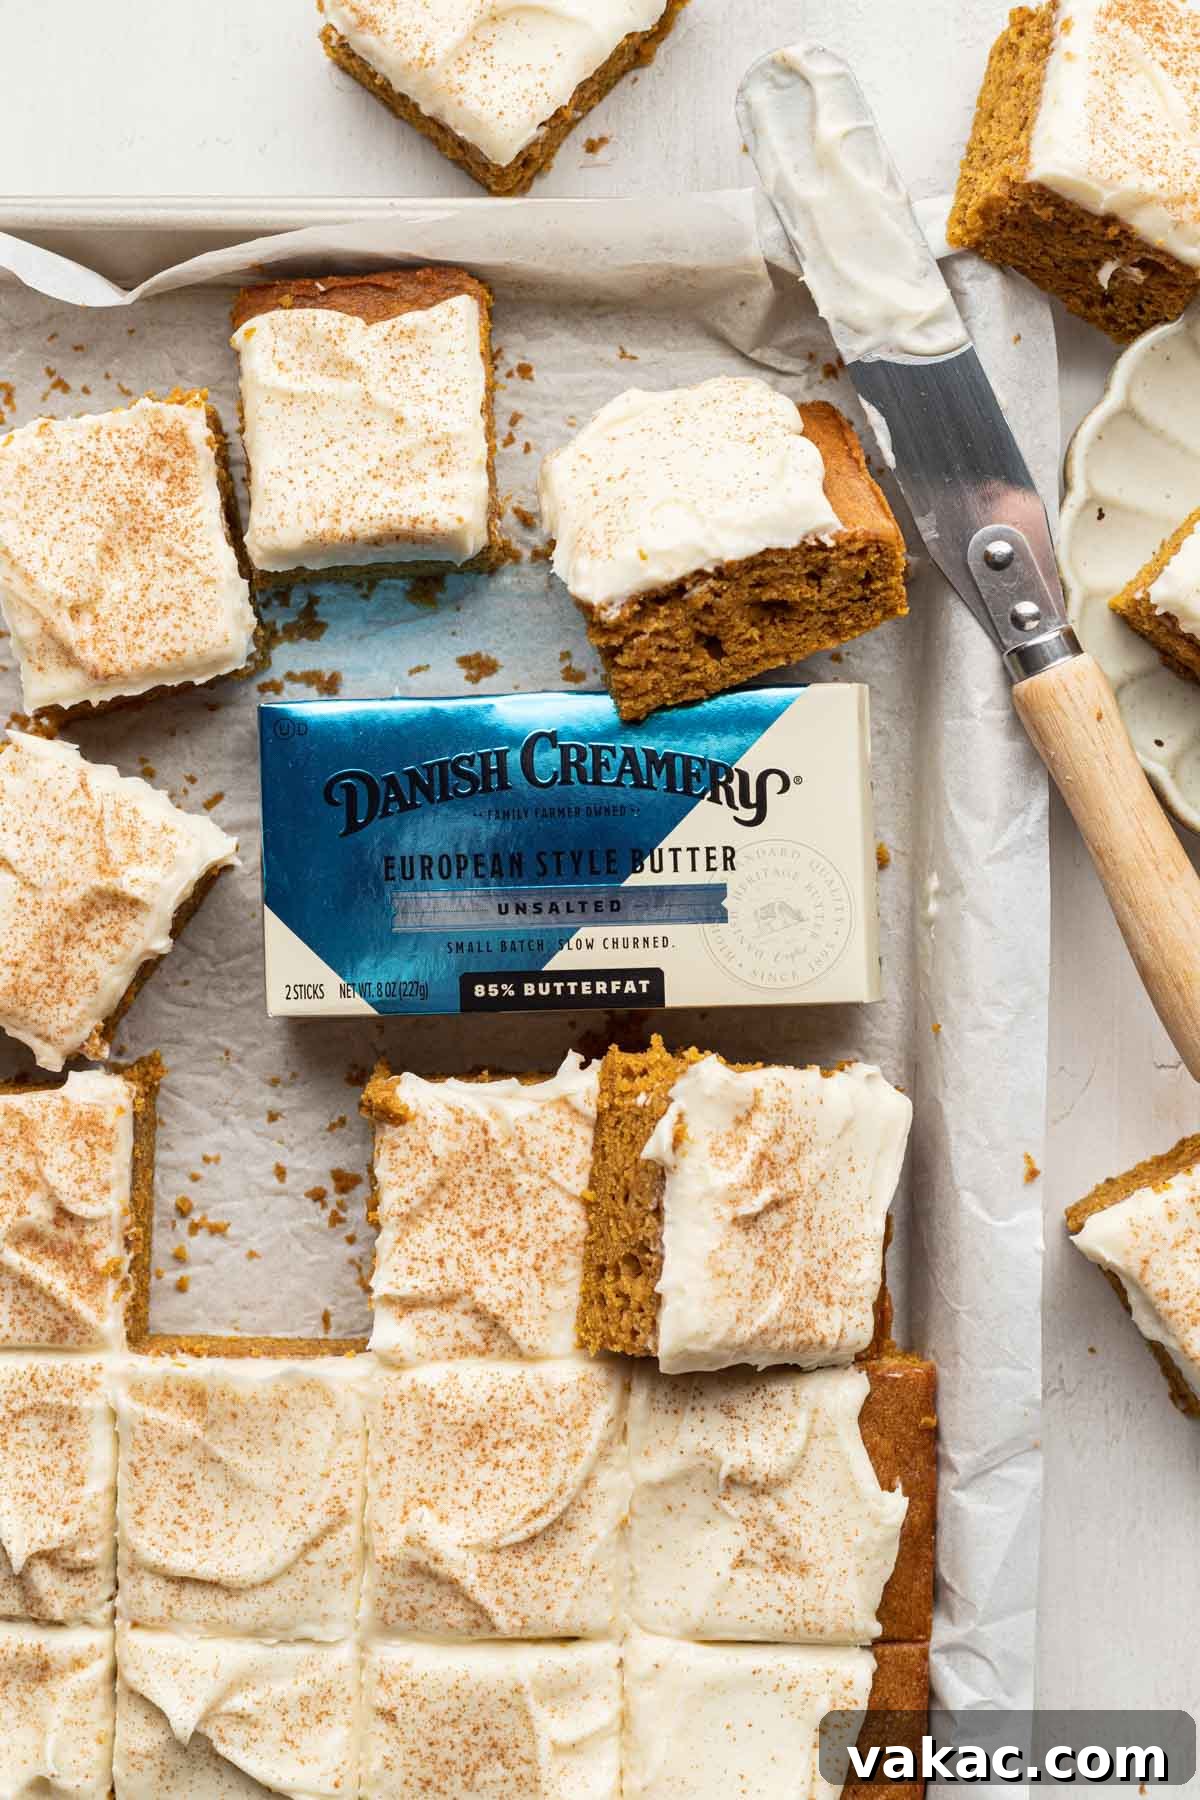
Infused with an abundant blend of ground cinnamon and classic pumpkin pie spice, these bars burst with autumnal flavor. The inclusion of light brown sugar not only provides a comforting sweetness but also introduces a subtle, irresistible caramel undertone that perfectly complements the pumpkin. Each bite promises a harmonious balance of warm spices and moist texture.
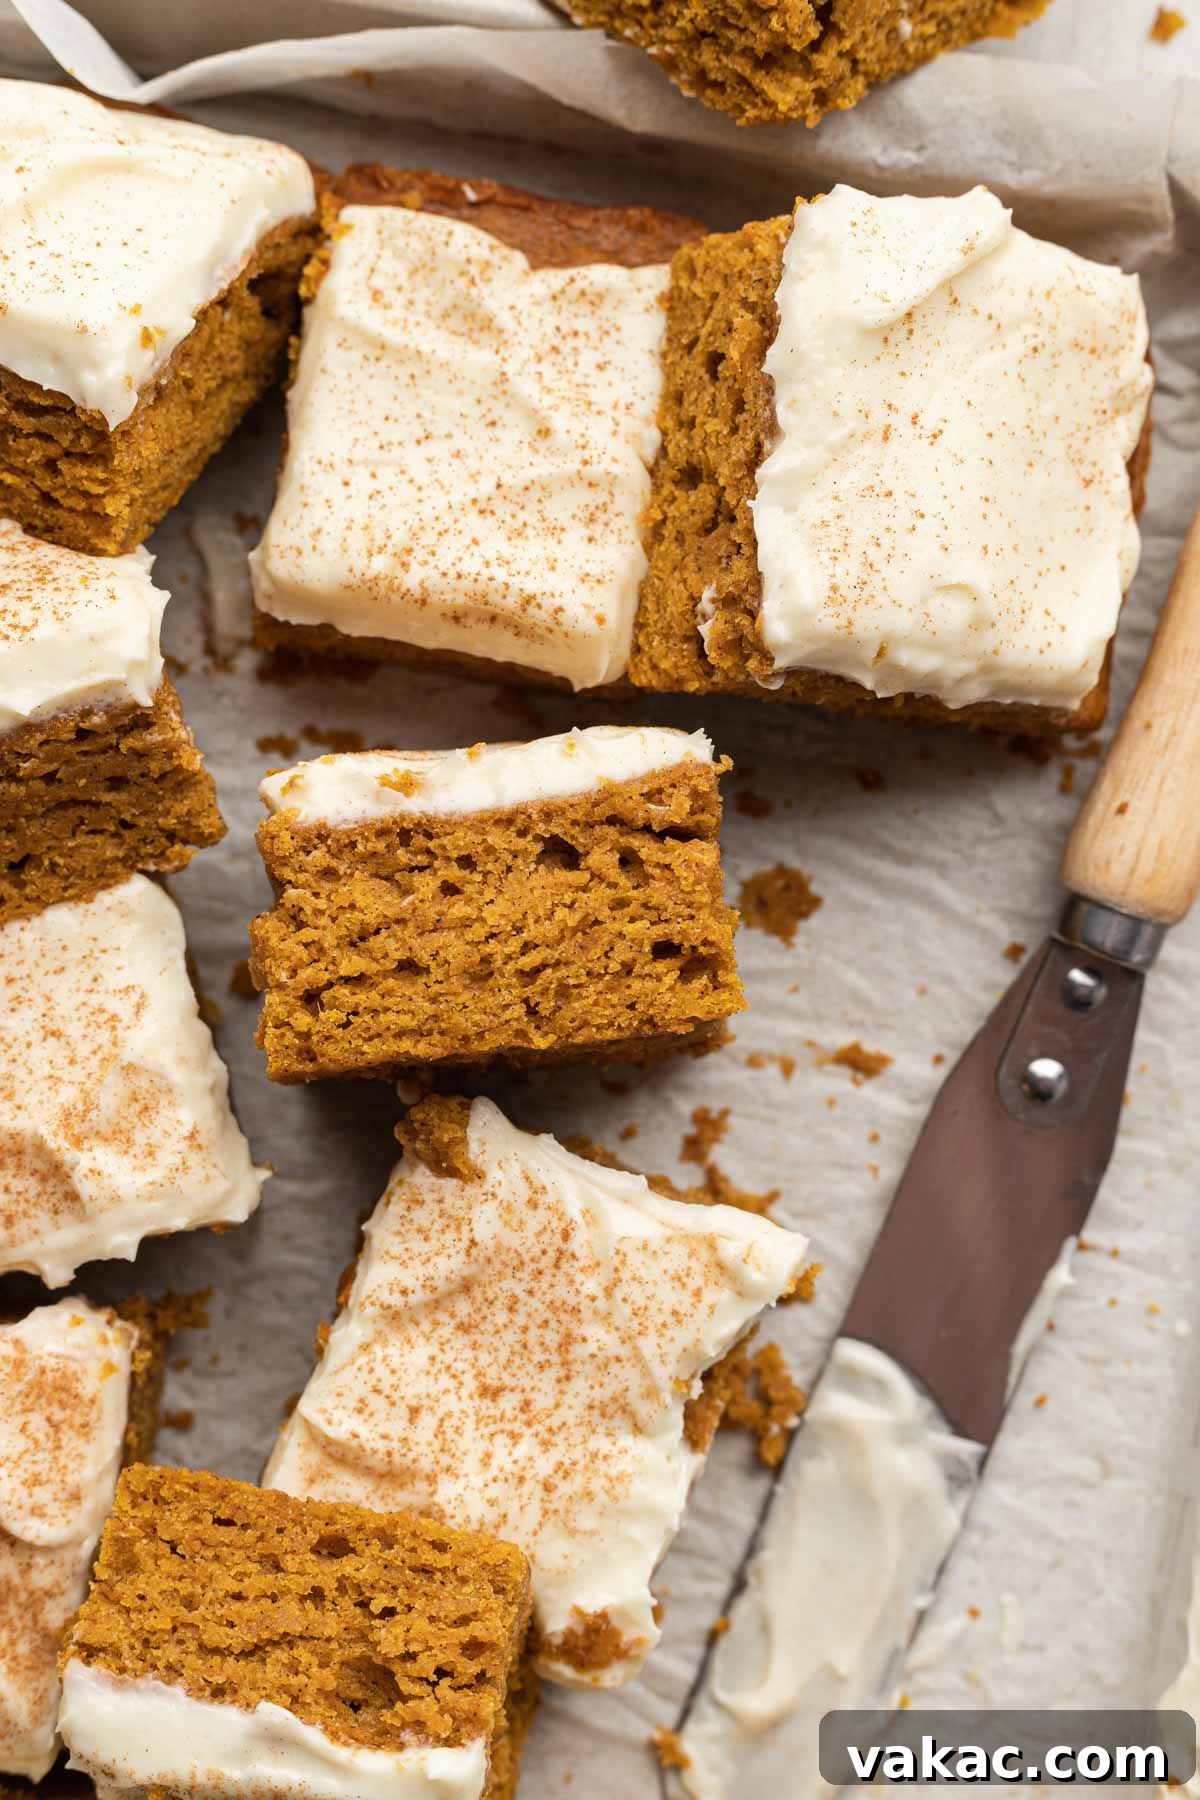
Once cooled and crowned with a luscious, tangy cream cheese frosting, finished with a delicate sprinkle of cinnamon, these pumpkin bars become utterly impossible to resist. Their inviting aroma alone is enough to draw everyone to the kitchen!
What I particularly love about this recipe is its straightforwardness and efficiency. It’s a true baking gem, requiring minimal effort for maximum flavor. Plus, it yields a generous batch, ensuring there’s plenty to share with family, friends, or a holiday crowd. Honestly, the most challenging part of the entire process is patiently waiting for the bars to cool completely before you can slather on that glorious frosting. Otherwise, from mixing bowl to serving plate, these pumpkin bars are an absolute breeze!
Mastering the Perfect Pumpkin Bar: Cake vs. Bar
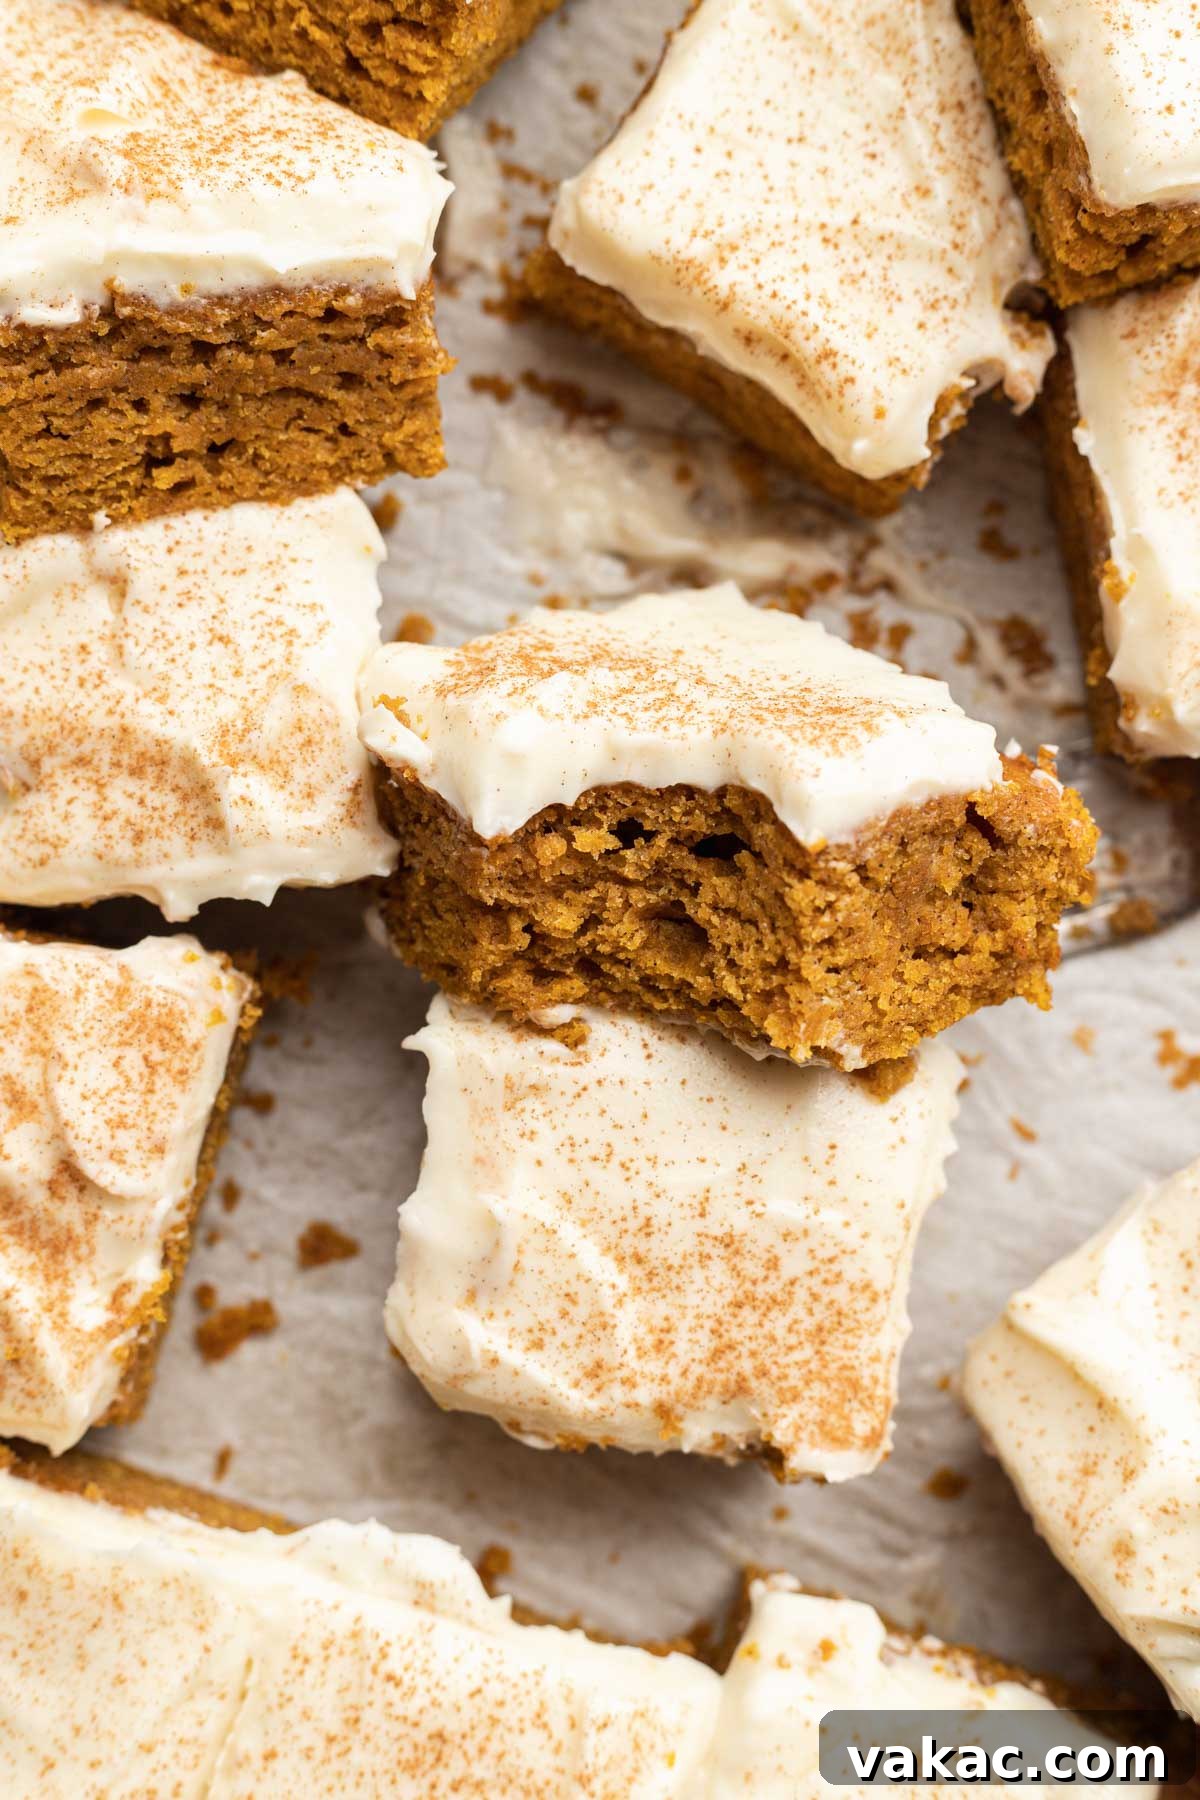
You might hear “pumpkin cake” and “pumpkin bars” used interchangeably, but in the world of baking, there’s a subtle yet significant distinction. While these pumpkin bars undeniably possess a wonderfully moist, cake-like texture, they are purposefully crafted to be denser and more robust than a traditional fluffy pumpkin cake. My goal was to create a treat that stands up to handling, is easy to slice, and provides a satisfyingly chewy bite, rather than a light, airy crumb. Achieving this perfect “bar” consistency involved a few deliberate adjustments to a standard cake recipe, and the results are truly exceptional.
Let’s delve into the specific modifications that transform these from cake to truly perfect bars:
- Strategic Reduction in Leavening Agents: To achieve that desirable dense, yet tender texture characteristic of a bar, we’ve carefully scaled back on both baking soda and baking powder. While essential for lift, too much leavening can result in an overly airy, delicate cake. A balanced measure of one teaspoon of baking powder and half a teaspoon of baking soda provides just enough rise for two cups of flour, ensuring the bars are substantial without being heavy or gummy.
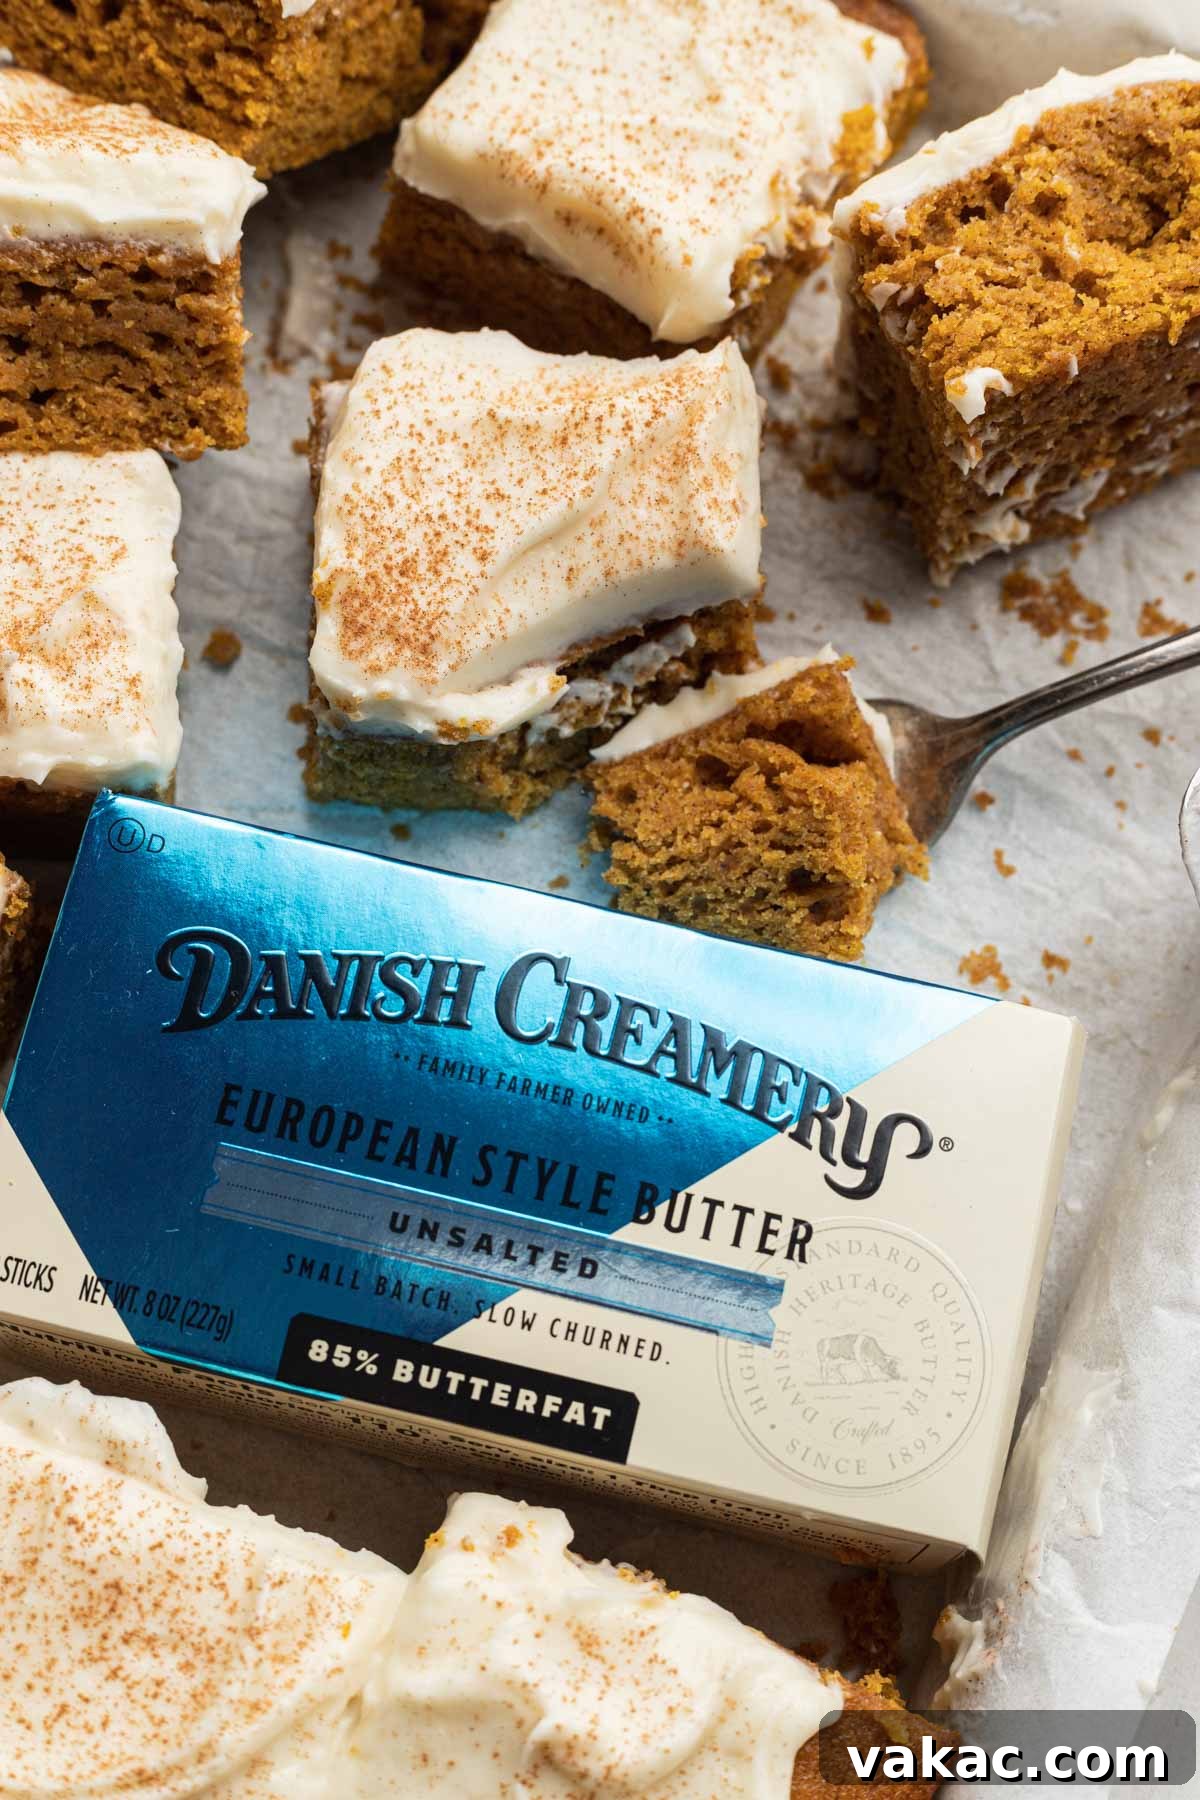
- The Flavor Power of Butter Over Oil: My pumpkin cake often relies on oil for moisture, but for these bars, I made a conscious switch to butter. Butter not only contributes incredible richness and depth of flavor but also plays a crucial role in texture, helping to create a slightly firmer crumb. For superior results, I wholeheartedly recommend using Danish Creamery European-style unsalted butter. This butter boasts a higher butterfat percentage (around 85%, compared to the 80-82% found in many standard or even other European-style butters). This higher fat content means it contains less water, leading to a more tender and flavorful baked good. It’s the secret weapon for achieving that beautiful golden hue and an utterly melt-in-your-mouth texture in these pumpkin bars.
- Calibrated Egg Quantity: A typical pumpkin cake recipe might call for four large eggs to provide structure and moisture, contributing to a lofty cake. For our bars, we’ve reduced the egg count to just two large eggs. This amount is precisely what’s needed to bind all the ingredients together and offer a gentle lift without making the bars excessively spongy or cakey. It helps maintain the desired fudgy, dense profile.
- Optimized Pan Size for the Perfect Ratio: The vessel in which you bake can dramatically impact the final product. Instead of a deep 9×13-inch baking pan typically used for cakes, these bars are baked in a 10×15-inch jelly roll pan. This larger, shallower pan ensures a thinner layer of batter, resulting in bars that are perfectly proportioned. This critical adjustment guarantees an ideal balance of moist pumpkin bar to generous layer of creamy, dreamy frosting in every single bite, preventing the frosting from overpowering the delicate spice flavors.
Essential Ingredients for Irresistible Pumpkin Bars
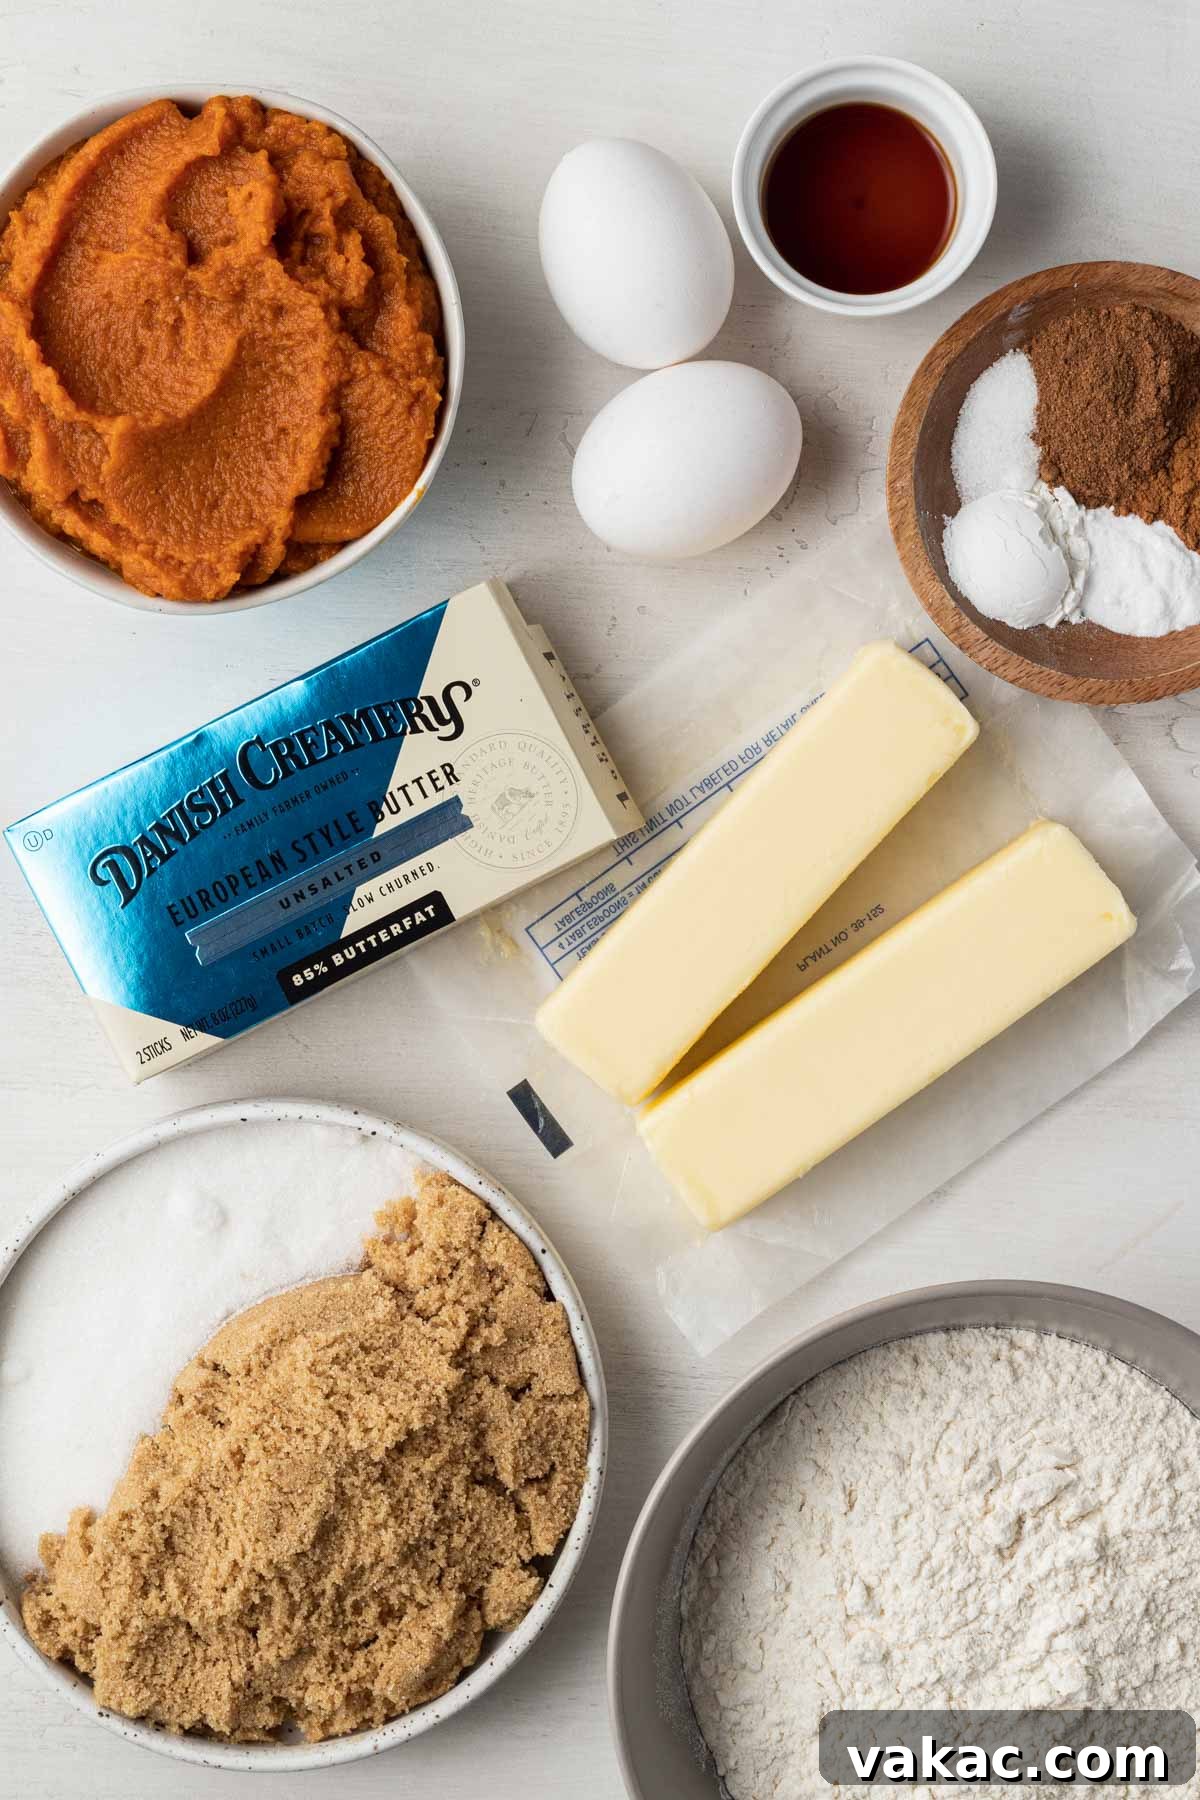
Crafting these delectable pumpkin bars with cream cheese frosting requires a selection of readily available ingredients, many of which you likely already have stocked in your pantry or refrigerator. Let’s take a closer look at some of the key components that give these bars their signature taste and texture:
- Pumpkin Pie Spice: This aromatic blend is the heart and soul of our pumpkin bars, delivering that classic autumnal warmth. If you find yourself without a store-bought blend or simply prefer a homemade touch, you can easily whip up your own pumpkin pie spice using common spices like cinnamon, nutmeg, ginger, and cloves. Its fragrant notes elevate the pumpkin flavor beautifully.
- Danish Creamery European Style Unsalted Butter: As mentioned, butter is a star ingredient here, not just a fat. Danish Creamery’s European Style Butter is my top recommendation for baking, and for good reason. It’s slow-churned in smaller batches, which contributes to its incredibly velvety texture and rich, deep flavor. This quality makes a noticeable difference in the final product, contributing to a superior taste and tender crumb. If you only have salted Danish Creamery butter on hand, simply reduce the added salt in the recipe to 1/8 teaspoon to maintain balance.
- Pure Pumpkin Puree: This is a non-negotiable ingredient. It’s absolutely crucial to use pure pumpkin puree, not pumpkin pie filling. Pumpkin pie filling is a pre-sweetened and pre-spiced mixture, which would throw off the flavor and sugar balance of this recipe. Always check the label to ensure you’re getting pure, unadulterated pumpkin.
- Cream Cheese for Frosting: To achieve that perfectly thick, tangy, and spreadable cream cheese frosting, you must use full-fat, brick-style cream cheese. Avoid the whipped varieties or those that come in a tub, as these often contain more water and less fat, resulting in a runny, less flavorful frosting that won’t hold its shape.
- All-Purpose Flour: The structural backbone of our bars. Ensure it’s spooned and leveled for accurate measurement, preventing overly dense bars.
- Sugars (Light Brown & Granulated): A combination of both light brown sugar for moisture and a hint of caramel, and granulated sugar for sweetness and tenderization.
- Eggs: Act as a binder, providing structure and richness. Ensure they are at room temperature for better emulsification with other ingredients.
- Vanilla Extract: A splash of pure vanilla extract enhances all the other flavors, adding complexity and warmth.
- Baking Powder & Baking Soda: The leavening agents responsible for the bar’s perfect texture.
- Salt: A pinch of salt is vital for balancing the sweetness and enhancing all the flavors in the bars and the frosting.
Crafting Your Perfect Pumpkin Bars: A Step-by-Step Guide
This recipe for pumpkin bars is wonderfully straightforward, boasting minimal prep work and a simple baking process that even novice bakers can master. Let’s walk through the steps to create these delightful fall treats.
- Prepare Your Baking Pan: Begin by preheating your oven to 350ºF (175°C). Take a 10×15-inch jelly roll pan (also known as a half-sheet pan) and spray it thoroughly with non-stick cooking spray. For effortless removal and slicing, I highly recommend lining the pan with parchment paper, allowing an overhang on the sides to act as “handles.” This simple step makes cleanup a breeze!
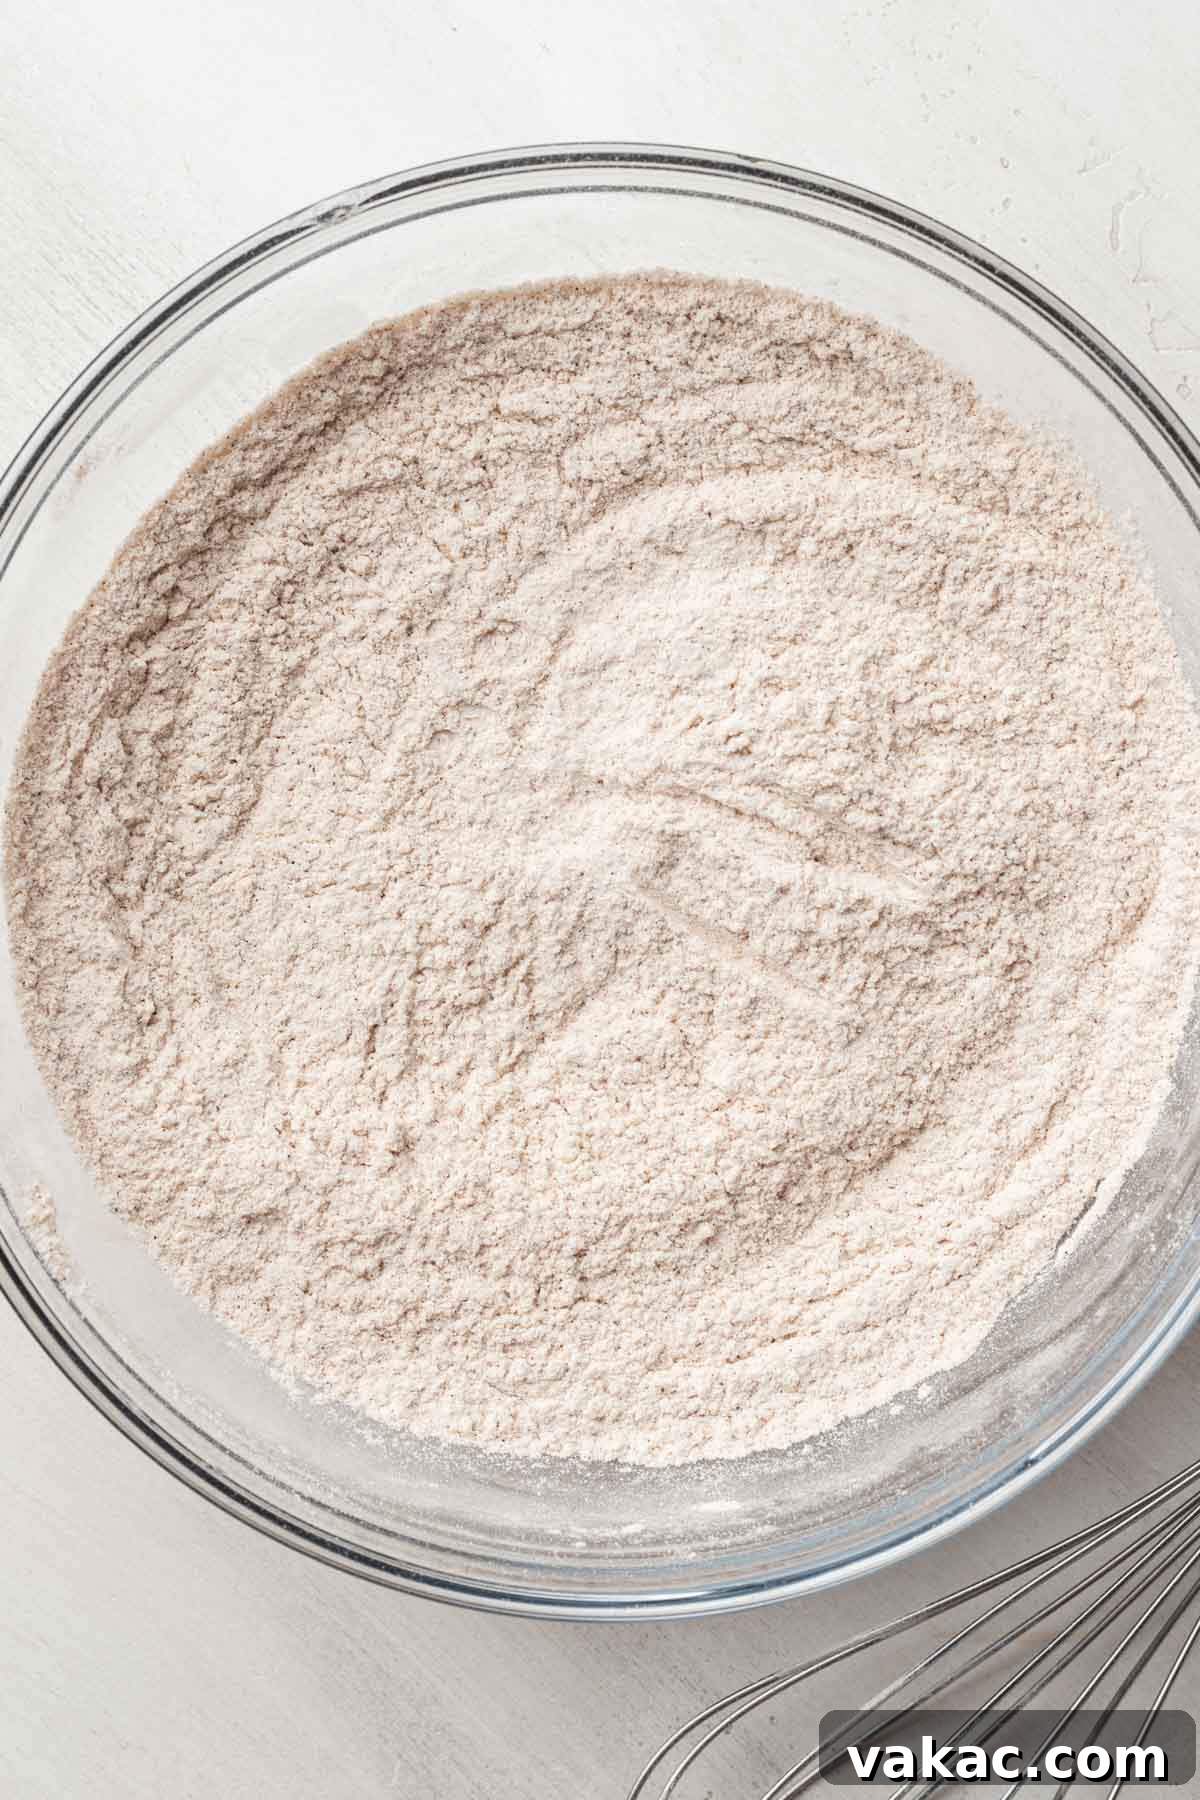
- Combine the Dry Ingredients: In a large mixing bowl, whisk together the all-purpose flour, baking powder, baking soda, pumpkin pie spice, ground cinnamon, and salt. Whisk vigorously for about 30 seconds to ensure all the dry ingredients are evenly distributed, preventing pockets of leavening or spice in your finished bars. Set this mixture aside.
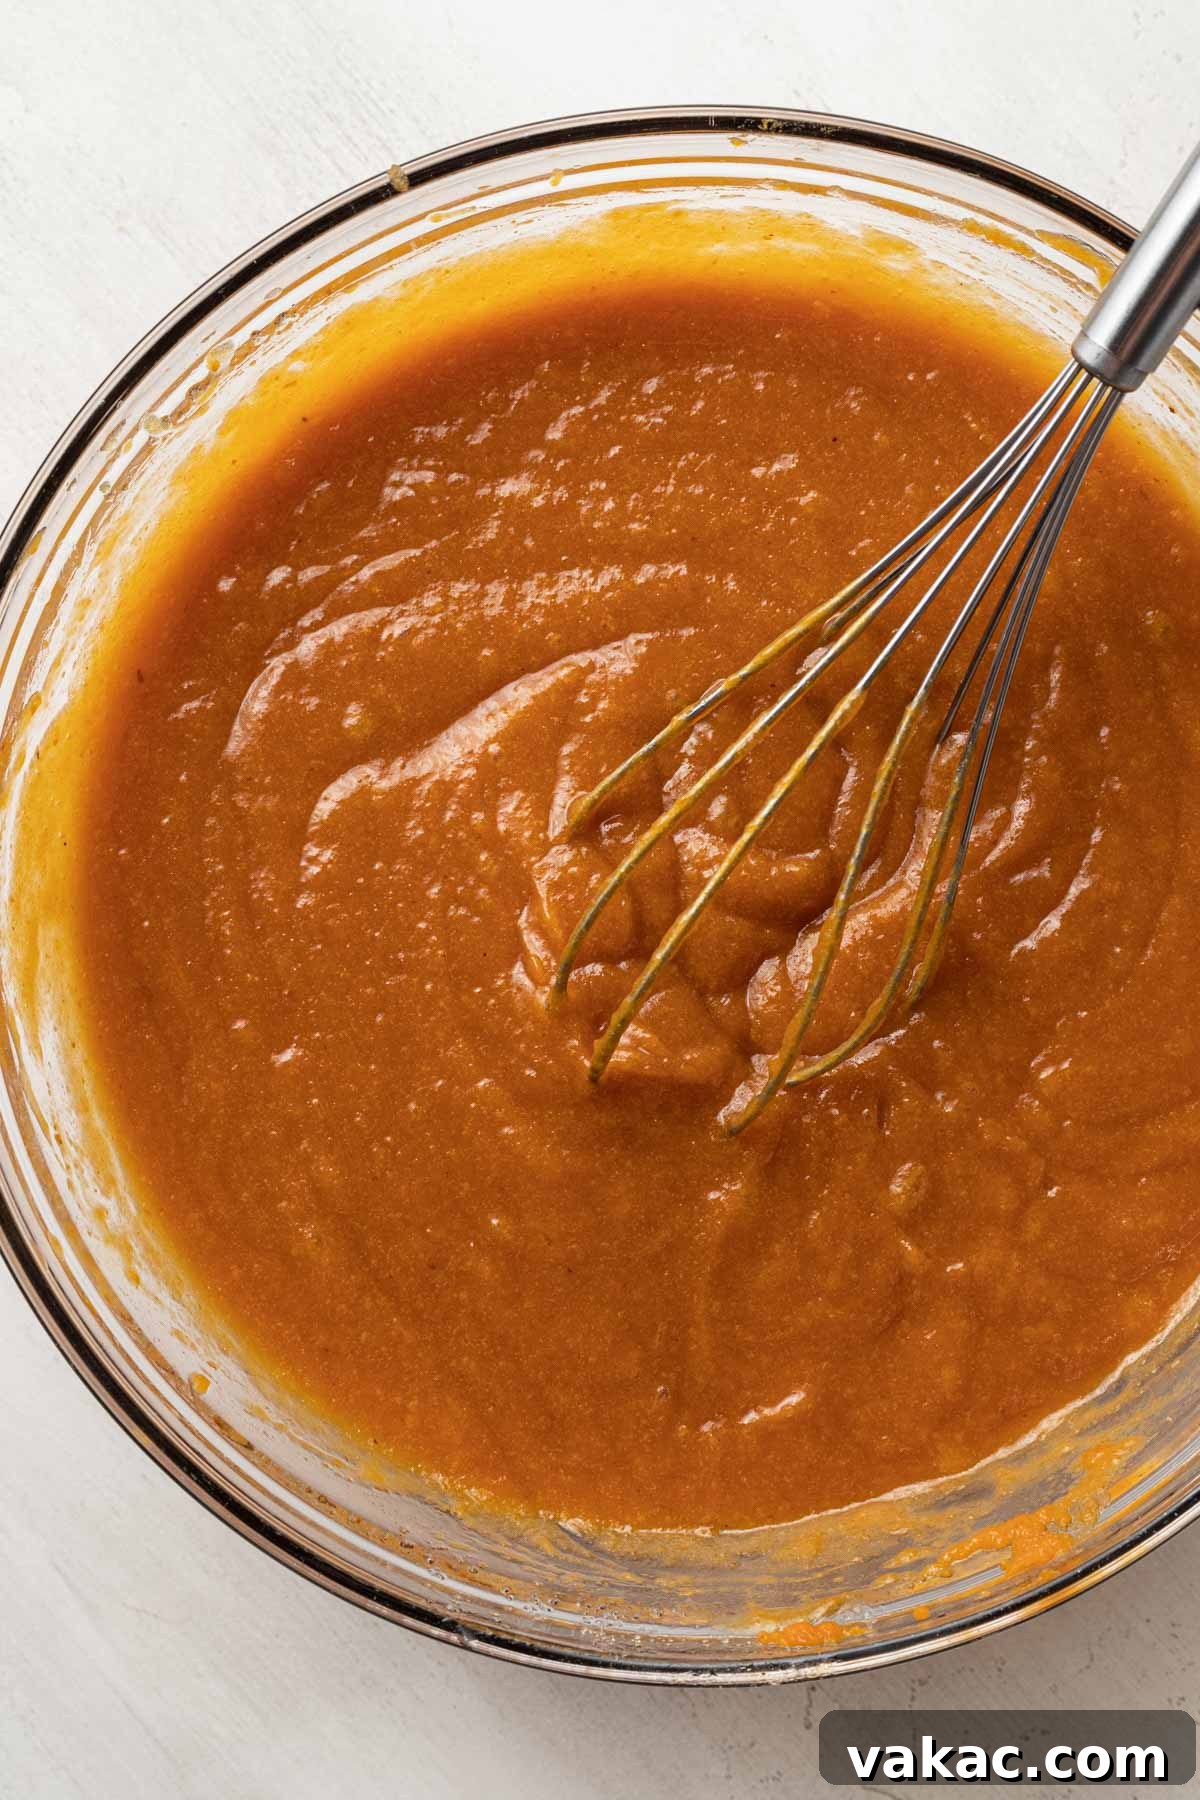
- Mix the Wet Ingredients: In a separate, medium-sized mixing bowl, combine the slightly cooled melted Danish Creamery butter, pure pumpkin puree, light brown sugar, granulated sugar, room temperature large eggs, and pure vanilla extract. Whisk these ingredients together until they are thoroughly combined and smooth. Ensure the melted butter has cooled slightly before adding it to the eggs to prevent them from scrambling.
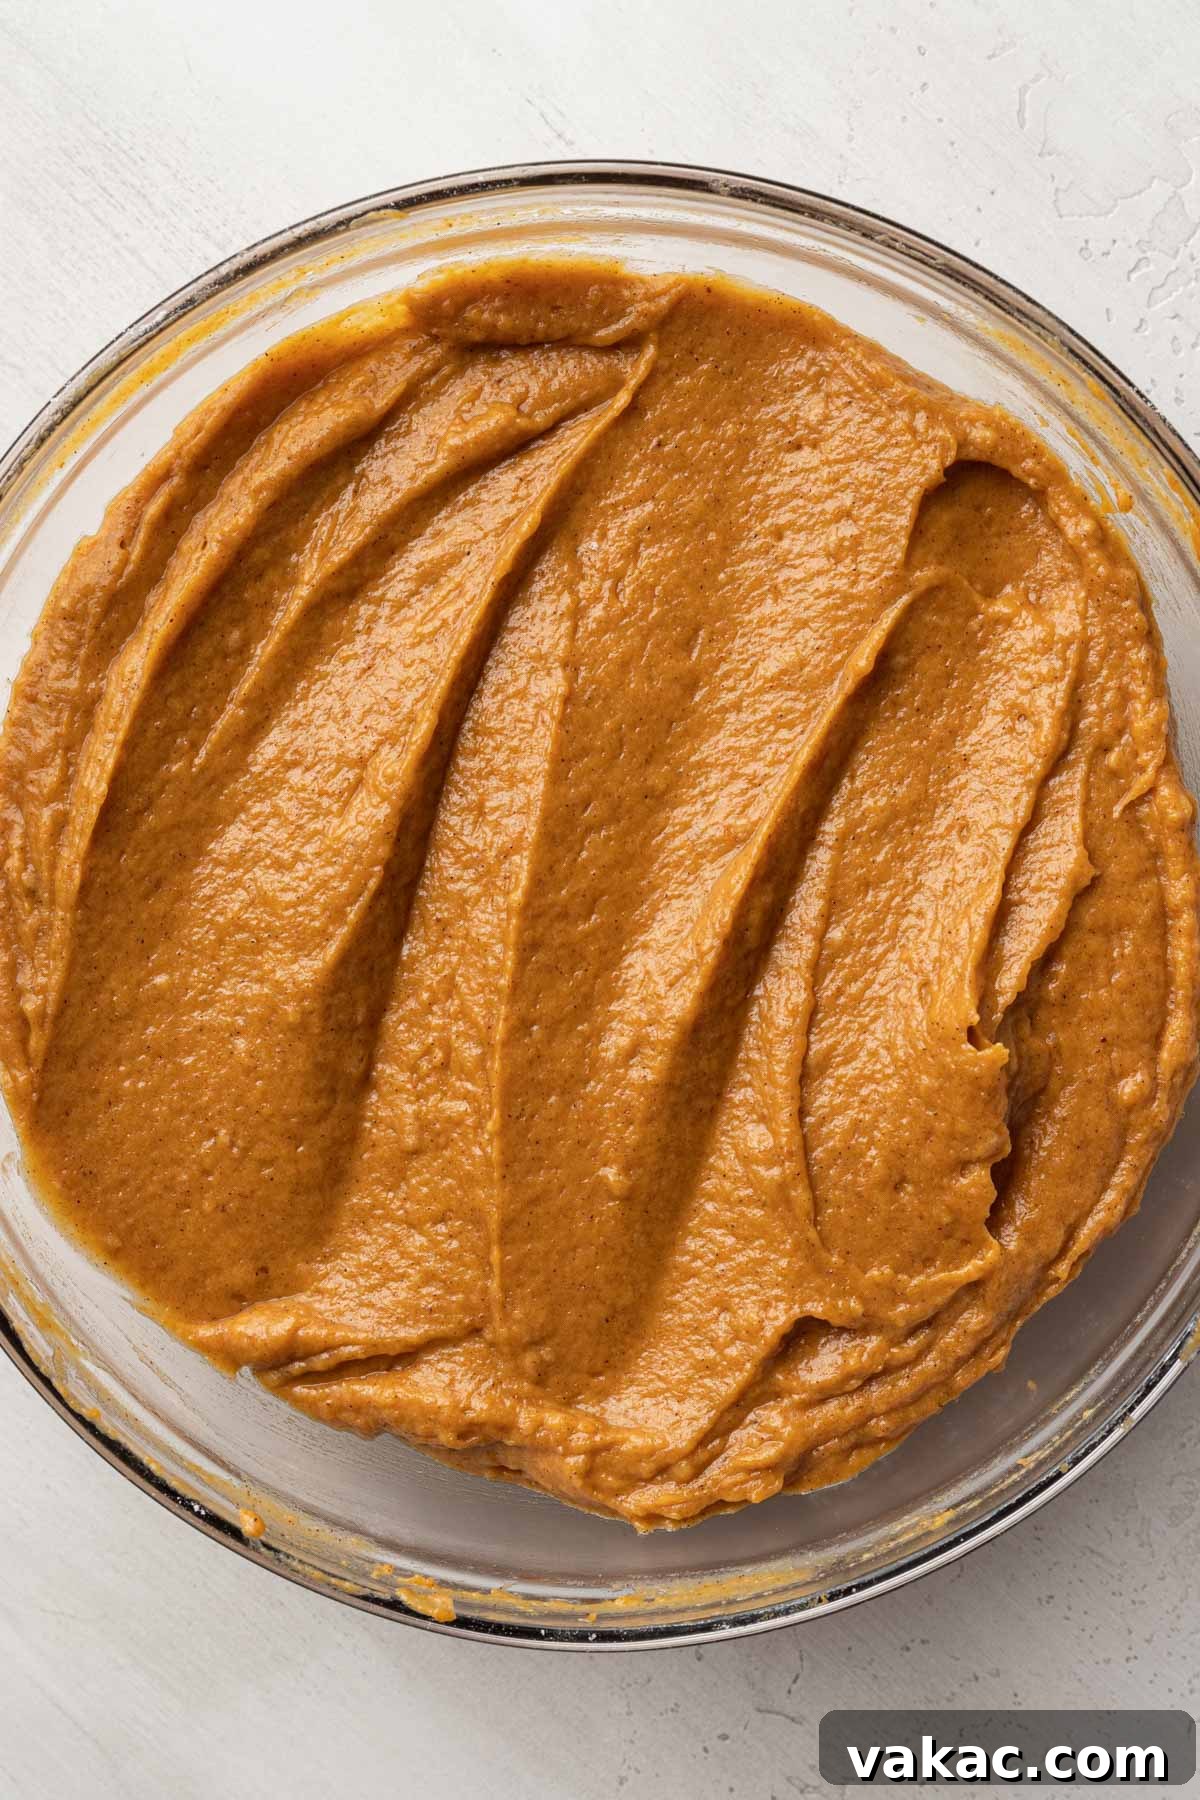
- Combine Wet and Dry Mixtures: Gradually add the dry ingredient mixture to the wet ingredients. Using a rubber spatula or a wooden spoon, mix until just combined. It’s crucial not to overmix the batter at this stage; a few small lumps are perfectly fine and even desirable, as overmixing can lead to tough, dense bars.
- Bake the Pumpkin Bars: Pour the prepared batter into your lined 10×15-inch jelly roll pan. Use an offset spatula or the back of a spoon to gently spread the batter evenly across the pan, ensuring a consistent thickness for uniform baking. Bake for 17 to 23 minutes, or until a wooden toothpick inserted into the center of the bars comes out clean with no wet batter attached. The exact baking time may vary slightly depending on your oven.
- Cool Completely: This is arguably the most critical step for perfect frosting application. Once baked, remove the pan from the oven and place it on a wire rack to cool completely. This process will take at least one to two hours, and patience is key! If you try to frost warm bars, the cream cheese frosting will melt and slide right off. For convenience, you can even bake the bars the day before and frost them the next day, once they are thoroughly chilled.
- Prepare the Cream Cheese Frosting: While the bars are cooling, you can begin preparing the rich cream cheese frosting. In the bowl of a stand mixer fitted with the paddle attachment, or using a large mixing bowl and a handheld electric mixer, beat the softened brick-style cream cheese and softened Danish Creamery butter together on medium speed until the mixture is incredibly smooth and free of any lumps. This typically takes 2-3 minutes. Gradually add the powdered sugar, one cup at a time, beating on low speed until incorporated, then increase speed to medium until light and fluffy. Finally, beat in the pure vanilla extract until just combined. Scrape down the sides of the bowl as needed to ensure everything is fully incorporated.
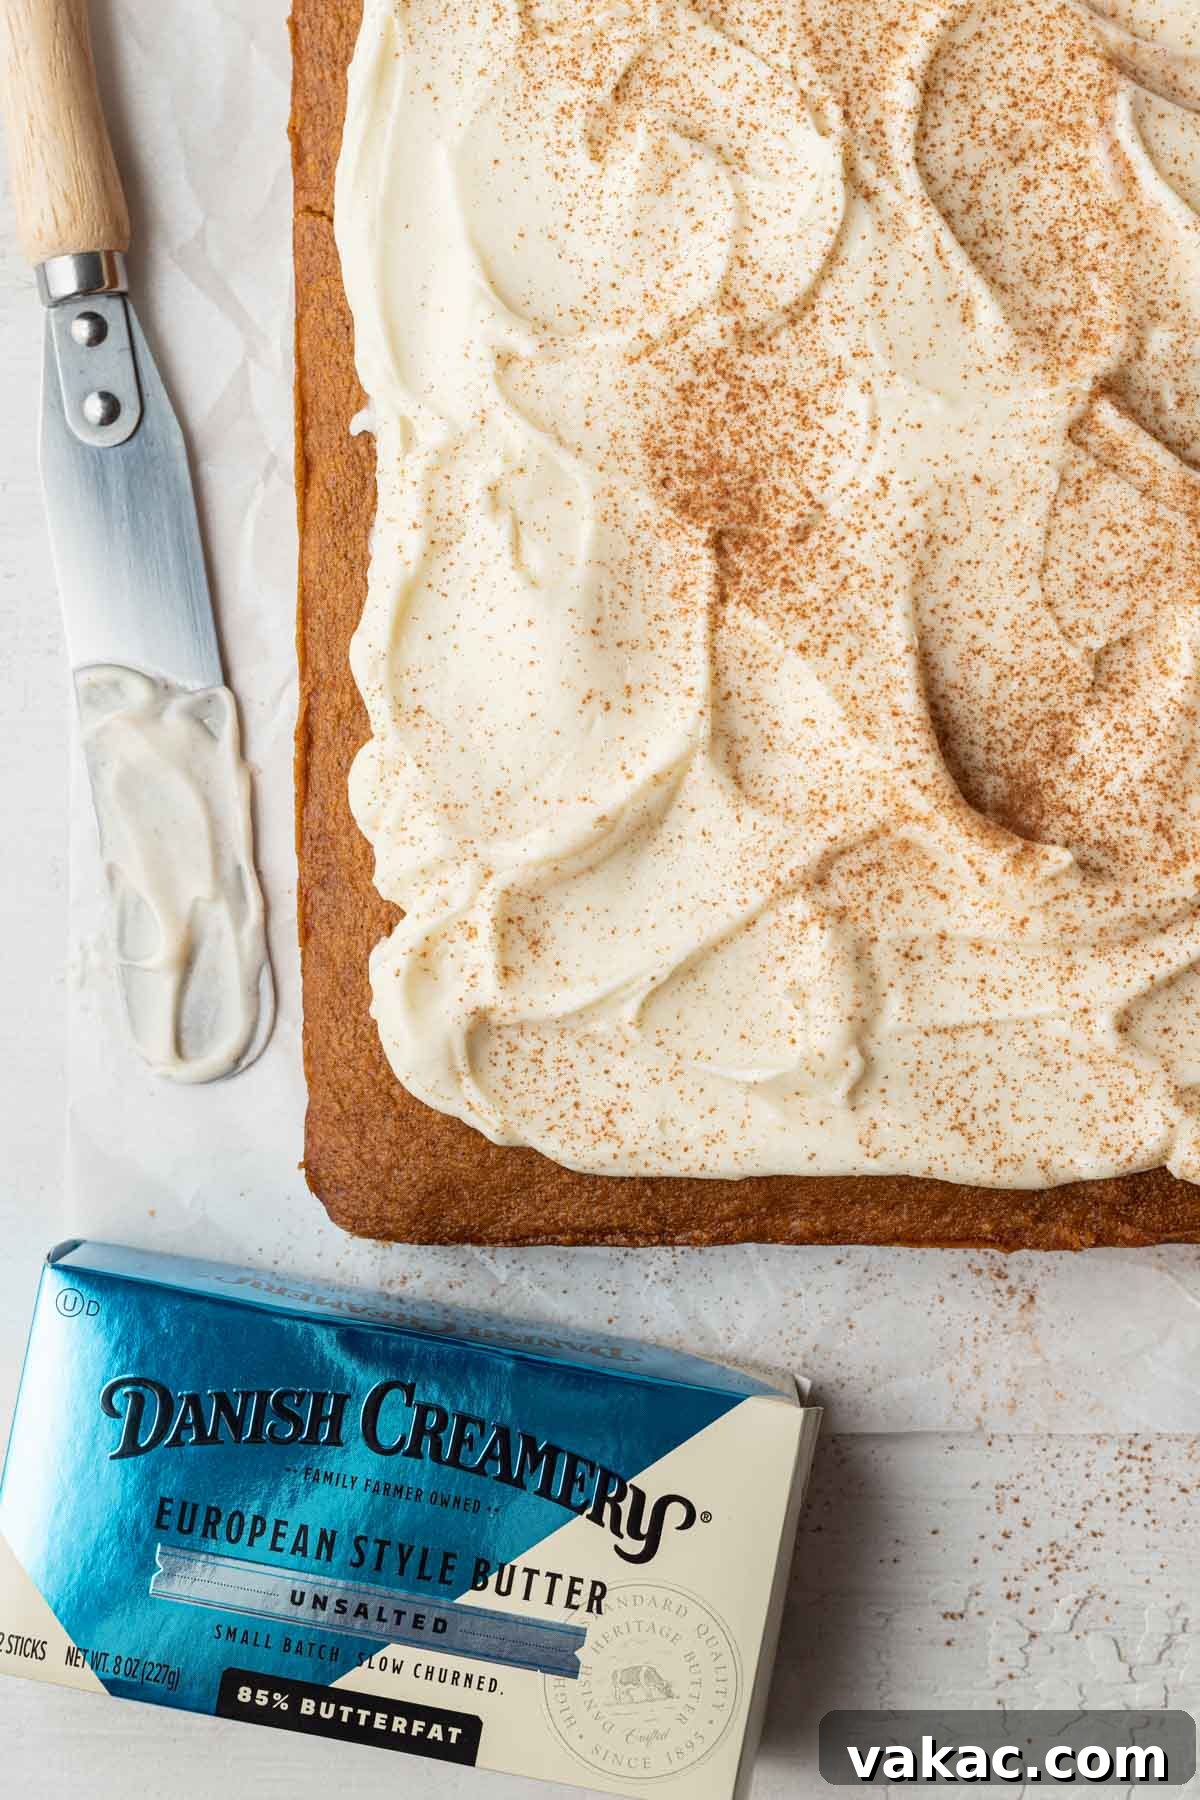
- Frost and Serve: Once the pumpkin bars are completely cool (and ideally slightly chilled), generously scoop the prepared cream cheese frosting onto them. Use an offset spatula or the back of a spoon to gently spread the frosting into an even layer, reaching all the way to the edges. Now, the moment you’ve been waiting for! Slice the frosted slab into individual bars. You can serve them immediately, or for an even cleaner cut and firmer frosting, refrigerate them for about 30 minutes before slicing.
Planning Ahead: Can Pumpkin Bars Be Made in Advance?
Absolutely! These pumpkin bars are an excellent make-ahead dessert, perfect for holiday gatherings or when you simply want to enjoy a delicious treat without last-minute fuss. Here are a few options for preparing them in advance:
- Fully Assembled: You can completely bake, cool, and frost the pumpkin bars. Once assembled, transfer them to an airtight container and refrigerate them until you’re ready to slice and serve. This allows the flavors to meld beautifully and the frosting to set firm, making for cleaner cuts.
- Unfrosted Bars: If you prefer to frost them fresh, you can bake the pumpkin bars up to 48 hours in advance. Once baked and completely cooled, store the unfrosted bars at room temperature, wrapped tightly in plastic wrap or in an airtight container. When you’re ready, whip up the cream cheese frosting and assemble!
Using Homemade Pumpkin Puree: Is It Recommended?
While I’ve exclusively developed and tested this recipe using canned pure pumpkin puree, which offers a consistent moisture level, using homemade pumpkin puree is generally possible. However, there’s a crucial consideration: homemade purees tend to have a higher moisture content than their canned counterparts. If you opt for homemade, I strongly advise taking an extra step to remove any excess liquid. You can do this by placing the puree in a fine-mesh sieve lined with cheesecloth and letting it drain for an hour or two, or by gently pressing out the moisture. Failing to do so could result in a batter that’s too wet, leading to gummy or overly dense bars.
Storage and Freezing Instructions for Your Pumpkin Bars
Proper storage is key to keeping your pumpkin bars fresh and delicious. Since these bars are adorned with a decadent cream cheese frosting, they require refrigeration to maintain their quality and food safety.
- Refrigeration: Transfer the sliced or unsliced frosted bars to an airtight container, or wrap them tightly with plastic wrap to prevent them from drying out. Store them in the refrigerator for up to five days. This will keep them moist, flavorful, and the frosting perfectly set.
- Freezing: These pumpkin bars freeze beautifully, either with or without the frosting, extending their shelf life for up to three months.
- Freezing Frosted Bars: If you plan to freeze frosted bars, first arrange them in a single layer on a parchment paper-lined baking sheet. Place the baking sheet in the freezer for about an hour or until the frosting is completely solid. This “flash freezing” step prevents the frosting from getting squished or sticking together when transferred. Once hardened, transfer the bars to a freezer-safe zip-top bag or an airtight container, layering parchment paper between layers if necessary.
- Freezing Unfrosted Bars: For unfrosted bars, simply wrap the cooled slab tightly in several layers of plastic wrap, then an additional layer of aluminum foil, or place in a freezer-safe container.
- Thawing: When you’re ready to enjoy, simply transfer the frozen bars (frosted or unfrosted) to the refrigerator and let them thaw overnight. If thawing unfrosted bars, you can then prepare and add the fresh cream cheese frosting before serving.
Expert Baking Tips for Flawless Pumpkin Bars
Achieving bakery-quality pumpkin bars is simpler than you think with these helpful tips:
- Cool Your Melted Butter: After you’ve melted the butter, allow it to cool for a few minutes before incorporating it into the wet ingredients. Adding hot butter to eggs can cause them to scramble, which would compromise the texture of your bars. A slightly warm or room-temperature melted butter is ideal.
- Avoid Overmixing the Batter: This is a golden rule in baking, especially for cakes and bars. Once you add the dry ingredients to the wet, mix only until they are just combined and no streaks of flour remain. Overmixing develops the gluten in the flour excessively, leading to a tough, dense, and potentially gummy texture. A few small lumps in the batter are perfectly acceptable and often indicate you haven’t overmixed.
- Parchment Paper is Your Best Friend: While not strictly mandatory, lining your baking pan with parchment paper is a game-changer. It ensures that your pumpkin bars won’t stick, making them incredibly easy to lift out of the pan once cooled. This prevents breakage and allows for clean, precise slicing, and significantly simplifies cleanup. An overhang on the sides creates handy “handles” for lifting.
- Room Temperature Ingredients for Frosting: For the smoothest, creamiest cream cheese frosting, ensure both your cream cheese and butter are softened to room temperature. This allows them to cream together effortlessly, creating an emulsified base that holds air and prevents lumps. Cold ingredients will result in a lumpy, difficult-to-spread frosting.
- Cooling is Crucial: Patience is truly a virtue when it comes to frosting. Ensure your pumpkin bars are completely cooled, and ideally slightly chilled, before applying the cream cheese frosting. Warm bars will cause the frosting to melt into a messy puddle, ruining the presentation and texture.
More Delicious Pumpkin Desserts to Enjoy!
If you’re a true pumpkin enthusiast, there are countless ways to celebrate this beloved fall flavor. After mastering these pumpkin bars, why not try your hand at some of these other delightful recipes?
- Classic Pumpkin Pie
- Moist Pumpkin Bread
- Fluffy Pumpkin Cupcakes with Cream Cheese Frosting
- Elegant Pumpkin Roll
- Chewy Pumpkin Chocolate Chip Cookies
- Decadent Pumpkin Crème Brûlée
Pumpkin Bars
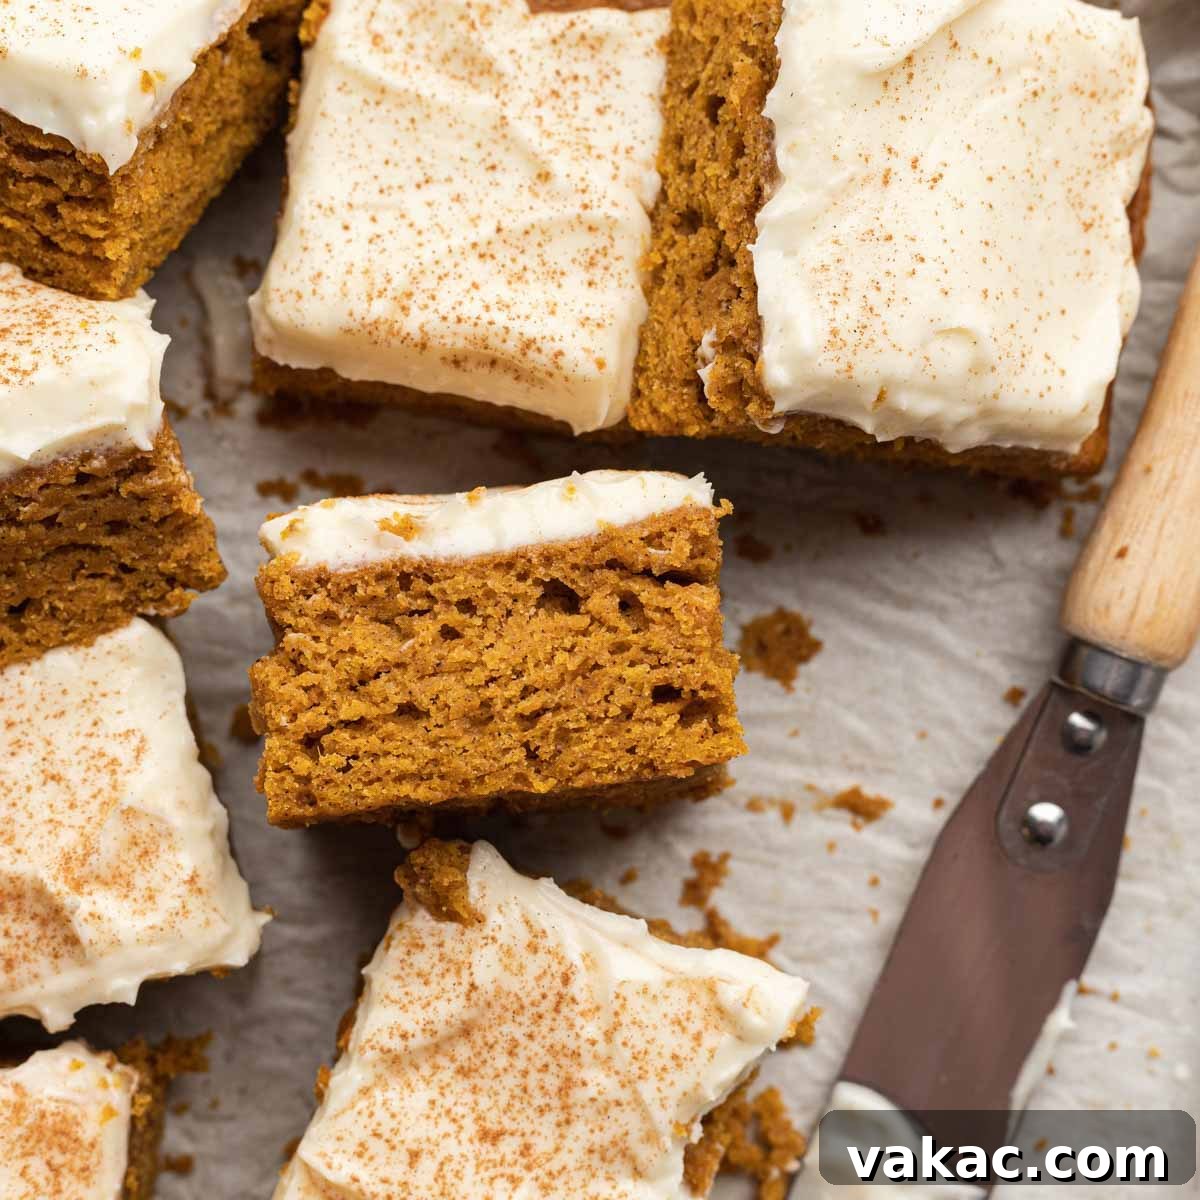
These soft pumpkin bars are well spiced and topped with a rich cream cheese frosting. Quick, easy, and perfect for fall!
Pin Recipe
Ingredients
Pumpkin Bars
- 2 cups all-purpose flour spooned & leveled (250 grams)
- 1 teaspoon baking powder
- ½ teaspoon baking soda
- 2 teaspoons pumpkin pie spice
- 1 teaspoon ground cinnamon
- ½ teaspoon salt
- 1 cup Danish Creamery unsalted butter melted and slightly cooled (230 grams)
- 1 (15-ounce) can pumpkin puree (424 grams)
- 1 cup packed light brown sugar (200 grams)
- ½ cup granulated sugar (100 grams)
- 2 large eggs at room temperature
- 1 teaspoon pure vanilla extract
Cream Cheese Frosting
- 1 (8-ounce) package brick-style cream cheese softened (226 grams)
- ½ cup Danish Creamery unsalted butter softened (115 grams)
- 2 cups powdered sugar (240 grams)
- 1 teaspoon pure vanilla extract
Instructions
-
To make the pumpkin bars: Preheat the oven to 350°F (180°C). Spray a 10×15-inch jelly roll pan with nonstick cooking spray, line with parchment paper (this is optional, but makes it easier to remove the bars from the pan), and set aside.
-
In a large mixing bowl, whisk together the flour, baking powder, baking soda, pumpkin pie spice, ground cinnamon, and salt until well combined. Set aside.
-
In a separate mixing bowl, whisk together the melted butter, pumpkin puree, brown sugar, granulated sugar, eggs, and vanilla extract until fully combined.
-
Add the dry ingredients to the wet ingredients and mix until just combined, making sure not to over mix the batter.
-
Pour the batter into the prepared baking pan and spread it around into one even layer. I like to use an offset spatula for this step.
-
Bake for 17 to 23 minutes or until a toothpick inserted into the center comes out clean.
-
Remove from the oven and set aside to cool completely.
-
To make the cream cheese frosting: In the bowl of a stand mixer fitted with the paddle attachment or in a large mixing bowl using a handheld mixer, beat the cream cheese and butter until smooth.
-
Add the powdered sugar and vanilla extract and mix on medium speed until fully combined and smooth, stopping to scrape down the sides of the bowl as needed.
-
To assemble the bars: Scoop the cream cheese frosting onto the cooled pumpkin bars and use an offset spatula (or the back of a spoon) to smooth it out into one even layer.
-
Slice into bars and serve or refrigerate until ready to serve.
Notes
Freezing Instructions: Bars may be frozen for up to three months, with or without the frosting. If freezing the bars after they’ve been frosted, I recommend freezing them first on a parchment paper-lined baking sheet. Once the bars have hardened (after one to two hours), transfer them to a freezer bag. Thaw overnight in the refrigerator.
Mention @livewellbakeoften on Instagram or tag #livewellbakeoften.