

This easy sheet pan pierogies with kielbasa and cabbage is the ultimate weeknight dinner win. Frozen pierogies (no boiling, no thawing!), protein-packed kielbasa sausage, and bagged coleslaw mix save time so there’s no chopping cabbage required. It tastes like comfort food while still feeling balanced and is ready in about 30 minutes. Finished with melty cheddar and an optional drizzle of creamy yogurt sauce, it’s a cozy, low-effort meal the whole family will love.

If there’s one meal my family always devours, it’s pierogies. With my husband’s Polish roots and kids who’ve adopted the same love, pierogies show up often at our table. Traditional cooking requires boiling and then frying, plus extra work to make it into a balanced dinner. I prefer working smarter, not harder, so on a busy weeknight I tried tossing everything on a sheet pan and letting the oven do the rest.
The sheet pan method for pierogies with kielbasa and cabbage is simple and reliable. Everything goes straight from the freezer and fridge to the pans: frozen pierogies, sliced kielbasa, thinly sliced onion, and bagged coleslaw mix. The only prep is slicing the sausage and onion. The oven roasts and caramelizes the ingredients so you get golden, crispy pierogies, browned sausage, and nicely charred cabbage without much hands-on time.
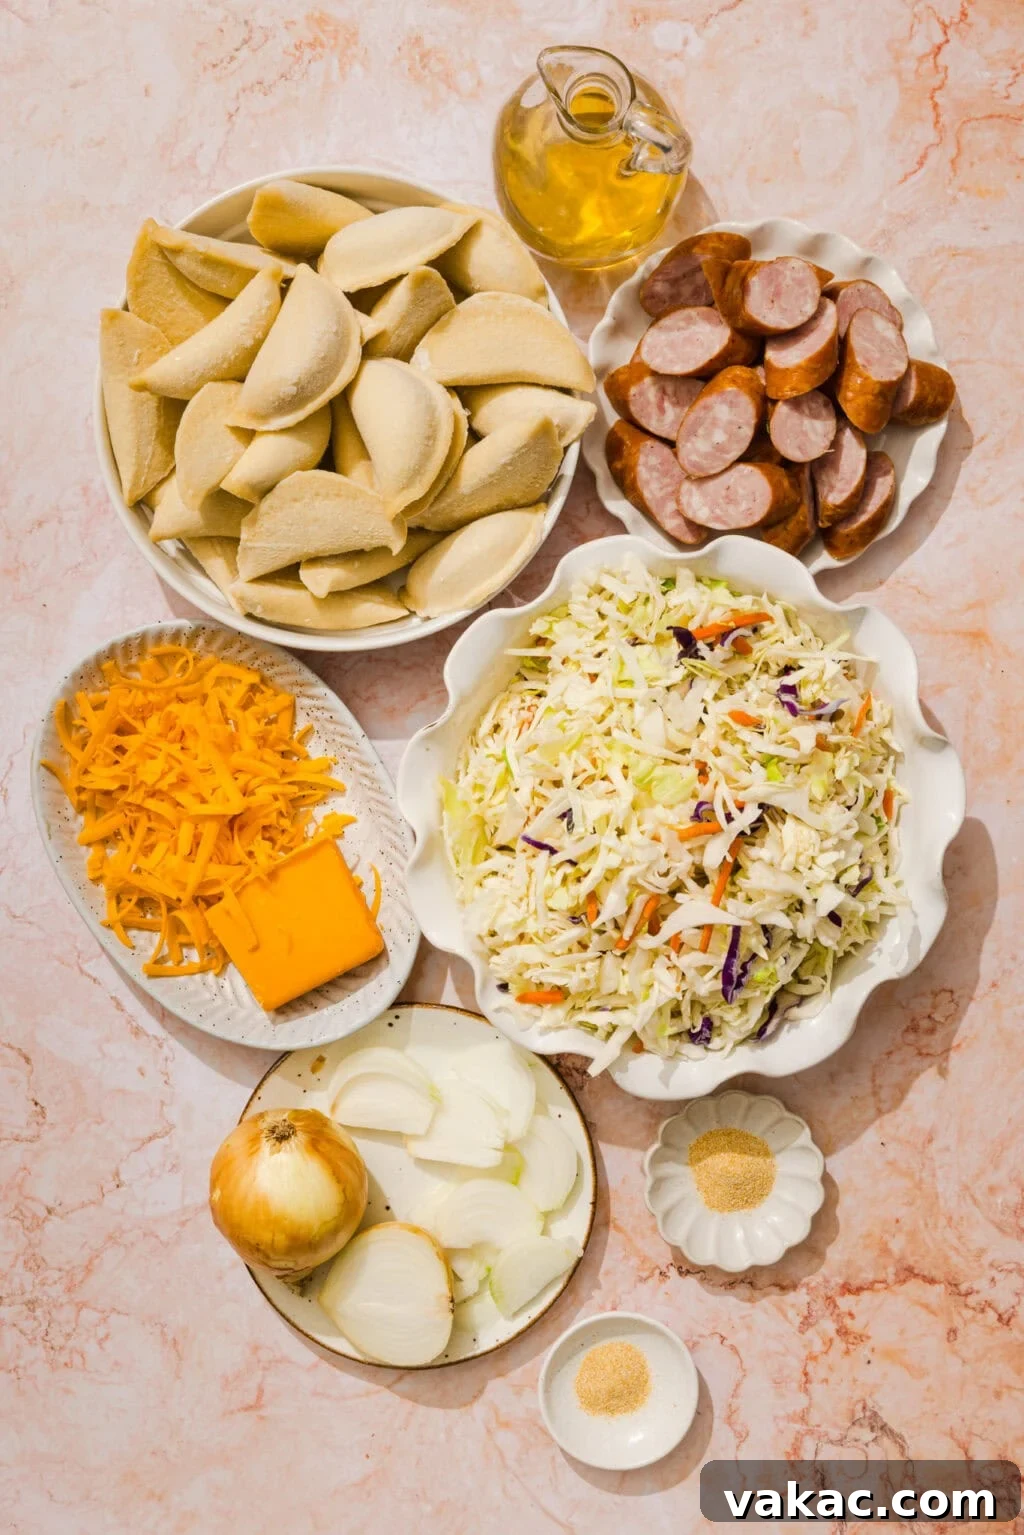
Key Ingredients That Make These The BEST Sheet Pan Pierogies
Bagged coleslaw mix: Using pre-shredded slaw saves time and provides two servings of vegetables per plate without chopping a large head of cabbage. It cooks faster than whole cabbage and includes carrot for color and extra fiber.
Kielbasa sausage: Kielbasa pairs authentically with pierogies, offering smoky, savory flavor. You can substitute other sausages—chicken sausage for a lighter option or raw pork sausage if you prefer—but kielbasa gives the classic combination many people expect.

Success Tips from My Dietitian Kitchen
- Keep the pierogies frozen. No thawing or boiling needed. They steam inside while crisping on the outside for the best texture with minimal effort.
- Line your baking sheets. Parchment makes cleanup easier; darker pans will give slightly crispier results. Choose based on your preference for crispness.
- Use two pans. Crowding ingredients causes steaming instead of roasting. Splitting onto two sheets gives each piece room to brown and crisp.
- Press pierogies flat on the pan. Nestle them so they touch the parchment—direct contact with the hot surface creates golden, crispy bottoms.
- Adjust the char to taste. Roasting bagged slaw brings caramelized edges. If you prefer more tender cabbage, keep it closer together on the pan or remove it earlier. Toss cabbage and onions when flipping pierogies to limit browning.
Let’s Roast Up This Sheet Pan Pierogi Dinner Together Step-by-Step

Sheet Pan Pierogies with Kielbasa Sausage (From Frozen!)
Description
Easy sheet pan pierogies with kielbasa and cabbage is a reliable, comforting weeknight dinner. Using frozen pierogies (no boiling or thawing), sliced kielbasa, and bagged coleslaw mix keeps prep minimal while delivering satisfying flavor and texture. Optional toppings like shredded cheddar and a creamy yogurt sauce add richness, but the roasted pierogies and cabbage are delicious on their own.
Ingredients
- 1¼ lbs (565 g / 20 oz) frozen potato & cheddar pierogies (about 18–20 pierogies), do not thaw
- 300 g kielbasa sausage, sliced on the diagonal into ½-inch pieces
- 1 yellow onion, thinly sliced
- 5 cups coleslaw mix (shredded cabbage)
- 4 Tbsp avocado oil, divided
- 1 tsp garlic powder
- 1 tsp onion powder
- Salt and pepper, to taste
Toppings
- 1 cup grated cheddar cheese (optional)
- Plain Greek yogurt or sour cream (about ½ cup) or a flavored yogurt sauce for drizzling
- Chopped chives or sliced green onion for garnish
Instructions
- Preheat the oven to 425°F. Line two rimmed baking sheets with parchment paper.
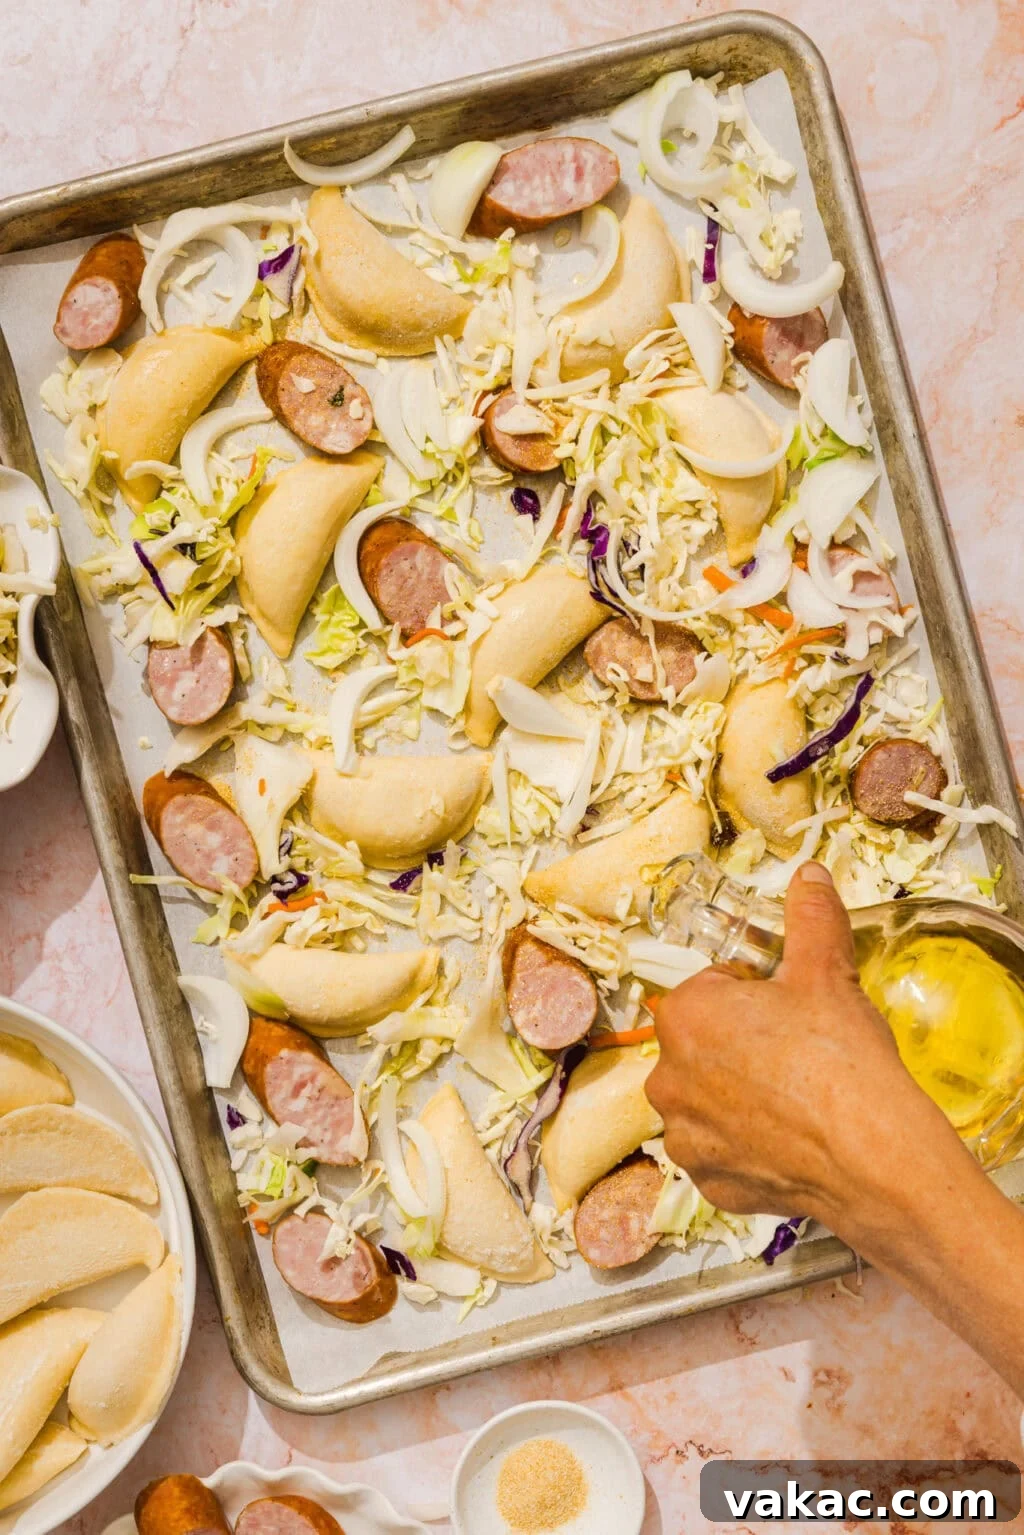
- Divide the frozen pierogies, sliced sausage, onion, and coleslaw mix evenly between the two prepared baking sheets.
- Divide the avocado oil, garlic powder, onion powder, salt, and pepper between the pans and toss to coat well, making sure the pierogies are fully coated in oil.
- Spread everything out so it roasts instead of steaming. Nestle pierogies and sausage flat against the parchment paper to ensure direct contact for crispy bottoms. Bake for 15 minutes.
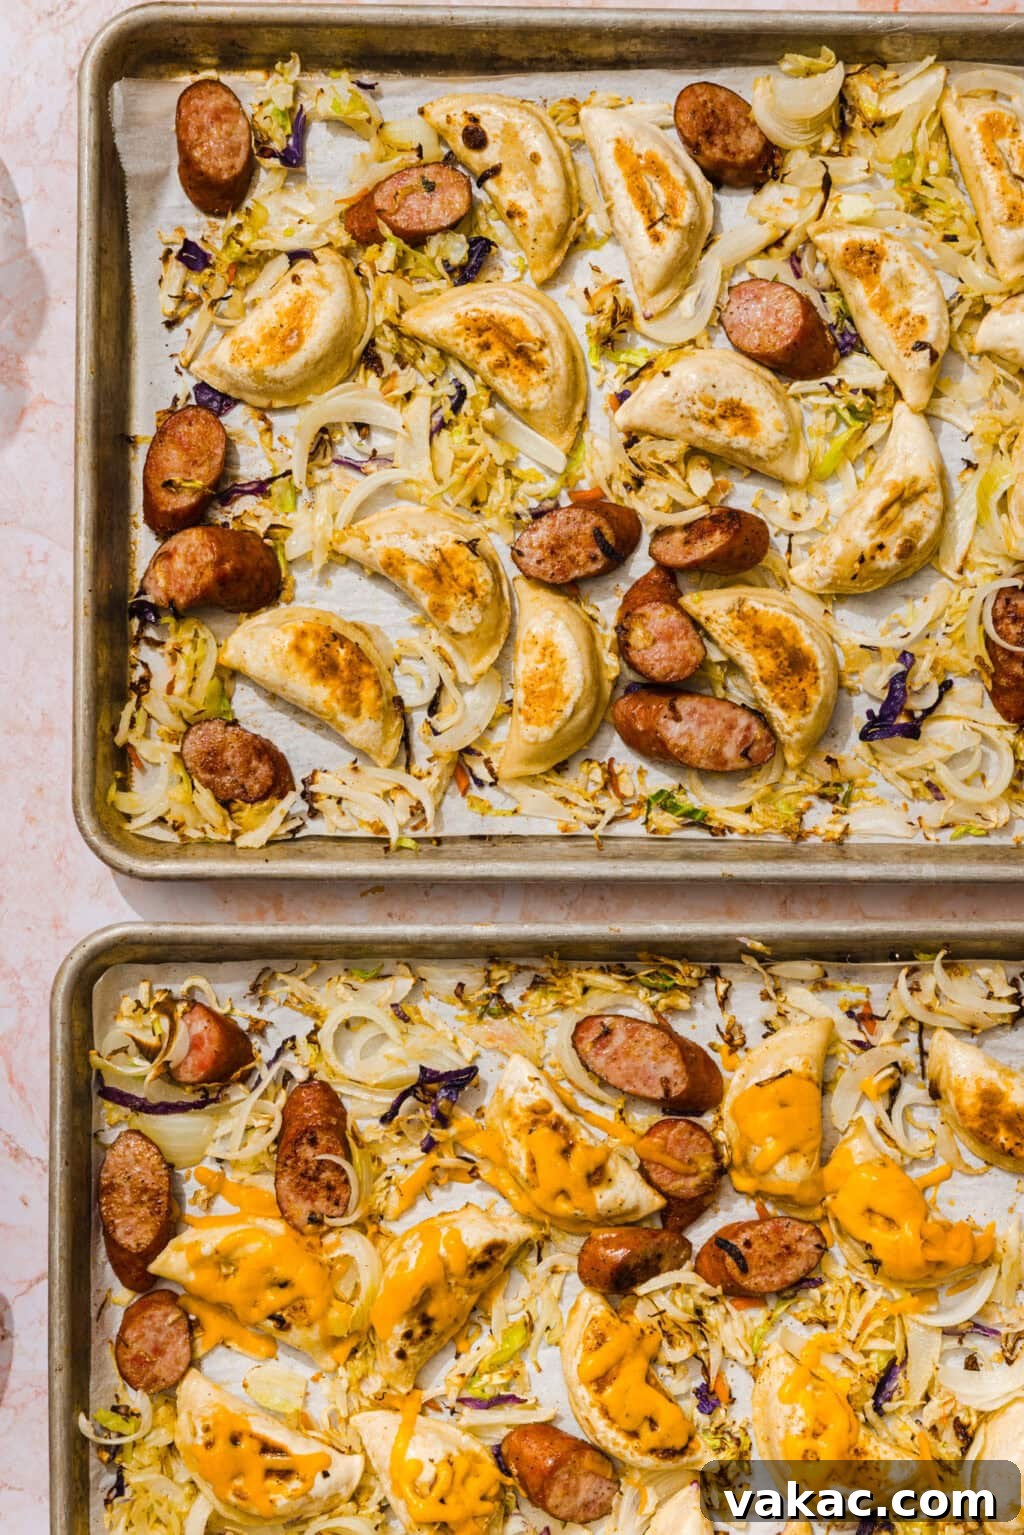
- Remove the pans and flip the pierogies and sausage, keeping them in contact with the parchment. Leave the cabbage and onion mostly undisturbed so they brown; toss them only if they’re already starting to crisp. Swap the pans between racks and bake another 5–10 minutes, until pierogies are golden and cabbage is beginning to brown.
- If using cheese, sprinkle it on during the last 5 minutes of baking until melted and bubbly.
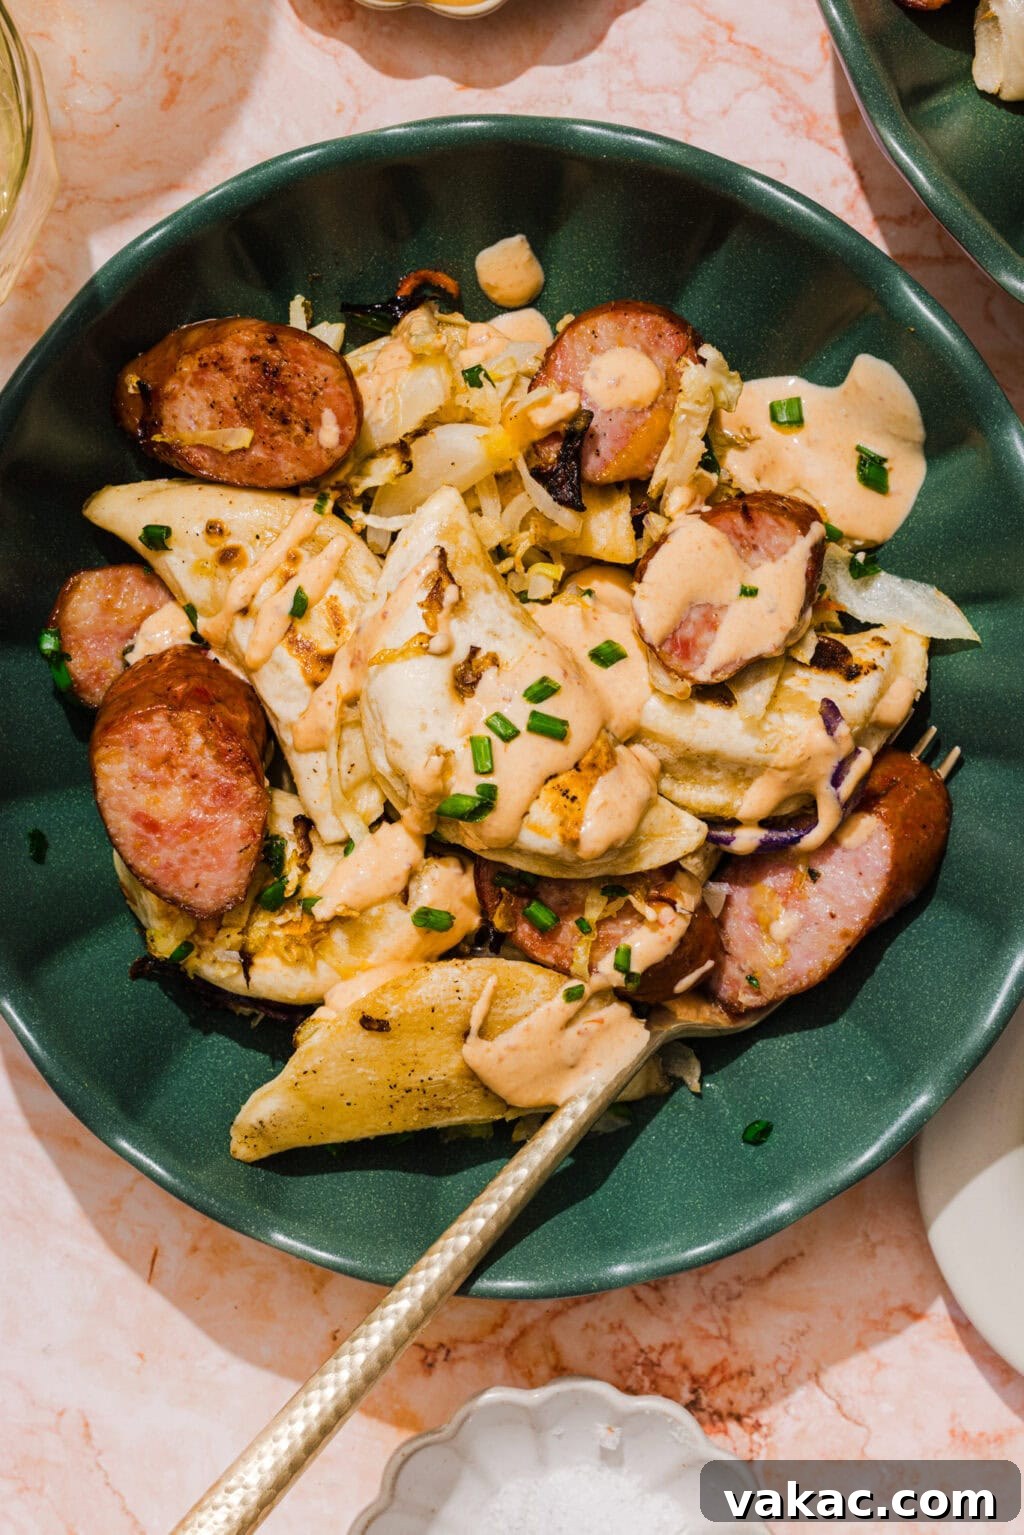
- To serve, drizzle with yogurt or sour cream, or spoon on a flavored yogurt sauce. Finish with chopped chives or green onion.
Notes
Cooking the cabbage: For crispier cabbage, spread it out on the pan so the edges caramelize. For more tender cabbage, keep it closer together and toss when flipping the pierogies.
Storage: Store leftovers in an airtight container in the refrigerator for 3–4 days. Reheat in the oven or air fryer to restore crispness.