
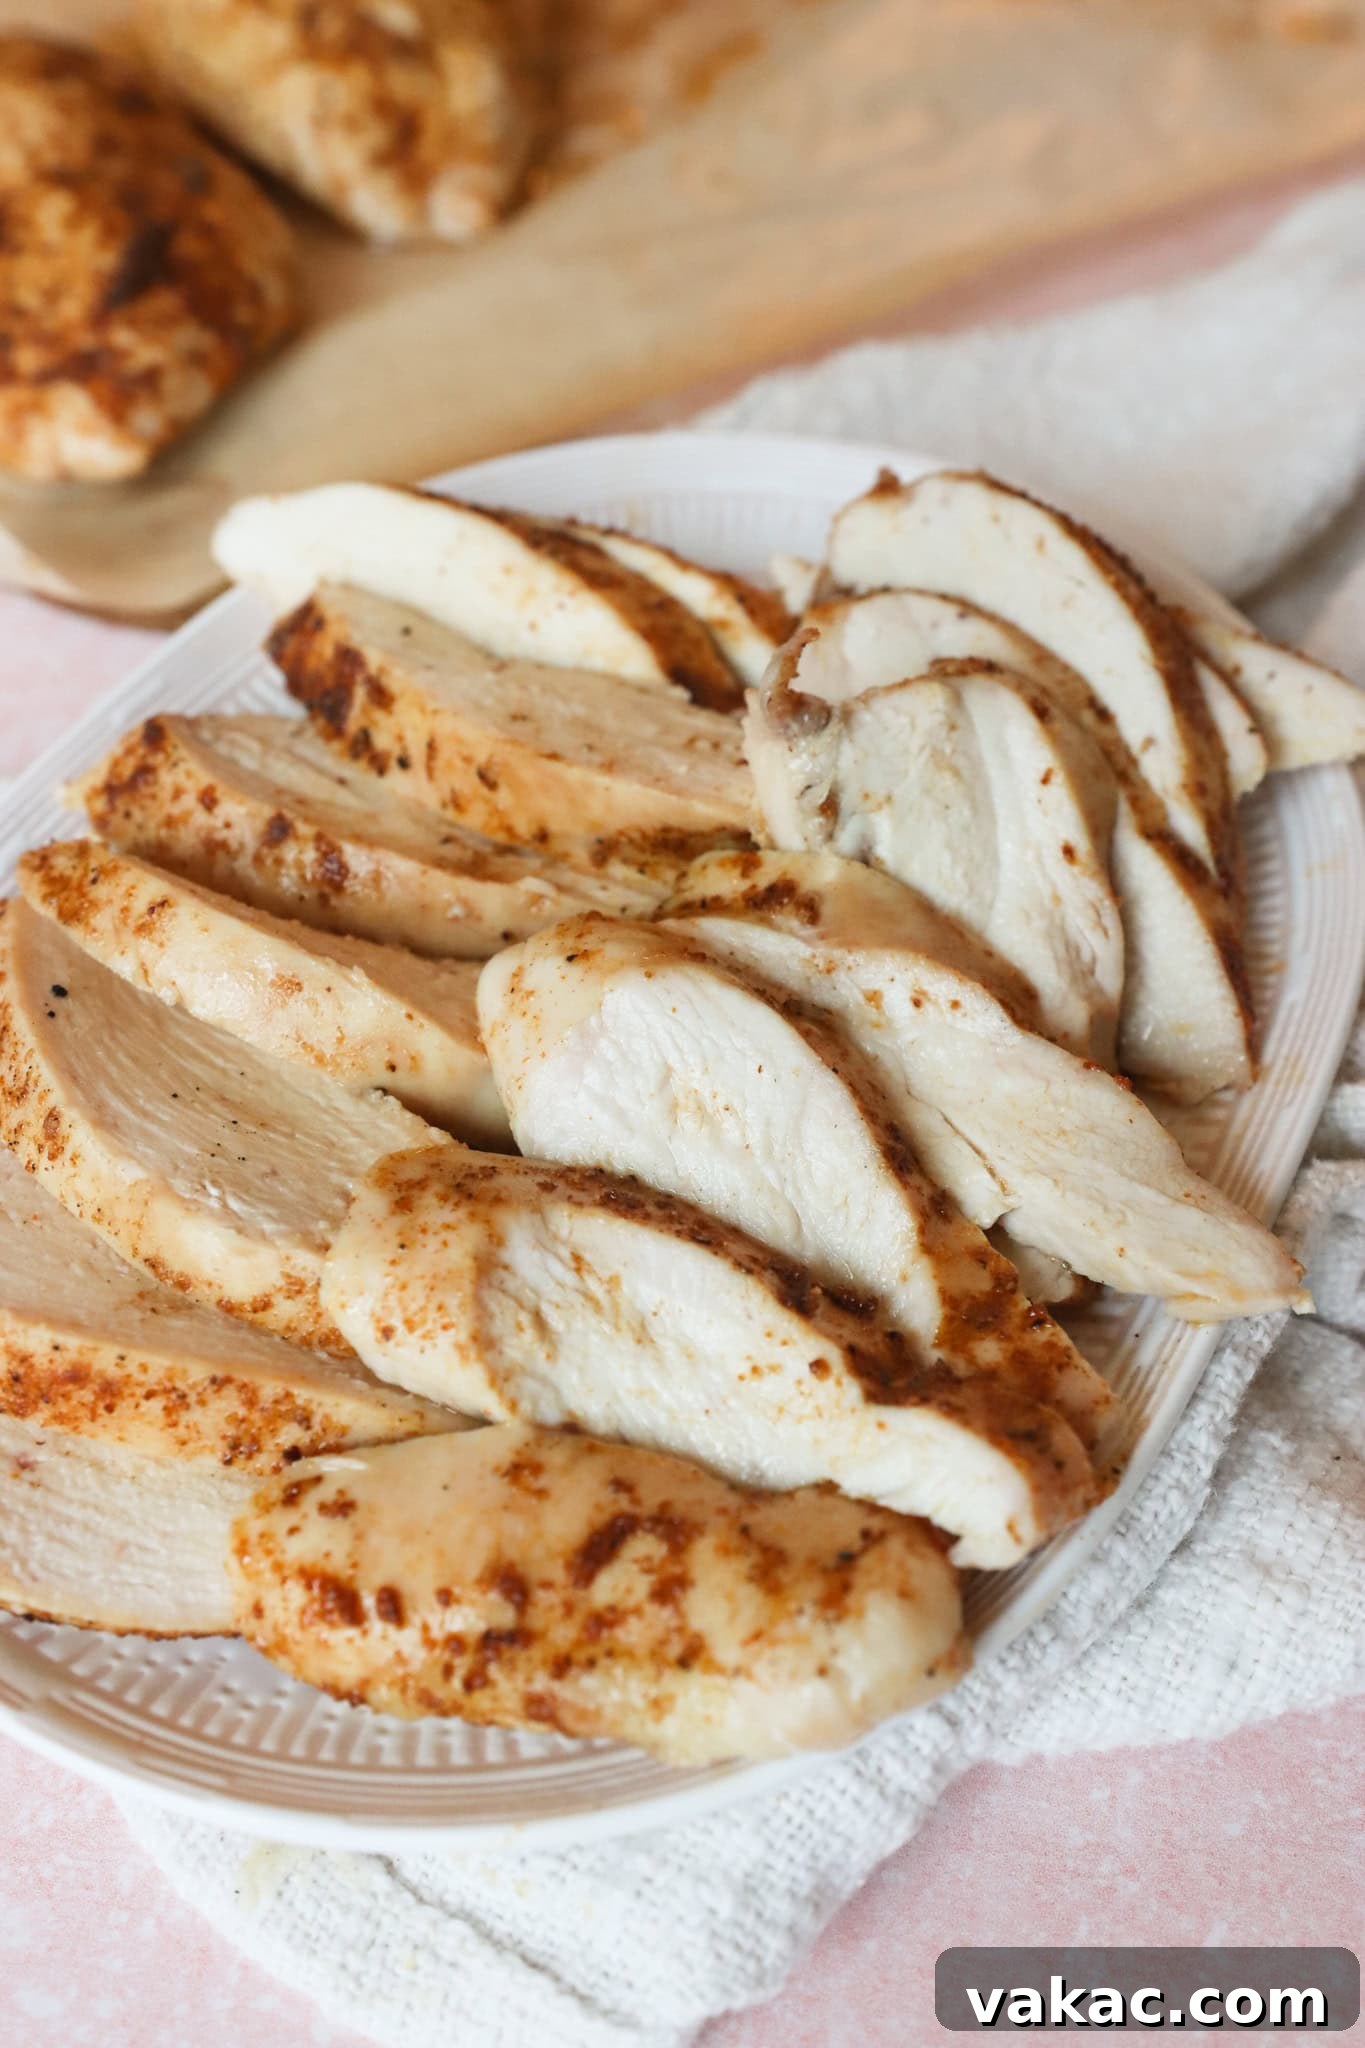
Juicy & Tender Thin-Cut Baked Chicken Breast: Your Ultimate Meal Prep Solution
Say goodbye to dry, bland chicken breasts forever! This revolutionary recipe transforms everyday chicken into a succulent, flavor-packed protein. With just a quick 15-minute brine and an equally brief 15-minute bake time at 450°F, you’ll achieve perfectly tender, juicy chicken breasts every single time. Ideal for a fast weeknight meal atop your favorite salad (this Kale Caesar Salad is an absolute must-try!) or nestled in a vibrant bowl, this recipe truly shines for meal prepping. The secret lies in its ability to stay incredibly moist and delicious, even when reheated, making your weekly meal planning effortless and enjoyable.
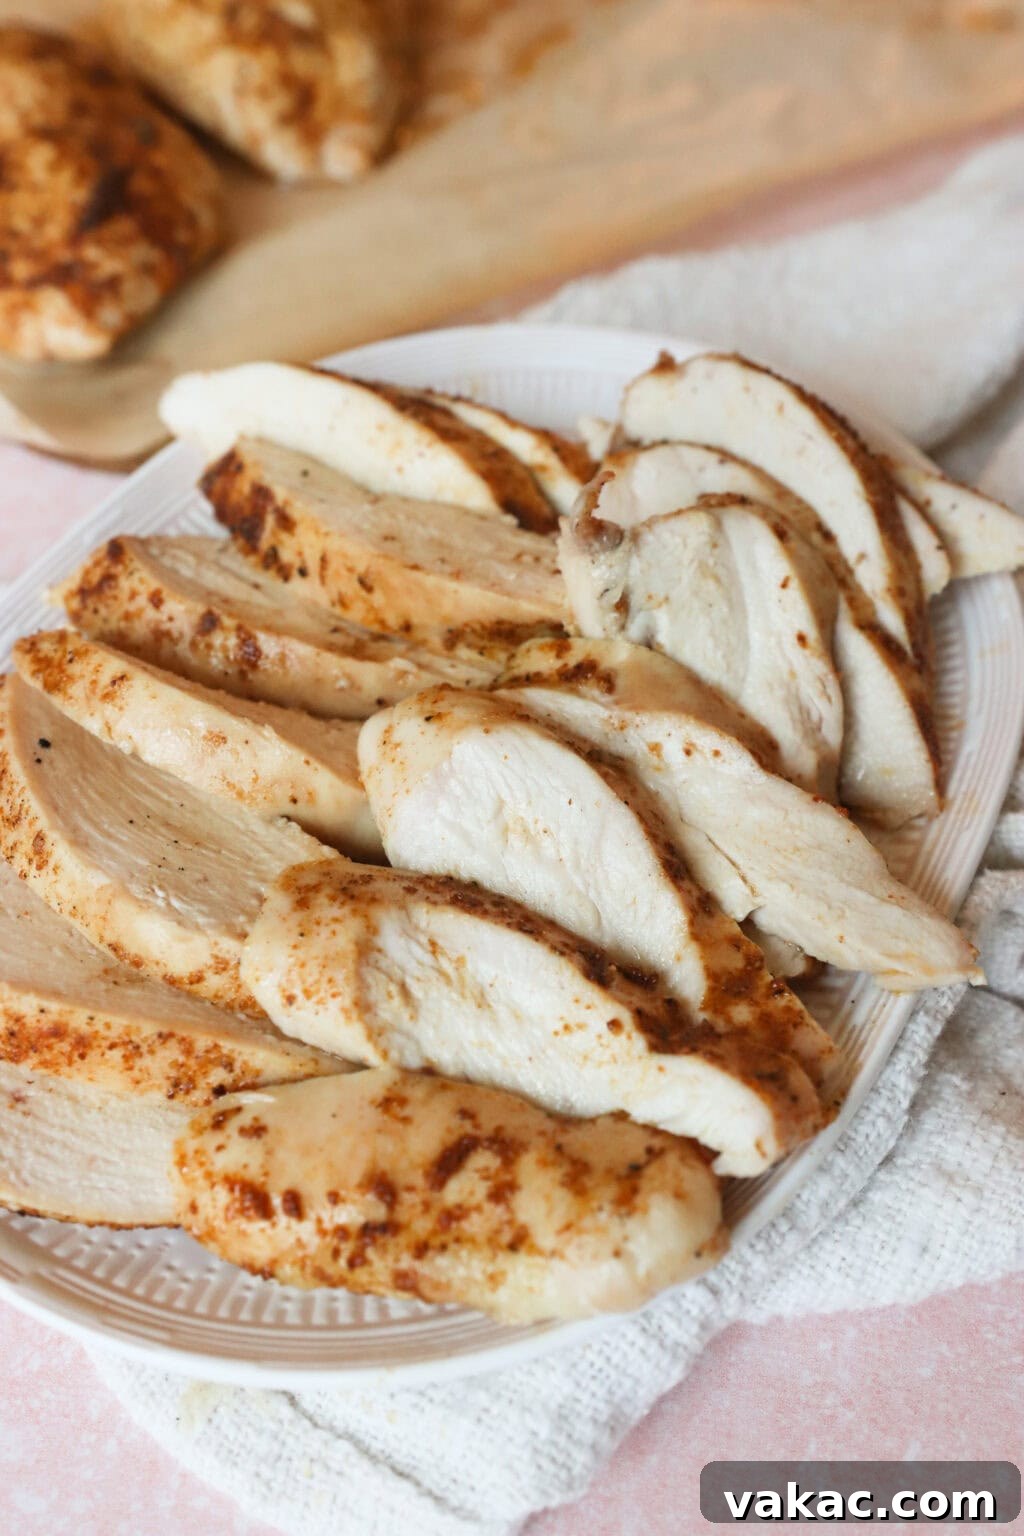
Unlock the Secret to Consistently Juicy Baked Chicken Breasts
For many, chicken breasts are a meal prep staple, yet often a source of culinary frustration. The lean nature of chicken breast makes it notoriously easy to overcook, resulting in dry, rubbery, and flavorless meat. Even as a dedicated dietitian, I found myself avoiding them for years due to their tendency to disappoint. That is, until I discovered this game-changing method.
This recipe for thin-cut chicken breasts has completely transformed our approach to preparing and enjoying chicken at home. The key to its unparalleled juiciness and flavor lies in a two-part strategy: a brief, effective brine, and a high-heat, short baking period. The brine works wonders by allowing the chicken to absorb moisture and salt, fundamentally altering its texture and ensuring it remains succulent as it bakes. Coupled with a quick 15-minute bake at a scorching 450°F, you get a beautiful exterior and a tender interior without any risk of drying out.
The result is flawlessly tender, exceptionally flavorful chicken that provides a generous 20 grams of protein per serving. This makes it an incredibly versatile addition to almost any dish – from fresh, crisp salads to hearty sandwiches, wraps, and even your favorite pasta dishes. What truly sets this recipe apart is its impressive ability to retain moisture even after reheating, making it the ultimate choice for efficient and delicious meal prepping. You’ll never dread reheated chicken again!
If you’re eager to elevate your meal prep and planning routine, my new cookbook, The Feel-Good Meal Plan, is your go-to resource! It features 4 full weeks of meticulously crafted meal plans, comprehensive grocery lists, and easy-to-follow meal prep instructions for a variety of delicious recipes, all ready in under 30 minutes! Grab your copy here and revolutionize your kitchen!
Essential Ingredients for Your Flavorful Thin-Cut Chicken
One of the best aspects of this recipe is how few ingredients it requires, most of which are likely already in your pantry. Simplicity meets sensational flavor!
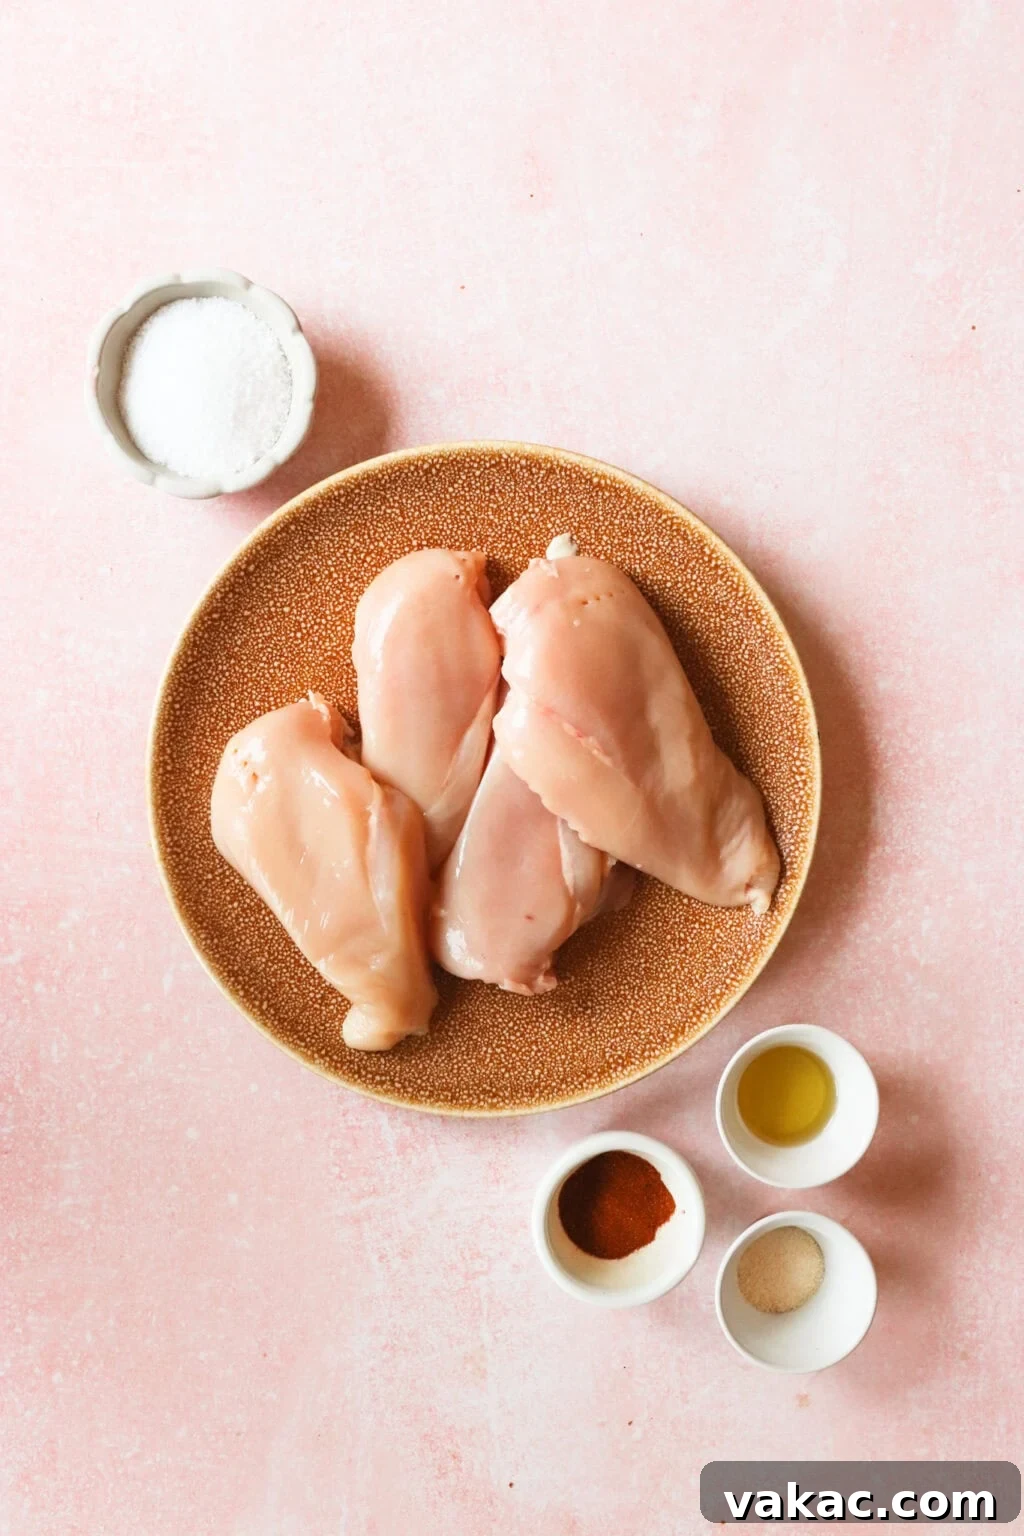
- Boneless, Skinless Chicken Breasts: Opt for good quality chicken. If your breasts are thick, you’ll want to slice them horizontally or pound them to about ½ to ¾-inch thickness for even cooking and a shorter bake time. This “thin-cut” approach is crucial for achieving that perfect 15-minute cook.
- Avocado Oil: This oil is a fantastic choice for high-heat baking due to its high smoke point. It helps create a beautiful golden crust without burning and assists in distributing the seasonings.
- Salt & Freshly Ground Black Pepper: The foundation of flavor for any savory dish. Don’t underestimate their power, especially after the brine.
- Paprika & Garlic Powder: These two spices are incredibly versatile and complement a wide range of cuisines. They provide a warm, savory depth that enhances the chicken’s natural flavor, making it suitable for almost any meal you plan for the week.
Step-by-Step Guide to Perfectly Baked Thin-Cut Chicken
Achieving perfectly juicy baked chicken breasts is easier than you think with these simple steps. Follow along to master this technique.
Step 1: The Magic of Brining
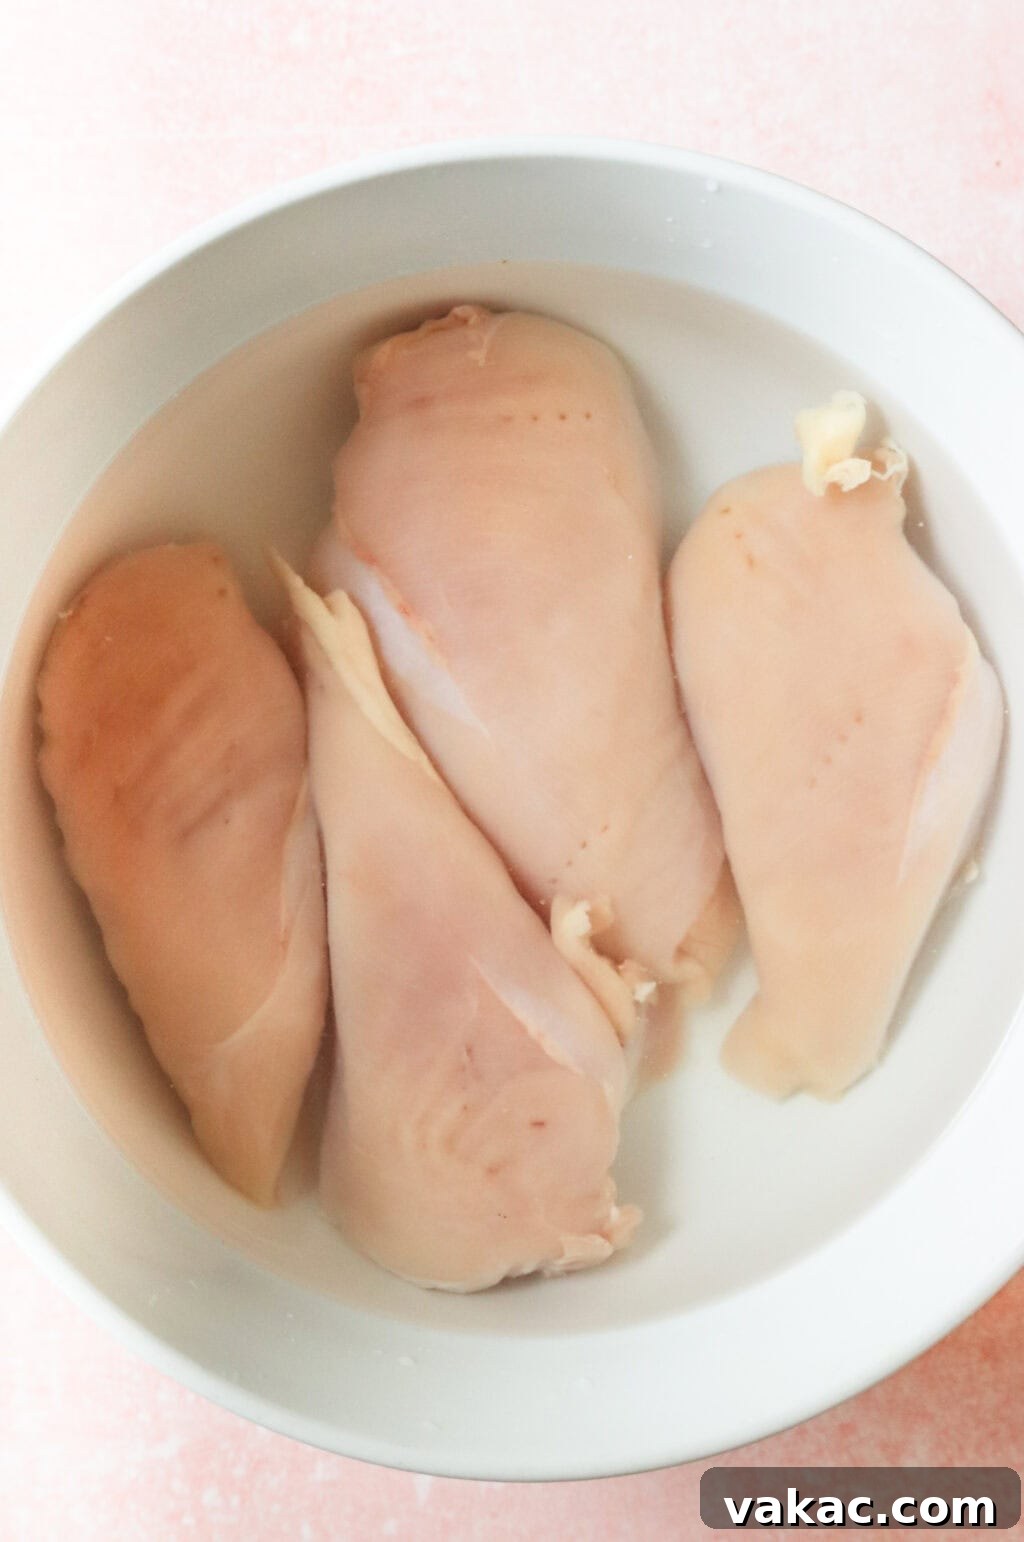
Brining is the secret weapon against dry chicken. By dissolving salt in lukewarm water and letting the chicken soak, you’re not just adding flavor; you’re fundamentally changing the muscle proteins. The salt causes the proteins to denature, allowing the meat to absorb and retain more moisture during cooking. This process ensures the chicken stays incredibly juicy. After a minimum of 15 minutes, rinse the chicken thoroughly under cold water. This step is crucial to prevent the chicken from becoming too salty. Then, pat it completely dry with paper towels. Excess moisture on the surface can lead to steaming instead of searing, preventing that desirable golden crust.
Step 2: Season and Prepare for Baking
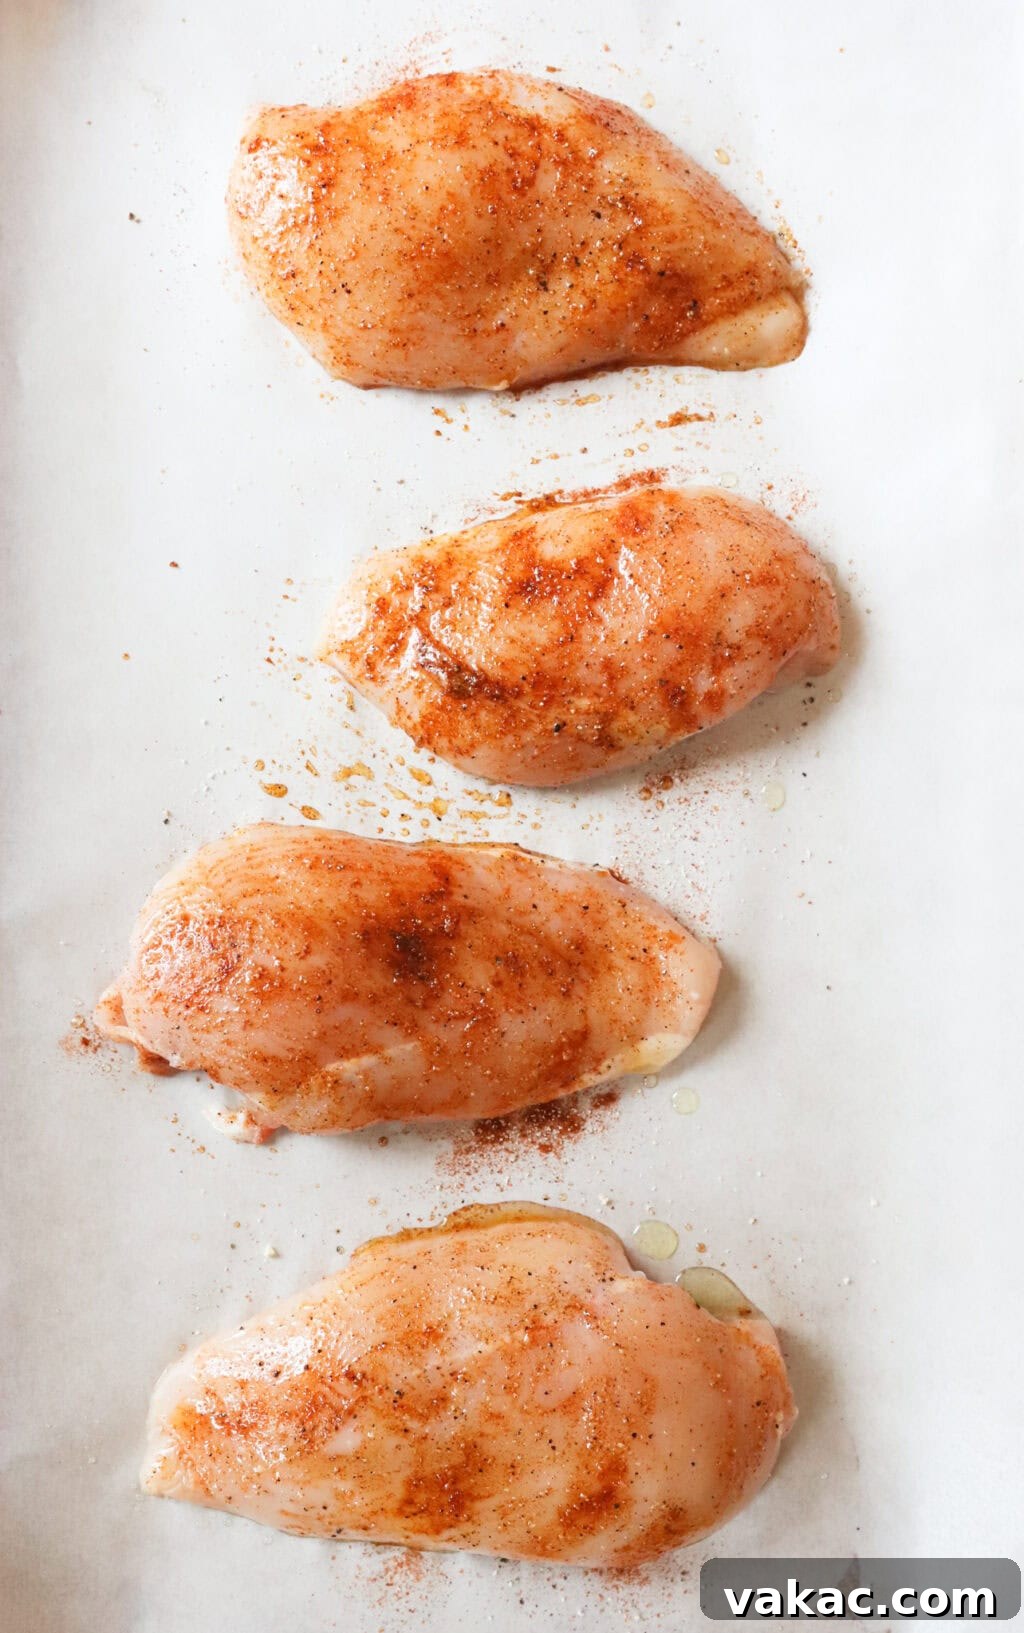
Preheat your oven to a blazing 450°F (230°C). A hot oven is key for a quick cook and a good sear. Line a rimmed baking sheet with parchment paper, which not only prevents sticking but also makes cleanup a breeze. Lightly brush or spray the parchment paper with avocado oil. Place the dried chicken breasts onto the prepared sheet. Now, it’s time to flavor! Sprinkle salt, pepper, paprika, and garlic powder generously over the tops of the chicken. Drizzle or brush the remaining avocado oil over the seasoned breasts, ensuring they are fully coated. This helps the seasonings adhere, promotes even browning, and locks in moisture.
Step 3: Bake to Golden Perfection
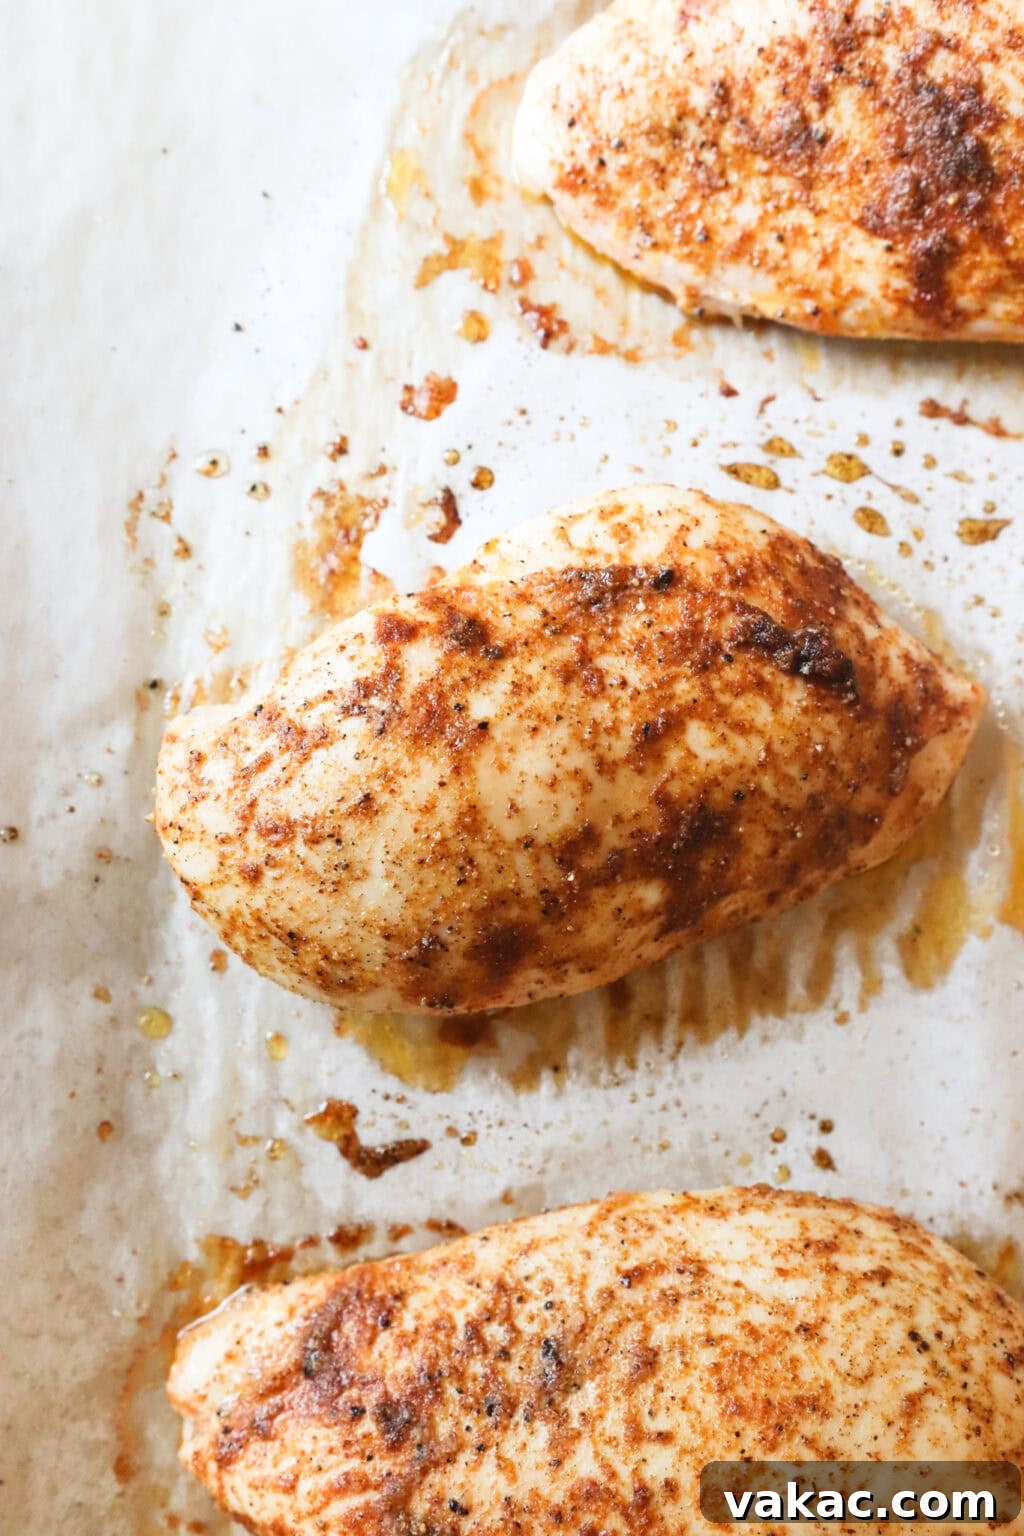
With your oven preheated and chicken seasoned, it’s time to bake! Place the baking sheet in the hot oven and bake for 15-17 minutes. The precise time may vary slightly depending on the exact thickness of your chicken breasts and your oven’s calibration. The most reliable way to ensure doneness without overcooking is to use a meat thermometer. Insert it into the thickest part of the largest breast; the chicken is done as soon as it reaches an internal temperature of 165°F (74°C). If you don’t have a thermometer, you can make a small cut into the thickest part of one breast. There should be no pink remaining, and the juices should run clear.
Step 4: The Crucial Rest and Slice
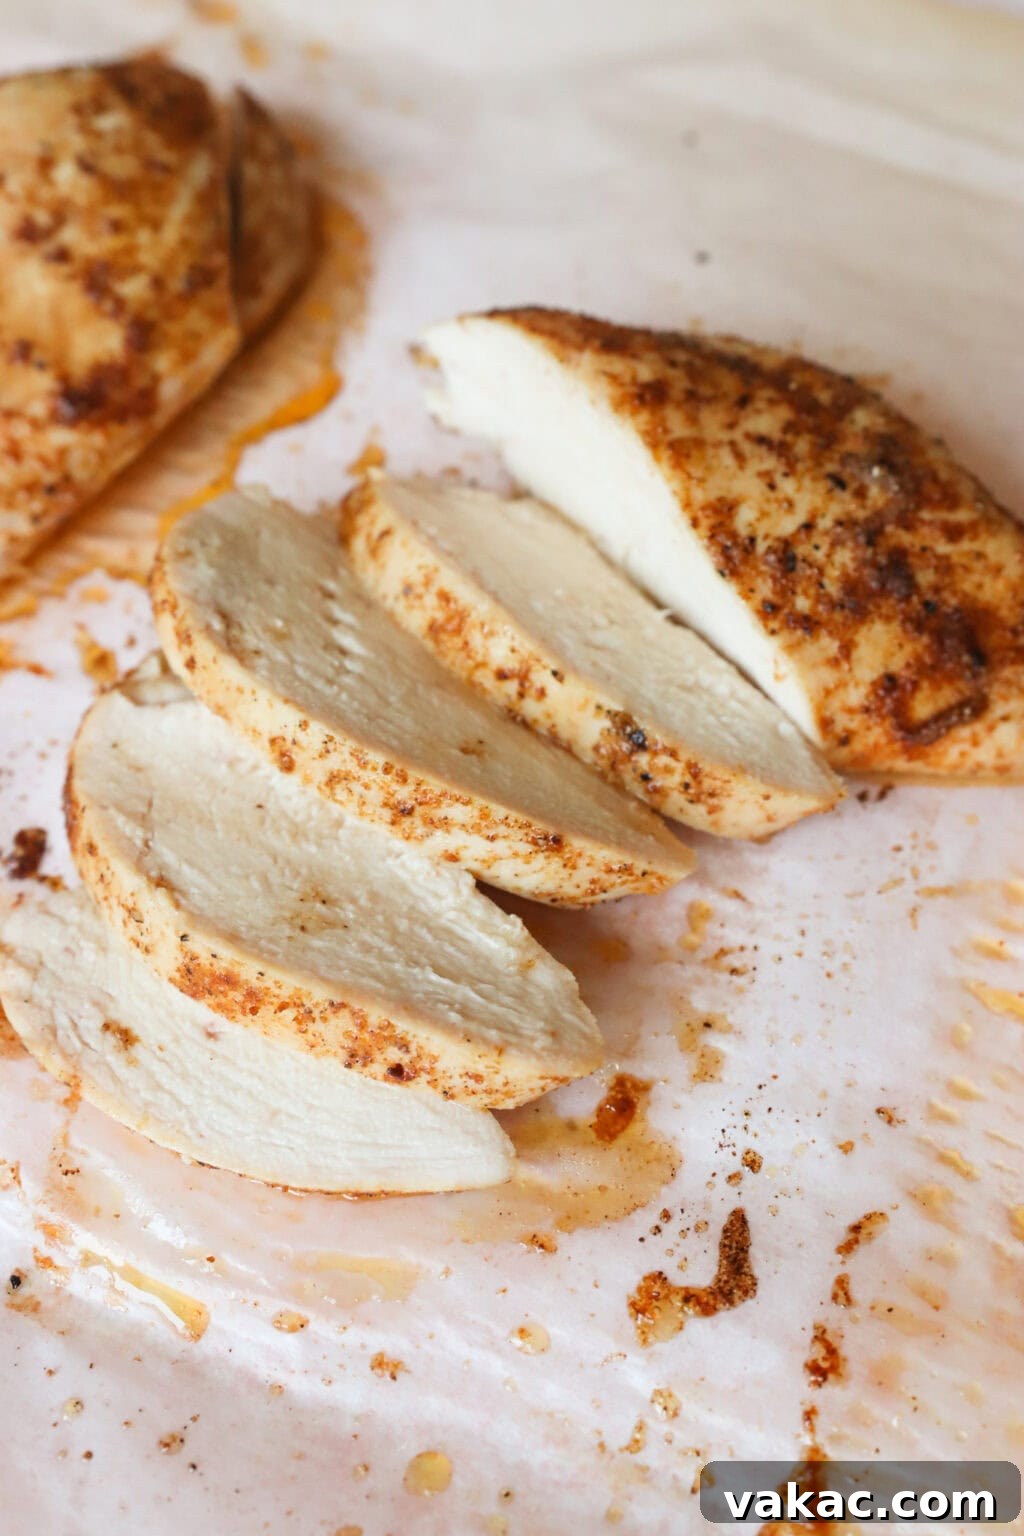
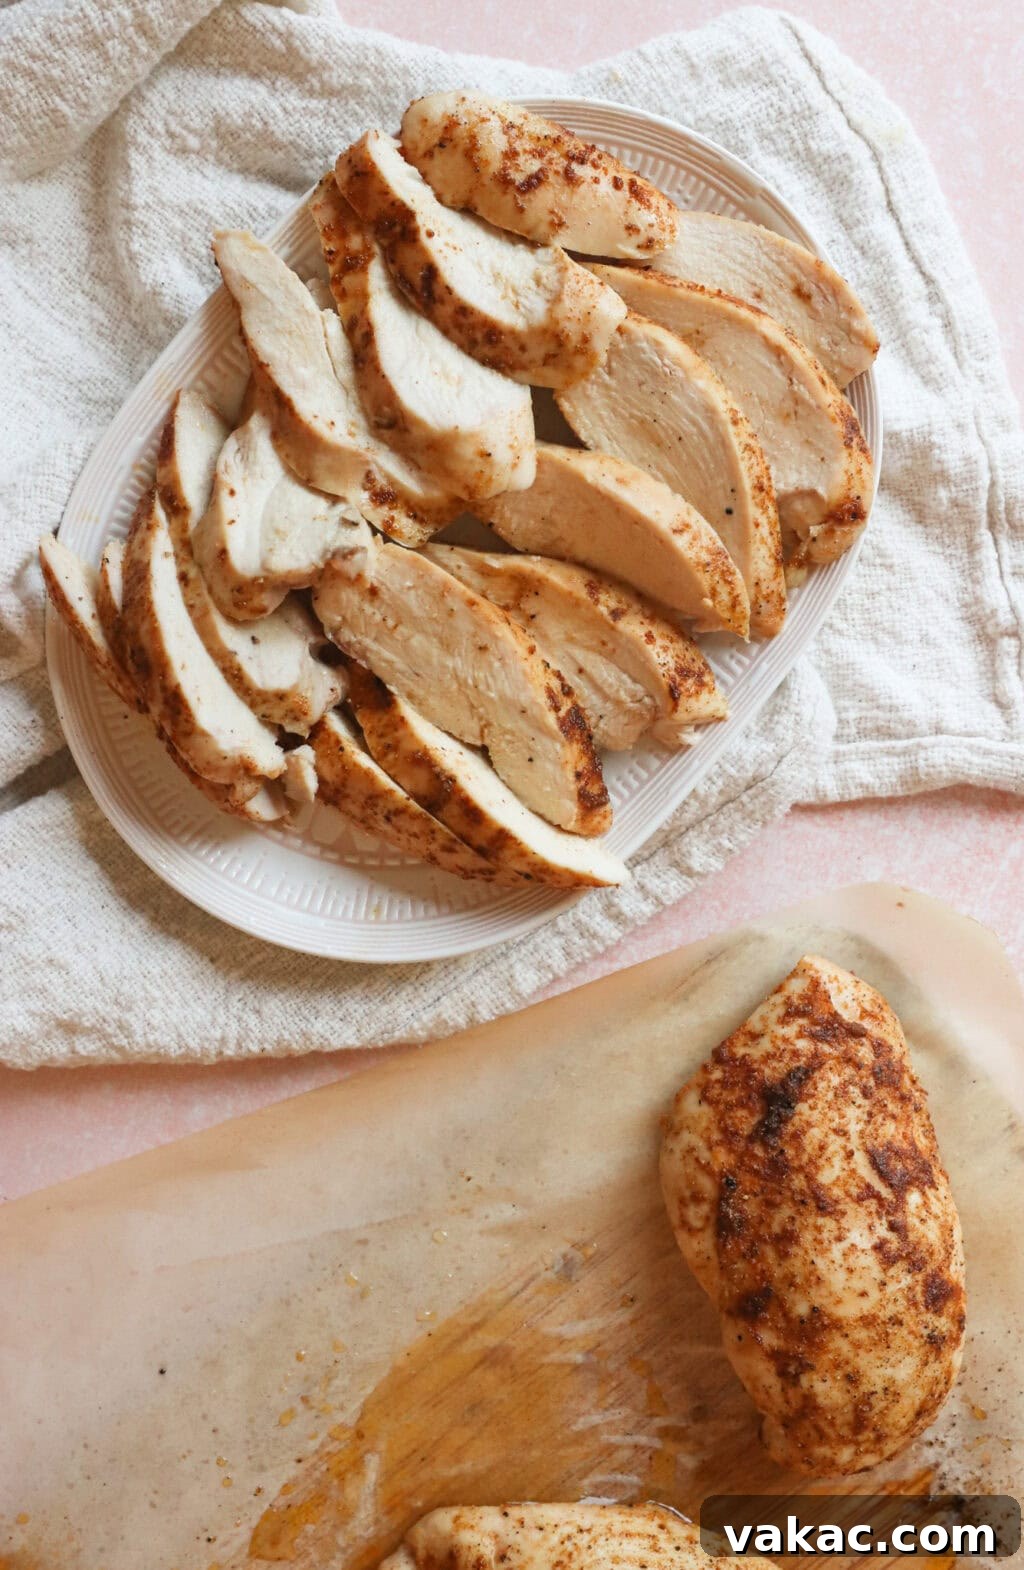
This is arguably one of the most critical steps for juicy chicken! Once the chicken is cooked through, resist the urge to slice into it immediately. Remove the baking sheet from the oven and transfer the chicken breasts to a clean cutting board. Let them rest for 5-10 minutes. During cooking, the muscle fibers contract, pushing the juices to the center of the meat. Resting allows these juices to redistribute throughout the entire breast, ensuring every bite is moist and flavorful. Slicing too early will cause all those precious juices to run out onto your cutting board, leaving you with dry chicken. After resting, slice the chicken against the grain into desired pieces. This breaks up the muscle fibers, making each bite incredibly tender.
Avoid These Common Mistakes for Ultimate Juiciness
Even with a stellar recipe, small errors can derail your efforts. Here are the most common pitfalls when cooking chicken breasts and how to easily avoid them, ensuring your chicken is always perfectly tender and moist.
1. Overcooking the Chicken: The #1 Enemy of Juiciness
The single biggest mistake people make is cooking chicken for too long. Chicken breasts are very lean, and once they pass their ideal internal temperature, their muscle fibers seize up and squeeze out moisture, leading to dry, chewy meat. Always use a reliable meat thermometer. Check the chicken after 15 minutes of baking and pull it out of the oven as soon as it hits 165°F (74°C). Remember that the chicken will continue to cook slightly due to residual heat, even after it’s removed from the oven, so hitting 165°F is perfect.
2. Skipping the Brine: Don’t Undermine Your Efforts
If you skip the crucial brining step, you’re almost guaranteed to end up with less juicy chicken. The brine works by dissolving some of the muscle proteins, allowing the chicken to absorb more water and preventing it from drying out during the high-heat cooking process. It’s a simple 15-minute step that yields dramatic results in both moisture and flavor, so don’t skip it!
3. Not Letting It Rest: Patience is a Virtue
Slicing into chicken immediately after it comes out of the oven is a common mistake that causes all the delicious juices to run out onto your cutting board. During cooking, the meat’s muscle fibers contract, forcing moisture to the center. Resting allows these fibers to relax and redistribute the juices throughout the entire breast, resulting in much more tender and flavorful chicken. Always let your chicken rest for 5-10 minutes before slicing.
4. Cutting With the Grain: Master Your Slicing Technique
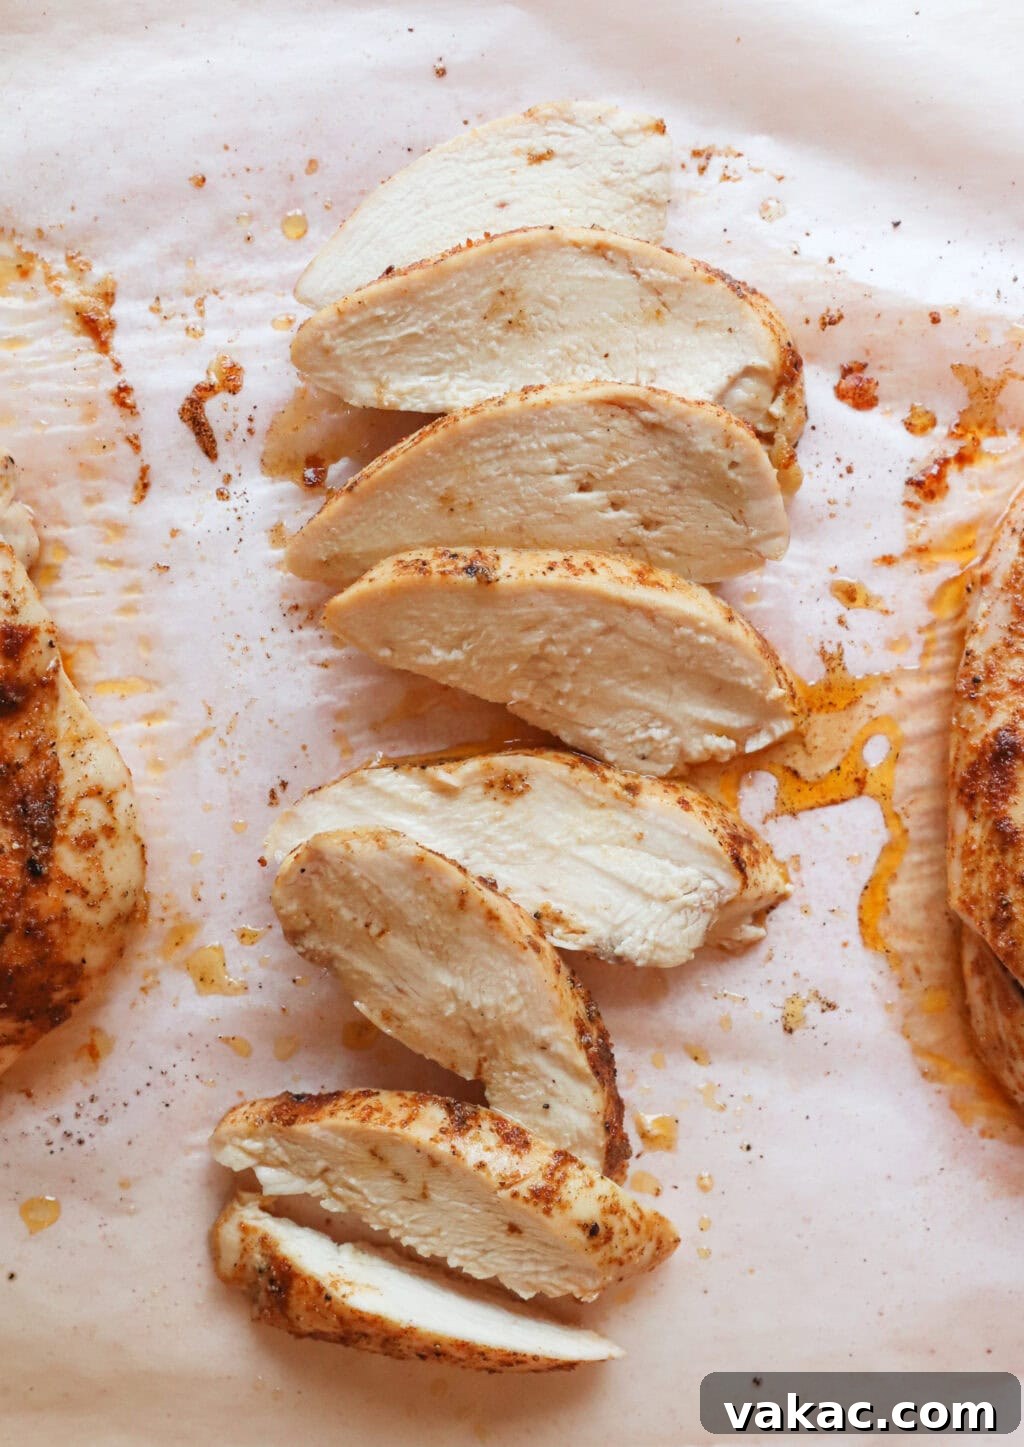
Chicken breasts have muscle fibers that run in a specific direction, known as “the grain.” If you slice with the grain (parallel to the fibers), you’ll end up with long, tough, and chewy pieces of meat. To achieve the most tender texture, always slice against the grain (perpendicular to the fibers). This shortens the muscle fibers, making them much easier to chew and giving you that desirable melt-in-your-mouth experience. Take a moment to observe the chicken before slicing to identify the direction of the fibers.
Serving Suggestions & Meal Prep Brilliance
The beauty of this juicy thin-cut baked chicken breast recipe lies in its incredible versatility. Its balanced seasoning makes it a perfect canvas for a multitude of dishes, whether you’re enjoying it fresh or incorporating it into your weekly meal prep.
Versatile Flavor Profiles for Endless Meal Options
While the paprika and garlic powder blend offers a universally appealing flavor that works well across a variety of dishes (making it perfect for meal prepping), don’t hesitate to experiment! You can easily switch up the seasonings to match your craving or the cuisine you’re preparing. Consider adding an Italian seasoning blend for a Mediterranean touch, Greek seasoning for a fresh herb profile, or even a smoky chipotle rub for a bit of a kick. Lemon pepper, dried herbs like oregano and thyme, or a pinch of cayenne can also transform the flavor beautifully. The goal is to make this recipe truly your own.
Inspiration for Your Next Meal
This tender chicken is a fantastic addition to:
- Crunchy Kale Caesar Salad: Delicious on top of this famous kale caesar, either in place of or in addition to crispy chickpeas for an extra protein boost.
- Batch Prep Salads: A ready-to-go protein that keeps your salads fresh and filling throughout the week. Learn how to meal prep salads here.
- Creamy Mushroom Risotto: Pair it with this insanely delicious oven-baked mushroom risotto for a complete, satisfying meal.
- Quick Buffalo Chicken Salad: Shred or dice the cooked chicken for this easy and flavorful buffalo chicken salad with Greek yogurt.
- Grain Bowls & Wraps: Add it to quinoa or rice bowls with your favorite veggies and sauces, or wrap it up in a tortilla with fresh greens and a creamy dressing.
- Pasta Dishes: Slice and toss into a light pasta primavera or a hearty Alfredo for an instant protein upgrade.
- Tacos or Quesadillas: Cube or shred for quick and healthy chicken tacos or quesadillas.
Maximize Your Meal Prep: Storage and Reheating Tips
This recipe is truly a meal prepper’s dream because the chicken stays incredibly juicy when reheated. Store any leftover chicken in an airtight container in the refrigerator for up to 5 days. To reheat, you have a few options that help maintain moisture:
- Microwave: Place chicken on a plate, add a tablespoon of water or broth, and cover loosely with a microwave-safe lid or damp paper towel. Heat in 30-second intervals until warmed through.
- Oven/Toaster Oven: For best results, reheat gently in a preheated oven at 300°F (150°C) for 10-15 minutes, or until warm. This helps prevent drying out.
- Stovetop: Slice or dice the chicken and gently warm it in a skillet over medium-low heat with a splash of broth or water, stirring occasionally.
Watch the Recipe in Action!
Visual learners, rejoice! See exactly how to achieve perfectly juicy, thin-cut baked chicken breasts by watching the step-by-step video below. It’s the perfect complement to the written instructions, ensuring you master every detail.
Made This Recipe? Share Your Creations!
If you make these Juicy Thin Cut Oven Baked Chicken breasts, it would truly make my day if you would leave a comment and/or star rating below—I absolutely love hearing your feedback! And don’t forget to snap a pic and tag me on Instagram @lindsaypleskot.rd so I can see your delicious versions! It brings me so much joy to see these recipes come to life in your kitchens! Xo

The Feel-Good Meal Plan
My Bestselling Cookbook is Now Available!
A fresh take on meal prep with over 100 nourishing recipes to feed your family with ease and joy.
Juicy Thin Cut Chicken Breast (Oven Baked)
5 Stars
4 Stars
3 Stars
2 Stars
1 Star
Rated 5 out of 5 stars
- Author: Lindsay Pleskot, RD
- Prep Time: 15 minutes
- Cook Time: 15 minutes
- Total Time: 30 minutes
- Yield: 4 servings
- Category: Meal Prep
- Method: Baking
- Cuisine: American
- Diet: Diabetic Friendly
Description
A quick 15-minute brine followed by an equally short 15-minute cook time at 450°F transforms ordinary chicken breasts into incredibly tender, juicy, and flavorful delights. This recipe is perfect for a fast weeknight meal, whether enjoyed on your favorite salad (like the renowned Kale Caesar Salad) or in a hearty bowl. Its unique preparation also makes it ideal for meal prepping, ensuring the chicken remains moist and delicious, even when reheated!
Ingredients
Scale
- 1 ½ lbs boneless, skinless chicken breasts (about 4 medium breasts), thinly sliced or pounded to an even thickness.
- ¼ cup salt for brining
- 4 cups lukewarm water for brining
- 2 tablespoons avocado oil
- Salt and freshly ground black pepper to taste
- 1 teaspoon paprika
- 1 teaspoon garlic powder
Instructions
- Preheat the oven to 450°F (230°C). Line a rimmed baking sheet with parchment paper for easy cleanup and set aside.
- Brine the chicken: In a medium bowl, dissolve ¼ cup salt in 4 cups of lukewarm water. Add the chicken breasts, ensuring they are fully submerged. Let them sit for a minimum of 15 minutes (it’s okay if it sits longer). Once brined, rinse the chicken thoroughly with cold water to remove excess salt and pat them completely dry with paper towels.
- Season the Chicken: Lightly brush or spray the parchment-lined baking sheet with avocado oil. Place the dried chicken breasts onto the prepared sheet. Evenly sprinkle the tops of the chicken with salt, pepper, paprika, and garlic powder. Drizzle or brush the remaining avocado oil over the seasoned chicken, making sure to cover the tops and sides completely. This helps distribute the seasonings and creates a lovely crust.
- Bake to Perfection: Bake for 15-17 minutes. The chicken is perfectly done when an internal temperature of 165°F (74°C) is reached. If you don’t have a meat thermometer, you can make a small cut into the thickest part of one of the breasts to ensure no pink remains and the juices run clear.
- Rest Before Slicing: Remove the chicken from the oven and transfer it to a cutting board. Let it rest for 5-10 minutes. This crucial step allows the juices to redistribute throughout the meat, resulting in incredibly tender and moist chicken. Slice against the grain into desired pieces and enjoy immediately, or store any leftovers in an airtight container in the fridge for up to 5 days, perfect for meal prep.
Notes
Seasoning Variations: While paprika and garlic powder offer a versatile flavor profile that pairs well with numerous dishes, especially for meal prep, don’t hesitate to customize! Consider an Italian seasoning blend, Greek seasoning, or a smoky chipotle rub for different culinary adventures. The key is to find what you love and make it your own.