
Decadent 6-Ingredient Chocolate Mousse: A Velvety Smooth Dessert Delight
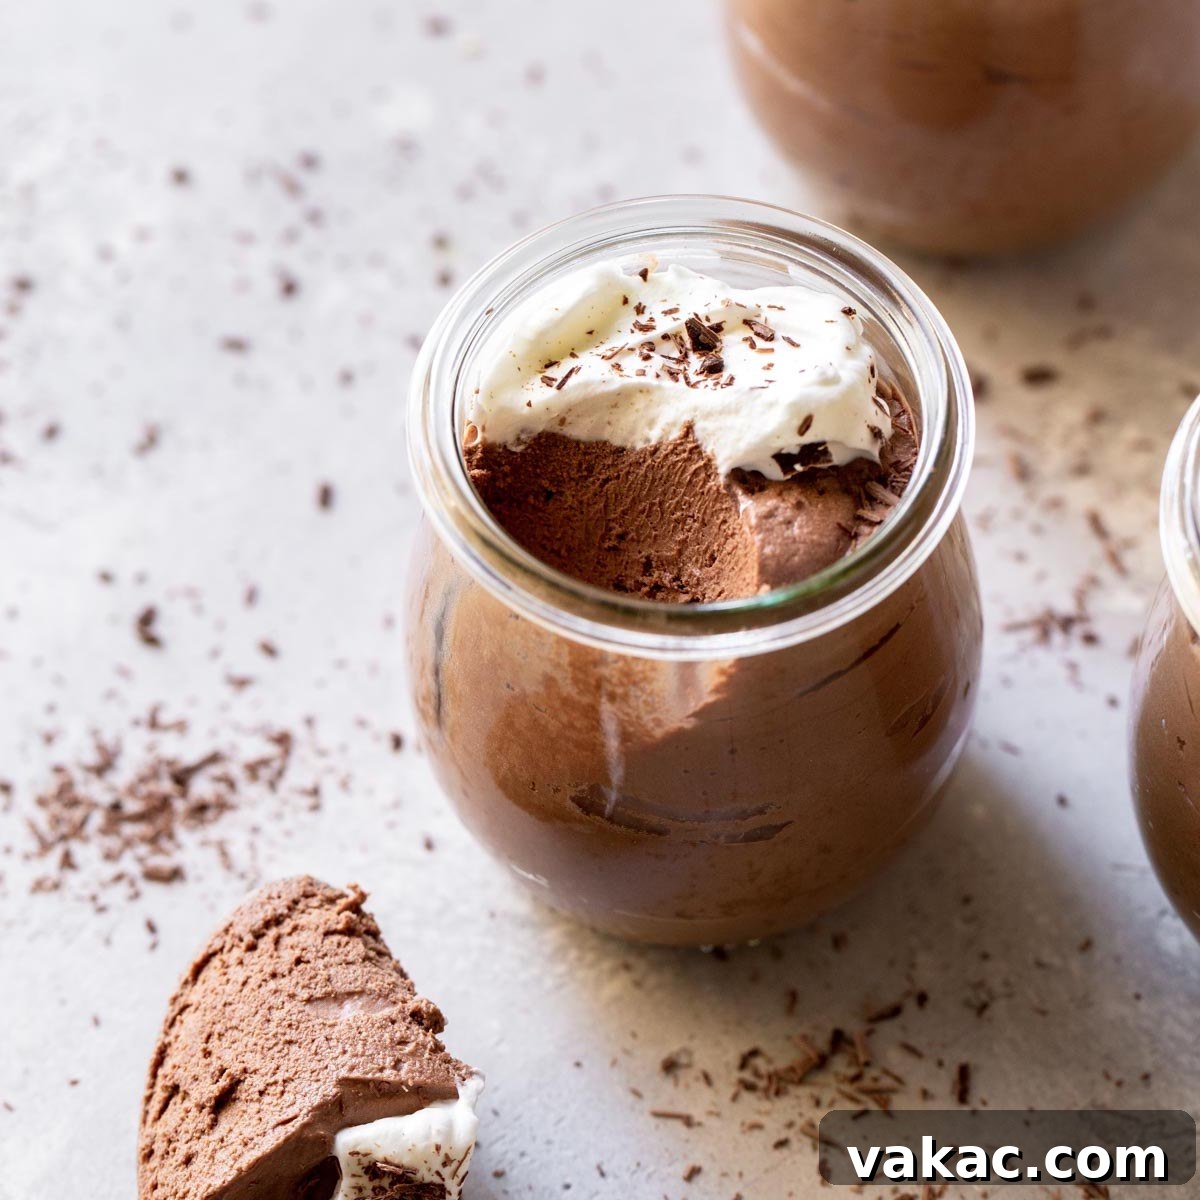
Prepare to be captivated by this incredibly smooth, creamy, and undeniably delicious Chocolate Mousse. It’s a surprisingly simple dessert to create, requiring just 6 essential ingredients to achieve its rich, decadent perfection. If you’ve been searching for an elegant yet easy-to-make treat, look no further – this recipe delivers on all fronts, promising a luxurious experience with every spoonful.
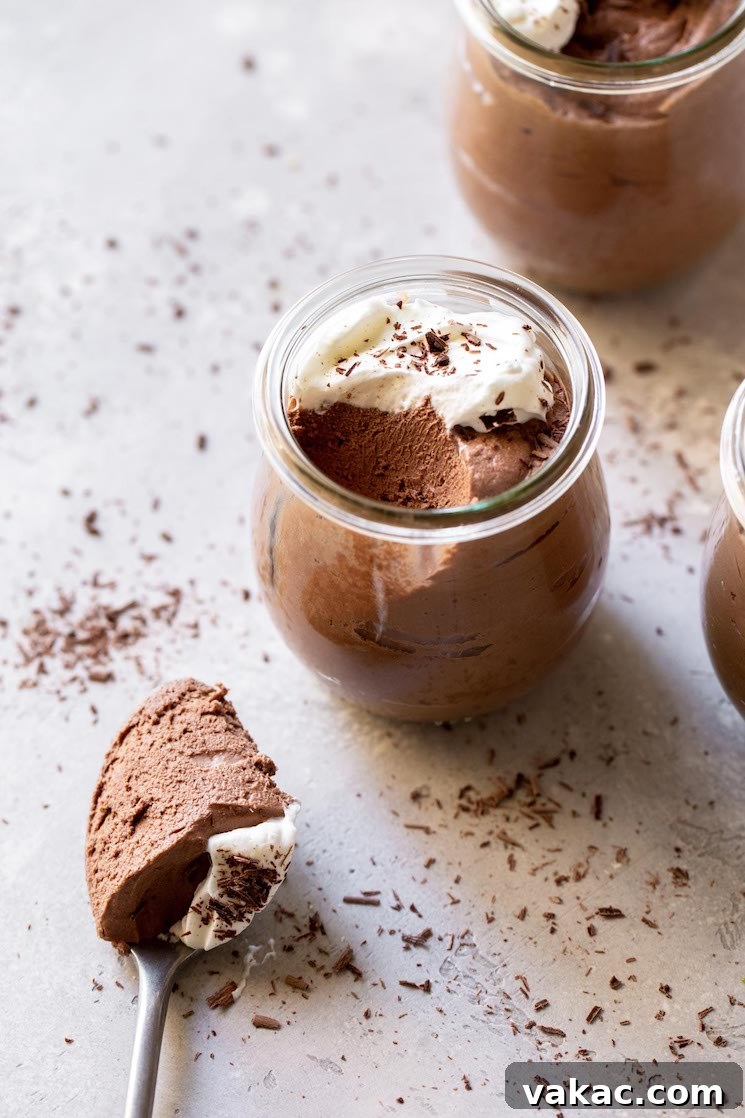
As special occasions approach, like Valentine’s Day or any moment that calls for a touch of indulgence, my mind often drifts to crafting a truly memorable dessert. Over the years, I’ve shared beloved recipes like my creme brulee and exquisite molten chocolate lava cakes. While those hold a special place in my heart, this homemade chocolate mousse recipe might just surpass them all, which is certainly high praise!
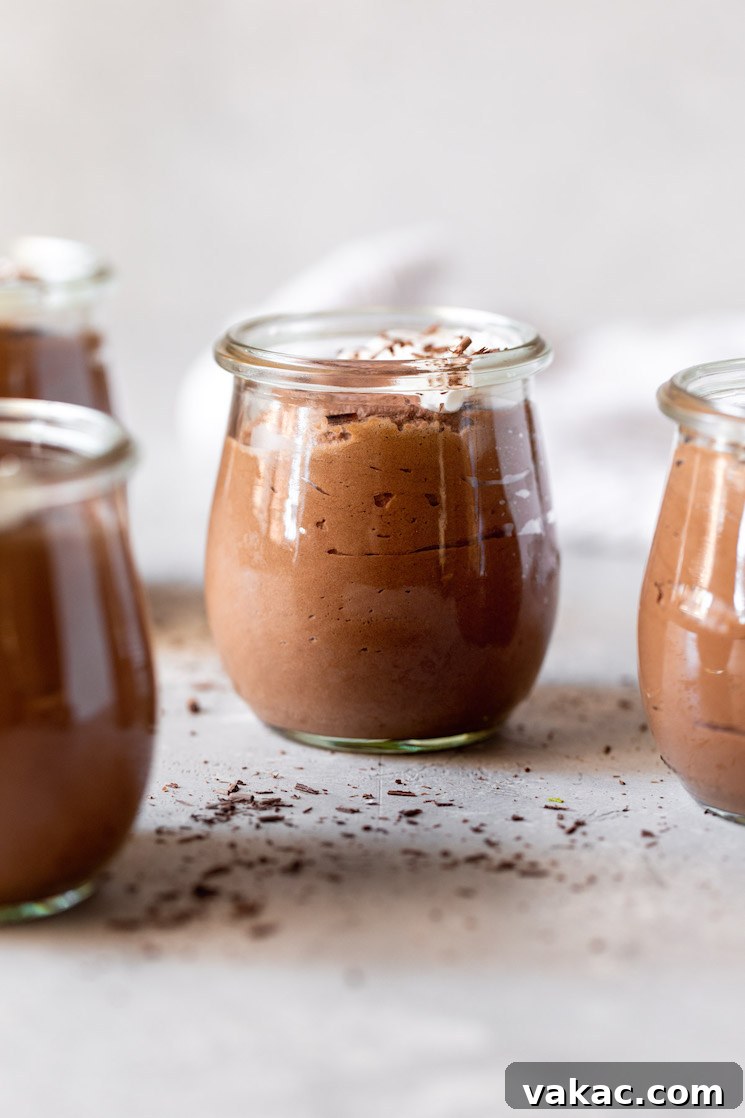
This chocolate mousse stands out with its remarkably smooth texture, light-as-air consistency, and an intense burst of pure chocolate flavor. What makes it even more appealing is its astonishing simplicity: you only need a handful of ingredients – six, to be precise – to bring this sophisticated dessert to life, and that count even includes the optional, yet highly recommended, whipped cream topping. It’s the ideal make-ahead dessert, allowing you to prepare it in advance and keep it chilled in the refrigerator until you’re ready to savor every delightful bite.
This recipe is designed to yield approximately 8 generous servings, making it perfect for sharing with family and friends at your next gathering. However, if you’re planning a more intimate affair or simply want to treat yourself, the recipe can be easily halved to create a smaller batch. We believe everyone deserves to experience the magic of homemade chocolate mousse, and our detailed instructions and tips aim to make that a reality for even novice bakers.
Essential Ingredients for the Perfect Chocolate Mousse
Crafting this luscious chocolate mousse requires a carefully selected list of ingredients, each playing a crucial role in achieving its signature texture and rich flavor. You’ll need egg yolks, granulated sugar, heavy whipping cream, high-quality semi-sweet chocolate, pure vanilla extract, and a touch of powdered sugar for the optional whipped cream topping. Let’s delve into why each component is so important:
- Egg Yolks: Unlike some traditional mousse recipes that incorporate egg whites for aeration, this recipe focuses solely on egg yolks. This choice results in a much richer, custardy base, contributing significantly to the mousse’s decadent mouthfeel and depth of flavor. If you find yourself with leftover egg whites, consider using them in another recipe, such as a delicate meringue or even my classic white cake.
- Granulated Sugar: A modest 1/4 cup of granulated sugar is all that’s needed to perfectly sweeten the mousse, enhancing the chocolate without overpowering its natural bitterness. The sugar also aids in stabilizing the egg yolks during the tempering process, contributing to a smooth final product.
- Heavy Whipping Cream: This versatile ingredient is central to the mousse’s light and airy texture. It’s utilized in three distinct stages: a portion is gently heated to temper the egg yolks, preventing them from scrambling; another generous amount is whipped to stiff peaks and delicately folded into the chocolate mixture to create the signature mousse consistency; and finally, a little extra is reserved for that irresistible whipped cream topping. Ensure your cream is cold for optimal whipping results.
- Semi-Sweet Chocolate: The undisputed star of this dessert! The quality of your chocolate directly impacts the flavor of your mousse. I highly recommend using two 4-ounce bars of premium semi-sweet chocolate. Brands like Bakers or Ghirardelli are my personal favorites, offering a balanced sweetness and a deep, complex chocolate profile that truly shines. Avoid chocolate chips as they contain stabilizers that can prevent smooth melting.
- Pure Vanilla Extract: A splash of pure vanilla extract elevates the chocolate flavor, adding a subtle warmth and aromatic complexity that rounds out the overall taste. Don’t skip this small but impactful addition.
- Powdered Sugar: This ingredient is specifically for the optional whipped cream topping, not the mousse itself. Its fine texture dissolves easily, creating a silky-smooth, sweet topping that complements the rich mousse beautifully. Feel free to omit the topping if you prefer a simpler presentation or wish to reduce sweetness.
Crafting Your Velvety Chocolate Mousse: A Step-by-Step Guide
Creating this elegant chocolate mousse is a rewarding process, and by following these steps carefully, you’ll achieve a dessert that’s both impressive and delicious.
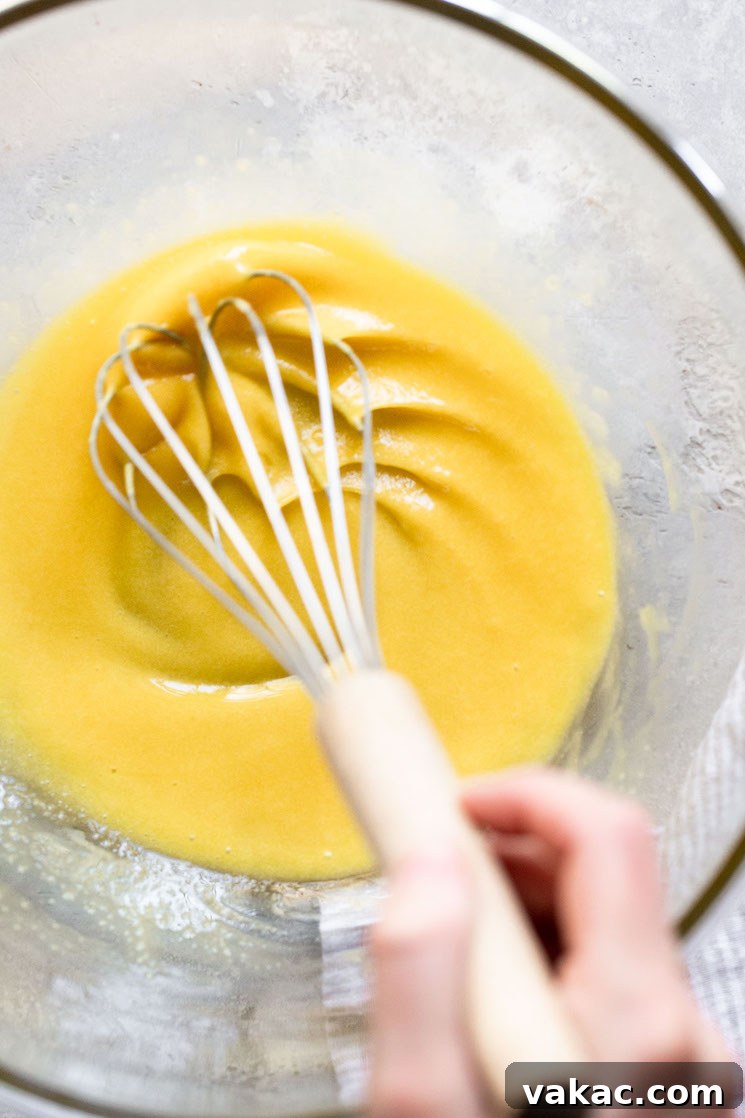
First, you’ll begin by preparing your egg yolks. In the bowl of a stand mixer fitted with a whisk attachment, or using a large mixing bowl with a handheld electric mixer, beat the egg yolks on medium-high speed. Continue beating for about 3-4 minutes until they transform into a thick, pale yellow, and noticeably light consistency. While this step can be done by hand, using a mixer will ensure the best aeration and consistency. Once the yolks are adequately beaten, gradually incorporate the granulated sugar, mixing until it is fully combined and the mixture is smooth. Set this creamy egg yolk mixture aside.
Next, we move to the crucial tempering stage. Pour three-quarters of a cup (180 ml) of your heavy whipping cream into a small saucepan. Heat this cream over medium heat until it is hot to the touch, with small bubbles forming around the edges, but crucially, do not allow it to boil. Boiling can cause the cream to scorch or separate. Once the cream is hot, remove the saucepan from the heat.
With a whisk in hand, slowly and steadily pour about half of the hot heavy whipping cream into your prepared egg yolk and sugar mixture, whisking constantly and vigorously. This technique is known as “tempering” and is essential to slowly raise the temperature of the egg yolks without cooking them too rapidly, which would result in scrambled eggs. The continuous whisking ensures the hot cream is evenly distributed, gently warming the yolks.
Once the egg yolks are tempered, pour the entire tempered egg mixture back into the saucepan with the remaining hot heavy whipping cream. Return the saucepan to the stove, setting the heat to medium-low. Cook this delightful egg custard mixture for approximately 3-4 minutes, stirring constantly with a spatula or wooden spoon. The goal here is for the mixture to thicken slightly and reach an internal temperature of 160°F (71°C). You’ll know it’s ready when it coats the back of a spoon, and when you run your finger across the spoon, it leaves a clean trail. Remember, resist the urge to boil the mixture, as this can overcook the eggs and affect the mousse’s final texture.
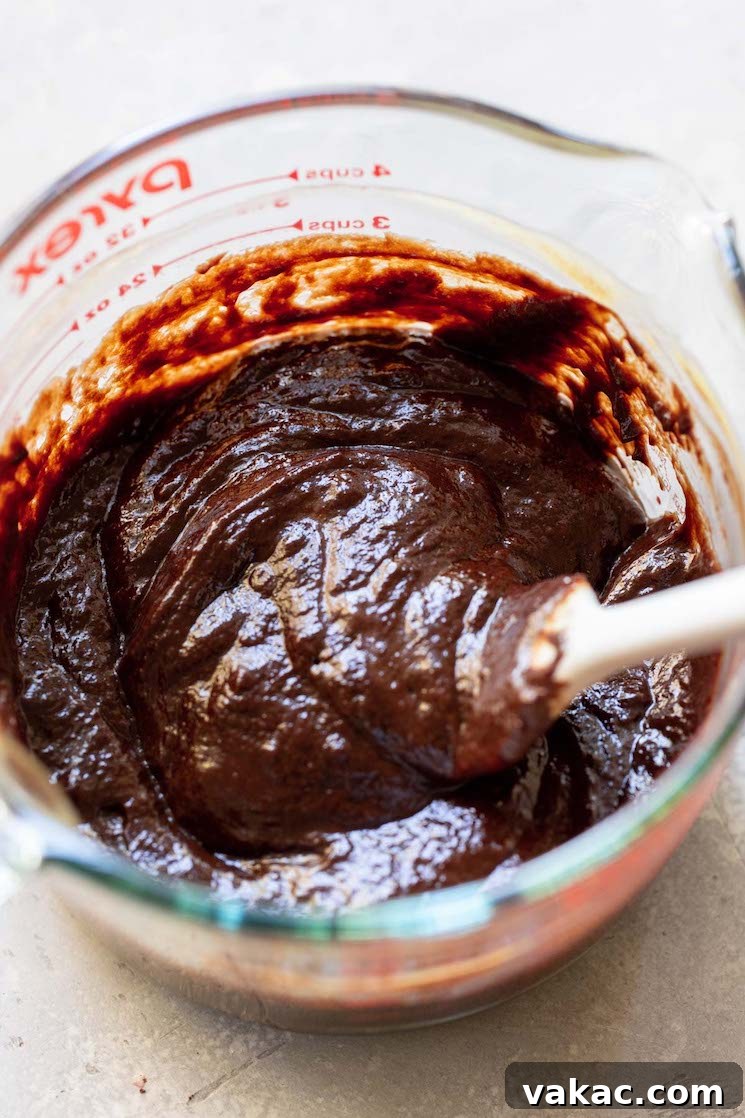
Once your egg custard is perfectly cooked, it’s beneficial to immediately pour it through a fine-mesh strainer into a clean, heat-proof bowl. This simple step is a secret to achieving an exquisitely smooth mousse, as it catches any tiny bits of cooked egg that might have formed despite careful tempering and stirring, ensuring a silky-smooth base.
Now, it’s time for the chocolate. Place your finely chopped semi-sweet chocolate into a microwave-safe bowl. Heat the chocolate in short intervals of 20-30 seconds, stirring thoroughly after each interval. This gradual melting prevents the chocolate from scorching and ensures a beautifully smooth, glossy consistency. Alternatively, if you prefer, a double-boiler method works just as effectively for melting the chocolate. Once the chocolate is completely melted and smooth, gently fold the warm egg custard mixture into the melted chocolate, stirring until everything is fully combined and homogenous. Stir in the pure vanilla extract for that extra layer of flavor. Set this chocolate and custard mixture aside at room temperature to cool completely, which typically takes about 45 minutes to 1 hour. This cooling step is critical before adding the whipped cream.
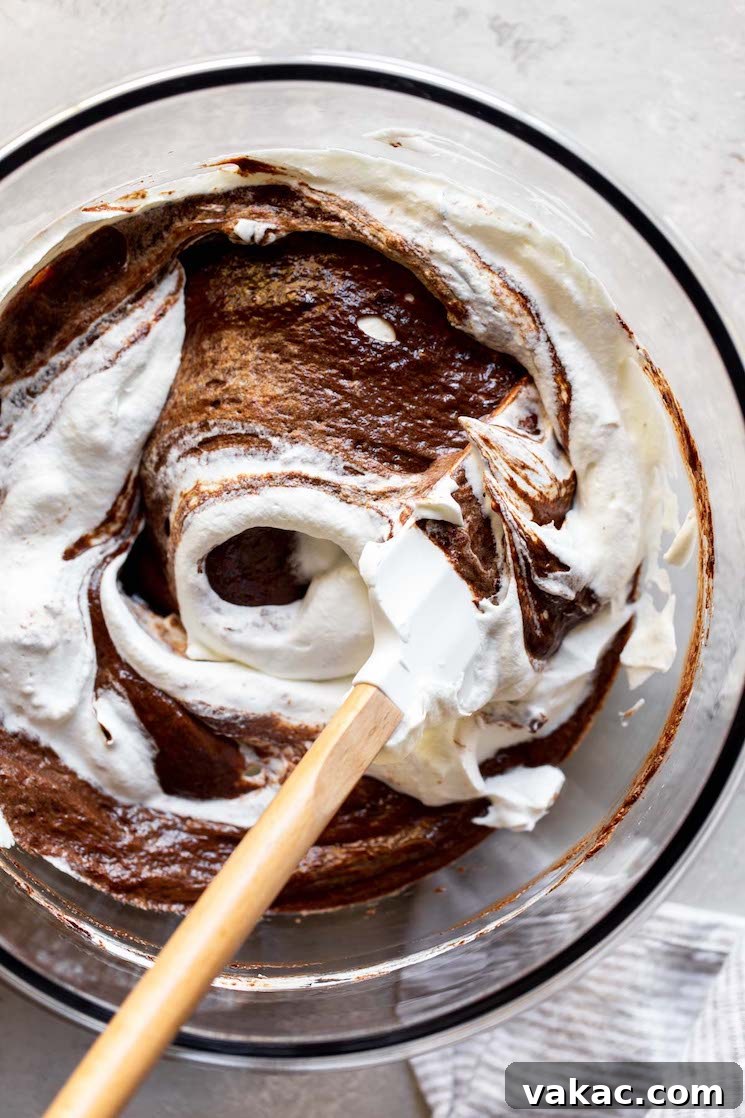
The final, exciting step in creating the chocolate mousse is incorporating the remaining cold heavy whipping cream. In a clean, chilled mixing bowl (using a cold bowl helps the cream whip faster and more stably) and with a whisk attachment or electric mixer, beat the cold heavy whipping cream until it forms stiff peaks. You’ll know it’s ready when the cream holds its shape firmly when the whisk is lifted.
To ensure your mousse remains light and airy, the folding technique is crucial. First, gently fold about a quarter of the whipped cream into the cooled chocolate mixture. This initial addition helps to lighten the denser chocolate base, making it easier to incorporate the remaining whipped cream without deflating it. Then, carefully fold in the rest of the whipped cream using a rubber spatula, working with a light hand until no streaks of white cream remain, and the mixture is uniformly airy and rich brown. Be careful not to overmix, as this can cause the mousse to become dense.
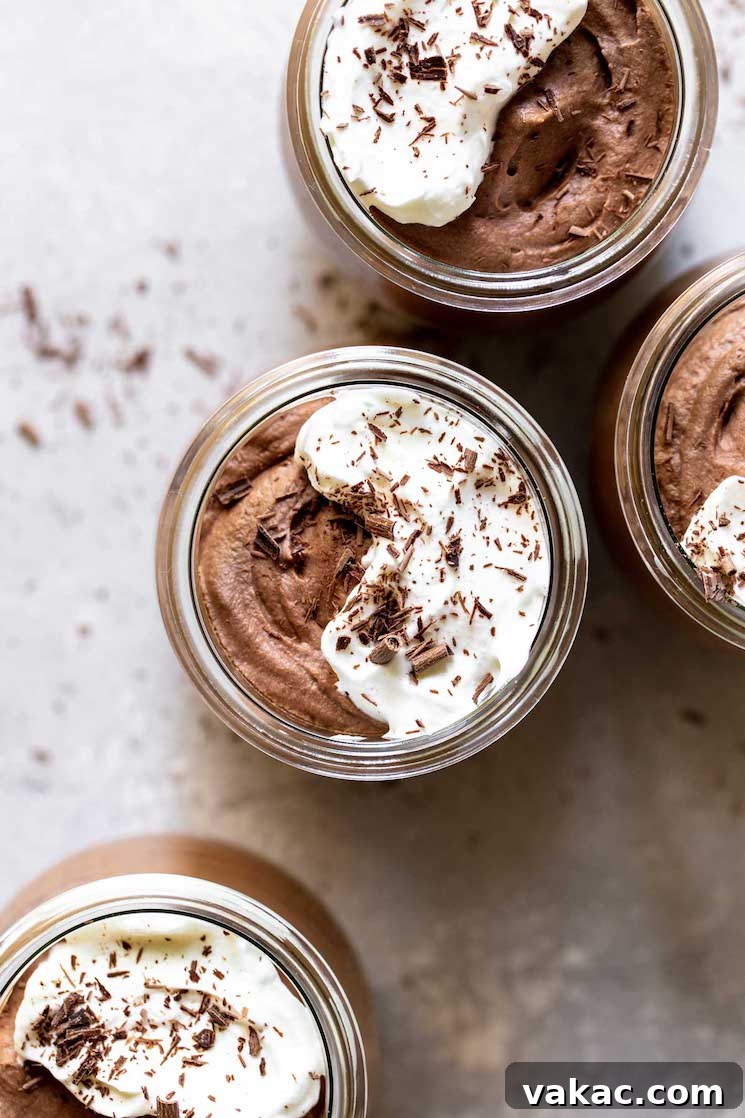
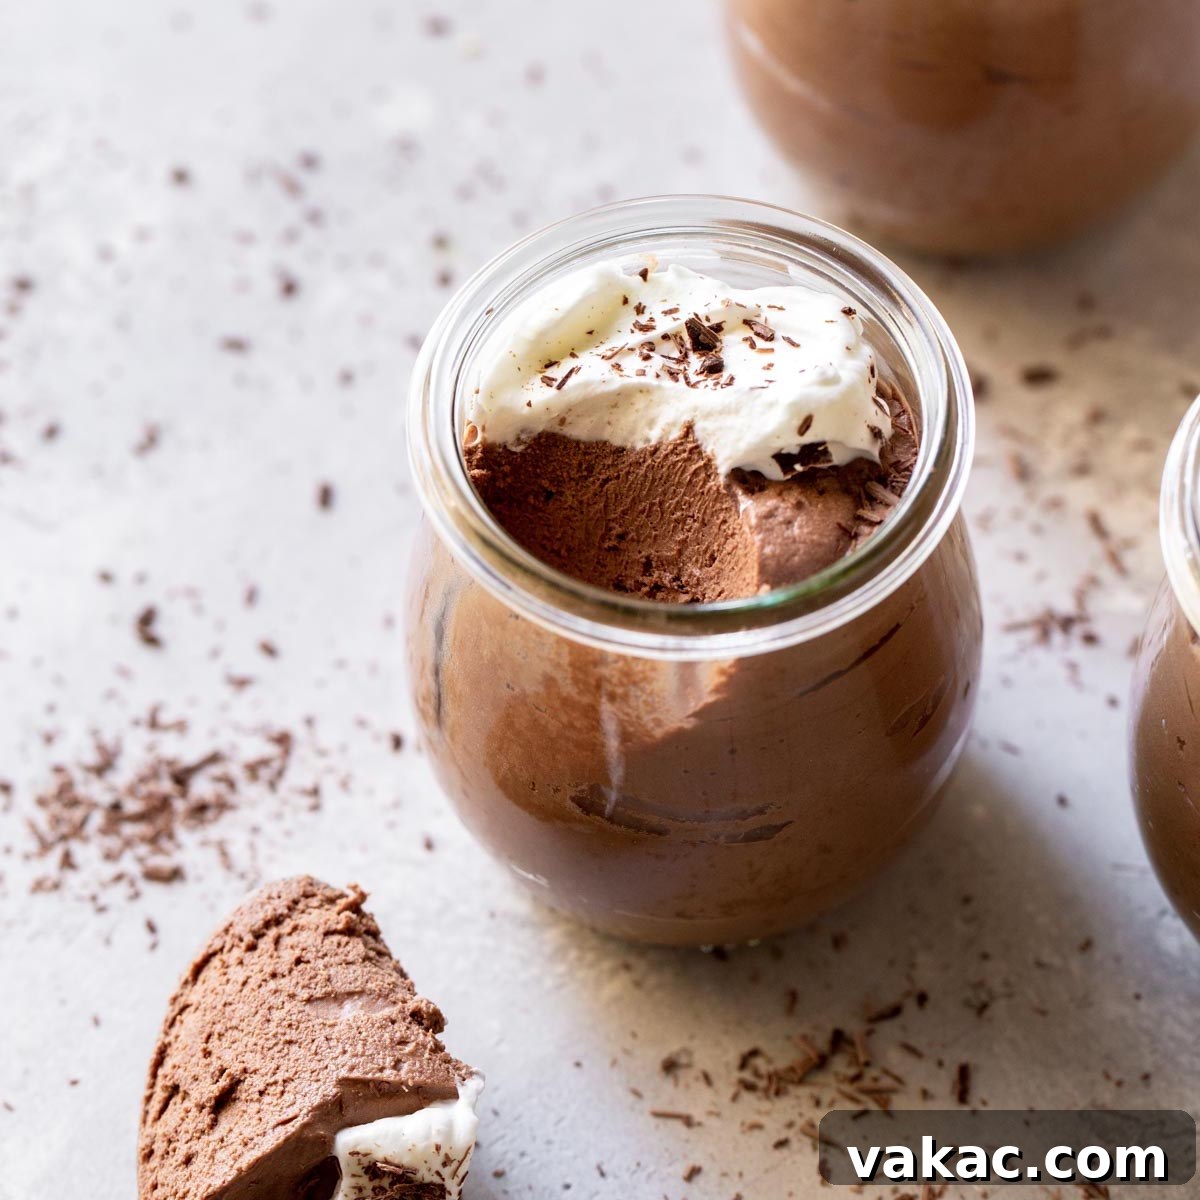
Once the mousse is perfectly mixed, spoon it evenly into individual serving glasses or ramekins. I find 6-ounce jars to be ideal, providing the perfect single-serving portion. Cover each serving tightly with plastic wrap and refrigerate for a minimum of 2 hours. This chilling time allows the mousse to set properly and for the flavors to fully meld, resulting in an even more delicious dessert.
When you’re ready to serve, prepare the optional whipped cream topping. In a clean mixing bowl, beat the remaining cold heavy whipping cream with powdered sugar and vanilla extract until stiff peaks form. Spoon this fluffy topping generously onto each chilled chocolate mousse. For an extra touch of elegance, you can garnish with chocolate shavings, a dusting of cocoa powder, or fresh berries. Now, your exquisite homemade chocolate mousse is ready to be enjoyed!
Pro Baking Tips for Impeccable Mousse
- Mastering the Temper: When tempering your egg yolks, remember that slow and steady wins the race. Pour the hot cream gradually and whisk continuously and quickly. This controlled process ensures that the eggs gently warm up rather than scrambling, which is key to a smooth custard.
- Temperature Precision: Cooking the egg custard mixture to precisely 160°F (71°C) is vital. This temperature ensures the eggs are fully cooked for safety and optimal thickening without curdling. This process should take only about 3-4 minutes over medium-low heat. Keep a close eye on it and remove it from the heat as soon as it reaches temperature or generously coats the back of a spoon. Avoid boiling the mixture at all costs, as this will lead to an overcooked and potentially grainy custard.
- Flawless Chocolate Melt: For an incredibly smooth and creamy chocolate mousse, it’s paramount that your semi-sweet chocolate is completely melted and free of any lumps before combining it with the egg custard. Whether you use a microwave in short bursts or a double boiler, take your time to achieve a perfectly smooth and glossy melted chocolate.
- Gentle Folding Technique: When incorporating the whipped cream into the cooled chocolate mixture, start by folding in only about a quarter of the whipped cream first. This initial addition effectively “lightens” the denser chocolate base, making it easier to gently fold in the remaining whipped cream without deflating all the air you worked so hard to whip into it. This step is crucial for maintaining the mousse’s signature light and airy texture.
- Quality Ingredients Matter: Since this recipe uses only a few ingredients, the quality of each shines through. Opt for premium semi-sweet chocolate and fresh eggs for the best flavor and texture.
- Chill Your Tools: For the best whipped cream, place your mixing bowl and whisk attachment in the freezer for 10-15 minutes before whipping the heavy cream. Cold tools help the cream whip faster and achieve stiffer, more stable peaks.
Delightful Variations & Serving Inspirations
While this classic chocolate mousse is perfect on its own, it also serves as an excellent canvas for creative variations and diverse serving styles:
- Flavor Boosts:
- Coffee Enhancement: Add 1-2 teaspoons of instant espresso powder to the chocolate as it melts for a rich mocha flavor.
- Liqueur Infusion: Incorporate a tablespoon of your favorite liqueur, such as Grand Marnier (orange), Kahlúa (coffee), or a high-quality rum, into the chocolate mixture once it has cooled slightly.
- Spiced Mousse: A pinch of cinnamon or chili powder can add a subtle, intriguing warmth to the chocolate.
- Topping Creativity:
- Fresh Berries: Strawberries, raspberries, or blueberries provide a beautiful color contrast and a refreshing tartness that cuts through the richness of the chocolate.
- Nutty Crunch: Sprinkle with toasted chopped nuts like pecans, almonds, or hazelnuts for added texture.
- Coconut Flakes: Toasted coconut flakes offer a tropical twist and delightful chewiness.
- Salted Caramel: A drizzle of homemade or store-bought salted caramel sauce is an irresistible pairing.
- Presentation Ideas:
- Elegant Parfaits: Layer the chocolate mousse with crushed cookies, cake crumbs, or additional whipped cream in tall glasses for a visually stunning dessert.
- Mini Tarts: Use the mousse as a filling for pre-baked mini tart shells for bite-sized indulgence.
- Chocolate Cups: Serve the mousse in edible chocolate cups for an extra chocolatey experience.
Troubleshooting Common Mousse Challenges
Even with simple recipes, a few challenges can arise. Here’s how to address them:
- Runny Mousse: If your mousse isn’t setting, it’s usually due to two reasons: either the chocolate mixture wasn’t cooled sufficiently before folding in the whipped cream (causing the cream to melt), or the heavy cream wasn’t whipped to stiff enough peaks. Ensure the chocolate base is at room temperature and your cream forms firm peaks. Proper chilling time is also essential for setting.
- Dense Mousse: A dense mousse often means the whipped cream was over-folded into the chocolate mixture, causing the air to deflate. Remember to use a gentle hand and fold just until combined, stopping as soon as no white streaks of cream are visible.
- Grainy Mousse: This can happen if the egg yolks weren’t tempered correctly (resulting in small cooked bits) or if the chocolate wasn’t completely melted and smooth. Straining the custard through a fine-mesh sieve is your best defense against grainy bits.
Storage and Make-Ahead Convenience
One of the many benefits of this chocolate mousse is its excellent make-ahead potential. Once prepared and spooned into individual serving dishes, the mousse can be covered tightly with plastic wrap and stored in the refrigerator for up to 4 days. This makes it a fantastic option for entertaining, as you can prepare it well in advance, freeing up your time on the day of your event. For the freshest taste and texture, add the whipped cream topping and any garnishes just before serving.
Chocolate Mousse Recipe
This Chocolate Mousse is incredibly smooth, creamy, delicious, and simple to make. You only need 6 ingredients to make this rich and decadent dessert too!
Prep Time: 50 mins
Cooling time: 3 hrs
Ingredients
Yields: 8 servings
For the chocolate mousse:
- 4 large egg yolks
- ¼ cup (50 grams) granulated sugar
- 2 cups (480 ml) cold heavy whipping cream, divided
- 8 ounces (226 grams) semi-sweet chocolate, chopped (Bakers or Ghirardelli recommended)
- ½ teaspoon pure vanilla extract
For the whipped cream topping:
- ½ cup (120 ml) cold heavy whipping cream
- 2 tablespoons (15 grams) powdered sugar
- ½ teaspoon pure vanilla extract
Instructions
To make the chocolate mousse:
- In the bowl of a stand mixer fitted with the whisk attachment, or in a large mixing bowl using a handheld mixer, beat the egg yolks on medium-high speed for 3-4 minutes until thickened and a light yellow color. Gradually beat in the granulated sugar until fully combined and set aside.
- Heat ¾ cup (180 ml) of the heavy whipping cream in a saucepan over medium heat until hot but not boiling.
- Remove the saucepan from the heat and slowly pour about half of the hot heavy whipping cream into the egg mixture, making sure to whisk constantly to temper the egg yolks.
- Add the tempered egg mixture back to the saucepan with the remaining hot cream.
- Return the saucepan to medium-low heat and cook for 3-4 minutes, stirring constantly, until the mixture registers 160°F (71°C) on a thermometer and coats the back of a spoon (do not boil). Remove from the heat and pour the mixture through a fine-mesh strainer into a heat-safe bowl. Set aside.
- Add the chopped chocolate to a microwave-safe bowl. Microwave in 20-30 second increments, stirring well after each increment, until the chocolate is completely melted and smooth. Add the egg custard mixture to the melted chocolate and mix until fully combined. Stir in vanilla extract. Set aside to cool completely at room temperature (about 45 minutes to 1 hour).
- In the bowl of a stand mixer fitted with the whisk attachment, or in a large mixing bowl using an electric mixer, beat the remaining 1 and ¼ cups (300 ml) cold heavy whipping cream to stiff peaks. Gently fold in about ¼ of the whipped cream to lighten the cooled chocolate mixture, then carefully fold in the remaining whipped cream until fully combined and no white streaks remain.
- Spoon the mousse mixture evenly between eight 6-ounce glasses or ramekins. Cover tightly with plastic wrap and refrigerate for at least 2 hours, or longer for larger servings.
To make the whipped cream topping:
- In the bowl of a stand mixer fitted with the whisk attachment, or in a large mixing bowl using an electric mixer, beat the ½ cup (120 ml) cold heavy whipping cream, powdered sugar, and vanilla extract until stiff peaks form.
- Spoon the whipped cream mixture evenly on top of each chocolate mousse serving. Garnish with chocolate shavings or dust with cocoa powder if desired, then serve and enjoy!
Notes
- Chocolate mousse may be covered tightly and stored in the refrigerator for up to 4 days.
- Chocolate Recommendation: I prefer to use two 4-ounce semi-sweet chocolate bars. Bakers and Ghirardelli are my favorite brands for their consistent quality and rich flavor.
Cuisine: American
Course: Dessert
Author: Danielle Rye
Did you make this recipe?
We absolutely love seeing your culinary creations! Share your delicious chocolate mousse with us. Mention @livewellbakeoften on Instagram or tag #livewellbakeoften. Your creations inspire us!