
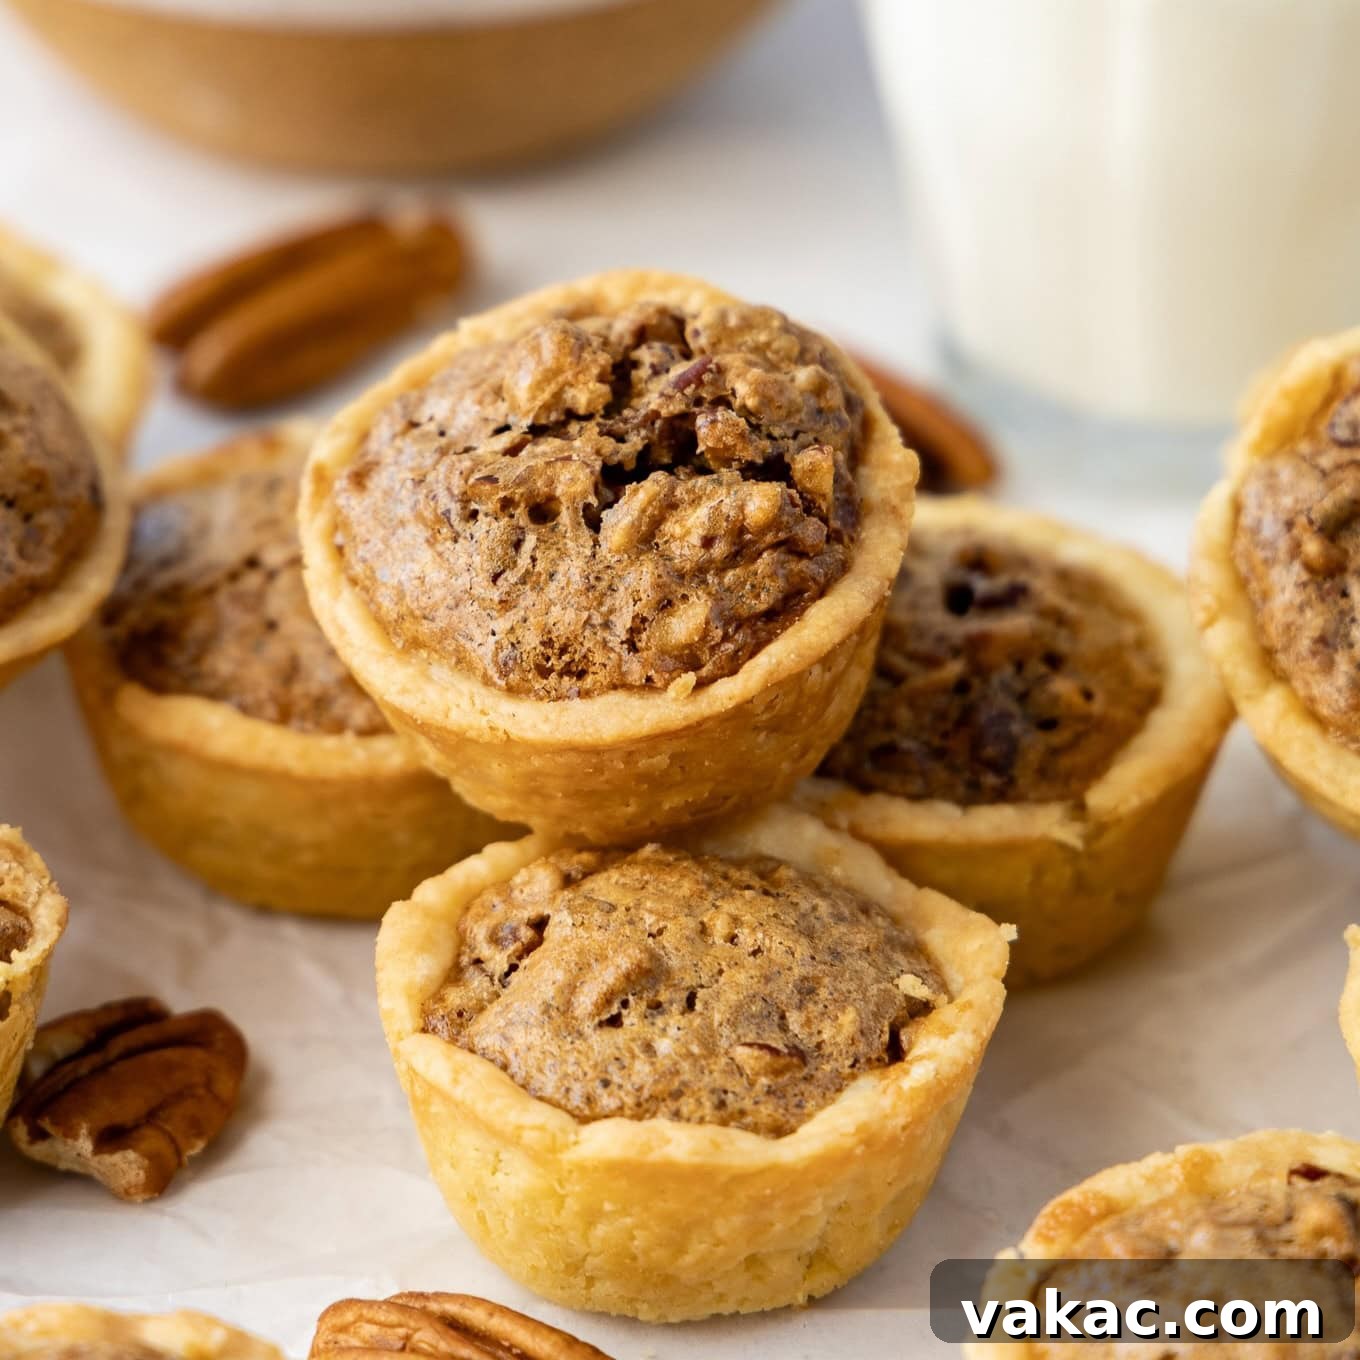
Easy Pecan Tassies Recipe: Your Go-To Mini Pecan Pies for Any Occasion
Forget the fuss of a full-sized pie this holiday season! These delightful pecan tassies are your new secret weapon for effortless baking. Imagine the rich, nutty flavor of a classic pecan pie, but in a charming, bite-sized package that’s incredibly easy to make. Unlike traditional pecan pie recipes that demand a rolled-out crust and often rely on corn syrup, our pecan tassies feature a simple cream cheese crust that requires no rolling whatsoever, and a luscious filling made without corn syrup, yet bursting with authentic pecan goodness. They are the ultimate addition to your holiday dessert table, perfect for cookie exchanges, or simply as a comforting treat with your afternoon coffee.
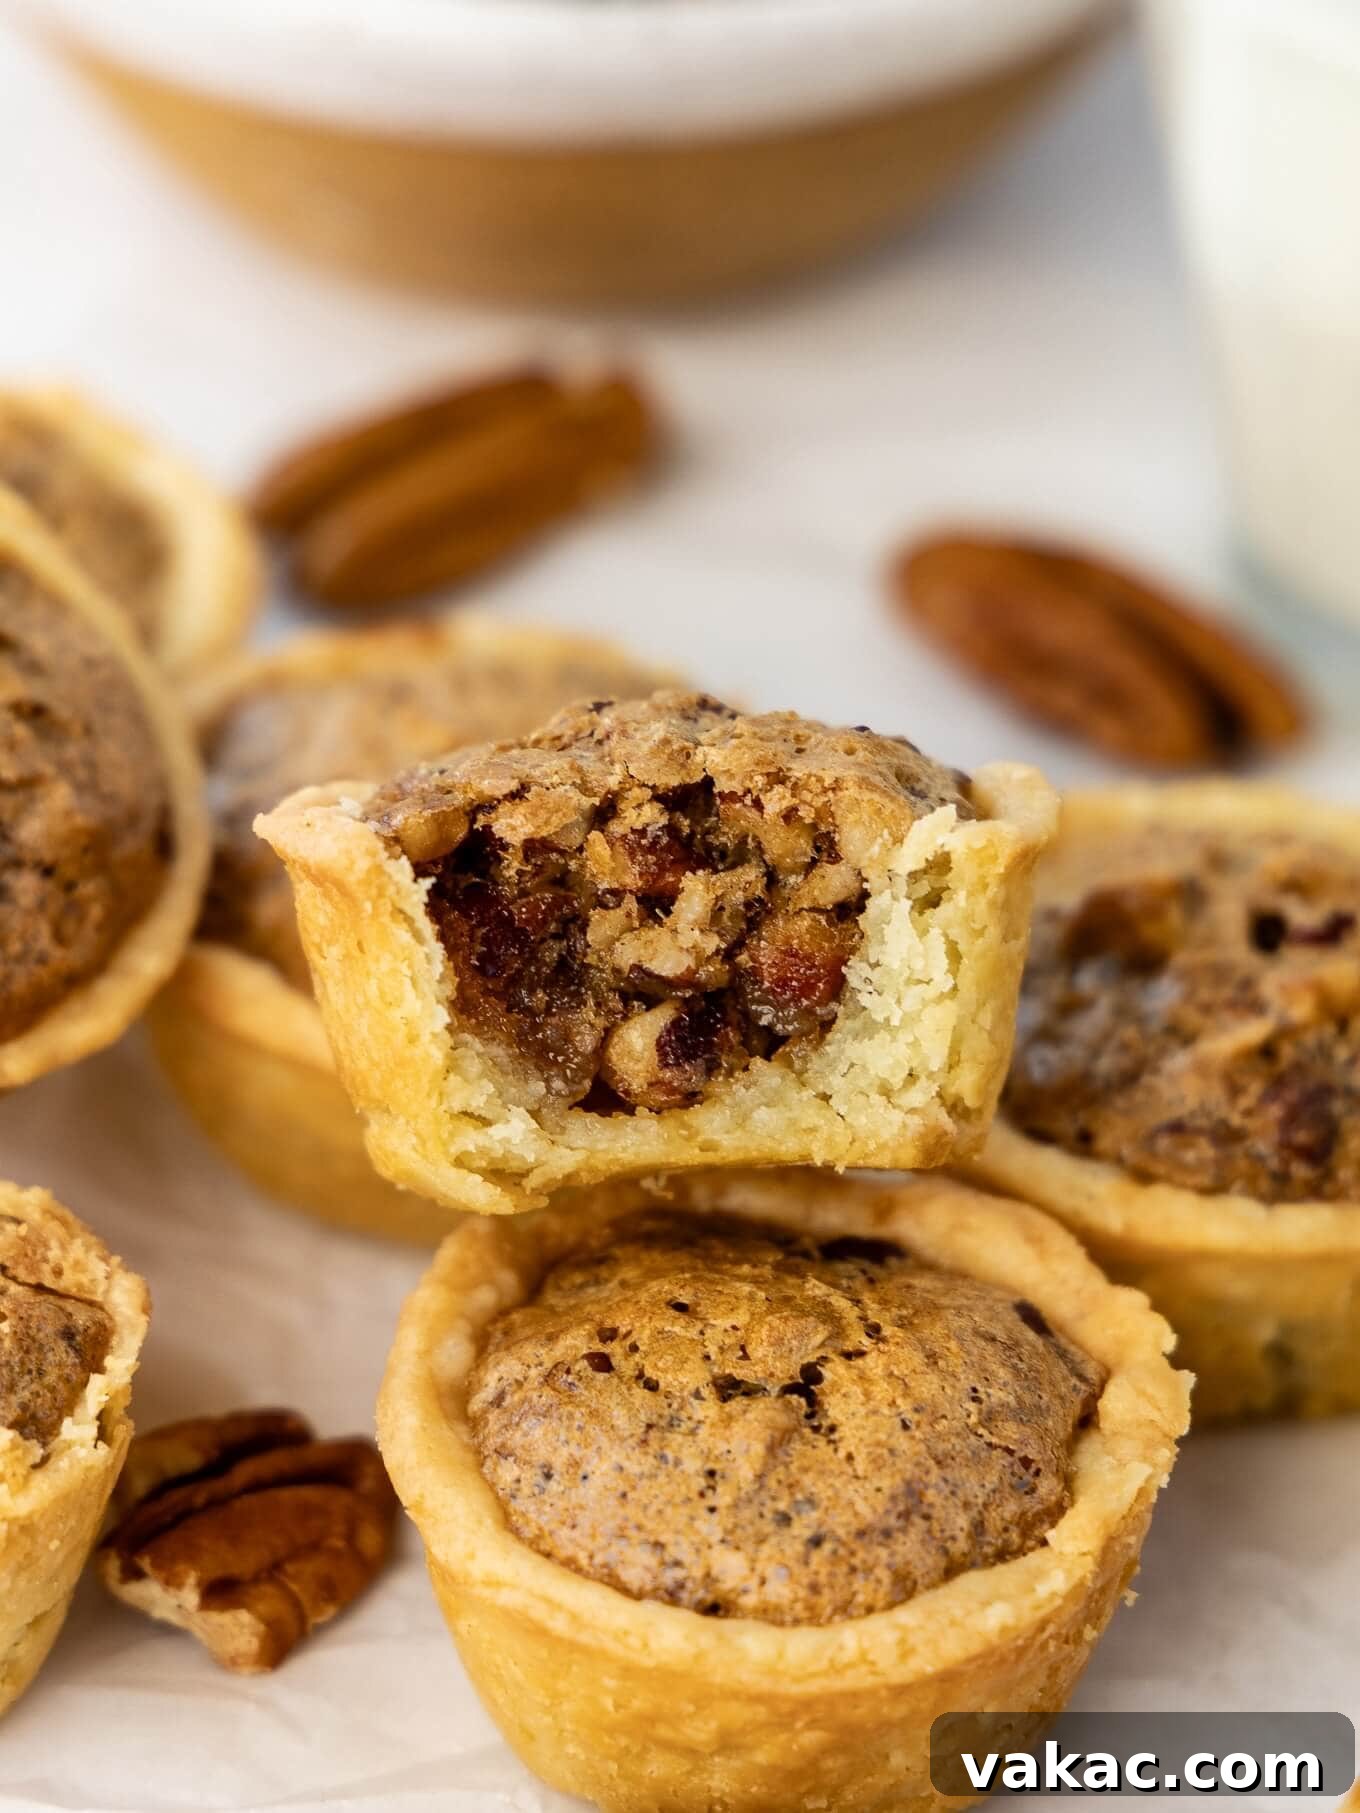
If the thought of baking an entire pecan pie seems daunting, or you’re simply looking for a more convenient alternative, these pecan tassies are your answer. They masterfully blend the nostalgic taste of mini pecan pies with the comforting chewiness of a deep-dish cookie cup. Their irresistible flavor and charming size make them an instant favorite.
This remarkably easy recipe begins with our signature cream cheese crust, a game-changer for anyone who dreads rolling out dough. This crust offers the flaky, buttery appeal of a traditional pie crust but can be effortlessly scooped into a mini muffin pan and gently pressed into place. The rich pecan filling is equally straightforward, crafted from a handful of pantry staples you likely already have on hand. It’s designed to deliver maximum flavor with minimal fuss, making it approachable for bakers of all skill levels.
Beyond their ease of preparation, these pecan tassies shine as the ideal bite-sized dessert for a myriad of occasions. Their portability makes them perfect for inclusion in holiday cookie boxes, thoughtful gifts for friends and family, or as an elegant, yet approachable, centerpiece for your festive dessert spread. They boast excellent shelf life, staying fresh and delicious for several days, and can even be prepared in advance. This make-ahead capability is an invaluable asset during the often-hectic holiday season, allowing you to enjoy more time with loved ones and less time in the kitchen.
Why You’ll Fall in Love with These Pecan Tassies
These mini pecan pies, or pecan tassies as they’re affectionately known, are more than just a dessert; they’re a delightful solution for easy entertaining and joyful indulgence. Here’s why they’re destined to become a staple in your baking repertoire:
- Effortless Elegance: They look incredibly impressive, yet require minimal effort. No rolling pins, no intricate lattice work – just simple scooping and pressing for a perfect, golden crust every time.
- Corn Syrup-Free Filling: For those who prefer to avoid corn syrup, this recipe delivers all the classic pecan pie flavor using readily available ingredients like brown sugar, butter, and eggs, resulting in a rich, caramel-like texture.
- Bite-Sized Perfection: Their miniature stature makes them ideal for portion control, easy snacking, and a beautiful addition to any dessert platter, allowing guests to sample a variety of treats.
- Make-Ahead Marvel: Prepare them days in advance or even freeze them for later enjoyment. This convenience is a lifesaver during busy periods, especially around the holidays.
- Crowd-Pleasing Flavor: The combination of a tender, slightly tangy cream cheese crust and a sweet, nutty pecan filling is universally adored. They disappear quickly at gatherings!
- Versatile for Any Occasion: While perfect for holidays, these tassies are equally at home at potlucks, brunches, or simply as a sweet treat to brighten an ordinary day.
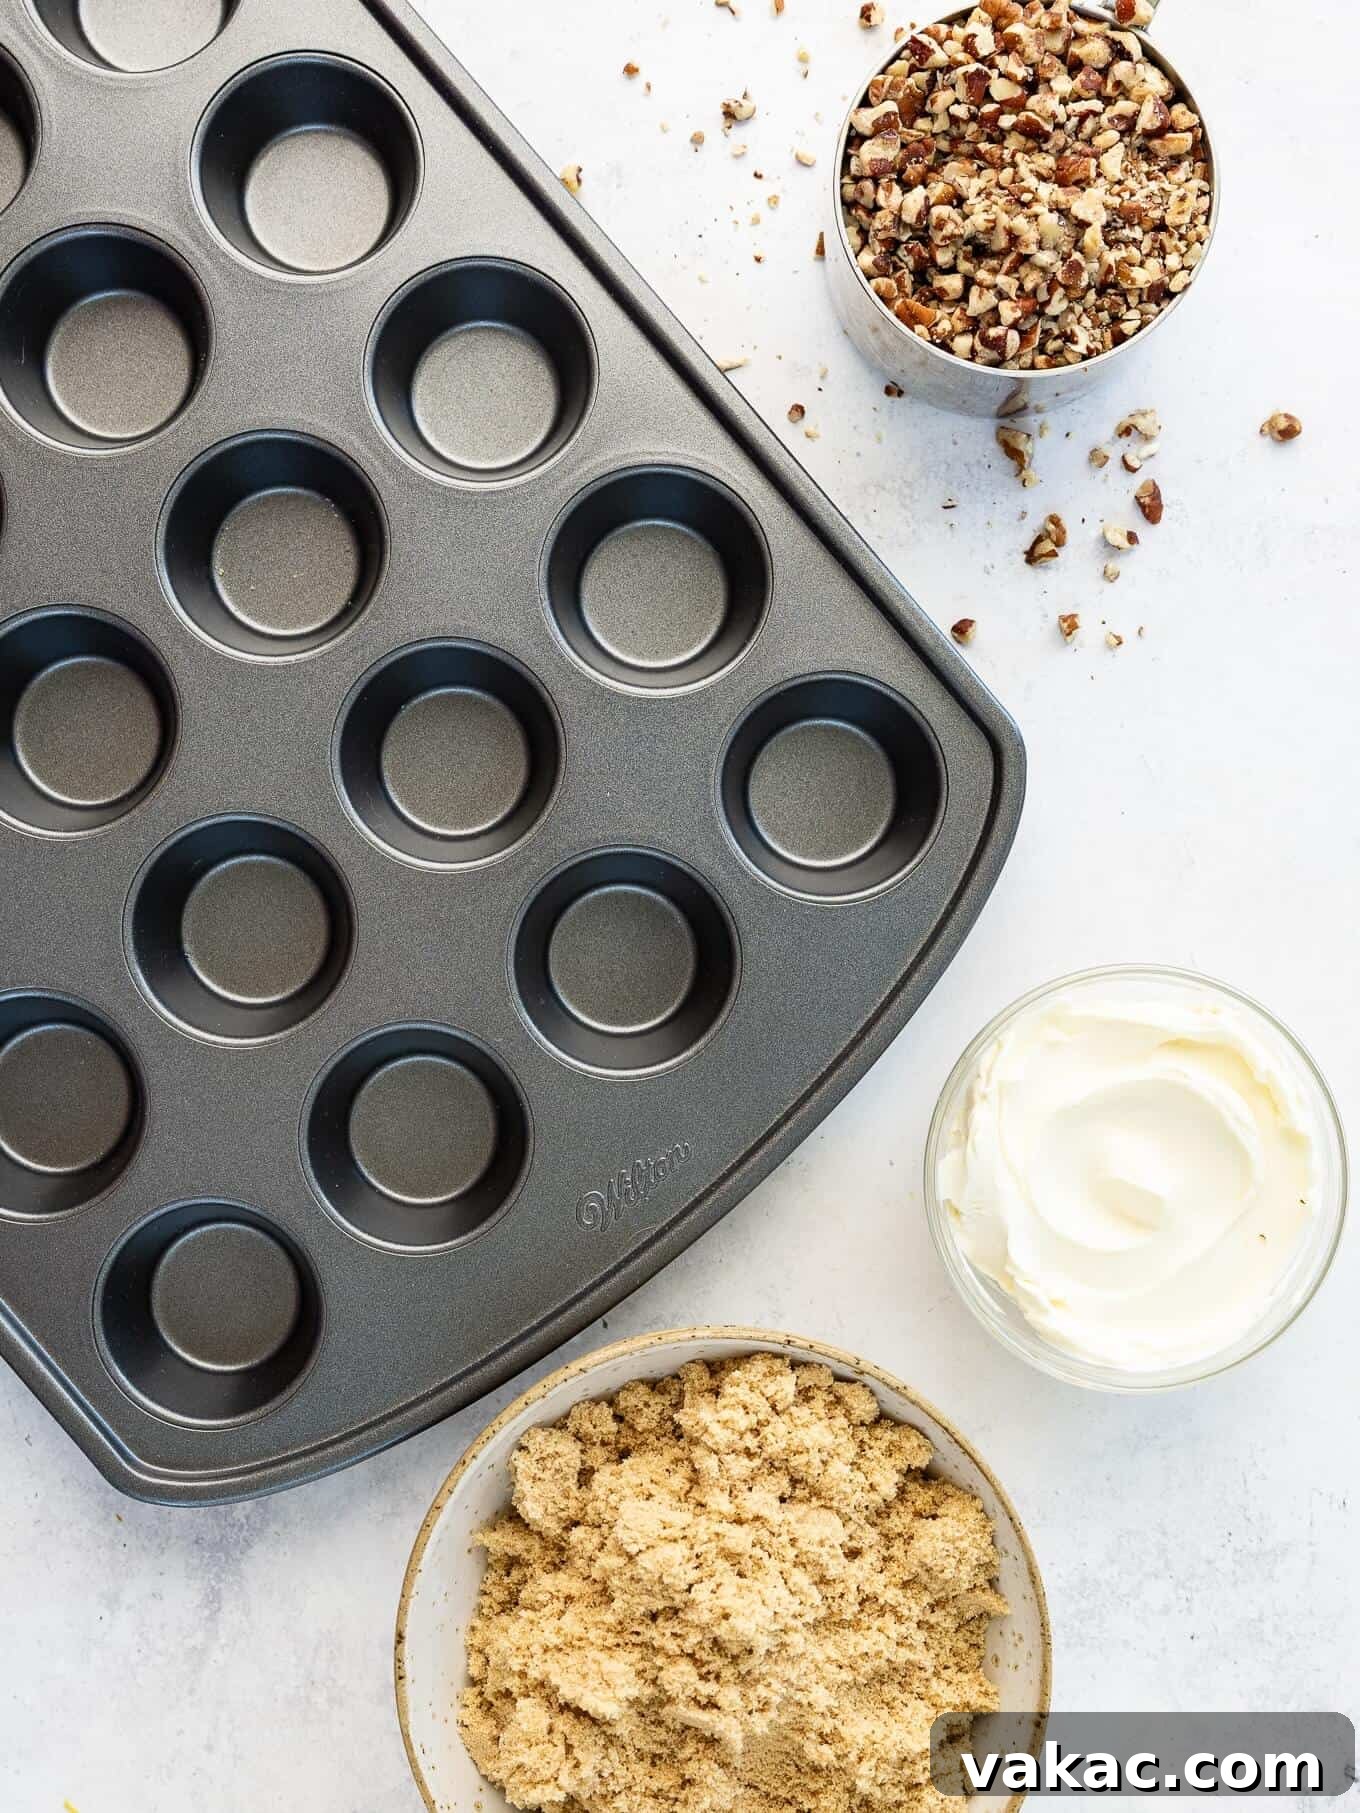
Essential Ingredients and Tools for Pecan Tassies
Crafting the perfect pecan tassies starts with understanding your ingredients and having the right tools. While this recipe is incredibly forgiving, a few key considerations will ensure your mini pies turn out beautifully every time.
Mini Muffin Pan: Your Secret to Bite-Sized Bliss
These pecan tassies are intentionally designed to be rich, decadent, and perfectly bite-sized—perhaps a luxurious two or three bites at most! This is why a mini muffin pan is absolutely essential for achieving the correct scale and presentation. Using a regular-sized muffin pan would yield much larger treats that, while still delicious, might lose some of their charm and richness. If you don’t currently own one, I highly recommend investing in a good quality mini muffin pan. My personal favorite is from Wilton, known for its nonstick properties and durability.
Cream Cheese: The Foundation of a Flawless Crust
The star of our no-roll crust is cream cheese, but not just any kind! It’s crucial to use full-fat, brick-style cream cheese that comes wrapped in foil. This type of cream cheese provides the necessary fat content and structure for a tender, flaky crust that holds its shape beautifully. Absolutely avoid anything labeled as “lite,” “low-fat,” or “whipped” cream cheese, as these varieties contain more water and stabilizers, which will compromise the consistency and texture of your crust. You won’t use an entire block for this recipe, but don’t let the leftovers go to waste! The remaining cream cheese can be deliciously repurposed in other treats like this comforting pumpkin cream cheese bread or delicate cream cheese mints.
Brown Sugar: For That Irresistible Caramel Depth
The brown sugar is not just a sweetener in our pecan filling; it’s a critical component that imparts a distinctive caramel-like flavor and a rich, deep hue. This complex sweetness is what truly sets our pecan tassies apart. For this reason, it’s vital not to substitute brown sugar with plain granulated sugar, as you’d lose that nuanced caramel note. Both light and dark brown sugar will work beautifully, with dark brown sugar offering a slightly more pronounced molasses flavor. If you find yourself without brown sugar in a pinch, you can even make your own brown sugar substitute at home.
Pecans: The Heart of the Tassie
To ensure a smooth, well-integrated filling where every bite is perfectly balanced, it’s best to finely chop your pecans. Large pieces can make the filling crumbly or difficult to portion evenly. While you can certainly toast your pecans beforehand to enhance their nutty flavor, I often find myself skipping this step for simplicity without sacrificing much taste. If you do choose to toast them, a brief pan-toast or oven-toast can elevate their aroma. For precise instructions on how to toast pecans, refer to step 12 of my popular pecan pie cheesecake recipe.
Other Key Players: Butter, Flour, Egg, and Vanilla
Don’t underestimate the supporting cast in this recipe. Softened unsalted butter is crucial for a tender crust, and melted butter binds the filling. All-purpose flour gives the crust its structure, and it’s important to measure it correctly (using the spoon-and-level method) to prevent a dense crust. The large egg in the filling acts as a binder, providing structure and richness. Ensure it’s at room temperature for a smooth emulsion with the melted butter. Finally, pure vanilla extract adds a warm, inviting aroma and enhances the overall flavor profile of the pecan filling. A pinch of salt balances the sweetness in both the crust and the filling.
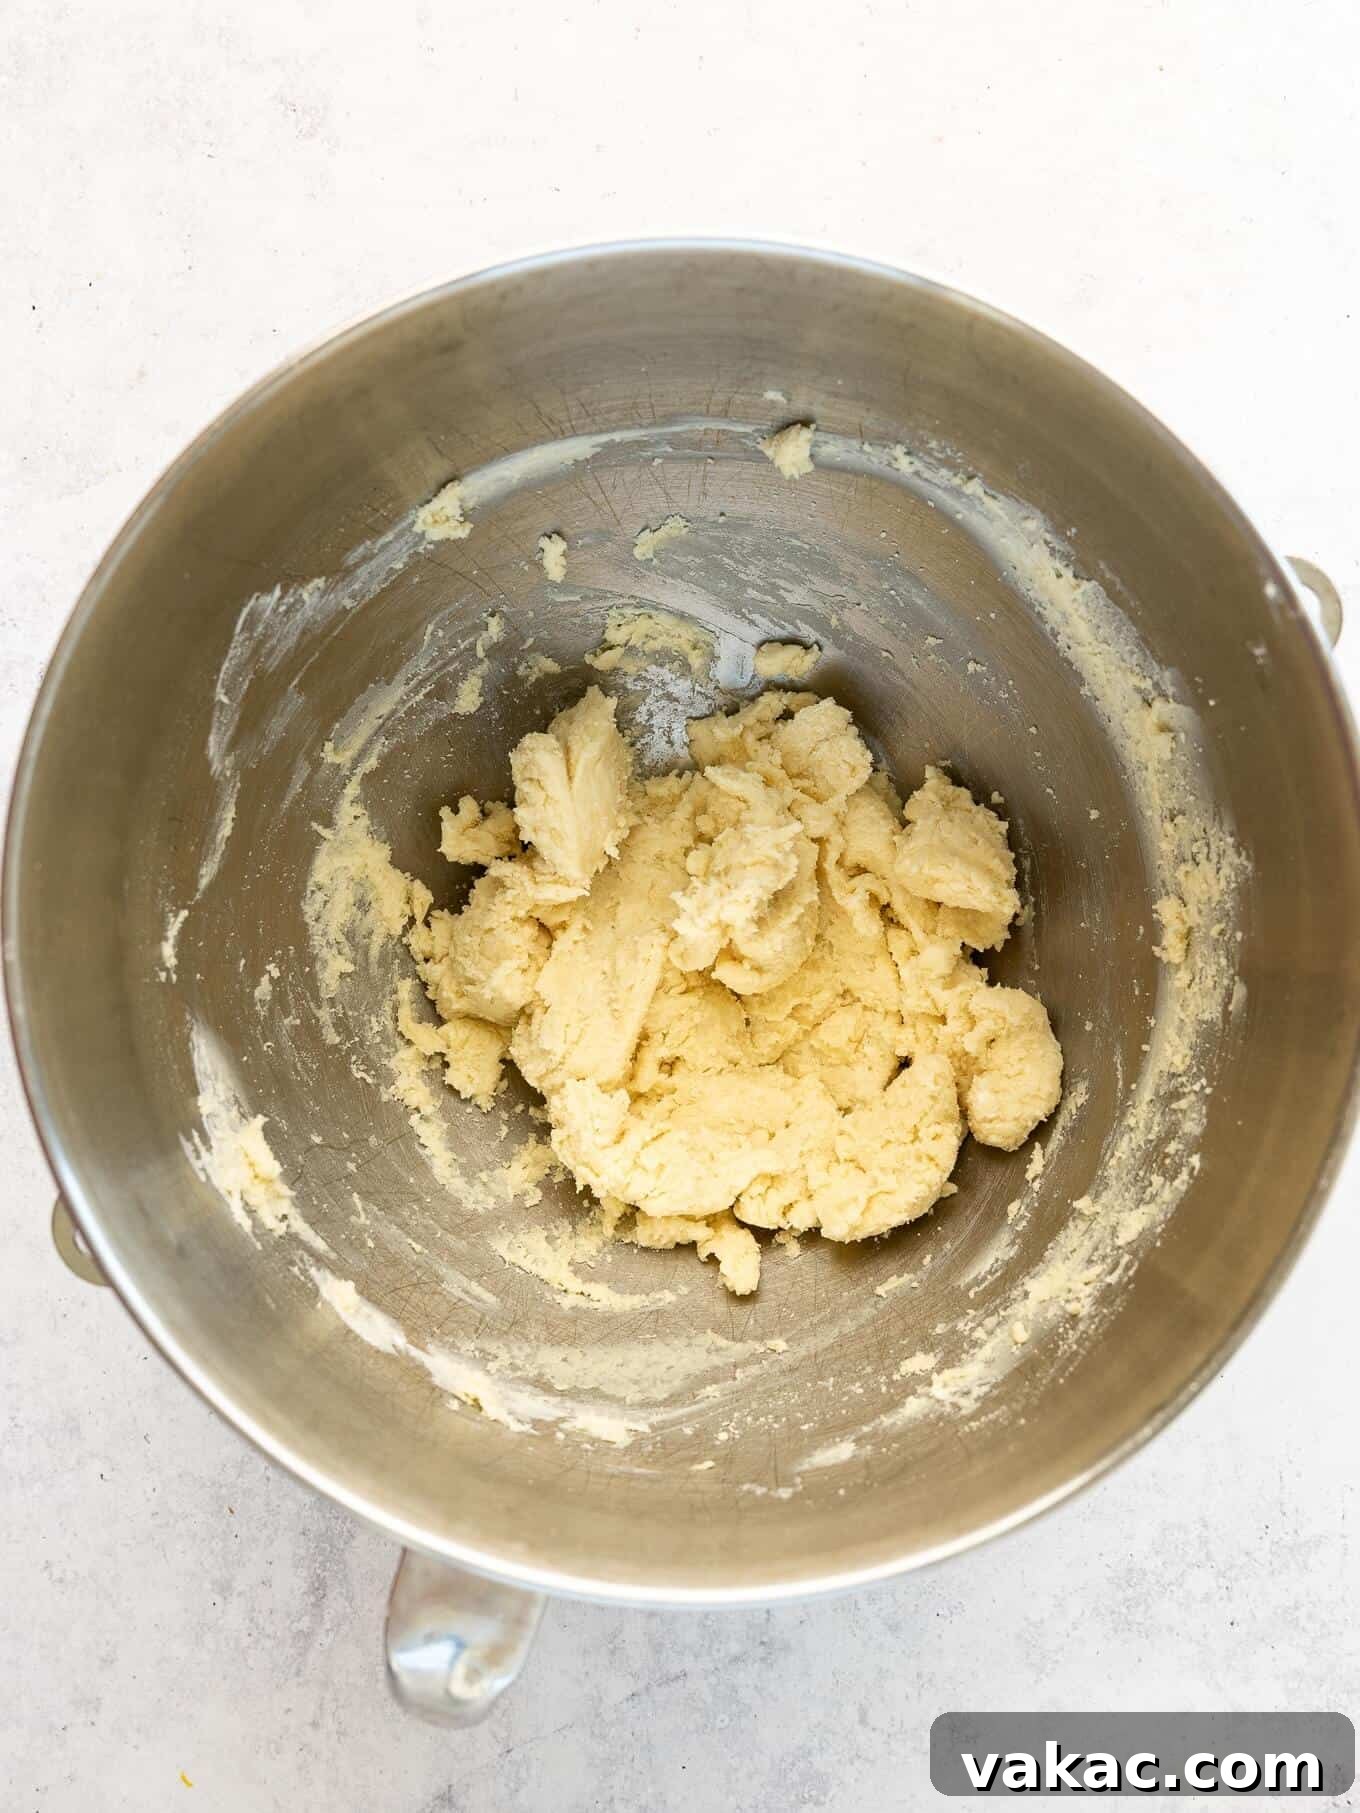
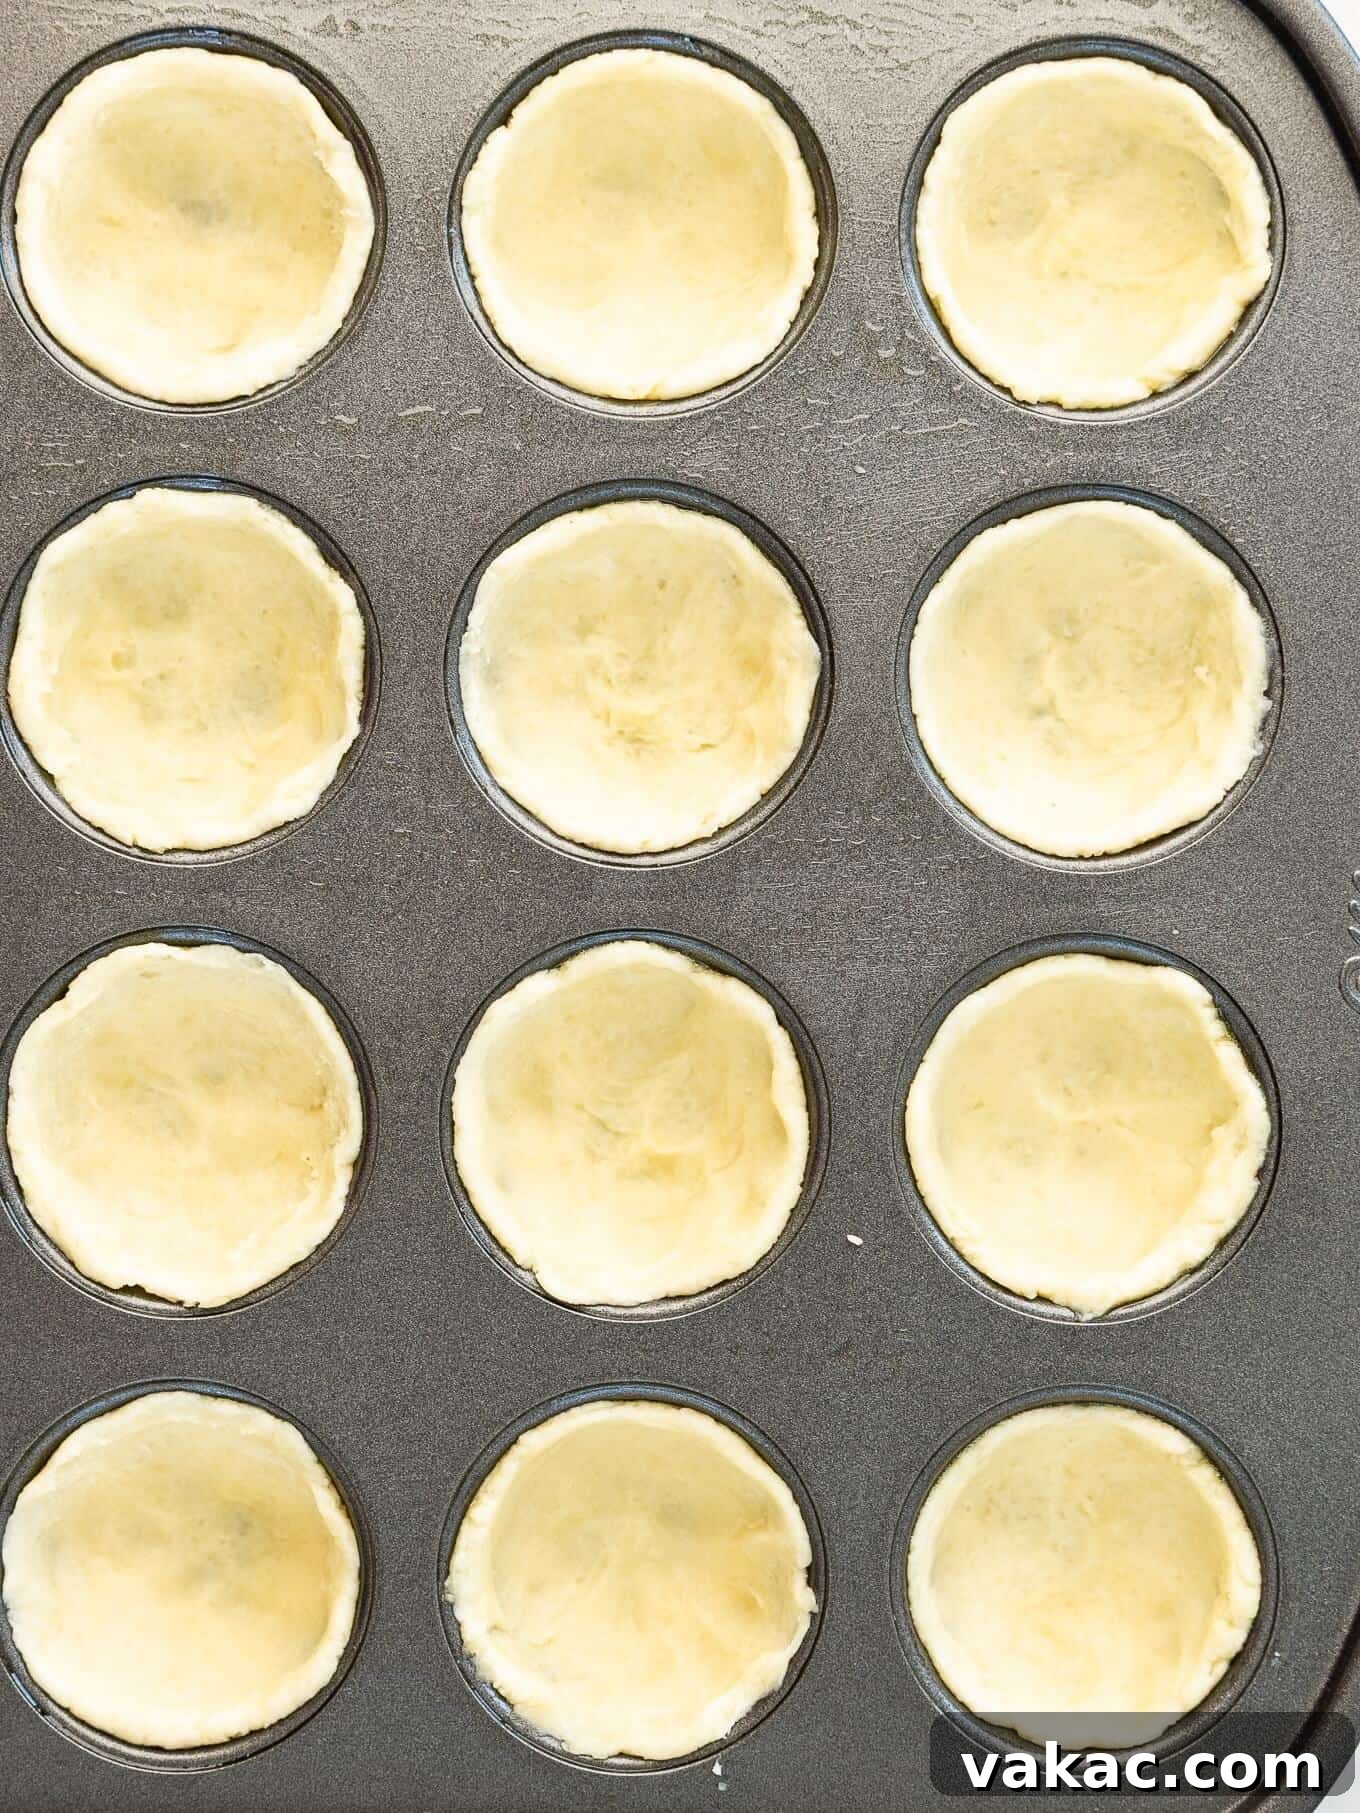
Crafting the Perfect Cream Cheese Crust
The cream cheese crust is what makes these pecan tassies so uniquely easy and delicious. Its tender, slightly tangy flavor perfectly complements the sweet pecan filling. Achieving a flawless crust requires just a few simple steps and helpful tips.
Before you even think about adding the dough, it’s crucial to prepare your mini muffin pan. A generous coating of nonstick cooking spray is your best friend here, ensuring your delicate tassies can be removed effortlessly once baked. If you don’t have spray, greasing each individual cavity with a dab of butter will work just as well, creating a protective layer between the crust and the pan.
This cream cheese dough will feel distinctly different from traditional pie dough. It’s much softer and more pliable, which is precisely why it’s so easy to work with – no rolling pin required! You’ll scoop it directly into the muffin cavities. However, sometimes the dough can be a little *too* soft, especially if your kitchen is warm or your cream cheese and butter were excessively softened. If you find the dough difficult to handle or excessively sticky, simply pop it into the refrigerator for 30 minutes to 1 hour. This chilling time will firm it up, making it much easier to press into the tiny molds.
When pressing the dough into the cavities, aim to create a cup that extends all the way up the sides. This ensures that every bite of the rich pecan filling is beautifully encased in the tender, buttery crust, providing that perfect balance of textures and flavors. While your fingers are perfectly capable of this task, a specialized tart tamper can make the job even easier, creating perfectly uniform crusts with minimal effort.
Quick Tip: Do not skip chilling the crust! While you prepare the luscious pecan filling, ensure your mini muffin pan with the pressed crusts is chilling in the refrigerator. This brief period of refrigeration is vital; it helps the butter and cream cheese in the dough firm up, preventing the crust from shrinking or losing its shape during baking, ensuring perfectly crisp and defined tassie shells.
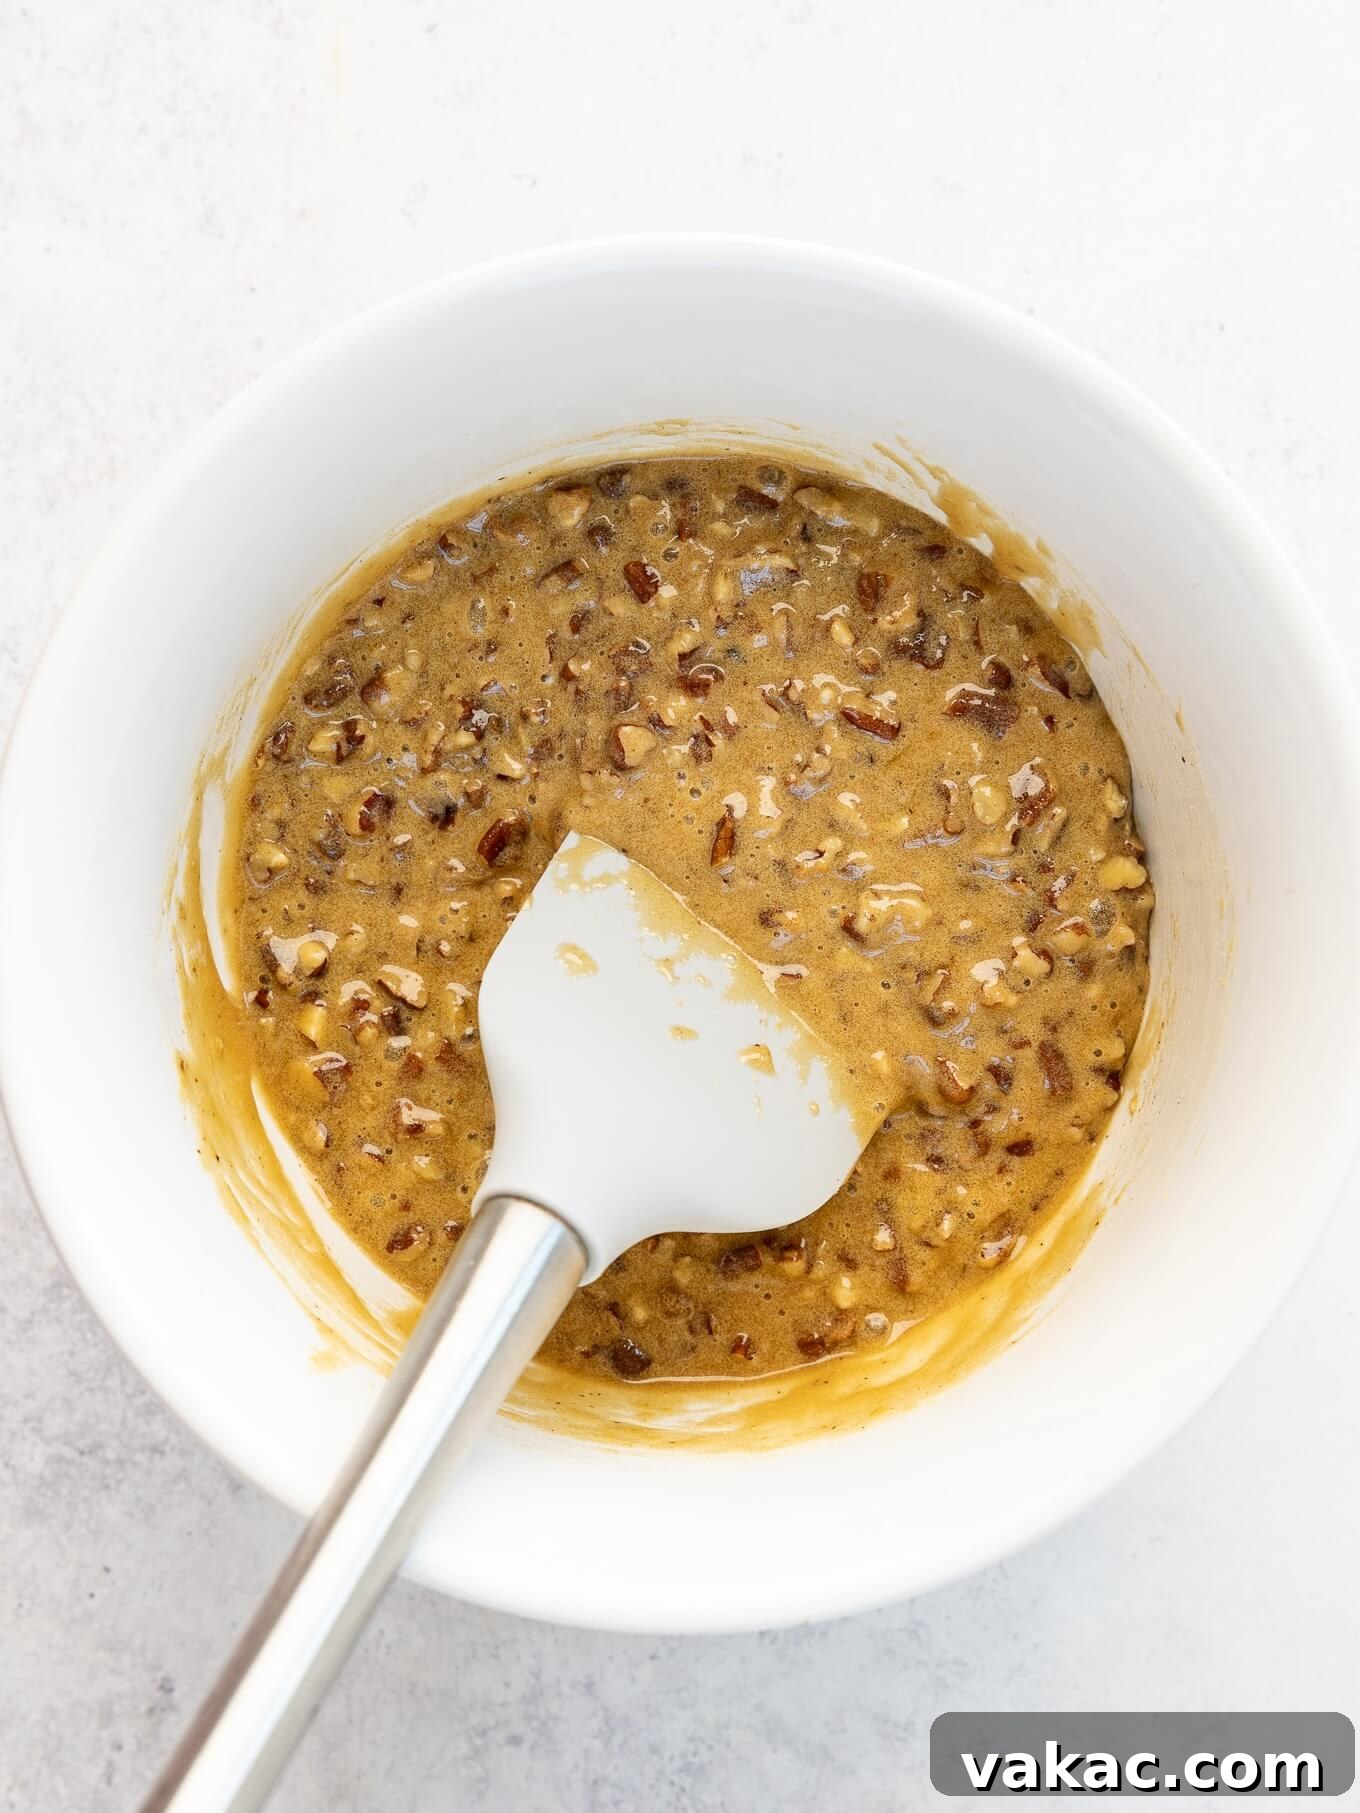
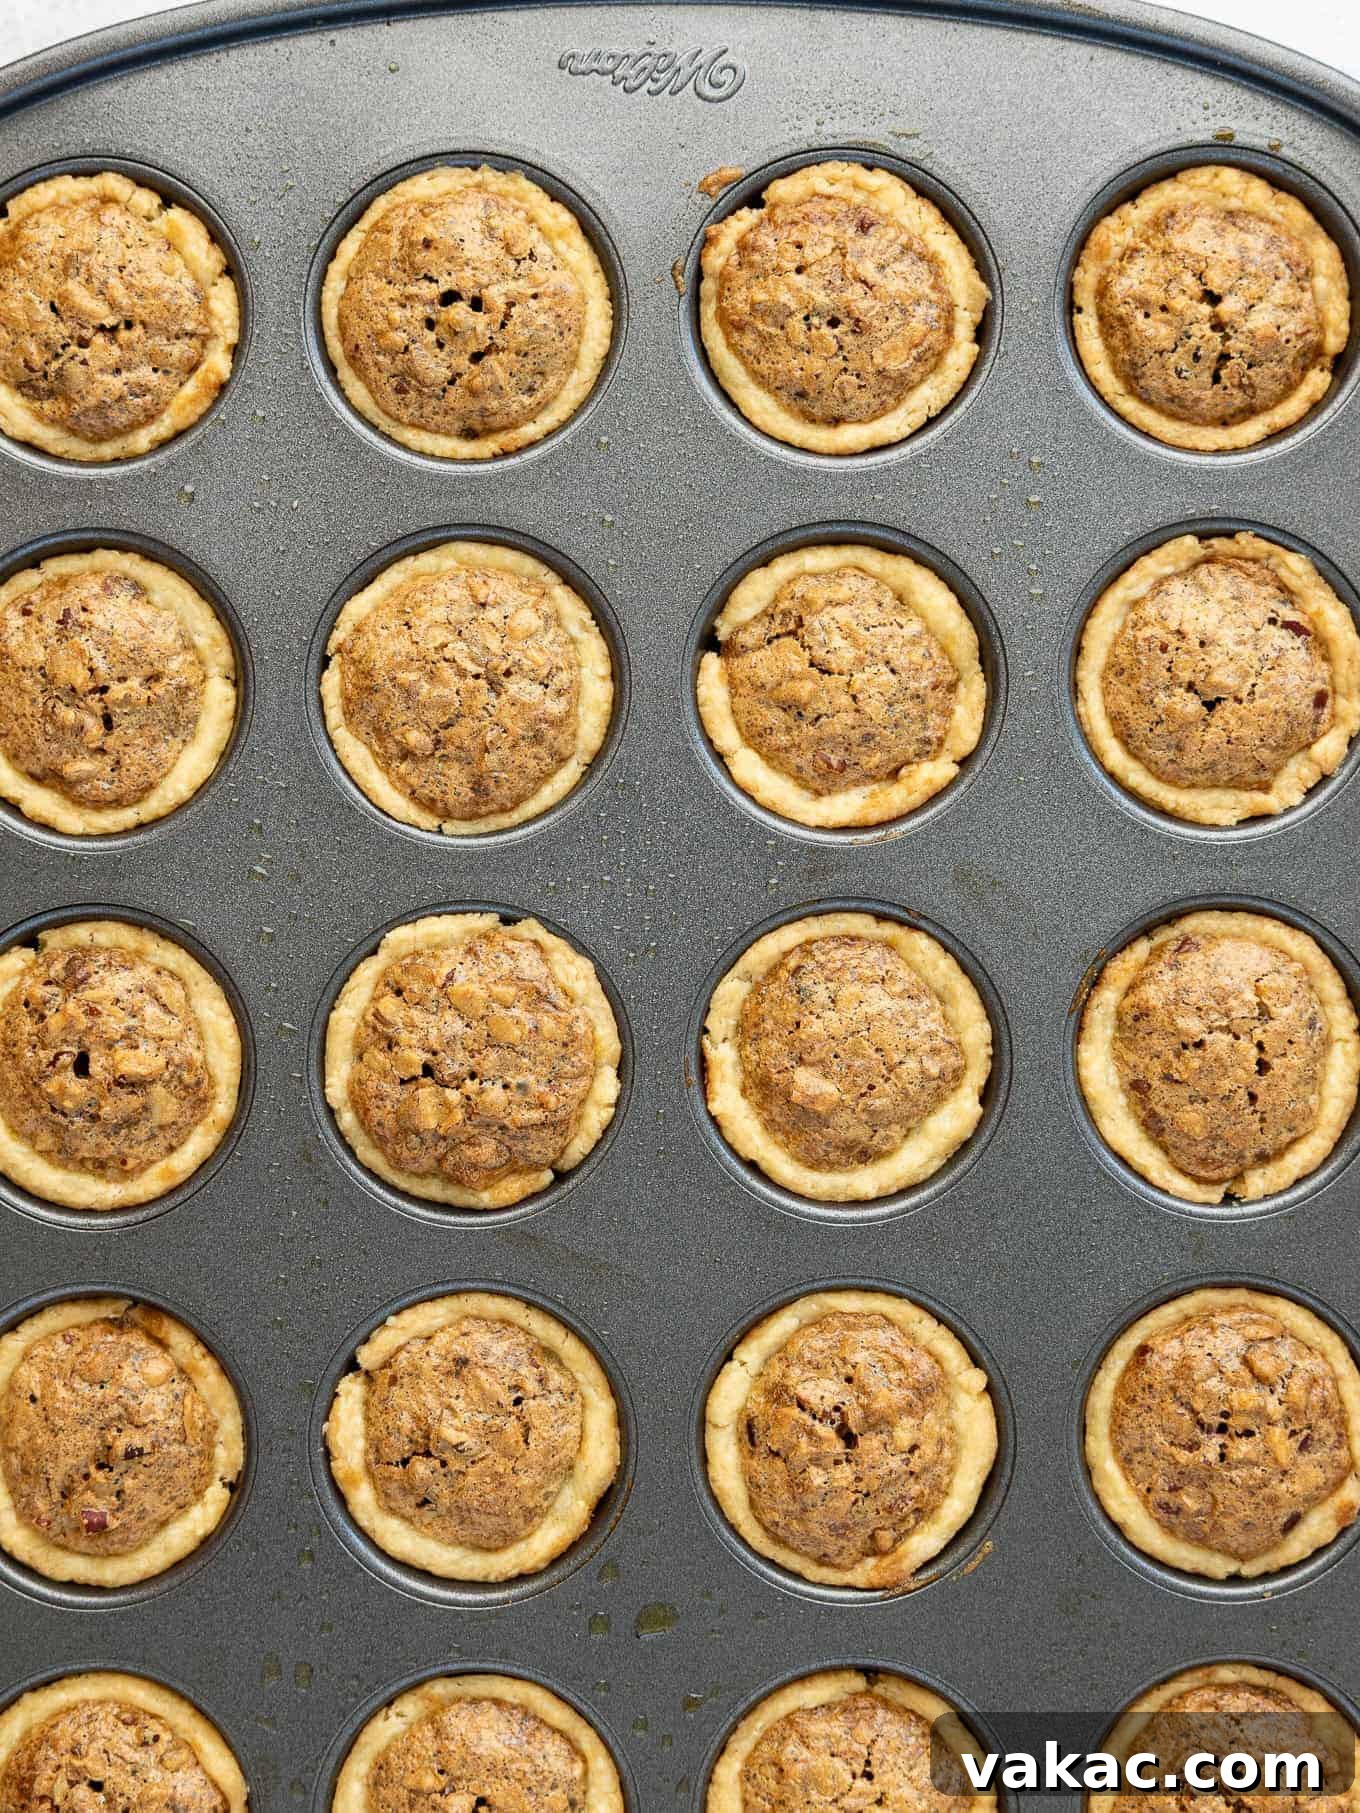
Crafting the Irresistible Pecan Filling
The pecan filling is the sweet, gooey heart of these delectable tassies. Achieving its perfect texture and rich flavor is key, and it’s surprisingly simple with a few careful techniques.
One of the most common pitfalls when making pecan pie or tassies is overmixing the filling. When you incorporate too much air into the mixture, it causes the middles to puff up dramatically in the oven, only to sink and deflate as they cool. To avoid this, gently whisk the ingredients until *just* combined. You want a smooth, cohesive mixture, but resist the urge to vigorously beat it. A light hand will ensure your tassies maintain their beautiful, slightly domed top and an even texture after baking.
Another critical detail involves your egg. Before adding it to the melted butter and brown sugar mixture, ensure your large egg is at room temperature. A cold egg hitting warm, melted butter can cause the butter to solidify and clump up, leading to a lumpy and uneven filling. Room temperature ingredients emulsify much better, creating a smooth and homogenous batter. This simple step contributes significantly to the silky texture of your finished pecan filling.
When it comes time to fill the chilled crusts, precision pays off. Spoon the pecan mixture carefully into each muffin cavity, filling it generously to the top edge of the crust. However, be mindful not to let the filling spill over the crust. Overflowing filling can stick to the pan, making removal difficult and marring the neat presentation of your tassies. A clean edge ensures they pop out beautifully and look picture-perfect on your dessert platter.
Quick Tip: Forgot to take your egg out in advance? No problem! You can quickly bring a cold egg to room temperature by placing it, still in its shell, in a bowl of warm (not hot!) tap water for 5 to 10 minutes. This gentle warming will prevent the butter from seizing when combined.
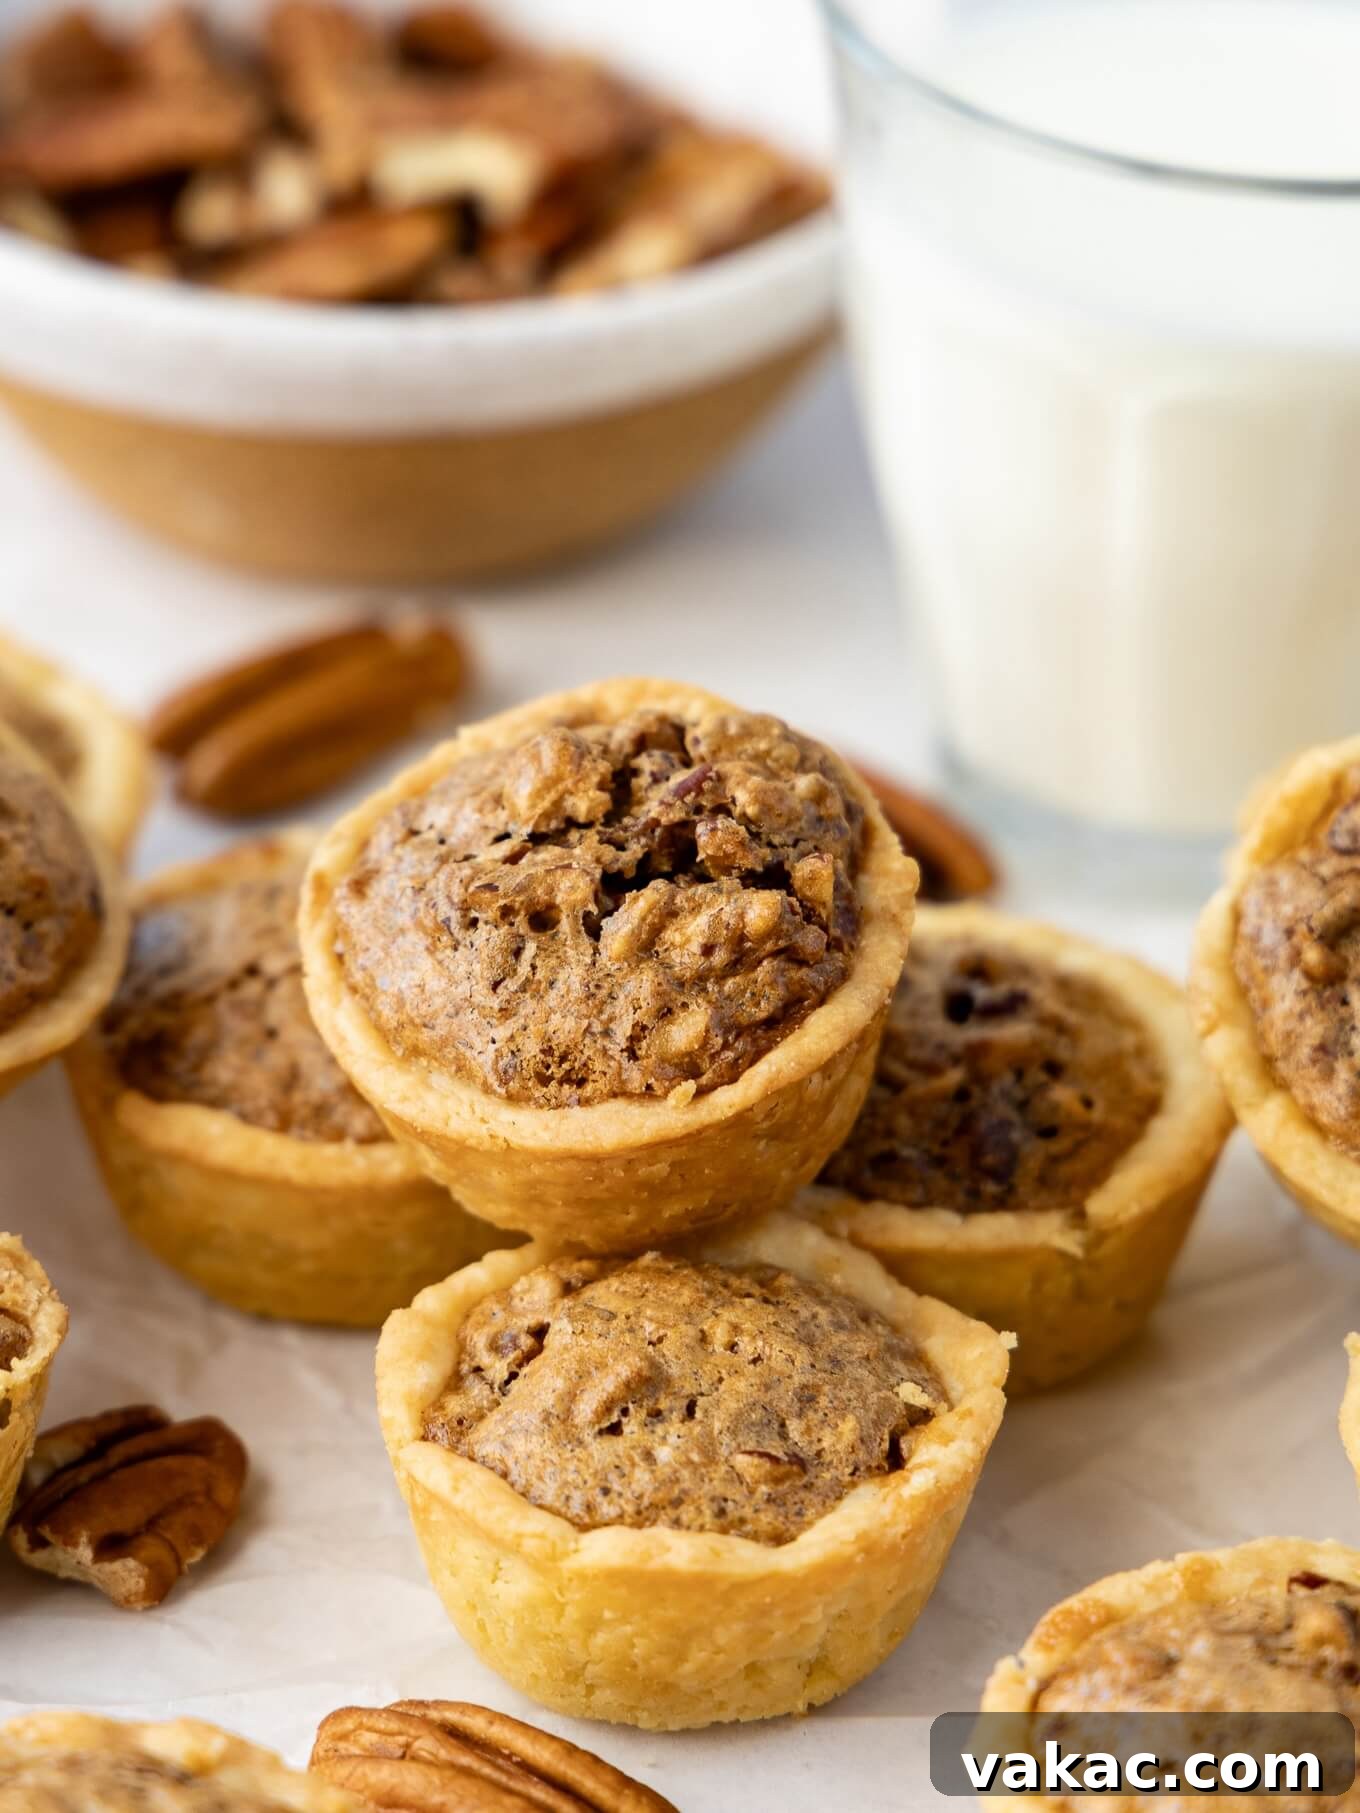
Baking & Cooling Your Pecan Tassies to Perfection
Baking these pecan tassies is the exciting final step where all your careful preparation comes to fruition. Pay close attention to baking times and cooling methods to ensure the best results.
Once filled, your mini muffin pan goes into a preheated oven. The goal is a beautifully golden-brown top and a set, yet still slightly gooey, center. For mini muffin pans, this typically takes between 20 to 25 minutes. Keep an eye on them towards the end of the baking time, as oven temperatures can vary. The edges of the crust should be golden, and the filling should appear set, with a slight wobble in the very center when gently shaken.
Can I Use A Regular Muffin Pan?
Yes, you absolutely can use a regular-sized muffin pan if a mini version isn’t available! However, it’s important to remember that larger cavities will require an increased baking time to ensure the filling is cooked through and the crust is golden. As a general guideline, when using a standard muffin pan, you’ll likely need to bake them for an additional 10-15 minutes, pushing the total baking time to around 30-40 minutes, depending on your oven. Always monitor them closely for visual cues of doneness.
Once baked, resist the urge to immediately remove them from the pan. Allow the tassies to cool slightly in the pan for about 5 minutes. This brief resting period helps them set up and makes them much easier to extract without breaking. Then, use a thin butter knife or a small offset spatula to gently slide around the edges of each tassie, loosening it from the pan. Carefully transfer them to a wire rack to cool completely. Cooling on a wire rack ensures air circulates around them, preventing the bottoms from becoming soggy and helping them achieve that perfect crisp crust.
Variations, Storage & Make-Ahead Tips
These pecan tassies are wonderfully versatile and perfect for any occasion, especially when you need a dessert that can be prepared in advance. Let’s explore some ways to customize and manage your delicious creations.
Can I Use Another Kind Of Nut?
Absolutely! While pecans are traditional and delicious, you are more than welcome to experiment with other nuts to create your own unique tassie variations. Finely chopped walnuts or almonds would be fantastic substitutes, offering their own distinct flavor profiles. Walnuts provide a slightly more bitter, earthy note that pairs beautifully with the sweet filling, while almonds offer a delicate, buttery sweetness. Feel free to use a single type of nut or even a combination of your favorites for a custom blend. Just ensure they are finely chopped for the best texture.
Flavor Enhancements and Variations
- Spiced Tassies: Add a pinch of cinnamon, nutmeg, or a dash of pumpkin pie spice to the pecan filling for a warmer, more aromatic flavor, especially during the fall and winter months.
- Citrus Zest: A tiny bit of orange or lemon zest mixed into the filling can brighten the flavors and add a subtle, refreshing note that cuts through the richness.
- Chocolate Drizzle: Once cooled, drizzle the tops of your tassies with melted dark or milk chocolate for an extra layer of indulgence.
- Bourbon or Rum: A teaspoon of bourbon or dark rum in the filling can add a sophisticated depth of flavor, enhancing the caramel notes of the brown sugar.
Storage Instructions
These pecan tassies are excellent for making ahead as they keep exceptionally well. Once completely cooled, store any leftovers in an airtight container at room temperature for up to 5 days. For optimal freshness and to maintain their delightful texture, avoid direct sunlight or overly warm environments.
Freezing Instructions
Pecan tassies are fantastic for freezing, making them a perfect make-ahead option for future events or unexpected cravings. To freeze, arrange the completely cooled tassies in a single layer on a baking sheet and flash freeze them for about 1-2 hours until solid. This prevents them from sticking together. Once firm, transfer them to a freezer-safe airtight container or a heavy-duty freezer bag, layering them with parchment paper if needed. They will freeze beautifully for up to 3 months. When you’re ready to enjoy them, simply thaw them to room temperature on your countertop for an hour or two before serving. You can also gently rewarm them in a low oven for a few minutes for a “freshly baked” experience.
Make-Ahead Tips for Busy Holidays
The ability to prepare these tassies in advance is truly a lifesaver during the bustling holiday season. You can make the crust dough up to 2-3 days ahead of time and store it in the refrigerator, wrapped tightly. The pecan filling can also be prepared a day in advance and stored in an airtight container in the fridge. On baking day, simply assemble and bake. Or, even better, bake the entire batch, cool them, and freeze them as instructed above. This way, you’ll have a delicious, homemade dessert ready to go, allowing you more time to relax and celebrate with family and friends.
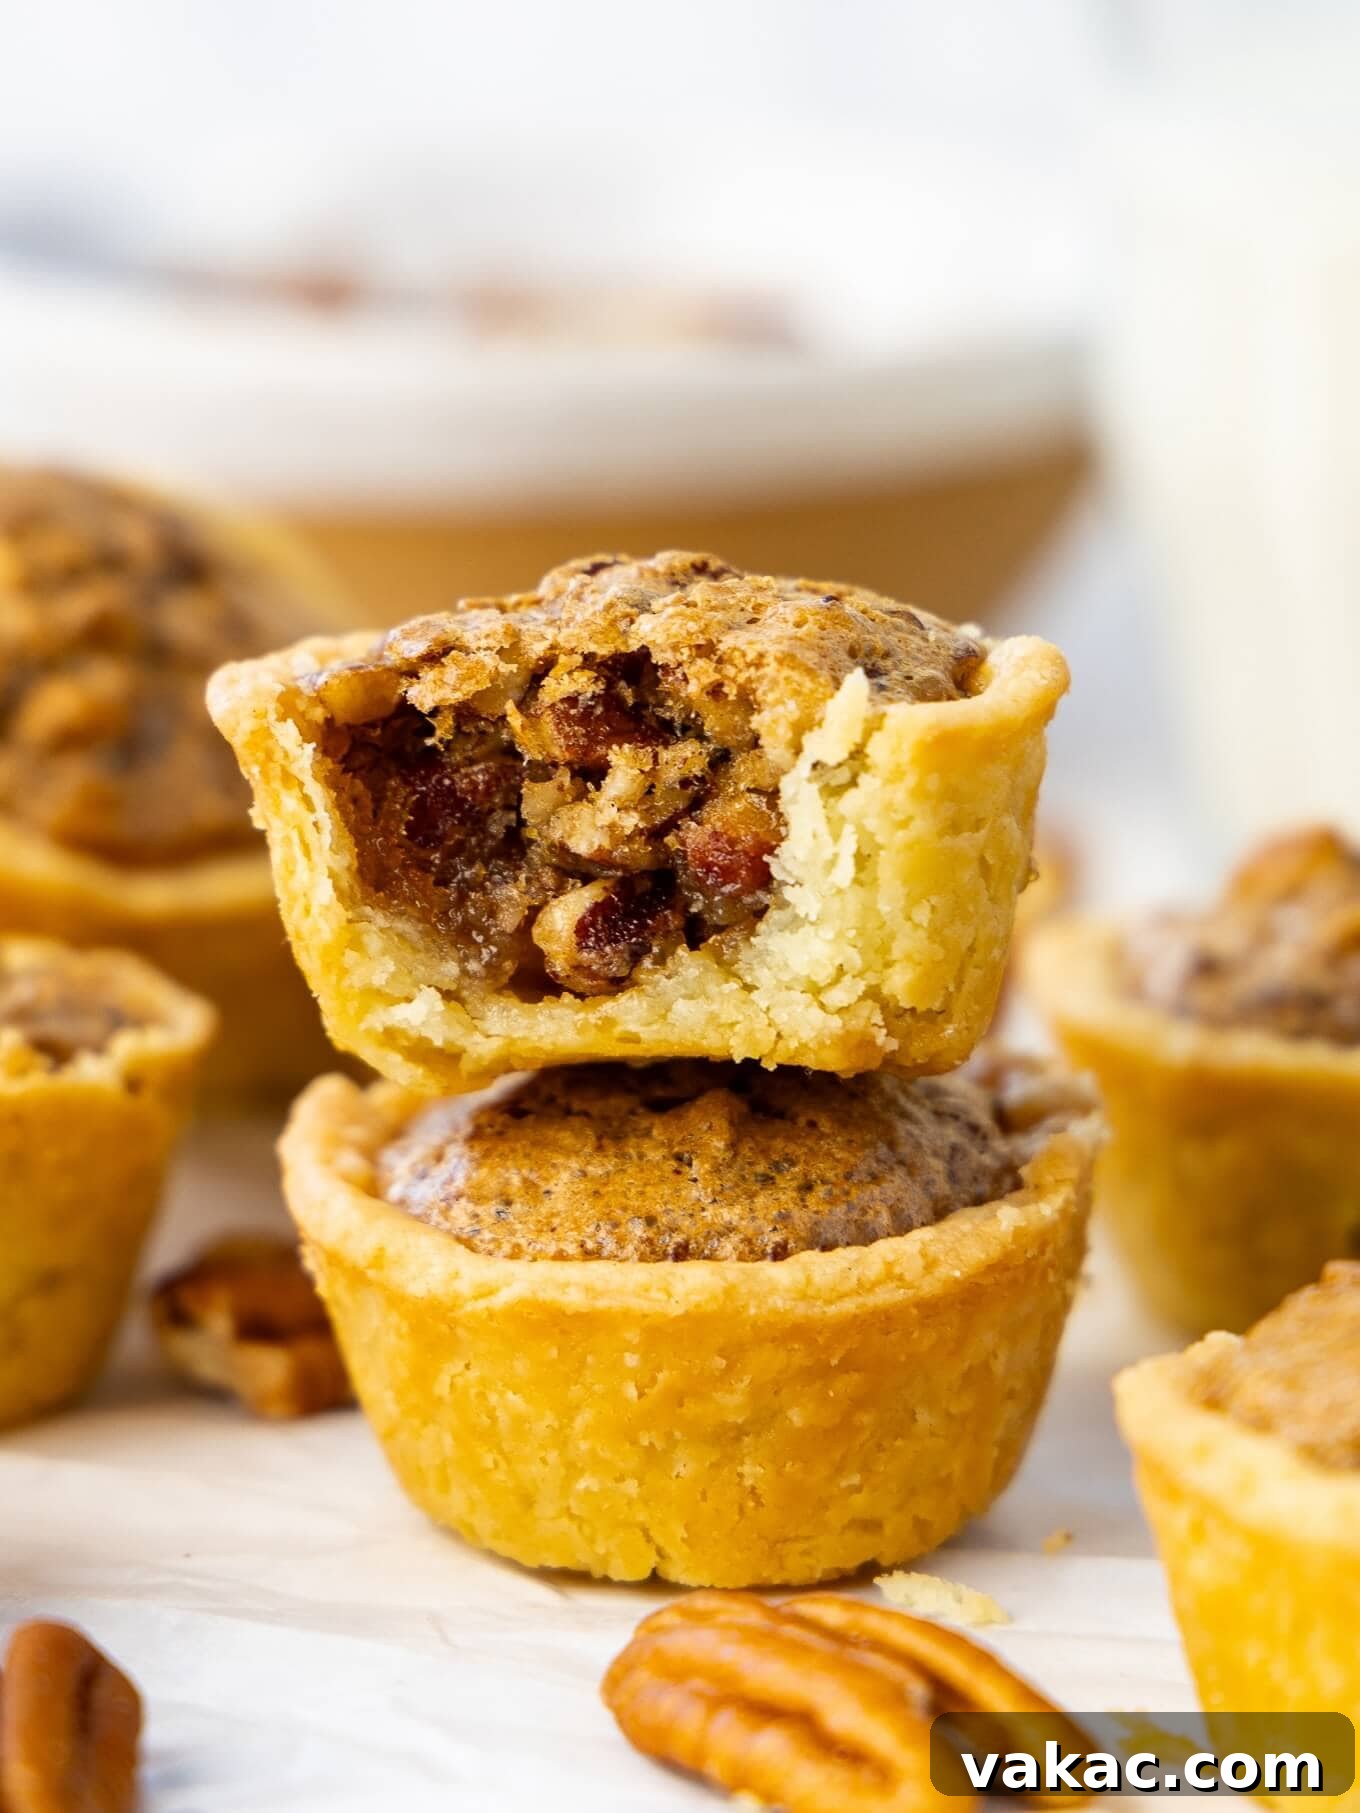
If you embark on the delightful journey of making these easy pecan tassies, please don’t hesitate to leave a comment below and let me know how they turned out! I’m genuinely excited to serve these throughout the holiday season this year, knowing I can effortlessly make a big batch in advance. They are a testament to how simple ingredients and smart baking techniques can yield truly spectacular results. Happy Baking!
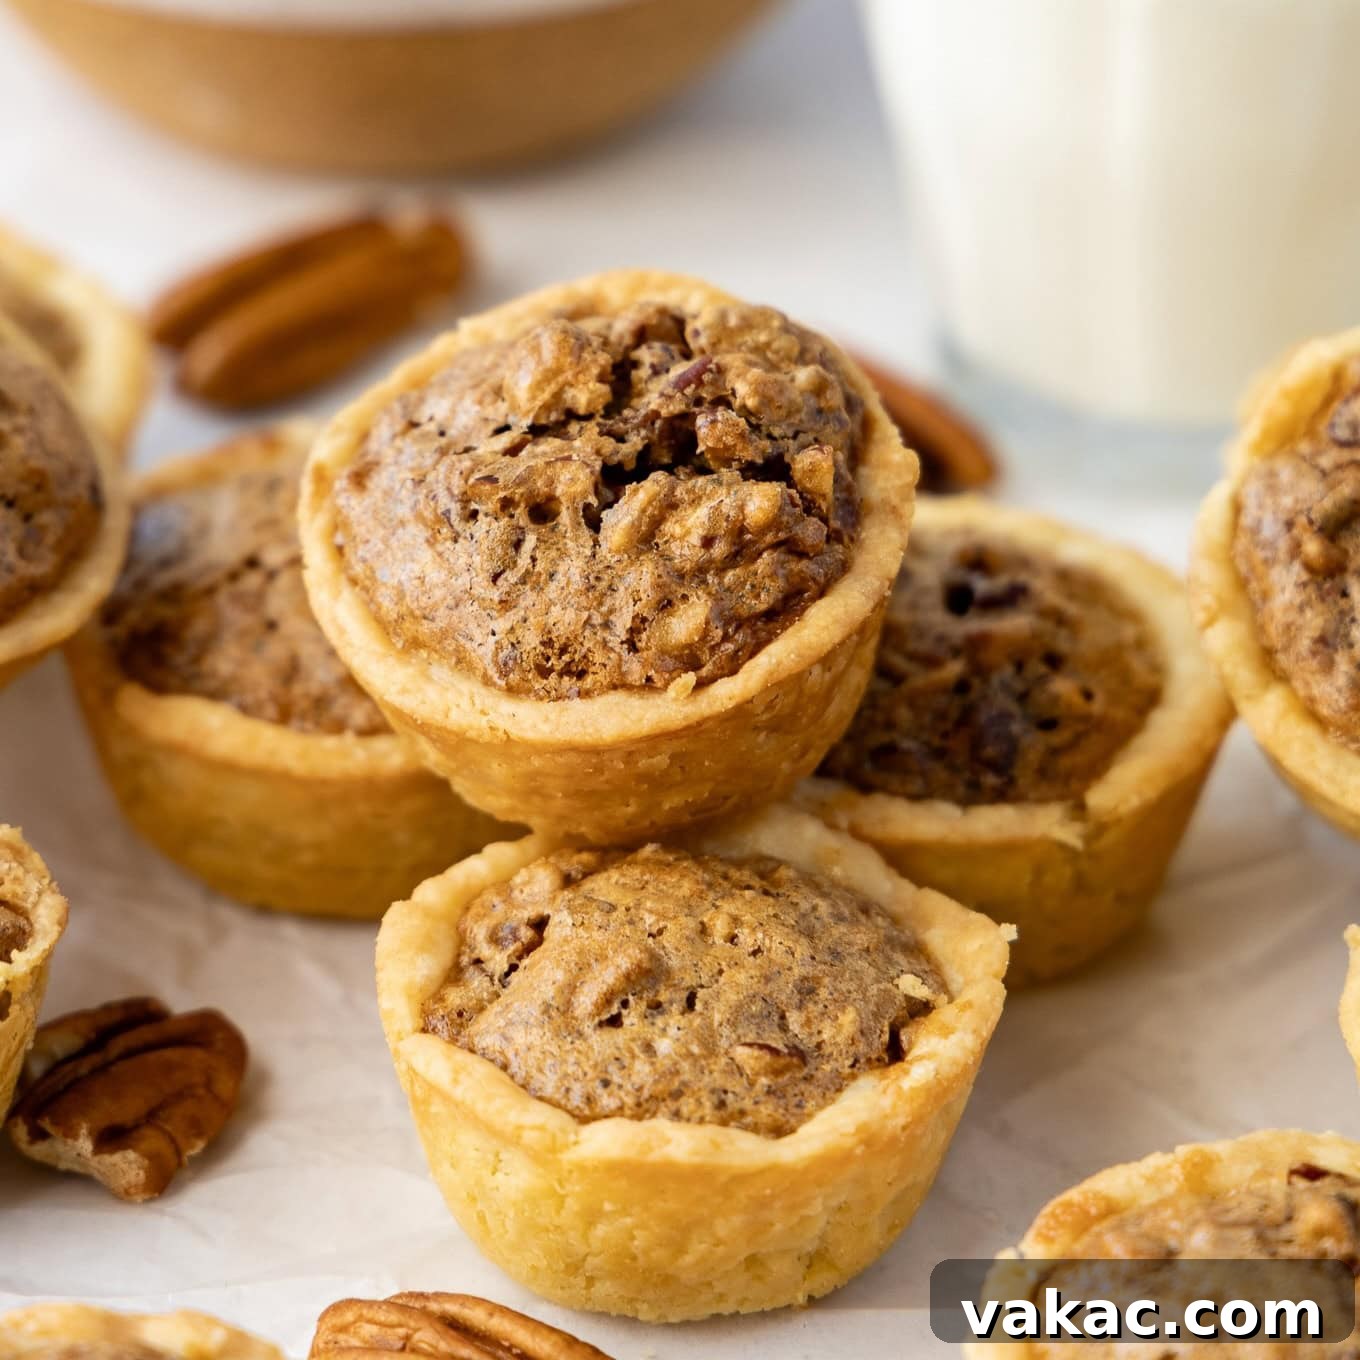
Pecan Tassie Recipe
Pin Recipe
Leave a Review
Ingredients
Crust
- ½ cup unsalted butter softened (113 grams; 1 stick)
- 3 ounces brick-style cream cheese softened (85 grams)
- 1 cup all-purpose flour measured correctly (125 grams)
- ⅛ teaspoon salt
Pecan Filling
- ¾ cup packed light or dark brown sugar (150 grams; I used light)
- 2 tablespoons unsalted butter melted (28 grams)
- 1 large egg at room temperature
- 1 teaspoon pure vanilla extract
- 1 cup finely chopped pecans (115 grams)
Instructions
-
Preheat your oven to 325°F (163°C). Prepare a 24-count mini muffin pan by spraying each cavity generously with nonstick cooking spray; set aside.
-
To make the crust: In the bowl of a stand mixer fitted with the paddle attachment, or in a large mixing bowl using a handheld mixer, beat the softened butter and cream cheese together. Mix for 30 seconds to 1 minute, or until the mixture is light and well combined, with no lumps. Gradually add the all-purpose flour and salt, mixing on low speed until the ingredients are just incorporated and a cohesive dough forms. Avoid overmixing.
-
Evenly distribute the prepared crust dough among all 24 cavities of your mini muffin pan. Aim for approximately 2 teaspoons (or 13 grams) of dough per cavity. Using your fingers or a tart tamper, gently press the dough firmly into the bottom and all the way up around the sides of each cavity, creating a neat cup.
-
Transfer the mini muffin pan with the pressed crusts to the refrigerator. This allows the crust to chill and firm up while you prepare the pecan filling, ensuring it maintains its shape during baking.
-
To make the pecan filling: In a medium mixing bowl, whisk together the brown sugar, melted butter, room temperature egg, and pure vanilla extract until just combined. Be careful not to overmix, as this can cause the filling to puff up and then sink. Gently fold in the finely chopped pecans until they are evenly distributed throughout the mixture.
-
Remove the chilled muffin pan from the fridge. Carefully spoon the pecan filling evenly into each of the 24 crusts. Each cavity should hold about 1 heaping teaspoon of the filling. Ensure the filling stays within the crust edges for a clean finish.
-
Bake the pecan tassies for 20 to 25 minutes. They are ready when the tops are lightly golden brown and the filling appears set with a slight wobble in the center.
-
Remove the pan from the oven and allow the tassies to cool slightly in the pan for about 5 minutes. This helps them firm up for easier removal. Use a butter knife or a thin offset spatula to gently loosen each tassie from its cavity. Transfer them to a wire rack to cool completely before serving.
Notes
Freezing Instructions: These pecan tassies will freeze well for up to 3 months. Thaw to room temperature before serving, or warm slightly in a low oven for a fresh-baked taste.