
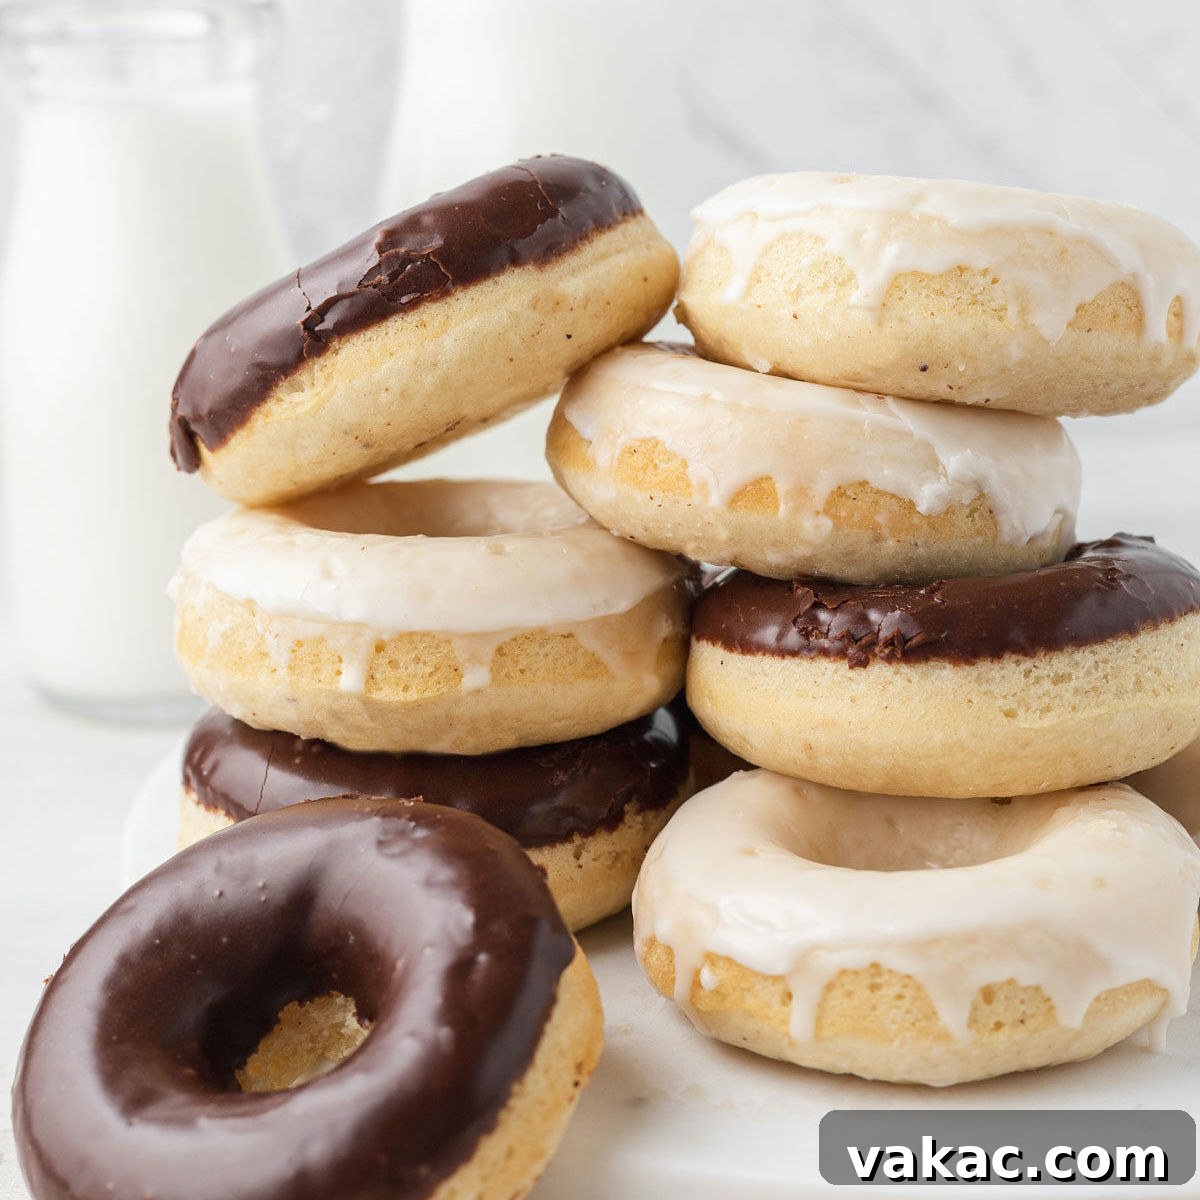
Welcome to the ultimate guide for crafting the most delectable homemade baked donuts right in your own kitchen! Forget about store-bought mixes or the hassle of deep-frying; this easy-to-follow recipe brings you bakery-quality results without any special ingredients or complicated techniques. Get ready to indulge in perfectly tender, moist, and flavorful cake donuts that will impress everyone. What’s even better? You get to choose between two classic, irresistible icings: creamy vanilla or rich chocolate. Whether you’re craving a sweet breakfast treat or an delightful dessert, these baked beauties are ready to satisfy your desires in just about an hour.
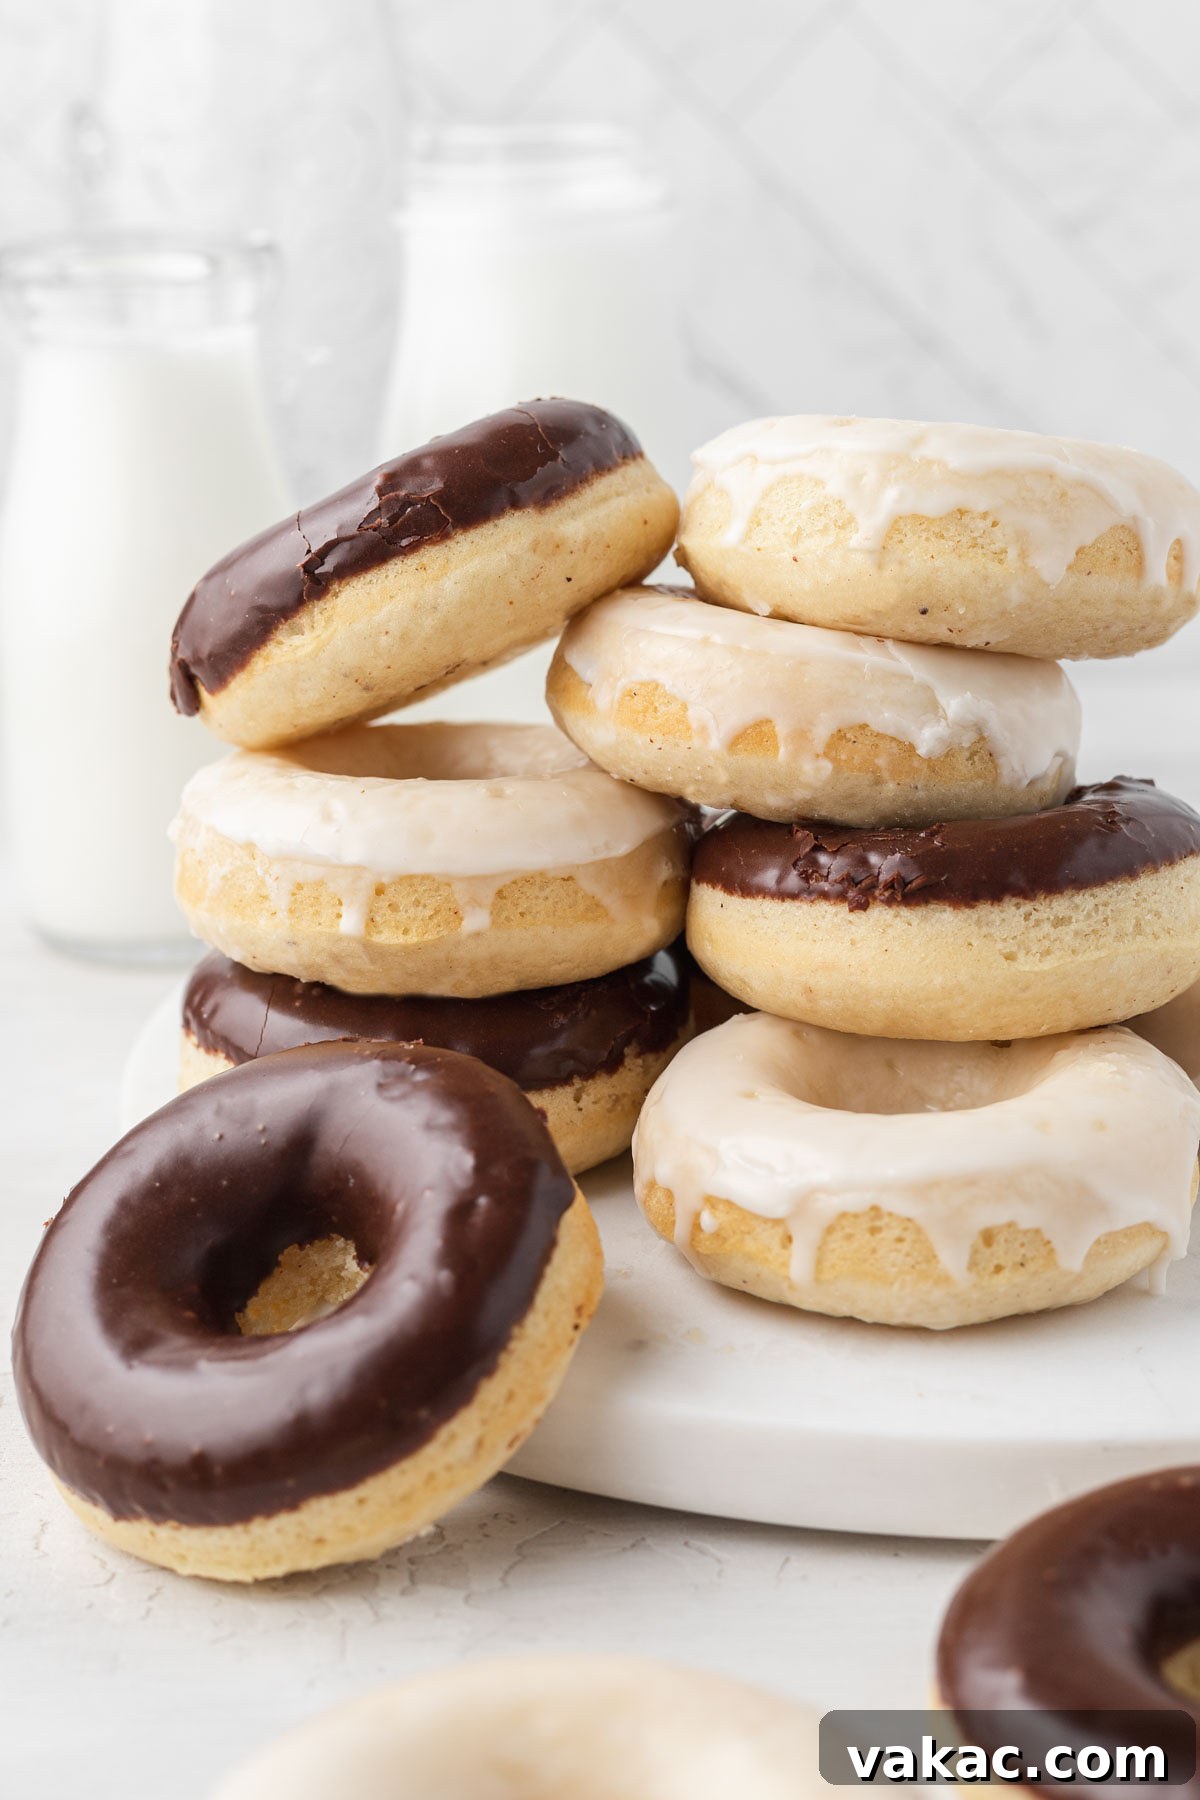
While many quick donut recipes rely on pre-packaged cake mixes for convenience, there’s an undeniable magic in creating something from scratch. These homemade baked cake donuts transcend the ordinary; they are truly superior in taste and texture. Don’t be fooled into thinking that “vanilla” means “boring.” Our recipe elevates the humble vanilla donut to an extraordinary level, bursting with a comforting warmth and sophisticated flavor that evokes memories of your favorite local bakery.
The secret lies in a few key ingredients that work harmoniously to deliver an unforgettable experience. Buttermilk is a star player, infusing the batter with an incredible tenderness and moisture that ensures every bite is soft and succulent. A thoughtful dash of ground nutmeg adds that distinctive, warm, and inviting aroma and taste, making these donuts taste profoundly authentic and far from bland. The combination transforms simple ingredients into an aromatic, flavorful treat that’s surprisingly easy to achieve.
Imagine freshly baked donuts, still warm from the oven, gracing your table in mere minutes. This recipe is designed for efficiency and enjoyment, making it ideal for a spontaneous weekend breakfast or a last-minute dessert craving. Beyond the basic vanilla flavor, we’ve included comprehensive instructions for preparing both a velvety vanilla icing and a decadent chocolate icing, allowing you to customize your batch to perfectly match your mood. Plus, discover several delightful recipe variations to keep your donut creations exciting and fresh every time.
Essential Ingredients for Homemade Baked Donuts
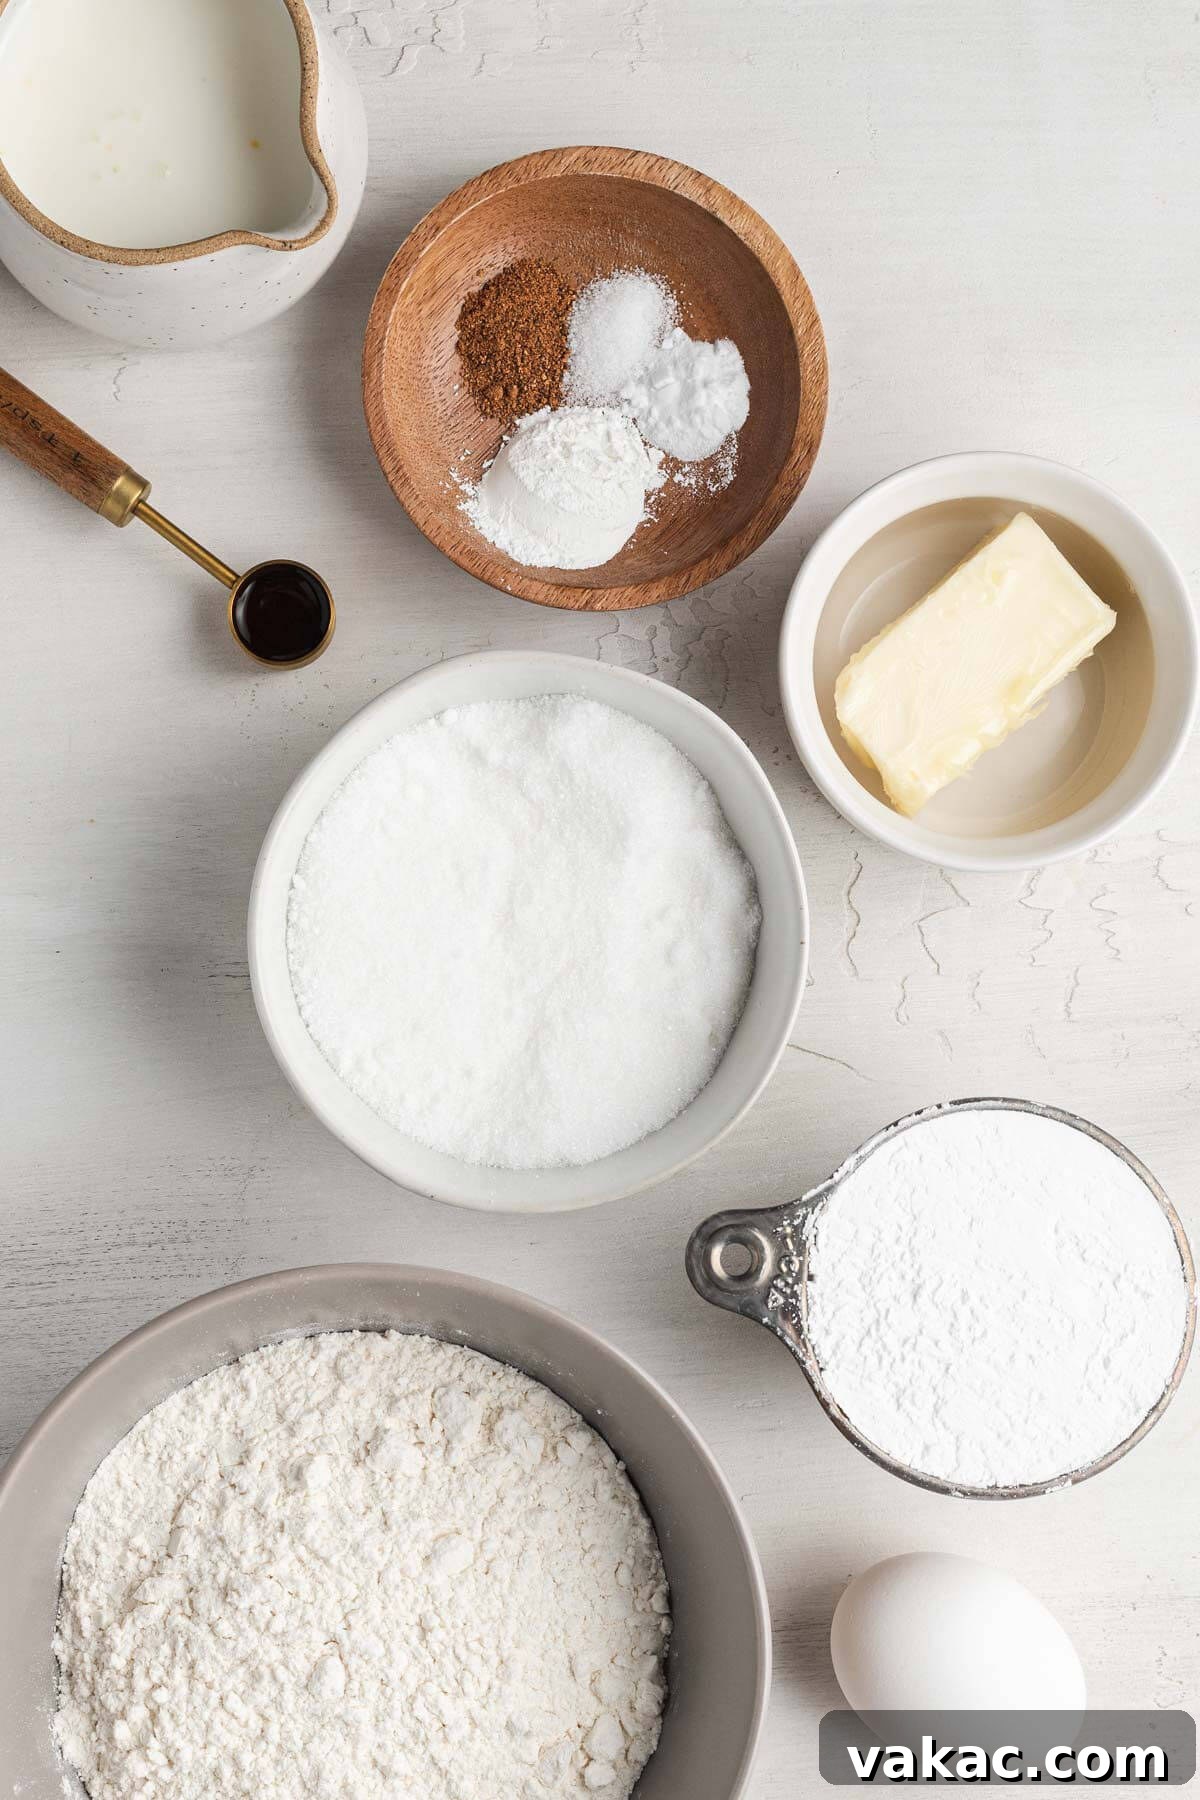
One of the many advantages of baking donuts instead of frying them is that we don’t need yeast, simplifying the process considerably. This means you can whip up a batch with common pantry staples. Here’s a closer look at the key components that contribute to the exceptional flavor and texture of these cake-like delights:
- All-Purpose Flour: The foundation of our baked donuts, providing the necessary structure. Ensure it’s spooned and leveled for accurate measurement.
- Granulated Sugar: Sweetens the donuts perfectly, balancing the rich flavors.
- Baking Powder & Baking Soda: These leavening agents work together with the buttermilk to create a light and airy texture, ensuring the donuts rise beautifully without yeast.
- Salt: A pinch of salt enhances all the other flavors, preventing the donuts from tasting flat.
- Ground Nutmeg: This isn’t just an optional spice; it’s what gives these donuts that classic, authentic bakery flavor. It adds a subtle warmth and aromatic complexity without making them taste overtly spiced. It’s truly a game-changer for achieving that nostalgic donut shop taste.
- Buttermilk: Absolutely crucial for tender, moist baked cake donuts. The acidity in buttermilk reacts with the baking soda to create a wonderfully soft crumb. If you don’t have buttermilk on hand, don’t worry! You can easily make your own substitute by adding a tablespoon of lemon juice or white vinegar to regular milk and letting it sit for five minutes until it curdles slightly.
- Unsalted Butter: Melted butter adds richness and depth of flavor to the donut batter. Make sure to melt it and let it cool slightly before incorporating it, as hot butter can affect the batter’s consistency.
- Large Egg: Binds the ingredients together, adds moisture, and contributes to the overall structure and richness of the donuts.
- Pure Vanilla Extract: For the best, most robust vanilla flavor, always opt for pure vanilla extract. It enhances the sweetness and aroma of the donuts, making them truly irresistible.
Step-by-Step Guide: How to Make Perfect Baked Donuts
Making these easy baked donuts is a straightforward process that anyone can master. You’ll need two 6-count donut pans to bake a dozen delicious treats. Follow these simple steps for perfect results every time:
- Prepare Your Donut Pans: Begin by preheating your oven to 350°F (180°C). Then, generously spray two 6-count donut pans with non-stick cooking spray. This crucial step ensures that your beautifully baked donuts will release cleanly from the pan without sticking, maintaining their perfect shape. Set them aside while you prepare the batter.
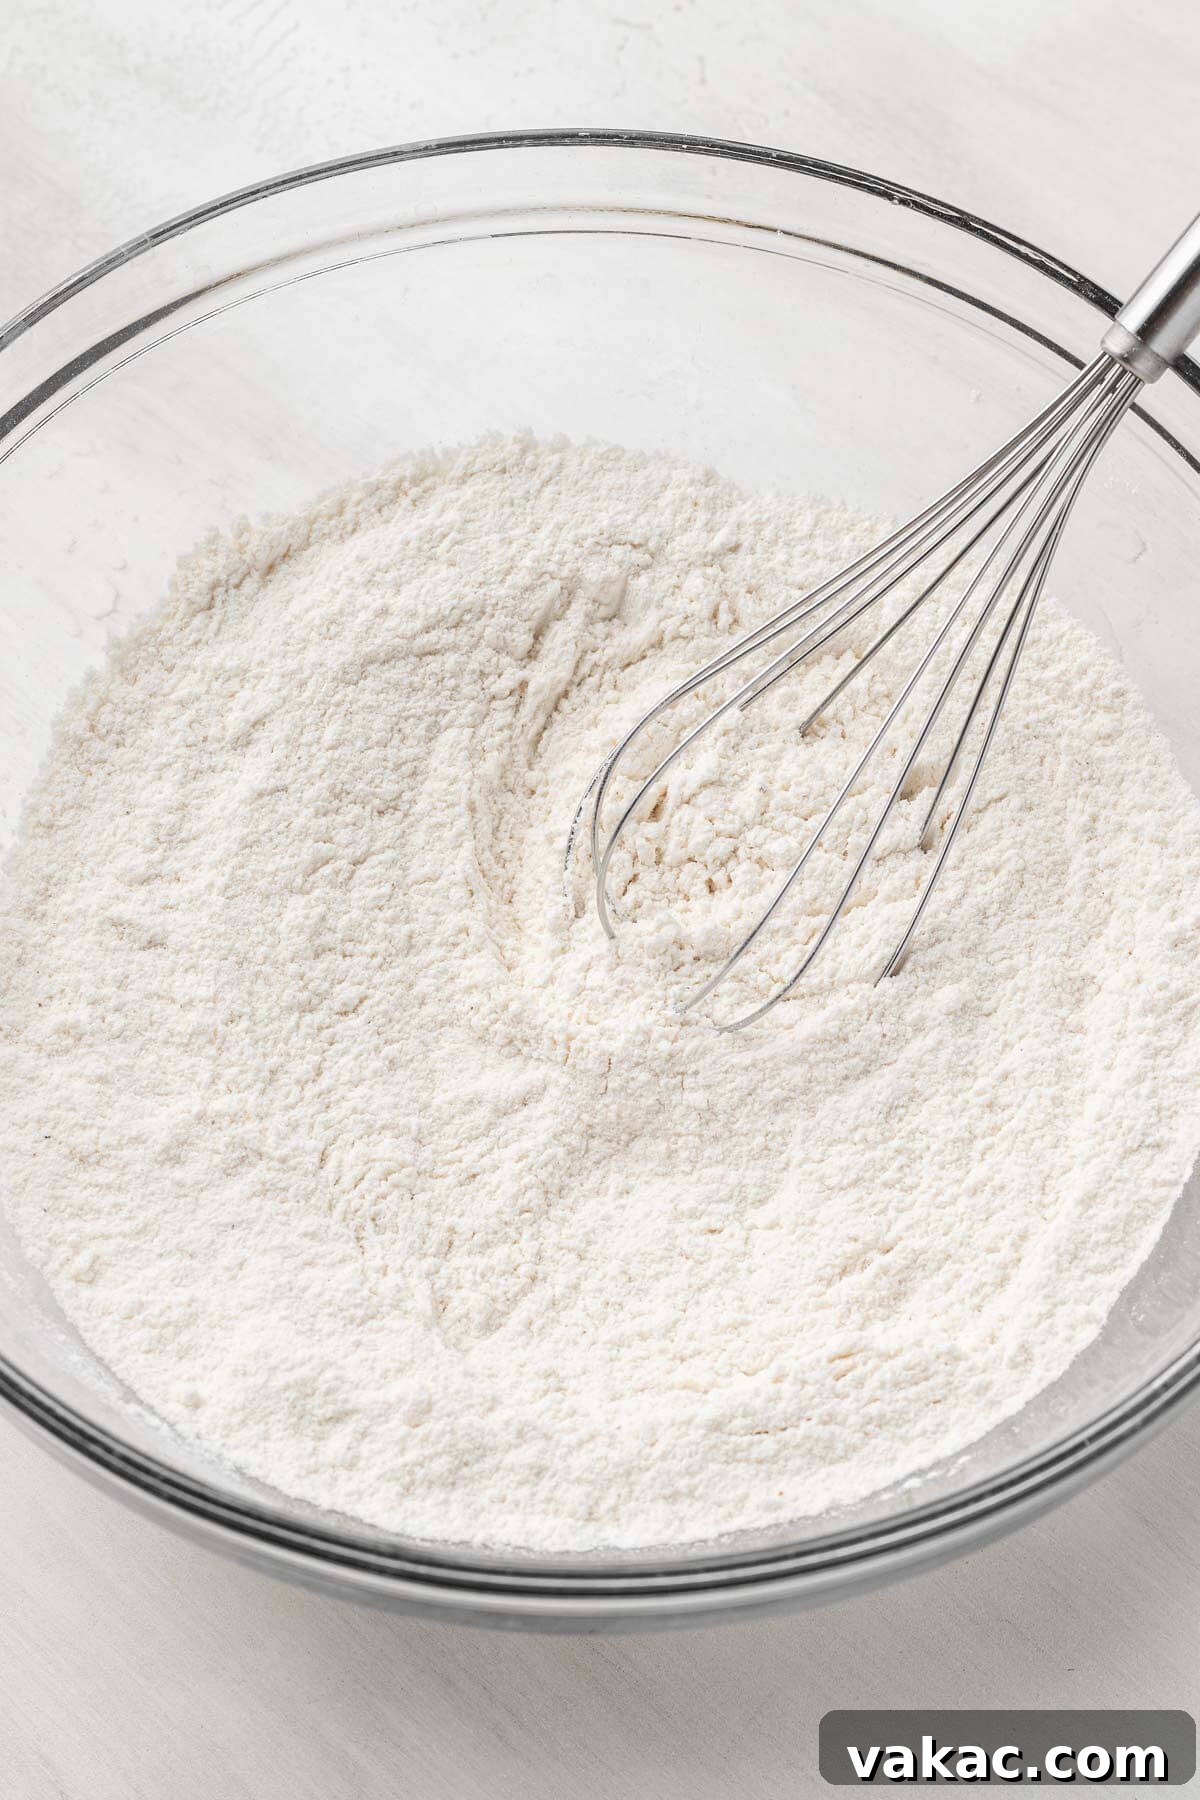
- Combine Dry Ingredients: In a large mixing bowl, thoroughly whisk together all the dry ingredients: all-purpose flour, granulated sugar, baking powder, baking soda, salt, and ground nutmeg. Whisking ensures that the leavening agents and spices are evenly distributed throughout the flour, which is essential for uniform rising and consistent flavor in every donut.
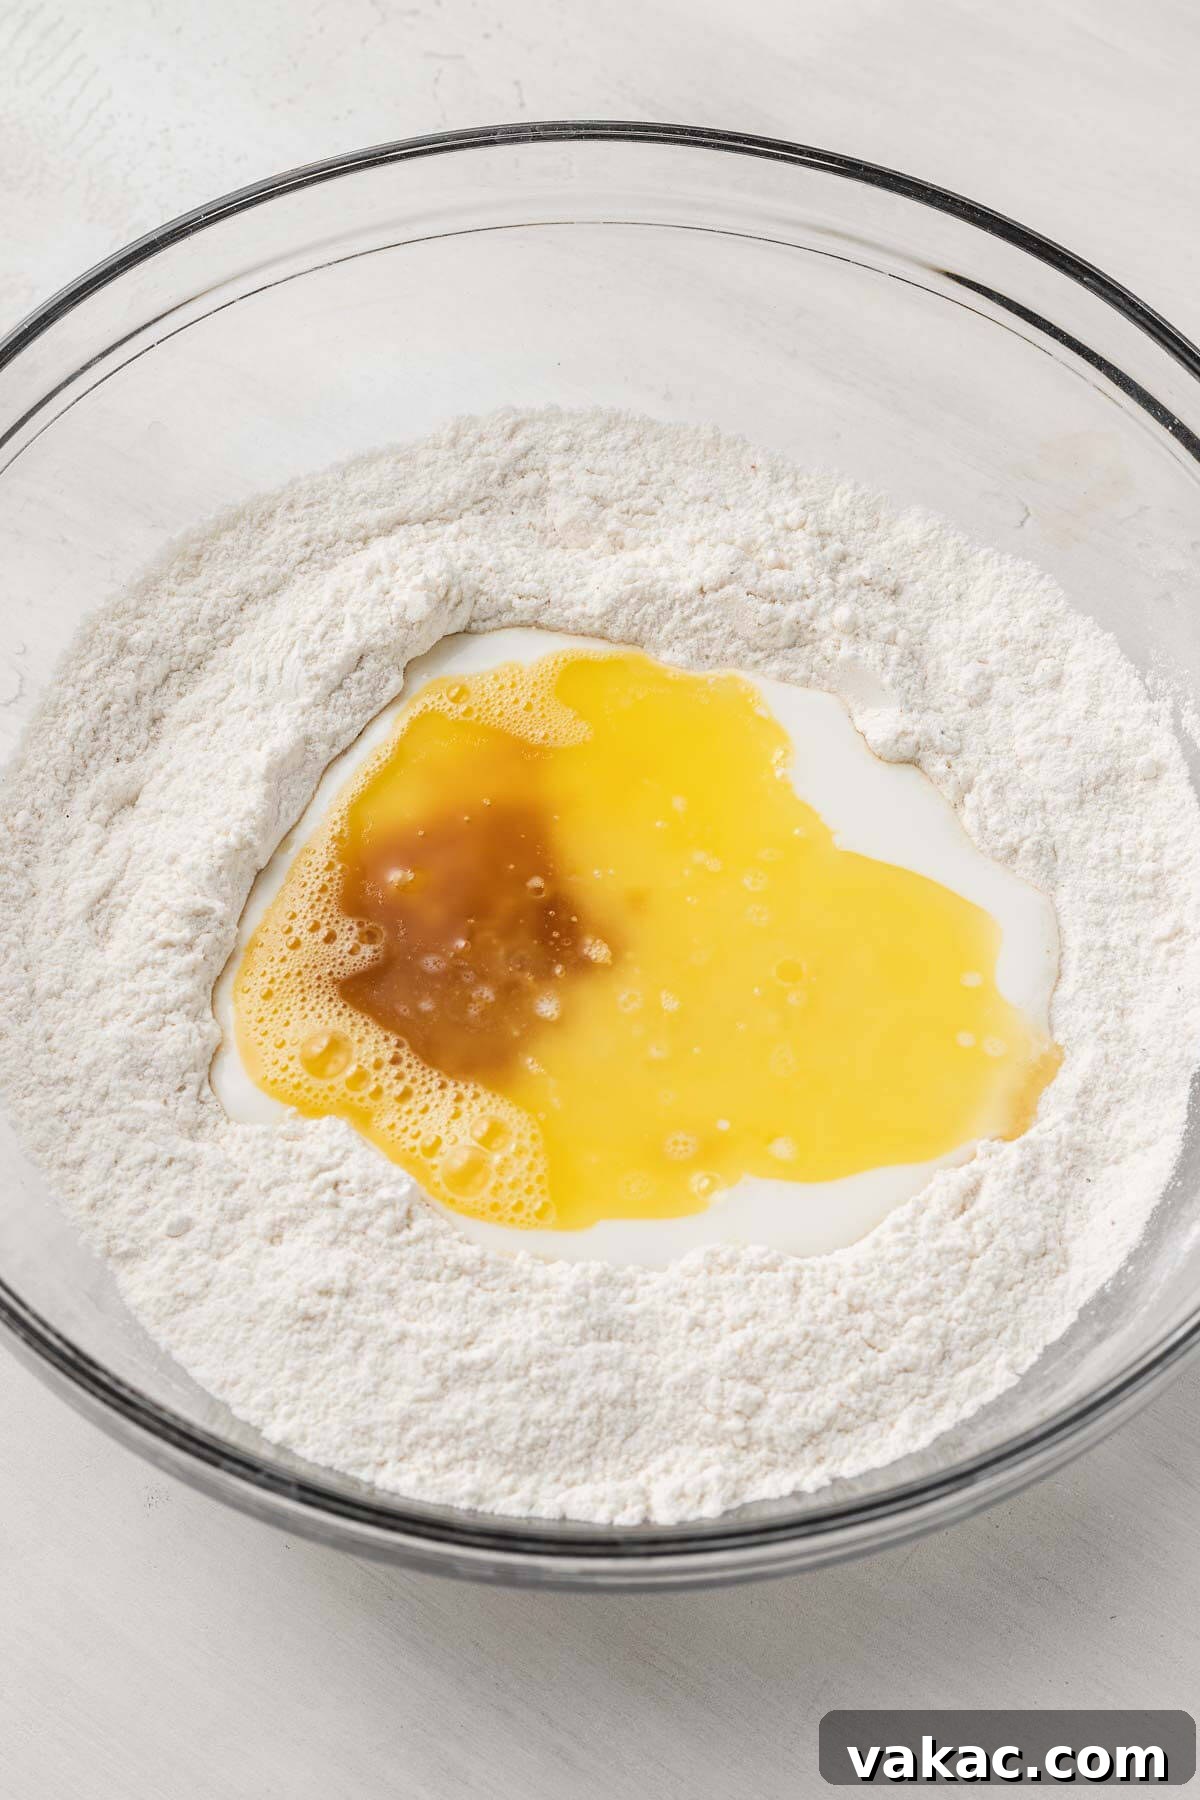
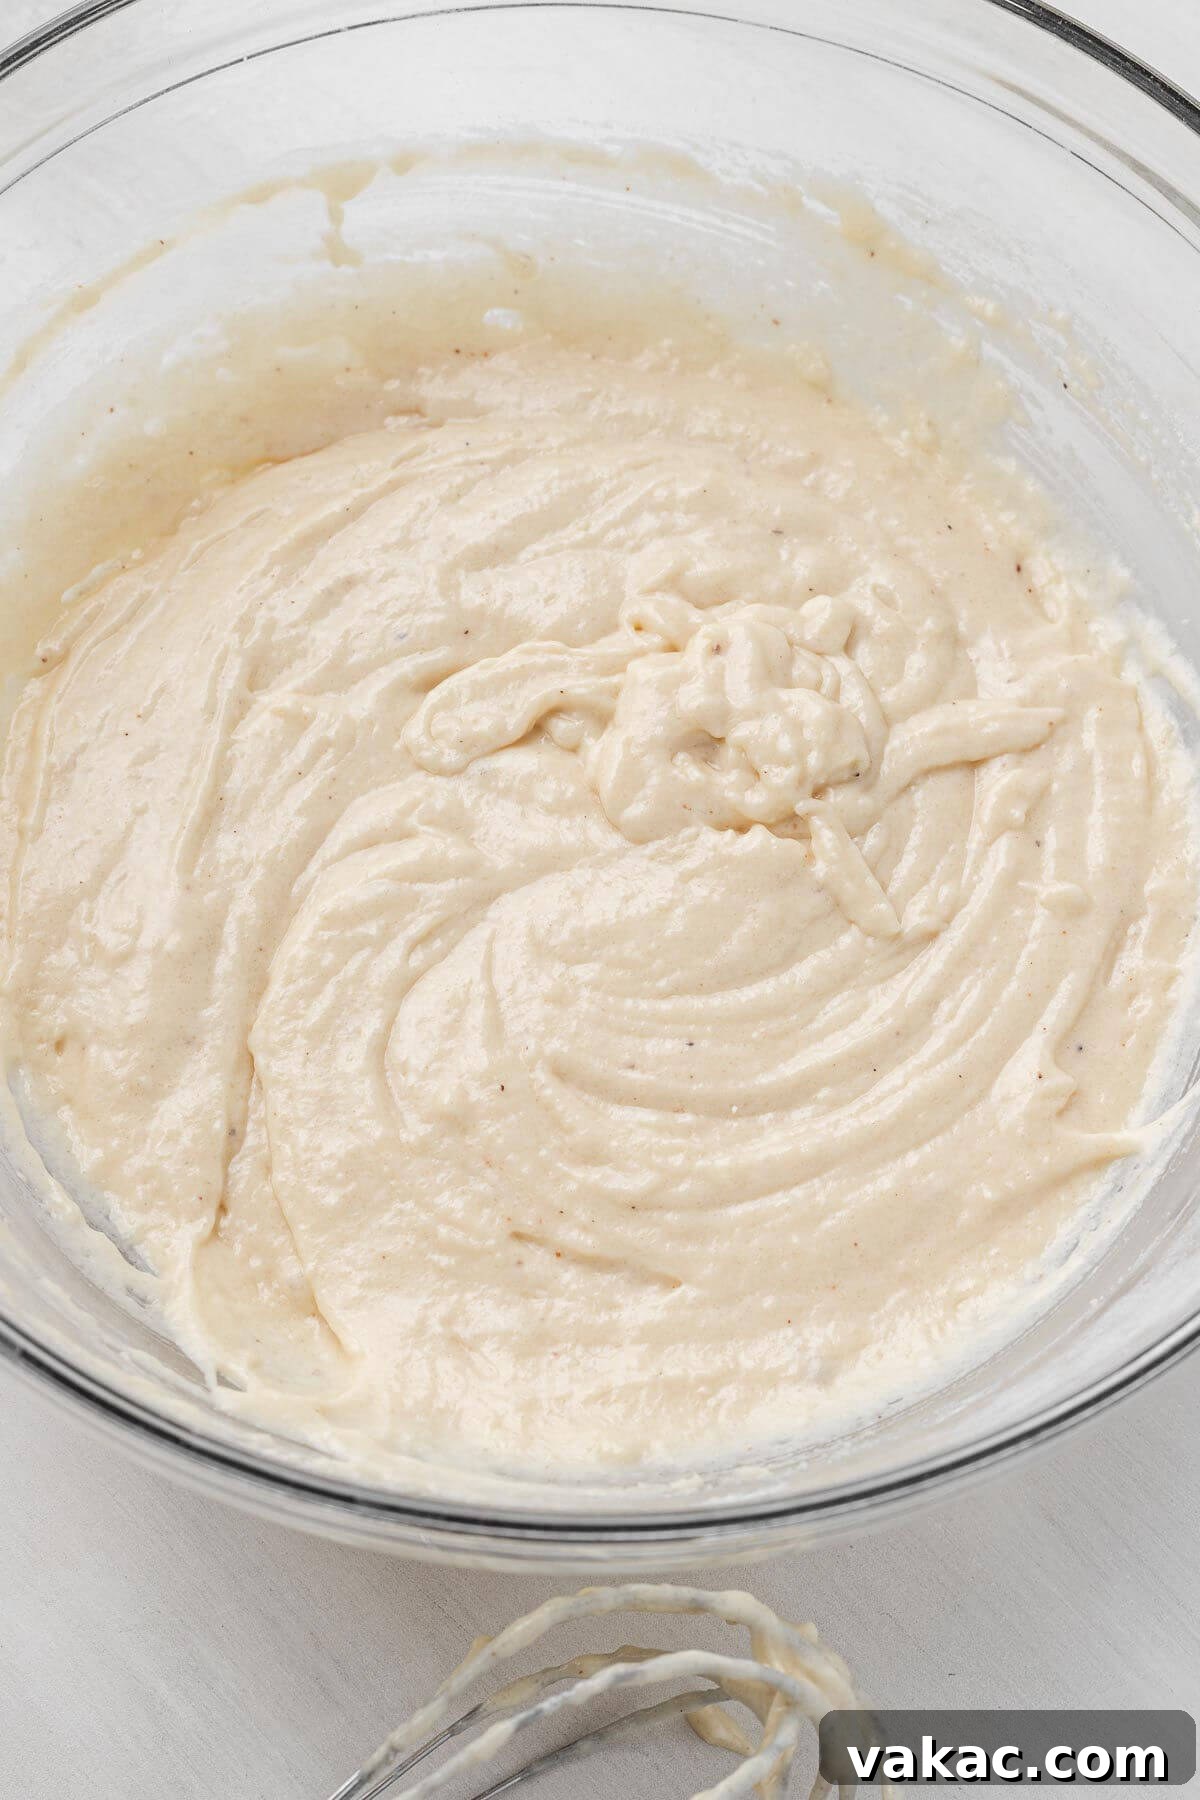
- Incorporate Wet Ingredients: Create a shallow well in the center of your dry ingredients. Pour in the buttermilk, the lightly beaten large egg, the melted and slightly cooled unsalted butter, and the pure vanilla extract. Gently whisk the wet ingredients into the dry ingredients until they are just combined. It’s absolutely vital not to overmix the batter! Overmixing develops the gluten in the flour too much, leading to dense, tough, or even gummy donuts. A few small lumps are perfectly normal and preferred; they indicate a tender final product.
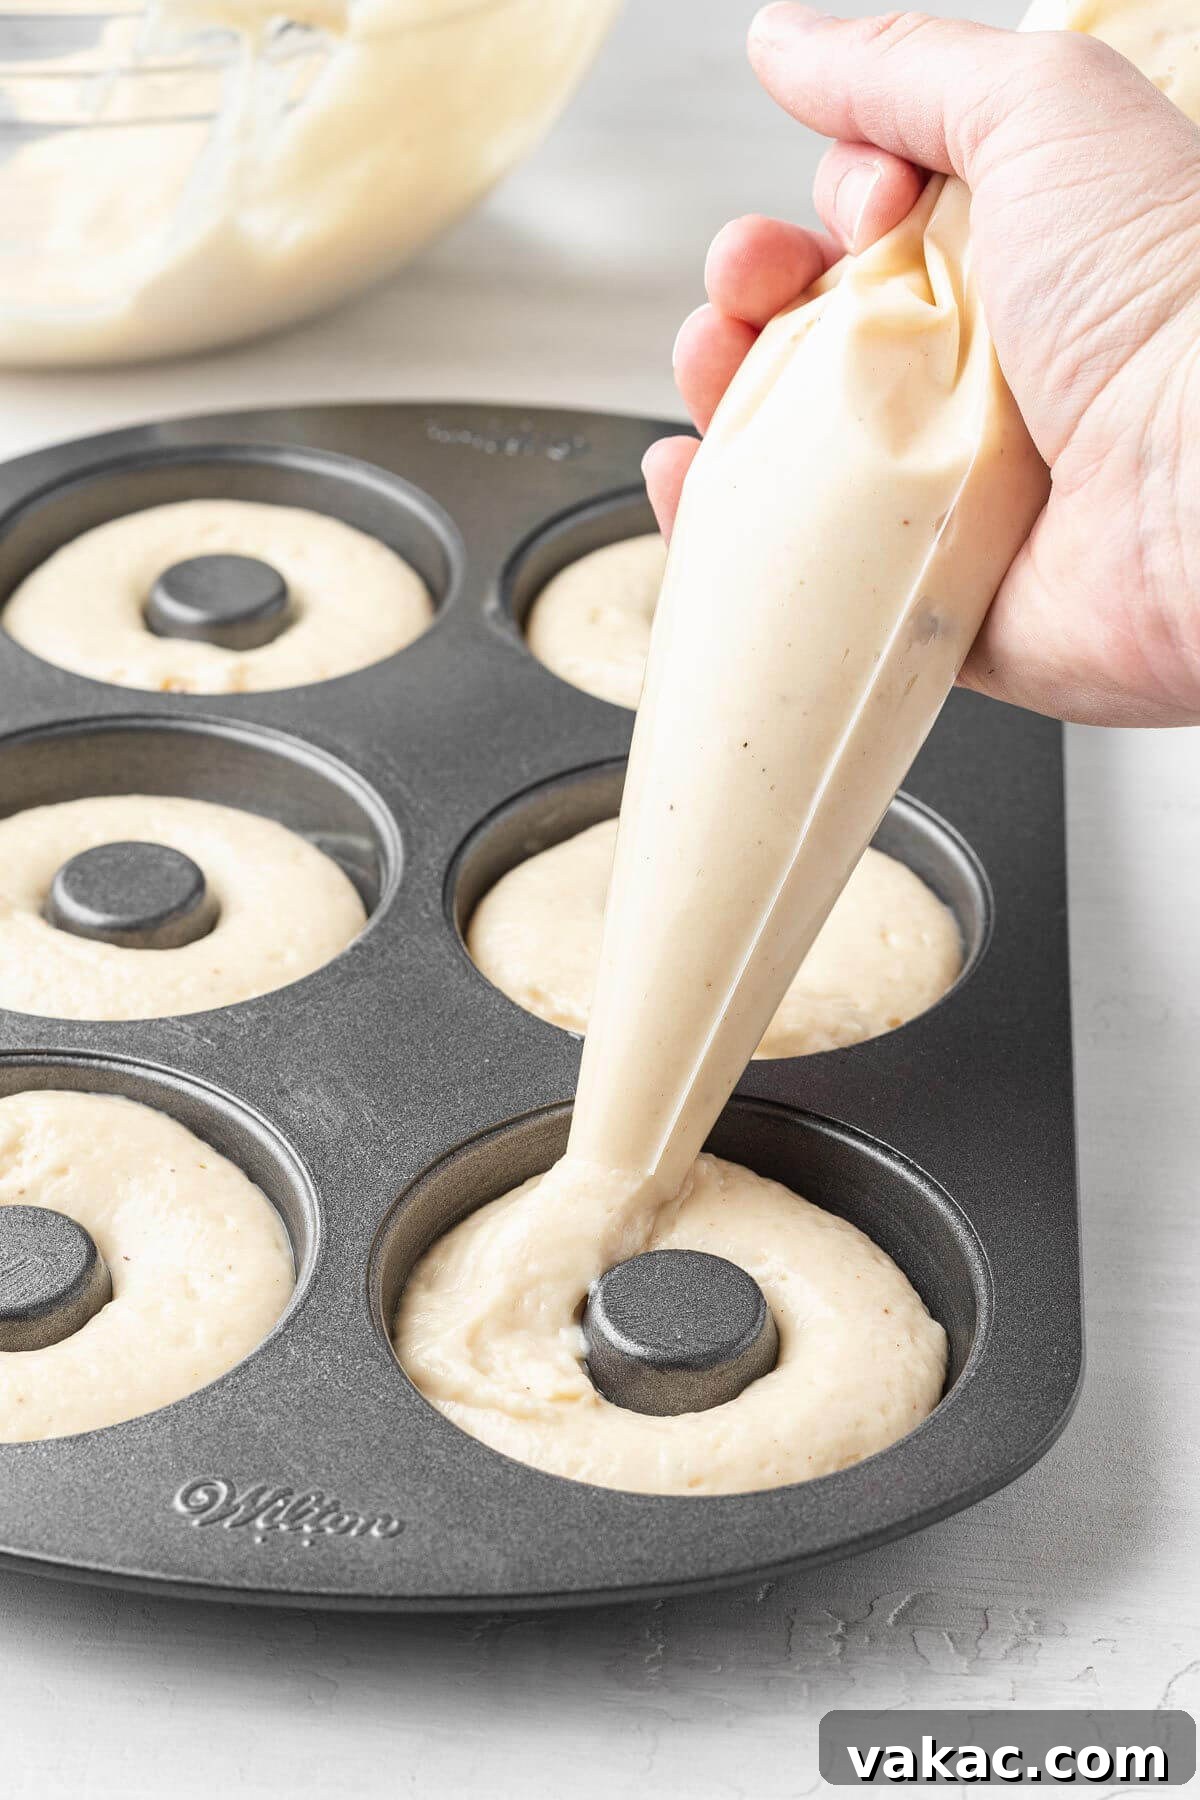
- Fill the Donut Pans: The easiest way to get the batter neatly into the donut cavities is by using a piping bag. If you don’t have one, a sturdy zip-top bag with one corner snipped off works just as well. Alternatively, you can carefully spoon the batter into each cavity. Fill each donut cavity approximately two-thirds of the way full. While it might not seem like much batter, remember that these donuts will rise considerably during baking, and overfilling can lead to misshapen or overflowing donuts.
- Bake to Golden Perfection: Place the filled donut pans into your preheated oven and bake for 9 to 12 minutes. The exact baking time may vary slightly depending on your oven. You’ll know the donuts are perfectly done when a toothpick inserted into the center of a donut comes out clean, with no wet batter clinging to it. The edges should be lightly golden.
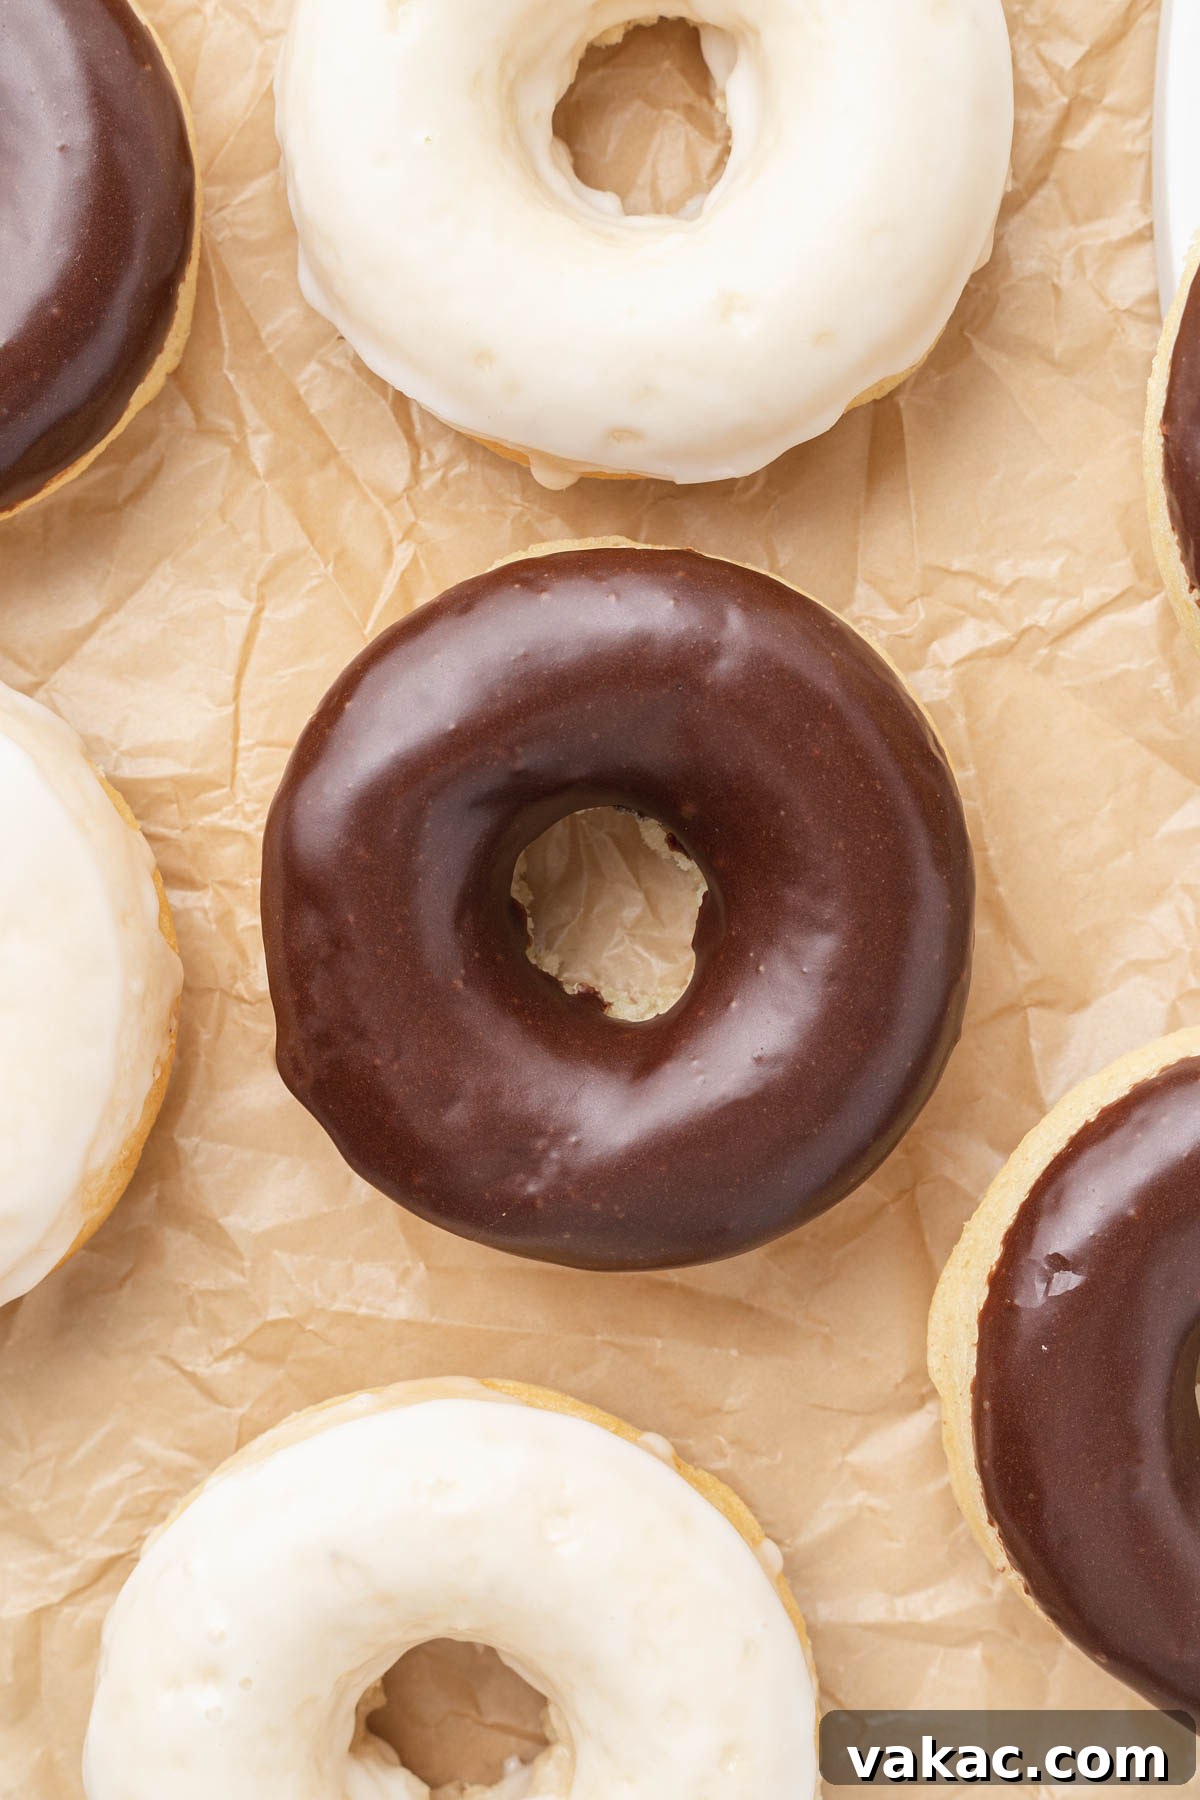
- Cool and Ice: Once baked, remove the pans from the oven and let the donuts cool in the pans for about 5 minutes. This allows them to firm up slightly before you attempt to remove them. Then, carefully transfer the warm donuts to a wire rack to cool completely. Cooling is essential before icing; applying icing to hot donuts will only result in a melted, runny mess. Once cooled, it’s time for the fun part: icing! We’ve provided detailed instructions for both our luscious vanilla and rich chocolate icings. You can choose one, or use both for a delightful variety!
Frequently Asked Questions About Baked Donuts
Here are answers to some common questions you might have about making and storing these delightful baked donuts:
Can I Use a Muffin Pan if I Don’t Have a Donut Pan?
Absolutely! If you don’t own a donut pan, a standard 12-cup muffin pan makes a great substitute. Simply divide the donut batter evenly among the 12 muffin cups. Keep in mind that muffins are typically larger than baked donuts, so you’ll likely need to adjust the baking time. Bake them until a toothpick inserted into the center of a muffin comes out clean, which usually means adding an extra 5 to 10 minutes to the original baking time for donuts. The shape will be different, but the delicious taste will be the same!
Can This Recipe Be Made in Advance?
Yes, these baked donuts are wonderfully versatile and can be prepared ahead of time. You can bake and ice the donuts up to 24 hours in advance. To keep them at their freshest, store them in an airtight container at room temperature. This will help maintain their moisture and prevent the icing from drying out, ensuring they’re still delicious when you’re ready to serve them.
Can the Donuts Be Frozen?
For longer storage, yes, these donuts can be frozen! However, it’s best to freeze them *without* the icing. Once the donuts have cooled completely after baking, place them in a single layer on a baking sheet and freeze until solid. Then, transfer them to an airtight freezer-safe bag or container, where they can be stored for up to three months. When you’re ready to enjoy them, simply take them out of the freezer and let them thaw on your counter at room temperature before applying your desired icing.
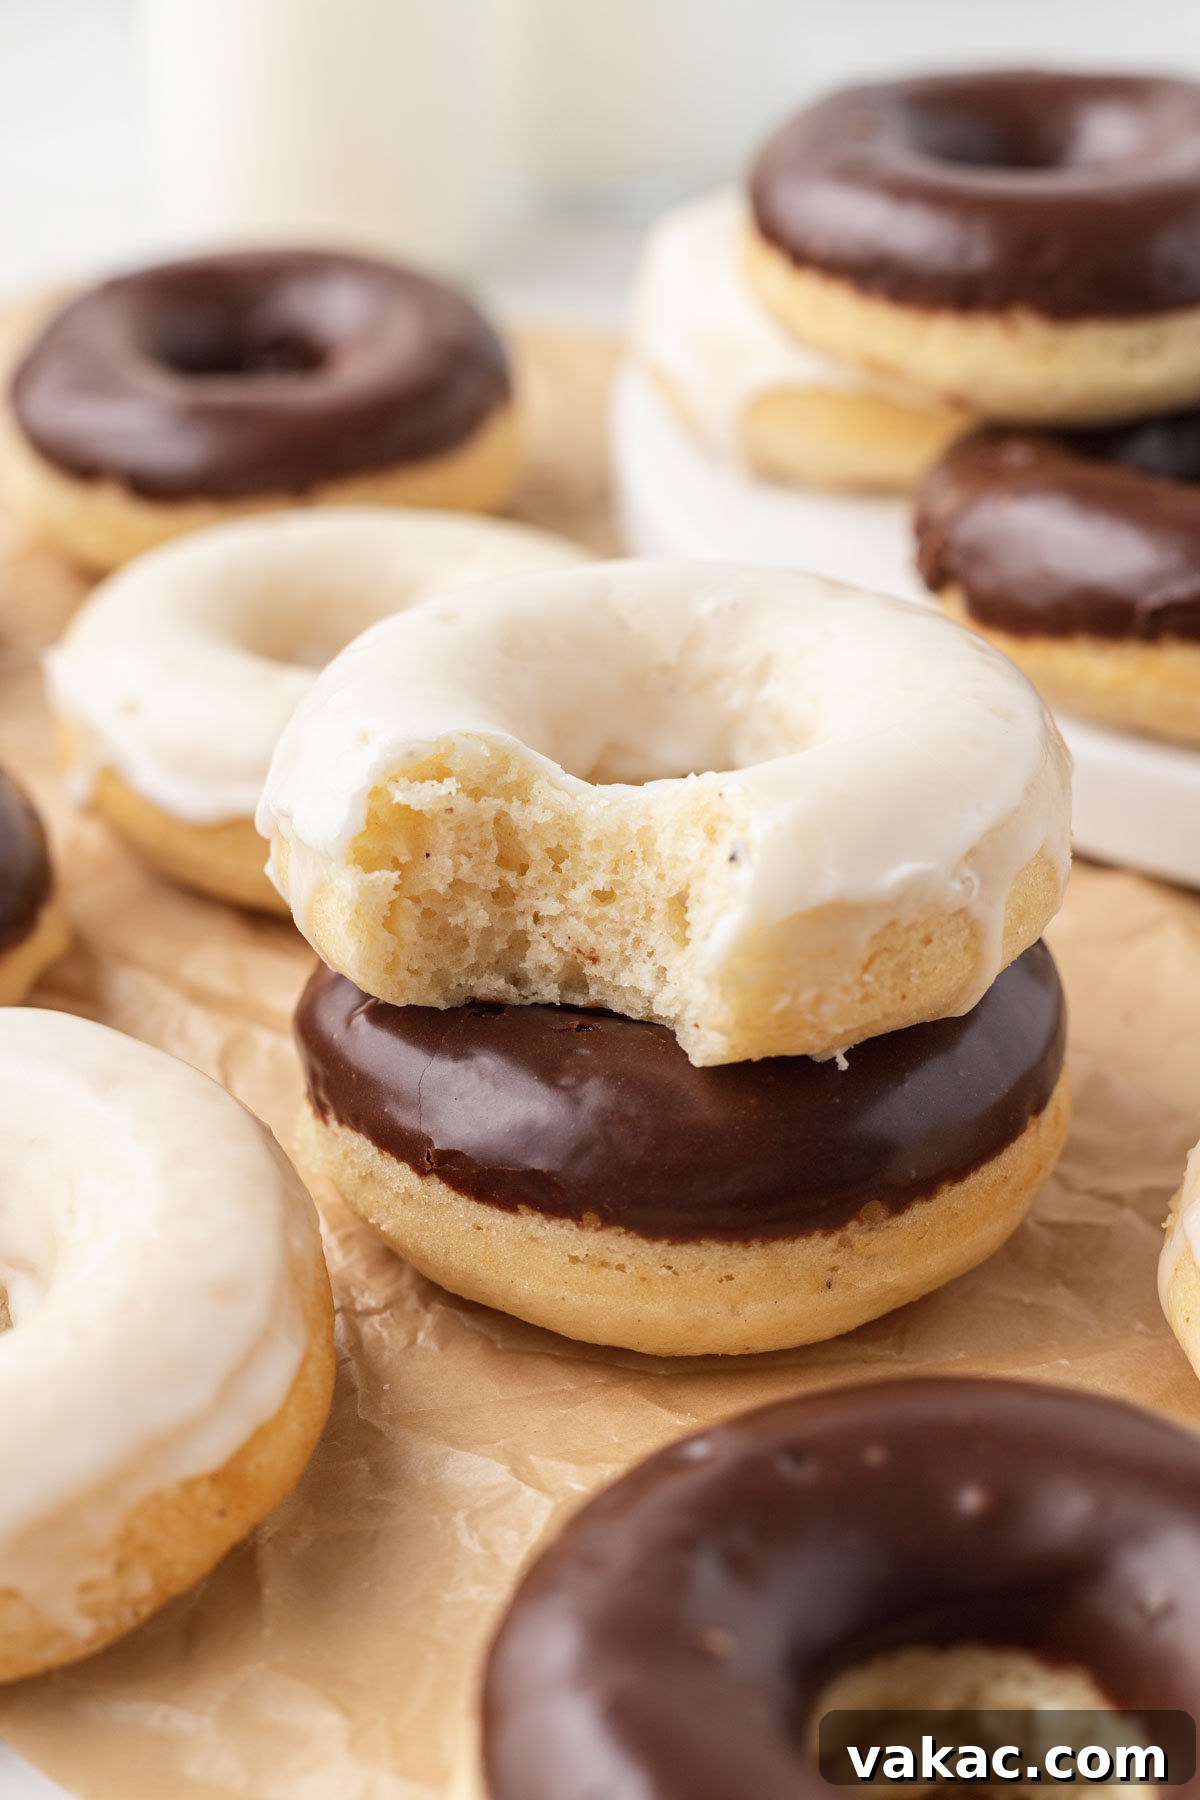
Exciting Recipe Variations for Your Baked Donuts
While the vanilla and chocolate icings are undoubtedly delicious, don’t stop there! These baked donuts are a fantastic canvas for creativity. Here are several exciting ways to customize your batch and explore new flavors:
- Classic Cinnamon Sugar: For a timeless treat, melt about ¼ cup of unsalted butter. In a separate shallow bowl, combine ½ cup of granulated sugar with 2 teaspoons of ground cinnamon. Dip each warm donut into the melted butter, allowing any excess to drip off, then immediately roll it generously in the cinnamon sugar mixture until fully coated. The warmth of the donut helps the sugar adhere perfectly.
- Elegant Powdered Sugar: A simple yet sophisticated option. Dip each donut into melted butter, then dredge it thoroughly in powdered sugar. The butter helps the fine sugar cling beautifully, giving it a delicate, sweet coating.
- Tropical Coconut Delight: Enhance your iced donuts by sprinkling them with shredded coconut. For an extra layer of flavor and texture, consider toasting the coconut lightly in a dry pan before sprinkling. You can also fold ¼ to ⅓ cup of sweetened shredded coconut directly into the donut batter before baking for an even more pronounced coconut flavor throughout the donut.
- Festive Sprinkles or Crunchy Nuts: Add a pop of color and fun with sprinkles, or a delightful crunch with chopped nuts. The trick is to apply them right after you dip the donuts in icing, while the icing is still wet and sticky, ensuring they adhere well. Chopped pecans, walnuts, or even pistachios would be fantastic.
- Spice Lover’s Dream: If you adore a more pronounced spice flavor, feel free to increase the amount of ground nutmeg in the batter from ¼ teaspoon to ½ teaspoon. This will give your donuts an even warmer, more intense bakery-style spice profile. You could also experiment with a tiny pinch of ground cloves or allspice for added complexity.
- Lemon Zest Brightness: For a lighter, zestier donut, add 1-2 teaspoons of fresh lemon zest to the donut batter. You can also incorporate lemon zest into the vanilla icing, or even replace the milk in the vanilla icing with fresh lemon juice for a tangy lemon glaze.
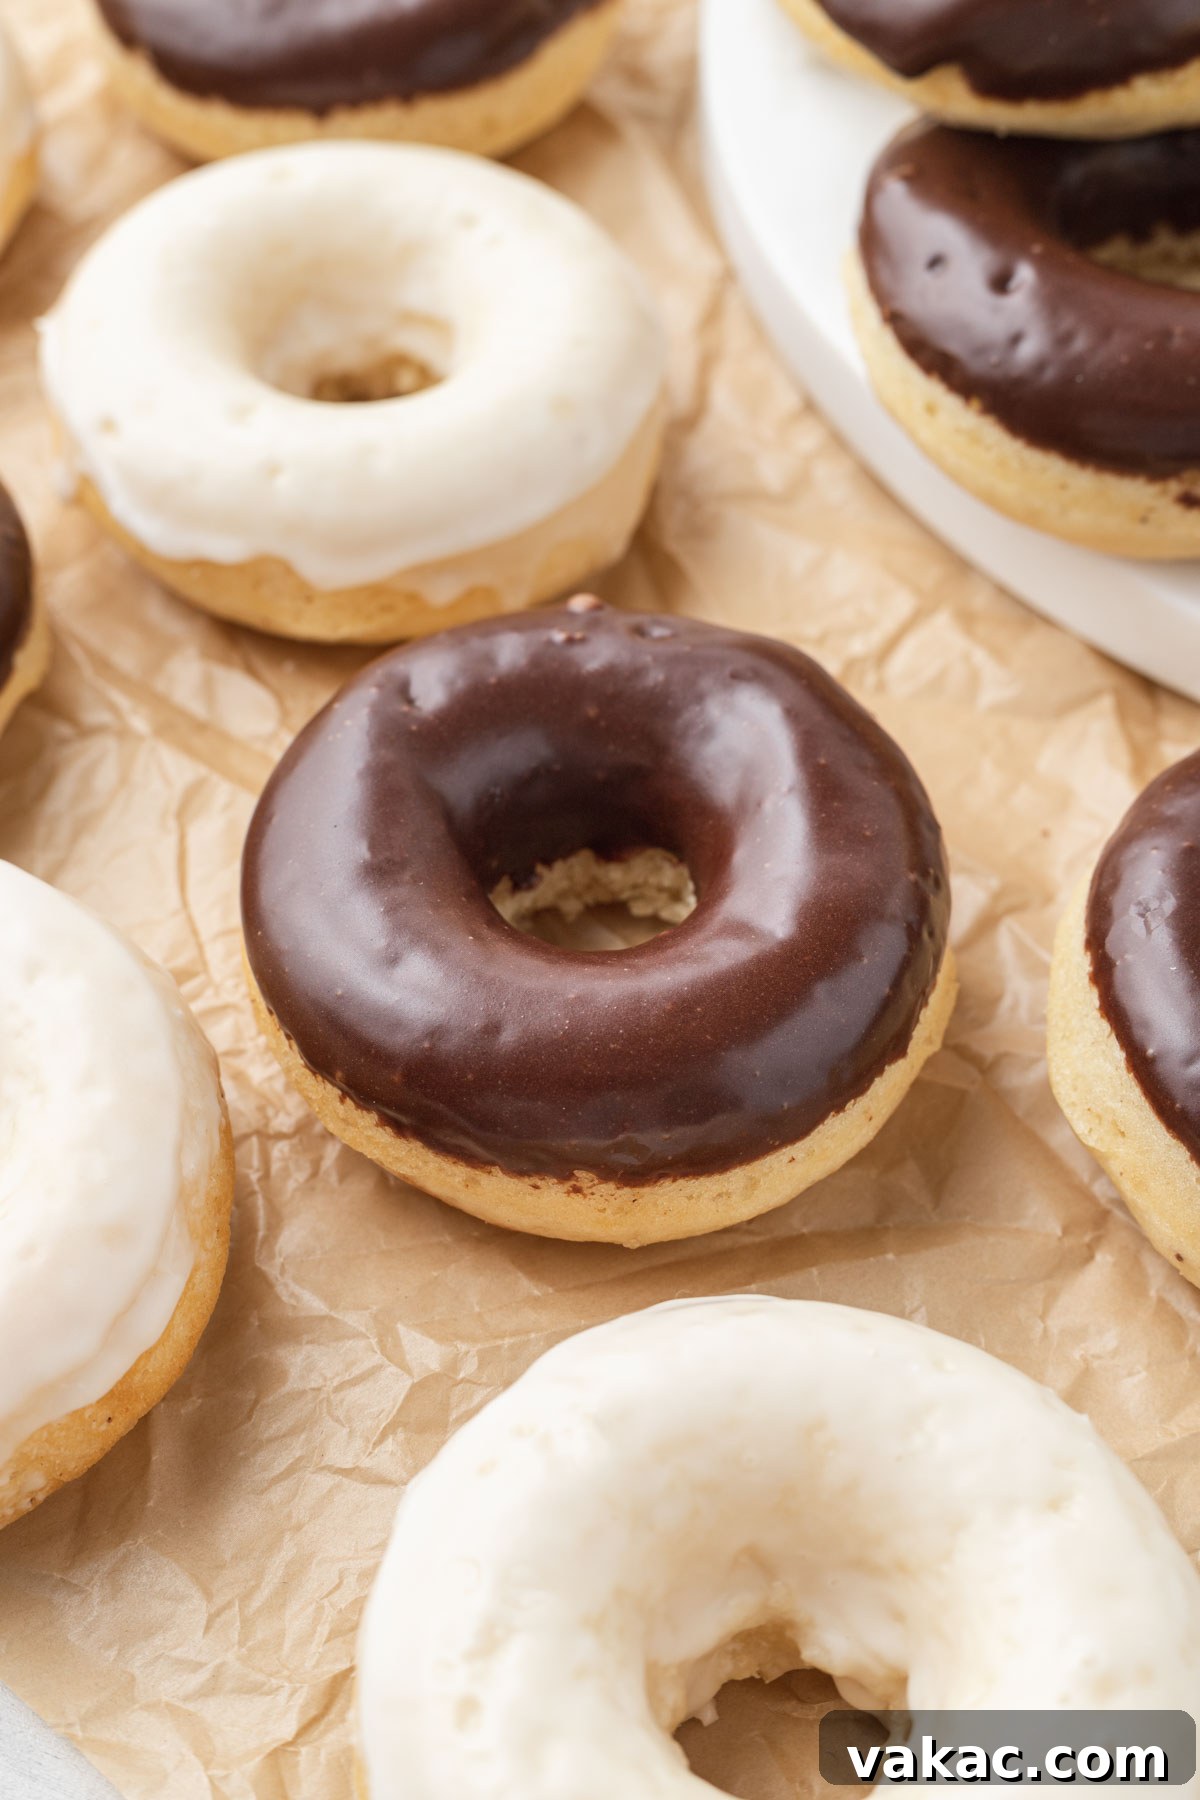
Expert Baking Tips for Success
- Icing Proportions: Each of our icing recipes (vanilla and chocolate) is perfectly portioned to generously cover six baked donuts. If you decide to only use one type of icing for your entire batch of 12 donuts, simply double that particular icing recipe to ensure you have enough to go around.
- Batter Distribution Without a Piping Bag: While a piping bag (or a zip-top bag with a corner snipped) offers the neatest way to fill your donut pans, it’s not strictly necessary. If you don’t have one, a spoon or a small scoop works just fine. Simply spoon the batter into each donut cavity, being careful not to overfill.
- Crucial Greasing: Never underestimate the importance of properly greasing your donut pans. Use a good quality non-stick cooking spray and ensure every nook and cranny of the cavities is coated. This simple step is vital to prevent your delicious donuts from sticking, ensuring they come out perfectly intact and easy to remove.
- Don’t Overmix: We can’t stress this enough! Overmixing the batter will lead to tough, rubbery donuts. Mix only until the wet and dry ingredients are just combined. A few lumps are perfectly acceptable.
- Cooling is Key: Always allow your donuts to cool completely on a wire rack before applying any icing. Icing applied to warm donuts will melt and slide right off, resulting in a messy, uneven coating. Patience here pays off!
More Delicious Baked Donut Recipes to Explore!
If you’ve fallen in love with these easy baked donuts, you’ll be thrilled to discover a whole world of baked donut possibilities. Here are a few more recipes to inspire your next baking adventure:
- Baked Pumpkin Donuts
- Baked Apple Cider Donuts
- Baked Lemon Blueberry Donuts
- Baked Chocolate Donuts
- Baked Cinnamon Sugar Donut Holes
Baked Donut Recipe
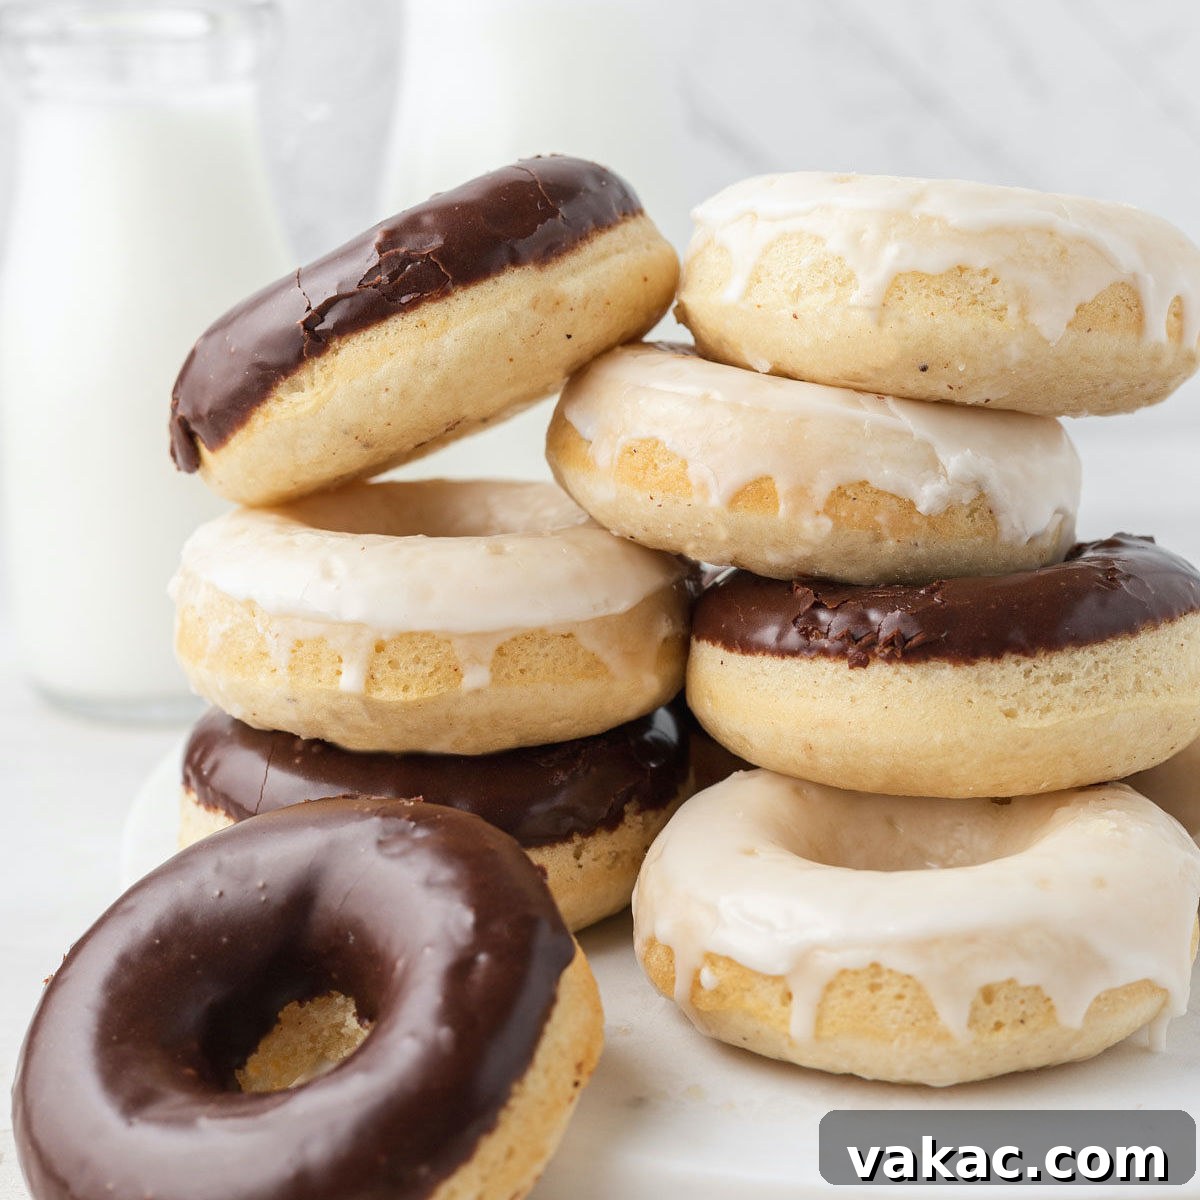
Baked Donut Recipe
Cook Time: 12 mins
Cooling Time: 20 mins
Total Time: 1 hr 12 mins
This homemade baked donut recipe is easy to make and requires no yeast or other special ingredients. This recipe also includes both vanilla and chocolate icing options so you can make whichever you’re craving!
Pin Recipe
Leave a Review
Ingredients
Baked Donuts
- 1 ¾ cups all-purpose flour (spooned & leveled, 220 grams)
- ⅔ cup granulated sugar (135 grams)
- 1 teaspoon baking powder
- ¼ teaspoon baking soda
- ¼ teaspoon salt
- ¼ teaspoon ground nutmeg
- ¾ cup buttermilk (180 ml)
- 1 large egg, lightly beaten
- ¼ cup unsalted butter, melted and slightly cooled (60 grams)
- 1 teaspoon pure vanilla extract
Vanilla Icing
- 1 cup powdered sugar (120 grams)
- 1.5 to 2 tablespoons whole milk (22 to 30 ml)
- ¼ teaspoon pure vanilla extract
Chocolate Icing
- 1 cup powdered sugar (120 grams)
- 3 tablespoons unsweetened cocoa powder, sifted (16 grams)
- 2 to 3 tablespoons whole milk (30 to 45 ml)
- ¼ teaspoon pure vanilla extract
Instructions
- To make the baked donuts: Preheat the oven to 350°F (180°C). Spray two 6-count donut pans with nonstick cooking spray and set aside.
- In a large mixing bowl, whisk together the flour, sugar, baking powder, baking soda, salt, and ground nutmeg until well combined.
- Make a well in the center of the dry ingredients, then add the buttermilk, beaten egg, melted butter, and vanilla extract. Whisk until just combined, the batter will be thick.
- Scoop the batter into a large piping bag. Pipe the batter into the donut cavities, making sure to only fill each one about ⅔ of the way full. You should end up with 12 donuts. If you don’t have a piping bag, you can spoon the batter into each donut cavity.
- Bake for 9 to 12 minutes or until a toothpick inserted into the donuts comes out clean.
- Remove from the oven and cool in the pans for 5 minutes, then carefully remove the donuts from the pans and transfer to a wire rack to cool slightly.
- To make the vanilla icing: Add the powdered sugar, milk, and vanilla extract to a large mixing bowl and whisk until well combined and no lumps remain. If the icing is too thin, add more powdered sugar until it has reached your desired consistency. If the icing is too thick, add ½ teaspoon of milk at a time as needed.
- Dip the tops of half of the donuts into the icing and transfer back to the wire rack to cool and allow the icing to harden.
- To make the chocolate icing: Add the powdered sugar, sifted cocoa powder, milk, and vanilla extract to a large mixing bowl and whisk until well combined and no lumps remain. If the icing is too thin, add more powdered sugar until it has reached your desired consistency. If the icing is too thick, add ½ teaspoon of milk at a time as needed.
- Dip the tops of the remaining half of the donuts into the icing and transfer back to the wire rack to cool and allow the icing to harden.
Notes
- Storage Instructions: Donuts are best eaten the same day that they’re prepared, but may be stored in an airtight container at room temperature for 1 to 2 days.
- Freezing Instructions: Donuts may be frozen without the icing for up to 3 months. Thaw to room temperature before icing the donuts.
- Don’t have a donut pan? Divide the batter evenly between 12 muffin cups and bake at 350°F (180°C) until a toothpick inserted into the center comes out clean. You will probably need to add 5 to 10 minutes to the baking time.
Course: Breakfast, Dessert
Author: Danielle Rye
Did you make this recipe?
Mention @livewellbakeoften on Instagram or tag #livewellbakeoften.