
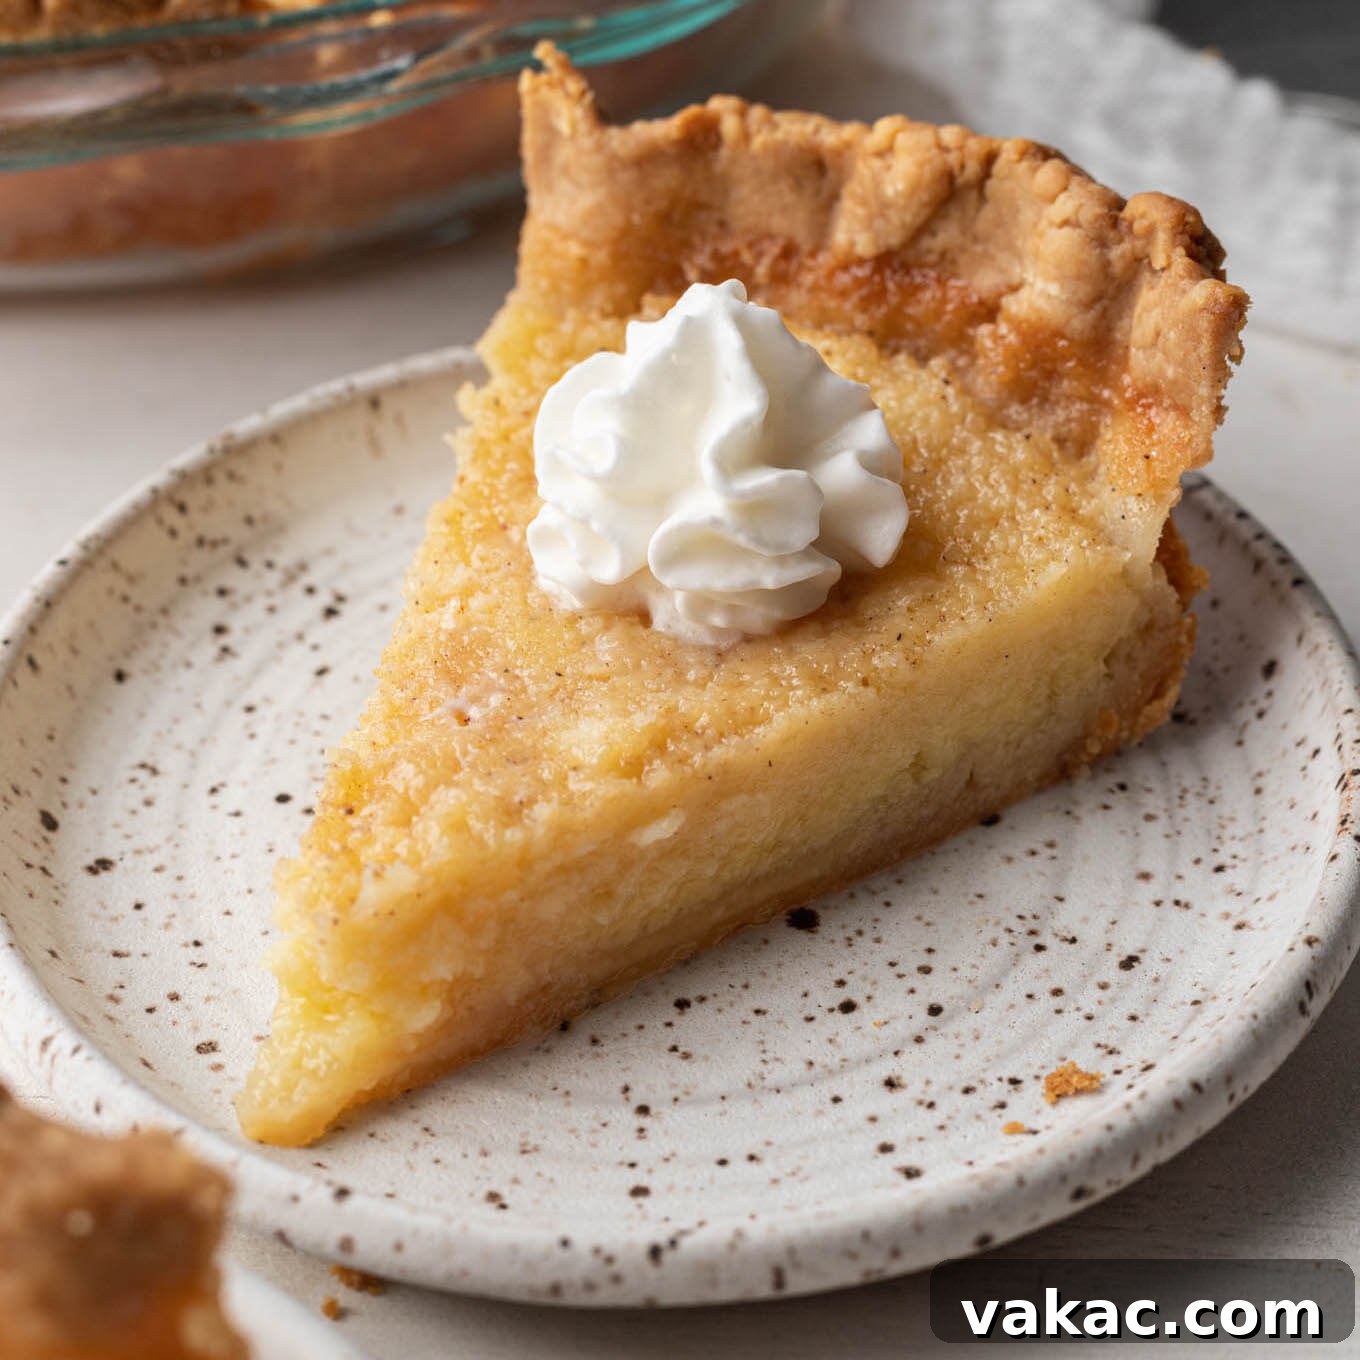
Welcome to the heart of Southern comfort desserts! Our classic Southern Buttermilk Pie offers a delightfully unique flavor profile that perfectly balances sweet and tangy notes. This rustic, custard-like pie is a staple across the American South, known for its smooth texture and subtly bright flavor that makes it an instant favorite. Whether you prefer to serve your slice adorned with a generous dollop of freshly whipped cream and vibrant fresh berries or savor its simple elegance on its own, this buttermilk pie is a testament to timeless Southern baking. Prepare for a dessert that’s not just a treat, but a warm, comforting hug in every bite.
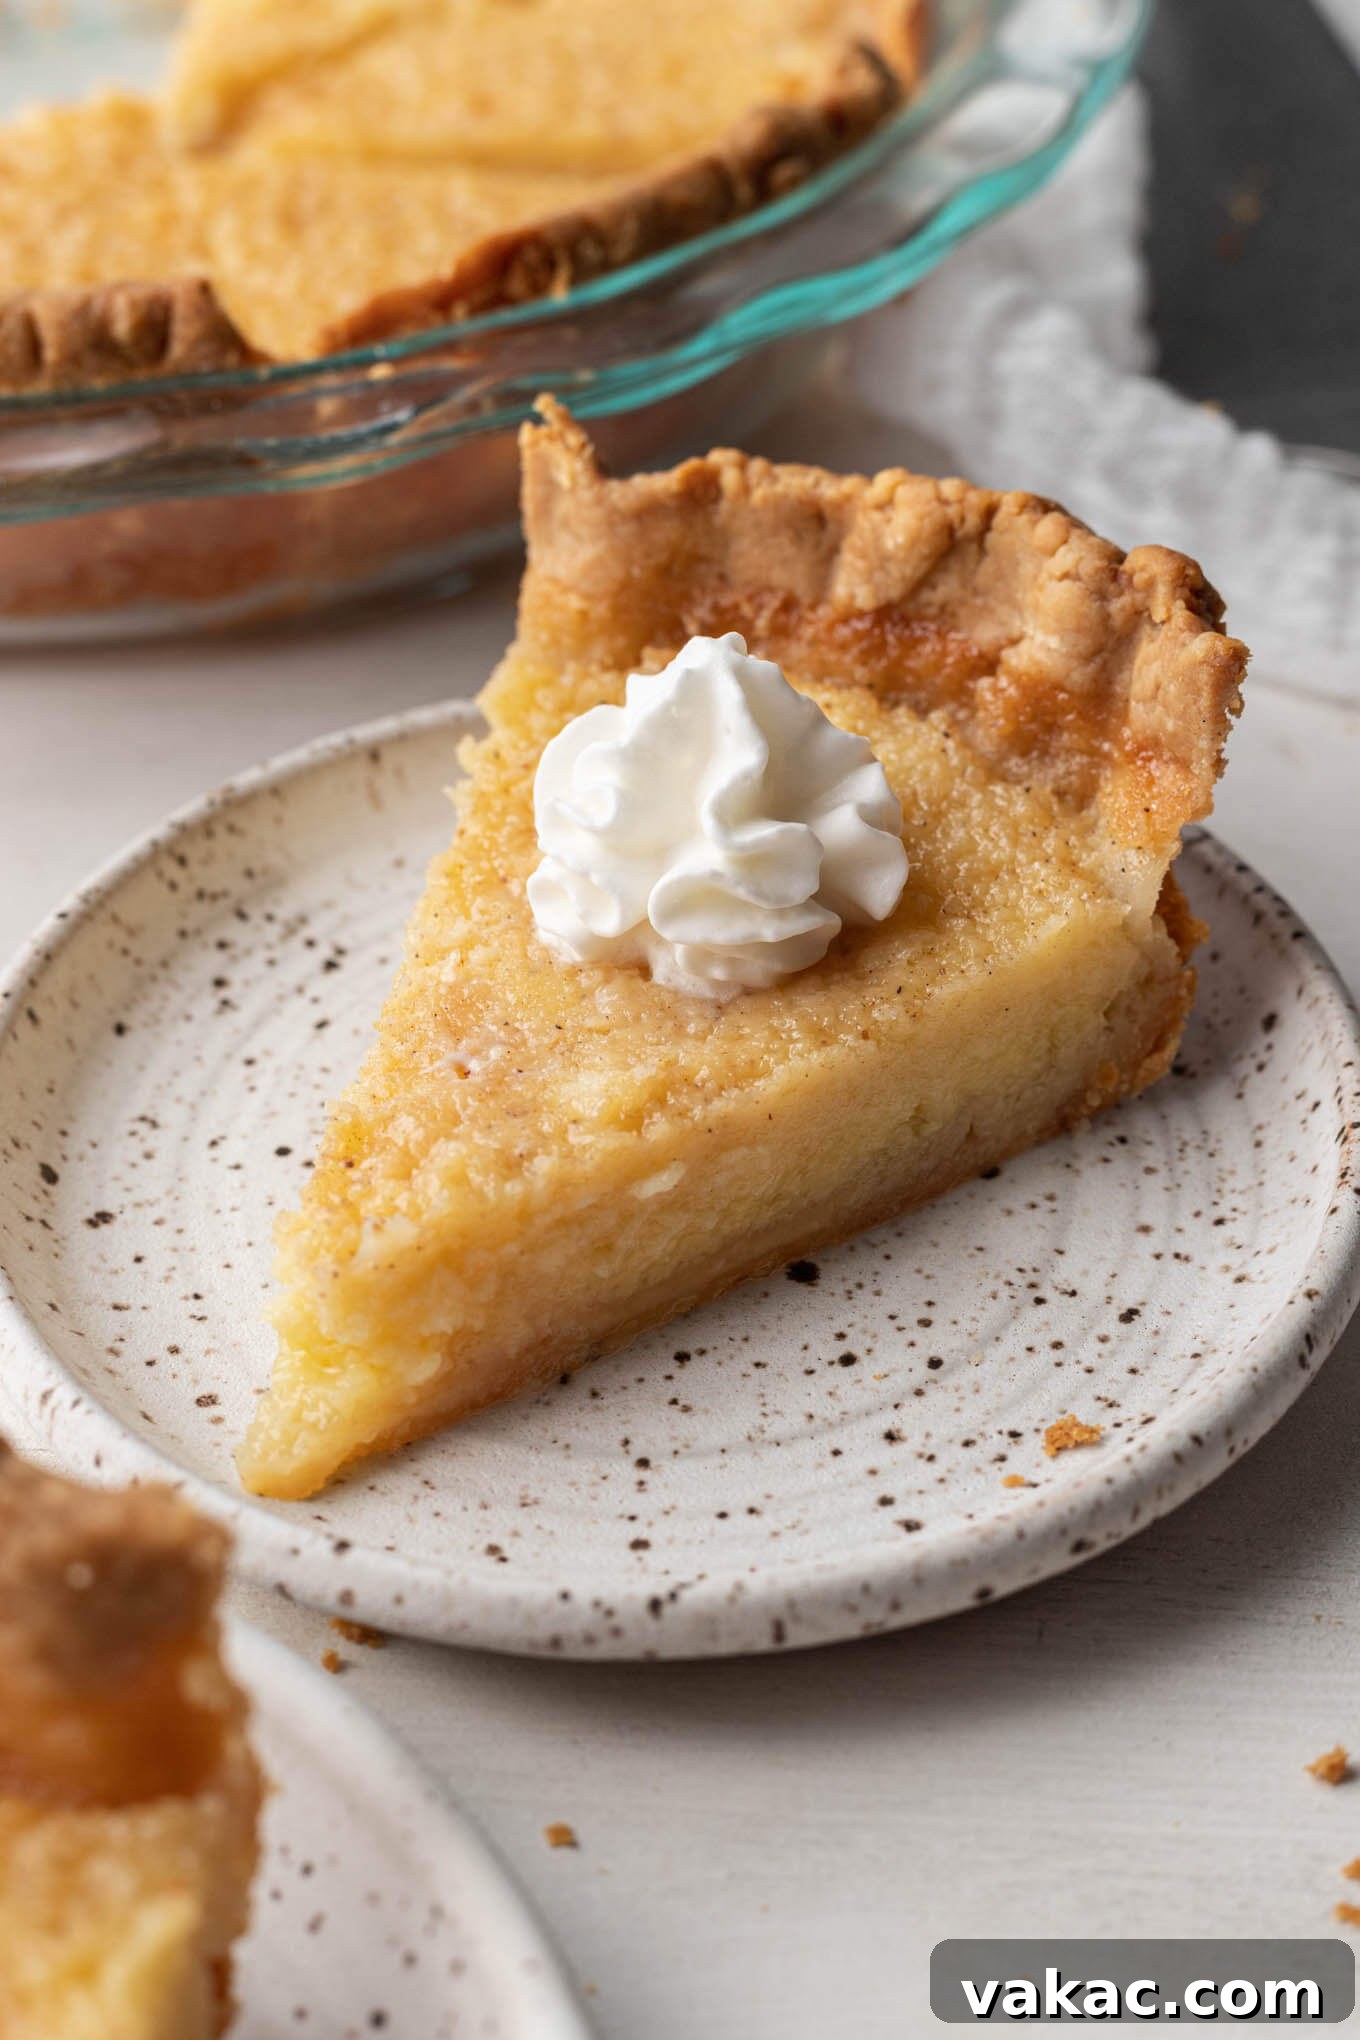
What is Southern Buttermilk Pie? The Quintessential Southern Dessert
Buttermilk pie is more than just a dessert; it’s a deeply cherished tradition in Southern households, especially prominent during holiday gatherings like Thanksgiving. Imagine a pie with a rich, silky-smooth custard filling that carries a distinctive sweet-tart flavor – that’s the essence of buttermilk pie. Its magic lies in a deceptively simple blend of core ingredients: tangy buttermilk, farm-fresh eggs, creamy butter, and a touch of flour for structure. While some regional variations might introduce nuances like lemon zest, coconut, or a hint of nutmeg, the recipe we’re sharing today is the epitome of classic Southern charm.
Our traditional buttermilk pie recipe features a delicate whisper of lemon juice and nutmeg. These additions are carefully measured to enhance the pie’s natural sweetness and buttermilk tang without overpowering its characteristic flavor. The result is a dessert that’s both refreshingly bright and deeply comforting, offering a harmonious balance that makes it utterly irresistible. It’s a true celebration of humble ingredients transformed into something extraordinary.
Buttermilk Pie vs. Chess Pie: Understanding the Subtle Differences
While often grouped together due to their similar appearances and shared Southern heritage, buttermilk pie and chess pie possess distinct characteristics that set them apart. Both are beloved custard pies, but their ingredient ratios and resulting textures offer unique experiences.
- Thickener: Chess pie traditionally relies on a generous amount of flour or sometimes cornmeal for its thick, dense, and often fudgy texture. Buttermilk pie, on the other hand, typically uses only a small amount of flour, resulting in a lighter, more delicate, and truly custard-like consistency.
- Buttermilk: As its name suggests, buttermilk pie prominently features buttermilk as a key liquid ingredient, which contributes significantly to its signature tang and creamy mouthfeel. Chess pie typically uses regular milk or cream, resulting in a richer, but less tangy, flavor profile.
- Flavor Profile: Buttermilk pie’s characteristic tang comes from the buttermilk itself, often accentuated by fresh lemon juice. This acidity perfectly balances the sweetness, preventing the pie from being overwhelmingly sugary. Chess pie is generally known for its intense sweetness, often with a prominent buttery or vanilla flavor, and less of the tart counterpoint found in buttermilk pie. While buttermilk pie is undeniably sweet, its tang provides a refreshing balance that many find appealing.
Understanding these distinctions allows bakers to appreciate the nuanced art of Southern pie-making and choose the perfect pie for any occasion based on preferred texture and sweetness.
Essential Ingredients for Your Perfect Buttermilk Pie
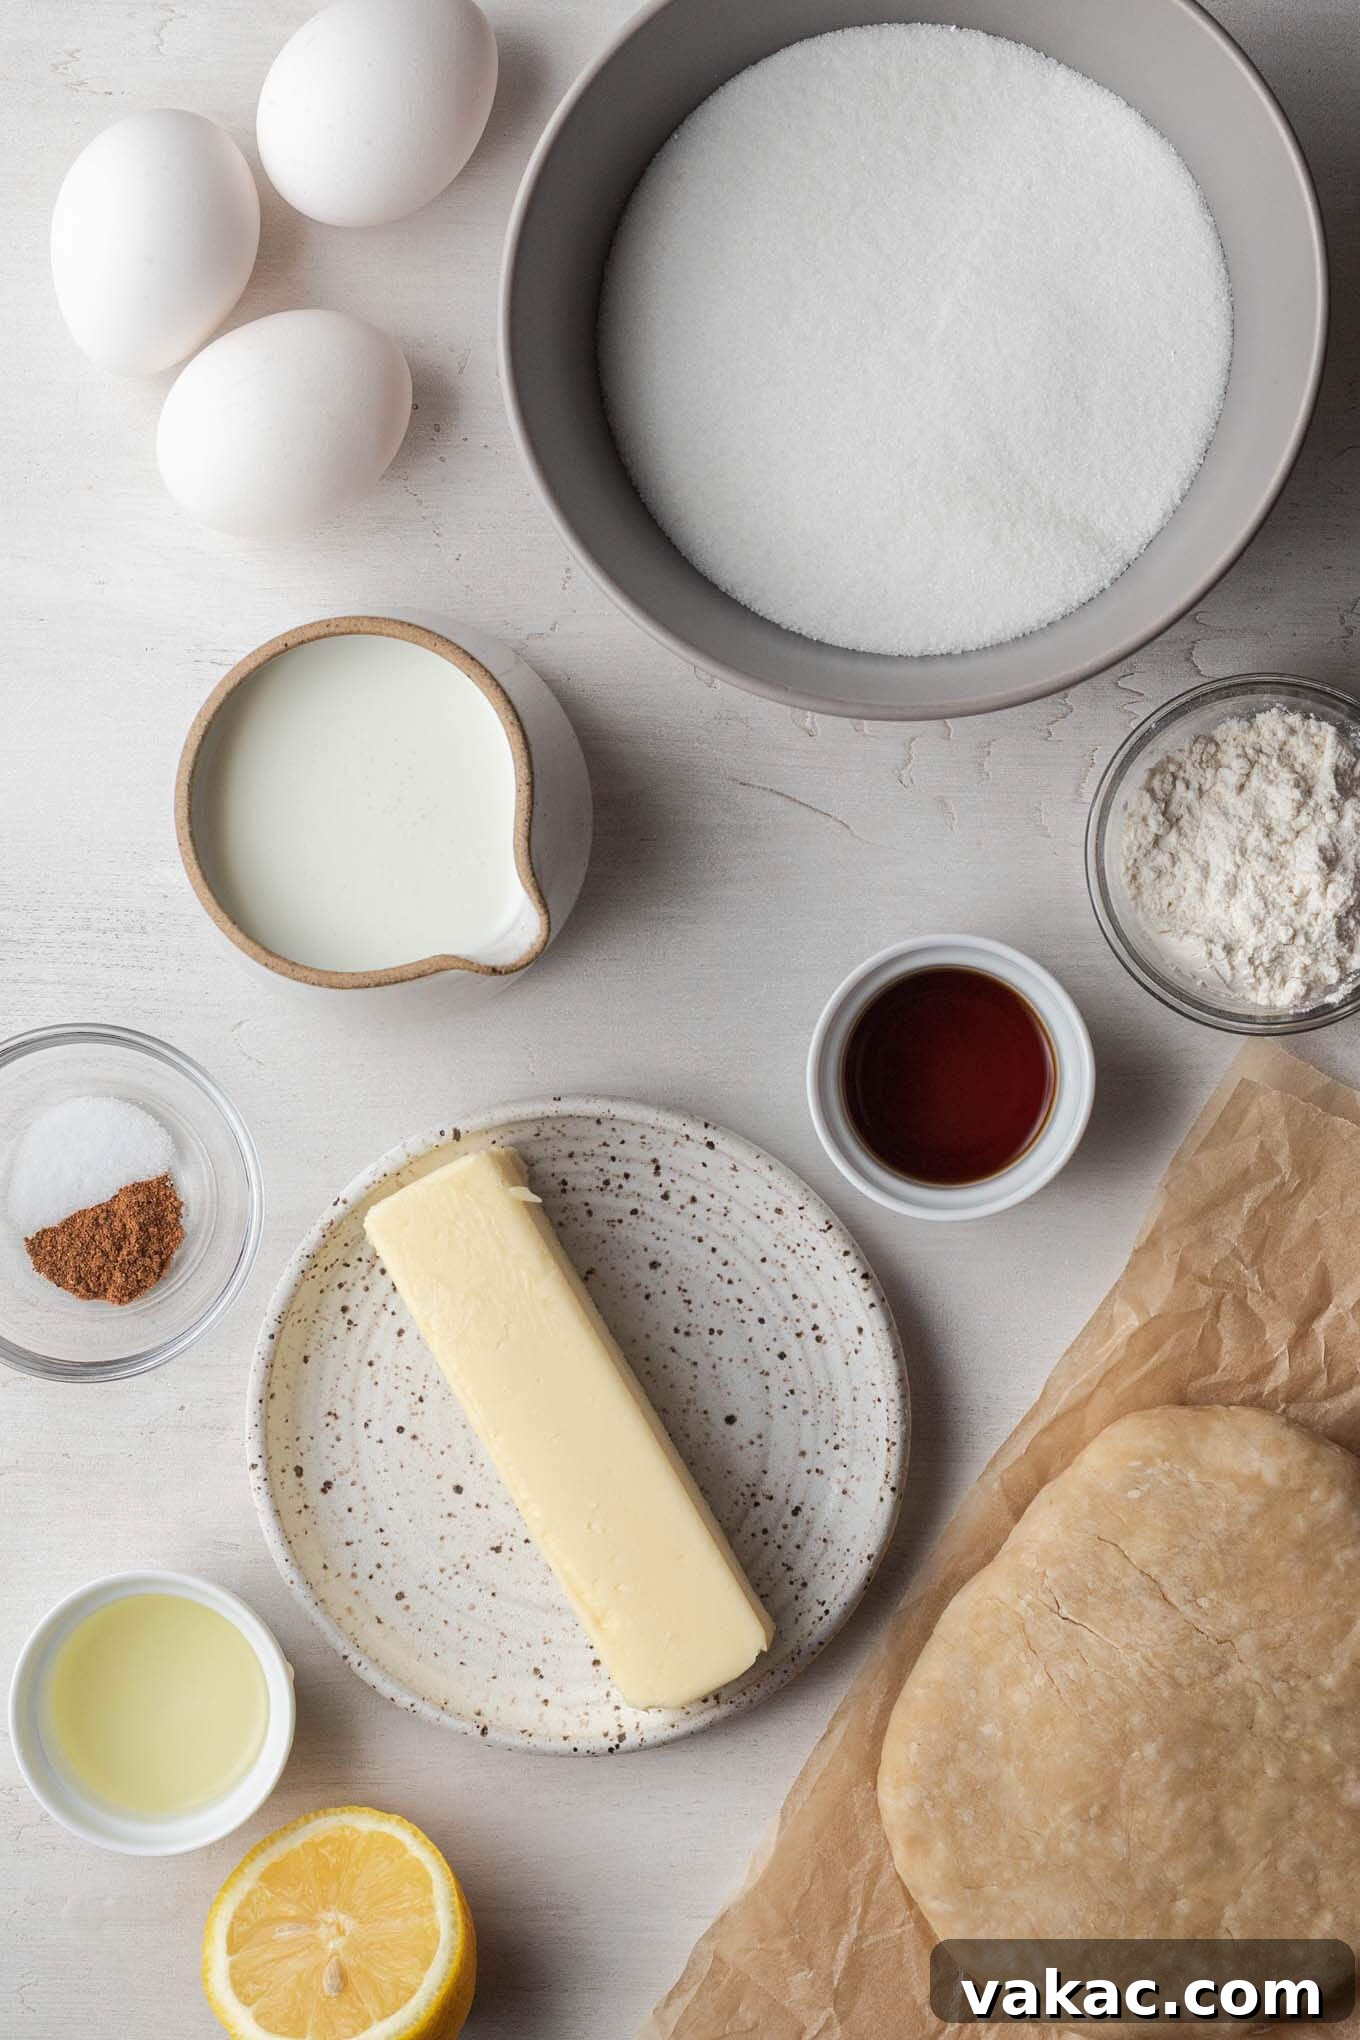
Crafting this easy Southern buttermilk pie relies on a handful of traditional, high-quality ingredients. Each component plays a crucial role in achieving the pie’s iconic sweet, tangy, and creamy custard filling. Here’s a closer look at what you’ll need to gather:
- Pie Crust: The foundation of any great pie! You have the flexibility to use a good quality store-bought pie crust for convenience, which is a fantastic time-saver. However, if you’re looking to truly elevate your pie, a homemade pie crust offers an unmatched flaky texture and buttery flavor that perfectly complements the rich filling. Whichever you choose, ensure it’s a 9-inch crust.
- Granulated Sugar: The primary sweetener for our custard filling. It provides the essential sweetness that balances the buttermilk’s tang.
- All-Purpose Flour: Used in a small quantity, flour acts as the thickening agent for the custard, helping it set into that desirable smooth, sliceable consistency without being overly dense.
- Salt: A pinch of salt is vital for enhancing all the other flavors, bringing out the sweetness and providing a subtle contrast to the tang. Don’t skip it!
- Ground Nutmeg: Just ¼ teaspoon of ground nutmeg adds a layer of warm, subtle spice that deepens the overall flavor profile of the pie. It’s not meant to make the pie taste distinctly like nutmeg, but rather to add a comforting depth and roundness to the custard.
- Buttermilk: The undeniable star of this recipe! For the authentic tangy flavor and luxurious creaminess that defines Southern buttermilk pie, using actual buttermilk is non-negotiable. While DIY buttermilk substitutes (made with regular milk and vinegar or lemon juice) can work in some recipes, they simply cannot replicate the unique depth of flavor and texture that real buttermilk provides. Opt for full-fat buttermilk at room temperature for the best results.
- Unsalted Butter: Melted and then cooled slightly, butter contributes richness and a velvety smooth texture to the custard filling. It also adds a wonderful depth of flavor, making the pie truly decadent.
- Large Eggs: Eggs are crucial for binding the filling ingredients together and giving the custard its characteristic structure and ability to set firmly when baked. Ensure your eggs are at room temperature, as this helps them incorporate more smoothly into the mixture. Lightly beating them before adding can also prevent scrambling during mixing.
- Pure Vanilla Extract: A splash of high-quality vanilla extract enhances the overall sweetness and adds a warm, aromatic complexity to the custard, complementing the other flavors beautifully.
- Fresh Lemon Juice: This is a secret weapon for brightening the pie’s flavor. A tablespoon of fresh lemon juice amplifies the natural tang of the buttermilk, ensuring that vibrant, sweet-tart balance that defines an exceptional buttermilk pie.
How to Master the Art of Making Buttermilk Pie
While this pie boasts an effortlessly simple charm, it delivers an explosion of classic Southern flavor. It’s an ideal make-ahead dessert for family gatherings, holidays, or any occasion, thanks to its requirement for complete cooling before slicing. Let’s walk through the steps to ensure your buttermilk pie turns out perfectly every time.
Step-by-Step Baking Guide:
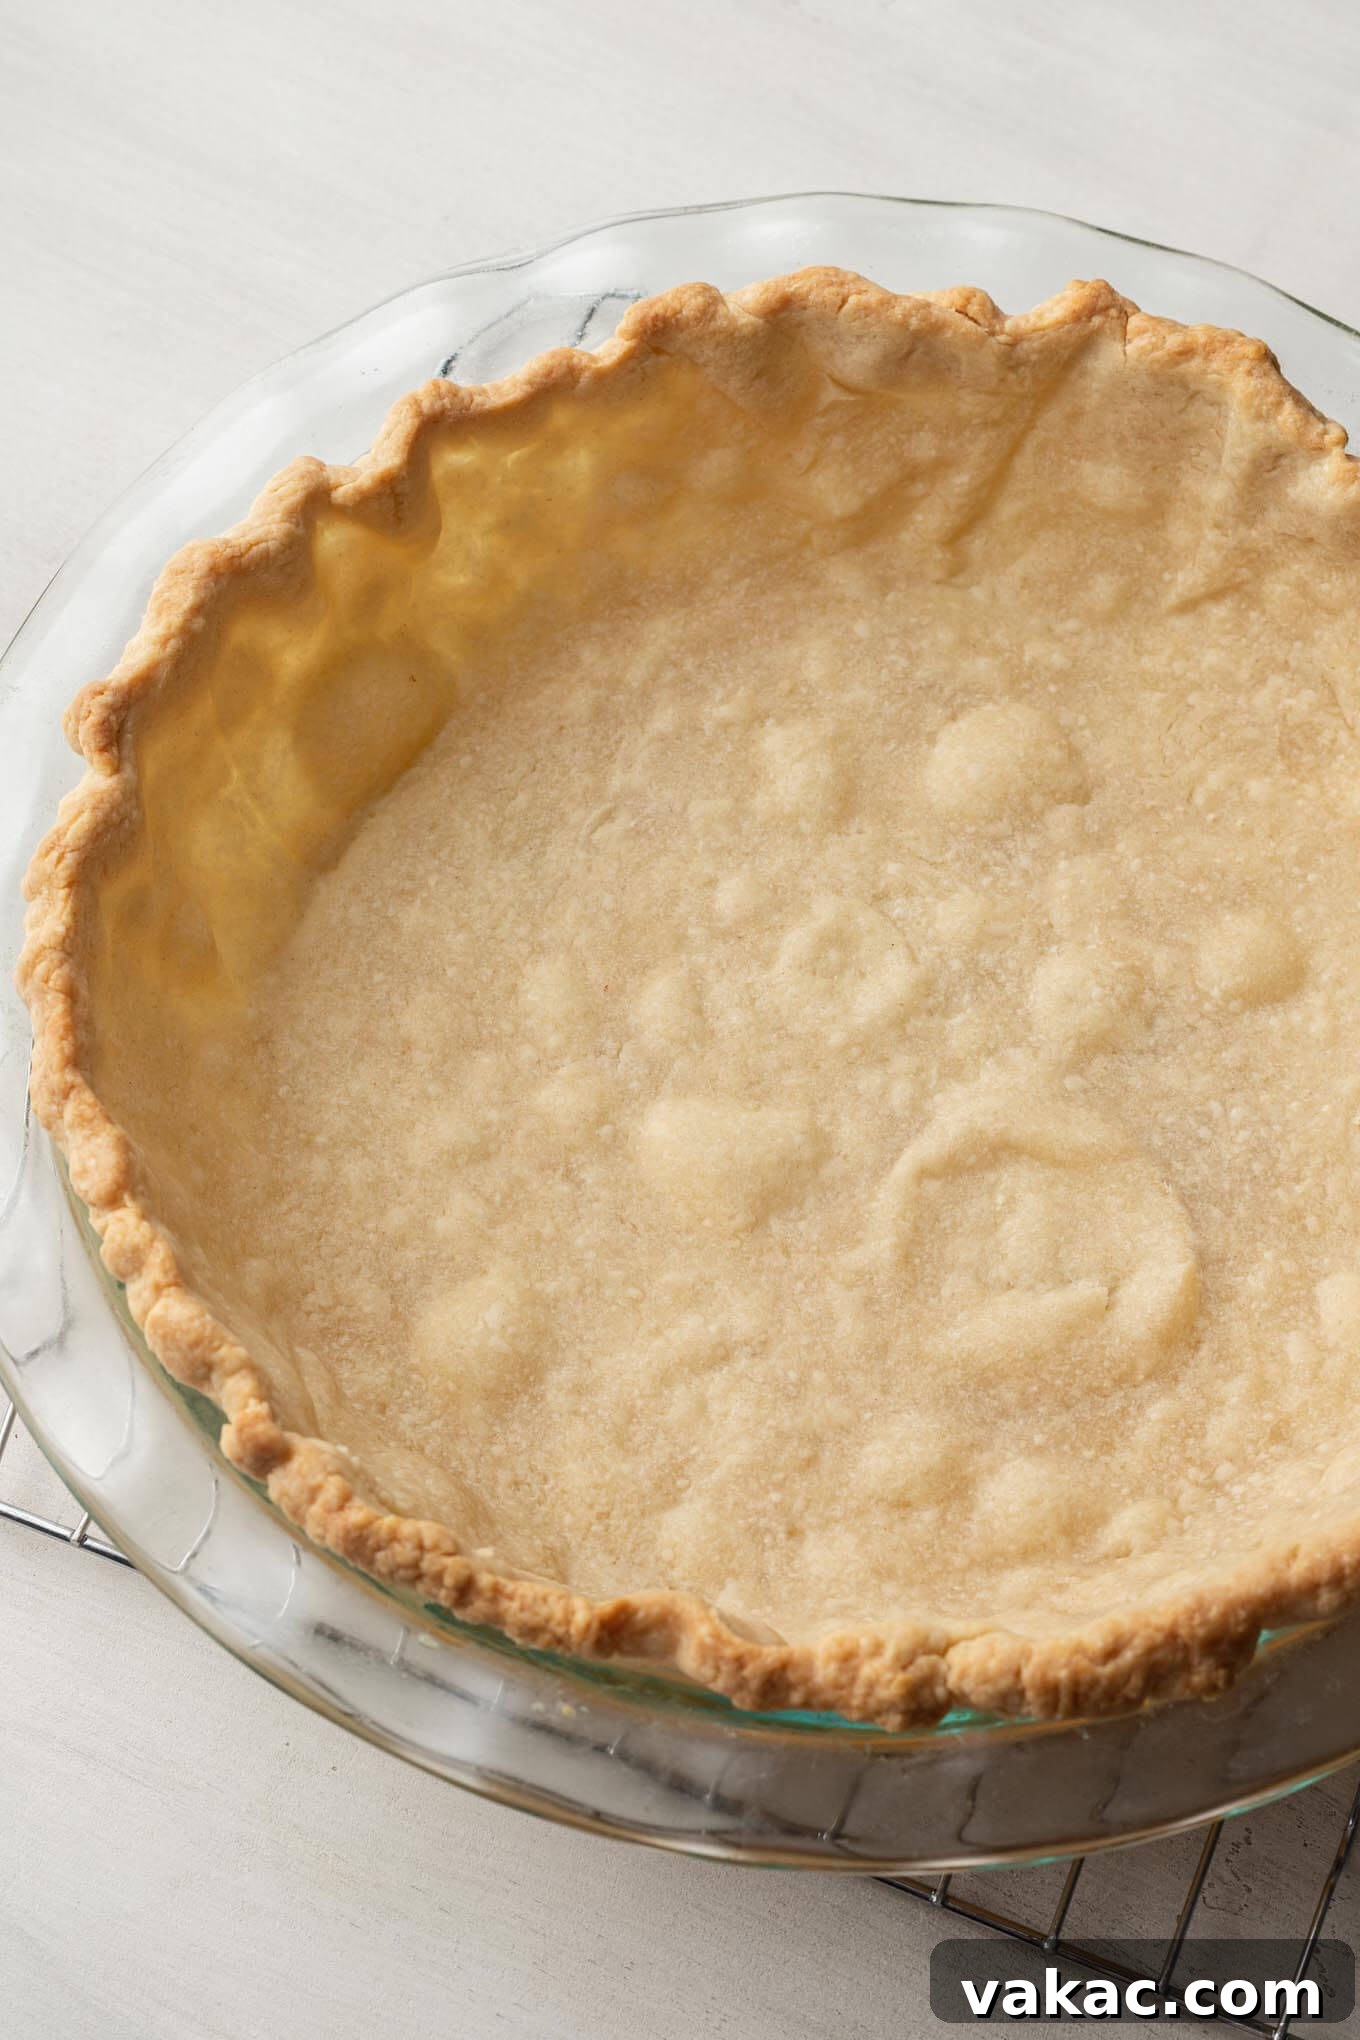
- Prepare the Pie Crust (and Preheat Oven): Begin by preheating your oven to a robust 400°F (204°C). If using homemade pie dough, roll it out into a circle roughly 12 inches in diameter. Carefully transfer the dough to a 9-inch pie plate, gently pressing it into the dish’s contours. Trim any excess dough around the edges, then crimp or decorate the edges as desired. This step isn’t just for aesthetics; it helps create a barrier against spillover and adds to the pie’s homemade appeal. Place the prepared pie plate in the refrigerator to chill for about 15-20 minutes while the oven continues to preheat. Chilling helps prevent the crust from shrinking during baking.
- Blind Bake the Pie Crust: Blind baking is a critical step for preventing a soggy bottom crust, ensuring it remains crisp and flaky beneath the moist filling. Once your oven is preheated, remove the chilled pie crust from the refrigerator. Line the dough with parchment paper or aluminum foil, making sure it covers both the bottom and extends up the sides of the crust. Fill the lined crust with pie weights, dried beans, or even rice, distributing them evenly and pressing them up against the sides to maintain the crust’s shape. Bake for 15 minutes, or until the edges of the crust just begin to turn a light golden brown. If using a thinner, store-bought crust, you might need to reduce this initial baking time slightly to prevent over-baking.
- Partial Cooling for the Crust: After the initial blind bake, remove the pie plate from the oven. Carefully lift out the parchment paper (or foil) along with the pie weights. Return the crust to the oven for an additional 5-6 minutes to allow the bottom of the crust to fully set and achieve a beautiful golden hue. Once done, remove the partially baked pie crust from the oven and let it cool slightly on a wire rack while you prepare the glorious filling. This slight cooling period is essential before introducing the liquid custard.
- Adjust Oven Temperature: While the pie crust demands a higher initial temperature to set properly, the delicate custard filling requires a gentler heat for a slow, even bake. Reduce your oven temperature to 350°F (180°C). This lower temperature prevents the custard from baking too quickly, which can lead to cracks, and ensures it cooks through to a silky perfection.
- Whisk Dry Ingredients: In a large mixing bowl, combine the granulated sugar, all-purpose flour, salt, and ground nutmeg. Whisk these dry ingredients thoroughly until they are uniformly combined. This step ensures that the flour is well dispersed, preventing lumps in the final custard.
- Whisk in Wet Ingredients: To the dry mixture, add the buttermilk (at room temperature), the melted and slightly cooled unsalted butter, lightly beaten room-temperature eggs, pure vanilla extract, and fresh lemon juice. Gently whisk the mixture until all ingredients are fully combined and no lumps remain. Be careful not to over-whisk, as incorporating too much air can alter the custard’s texture.
- Pour the Filling: Carefully pour the beautifully smooth custard filling into your partially baked pie crust. Don’t worry if the crust is still warm from its partial bake; it’s heading straight back into the oven.
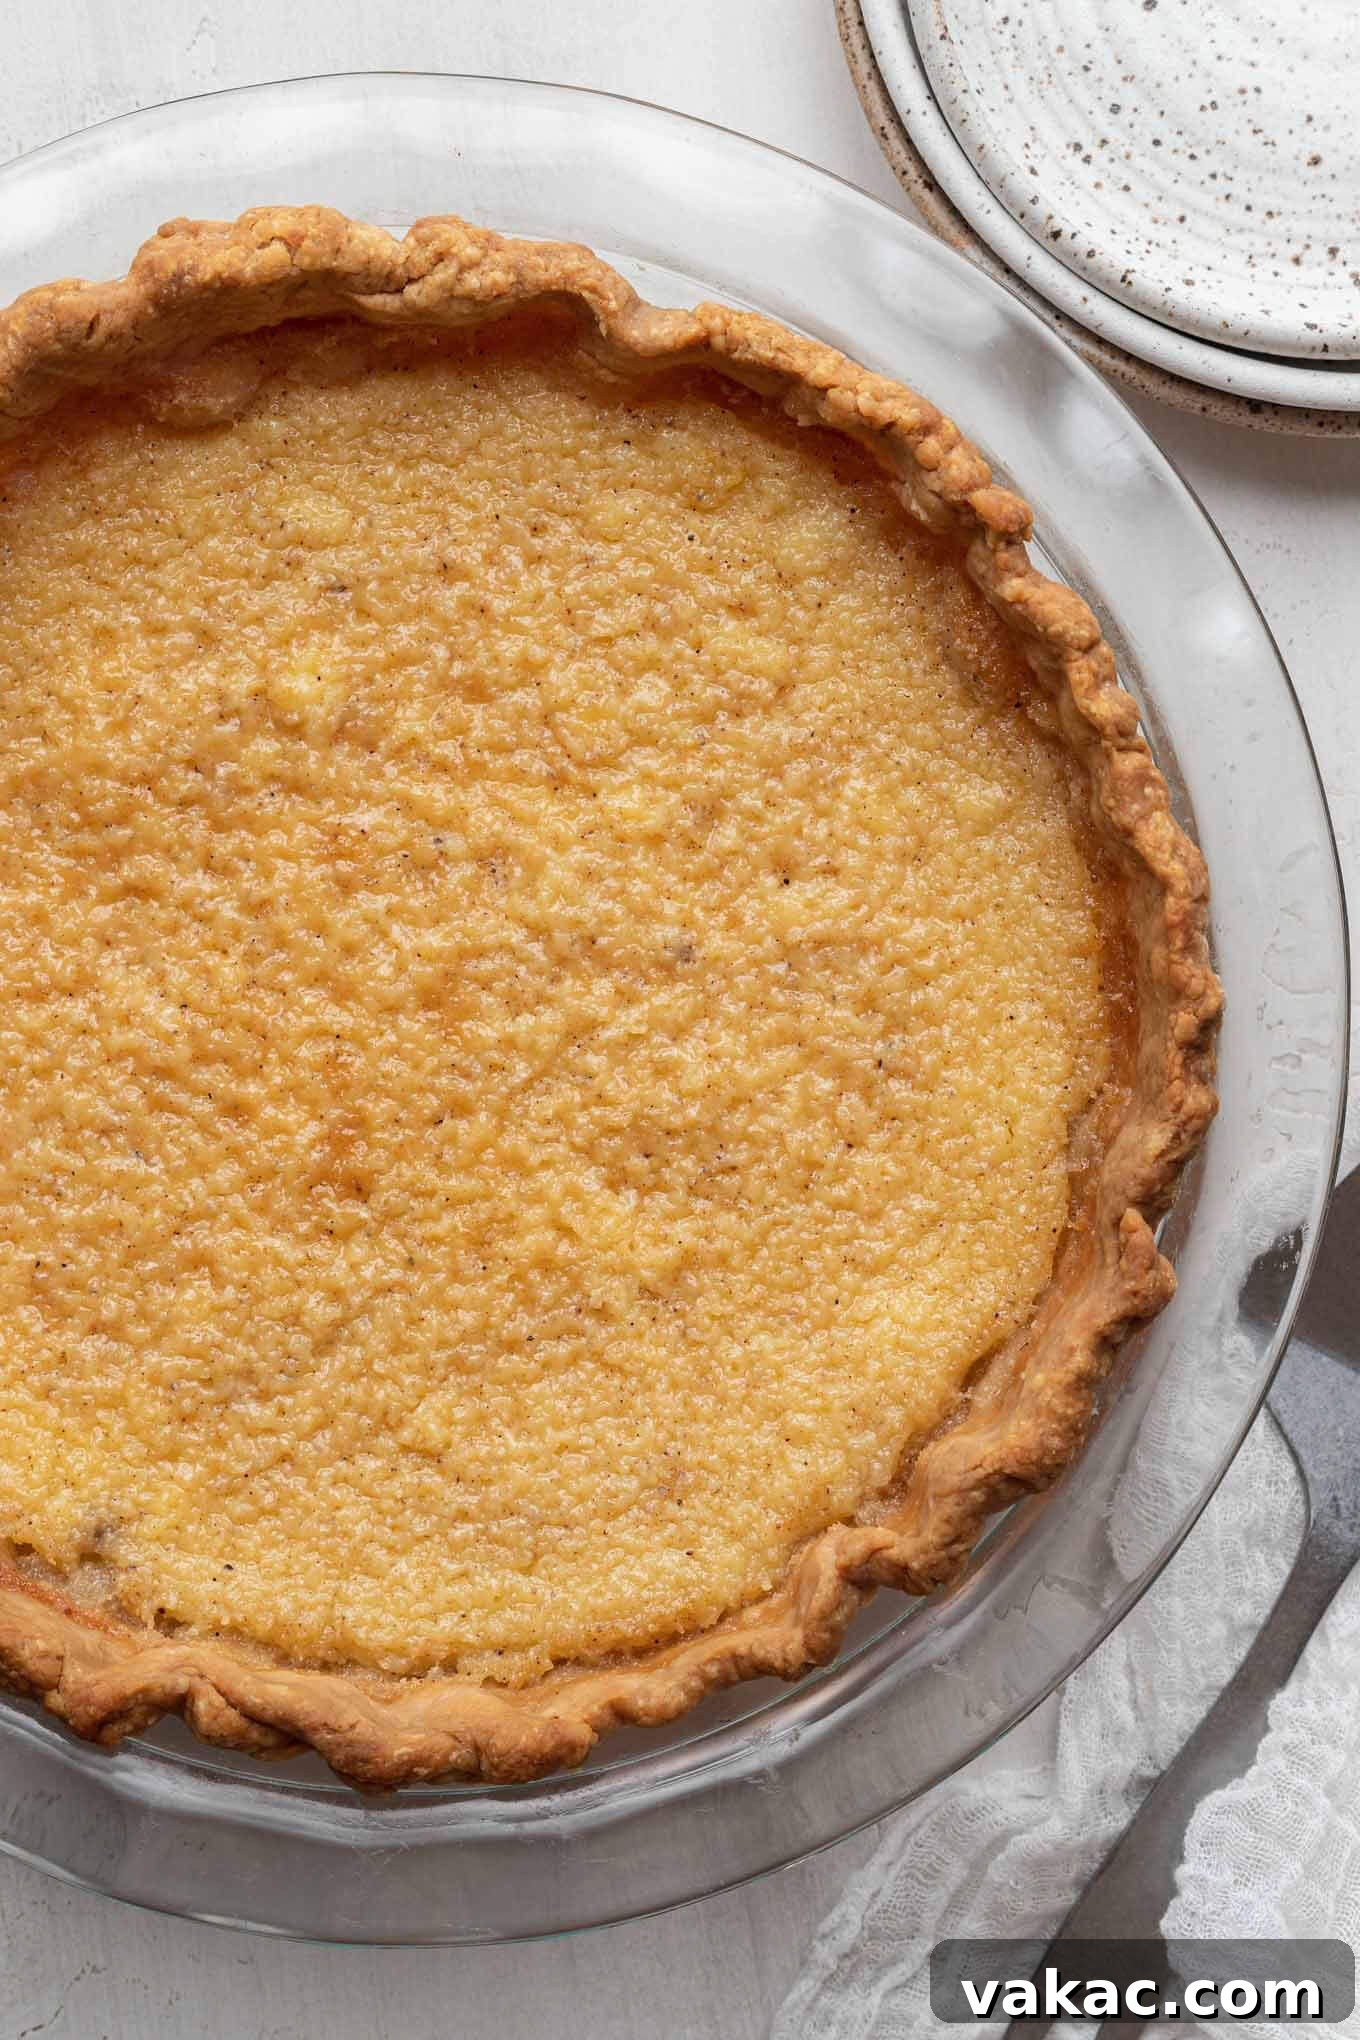
- Bake the Pie: Gently transfer the pie to the preheated 350°F (180°C) oven. If you find it easier or if your crust is delicate, you can place the pie plate onto a baking sheet before pouring the filling and then transfer the whole sheet to the oven. Bake for approximately 40 to 50 minutes. You’ll know the pie is perfectly baked when the edges of the filling are set, but the very center still has a slight, delicate jiggle to it when gently nudged. This slight jiggle is key; it indicates that the custard is cooked but not overbaked, and it will continue to set as it cools.
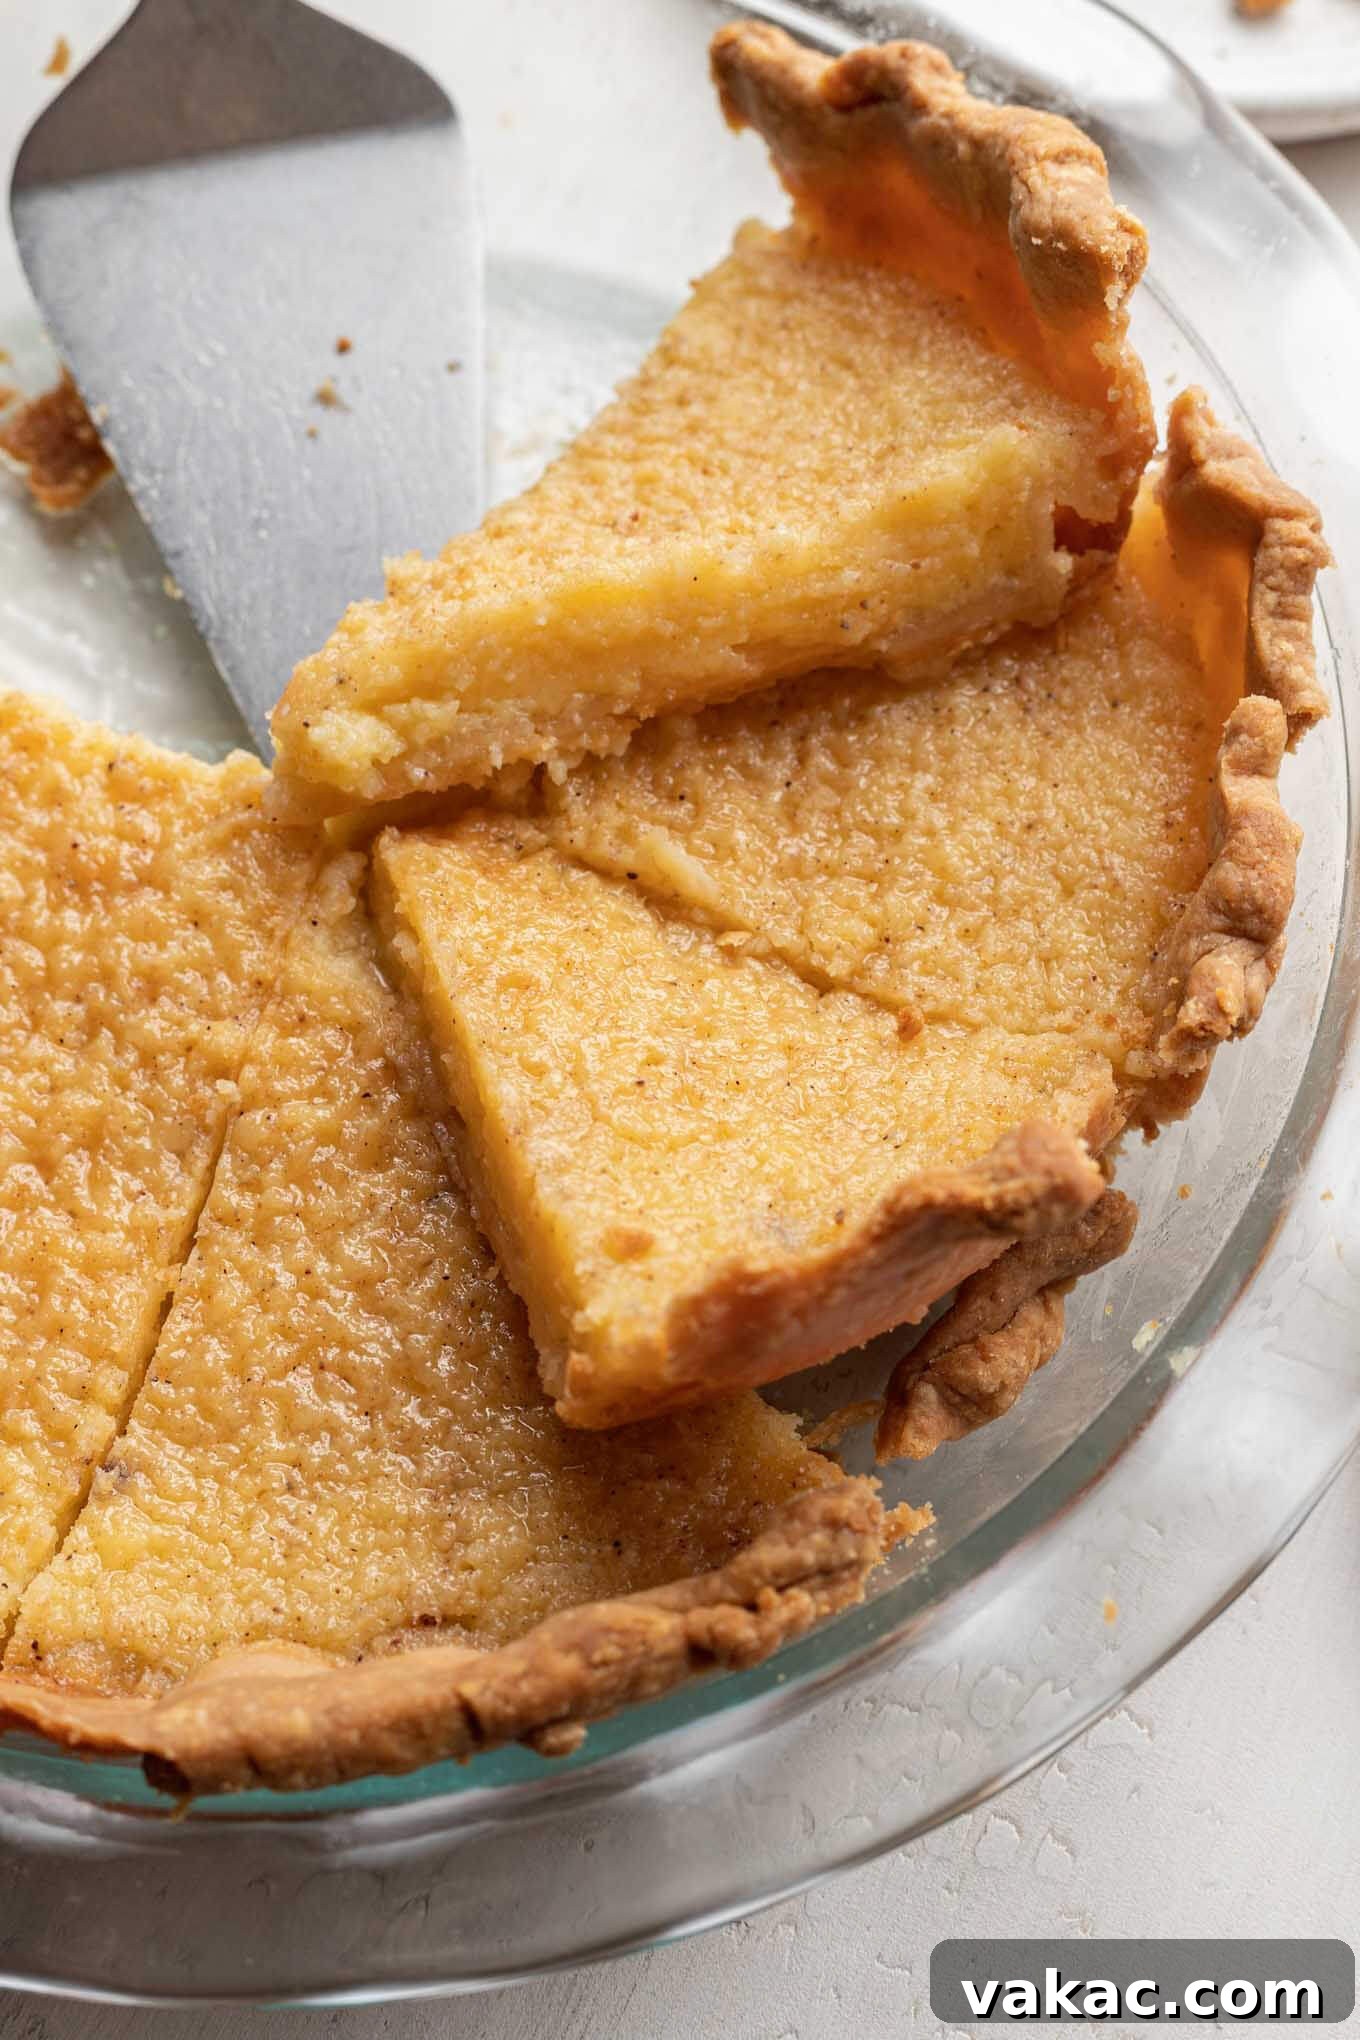
- Cool Completely: This is arguably the most crucial step for achieving that perfect slice. Remove the baked pie from the oven and place it on a wire rack to cool completely to room temperature. This process can take several hours. Resist the urge to slice into it too soon! Only once the pie is fully cooled and set will it be firm enough to cut into clean, elegant slices without losing its structure. Patience is truly a virtue here.
Serving Your Southern Buttermilk Pie: Simple Elegance or Decadent Delights
One of the beauties of Southern buttermilk pie is its versatility when it comes to serving. The pie’s inherent sweet and tangy flavor is so satisfying that it truly needs no accompaniment. However, for those who appreciate a little extra flair or a contrasting texture, there are several delightful options:
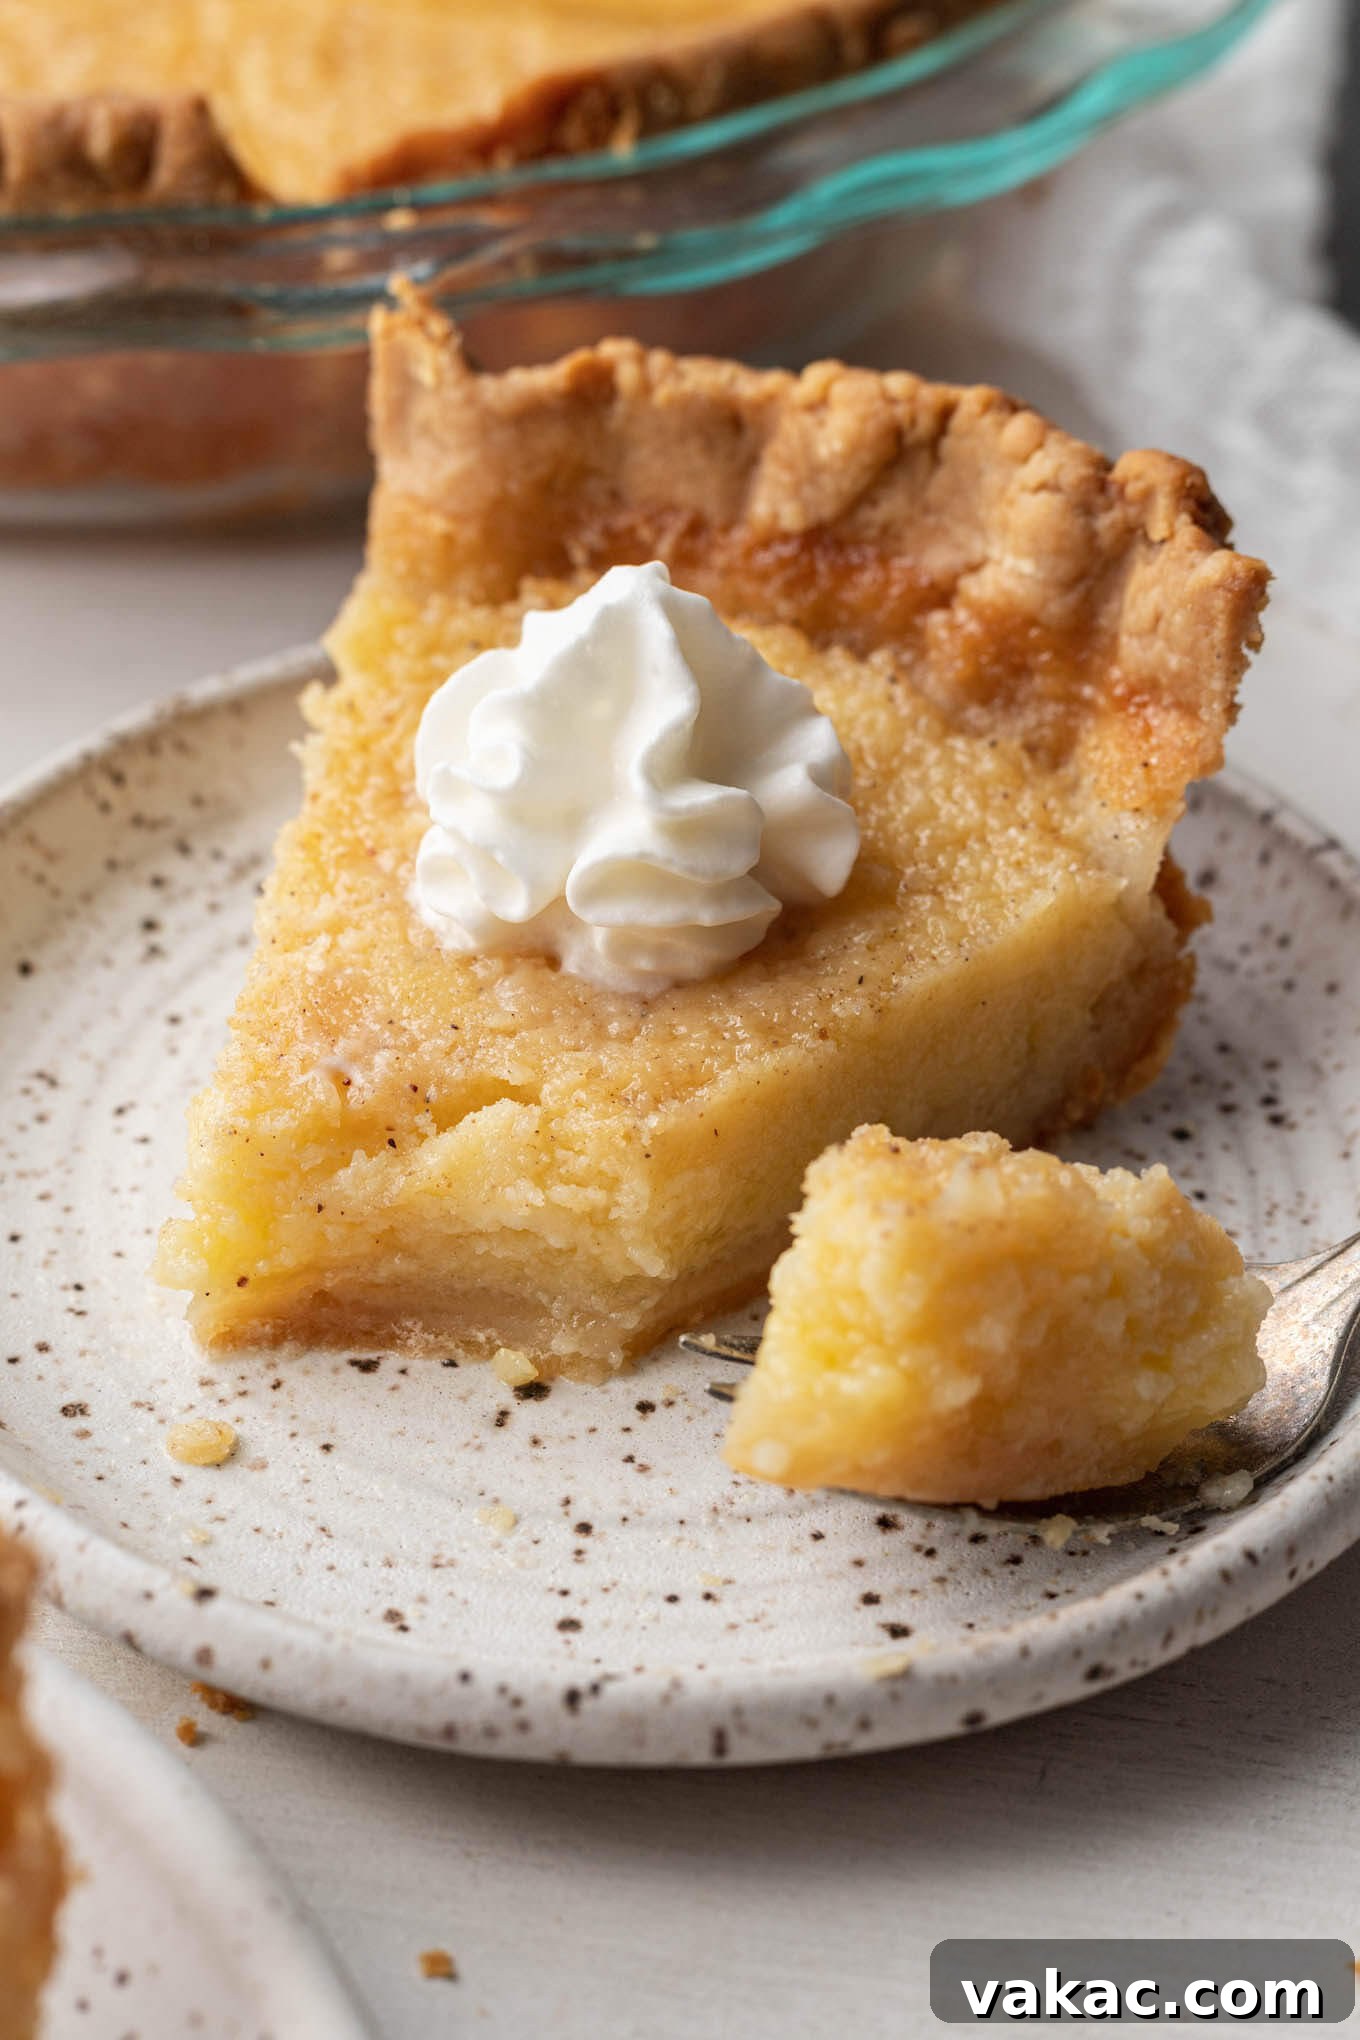
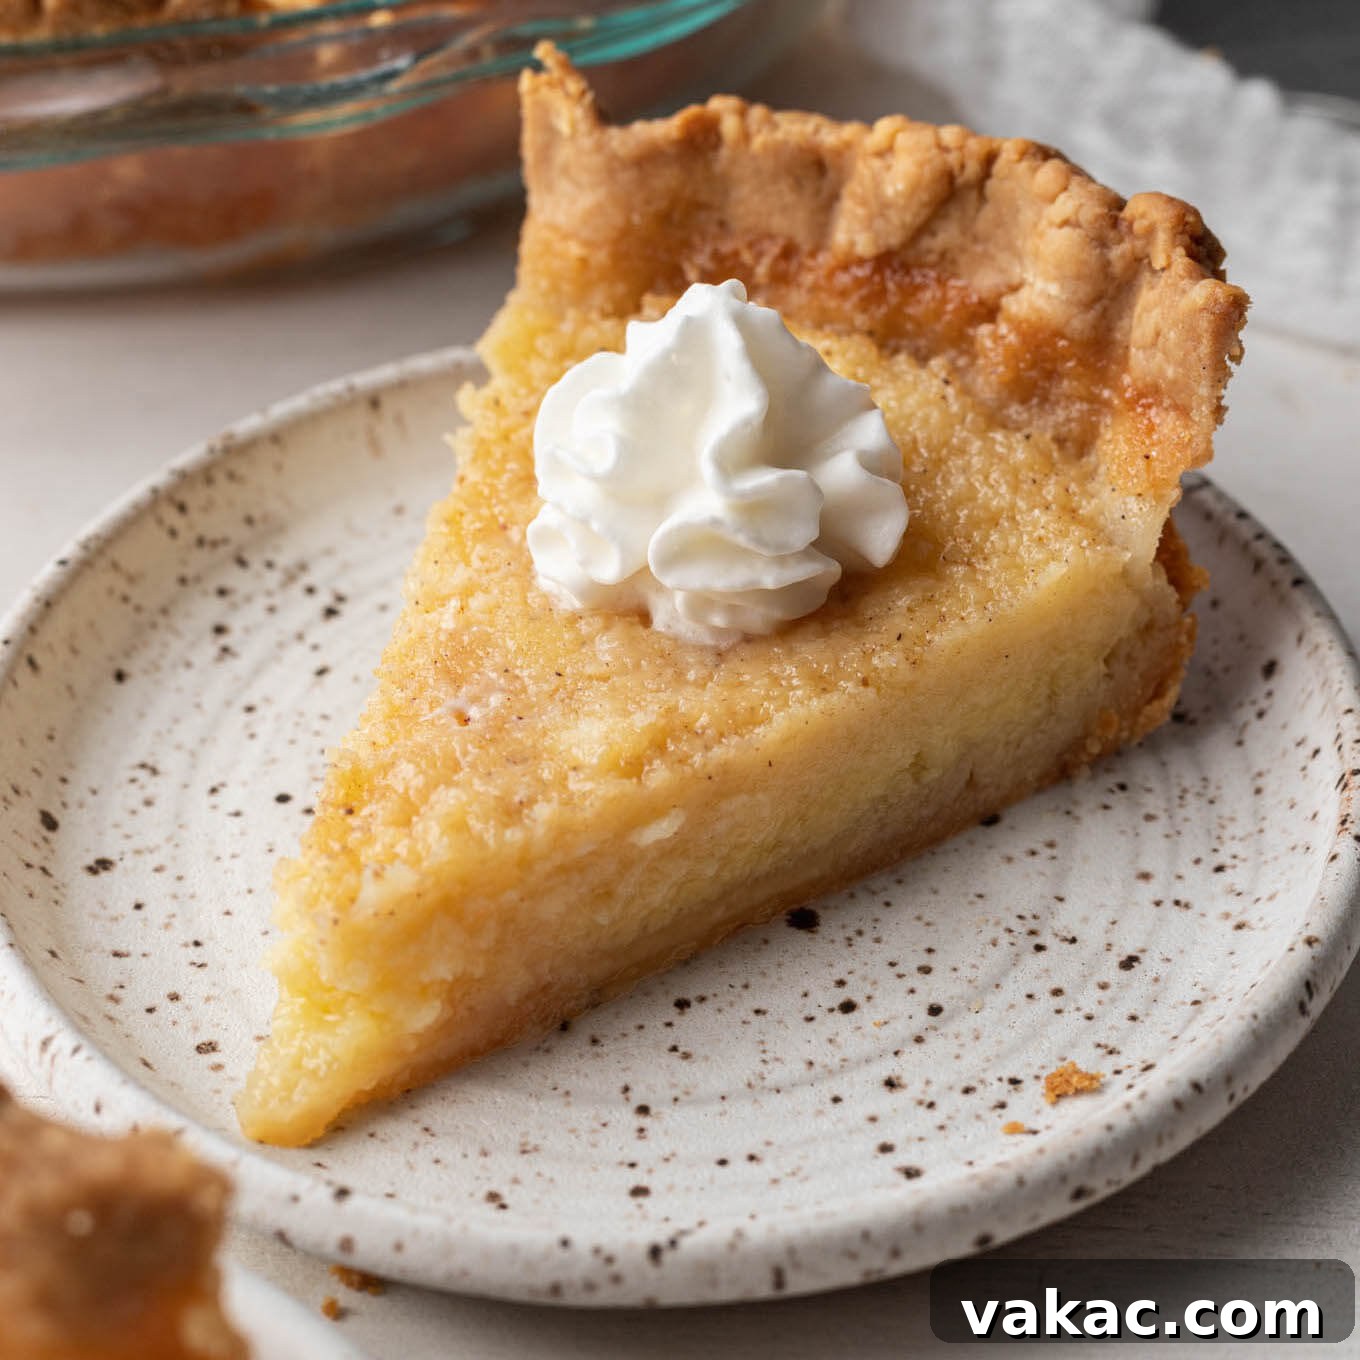
- Classic Whipped Cream: A generous dollop of homemade whipped cream is a quintessential pairing. Its airy lightness and subtle sweetness provide a wonderful contrast to the dense, rich custard.
- Fresh Berries: A sprinkle of fresh berries, such as raspberries, blueberries, or sliced strawberries, adds a burst of vibrant color, natural sweetness, and a refreshing tartness that beautifully complements the pie’s filling. The fresh fruit creates a lovely balance, cutting through the richness of the pie.
- Lemon Zest or Nutmeg: For a simple garnish that enhances the pie’s intrinsic flavors, a dusting of freshly ground nutmeg or a delicate sprinkle of lemon zest adds both visual appeal and a gentle aromatic lift.
- Vanilla Ice Cream: A scoop of high-quality vanilla bean ice cream, slowly melting into a warm slice of buttermilk pie, creates an indulgent experience, blending creamy textures and temperatures.
No matter how you choose to serve it, this pie is guaranteed to be a crowd-pleaser, evoking feelings of warmth, comfort, and Southern hospitality.
The Indispensable Ingredient: Why Real Buttermilk is a Must
When it comes to Southern buttermilk pie, the quality and authenticity of the buttermilk truly make all the difference. In short: no, the buttermilk cannot be substituted with a homemade alternative made from regular milk and vinegar or lemon juice. While a DIY buttermilk substitute can work in certain baking applications where a leavening agent reacts with acid (like pancakes or quick breads), it simply cannot replicate the unique attributes of real cultured buttermilk in a custard pie.
True buttermilk offers a distinct depth of tangy flavor, a specific thickness, and a creamy texture that is essential for the richness and smoothness of the pie’s filling. Using a substitute will likely result in a less flavorful pie, potentially with an altered texture that lacks the signature silky mouthfeel. For an authentic and truly delicious Southern buttermilk pie, always reach for real, cultured buttermilk. It’s the cornerstone of this classic recipe.
Planning Ahead: Making Buttermilk Pie in Advance
Absolutely! This buttermilk pie recipe is wonderfully accommodating for advance preparation, making it a fantastic choice for busy schedules or holiday menus. You have a couple of excellent options:
- Same-Day Prep: You can bake the pie entirely on the morning you plan to serve it. Allow it to cool completely at room temperature, which typically takes a few hours. Once cooled and set, it’s ready to slice and enjoy whenever your guests arrive.
- Refrigerated Storage: For even longer planning, you can prepare and bake the entire pie as directed, allow it to cool completely to room temperature, and then refrigerate it. Covered tightly with plastic wrap to prevent it from absorbing refrigerator odors and to maintain freshness, the pie will stay delicious for up to four days. This makes it a perfect dessert to prepare a day or two before a special event, allowing you to focus on other aspects of your meal.
Having a stunning, homemade dessert ready and waiting makes entertaining a breeze!
Storage Essentials: Does Buttermilk Pie Require Refrigeration?
Yes, buttermilk pie absolutely must be refrigerated after it has cooled completely to room temperature. Due to its dairy and egg-rich custard filling, it is perishable and should be treated like any other custard-based dessert. Once the pie has fully cooled, cover it securely with plastic wrap or transfer it to an airtight container. Store it in the refrigerator to maintain its freshness, texture, and safety. Properly stored, it will remain delightful for 3 to 4 days.
Expert Baking Tips for a Flawless Buttermilk Pie
Achieving the perfect Southern Buttermilk Pie is simpler than you think with these expert tips:
- Don’t Fear Store-Bought Crust: If time is of the essence or you’re not a fan of making pie dough from scratch, a good quality store-bought pie crust is a perfectly acceptable shortcut. Just remember that thinner, pre-made crusts might require a slightly shorter blind-baking time. Watch the edges closely for the first signs of browning.
- Real Buttermilk is Key: We can’t stress this enough! For the most authentic flavor and the creamiest, most luscious texture, use real cultured buttermilk. While lower-fat varieties will work, a buttermilk substitute (milk + acid) will not yield the same rich depth and tangy balance.
- Room Temperature Ingredients: Ensure your buttermilk and eggs are at room temperature. This helps them emulsify better with the melted butter and other ingredients, resulting in a smoother, more uniform custard that bakes evenly.
- Prevent Cracks with Gentle Baking: The key to a smooth, uncracked custard surface is baking at the correct temperature. Starting with a hotter oven for blind-baking the crust and then reducing it to 350°F (180°C) for the filling prevents the custard from baking too quickly and cracking.
- The “Jiggle” Test for Doneness: Knowing when your pie is perfectly baked is crucial. The pie is ready when the edges are set and lightly golden, but the very center still has a slight, almost imperceptible jiggle. This means it’s cooked through but still moist, and it will continue to firm up beautifully as it cools.
- Patience During Cooling: Resist the urge to slice the pie until it has cooled completely to room temperature, which often takes 2-3 hours. This allows the custard to fully set and firm up, ensuring clean, elegant slices and the best possible texture.
- Customize Lemon Flavor: If you’re a true lemon lover and desire a more pronounced citrus note, feel free to add an extra teaspoon or two of fresh lemon zest to the filling along with the juice. The zest will provide a brighter, more aromatic lemon punch.
- Serving Temperature: While delicious at room temperature, many find buttermilk pie to be even more delightful when served chilled from the refrigerator. Experiment to see which you prefer!
More Beloved Southern Pie Recipes You’ll Crave!
If you’ve fallen in love with the comforting charm of Buttermilk Pie, you’re in for a treat with these other Southern dessert classics. Each offers a unique flavor and story, perfect for any occasion:
- Sweet Potato Pie: A creamy, spiced delight, often compared to pumpkin pie but with its own unique earthy sweetness.
- Pecan Pie: The iconic nutty, gooey, and sweet classic, a must-have for holidays and special occasions.
- Key Lime Pie: A refreshing, tart, and creamy pie with a vibrant citrus kick, often associated with Florida but loved throughout the South.
- Chocolate Chess Pie: A rich, fudgy, and intensely chocolatey pie that’s simple to make and incredibly satisfying.
Buttermilk Pie
Ingredients
- 1 pie crust (homemade or store bought)
- 1 ½ cups granulated sugar (300 grams)
- 2 tablespoons all-purpose flour (16 grams)
- ¼ teaspoon salt
- ¼ teaspoon ground nutmeg
- 1 cup buttermilk at room temperature (240 ml)
- ½ cup unsalted butter melted and slightly cooled (1 stick; 115 grams)
- 3 large eggs at room temperature and lightly beaten
- 2 teaspoons pure vanilla extract
- 1 tablespoon fresh lemon juice (15 ml)
Instructions
-
To prepare the pie crust: Preheat the oven to 400°F (204°C).
-
Roll out the pie dough to about 12-inches in diameter. Carefully transfer to a 9-inch pie plate, gently fit it in the dish, and trim any excess dough from the edges or tuck it under.
-
Place the pie plate in the refrigerator and allow the dough to chill for about 15 to 20 minutes while the oven is preheating.
-
Once the oven is preheated, remove the pie plate from the refrigerator, decorate the edges, and line the dough with parchment paper or foil, making sure to cover the bottom and the sides. Fill with pie weights or beans, making sure to press them up against the sides as well.
-
Bake with the pie weights for 15 minutes or until the edges of the crust start to lightly brown. If using a store-bought pie crust that’s thinner, you may need to reduce the baking time slightly.
-
Remove from the oven, carefully remove the parchment paper (or foil) and the pie weights. Return to the oven to bake for 5 to 6 more minutes or until the bottom of the crust is set.
-
Remove from the oven and set aside to cool slightly on a wire rack while you prepare the filling.
-
To make the filling: Reduce the oven temperature to 350°F (180°C).
-
In a large mixing bowl, whisk together the sugar, flour, salt, and nutmeg. Then, whisk in the buttermilk, melted butter, eggs, vanilla extract, and lemon juice until just combined and no lumps remain.
-
Pour the filling into the partially baked pie crust.
-
Carefully transfer the pie to the oven. If needed, you can place the pie crust on a baking sheet in the oven first, then pour the filling into it. Bake for 40 to 50 minutes or until mostly set in the center.
-
Remove from the oven and place on a wire rack to cool completely.