
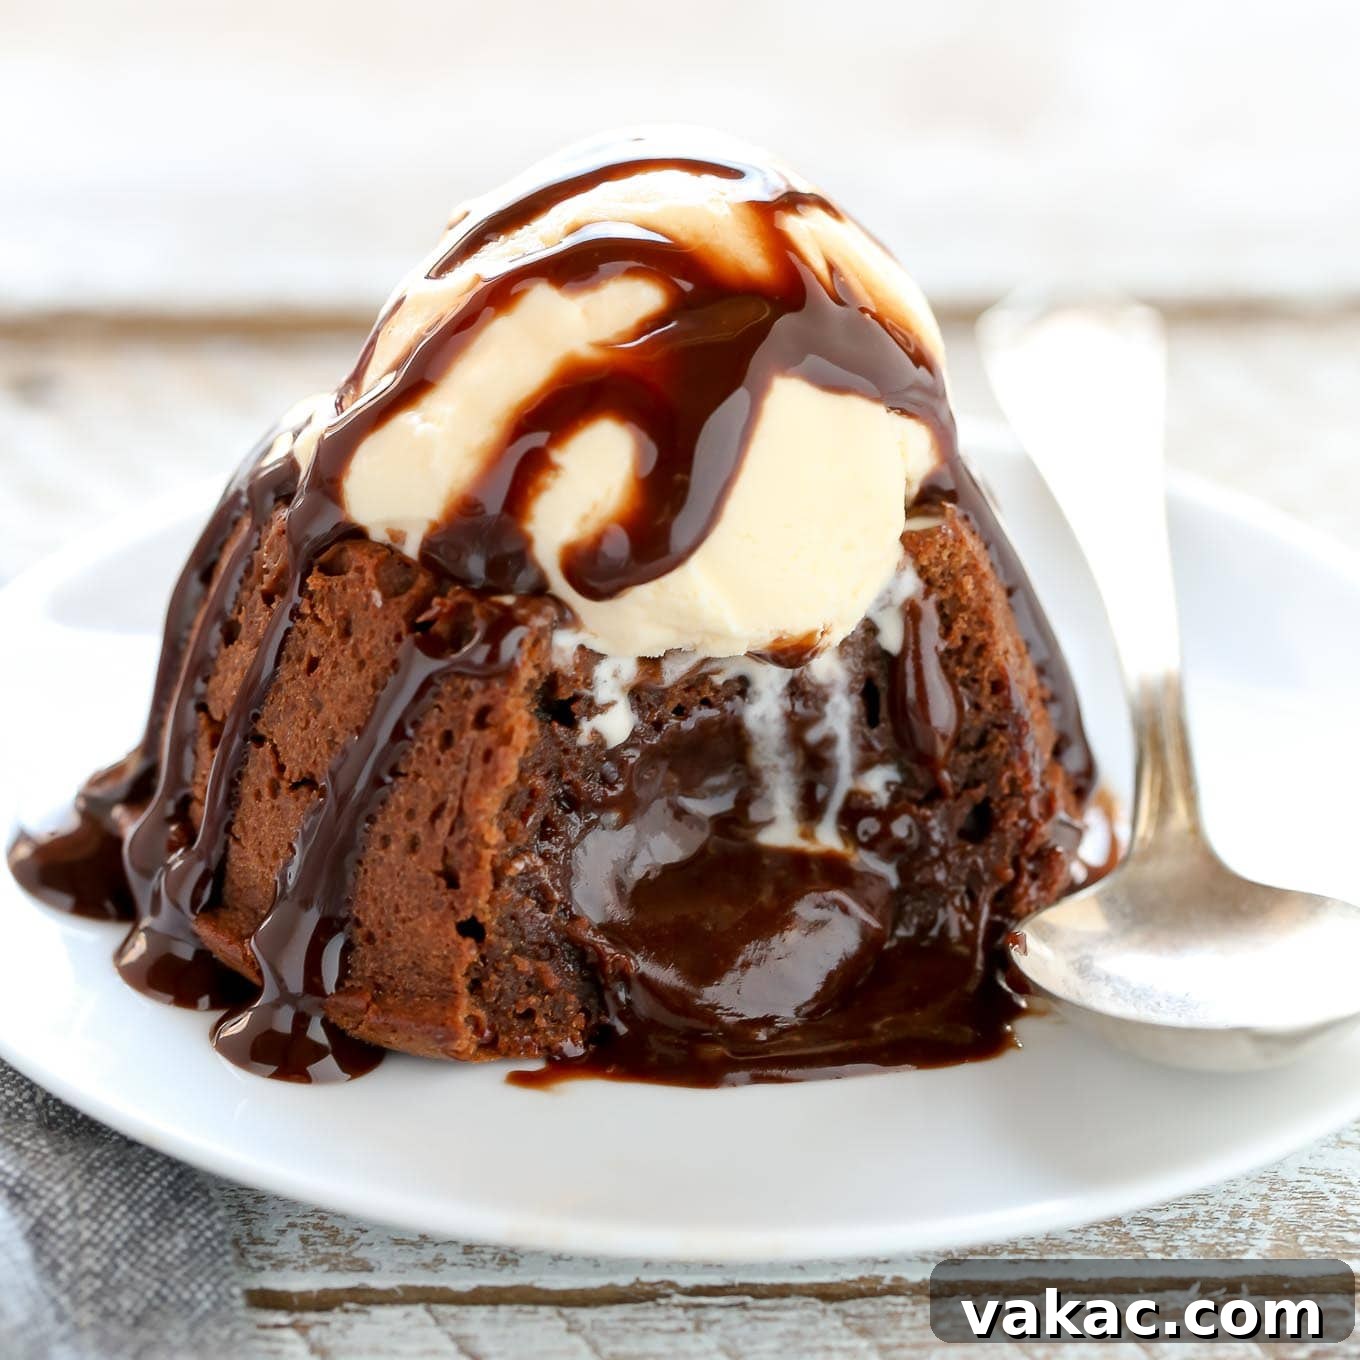
Indulge in the ultimate chocolate experience with this exquisite Molten Chocolate Lava Cake recipe. Designed for intimate moments, this small-batch dessert is incredibly easy to prepare and promises a warm, gooey, molten chocolate center in less than 30 minutes. It’s the perfect treat when a craving strikes but a large dessert feels overwhelming, making it ideal for a cozy evening for two or a delightful personal indulgence.
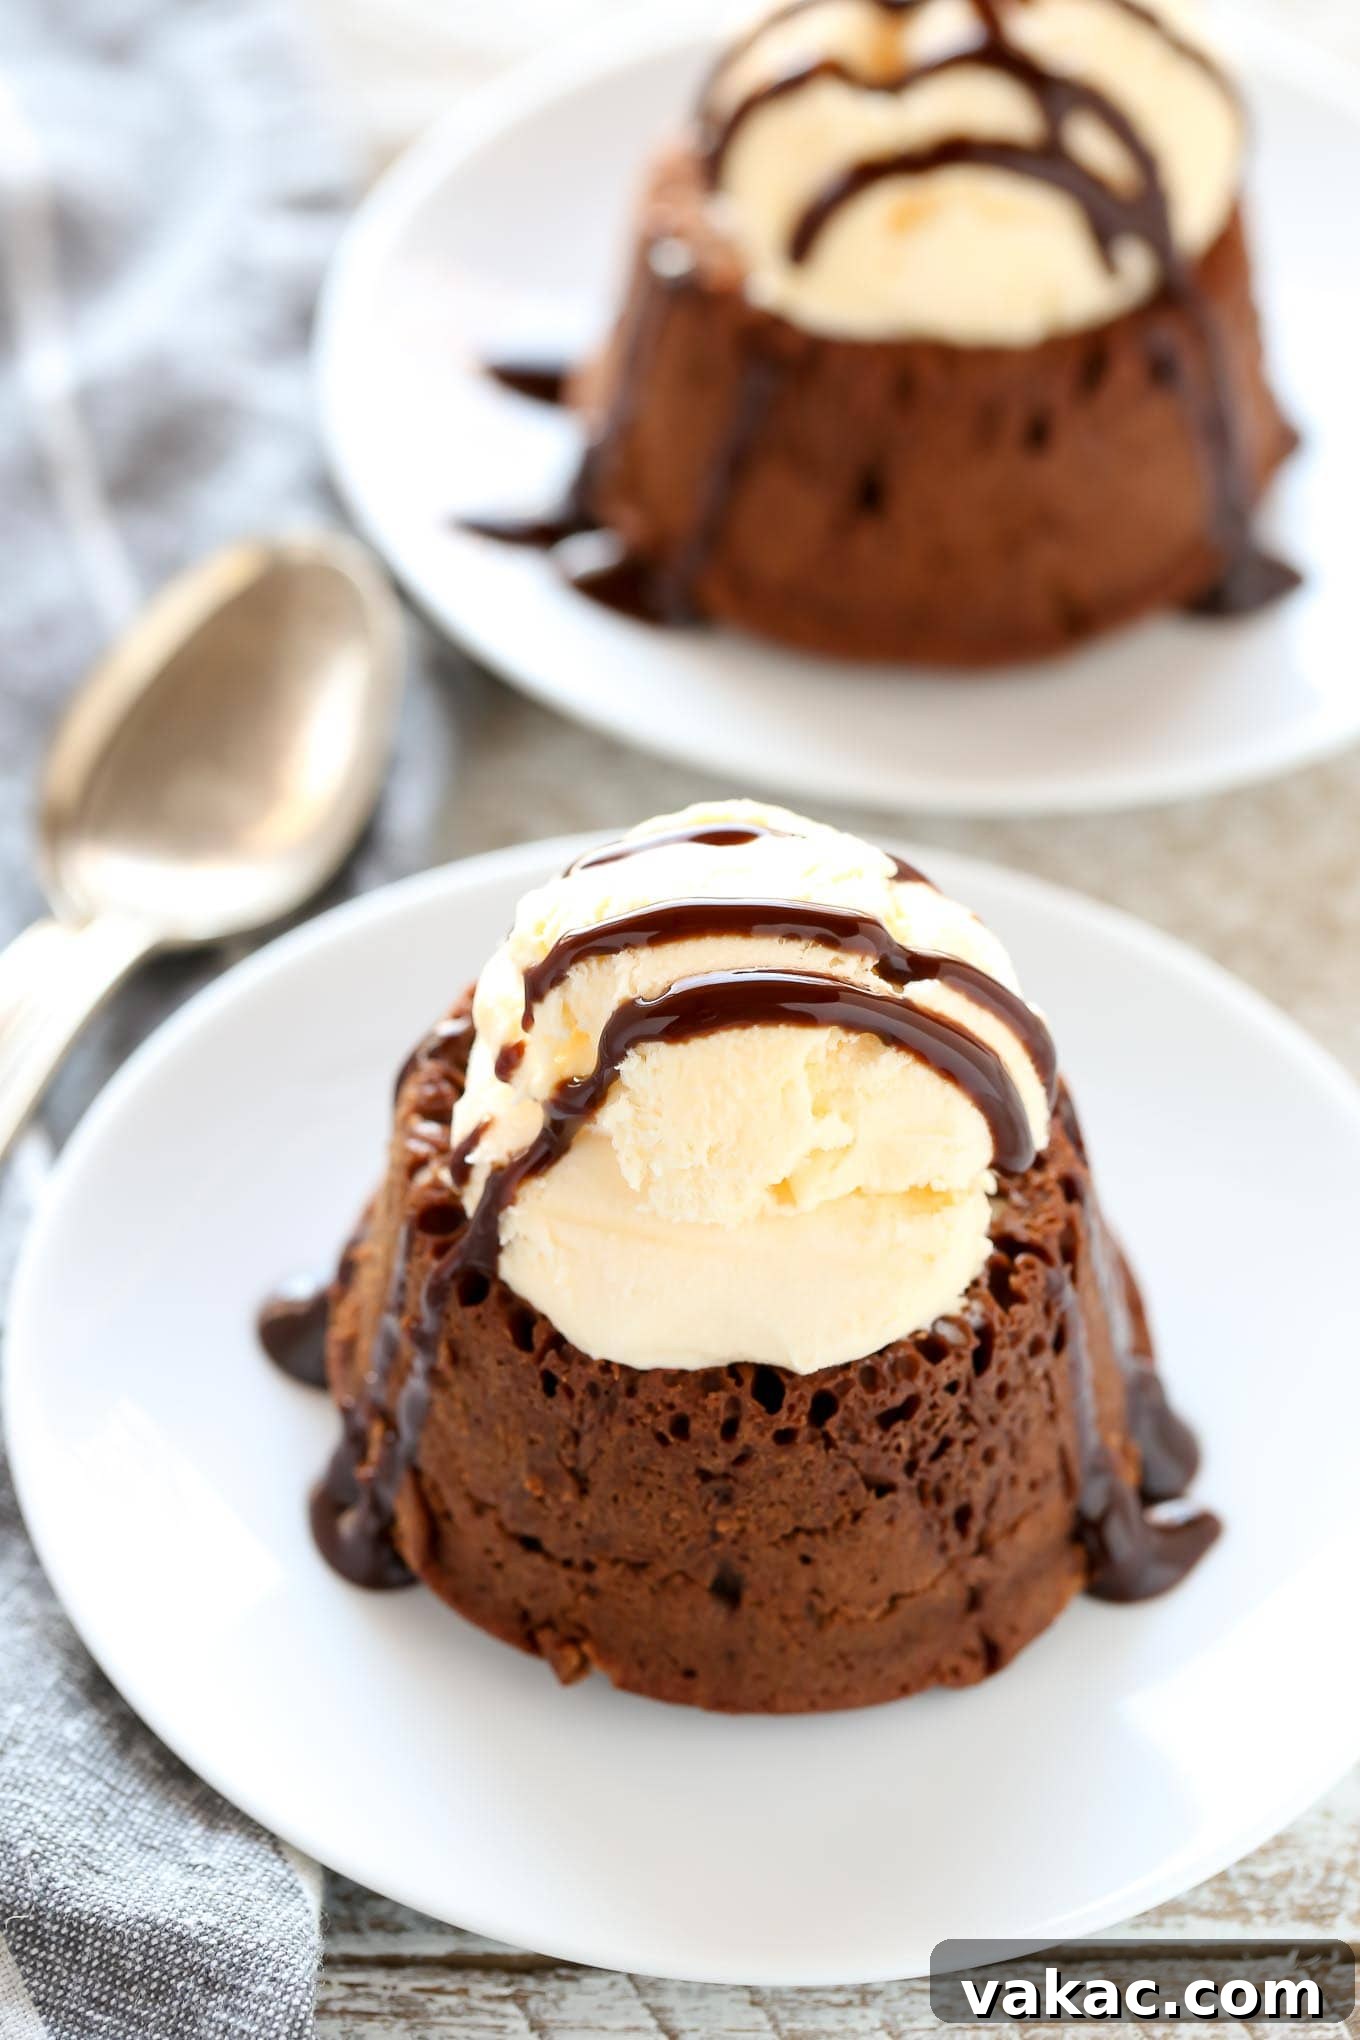
Do you ever find yourself yearning for something sweet and luxurious, but without the hassle of baking a full-sized cake or a large batch of cookies? Perhaps it’s just you and a loved one at home, and a dessert for dozens simply isn’t practical. This is where the magic of small-batch desserts comes into play. This particular molten chocolate lava cake recipe yields just two servings, offering an incredibly impressive yet surprisingly simple culinary feat. It has quickly become a favorite, rivalling even my go-to small batch chocolate chip cookies in its appeal and ease.
Imagine mixing all the ingredients in a single bowl and enjoying a restaurant-quality dessert in under half an hour. These lava cakes are not only perfect for satisfying an immediate sweet tooth but also make an elegant and romantic treat for special occasions like Valentine’s Day, anniversaries, or simply a night in. Their dramatic appearance and rich flavor are sure to impress, making you feel like a master baker without the extensive effort.
Understanding Molten Chocolate Lava Cakes
Often referred to as “chocolate moelleux,” “chocolate lava soufflé,” or simply “lava cake,” this beloved dessert is celebrated for its distinctive texture contrast. The exterior bakes into a delicate, firm cake, while the interior remains wonderfully liquid and gooey, resembling molten lava when cut open. This magical effect is achieved by underbaking the cake slightly, allowing the center to retain its rich, fudgy consistency without being raw. The key is precise timing and a high oven temperature, which ensures the outer edges set quickly while the core stays fluid.
Essential Ingredients for Your Lava Cake
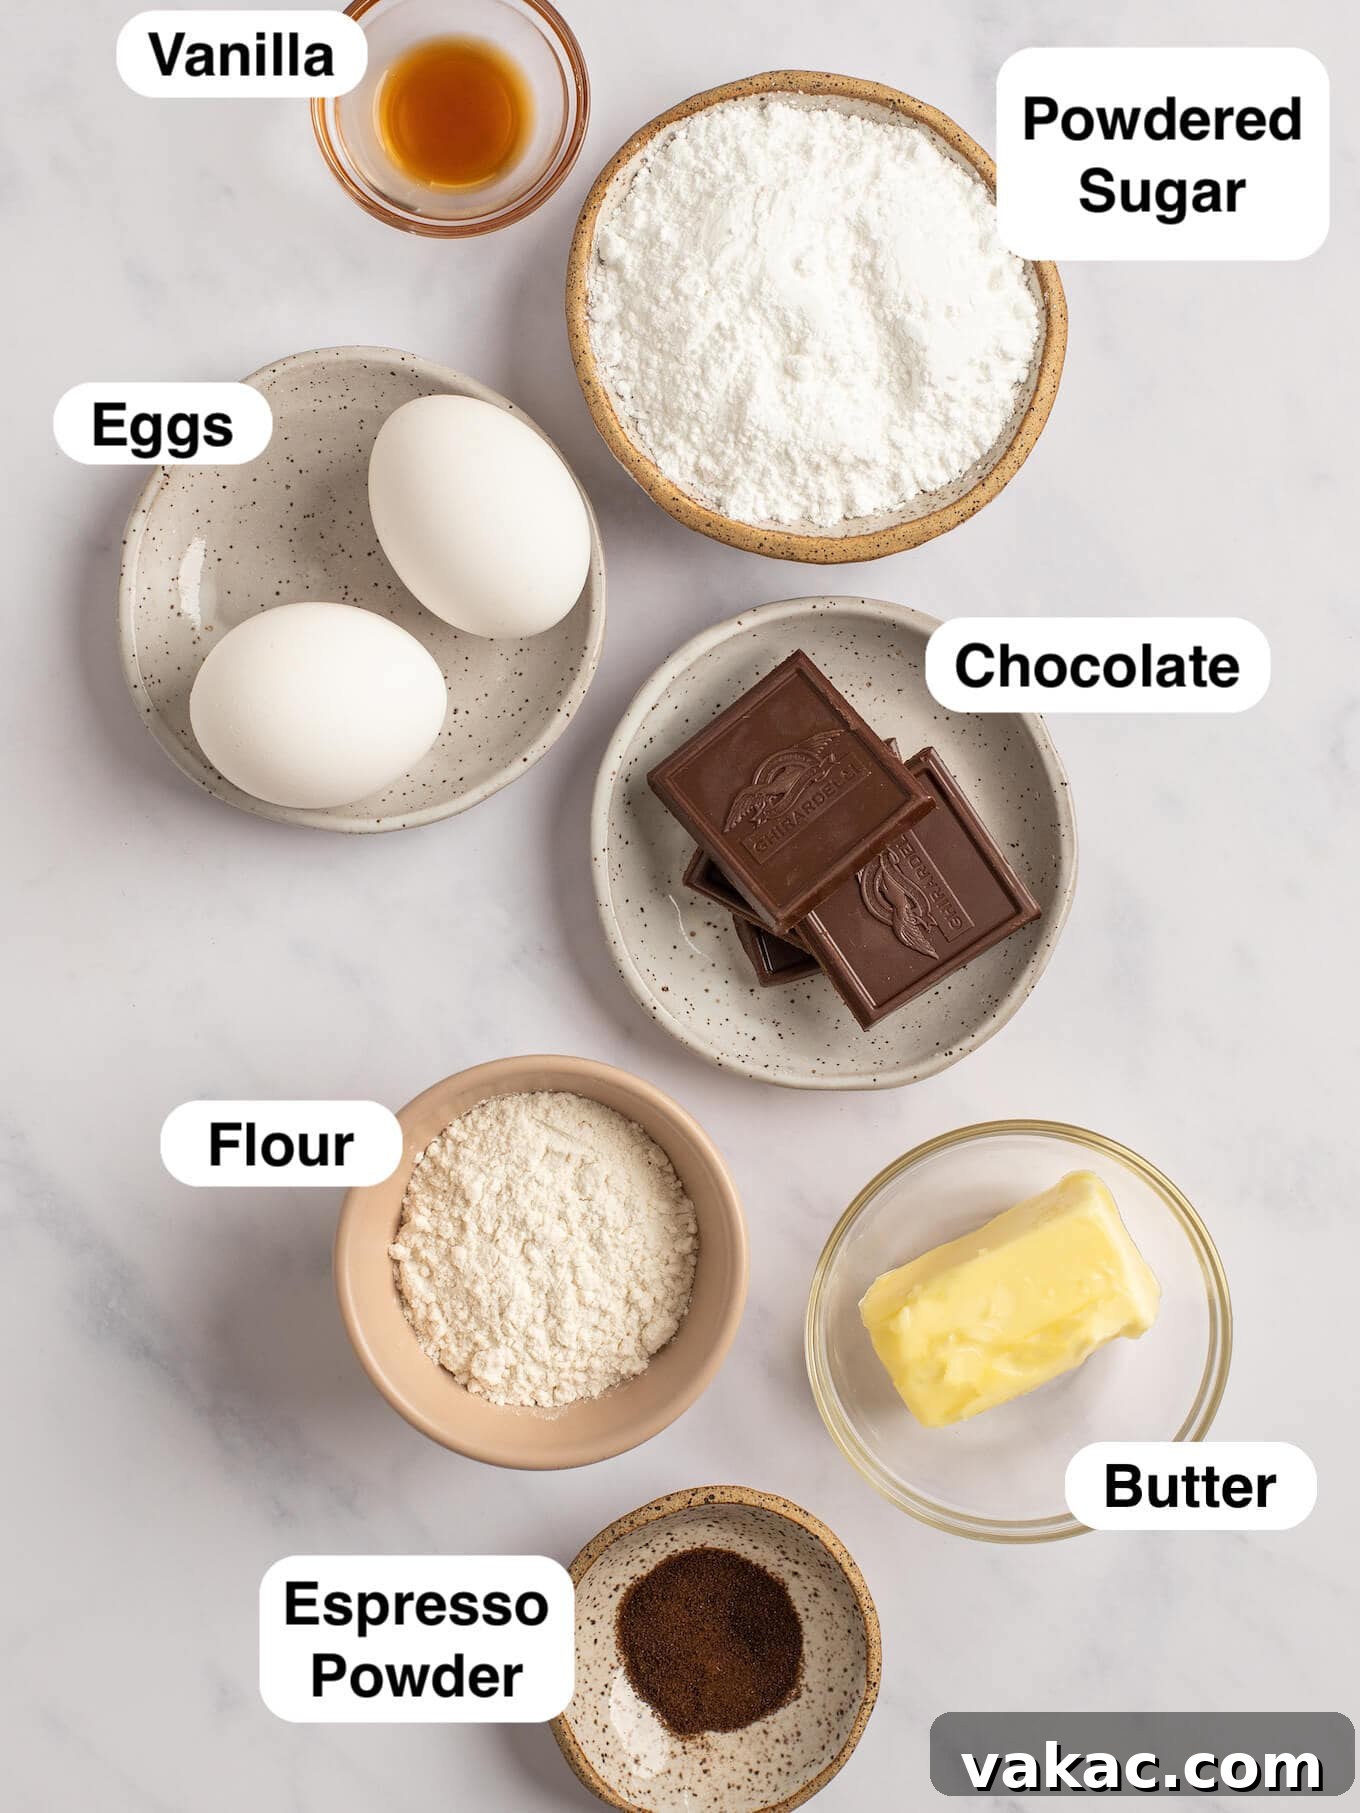
Crafting this elegant dessert requires only a handful of pantry staples, ensuring a minimal shopping list and maximum flavor impact. Here’s a detailed look at the simple yet crucial ingredients you’ll need for these irresistible molten chocolate lava cakes:
- Unsalted Butter: Using unsalted butter is highly recommended as it gives you complete control over the salt content in your recipe. The amount of salt in salted butters can vary significantly between brands, potentially altering the intended flavor balance of your delicate lava cakes.
- Semi-Sweet Chocolate: The quality of your chocolate directly impacts the richness and intensity of your lava cakes. High-quality semi-sweet chocolate bars, such as Bakers or Ghirardelli, are ideal for their superior melt and flavor profile. You’ll only need 2 ounces (57 grams) for this recipe, so consider purchasing a 4-ounce bar and saving the other half for your next batch or another delightful chocolate creation. Chop the chocolate finely for quicker and more even melting.
- Powdered Sugar (Confectioners’ Sugar): This recipe specifically calls for powdered sugar, not granulated sugar. Powdered sugar dissolves more readily into the melted chocolate and butter mixture, contributing to the exceptionally smooth, silky texture of the molten center. Granulated sugar, with its larger crystals, can result in a grainy texture and a less fluid lava filling.
- Eggs: The egg component is critical for structure and richness. This recipe cleverly utilizes one whole large egg and one large egg yolk. The whole egg provides structure, while the extra egg yolk enhances the richness, moisture, and fudginess of the cake. Ensure your eggs are at room temperature, as this helps them incorporate more smoothly into the batter, leading to a more uniform and tender crumb. Don’t discard the leftover egg white; it can be used for an egg white omelet the next morning or saved for other recipes like candied pecans or angel food cake.
- Vanilla Extract: Pure vanilla extract is essential for elevating the overall flavor profile of these chocolate cakes. Its warm, aromatic notes complement and enhance the deep cocoa flavors, adding a layer of complexity without overpowering the star ingredient. Opt for pure vanilla over artificial for the best results.
- All-Purpose Flour: Just a quarter cup (32 grams) of all-purpose flour provides the minimal structure needed to form the cake’s outer shell while keeping the center deliciously molten. Accurate measurement is key here. Always use the “spoon and level” method: spoon flour into your measuring cup and level it off with a straight edge, rather than scooping directly, which can compact the flour and lead to too much being added. If you’re unsure, refer to a guide on how to measure flour correctly.
- Instant Espresso Powder (Optional): A secret weapon for enhancing chocolate flavor! Instant espresso powder, such as Medaglia d’Oro or King Arthur, doesn’t make the cakes taste like coffee; instead, it deepens and intensifies the chocolate notes, making them taste even more “chocolatey.” If you don’t have espresso powder, instant coffee granules can be used as a substitute, or you can simply omit it if you prefer.
Step-by-Step Guide: Crafting Your Molten Chocolate Lava Cakes
Creating these decadent desserts is simpler than you might think, especially when you follow these clear, easy-to-understand steps. Get ready to bake a dessert that looks and tastes like it came from a gourmet patisserie!
- Prepare Your Oven and Ramekins: Begin by preheating your oven to 425°F (218°C). This high temperature is crucial for achieving that perfectly set exterior and molten interior. Thoroughly grease two 6-ounce ramekins with nonstick cooking spray. For an extra layer of protection against sticking and to add a beautiful finish, you can also lightly dust the greased ramekins with cocoa powder. Place the prepared ramekins on a baking sheet, which will make them easier to transfer to and from the oven. Set them aside while you prepare the batter.
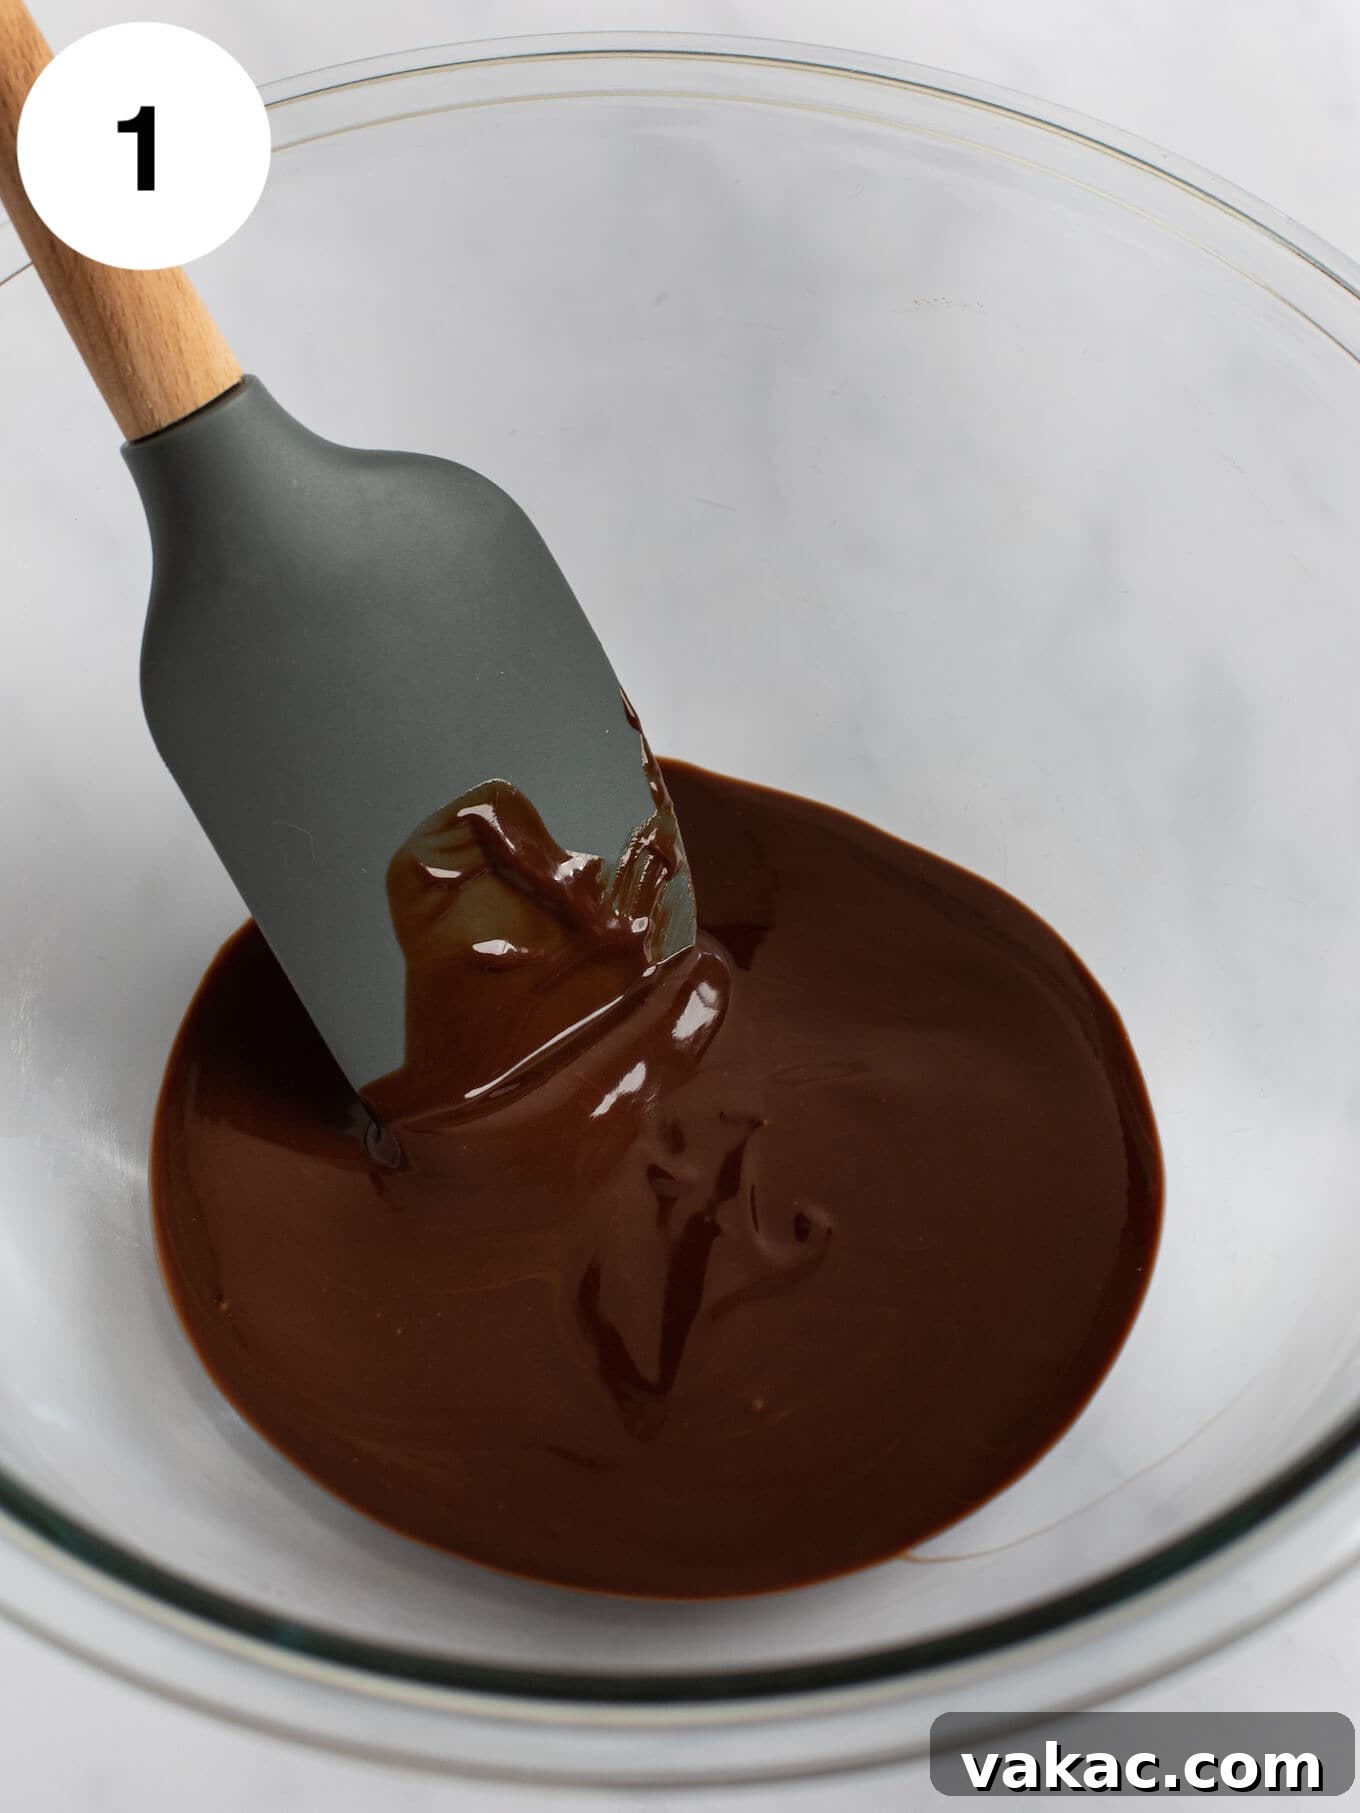
- Melt Chocolate and Butter: In a large microwave-safe bowl, combine the unsalted butter and chopped semi-sweet chocolate. Microwave the mixture in short intervals of 20 to 30 seconds. After each interval, stir the mixture well with a rubber spatula. Continue this process until the butter and chocolate are completely melted and yield a smooth, glossy consistency. Be careful not to overheat the chocolate, as this can cause it to seize. Alternatively, you can use a double boiler method for a more controlled melt.
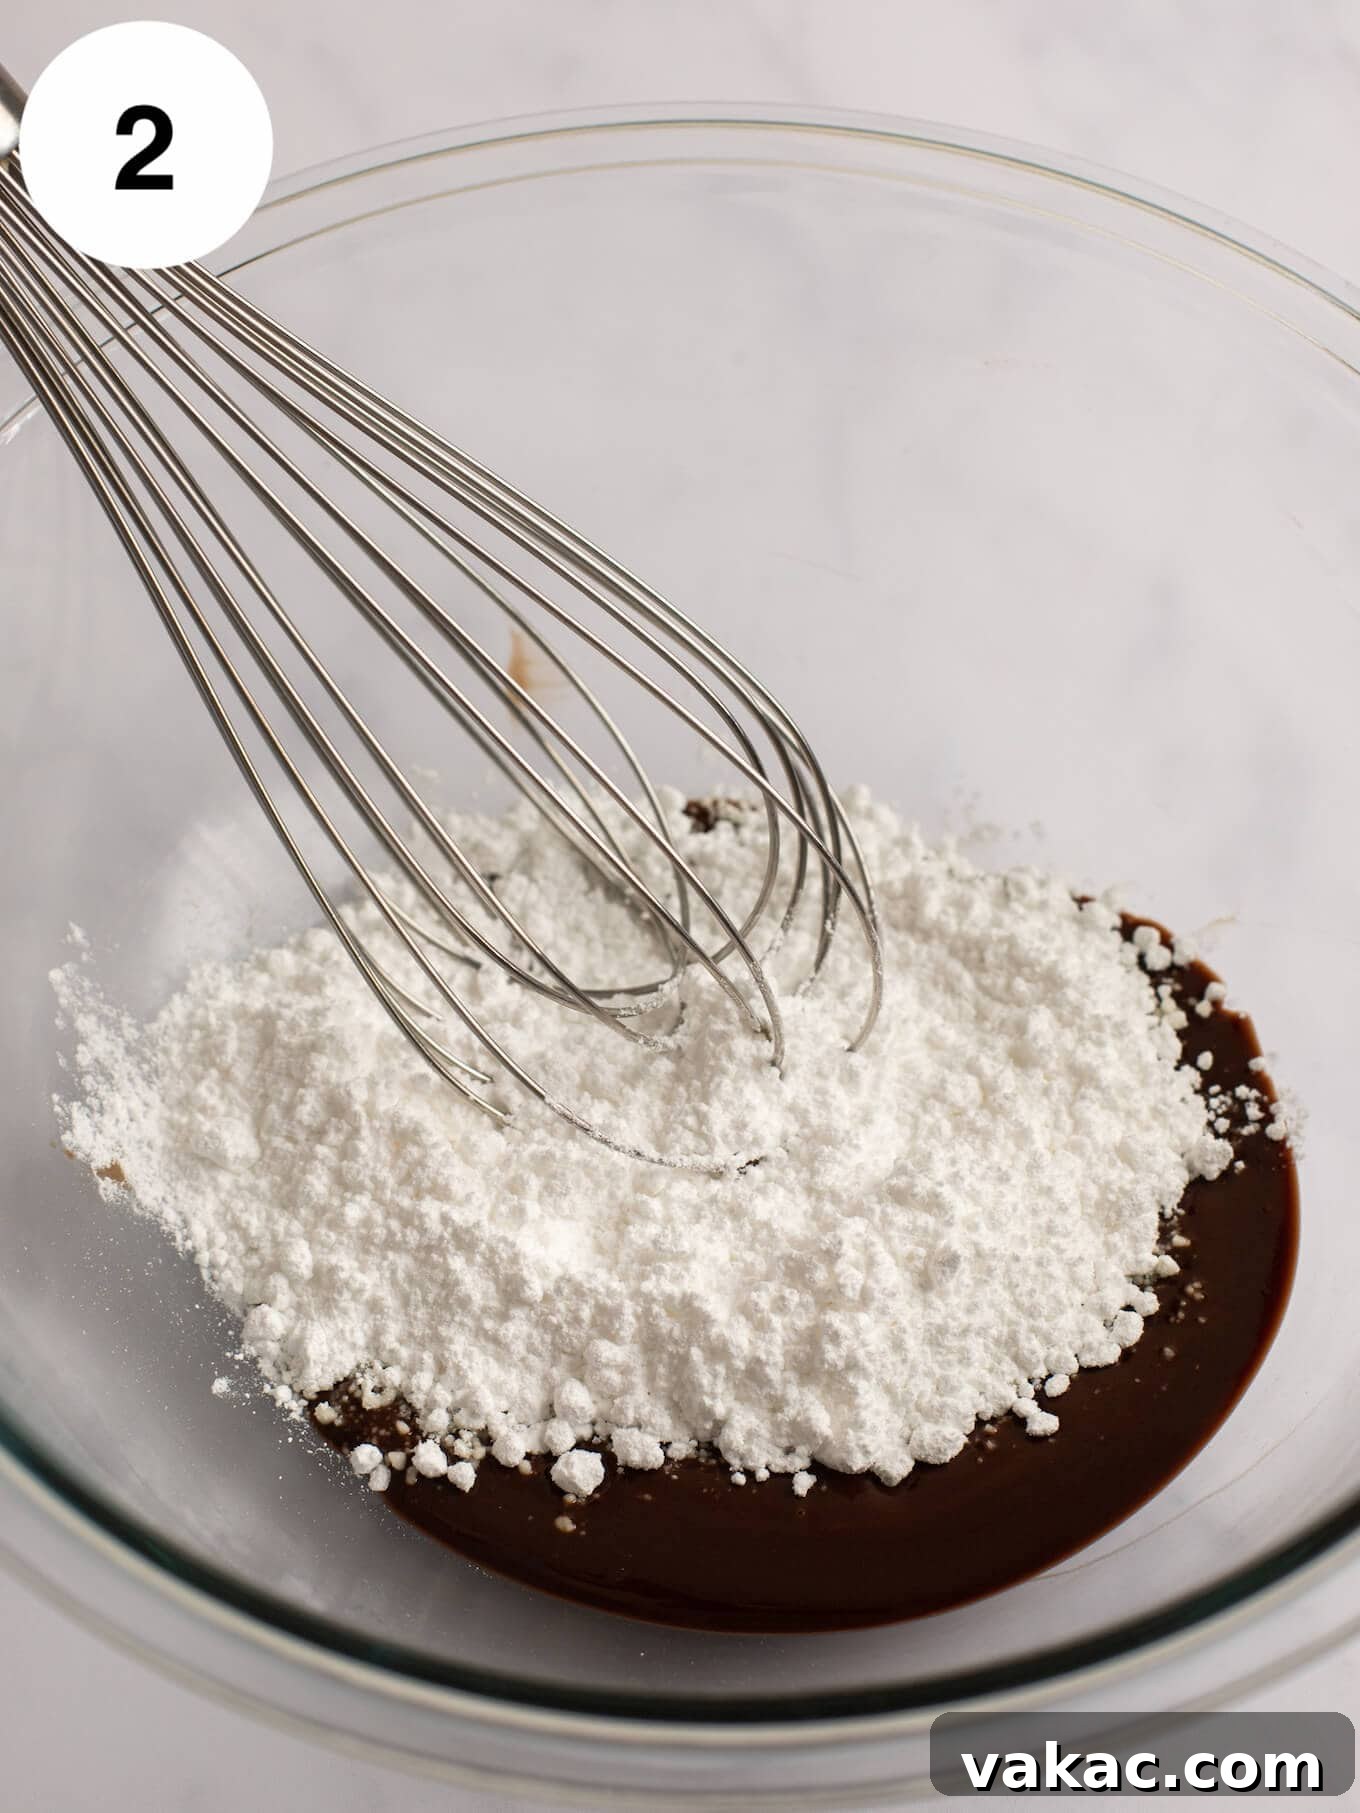
- Incorporate Sugar, Egg, and Vanilla: Remove the melted chocolate mixture from the microwave. Add the powdered sugar and whisk or stir vigorously until it is thoroughly combined and no lumps remain. Next, add the whole large egg, the large egg yolk, and the pure vanilla extract. Mix until all these ingredients are fully incorporated into the chocolate mixture, creating a rich and homogenous batter.
- Add Flour and Espresso Powder: Lastly, gently fold in the all-purpose flour and the instant espresso powder (if using). Mix until just combined. It is vitally important at this stage not to overmix the batter. Overmixing can develop the gluten in the flour, leading to tough, chewy cakes rather than the desired soft and tender texture. Stop mixing as soon as you no longer see streaks of dry flour.
- Divide and Bake: Evenly divide the prepared batter between the two greased ramekins. You can gently tap the ramekins on the counter a few times to settle the batter and release any air bubbles. Place the ramekins on the baking sheet back into the preheated oven. Bake for 12 to 14 minutes. The cakes are done when the edges appear firm and set, but the very center still looks slightly soft and jiggles gently if you lightly tap the ramekin. This indicates that the core is perfectly molten.
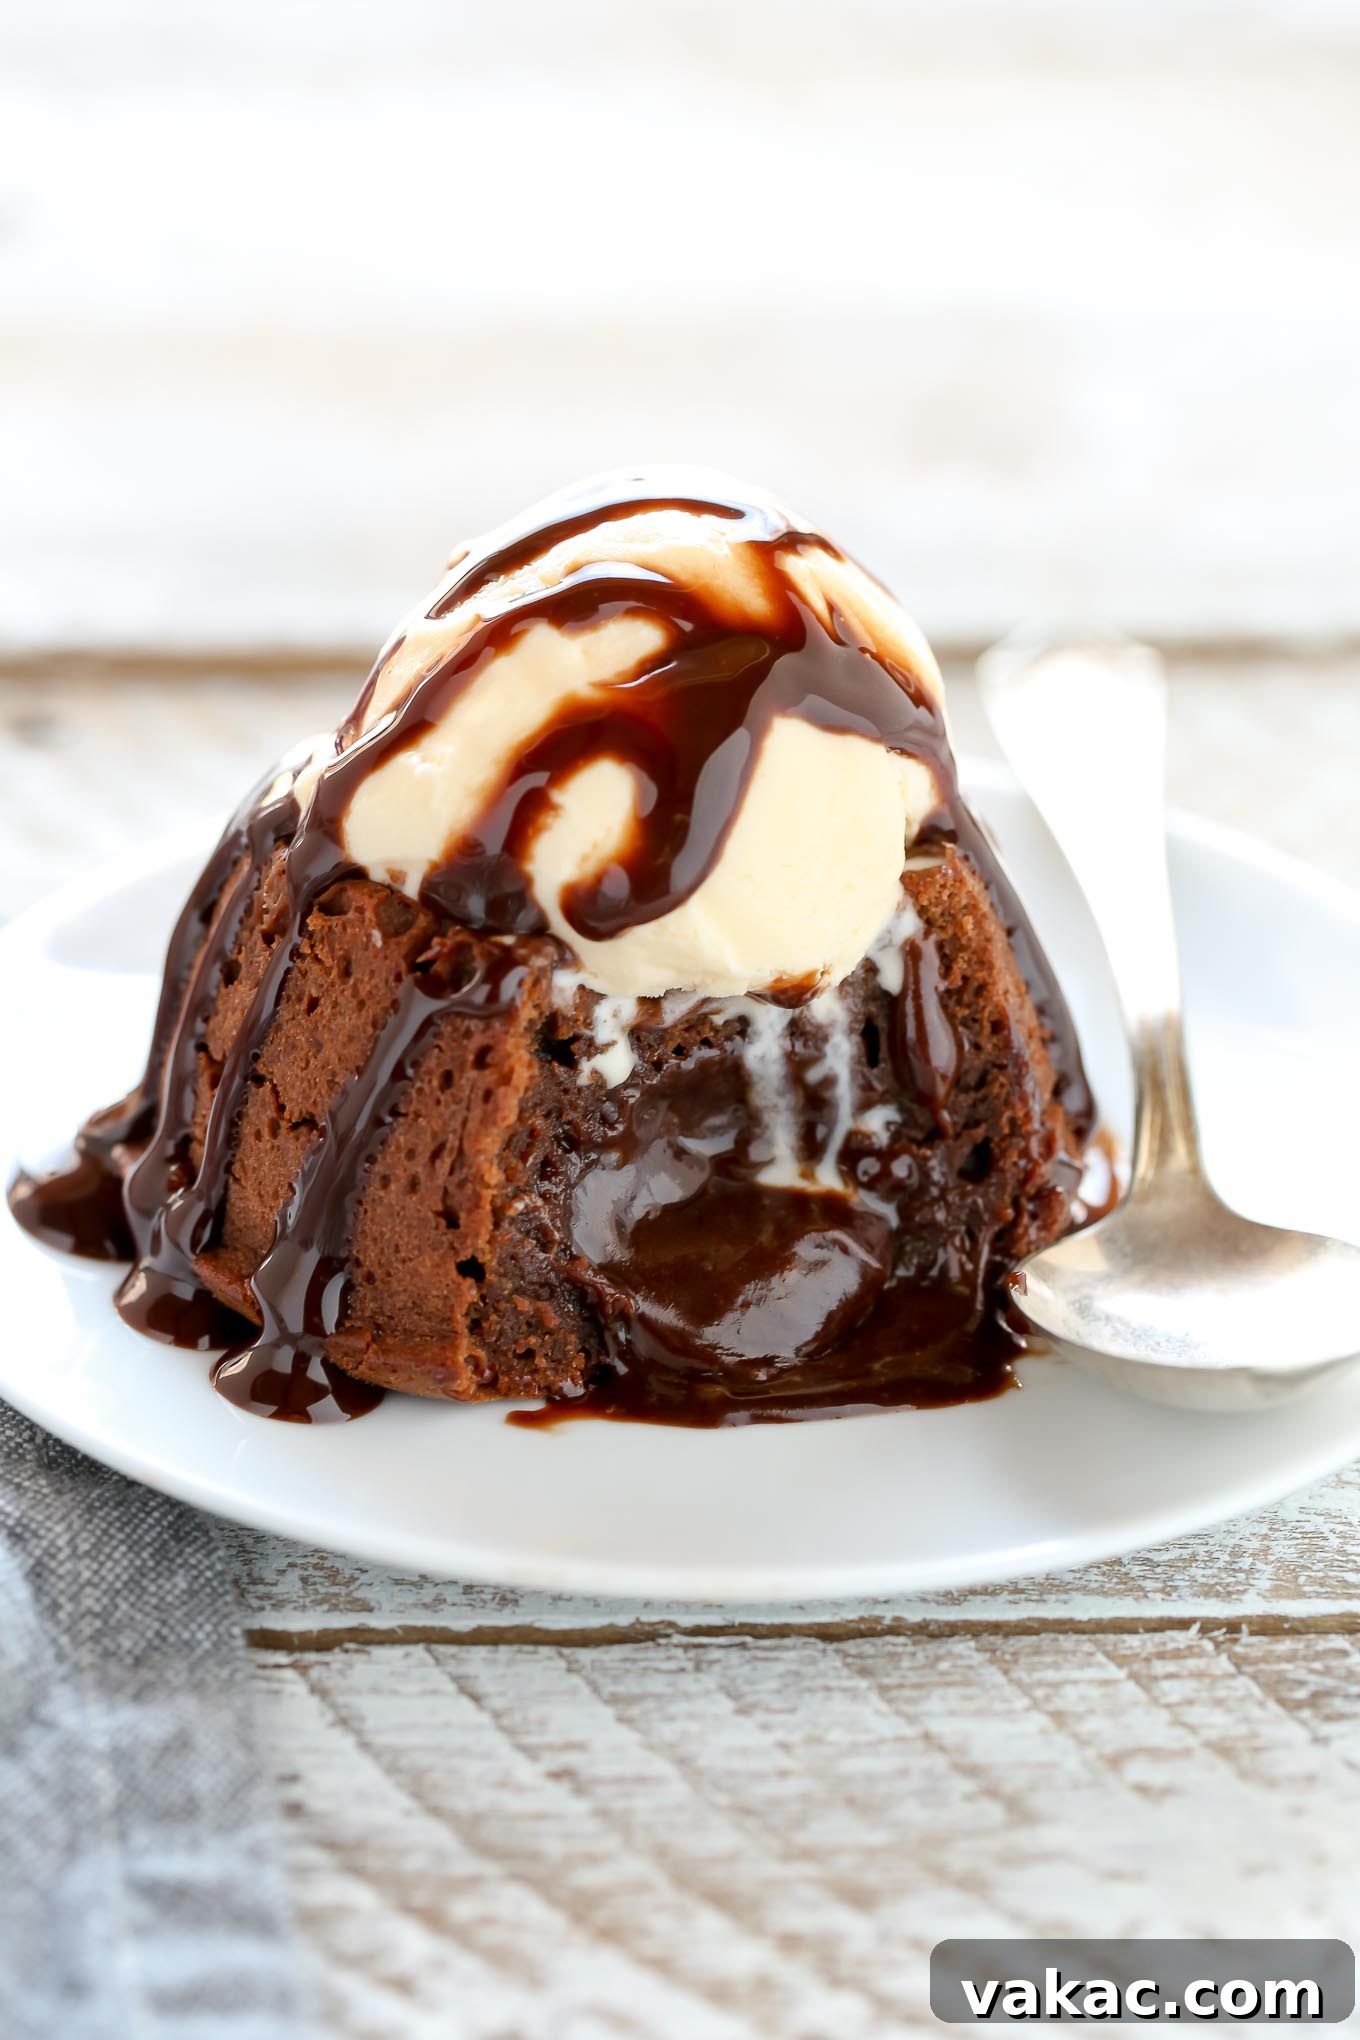
- Rest and Serve: Once baked, carefully remove the ramekins from the oven. Allow them to stand for just one minute on the baking sheet. This brief resting period helps the cakes firm up slightly before you invert them. After one minute, carefully place a small serving plate upside down over each ramekin and, using oven mitts, invert the cake onto the plate. Lift the ramekin gently. Serve immediately and prepare to enjoy the magical flow of warm chocolate!
Frequently Asked Questions About Lava Cakes
Is Lava Cake Raw In The Middle?
No, the center of a molten lava cake is not raw. While the cakes are removed from the oven before the center is completely firm, the batter reaches a safe temperature during baking. The eggs are cooked sufficiently, ensuring the dessert is safe to eat while retaining its delightful gooey, liquid consistency.
Can I Make This Recipe in a Muffin Tin?
Absolutely! If you don’t have ramekins, a muffin pan is an excellent alternative. Simply grease four cavities of a standard muffin pan with nonstick cooking spray. Divide the batter evenly among these four cavities. Bake at 425°F (218°C) for a slightly shorter duration, typically 8 to 10 minutes, or until the edges are firm but the centers are still soft and jiggle slightly. Allow them to rest for one minute after baking before inverting them onto serving plates.
Can I Prepare These Ahead Of Time?
Yes, these lava cakes are surprisingly suitable for make-ahead preparation! After you’ve filled the ramekins with batter, cover them tightly with plastic wrap and store them in the refrigerator for one to two days. When you’re ready to bake, remove them from the refrigerator and let them sit on the counter for about 20-30 minutes to come closer to room temperature. Then, bake as directed in the recipe, adding a minute or two to the baking time if they are still quite cold.
What Type of Chocolate is Best for Lava Cakes?
For the best flavor and texture, use high-quality semi-sweet or bittersweet chocolate. Chocolate bars designed for baking (like Ghirardelli, Callebaut, or Valrhona) are preferred over chocolate chips, as chips often contain stabilizers that prevent them from melting as smoothly. If using milk chocolate, be aware that the cakes will be significantly sweeter and have a softer molten center due to the higher sugar and milk fat content.
How Do I Know When My Lava Cakes Are Done?
The key to perfect lava cakes is pulling them out of the oven at precisely the right moment. The edges should appear firm and set, forming a slight crust, while the very center should still be soft and gently jiggle when the ramekin is lightly shaken. Avoid baking until the center is completely firm, as this will result in a fully baked cupcake-like texture rather than the desired molten core.
Pro Baking Tips for Perfect Molten Lava Cakes
- Room Temperature Eggs Are Essential: Always use room temperature eggs for this recipe. Eggs at room temperature emulsify more easily with the melted butter and chocolate, creating a smoother, more uniform batter. If you forgot to take your eggs out, a quick trick is to place them in a bowl of warm (not hot) water for 5 to 10 minutes.
- Avoid Overmixing the Batter: Once you add the flour, mix the batter only until the ingredients are just combined. Overmixing develops the gluten in the flour, which can lead to a tough, dense cake rather than the delicate, tender crumb you want around your molten center. A few lumps of flour are better than an overmixed batter.
- Ensure Ramekins Are Well-Greased: To guarantee a clean release of your lava cakes, liberally spray your ramekins with nonstick cooking spray. For extra assurance and a professional touch, lightly dust the greased ramekins with a layer of cocoa powder. This not only prevents sticking but also adds to the rich chocolate aesthetic of the finished cake.
- Mind Your Oven Temperature: Oven calibration can vary. If your cakes aren’t setting correctly or are baking too quickly/slowly, consider using an oven thermometer to ensure your oven is truly at 425°F (218°C). The high temperature is crucial for the perfect crust and molten center.
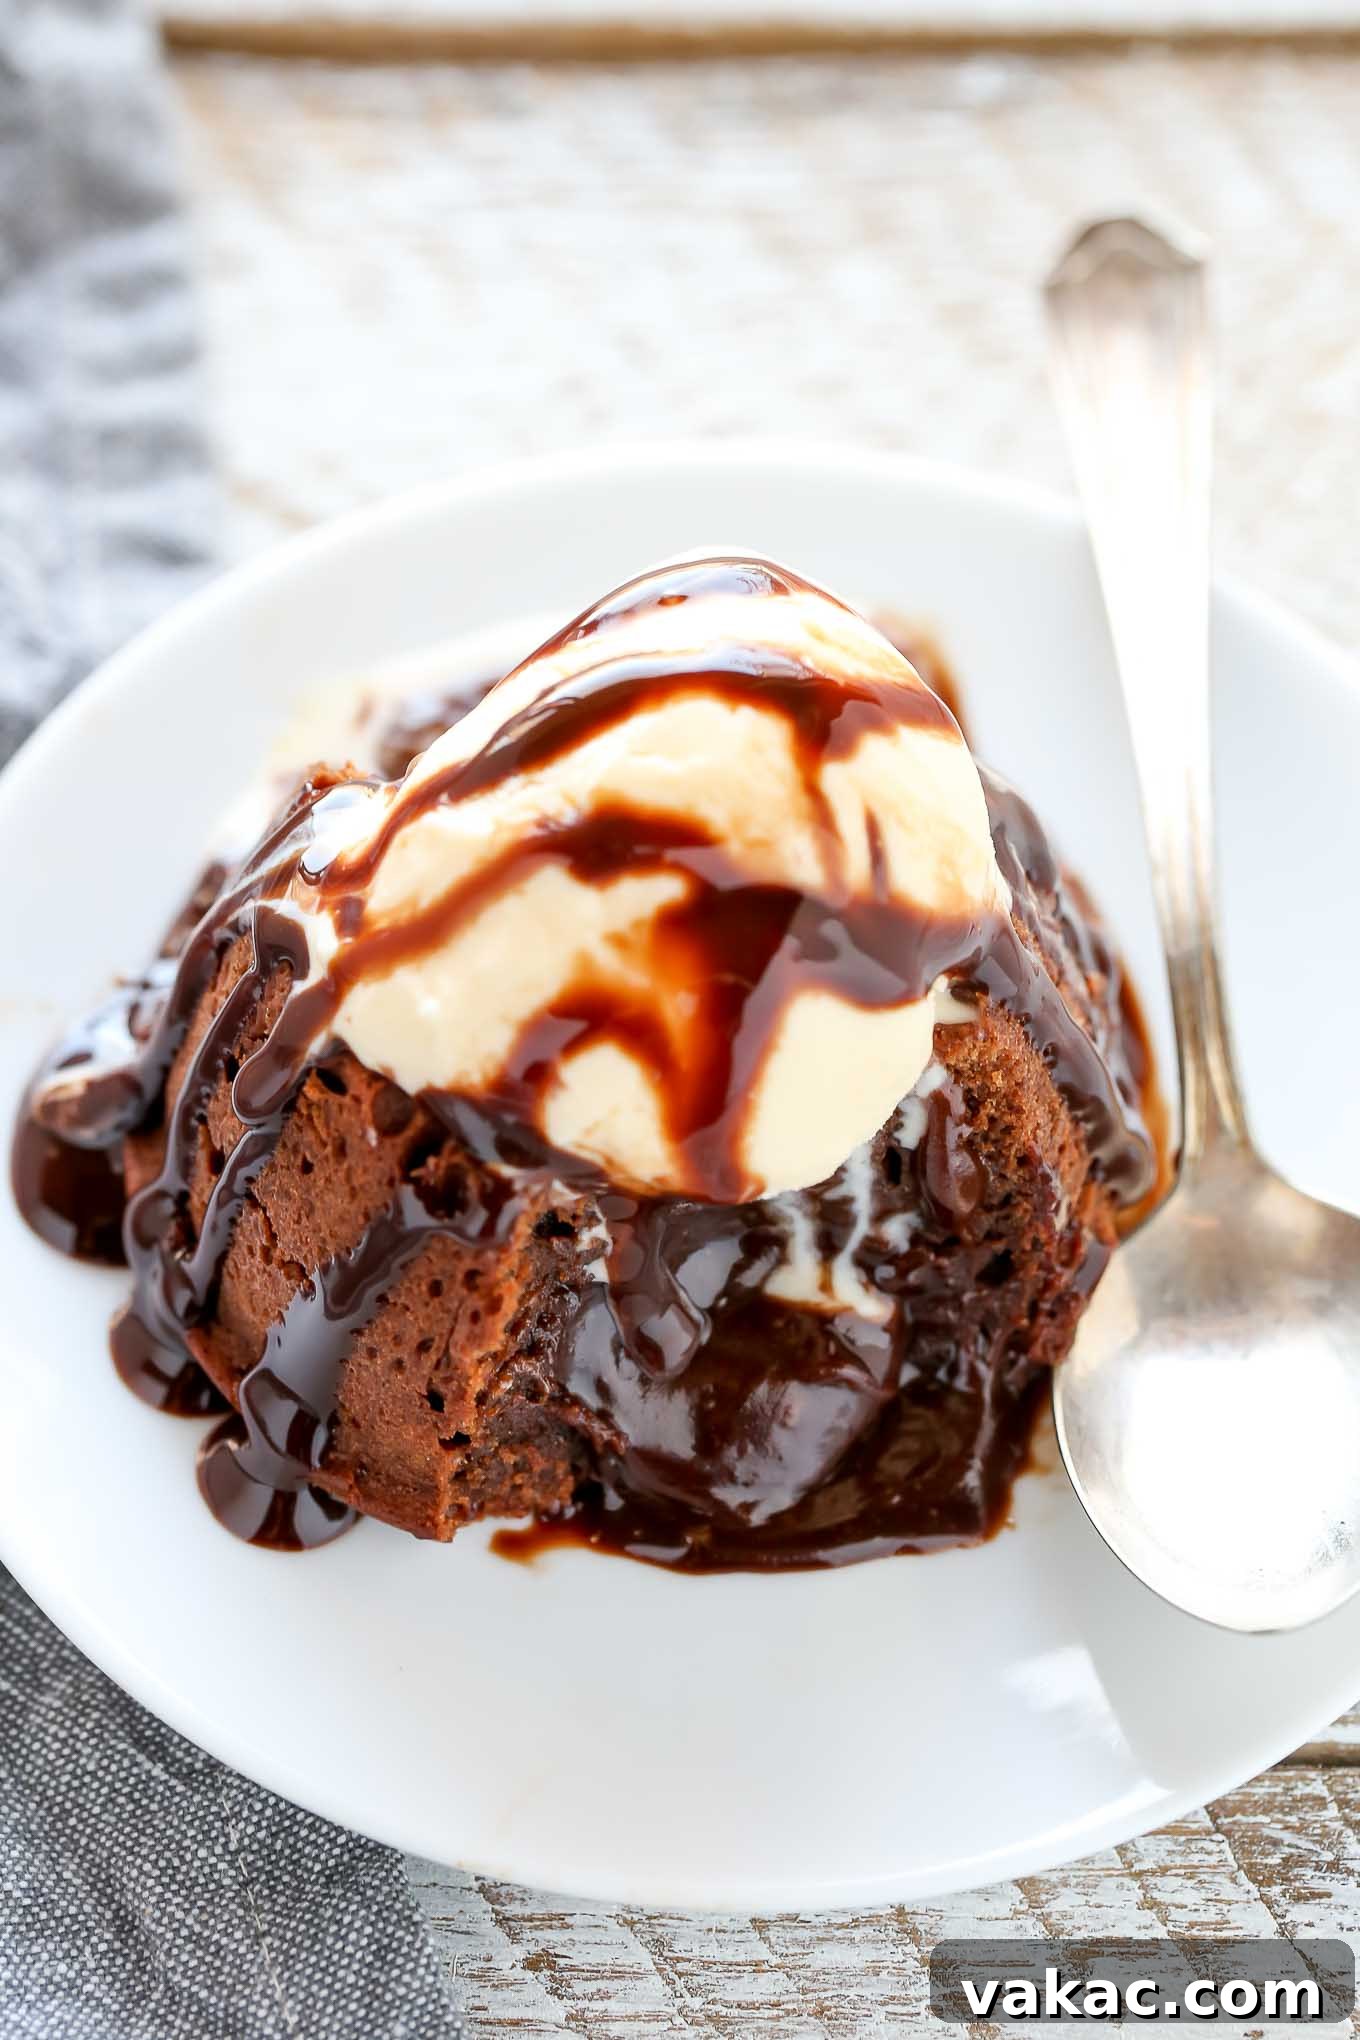
- The Art of Topping: These lava cakes are divine on their own, but toppings elevate them to another level. My personal favorites include a scoop of creamy no-churn vanilla ice cream and a drizzle of warm hot fudge sauce. Other delightful options include homemade salted caramel sauce, fresh berries (raspberries or strawberries), a dollop of whipped cream, or a simple dusting of powdered sugar or cocoa powder.
- Troubleshooting Common Issues: If your lava cake doesn’t have a molten center, it’s likely overbaked. Reduce baking time slightly next time. If it’s too runny, it might be underbaked or your oven temperature is too low. Conversely, if it sticks to the ramekin, it wasn’t greased sufficiently. Practice makes perfect!
Molten Chocolate Lava Cake Recipe
This Molten Chocolate Lava Cake recipe is the perfect small batch dessert! Easy to make and ready in less than 30 minutes.
Pin Recipe
Leave a Review
Ingredients
- ¼ cup unsalted butter (60 grams)
- 2 ounces semi-sweet chocolate chopped (57 grams)
- ½ cup powdered sugar (60 grams)
- 1 large egg at room temperature
- 1 large egg yolk at room temperature
- ½ teaspoon vanilla extract
- ¼ cup all-purpose flour spooned & leveled (32 grams)
- ½ teaspoon instant espresso powder optional
Instructions
- Preheat the oven to 425°F (218°C). Spray two 6-ounce ramekins well with nonstick cooking spray and place on a baking sheet. Set aside.
- Add the butter and semi-sweet chocolate to a large microwave-safe bowl and microwave in 20 to 30 second increments, making sure to stir well after each increment, until melted and smooth.
- Remove from the microwave and whisk in the powdered sugar until well combined, then add the egg, egg yolk, and vanilla and mix until fully combined.
- Add the flour and espresso powder and mix until just combined, making sure not to over mix the batter. Evenly divide the batter between the two prepared ramekins.
- Bake for 12 to 14 minutes or until the edges are firm and the center is slightly soft. Remove from the oven and allow to stand for 1 minute. Carefully invert each ramekin onto a small plate, serve, and enjoy!
Mention @livewellbakeoften on Instagram or tag #livewellbakeoften.
Recipe adapted from The Pioneer Woman