
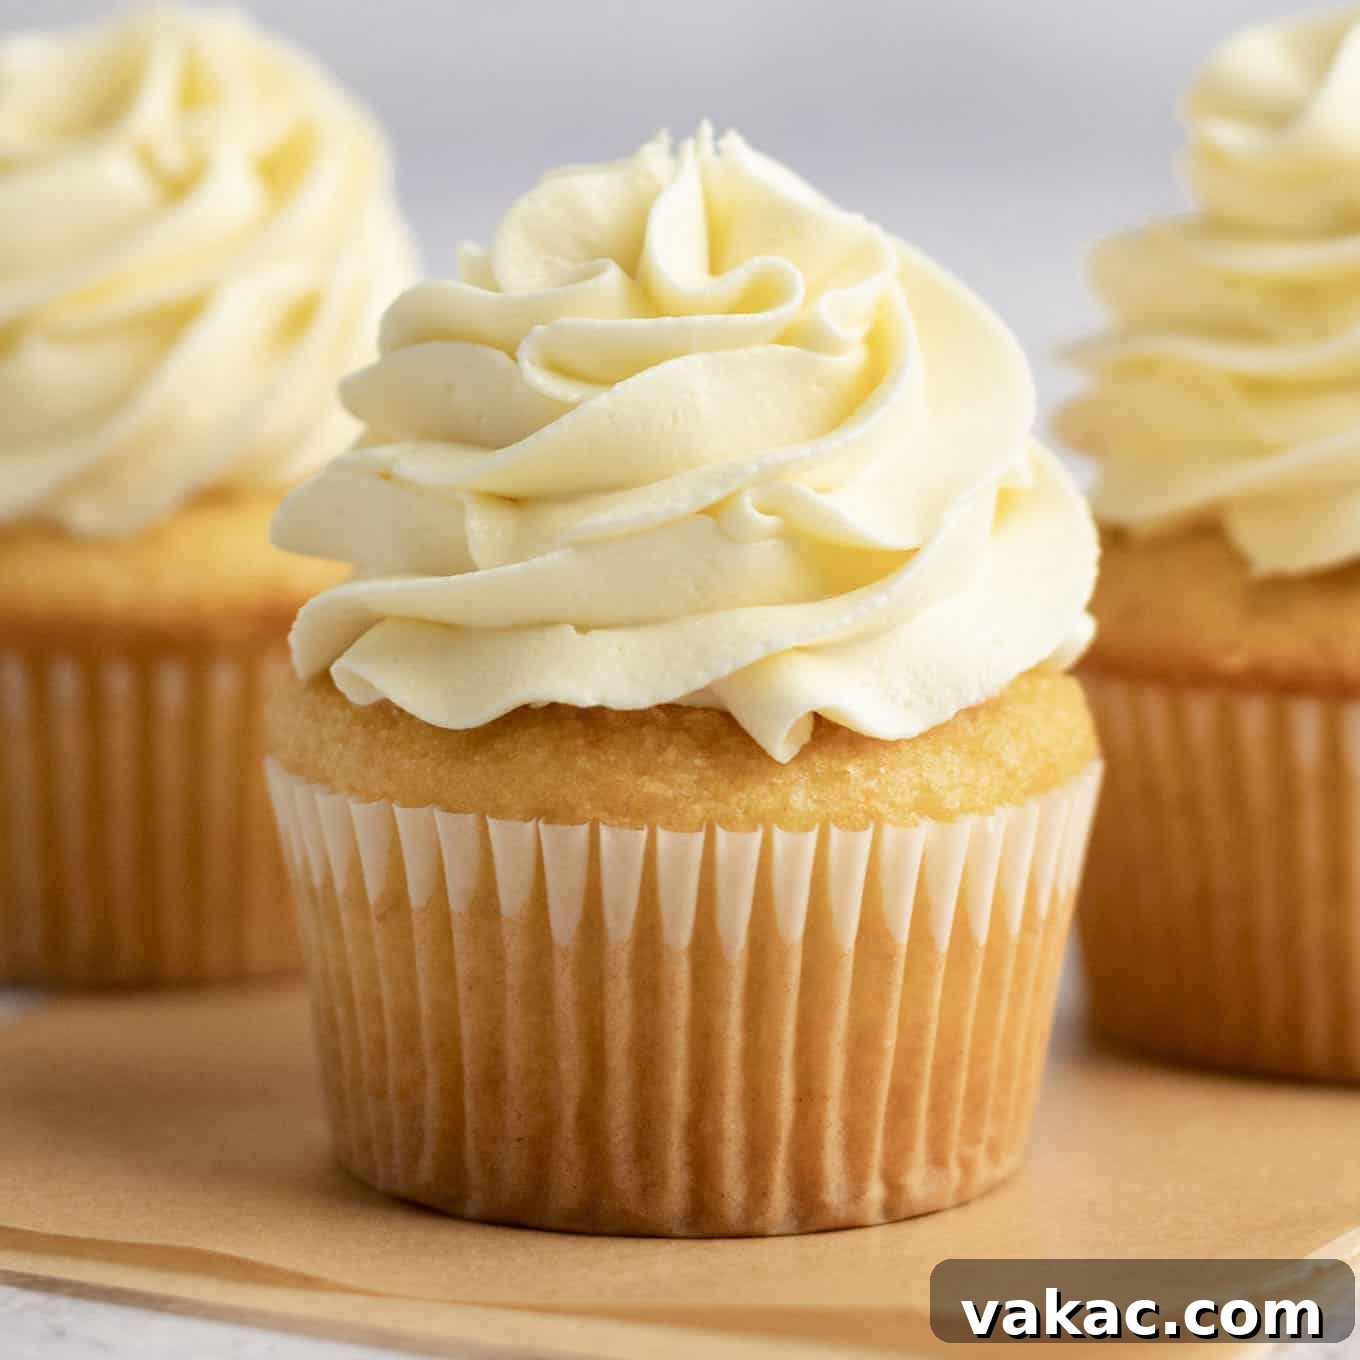
Welcome to the ultimate guide for crafting the most decadent and silky smooth white chocolate frosting you’ve ever tasted! This recipe delivers an incredibly rich and creamy texture, making it the perfect companion for a wide array of baked goods. Made with just a handful of staple ingredients like softened butter, fine powdered sugar, and premium melted white chocolate, this homemade frosting is not only simple to whip up but also promises to elevate your desserts to a new level of deliciousness.
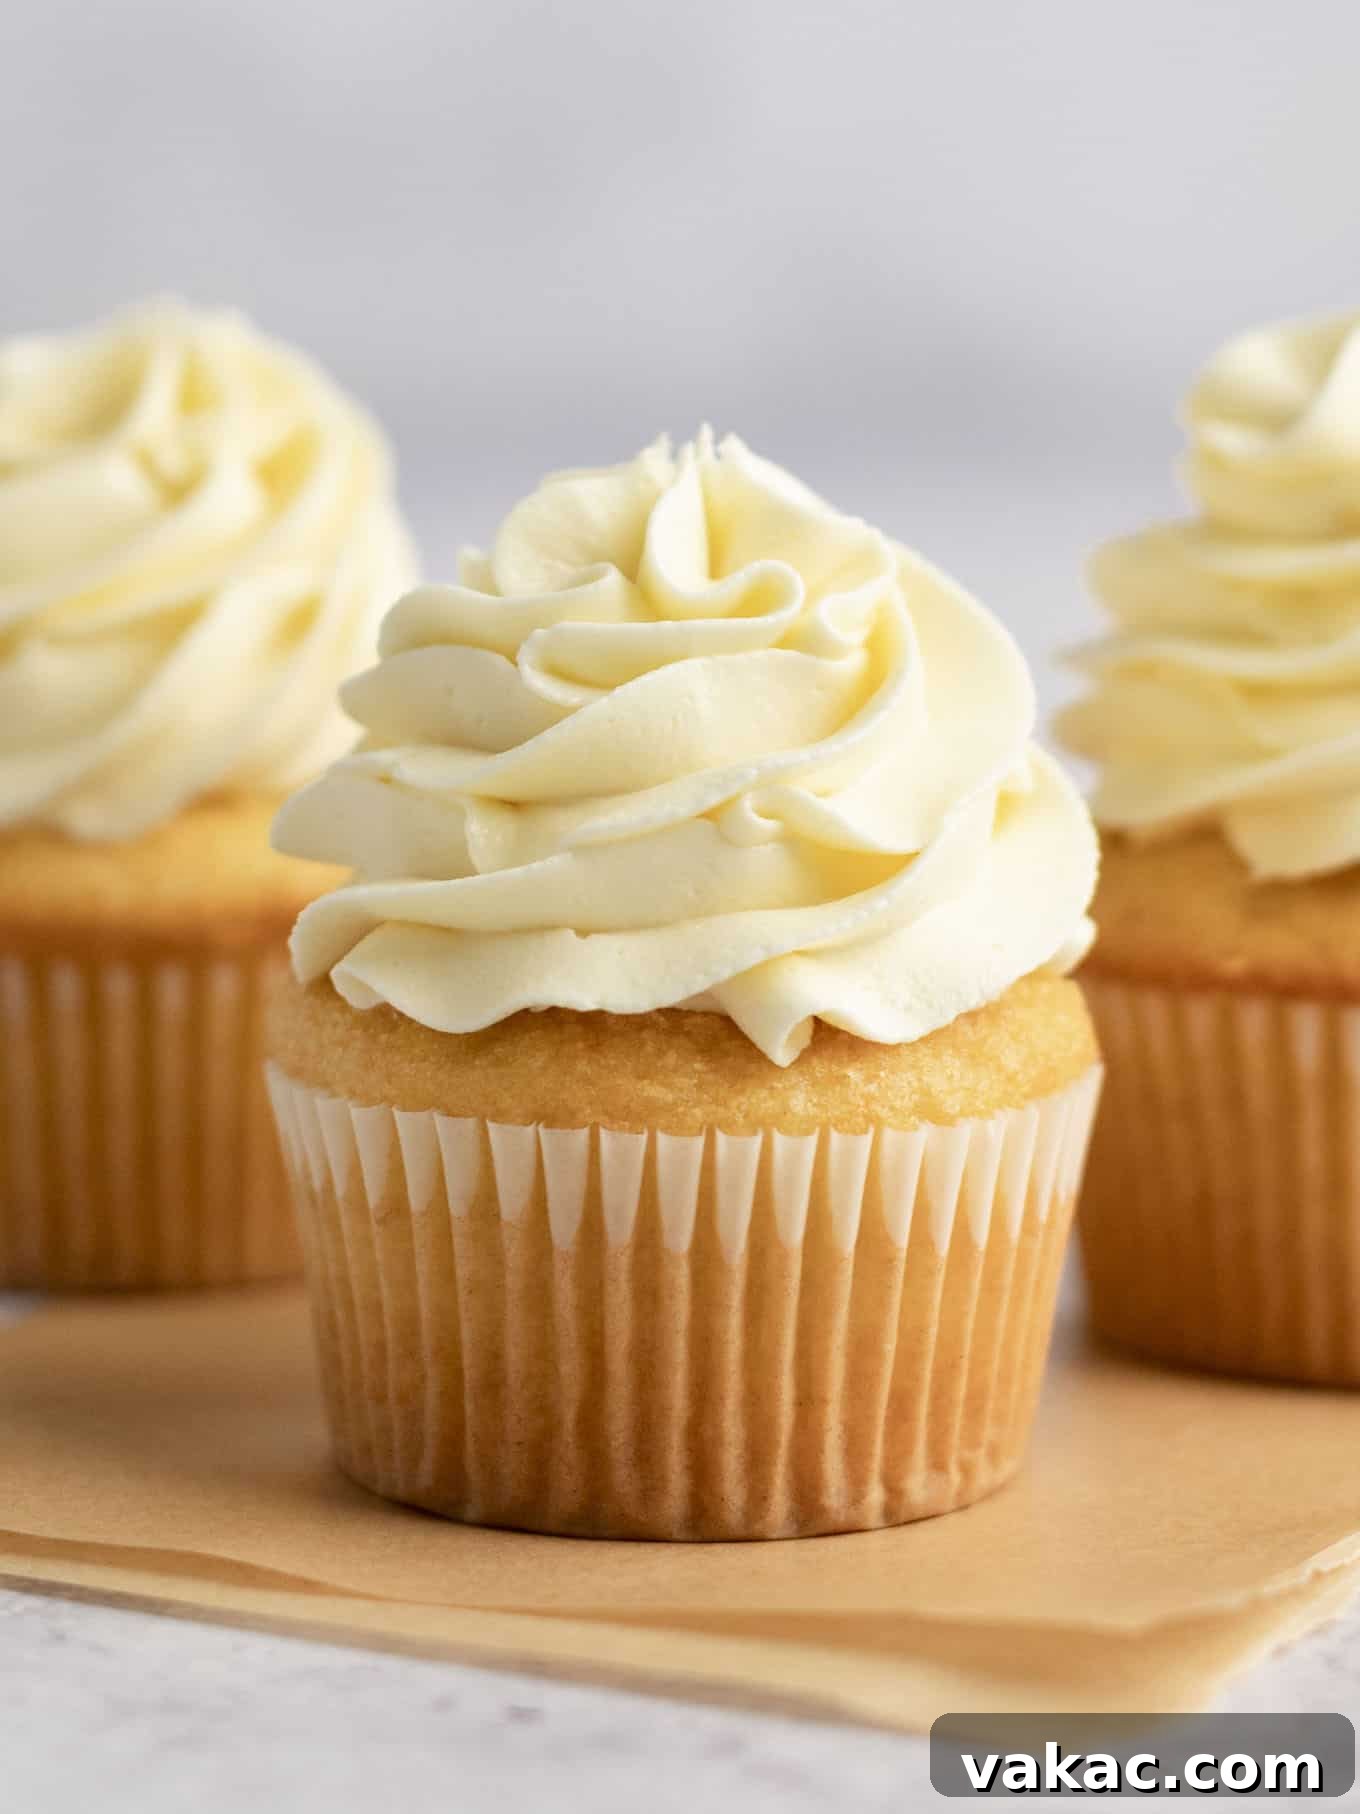
Forget store-bought frostings; this easy white chocolate buttercream is a game-changer. It builds upon the classic buttercream foundation, but instead of traditional cocoa powder, it incorporates the exquisite flavor of melted white chocolate. The result is a truly remarkable frosting that strikes a perfect balance: delightfully sweet without being cloyingly so. Its luxurious consistency makes it incredibly versatile, pairing beautifully with almost any cake or cupcake flavor you can imagine.
If you’re a fan of a well-made buttercream, prepare to fall in love with this white chocolate rendition. It’s designed to be effortlessly smooth, pipes like a dream, and holds its shape wonderfully, making it ideal for both elegant decorations and simple swirls. This recipe isn’t just about frosting; it’s about adding a touch of gourmet sophistication to your homemade treats.
Watch the Recipe Video Tutorial (Coming Soon!)
Visual learners, rejoice! While the full recipe video is currently in production, imagine clear, step-by-step instructions guiding you through every stage of making this decadent white chocolate frosting. From melting the chocolate perfectly to achieving that dreamy, fluffy consistency, our video will ensure your success. Keep an eye out for this invaluable resource to master the art of homemade white chocolate buttercream with ease and confidence.
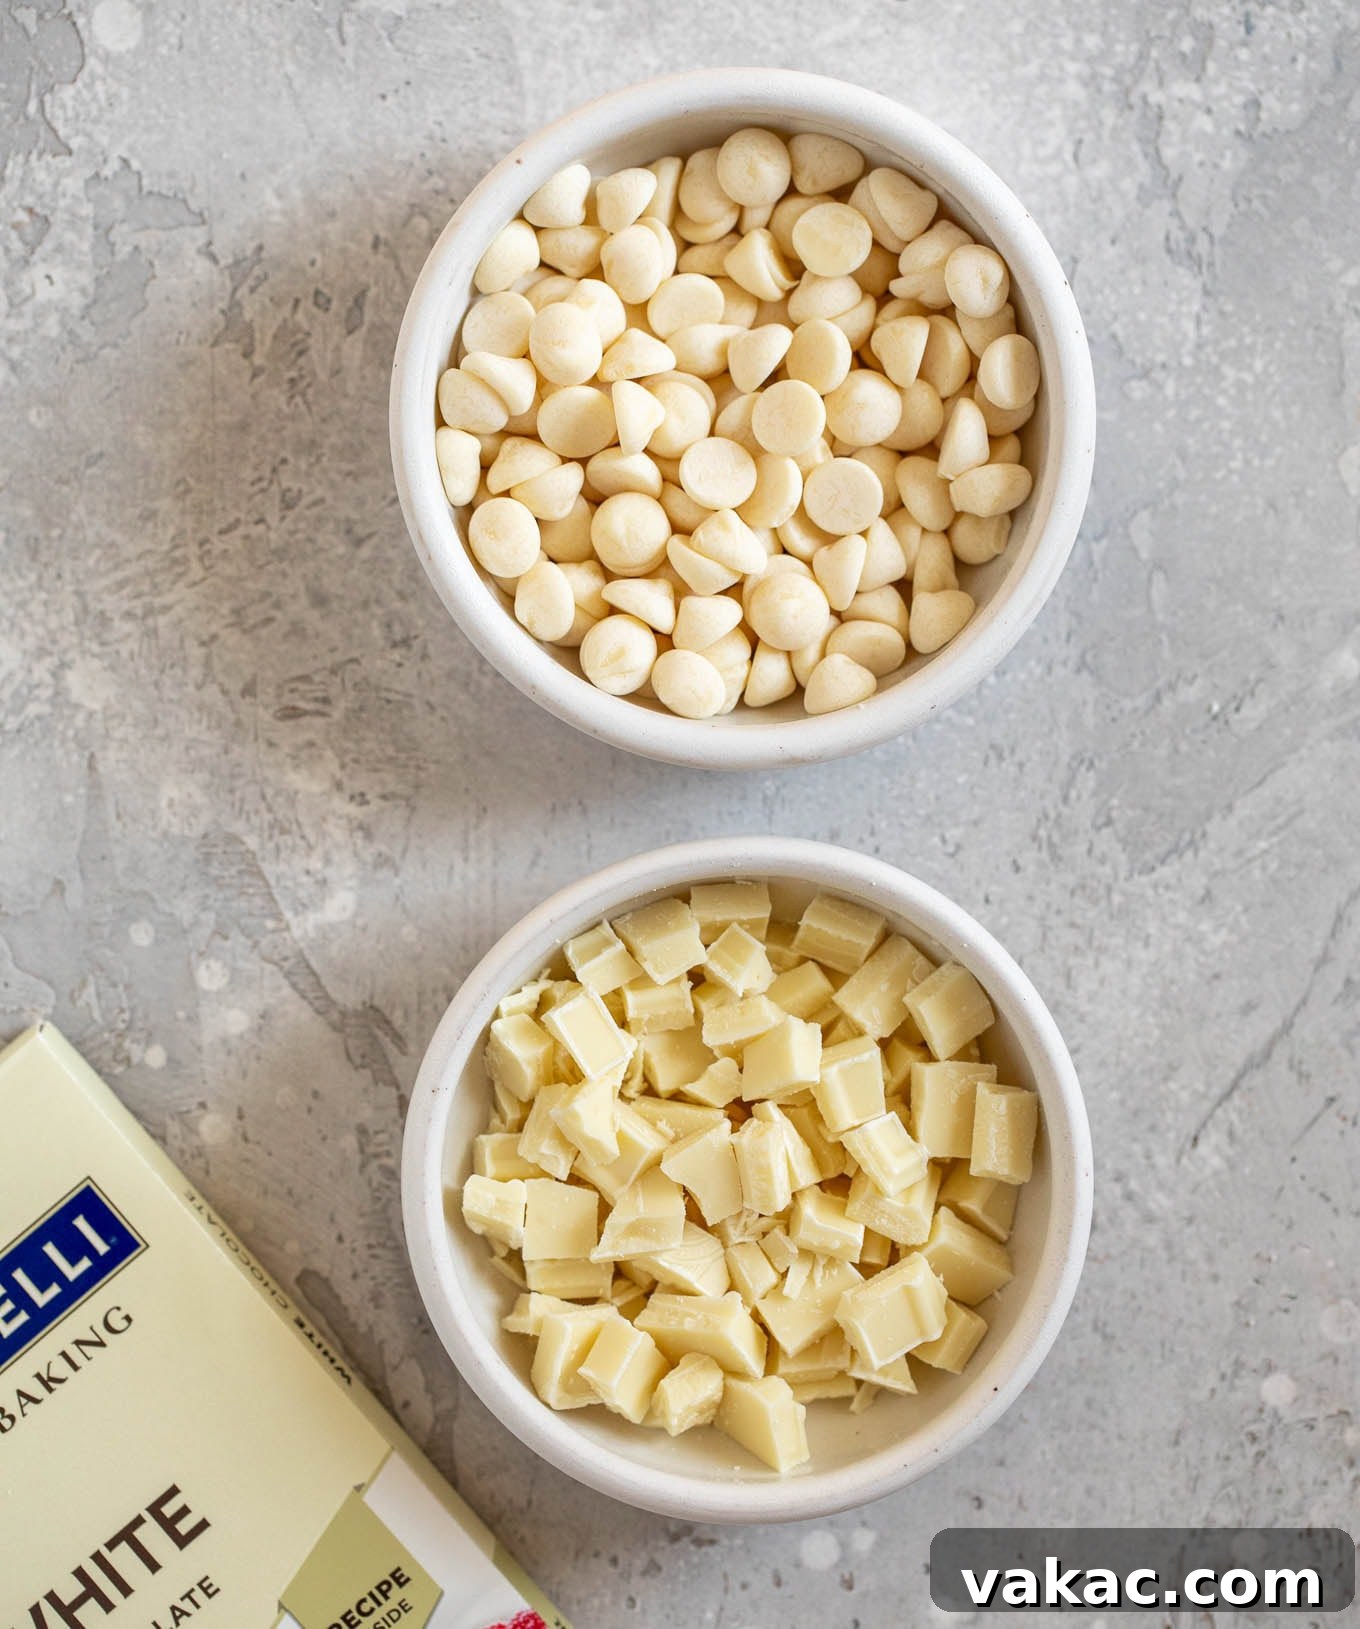
White Chocolate Chips vs. White Chocolate Bars: The Key to Creaminess
When it comes to crafting the perfect white chocolate frosting, the type of white chocolate you choose is paramount. Many home bakers default to white chocolate chips for convenience, but for truly superior results, white chocolate bars are the undisputed champion. This isn’t just a preference; it’s rooted in the composition of these two forms of chocolate.
White chocolate chips, while convenient, contain stabilizers that help them maintain their shape during baking. This is excellent for cookies where you want distinct chips, but it’s detrimental when you need a smooth, luxurious melt for frosting. These stabilizers prevent the chips from melting down as fluidly and evenly as bars do, often resulting in a slightly grainy or less silky texture in your finished buttercream.
In contrast, high-quality white chocolate bars are designed to melt smoothly and consistently. They typically have a higher cocoa butter content and fewer additives, leading to a much more luxurious and uniform texture when melted. For this recipe, we highly recommend using 6 ounces of premium white chocolate bars. Most standard bars come in 4-ounce sizes, so you’ll typically need one and a half bars. To prepare, simply chop the chocolate into small, uniform pieces. If you’re using thinner bars, like some Ghirardelli varieties, you can often break them by hand, saving you an extra dish to wash.
Understanding White Chocolate: What Makes It Unique?
To truly appreciate white chocolate in your frosting, it’s helpful to understand what it is. Unlike milk or dark chocolate, white chocolate does not contain cocoa solids (the dark, bitter part of the cacao bean). Instead, it’s made from cocoa butter, sugar, milk solids, and often vanilla. The high cocoa butter content is crucial for its creamy texture and ability to melt smoothly. This unique composition gives white chocolate its distinct, delicate flavor and its characteristic off-white color, making it a versatile ingredient in many desserts.
Can I Use a Different Kind of Chocolate?
Absolutely! This recipe is wonderfully adaptable. You can easily swap out the white chocolate for an equal amount of melted semi-sweet or dark chocolate bars. However, keep in mind that the flavor profile and sweetness level will change significantly. If you opt for dark chocolate, which is less sweet and can be more bitter, you may want to gradually add an extra ¼ to ½ cup of powdered sugar to taste, adjusting until you achieve your desired sweetness and consistency. The fat content of different chocolates can also vary, so you might need slight adjustments to the heavy cream or milk to reach the perfect piping consistency.
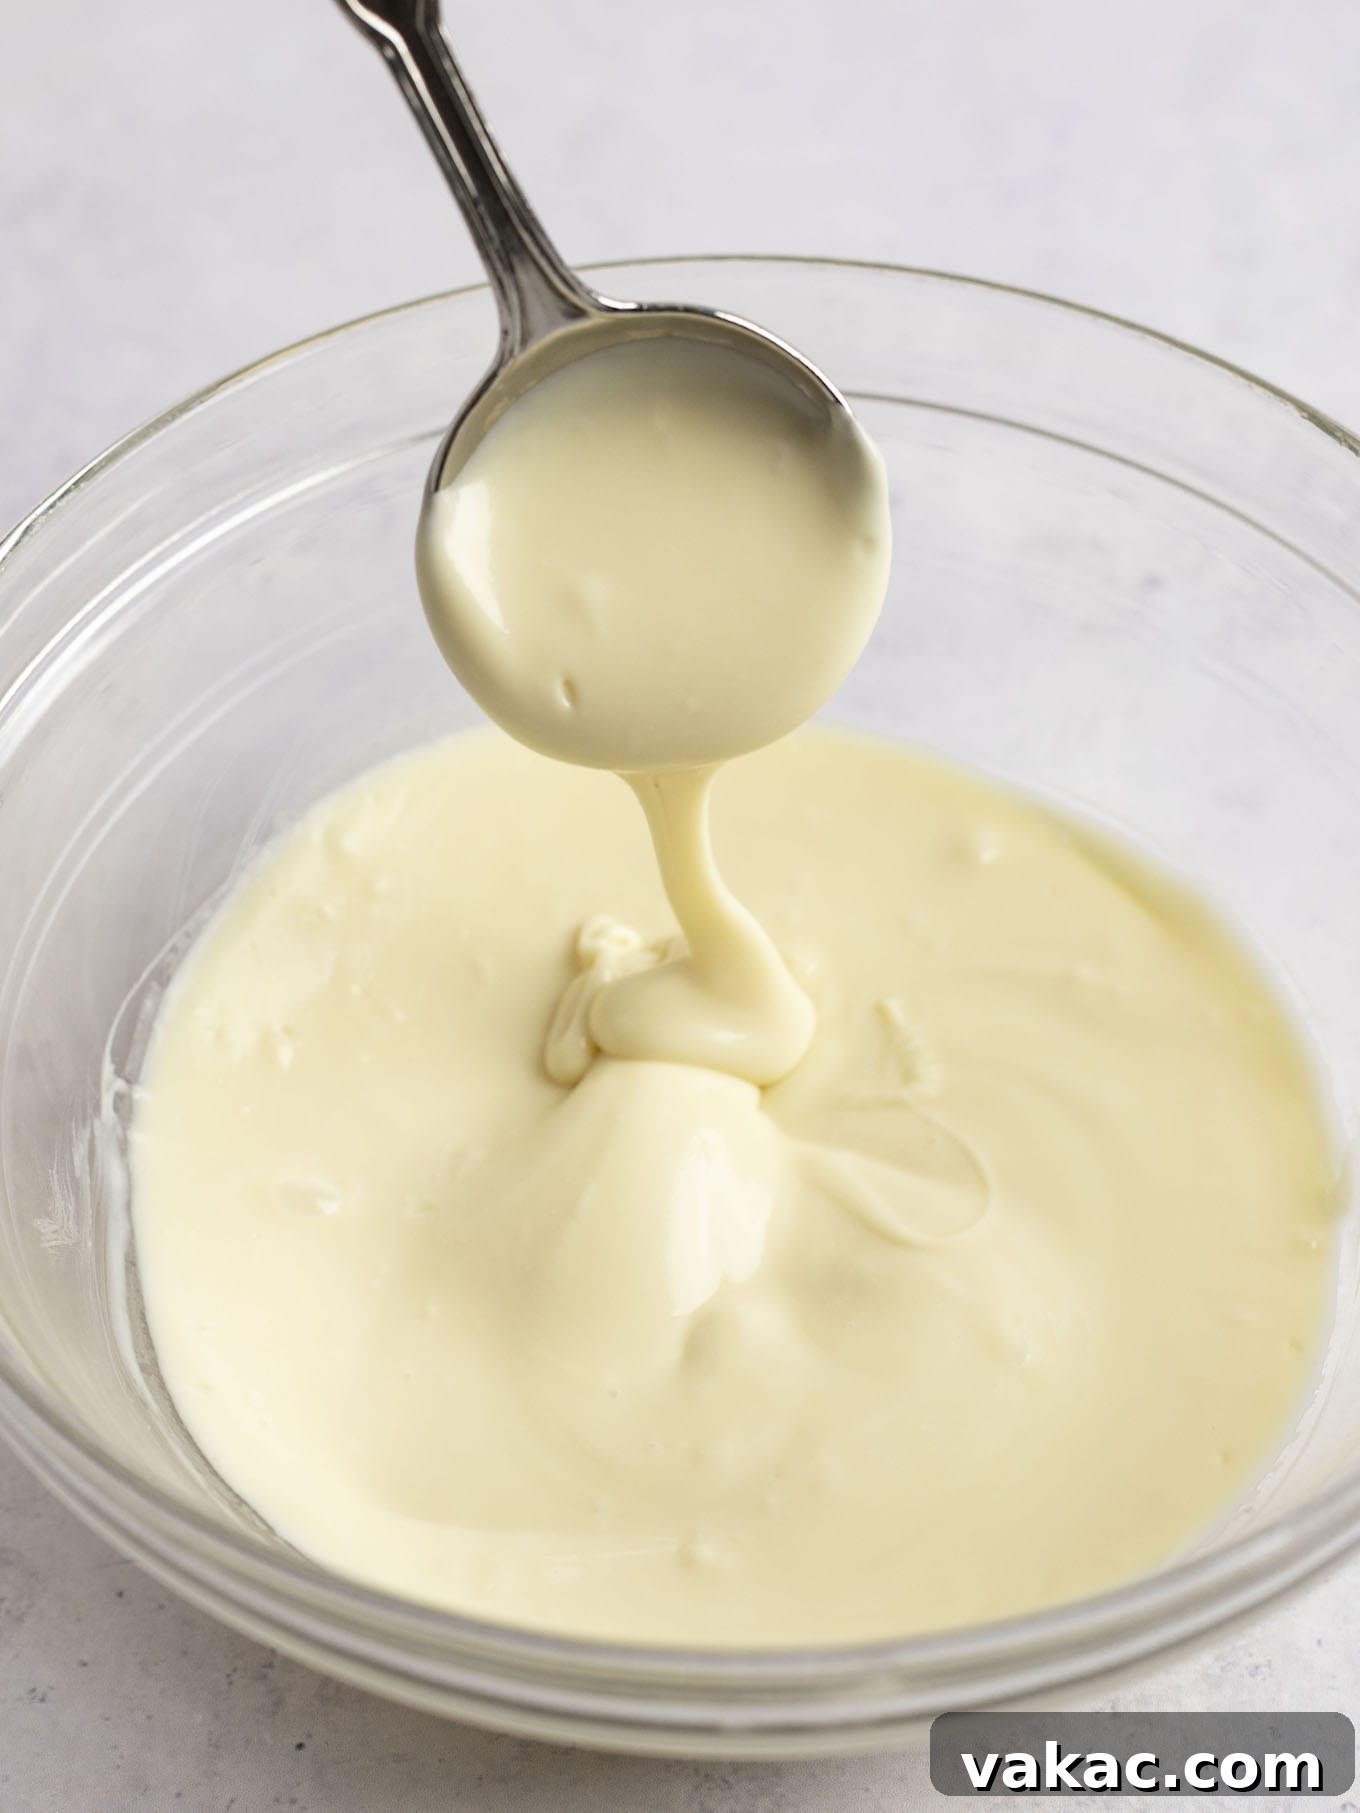
How to Perfectly Melt White Chocolate for Frosting
Melting white chocolate correctly is a crucial step to ensure a smooth, lump-free frosting. Overheating can cause white chocolate to seize and become grainy, while under-melting leaves stubborn chunks. You have two excellent options for melting, each with its own advantages:
- Using the Microwave: This is my preferred method for its speed and convenience. Place your finely chopped white chocolate in a microwave-safe bowl. Microwave in 30-second increments at 50% power. After each interval, remove the bowl and stir the chocolate thoroughly. Even if it doesn’t look fully melted, stirring helps distribute the heat and prevents burning. Continue this process until the chocolate is completely melted and beautifully smooth. Once melted, set it aside and allow it to cool until it’s no longer warm to the touch but still liquid. This cooling step is critical for proper emulsification with the butter.
- Using a Double Boiler: For a more controlled and gentle melting process, a double boiler is an excellent choice. Add the chopped white chocolate to a heatproof glass bowl. Place this bowl over a pot of simmering water, ensuring that the bottom of the glass bowl does not touch the water. The steam from the simmering water will gently heat the chocolate. Stir the chocolate frequently to ensure even melting and prevent any part from overheating. As soon as the chocolate is smooth and fully melted, immediately remove the bowl from the heat. Set it aside to cool to room temperature, just like with the microwave method, ensuring it’s melted but no longer warm.
Important Note: Never heat white chocolate directly in a saucepan over direct heat. White chocolate is delicate and can easily overheat and seize, becoming thick, pasty, and unusable. The gentle, indirect heat of a microwave (at reduced power) or a double boiler is essential for maintaining its smooth texture.
Tips for Troubleshooting Melted White Chocolate
Even with the best intentions, chocolate can sometimes be tricky. If your white chocolate seizes and becomes thick or grainy, it’s often due to overheating or the introduction of a tiny bit of water. Unfortunately, once seized, white chocolate is very difficult to fully recover for frosting. However, if it’s just a little thick, you can sometimes stir in a teaspoon of neutral oil (like vegetable or canola oil) or melted shortening, a tiny bit at a time, to try and bring it back to a pourable consistency. Prevention is key here: always use a completely dry bowl and utensils, and be patient with low heat and consistent stirring.
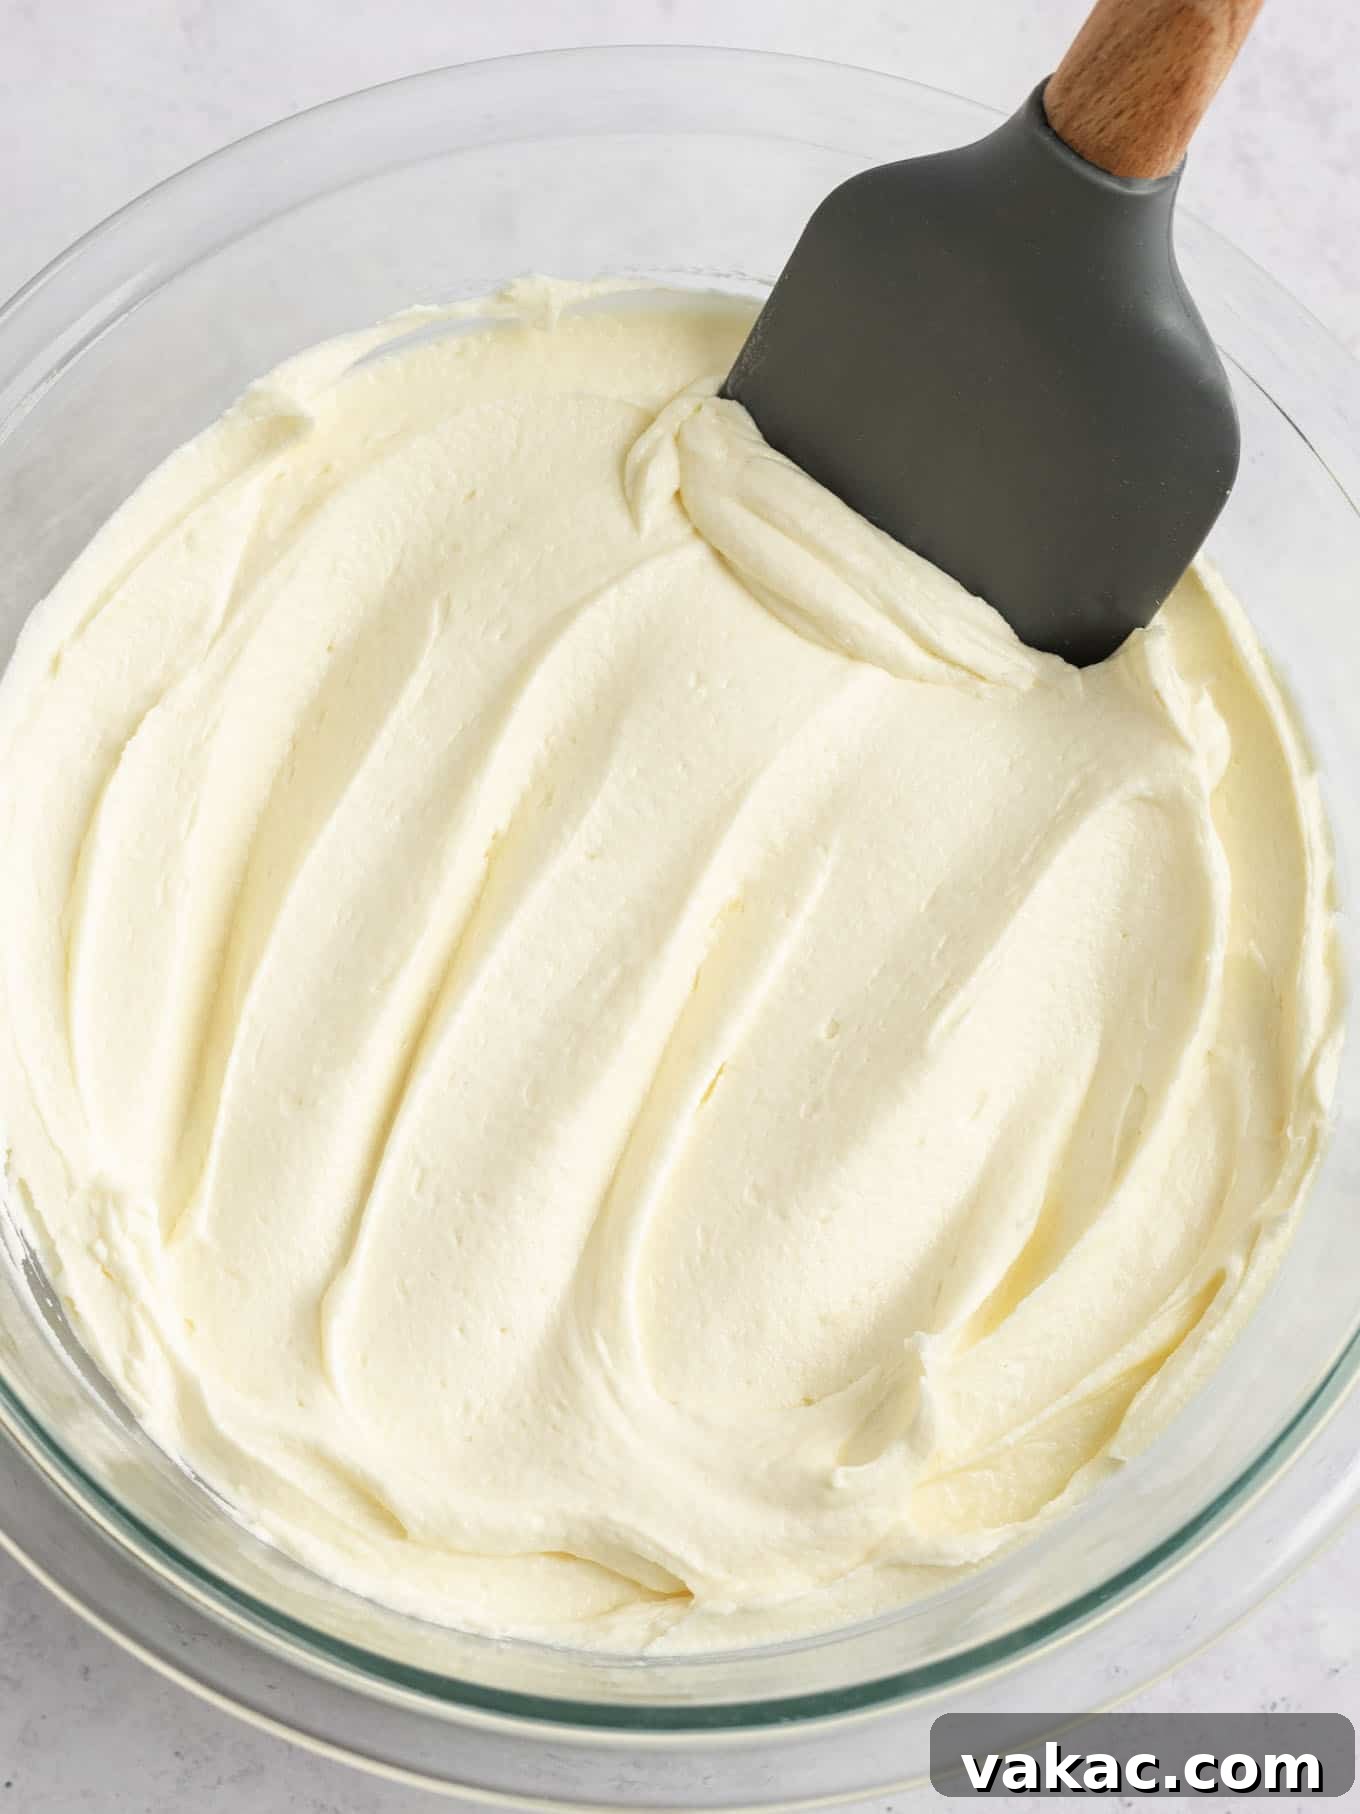
Making the Perfect White Chocolate Buttercream: Step-by-Step
Once your white chocolate is perfectly melted and cooled, the rest of the frosting comes together quickly. Here’s a detailed look at each step to ensure your buttercream is light, fluffy, and flawlessly smooth:
- Cream the Butter: Start with unsalted butter that is truly at room temperature. This means it should be soft enough to easily indent with your finger but not melted. In the bowl of a stand mixer fitted with the paddle attachment (or using a large mixing bowl with a handheld mixer), beat the butter on medium speed for about 1 minute. You want it to become light, fluffy, and visibly paler in color. This incorporates air, which is key to a light and airy frosting.
- Gradually Add Powdered Sugar: Add about half of the powdered sugar to the creamed butter. Start mixing on the lowest speed to avoid a cloud of sugar dusting your kitchen! Once mostly incorporated, add the remaining half of the powdered sugar and continue mixing on low speed until fully combined. If your powdered sugar is lumpy, sifting it beforehand can help achieve an even smoother frosting.
- Incorporate Liquids and Flavorings: Next, add the heavy cream (or milk), pure vanilla extract, and a pinch of salt. Ensure your cream/milk is also at room temperature; cold liquids can cause the frosting to curdle or become stiff. Continue mixing on low speed until all ingredients are well combined, stopping occasionally to scrape down the sides and bottom of the bowl with a rubber spatula. This ensures everything is uniformly mixed and prevents any uncreamed butter or dry sugar patches.
- Add Cooled White Chocolate: Now for the star ingredient! Pour your cooled, melted white chocolate into the bowl with the buttercream mixture. Mix on low speed until the white chocolate is thoroughly incorporated. Do not overmix at this stage. Once combined, increase the speed to medium-high and beat for another 30 seconds to 1 minute. This final whip will make the frosting incredibly smooth, light, and airy, perfect for spreading or piping.
Common Frosting Mistakes and How to Fix Them
Even experienced bakers encounter frosting issues. Here are some common problems and quick fixes:
- Frosting is too thin: This often happens if the melted white chocolate was too warm, or if too much liquid was added. Gradually add more sifted powdered sugar, a tablespoon at a time, beating after each addition until the desired consistency is reached. You can also try chilling the frosting in the fridge for 15-20 minutes, then re-whipping it.
- Frosting is too thick: If your frosting feels too stiff, add heavy cream or milk, ½ teaspoon at a time, beating until it loosens to your preferred consistency.
- Frosting is grainy: Usually, this is due to improperly melted white chocolate (chips instead of bars, or seized chocolate) or unsifted powdered sugar. For grainy sugar, prolonged beating can sometimes help dissolve it. For chocolate issues, it’s harder to fix, but ensuring your melted chocolate is perfectly smooth before adding is key.
- Frosting tastes too buttery: If your butter wasn’t soft enough or wasn’t creamed long enough, it can taste overly fatty. Ensure your butter is at room temperature and beat it until light and fluffy.
Adding Color to Your White Chocolate Frosting
White chocolate frosting serves as a beautiful blank canvas for adding color, making it perfect for themed parties, holidays, or just adding a personal touch to your desserts. For best results, I highly recommend using gel food coloring. Gel colors are incredibly concentrated, meaning a tiny drop goes a long way, and they won’t alter the consistency of your frosting. My personal favorite brands are AmeriColor and Wilton, both known for their vibrant pigments.
Liquid food coloring can also be used, but with caution. Since it’s water-based, adding too much liquid coloring can thin out your frosting, potentially making it too runny for piping. I typically reserve liquid food coloring for instances where I’m aiming for a very light, pastel shade and only need a minimal amount of color. Always add food coloring gradually, mixing well after each addition until you achieve your desired hue.
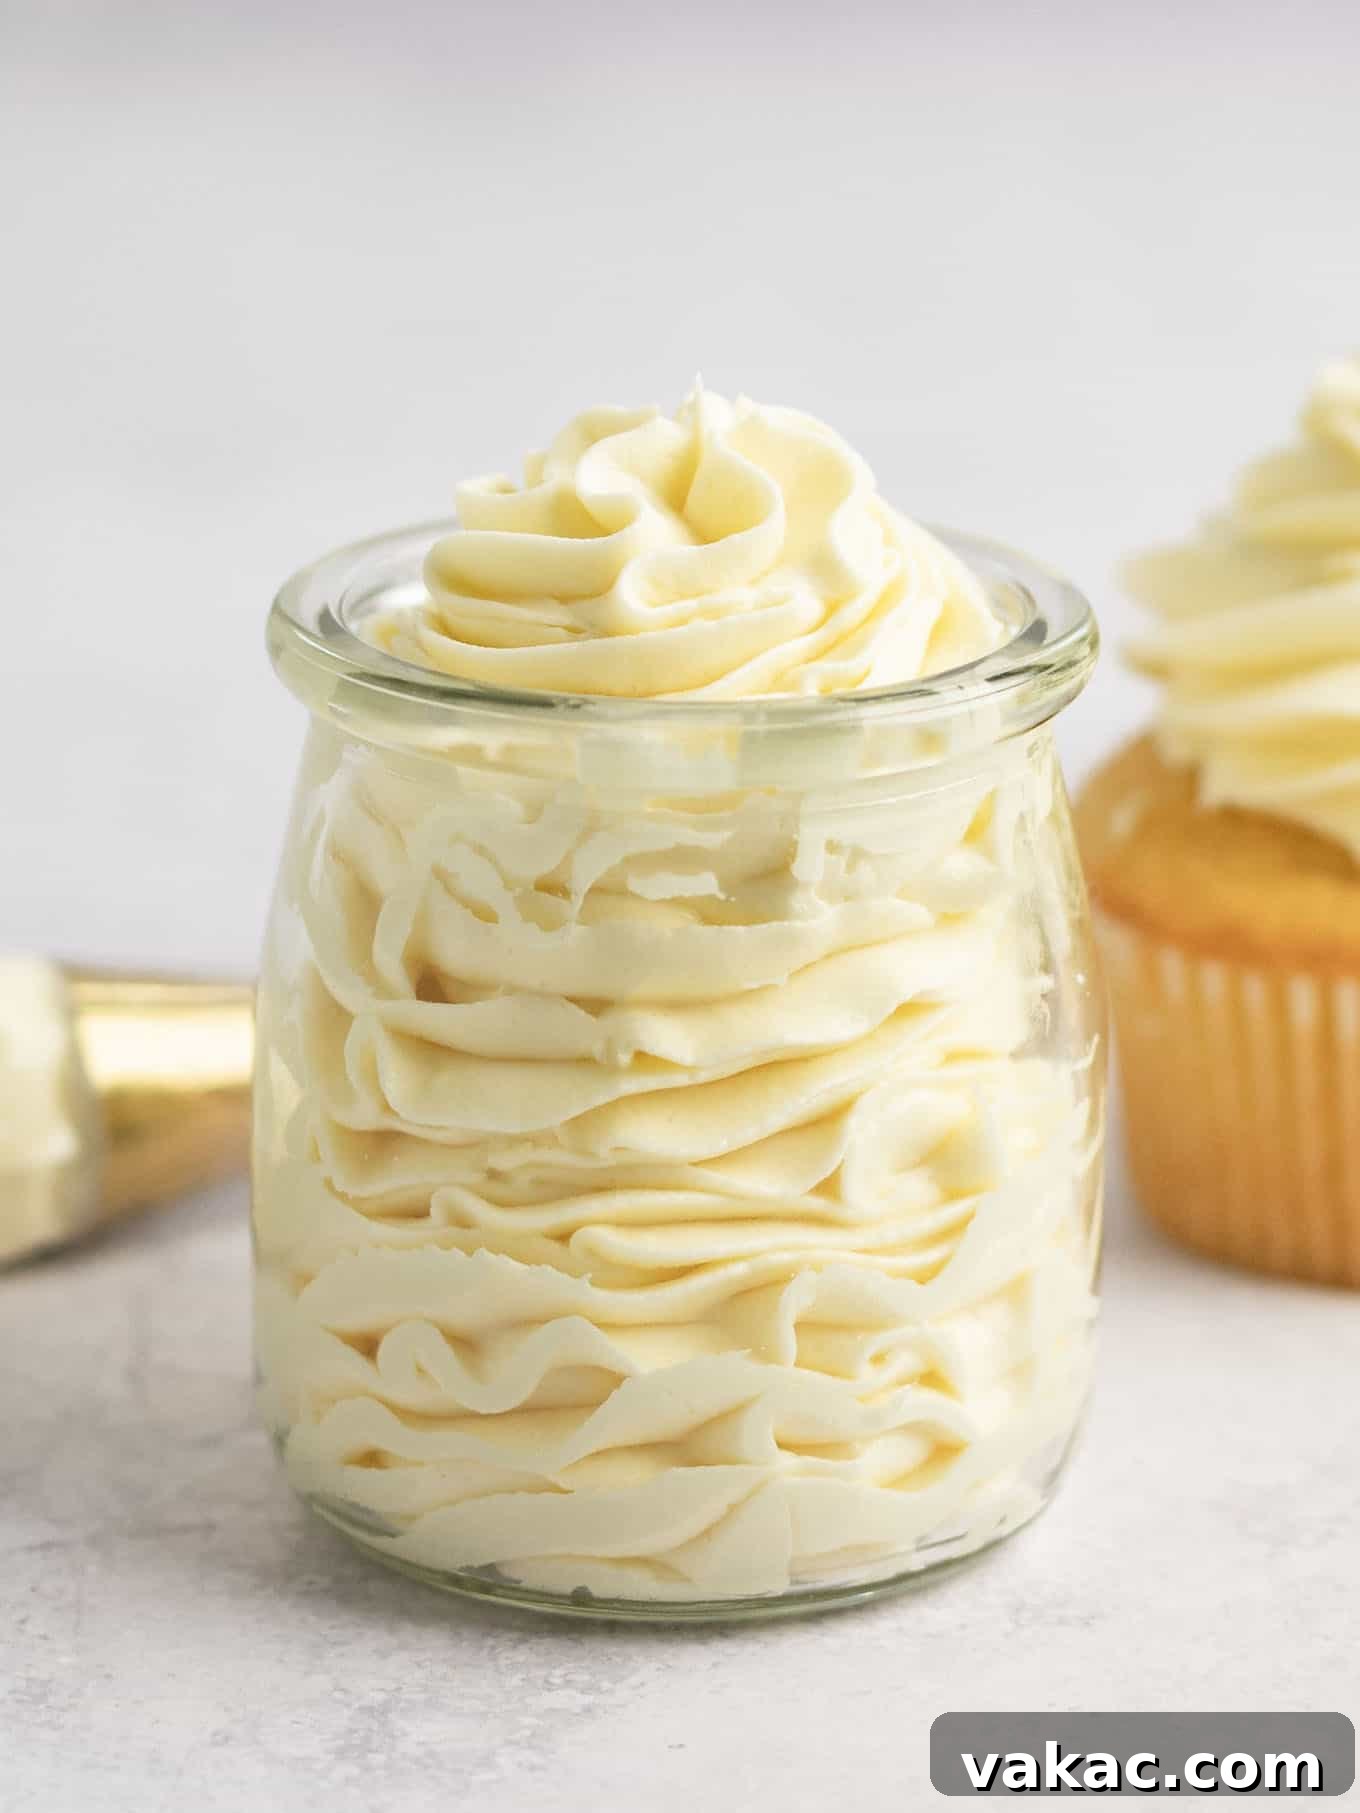
Desserts That Dream of White Chocolate Frosting
This white chocolate frosting is a true crowd-pleaser and pairs exceptionally well with a variety of desserts. Its delicate sweetness and creamy texture complement almost any cake or cupcake that would typically be frosted with a classic vanilla buttercream or even ermine frosting.
Here are some of my top recommendations for pairing this incredible frosting:
- Vanilla Cake: For a timeless combination, a classic vanilla cake or vanilla cupcakes topped with this white chocolate frosting is pure bliss. The subtle white chocolate flavor enhances the vanilla without overpowering it.
- Strawberry Cake: The delicate fruity notes of my strawberry cake or strawberry cupcakes are beautifully complemented by the rich creaminess of white chocolate, creating a delightful balance of sweet and tangy.
- Red Velvet Cake: The slight tang from cream cheese frosting in a red velvet cake often finds a worthy alternative in this white chocolate buttercream. Its sweetness and creaminess perfectly balance the cocoa and buttermilk in the cake.
- Chocolate Cupcakes: Don’t limit white chocolate to vanilla desserts! This frosting is surprisingly delicious on chocolate cupcakes, offering a decadent contrast that chocolate lovers will adore.
- Lemon Cupcakes: For a brighter, more refreshing pairing, try this frosting on lemon cupcakes. The creamy white chocolate mellows the tartness of the lemon for a sophisticated treat.
- Other Delights: Beyond cakes and cupcakes, consider using this versatile frosting as a filling for whoopie pies, a topping for brownies, or even piped onto sugar cookies for an elegant finish.
If you’re new to the art of decorating, don’t worry! I also have a helpful tutorial on how to frost cupcakes that will guide you through the basics.
This recipe yields approximately 2 ½ cups of frosting, which is ample to generously frost a 9×13 inch sheet cake or a batch of 12 to 14 standard-sized cupcakes. For those planning a grander creation, like a two-layer cake, I recommend increasing the recipe by half. For an impressive three-layer cake, doubling the recipe will ensure you have plenty of luscious frosting for every layer and decorative flourish.
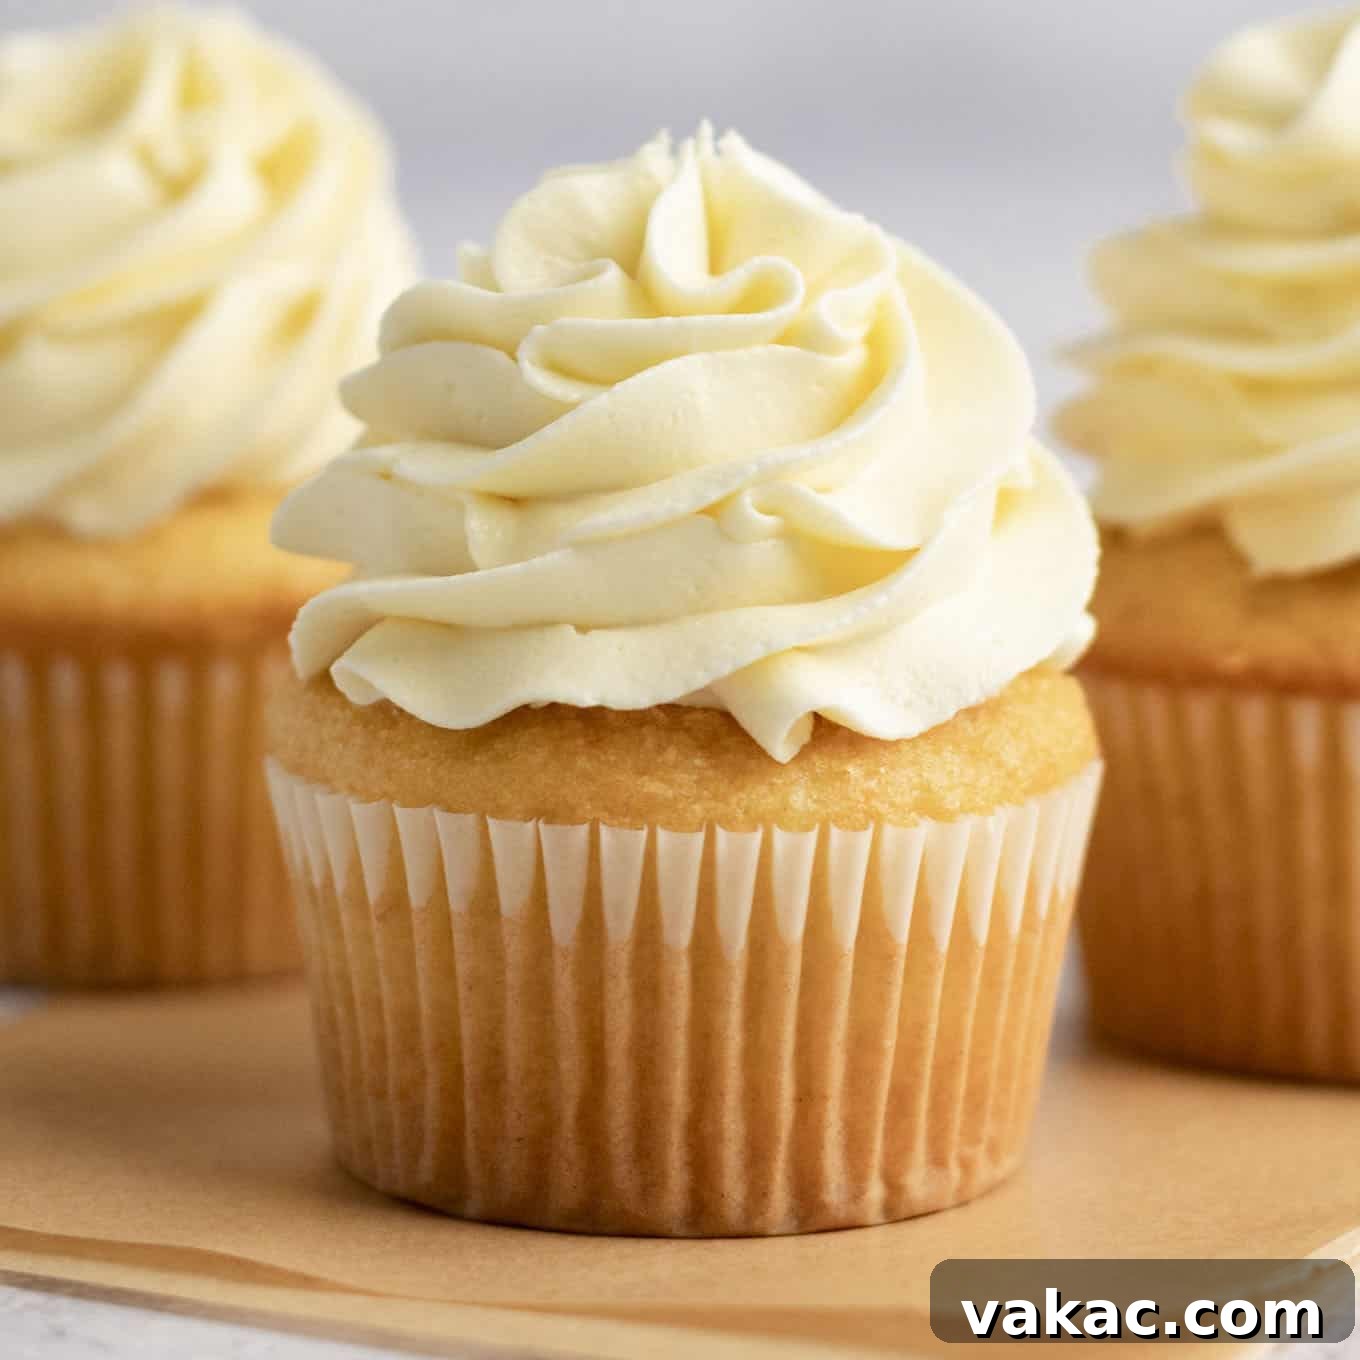
White Chocolate Frosting Recipe
Pin Recipe
Leave a Review
Ingredients
- 6 ounces white chocolate bars roughly chopped (170 grams; I recommend using white chocolate bars instead of baking chips)
- 1 cup unsalted butter softened (230 grams; 2 sticks)
- 2 ½ cups powdered sugar (300 grams)
- 1 tablespoon heavy cream or milk at room temperature (15 ml)
- 1 teaspoon pure vanilla extract
- ⅛ teaspoon salt
Instructions
- Add the chopped white chocolate to a microwave-safe bowl. Microwave in 30-second increments at 50% power, stirring well after each increment until completely melted and smooth. Alternatively, you can place the chopped white chocolate in a large glass bowl and place it over a pot of simmering water to melt it. Just make sure the water doesn’t touch the bottom of the bowl. Once it’s melted and smooth, set it aside for 15 to 20 minutes or until the chocolate is melted, but no longer warm to the touch.
- In the bowl of a stand mixer fitted with the paddle attachment, or in a large mixing bowl using a handheld mixer, beat the butter on medium speed for about 1 minute or until smooth.
- Mix in half of the powdered sugar on low speed, then mix in the remaining half of the powdered sugar until fully combined.
- Add the heavy whipping cream, vanilla extract, and salt and continue mixing on low speed until fully combined, stopping to scrape down the sides of the bowl as needed.
- Pour the cooled, melted white chocolate into the bowl and mix on low speed until the mixture is well combined. Stop and scrape down the sides of the bowl and mix for another 30 seconds to 1 minute or until the frosting is smooth and creamy.
- Use as desired.
Notes
Freezing Instructions: If you need to store it longer, this white chocolate frosting freezes exceptionally well for up to 3 months. When you’re ready to use it, simply thaw it overnight in the fridge. Before using, allow it to come to room temperature, then give it a good mix or re-whip it for a minute to restore its creamy texture.
Did you make this recipe?
Mention @livewellbakeoften on Instagram or tag #livewellbakeoften.