
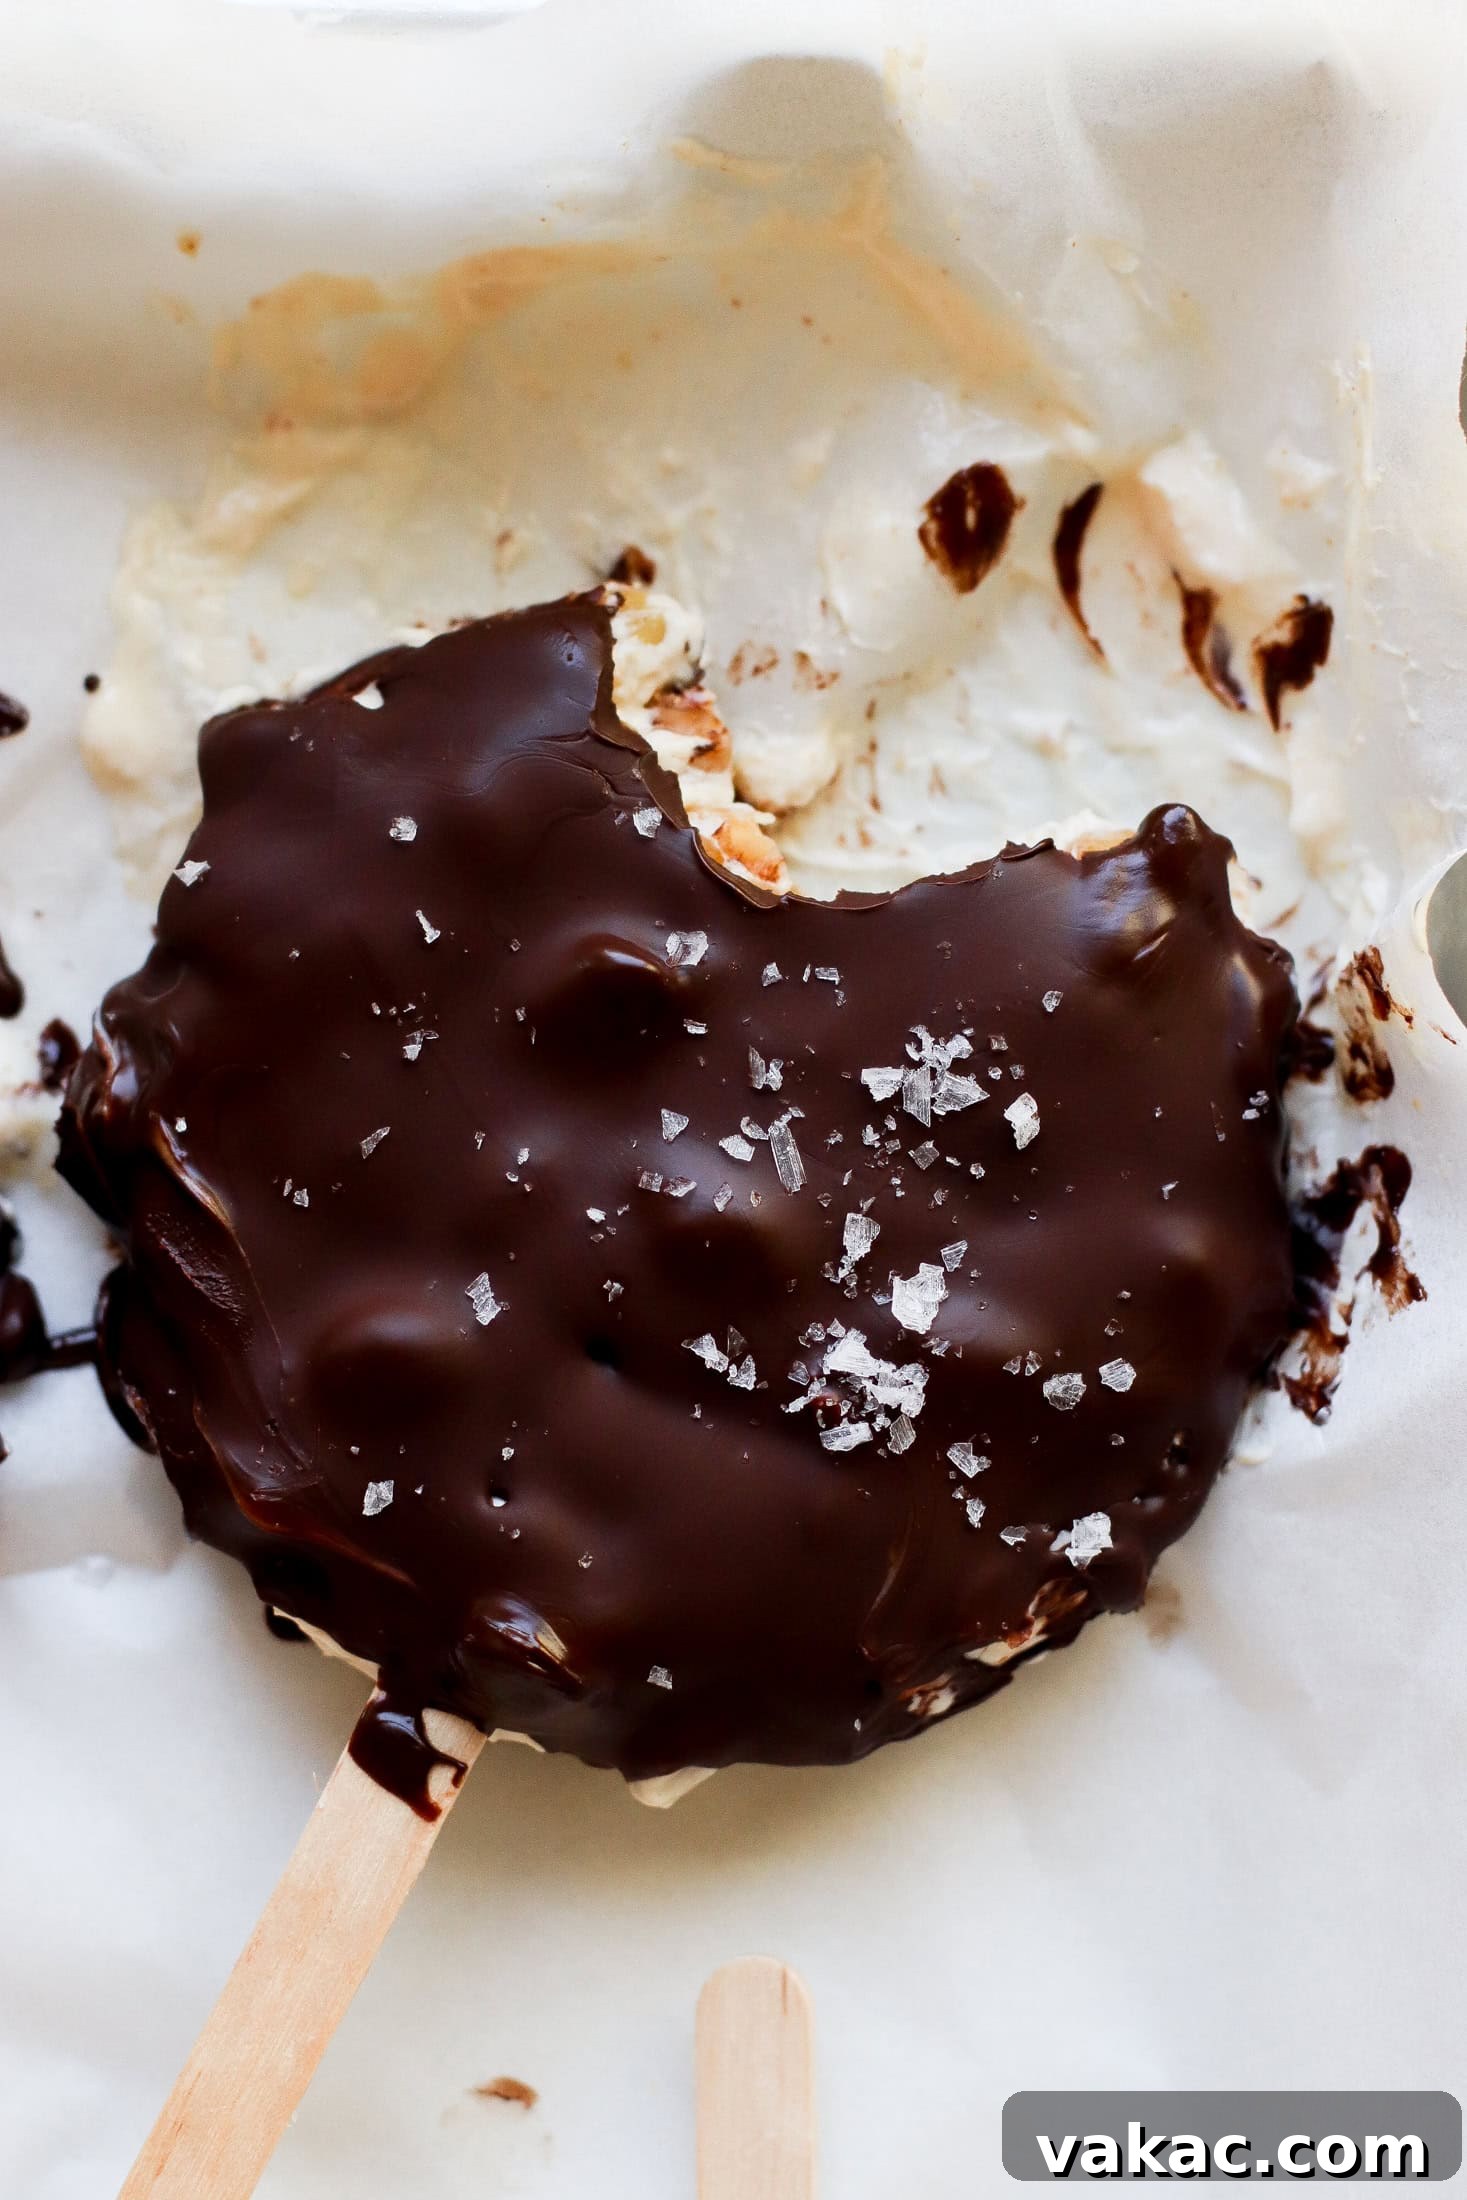
Get ready to discover your new favorite frozen delight: these incredible Chocolate-Coated Peanut Butter Frozen Yogurt Bars. Imagine the nostalgic appeal of a classic Peanut Buster Bar, but elevated with a nourishing twist that’s both satisfying and guilt-free. Crafted with just five simple, wholesome ingredients, these bars are a testament to how effortlessly delicious and healthy a treat can be.
At their heart lies creamy, protein-rich Greek yogurt, providing a substantial and wholesome base. This is beautifully complemented by the delightful crunch of salted peanuts and a luscious swirl of natural peanut butter, creating a flavor profile that’s undeniably irresistible. The entire concoction is then enveloped in a crisp, dark chocolate shell, delivering that perfect snap with every bite. This harmonious blend of textures and tastes creates a treat that truly can’t be beaten.
What makes these bars truly exceptional is their incredible ease of preparation. With only 10 minutes of hands-on prep time before they head to the freezer to set, they fit seamlessly into even the busiest schedules. This nutrition-packed freezer snack isn’t just simple; it’s profoundly satisfying. It’s the ideal solution for appeasing snack-happy kiddos on a warm afternoon, providing a refreshing pick-me-up during sunny summer days, or anytime you crave a sweet indulgence that offers sustained energy and a hint of extra staying power.
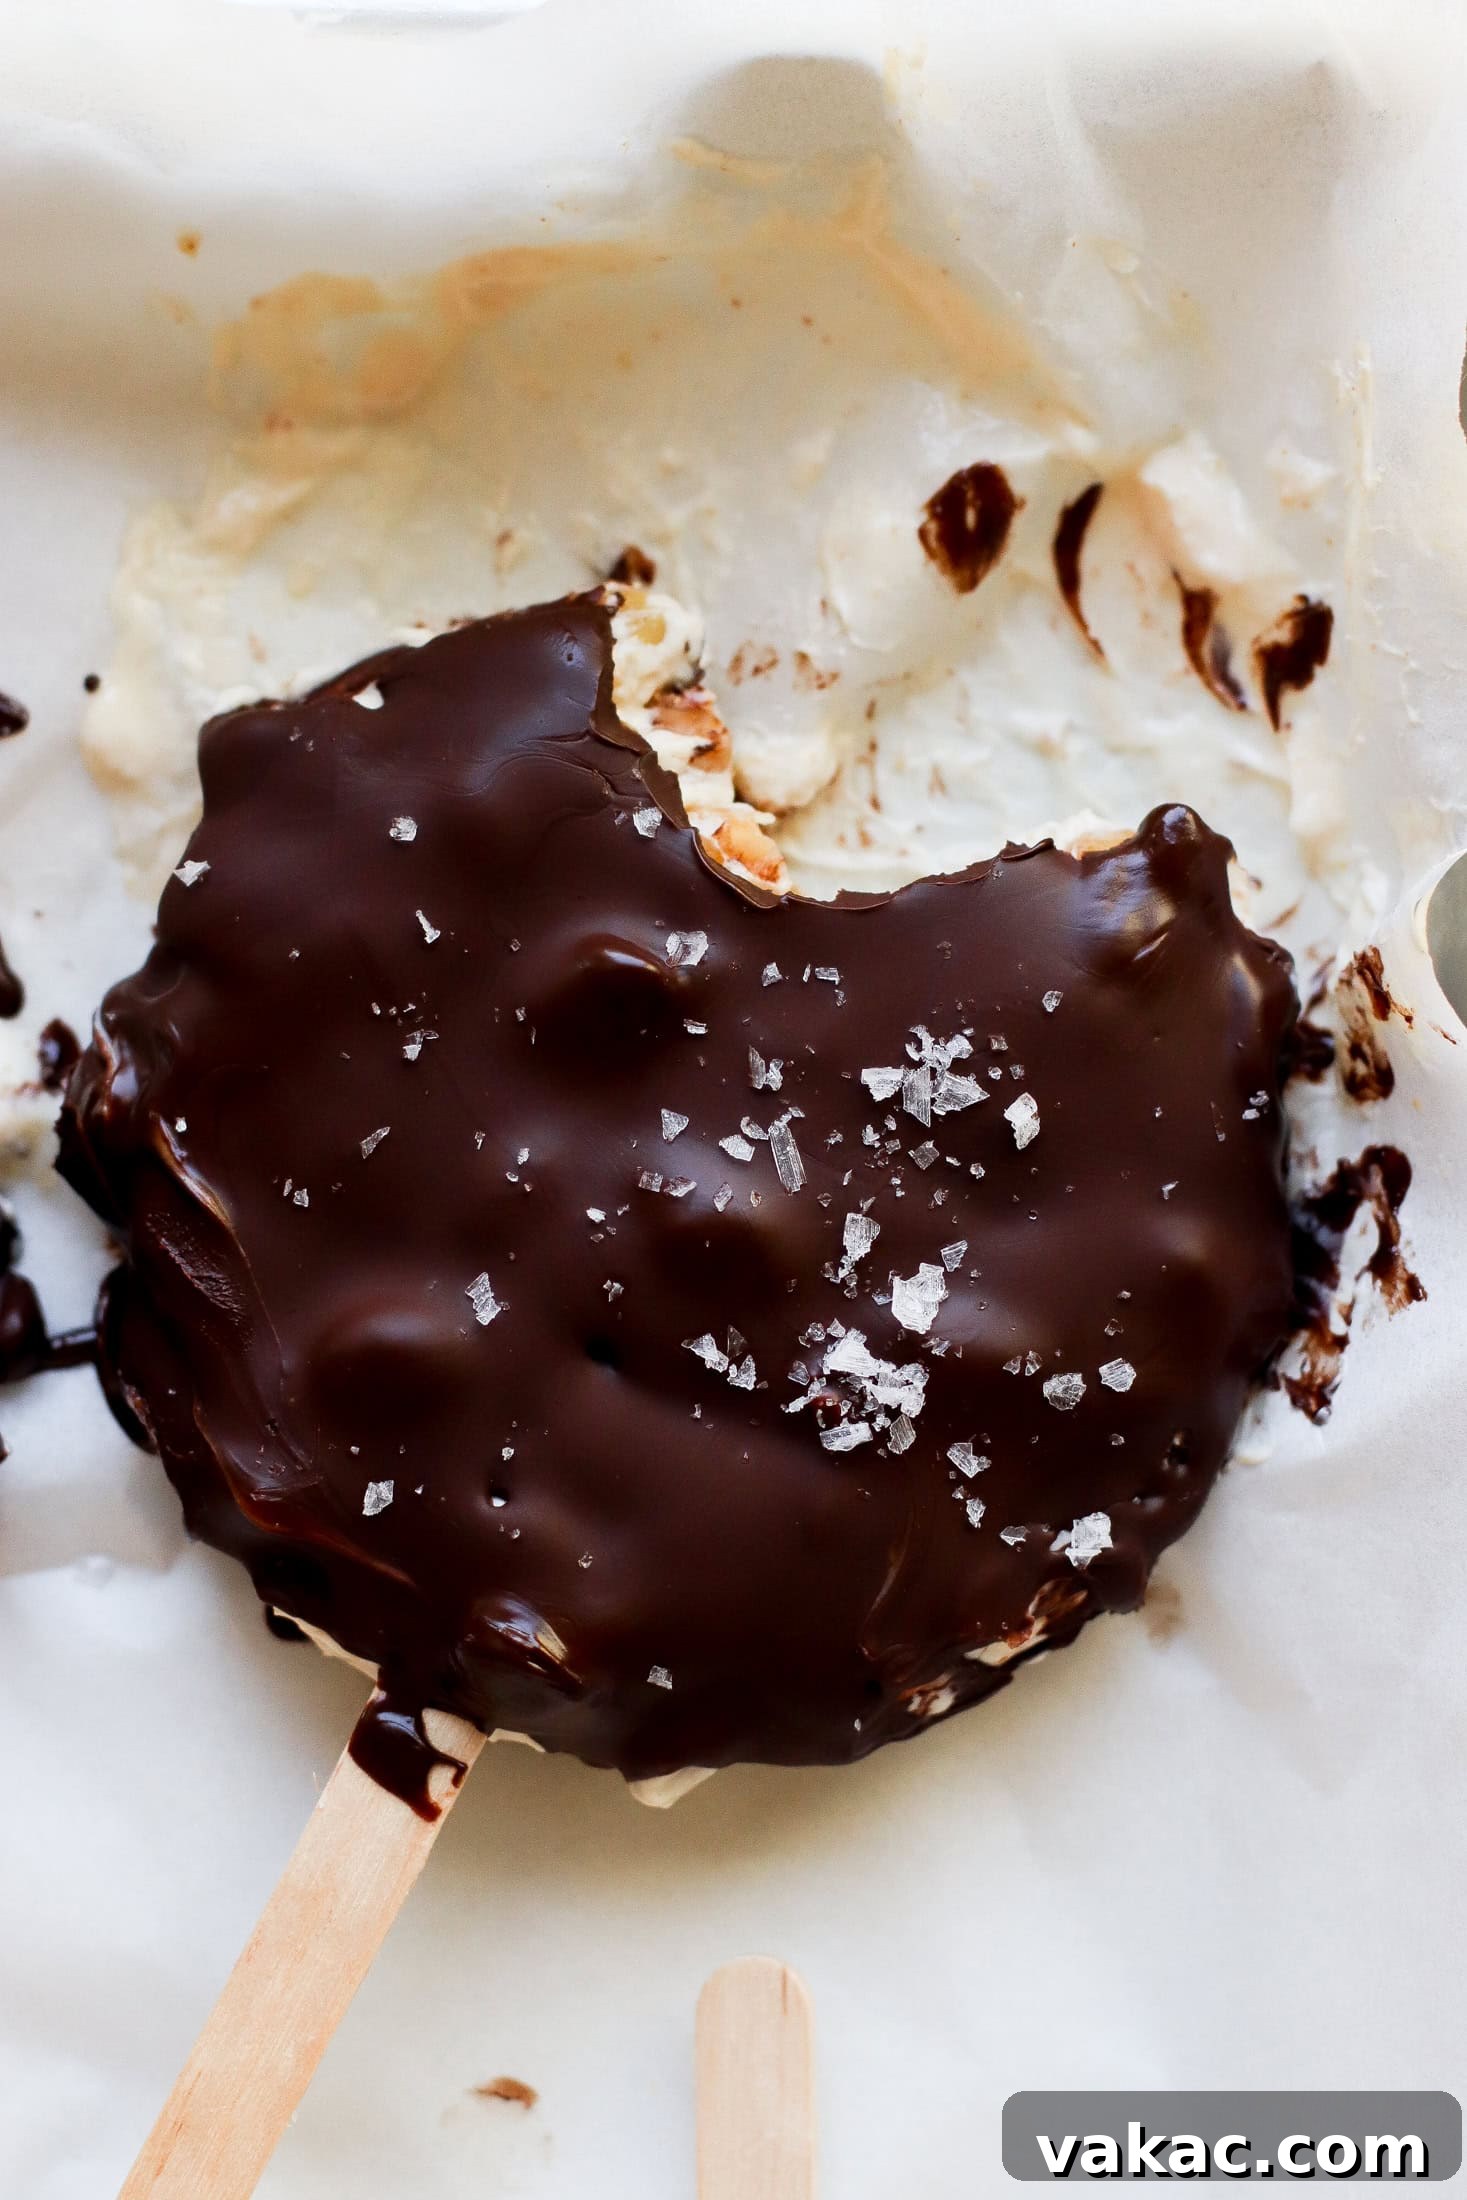
Consider this your official introduction to a frozen treat that’s about to become a permanent fixture in your freezer. If you’re someone who appreciates easy-to-make, incredibly satisfying desserts that brilliantly double as a high-protein snack, then these frozen Greek yogurt peanut butter bars are tailor-made for you. Each bar boasts an impressive 12 grams of protein, making them an excellent choice for curbing hunger and supporting your health goals. And for all fellow chocolate and peanut butter enthusiasts out there, you’ll definitely want to explore my chocolate peanut butter yogurt pops as well – another delightful creation designed to satisfy those cravings!
These bars are lovingly inspired by the iconic Dairy Queen Buster Bars – a nostalgic treat that probably holds a special place in many childhood memories. This recipe captures those carefree, lazy summer day vibes and brings them right into your kitchen, ready to be enjoyed any time of the year. As a dietitian, it’s important for me to clarify that my aim isn’t to *replace* the original classics. I cherish a good trip to DQ with my children, creating those special family moments. However, I find immense joy in experimenting with ways to integrate nostalgic flavors into wholesome, easy homemade snacks and desserts. When these creations also deliver a substantial dose of nutrition, it truly becomes a win-win situation for both taste and well-being.
One of the core philosophies behind my recipes, and certainly true for these Greek yogurt bars, is the powerful PFF combination: protein, fat, and fiber. This trio is the secret weapon not only for delivering incredible flavor but also for providing lasting energy and promoting satiety. Protein helps build and repair tissues, healthy fats contribute to hormone production and absorption of fat-soluble vitamins, and fiber supports digestive health and helps stabilize blood sugar levels. Together, they create a balanced snack that truly keeps you full and helps maintain steady energy throughout your day, preventing those sudden energy dips and cravings often associated with less balanced treats.
These delightful popsicle-style bars are incredibly fun and straightforward to eat, making them a perfect choice for everyone, especially for little hands. If you have snack-happy kiddos at home, like I do, you’ll appreciate how easily they can enjoy these wholesome treats without any fuss. Their convenient shape and solid texture mean less mess and more enjoyment, making them an ideal on-the-go snack or a delightful after-dinner indulgence for the whole family.
Achieving Perfect Frozen Yogurt Bars: Expert Tips for Success
Crafting the perfect frozen yogurt bar is simple when you know a few key tricks. Here are my top tips to ensure your homemade treats turn out wonderfully creamy, delicious, and structurally sound every time.
Choosing the Right Greek Yogurt for Creaminess
For the ultimate creamy texture and to minimize the formation of ice crystals, the type of Greek yogurt you choose makes a significant difference. During extensive testing, it became abundantly clear that a higher milk fat content yields the best results. I highly recommend using Greek yogurt with a 2-5% milk fat percentage. While 5% is my personal preference for its rich and velvety mouthfeel, 2% also works beautifully to achieve that desirable smooth consistency. Avoid fat-free yogurts, as they tend to become much icier when frozen, detracting from the luxurious experience these bars aim to deliver. The higher fat content contributes to a more stable frozen structure, preventing an overly icy or brittle bar.
The Magic of Natural Peanut Butter
When it comes to the peanut butter in this recipe, opt for natural peanut butter. The reason is twofold: its consistency and its nutritional profile. Natural peanut butter, typically made with just peanuts and a touch of salt, is naturally drippier and smoother than its conventional counterparts. This makes it far easier to incorporate seamlessly into the cold yogurt mixture, ensuring a uniform flavor and texture throughout your bars. Beyond its mixing advantages, natural peanut butter is also our star ingredient for adding those nourishing, plant-based monounsaturated and polyunsaturated fats. These healthy fats are crucial for a more satiating result, helping you feel full and satisfied for longer, and also contribute to the delicious, rich flavor of the bars. Avoid peanut butters with added sugars, hydrogenated oils, or excessive emulsifiers, as these can alter the texture and nutritional balance of the finished product.
Step-by-Step Guide: How to Make These Delicious Frozen Yogurt Bars
Making these chocolate-coated peanut butter frozen yogurt bars is a straightforward process that yields incredibly rewarding results. Follow these simple steps to create your batch of healthy, satisfying treats.
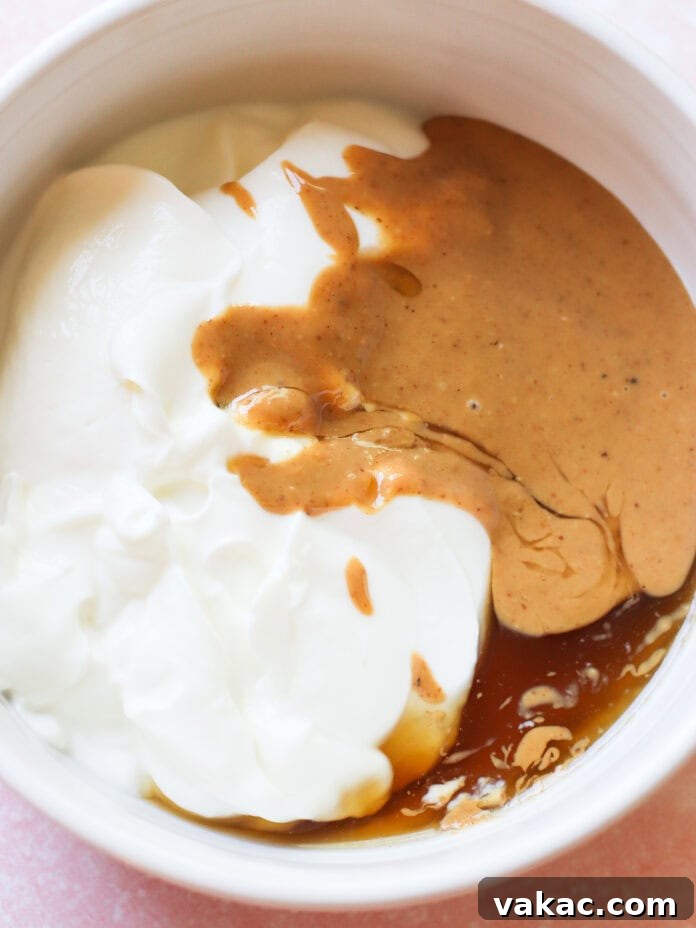
Step 1: Prepare the Yogurt Base. In a medium bowl, combine your Greek yogurt, smooth natural peanut butter, and maple syrup. Stir vigorously until all ingredients are thoroughly mixed and the mixture is smooth and cohesive. The goal is a uniform, creamy base that will freeze evenly.
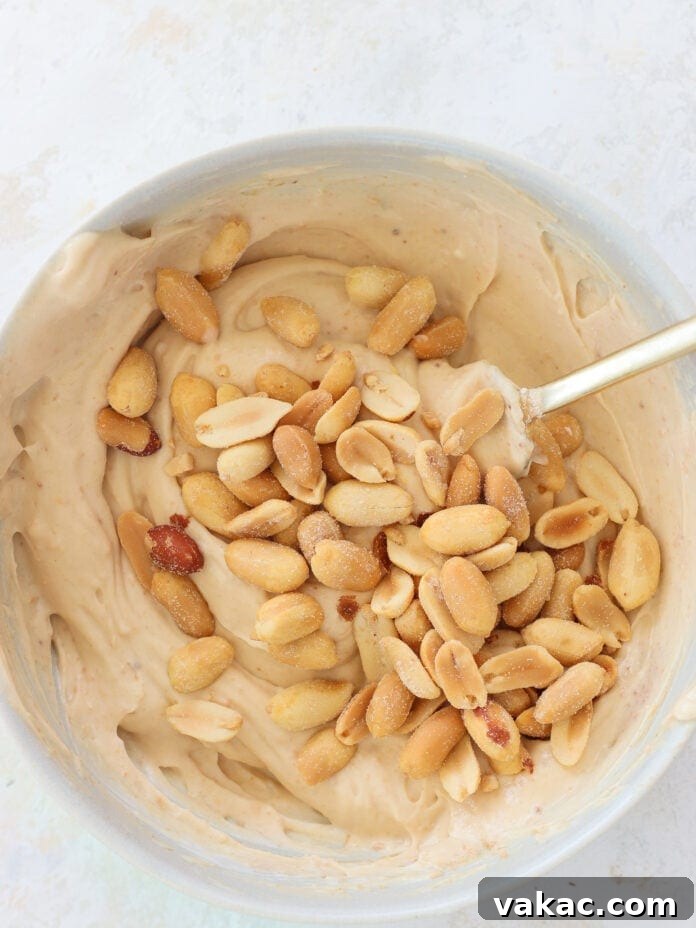
Step 2: Fold in the Peanuts. Gently fold in most of the salted roasted peanuts into the yogurt mixture. Be sure to save a small handful of peanuts to sprinkle on top of the bars later, if you desire an extra crunch and visual appeal. Distributing them evenly now ensures every bite is packed with nutty goodness.
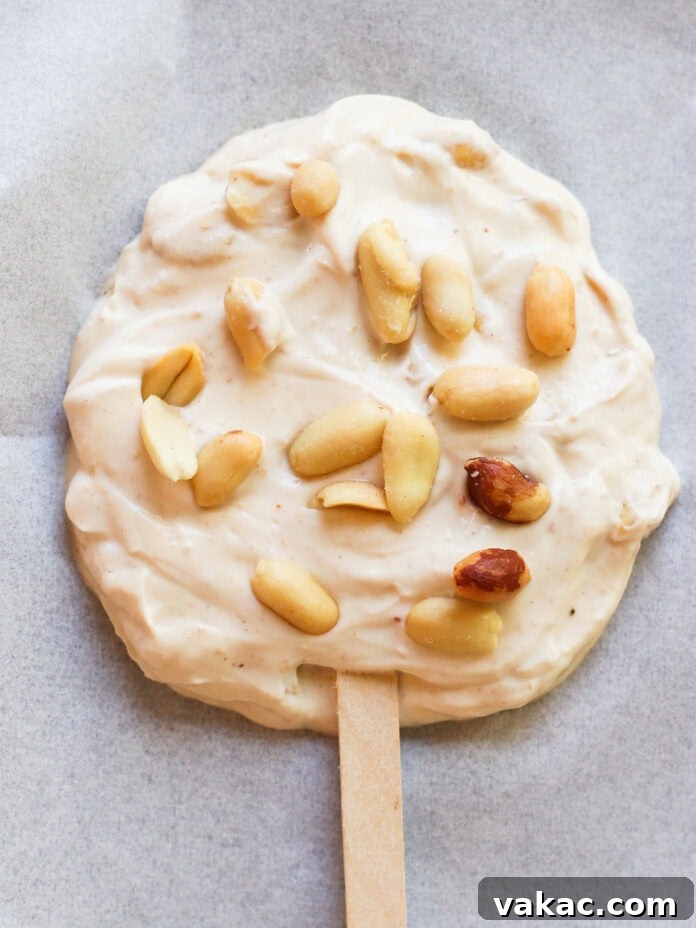
Step 3: Shape and Freeze. Line a baking sheet with parchment paper – this is a critical step to prevent sticking! Scoop the yogurt mixture onto the lined sheet in four generous ¼ cup portions, ensuring there’s ample space between each mound. Gently flatten each portion into a round shape, then carefully insert a popsicle stick into the center of each round, making sure the stick is completely covered by the yogurt mixture for stability. If desired, sprinkle the reserved peanuts on top of each bar. Place the entire baking sheet into the freezer and allow the bars to set completely for at least 4 hours, or until thoroughly frozen solid.
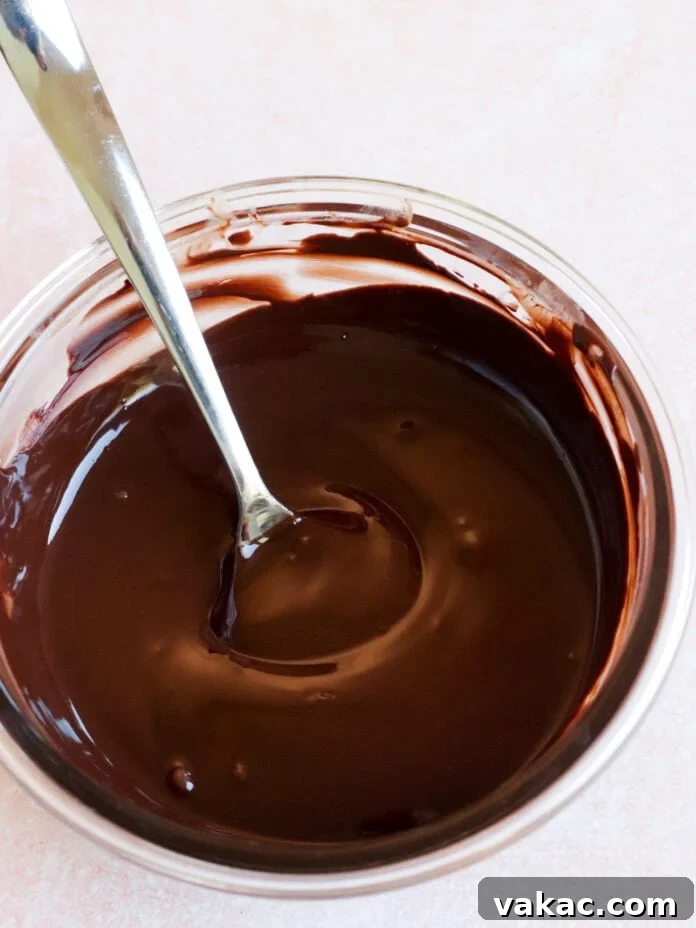
Step 4: Prepare the Chocolate Shell. In a microwave-safe bowl, combine the dark chocolate and coconut oil. Melt the mixture in 30-second increments, stirring well after each interval, until it is completely smooth and glossy. This prevents the chocolate from burning and ensures a perfectly dippable consistency. Allow the chocolate mixture to cool slightly at room temperature before proceeding. This helps the chocolate adhere better and prevents it from melting the yogurt bars too quickly.
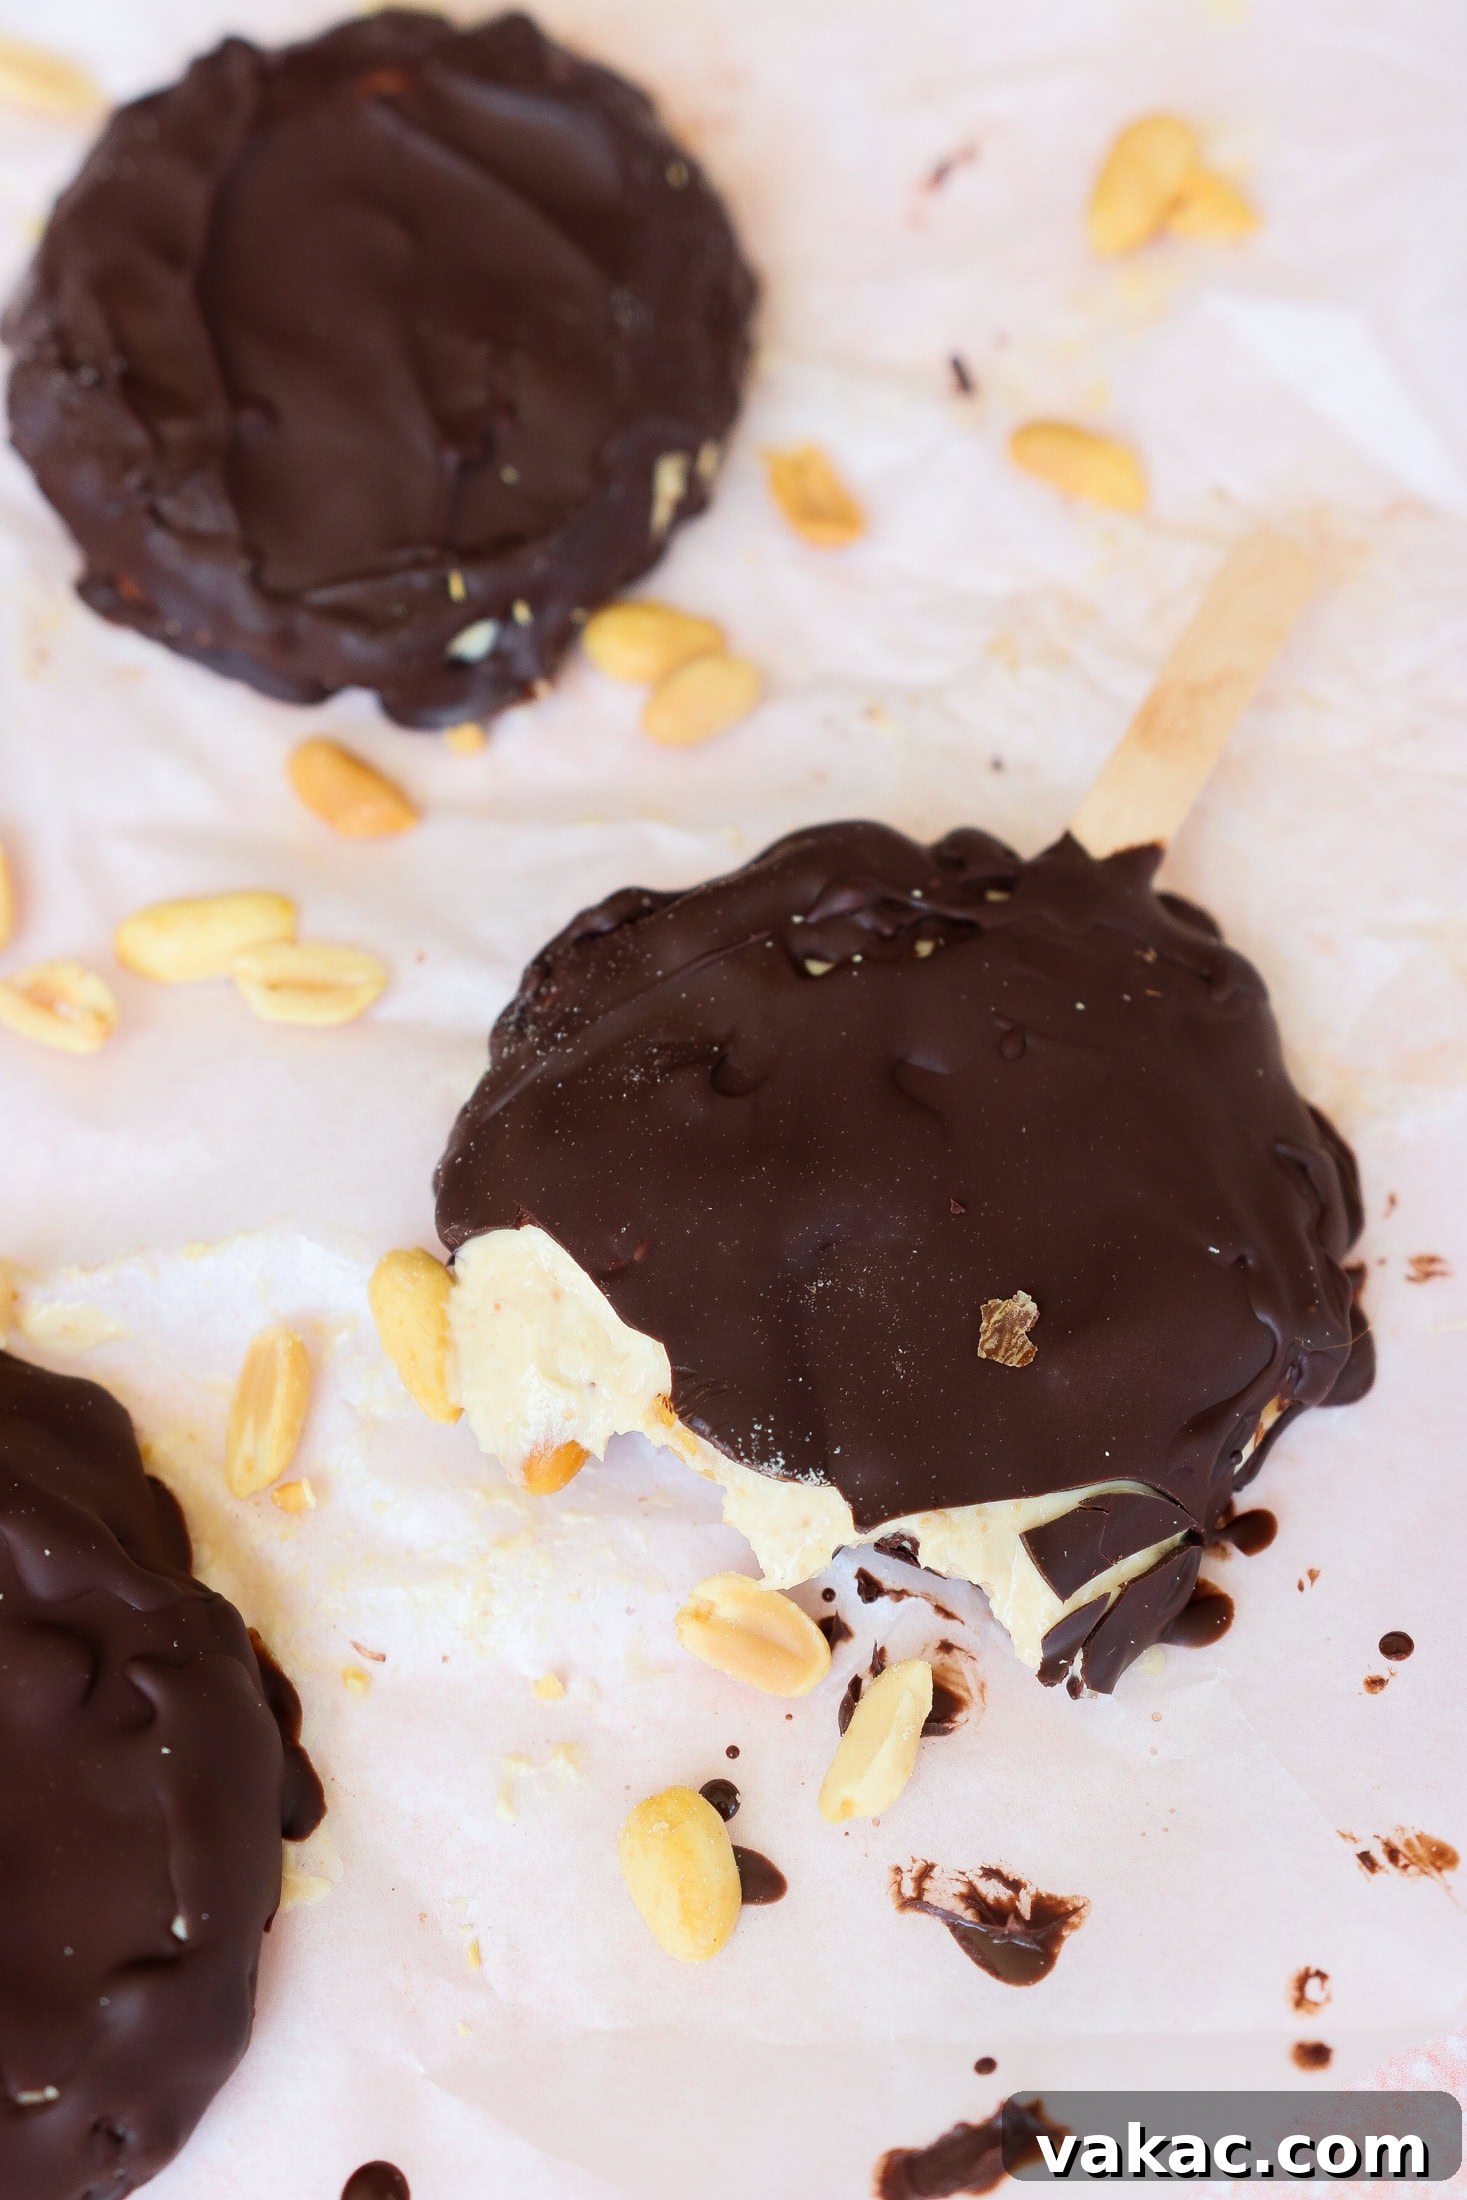
Step 5: Coat the Bars. Carefully remove the frozen yogurt rounds from the freezer. You may need to use a thin spatula to gently lift them off the parchment-lined tray to ensure they don’t break. Working quickly, spoon or drizzle the melted chocolate mixture over each frozen yogurt bar, turning it to cover all sides for a complete coating. If preferred, you can choose to leave the bottom side uncoated. The chocolate will begin to harden almost immediately upon contact with the cold yogurt. If the chocolate doesn’t set quickly or the bars start to thaw, simply pop them back into the freezer for an additional 5-10 minutes to firm up. For an extra touch of flavor and visual appeal, sprinkle with flaky sea salt while the chocolate is still wet, if using.
Step 6: Serve and Enjoy. These delectable bars are ready to be enjoyed right away! If you’re not planning to eat them immediately, return them to the freezer to store. When serving them directly from the freezer, allow them to thaw for approximately 10 minutes at room temperature. This brief thawing period will soften them just enough to achieve that perfect creamy texture and make them easy to bite into, delivering the optimal frozen treat experience.
The Feel-Good Meal Plan
My Bestselling Cookbook is Now Available!
A fresh take on meal prep with over 100 nourishing recipes to feed your family with ease.
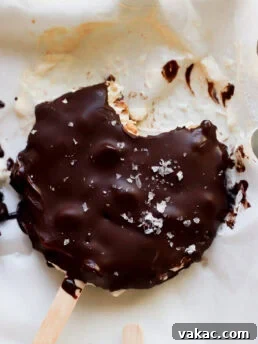
Easy Chocolate-Coated Peanut Butter Frozen Yogurt Bars
5 out of 5 stars from 1 review
-
Author:
Lindsay Pleskot, RD -
Prep Time:
10 Minutes -
Total Time:
10 minutes -
Yield:
4 bars -
Category:
Dessert -
Method:
No Bake -
Cuisine:
American -
Diet:
Gluten Free
Description
These frozen yogurt bars deliver major Peanut Buster Bar vibes, but with a truly nourishing twist. Made with just 5 simple ingredients including creamy, protein-rich Greek yogurt, crunchy salted peanuts, a delicious swirl of peanut butter, and a perfectly crisp chocolate shell, this flavor combination is simply unbeatable. With only 10 minutes of active prep time before freezing, this nutrition-packed freezer snack is both incredibly satisfying and remarkably simple to make. It’s the perfect treat to delight snack-happy kids, cool down on sunny afternoons, or provide a delicious, wholesome option whenever you crave a treat with a bit of extra staying power.
Ingredients
Yogurt Filling
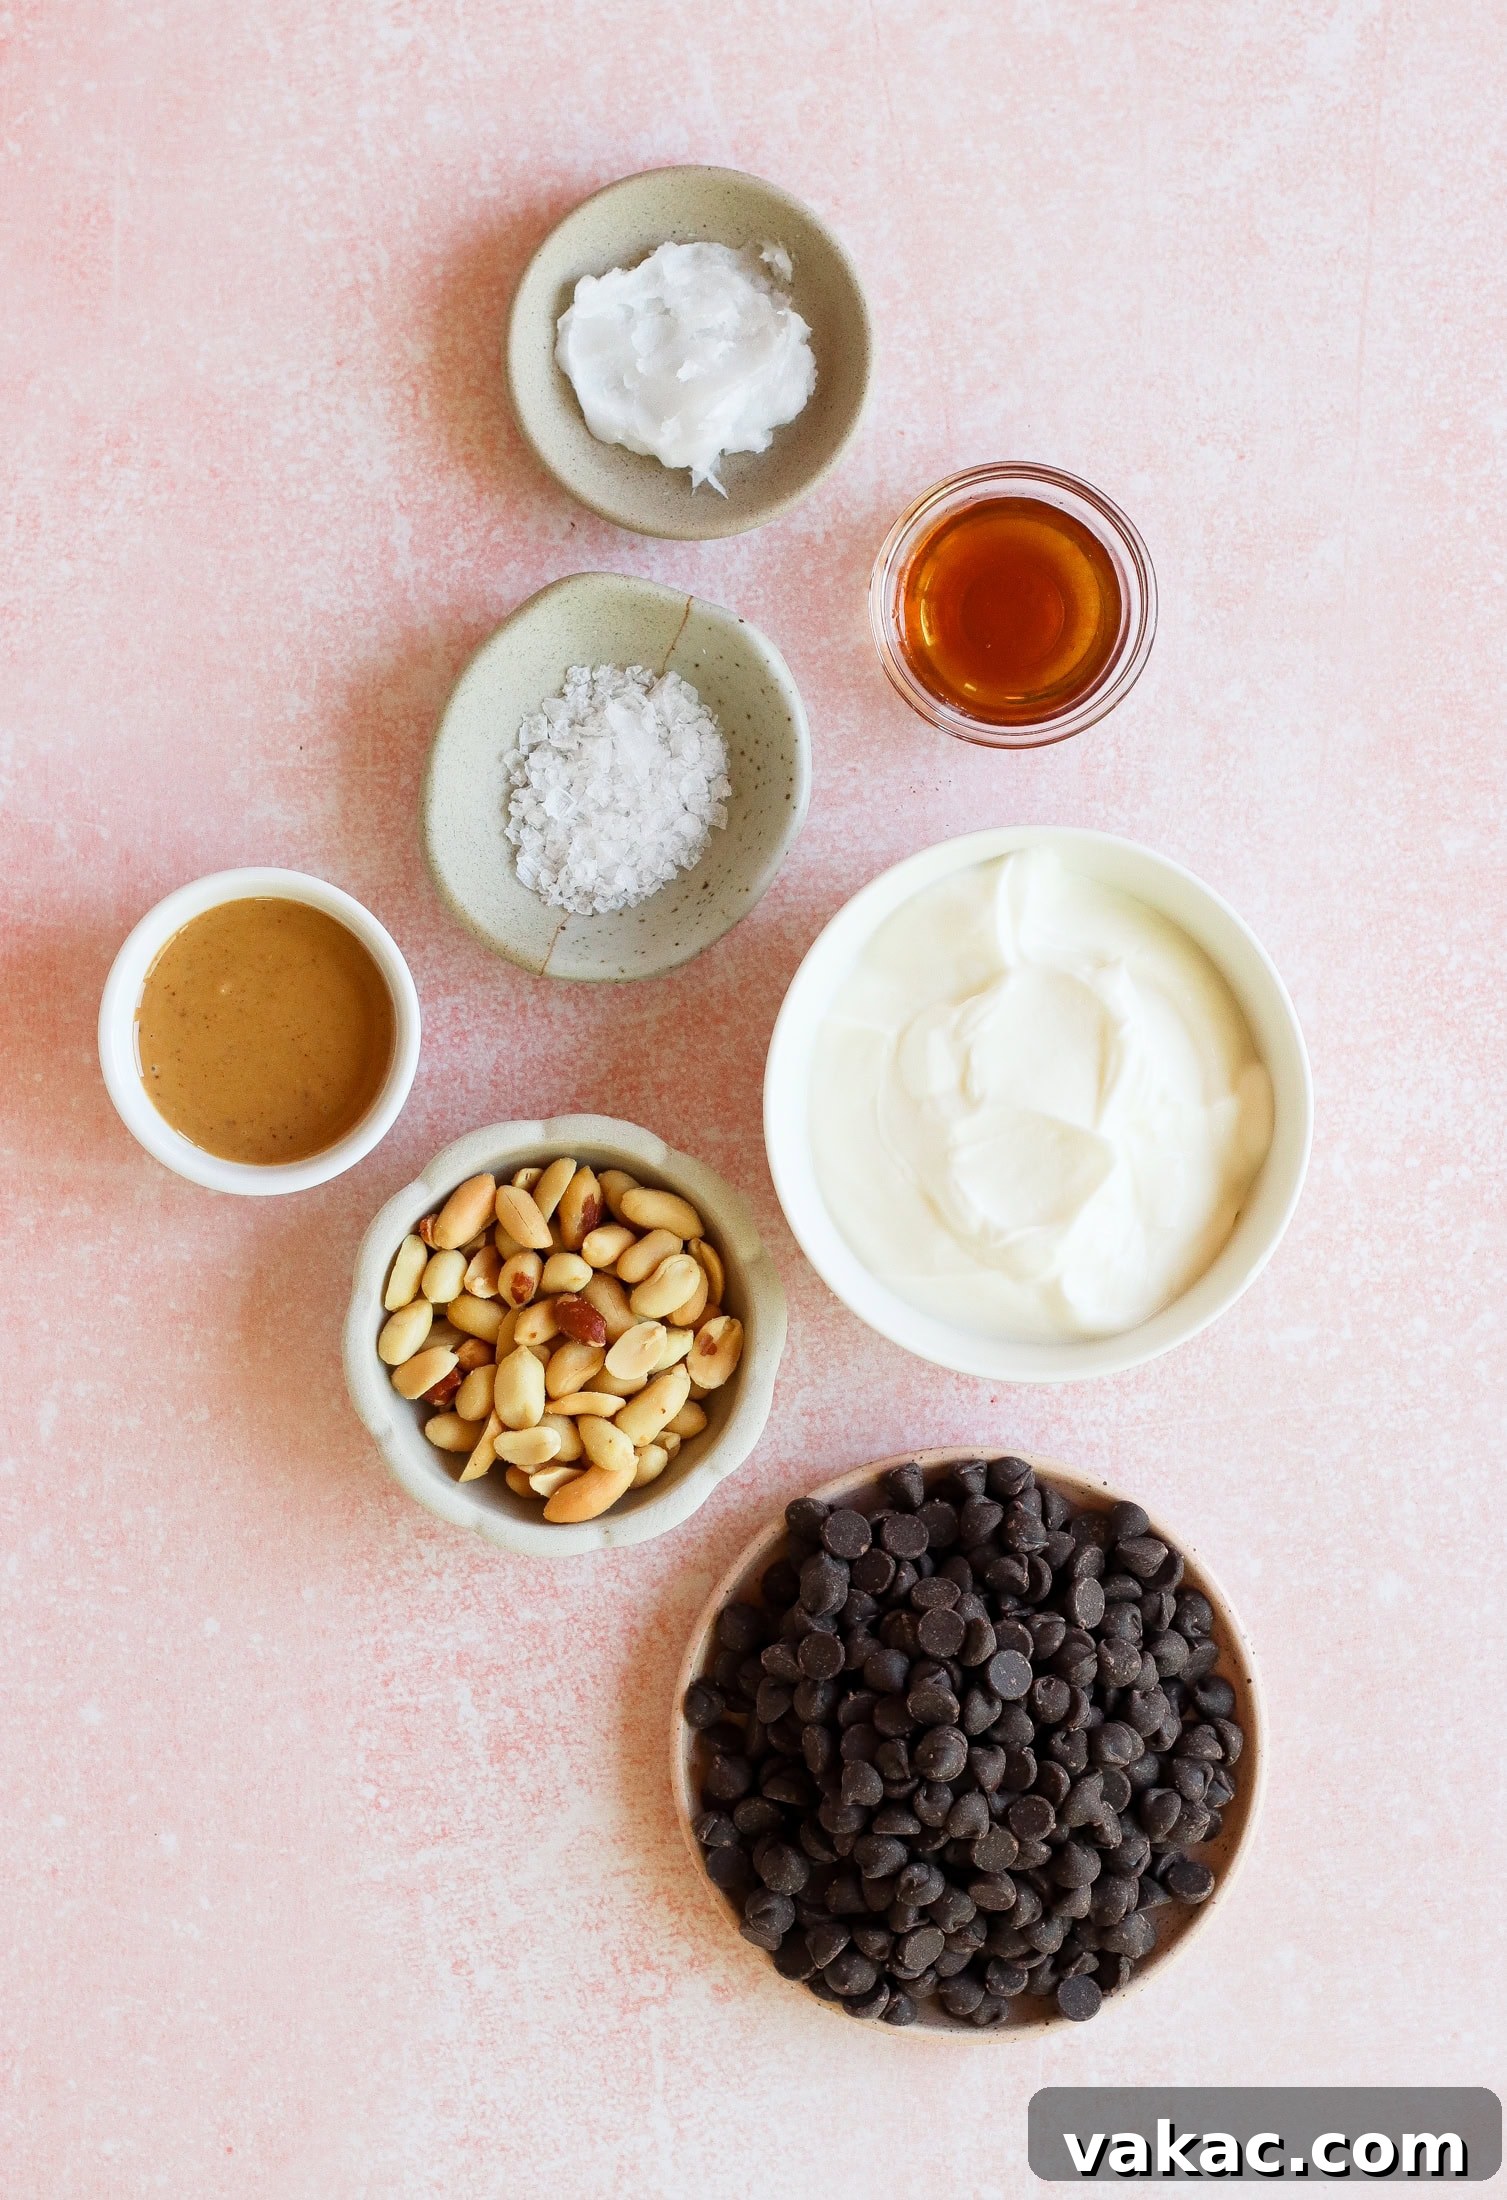
- 1 cup Plain Greek yogurt (2-5% milk fat recommended)
- 2 Tbsp smooth natural peanut butter
- ½ cup salted roasted peanuts, plus more for topping if desired
- 1 Tbsp maple syrup
Chocolate Shell
- 1 cup dark chocolate chips or chopped dark chocolate
- 2 Tbsp coconut oil, melted
- Flaky sea salt (optional, for garnish)
Instructions
- Line a standard baking sheet with parchment paper. This will prevent the yogurt bars from sticking and make them easy to remove once frozen. Set aside.
- In a medium mixing bowl, combine the plain Greek yogurt, smooth natural peanut butter, and maple syrup. Stir vigorously with a spoon or whisk until all ingredients are thoroughly blended and the mixture is smooth and uniform in consistency.
- Gently fold in ½ cup of the salted roasted peanuts into the yogurt mixture. Ensure the peanuts are evenly distributed throughout the base. If you plan to add extra peanuts on top, reserve a small amount now.
- Using a ¼ cup measuring cup, scoop the yogurt mixture onto the prepared parchment-lined baking sheet in four separate, generous portions. Leave ample space between each mound. Gently flatten each portion into a round or bar shape, about 3-4 inches in diameter. Carefully insert a popsicle stick into the base of each round, ensuring the stick is fully encased by the yogurt mixture for stability. If desired, sprinkle the reserved peanuts on top of each bar for added texture and visual appeal. Place the baking sheet into the freezer and freeze for at least 4 hours, or until the bars are completely solid.
- Once the yogurt bars are fully frozen, prepare the chocolate shell. In a microwave-safe bowl, combine the dark chocolate chips (or chopped dark chocolate) and the melted coconut oil. Microwave in 30-second intervals, stirring thoroughly after each interval, until the chocolate is completely smooth and melted with no lumps. Be careful not to overheat to prevent burning. Allow the melted chocolate mixture to cool slightly at room temperature for a few minutes; this helps it adhere better to the cold yogurt.
- Remove the frozen yogurt bars from the freezer. You may need to use a thin, flat spatula to gently pry them off the parchment paper to prevent them from breaking. Work quickly as they will begin to soften.
- Spoon or drizzle the melted chocolate mixture generously over each frozen yogurt bar. Turn the bar to ensure all desired sides are coated. Alternatively, you can choose to leave the bottom side uncoated if preferred. The chocolate will harden almost instantly upon contact with the frozen yogurt. If the chocolate doesn’t harden immediately or the bars begin to melt, place them back in the freezer for about 5 minutes until the chocolate is firm. While the chocolate is still wet, sprinkle with flaky sea salt if using, for a beautiful salty-sweet contrast.
- Enjoy these delightful chocolate-coated peanut butter frozen yogurt bars right away! For longer storage, transfer them to an airtight container or freezer bag and keep them in the freezer until you are ready to indulge.
Notes
Storage: Store these frozen yogurt bars in the freezer in an airtight container or in freezer bags for up to 3 months. To prevent them from sticking together, you can place a small piece of parchment paper between each bar before storing.
Serving Tip: If eating directly from the freezer, allow the bars to thaw for about 5-10 minutes at room temperature before enjoying. This brief thaw time ensures they are soft enough to bite through and allows the creamy texture of the yogurt to shine, making for an optimal eating experience.
Variations: Feel free to experiment with different nuts like chopped almonds or cashews for a different crunch. You can also add a pinch of cinnamon or a drop of vanilla extract to the yogurt mixture for added depth of flavor. For a richer chocolate shell, consider using higher quality dark chocolate. A sprinkle of mini chocolate chips on top before freezing also adds a delightful touch!