
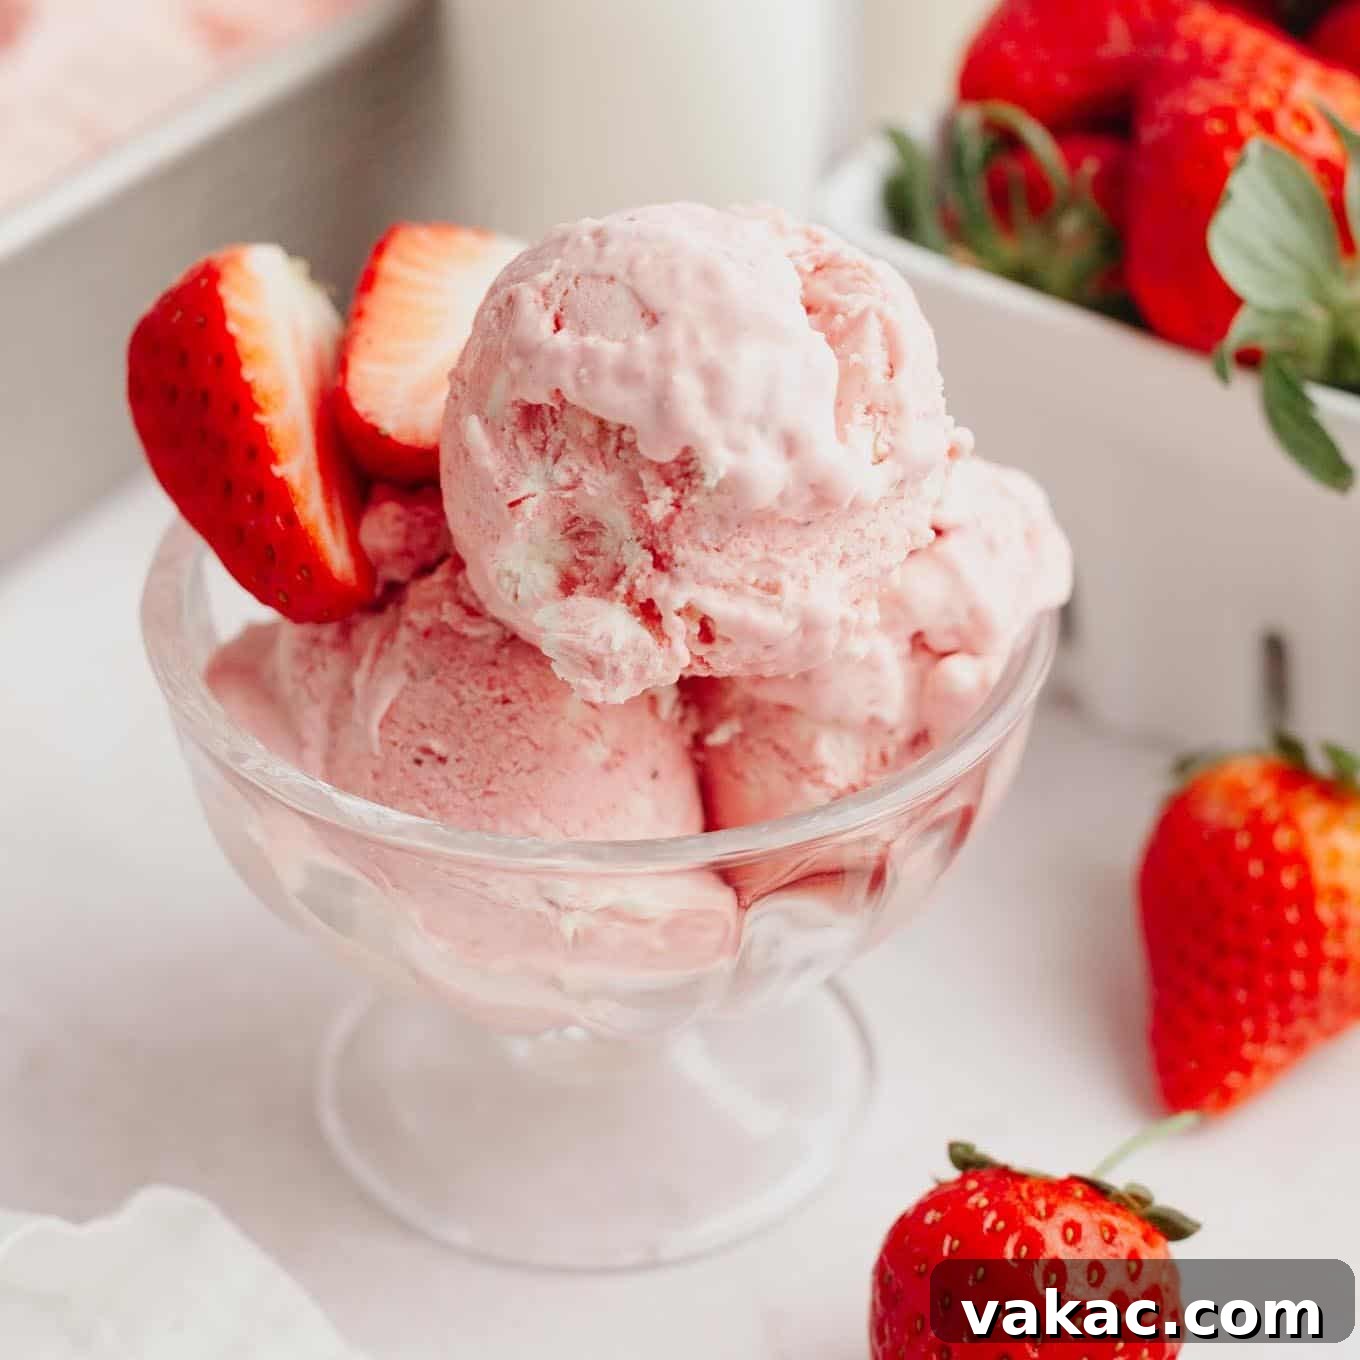
There’s nothing quite like the creamy, luscious delight of homemade ice cream, and this **strawberry ice cream** recipe takes that experience to a whole new level. Forget the store-bought versions; this simple, no-churn recipe delivers an unparalleled burst of fresh strawberry flavor, perfect for cooling off on a warm summer day. Crafted with just a handful of ingredients, it’s an effortless dessert that tastes incredibly gourmet.
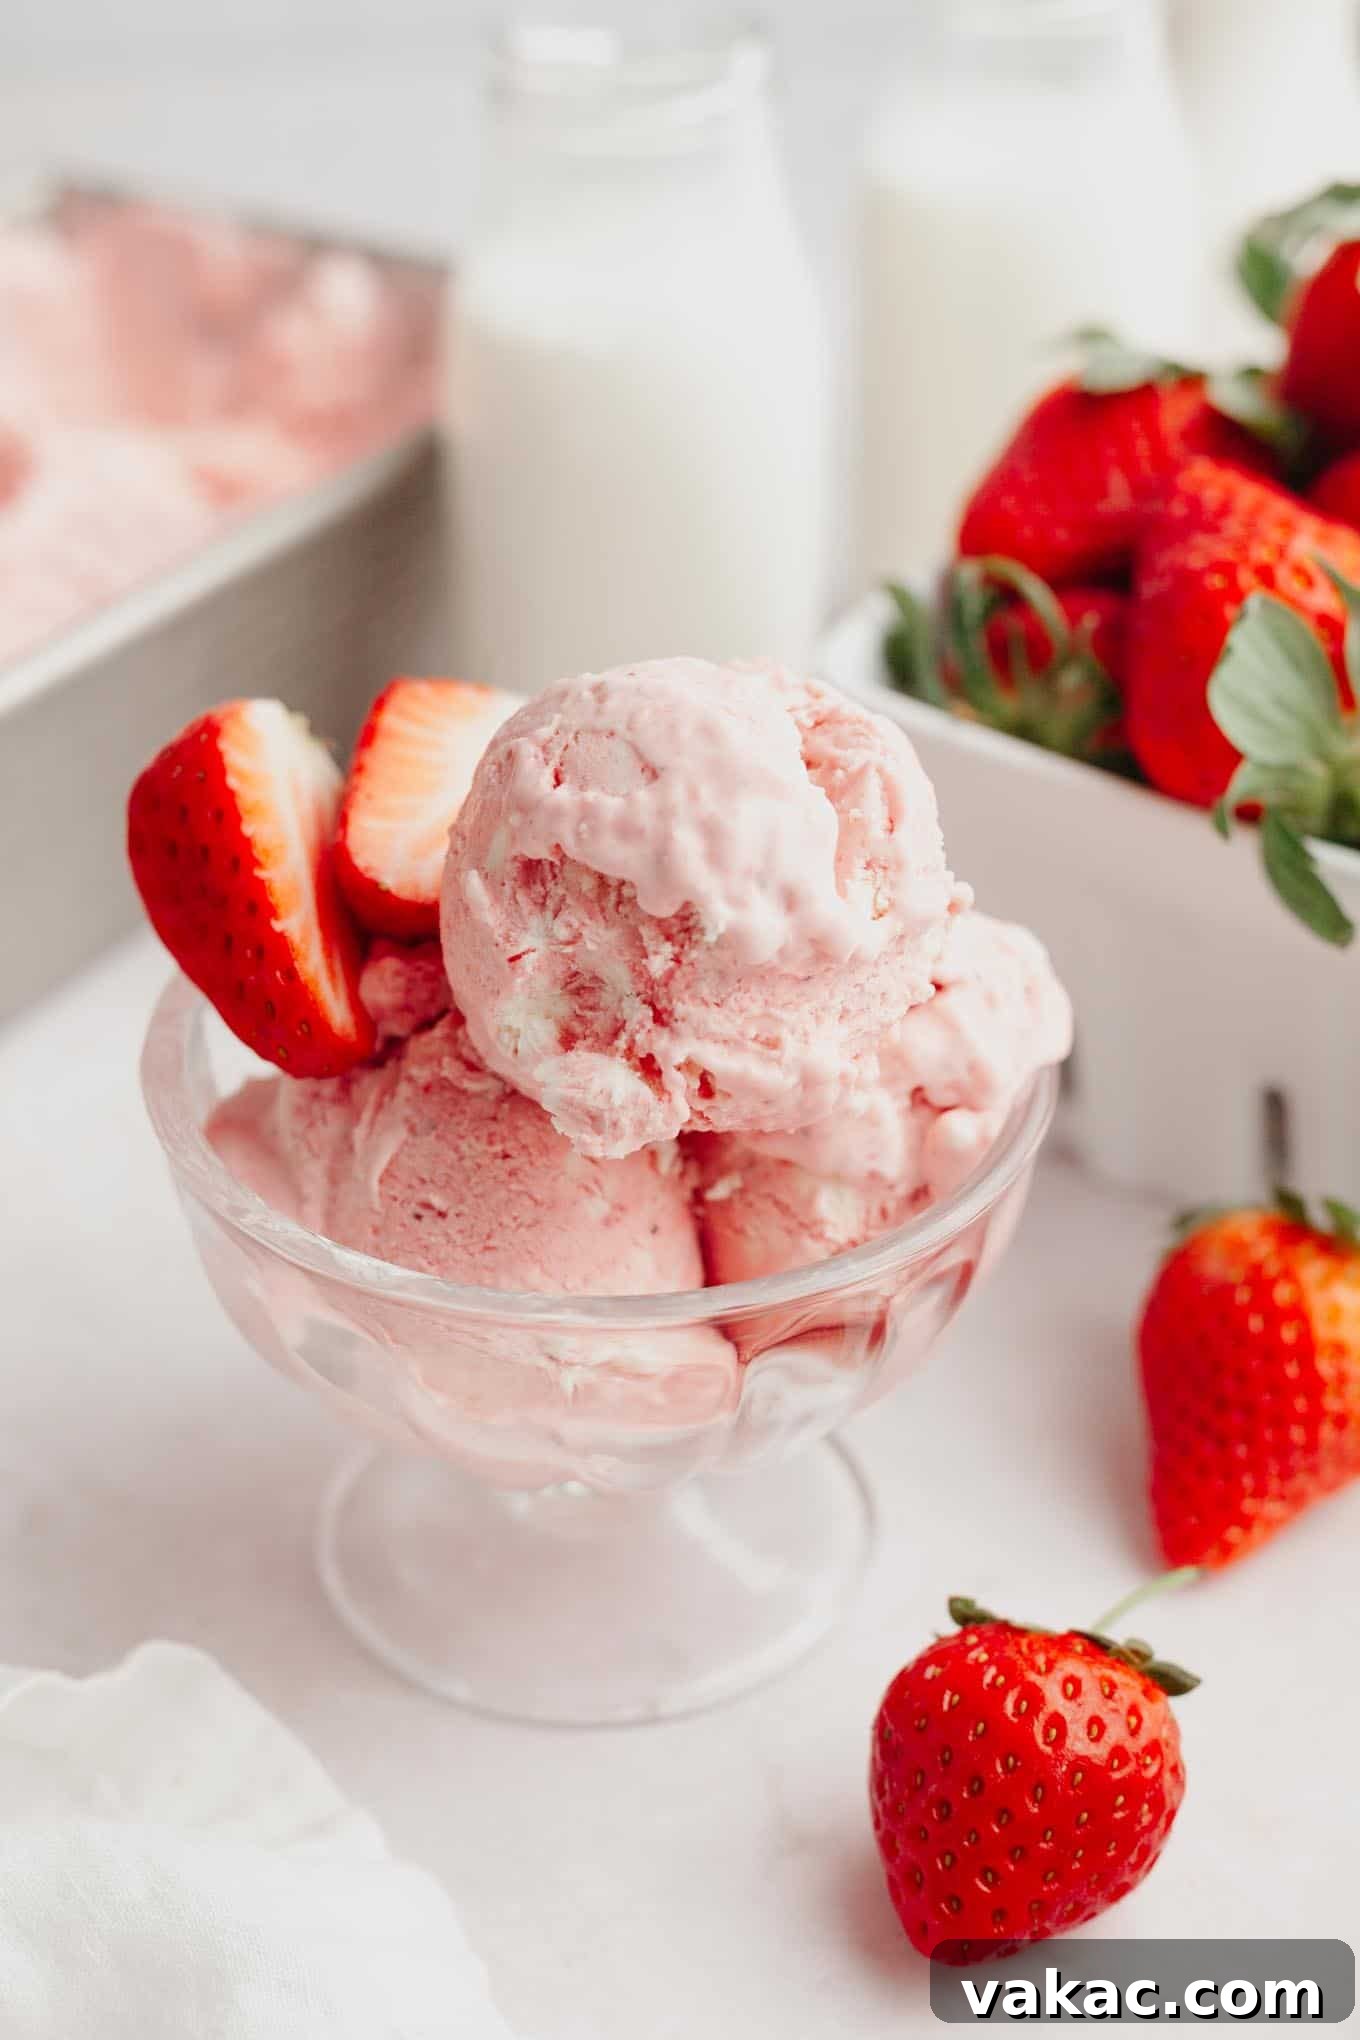
While strawberry might seem like a straightforward ice cream flavor, the magic truly happens when you use fresh, ripe berries. This recipe elevates the classic by infusing intense strawberry goodness in two distinct ways. First, a generous pound of fresh strawberries is pureed and then carefully reduced on the stovetop, concentrating its natural sugars and vibrant essence. To further amplify this authentic berry profile, a touch of strawberry extract is incorporated, ensuring every spoonful is an explosion of genuine strawberry taste.
This easy, no-churn method means you won’t need a specialized ice cream maker, making it accessible for any home cook. The result is a wonderfully smooth, rich, and incredibly flavorful ice cream that will quickly become your go-to summer treat. It’s a versatile dessert that can be enjoyed on its own or paired with an array of delectable toppings to create an even more indulgent experience.
Why Homemade No-Churn Strawberry Ice Cream?
Making ice cream at home, especially with a no-churn technique, offers several compelling advantages over store-bought alternatives:
- Unmatched Freshness: You control the quality of ingredients, particularly the strawberries. Using ripe, seasonal berries ensures a flavor that processed ice creams simply cannot replicate.
- Intense Flavor Profile: Our unique “two-way” strawberry infusion (reduced puree and extract) creates a deep, authentic berry taste that is far superior to artificial flavors often found in commercial products.
- Simple & Accessible: The “no-churn” aspect eliminates the need for an expensive ice cream machine. If you have a mixer and a freezer, you can make this delicious dessert.
- Customization Galore: From adding chocolate chips to swirling in extra fruit, homemade ice cream provides endless opportunities for personalization.
- Economical: Often, making ice cream from scratch is more cost-effective than purchasing premium pints from the store, especially when strawberries are in season.
- Rewarding Experience: There’s immense satisfaction in creating a delicious treat from scratch, perfect for sharing with family and friends.
Elevate Your Strawberry Ice Cream Experience with These Topping Ideas
While delightful on its own, this no-churn strawberry ice cream serves as the perfect canvas for creative toppings. Transform your frozen treat into an extraordinary dessert with these suggestions:
- Chocolate Drizzle: Take a cue from chocolate-covered strawberries by drizzling over homemade chocolate magic shell or a rich hot fudge sauce. The combination of sweet strawberries and decadent chocolate is simply irresistible.
- More Strawberry Goodness: For an extra burst of berry flavor, top with a spoonful of homemade strawberry sauce or fresh, thinly sliced strawberries.
- Whipped Cream & Sprinkles: A classic pairing, a dollop of freshly whipped cream and a sprinkle of colorful (or strawberry-themed) sprinkles adds a festive touch.
- Crunchy Delights: Add texture with a sprinkle of toasted nuts (almonds, pistachios), crushed shortbread cookies, or granola.
- Herbal Infusion: A sprig of fresh mint or basil can add an unexpected and refreshing aromatic note.
- Other Fruits: Complementary fruits like blueberries, raspberries, or sliced bananas can create a lovely fruit medley.
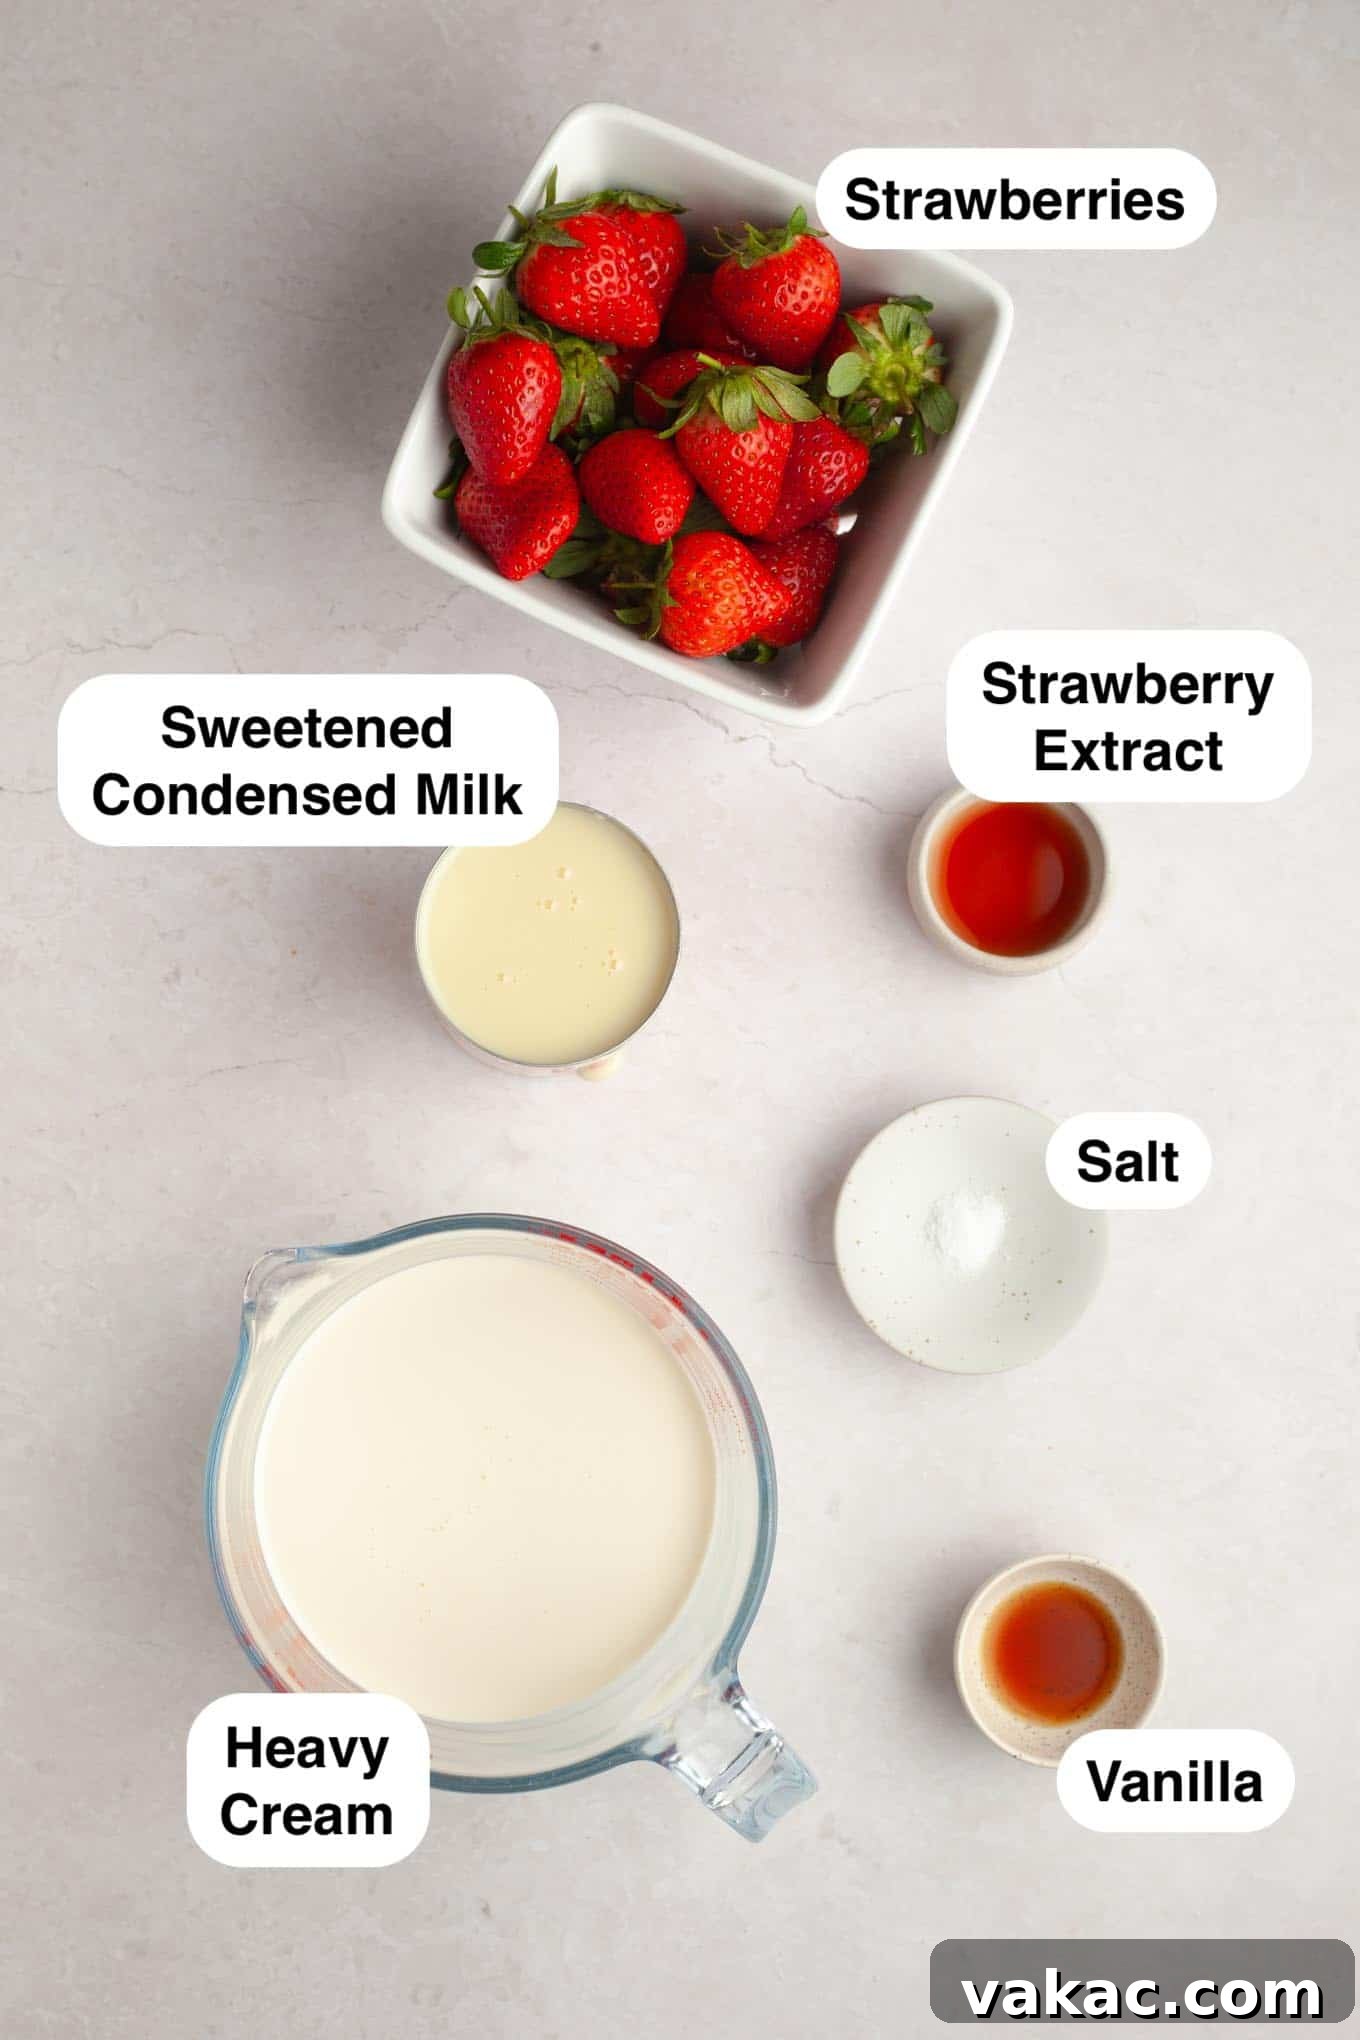
Recipe Ingredients: The Heart of Your Homemade Strawberry Ice Cream
Creating this irresistible no-churn strawberry ice cream requires just a few key ingredients. Each plays a crucial role in achieving the perfect texture and vibrant flavor. Here’s a closer look at what you’ll need and why each component is important:
- Strawberries: The star of our show! It’s vital to choose ripe, bright red strawberries, as they do not ripen further after being picked. Their natural sweetness and juicy flesh are fundamental for the authentic berry flavor. Opt for organic if available, for an even purer taste. You’ll need about one pound for this recipe.
- Sweetened Condensed Milk: This is the backbone of any no-churn ice cream. Its thick, creamy texture and high sugar content provide the necessary sweetness and prevent the ice cream from freezing into a solid block of ice. It also adds richness without the need for an egg custard. Be sure to use sweetened condensed milk and not evaporated milk; they are distinct products and not interchangeable in this recipe.
- Heavy Whipping Cream: For that airy, rich texture, heavy whipping cream is indispensable. It must contain at least 36% fat to whip properly and hold stiff peaks. When whipped, it incorporates air, which is essential for the light, scoopable consistency of no-churn ice cream. Alternatives like half-and-half or light cream will not work as they lack the fat content needed for aeration.
- Vanilla Extract: Pure vanilla extract is a flavor enhancer that works beautifully with strawberries. It doesn’t overpower the berry taste but instead rounds out the sweetness and adds a subtle complexity, creating a more balanced and sophisticated flavor profile.
- Strawberry Extract: While optional, a dash of pure strawberry extract truly amplifies the natural strawberry flavor, giving the ice cream an extra punch. It’s especially useful if your strawberries aren’t as intensely flavored as you’d like, ensuring a vibrant berry taste in every bite. I personally recommend including 1 teaspoon for the best result.
- Salt: A tiny pinch of salt might seem counterintuitive in a sweet dessert, but it’s a secret ingredient that brightens and enhances the natural sweetness and fruitiness of the strawberries. It balances the flavors, preventing the ice cream from being overly sweet.
- Red Food Coloring: This is purely optional and used for aesthetic appeal. If your strawberries yield a lighter pink puree, a few drops of red food coloring can intensify the color, making your homemade strawberry ice cream look as vibrant as it tastes.
How To Make Irresistible No-Churn Strawberry Ice Cream
Making this delightful strawberry ice cream is simpler than you might imagine. Follow these step-by-step instructions for a perfectly creamy and flavorful frozen treat:
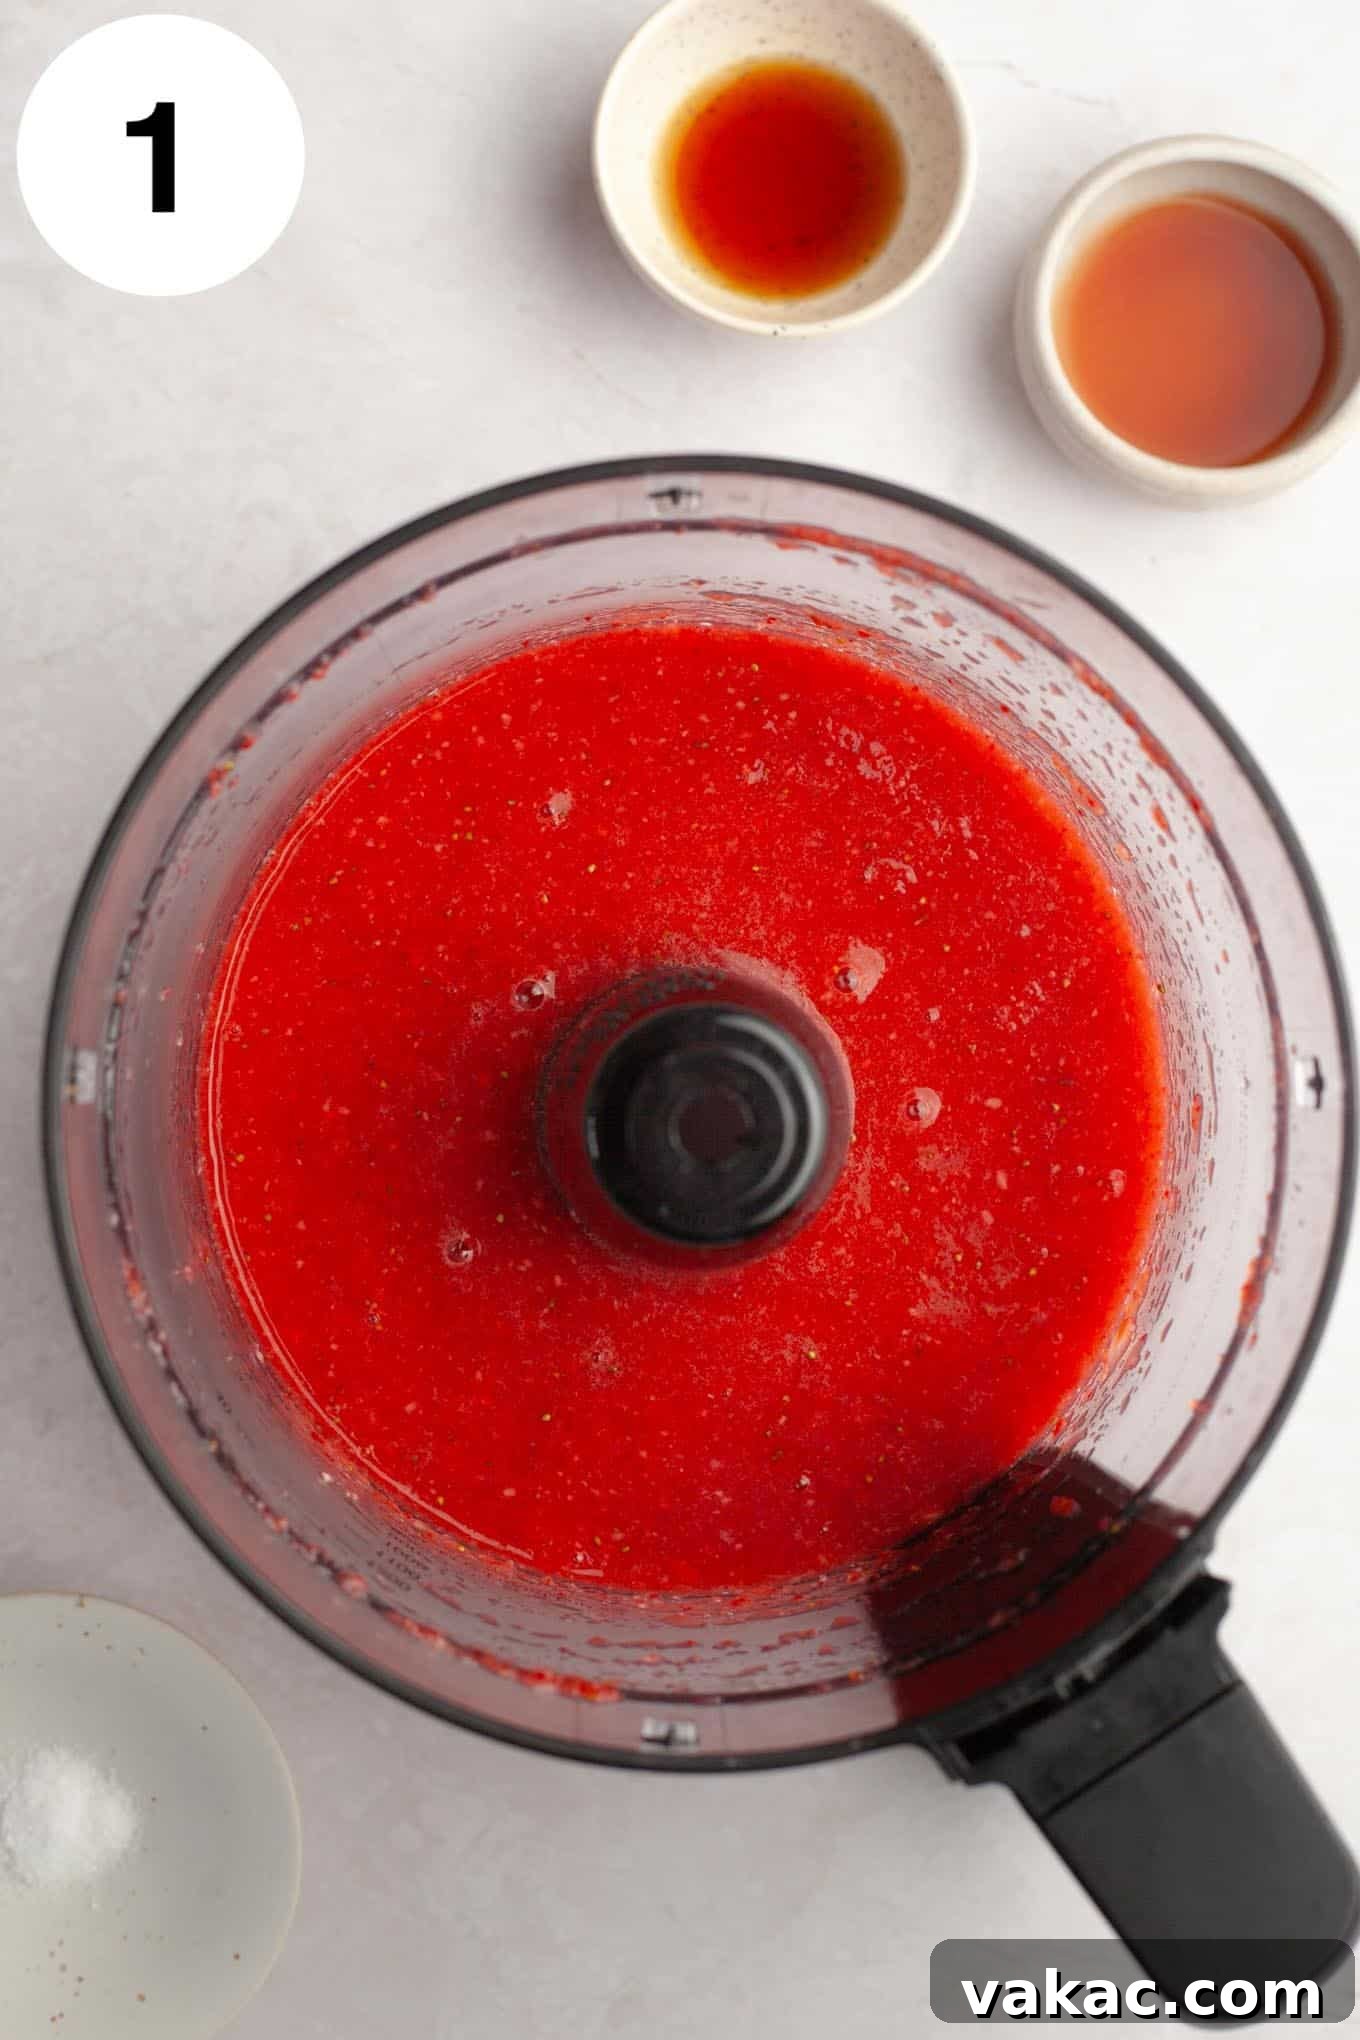
- Prepare the Strawberry Puree: Begin by washing and hulling your fresh strawberries. Place the prepared berries into a blender or food processor. Blend until you achieve a completely smooth puree. There should be no visible chunks of fruit. You should yield just under 2 cups of puree from one pound of strawberries.
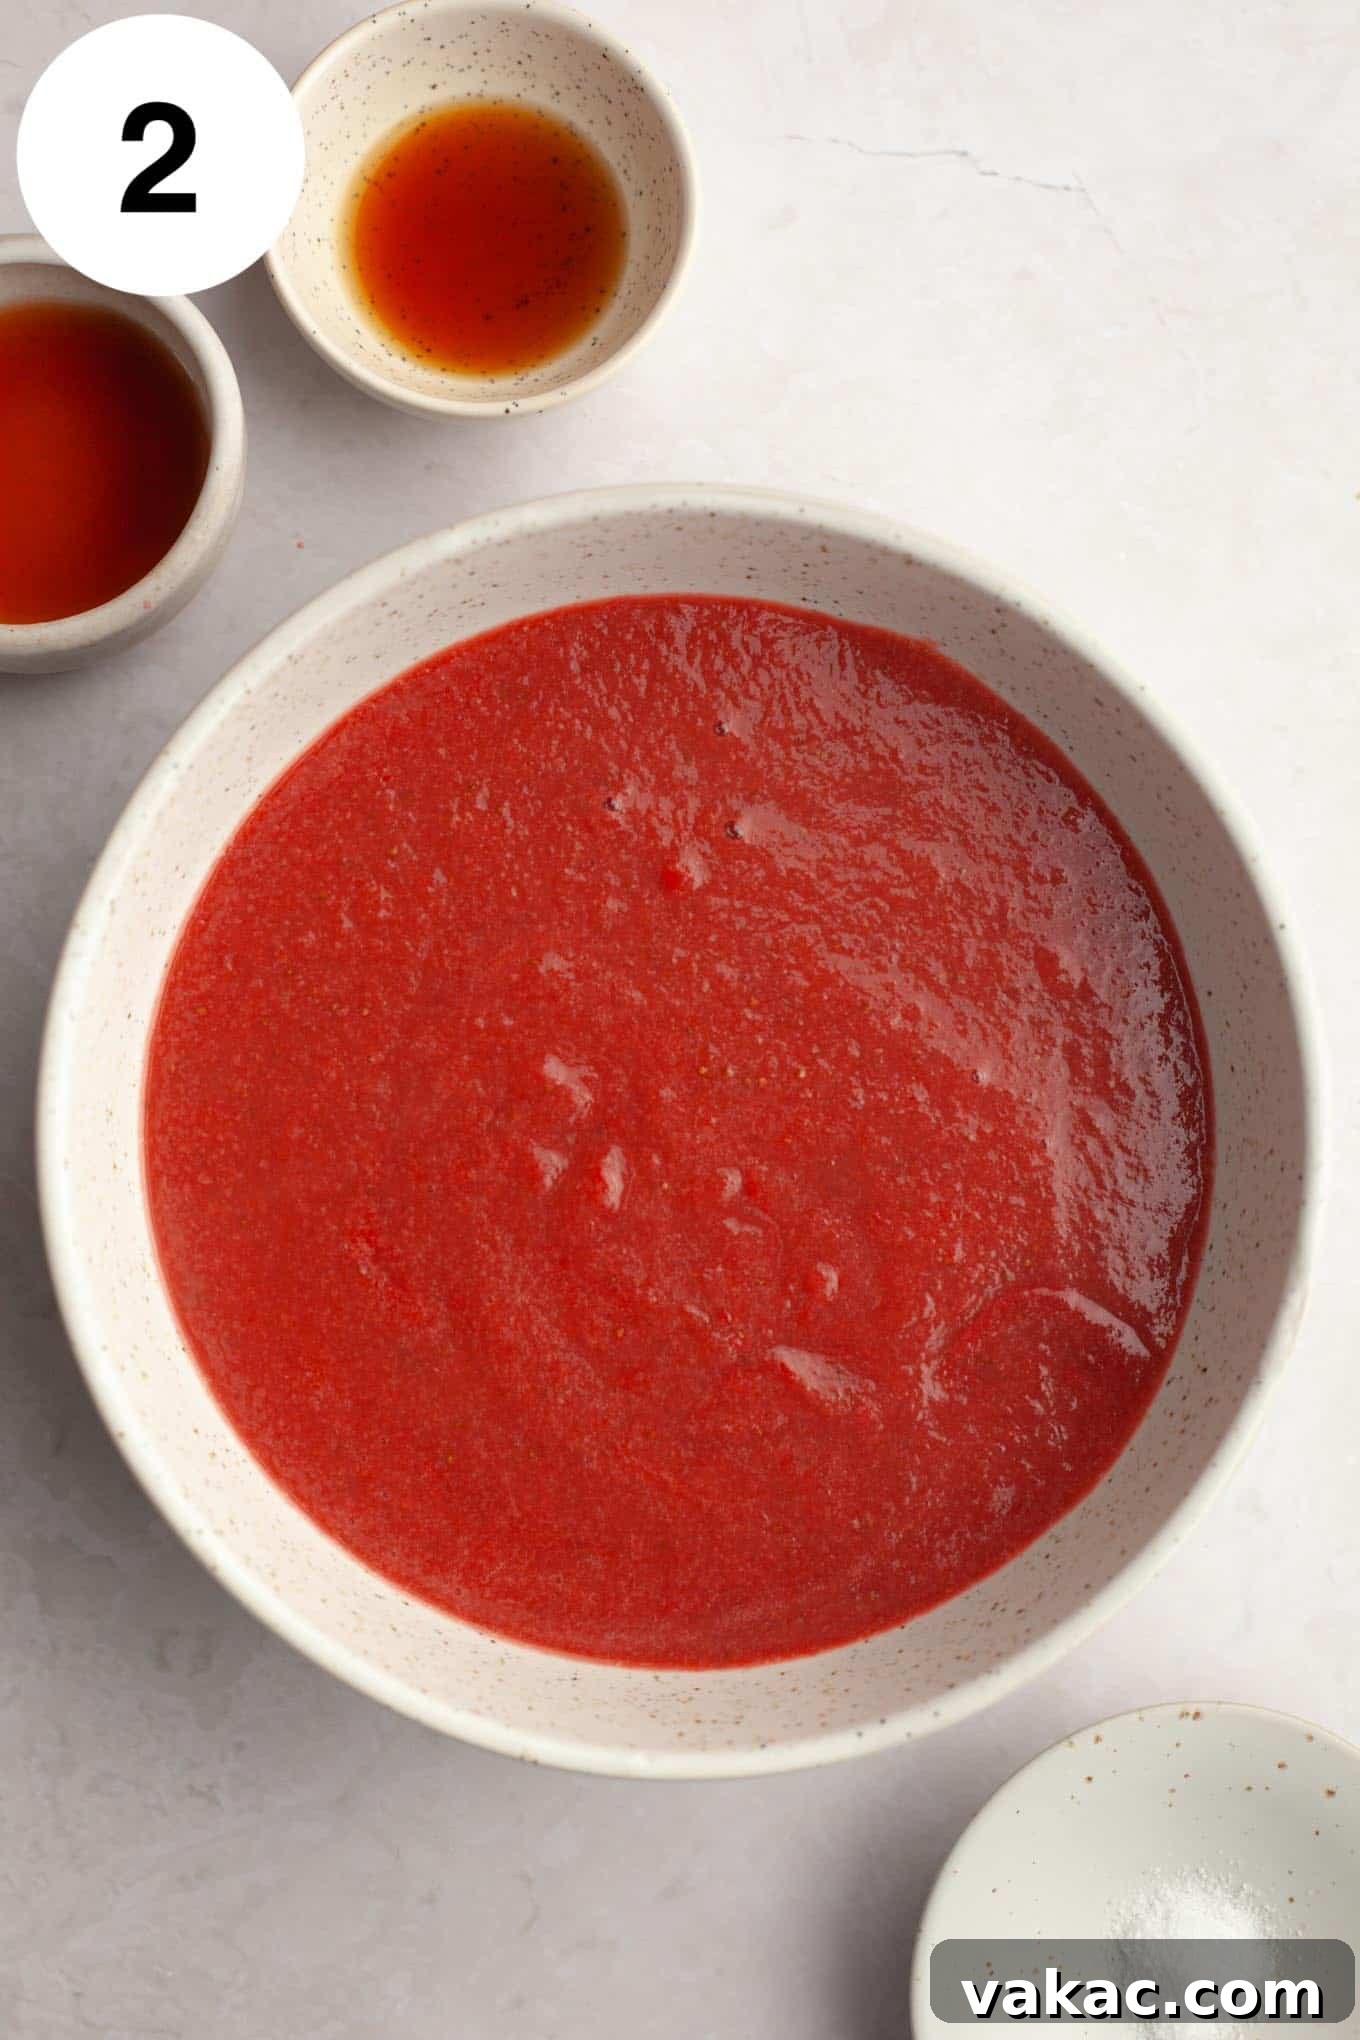
- Reduce the Strawberry Puree: Transfer the smooth strawberry puree to a heavy-bottomed saucepan. Cook it over medium heat, stirring frequently to prevent sticking. Allow the puree to simmer and reduce by about half its original volume, or until you have approximately one cup. This reduction process is crucial as it concentrates the strawberry flavor and removes excess moisture, which helps prevent ice crystals from forming in your final ice cream. This step typically takes 20 to 30 minutes, so patience is key!
- Cool the Reduced Puree: Once reduced, pour the thickened strawberry puree into a heat-safe dish. Let it cool completely to room temperature. To expedite this process, you can place the uncovered dish in the refrigerator. Ensure it’s thoroughly chilled before proceeding, as adding warm puree to your mixture will melt the whipped cream and compromise the texture of your ice cream.
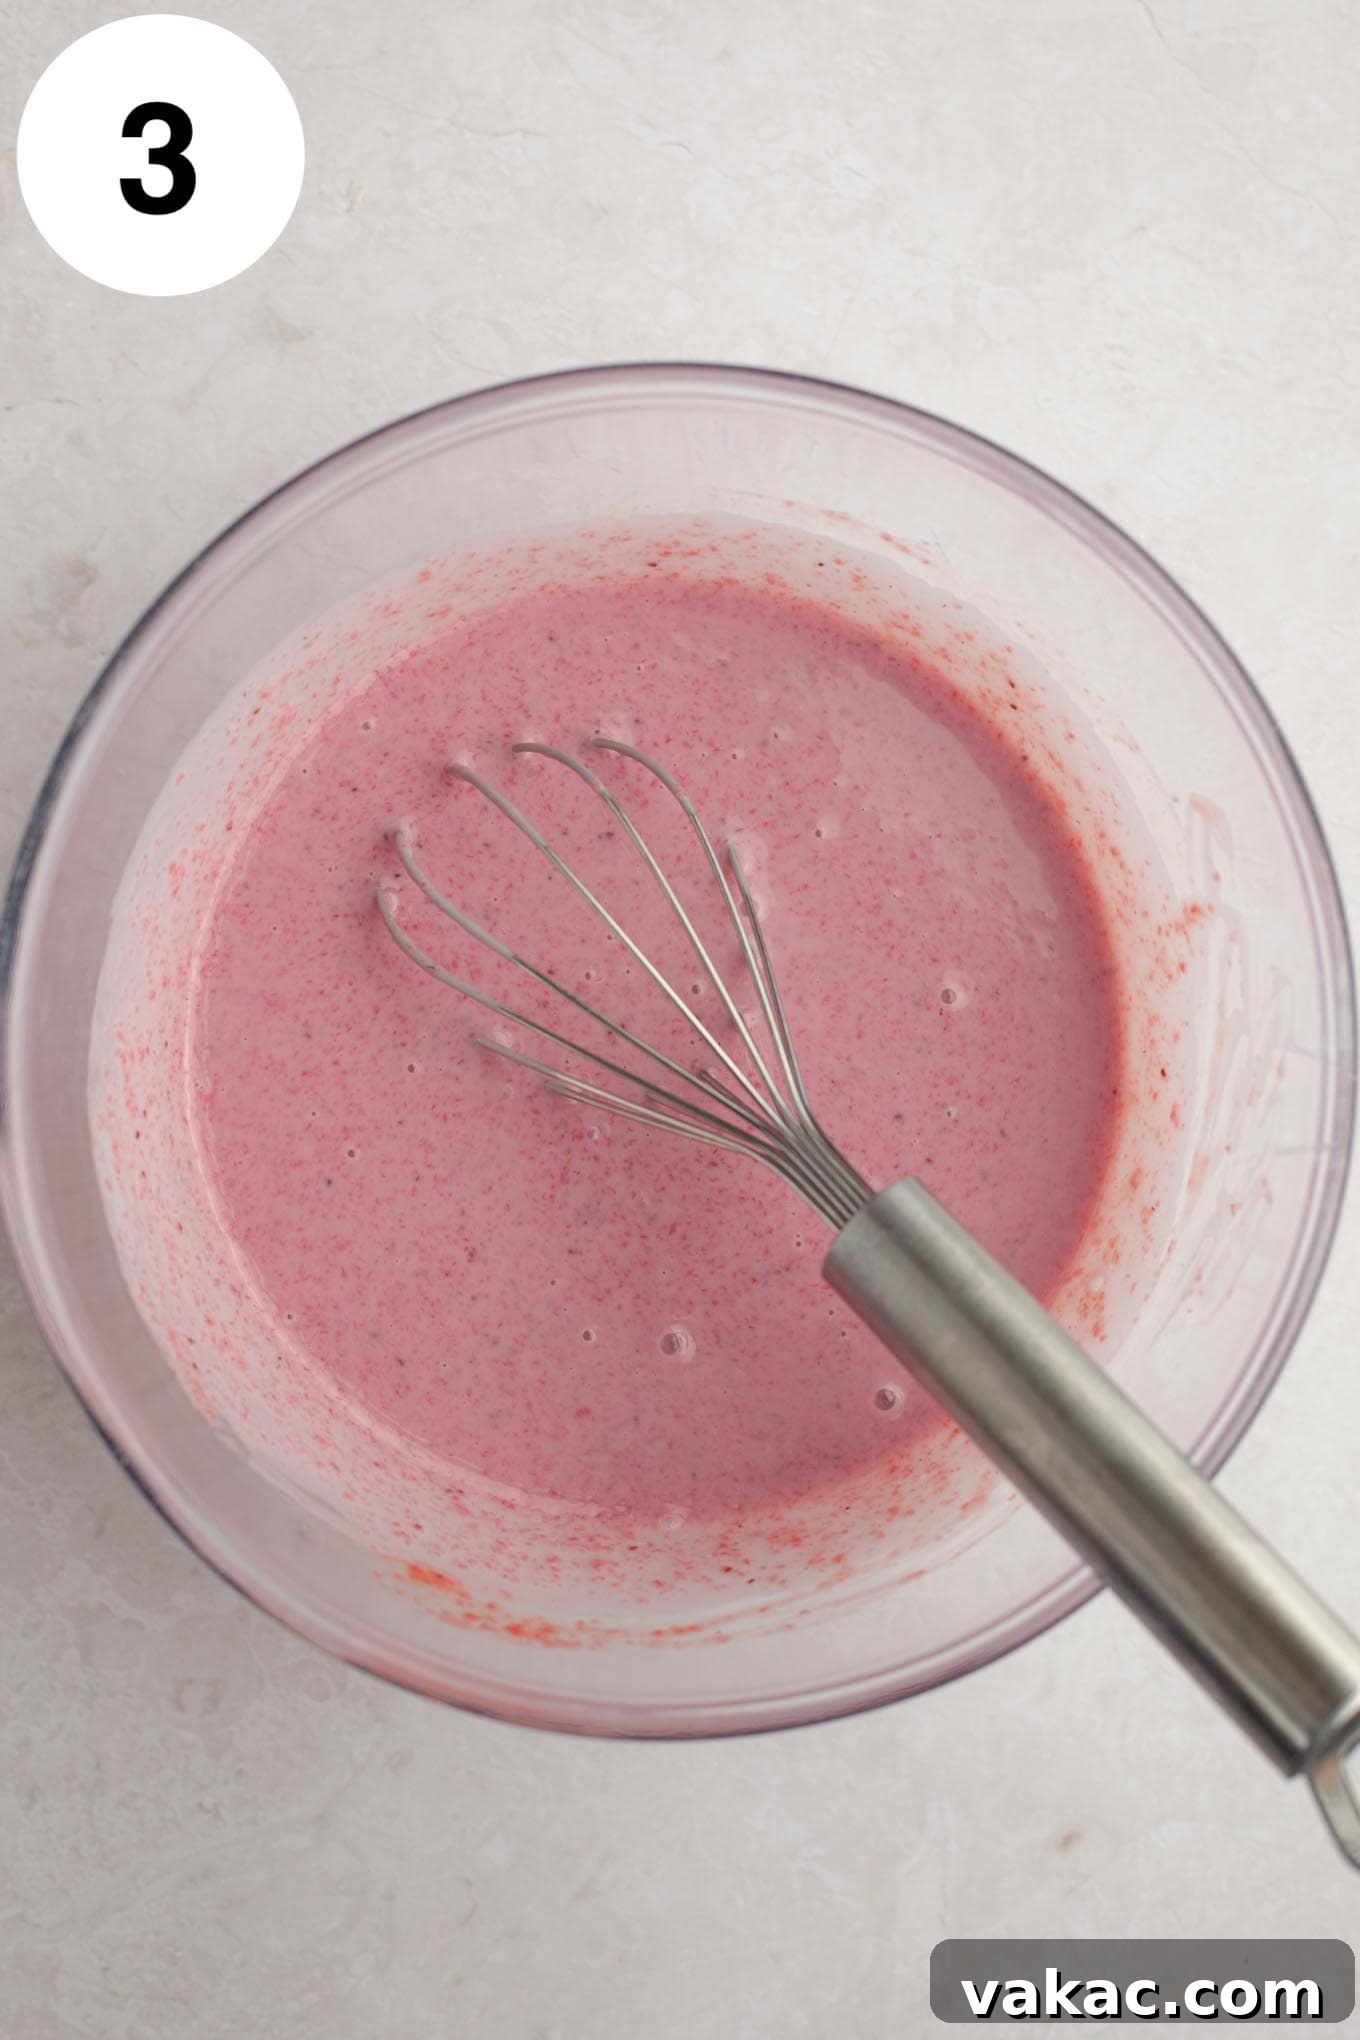
- Combine Base Ingredients: In a large mixing bowl, whisk together the completely cooled strawberry puree, sweetened condensed milk, vanilla extract, strawberry extract (if using), salt, and optional red food coloring. Whisk until all ingredients are thoroughly combined and the mixture is smooth. Set this strawberry base aside.
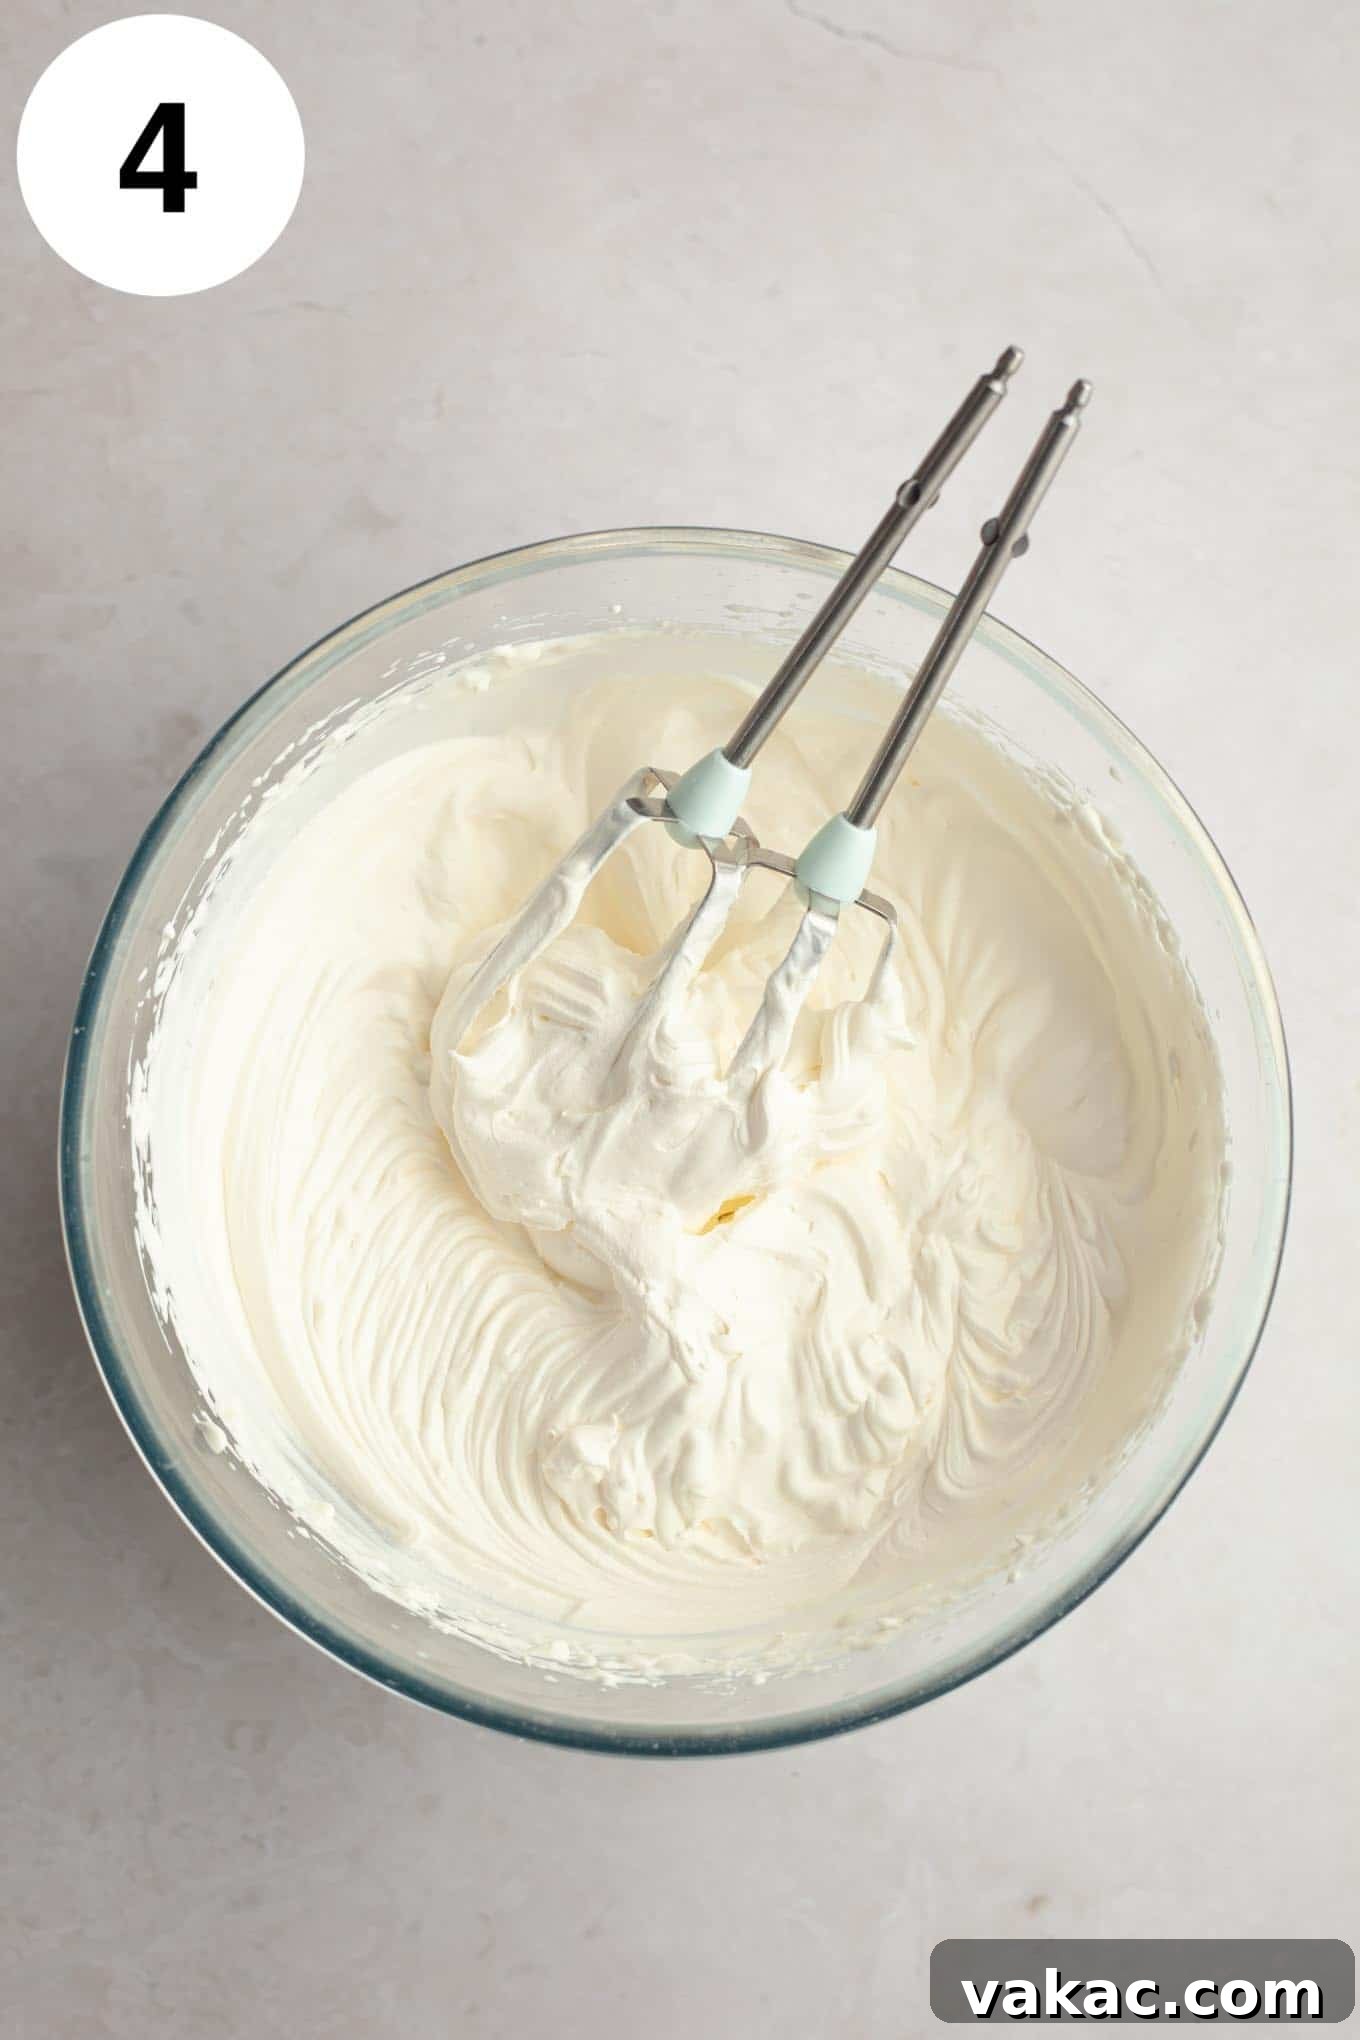
- Whip the Heavy Cream: In a separate, chilled large mixing bowl (preferably using a stand mixer with a whisk attachment, or a handheld electric mixer), add the heavy whipping cream. Start mixing on low speed, gradually increasing to medium-high as the cream begins to thicken. Continue beating until stiff peaks form. Stiff peaks mean that when you lift the whisk, the cream stands up firmly without collapsing. Be careful not to over-whip, which can turn the cream grainy.
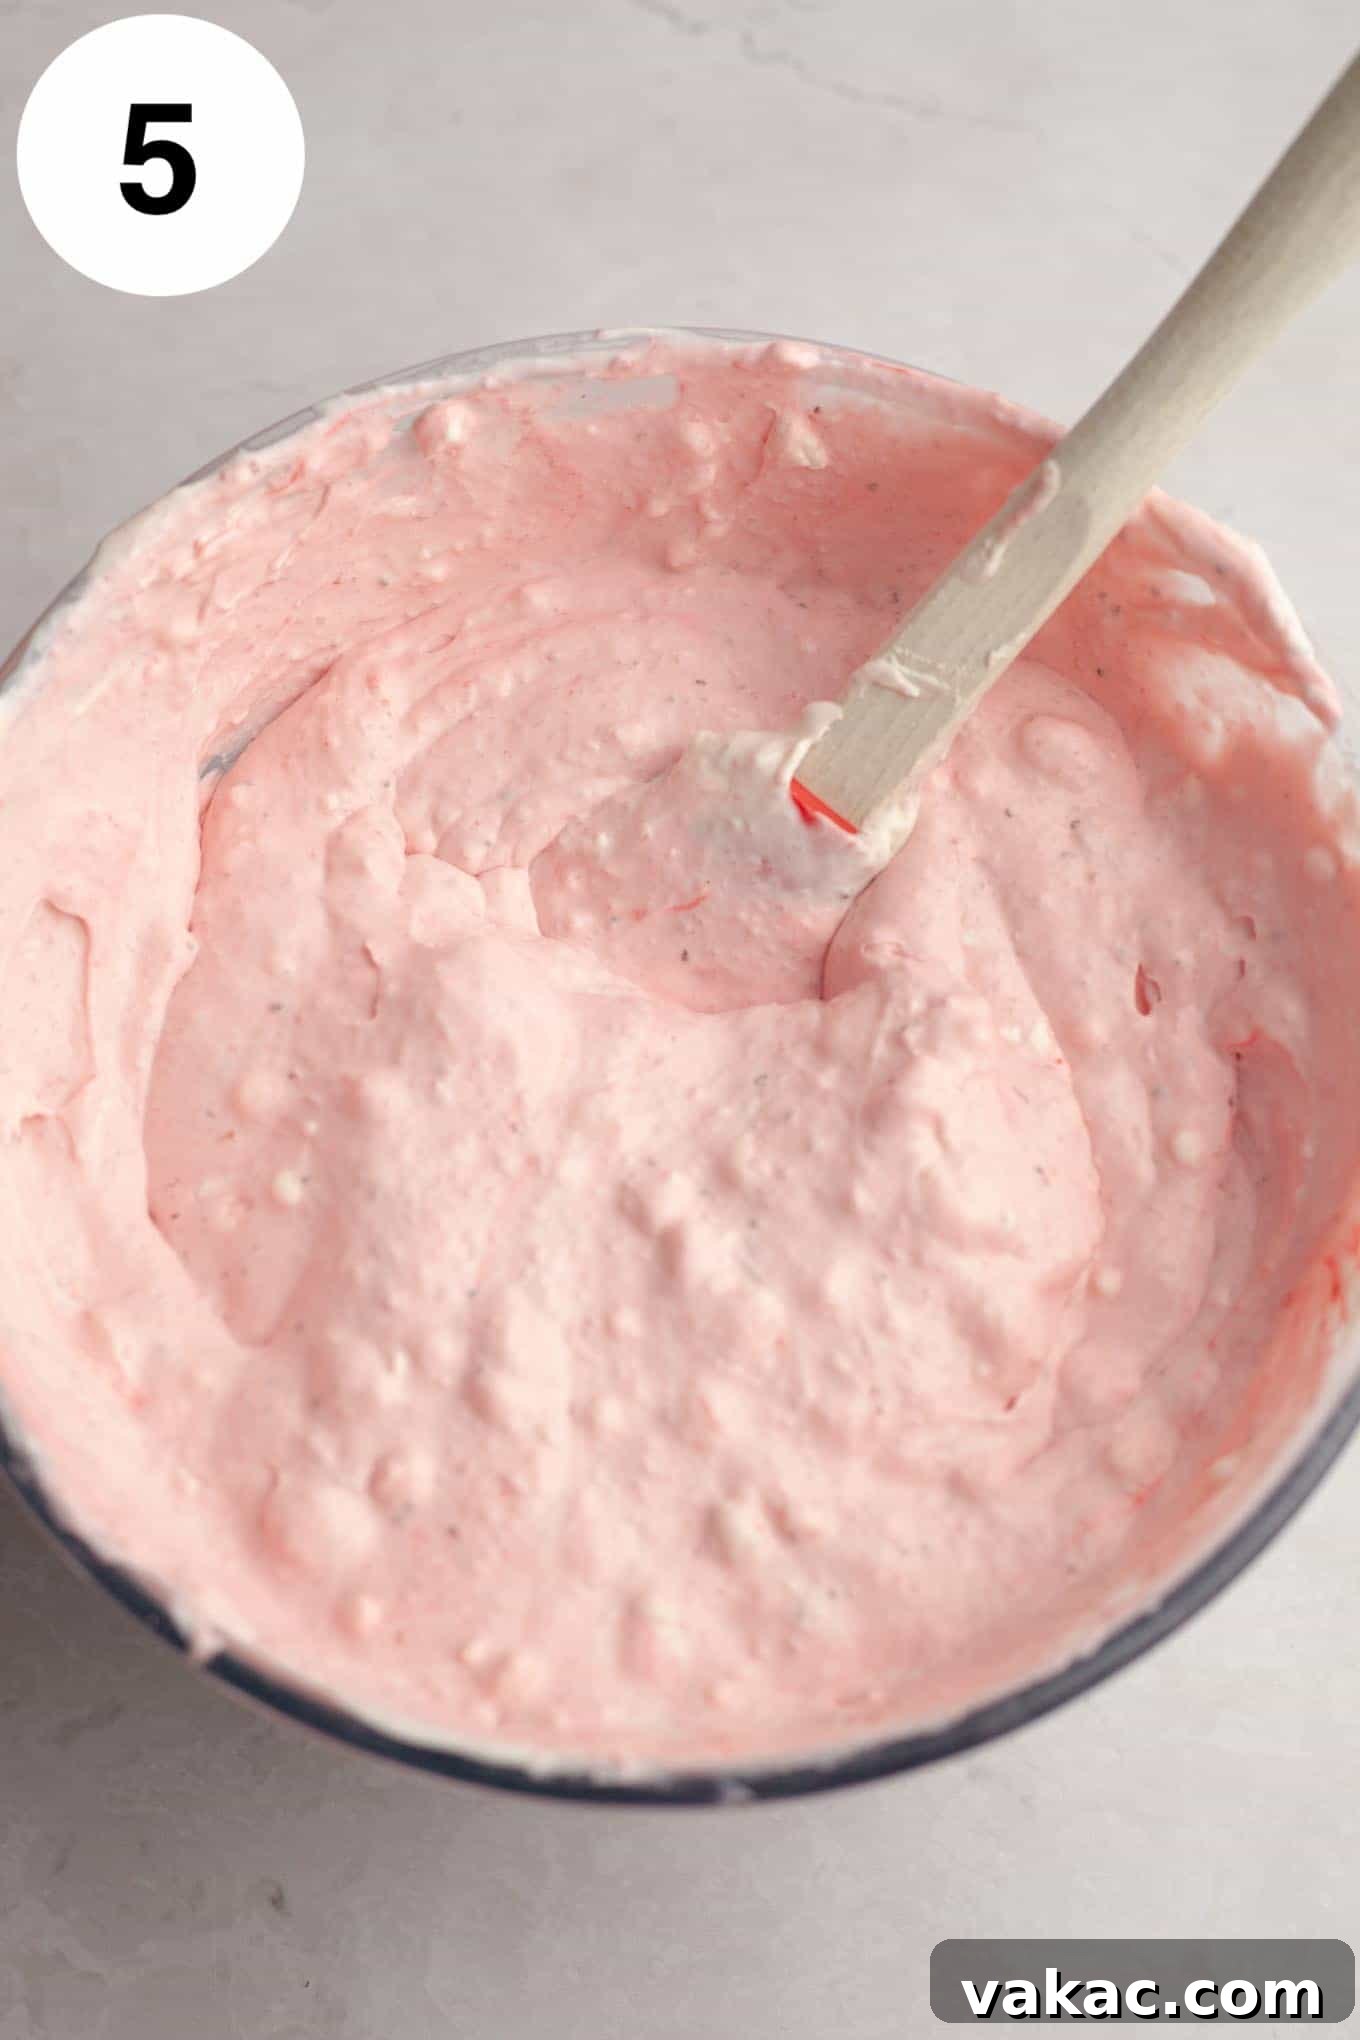
- Gently Fold Mixtures: With a spatula, gently fold about half of the whipped cream into the strawberry mixture. This lightens the base. Then, carefully fold in the remaining whipped cream until just combined. The key here is to be gentle, preserving as much air as possible in the whipped cream to ensure a light and airy ice cream texture. Do not overmix!
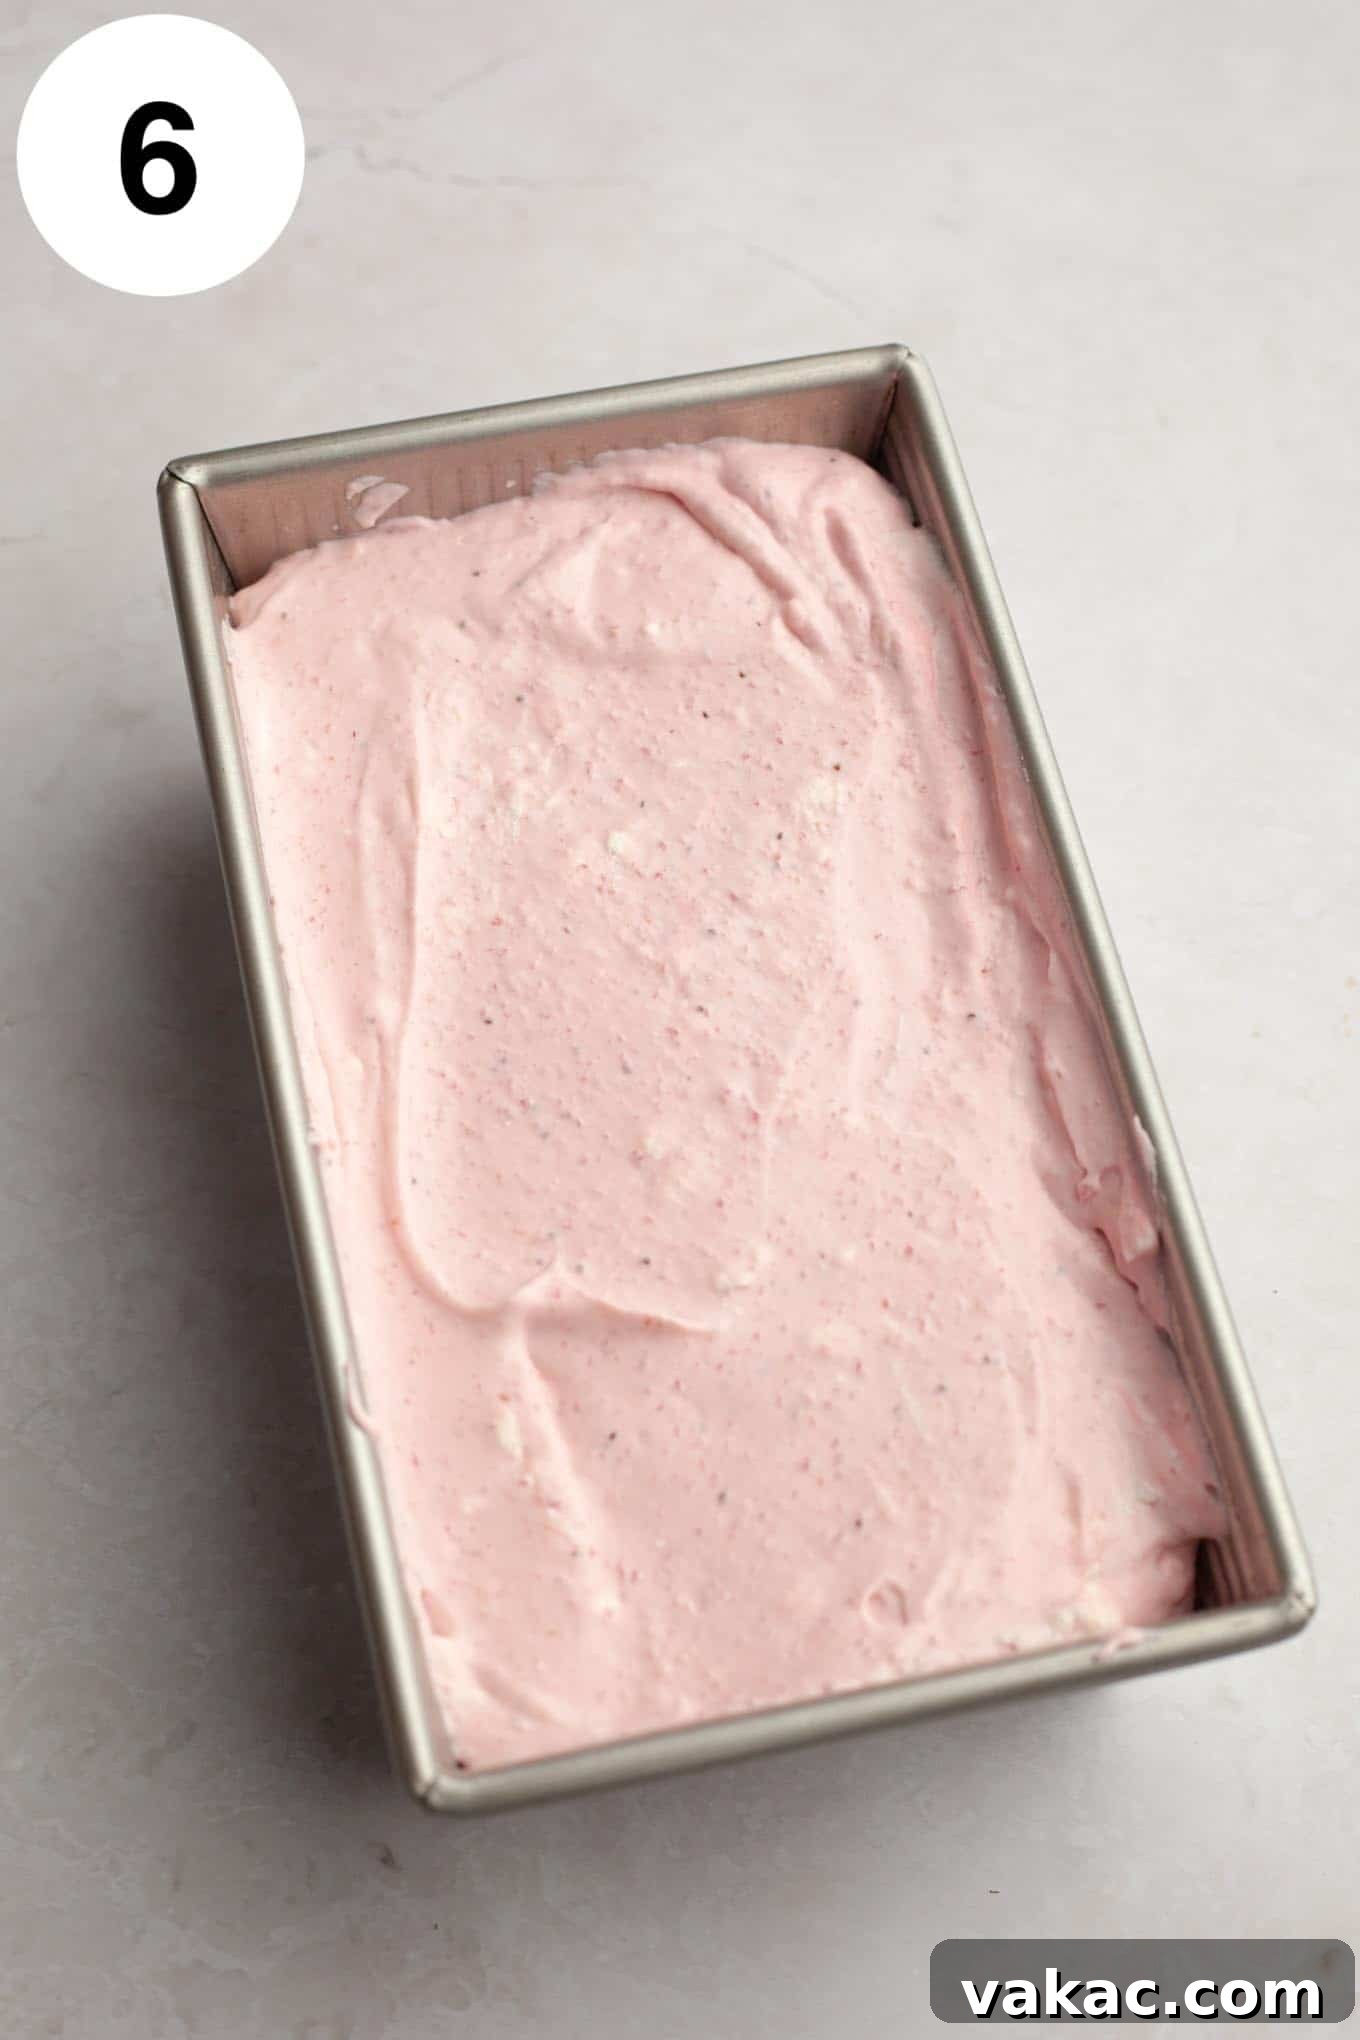
- Prepare for Freezing: Carefully pour or scoop the ice cream mixture into a 9×5-inch loaf pan, spreading it out into an even layer.
- Freeze to Perfection: Cover the surface of the ice cream directly with a piece of plastic wrap, pressing it down to eliminate any air pockets. This prevents ice crystals from forming on top. Transfer the loaf pan to the freezer and freeze for a minimum of 8 hours, or ideally overnight, until the ice cream is completely firm.
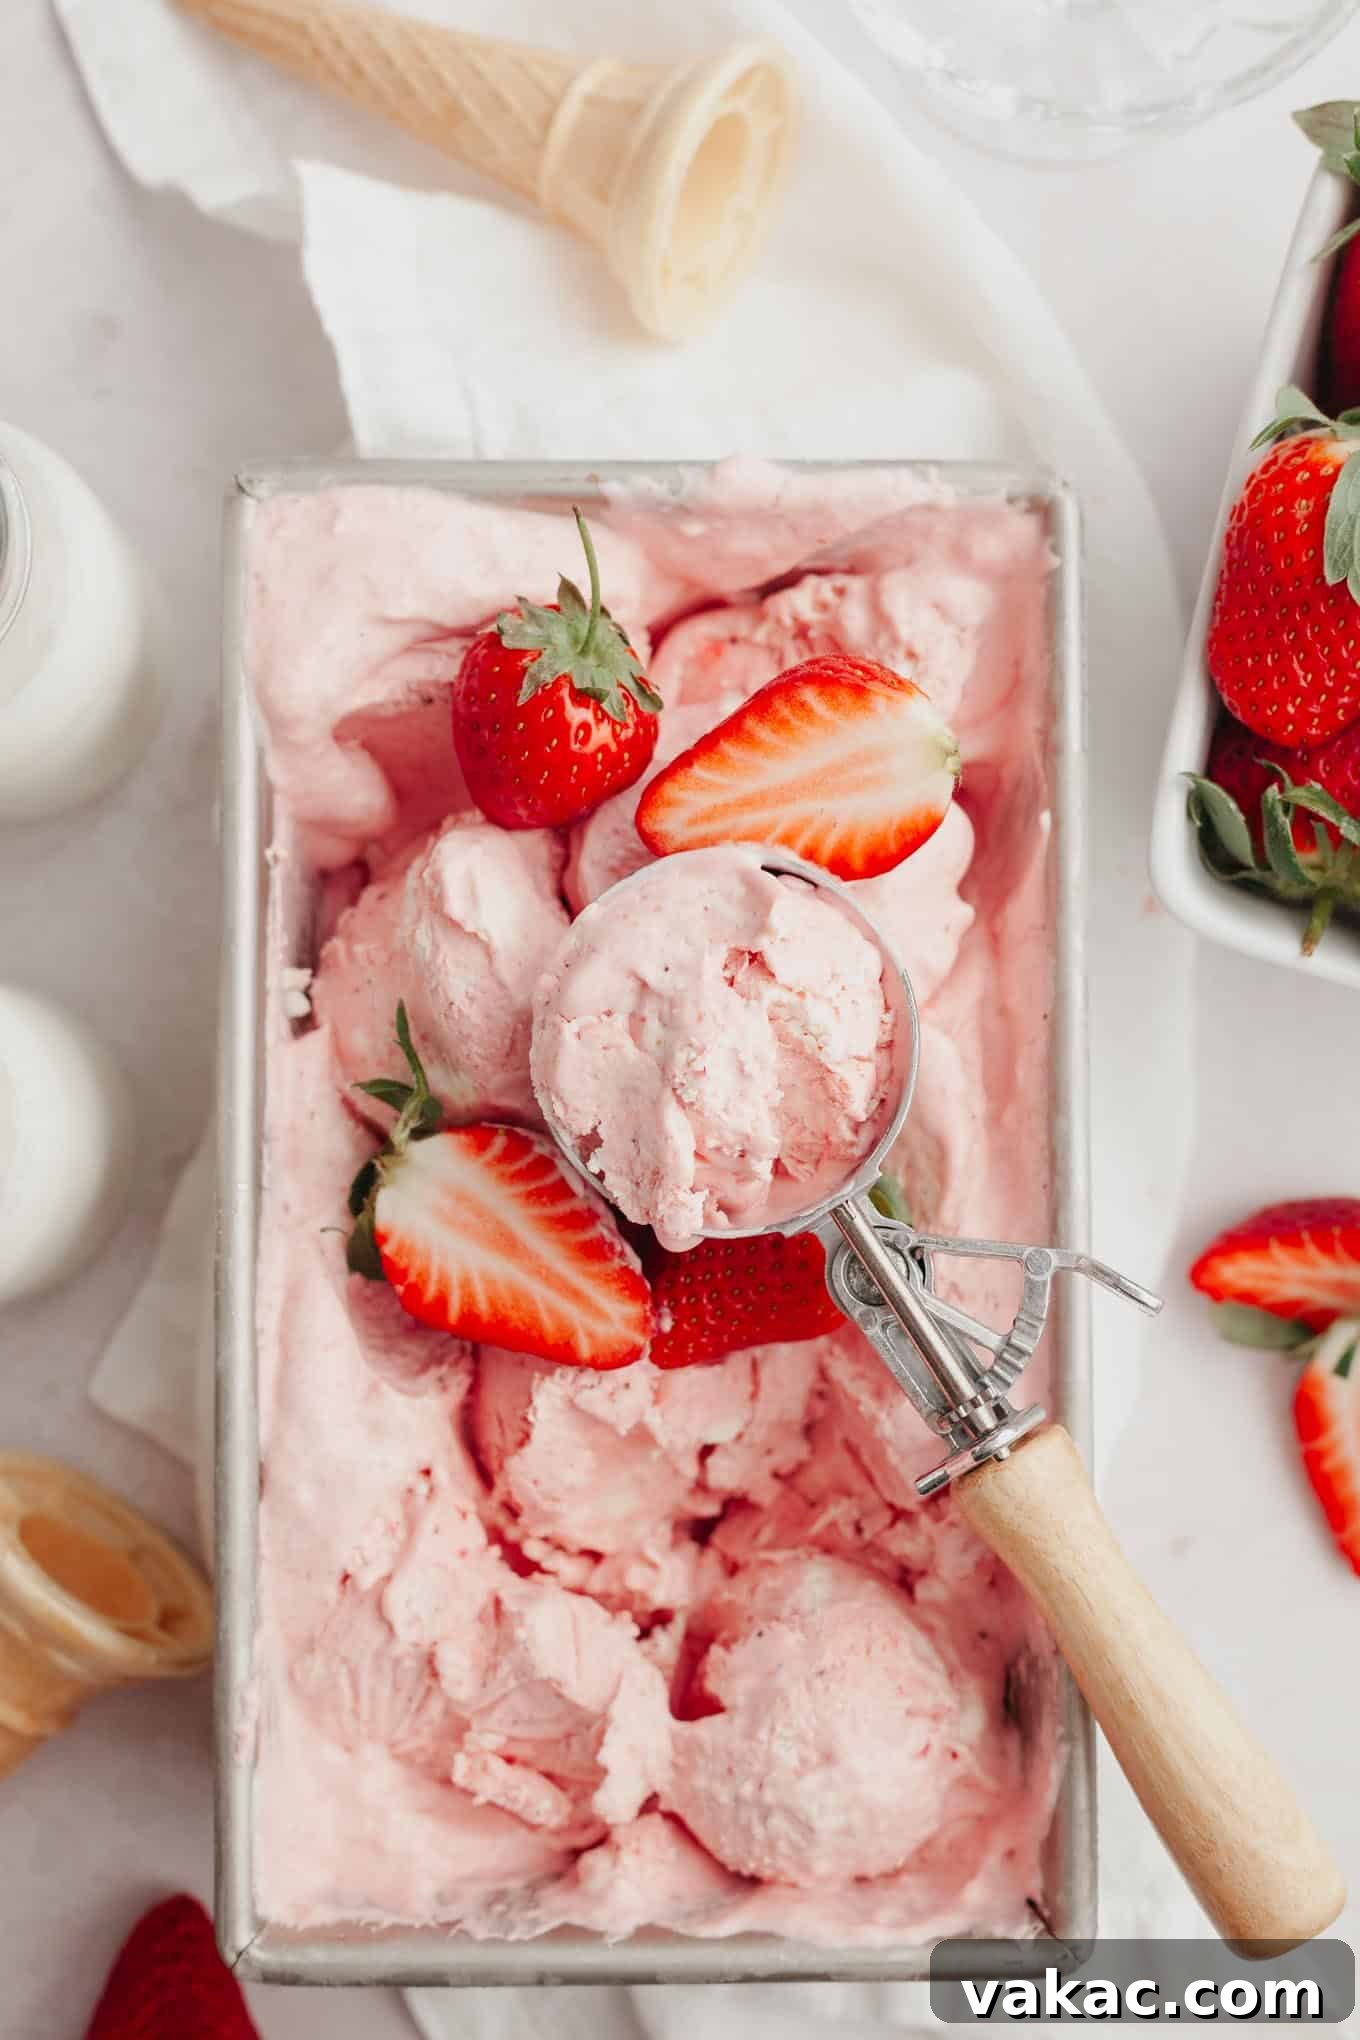
- Serve and Enjoy: Once fully frozen, remove from the freezer, scoop generously, and savor the rich, fresh taste of your homemade no-churn strawberry ice cream!
Frequently Asked Questions About No-Churn Strawberry Ice Cream
Here are answers to some common questions about making this delightful homemade strawberry ice cream:
Can this recipe be made with frozen strawberries?
Yes, you can absolutely use frozen strawberries for this recipe! Simply allow them to thaw completely before pureeing. It’s crucial to discard any excess liquid that accumulates during thawing, as this extra water content can lead to an icy texture in your finished ice cream. Once thawed and drained, proceed with the recipe as written, pureeing and then reducing the berries on the stove.
Can chopped strawberries be added to the ice cream?
If you love having delightful chunks of fruit in your ice cream, feel free to finely chop about half a cup of fresh strawberries. Gently fold these chopped berries into the ice cream mixture during step 6, just before transferring it to the loaf pan. This adds a lovely textural contrast and an extra burst of fresh strawberry flavor.
Can the strawberry extract be omitted?
The strawberry extract is entirely optional. I recommend adding 1 teaspoon of pure strawberry extract to achieve a truly robust and intense strawberry flavor. However, the recipe will still yield a delicious ice cream without it, relying solely on the reduced strawberry puree for flavor. If you prefer a more subtle strawberry note, or don’t have extract on hand, feel free to leave it out.
Expert Tips for Perfect No-Churn Strawberry Ice Cream
- Don’t Skip Reducing the Puree: This step is non-negotiable for the best results. Reducing the strawberry puree concentrates its flavor and, more importantly, removes excess moisture. Skipping this can lead to an icy, less creamy ice cream, which we definitely want to avoid for that perfect scoopable texture.
- Ensure Puree is Completely Cool: After reducing, make sure the strawberry puree has cooled down completely before mixing it with the other ingredients. Adding warm puree to the whipped cream will cause the cream to melt and deflate, resulting in a dense, rather than airy, ice cream. To speed up cooling, place the dish of puree (uncovered) in the refrigerator.
- Gentle Folding is Key: When incorporating the whipped cream into the strawberry mixture, use a gentle folding technique with a spatula. You want to maintain as much of the air whipped into the cream as possible. Overmixing will deflate the cream, leading to a less airy and less creamy final product.
- Cover Directly for Best Freezing: Always place a piece of plastic wrap directly onto the surface of the ice cream before freezing. This creates a barrier that prevents ice crystals from forming on top, keeping your ice cream smooth and fresh.
- Patience During Freezing: While 8 hours is the minimum, freezing overnight (for at least 12 hours) often yields the best, firmest results. Plan ahead to give your ice cream ample time to set properly.
- Consider Mix-Ins: If you love the combination of chocolate and strawberries, feel free to fold in about ½ cup of mini chocolate chips along with the whipped cream. Other delicious mix-ins could include finely chopped white chocolate, a swirl of raspberry jam, or even crushed graham crackers for a cheesecake-like twist.
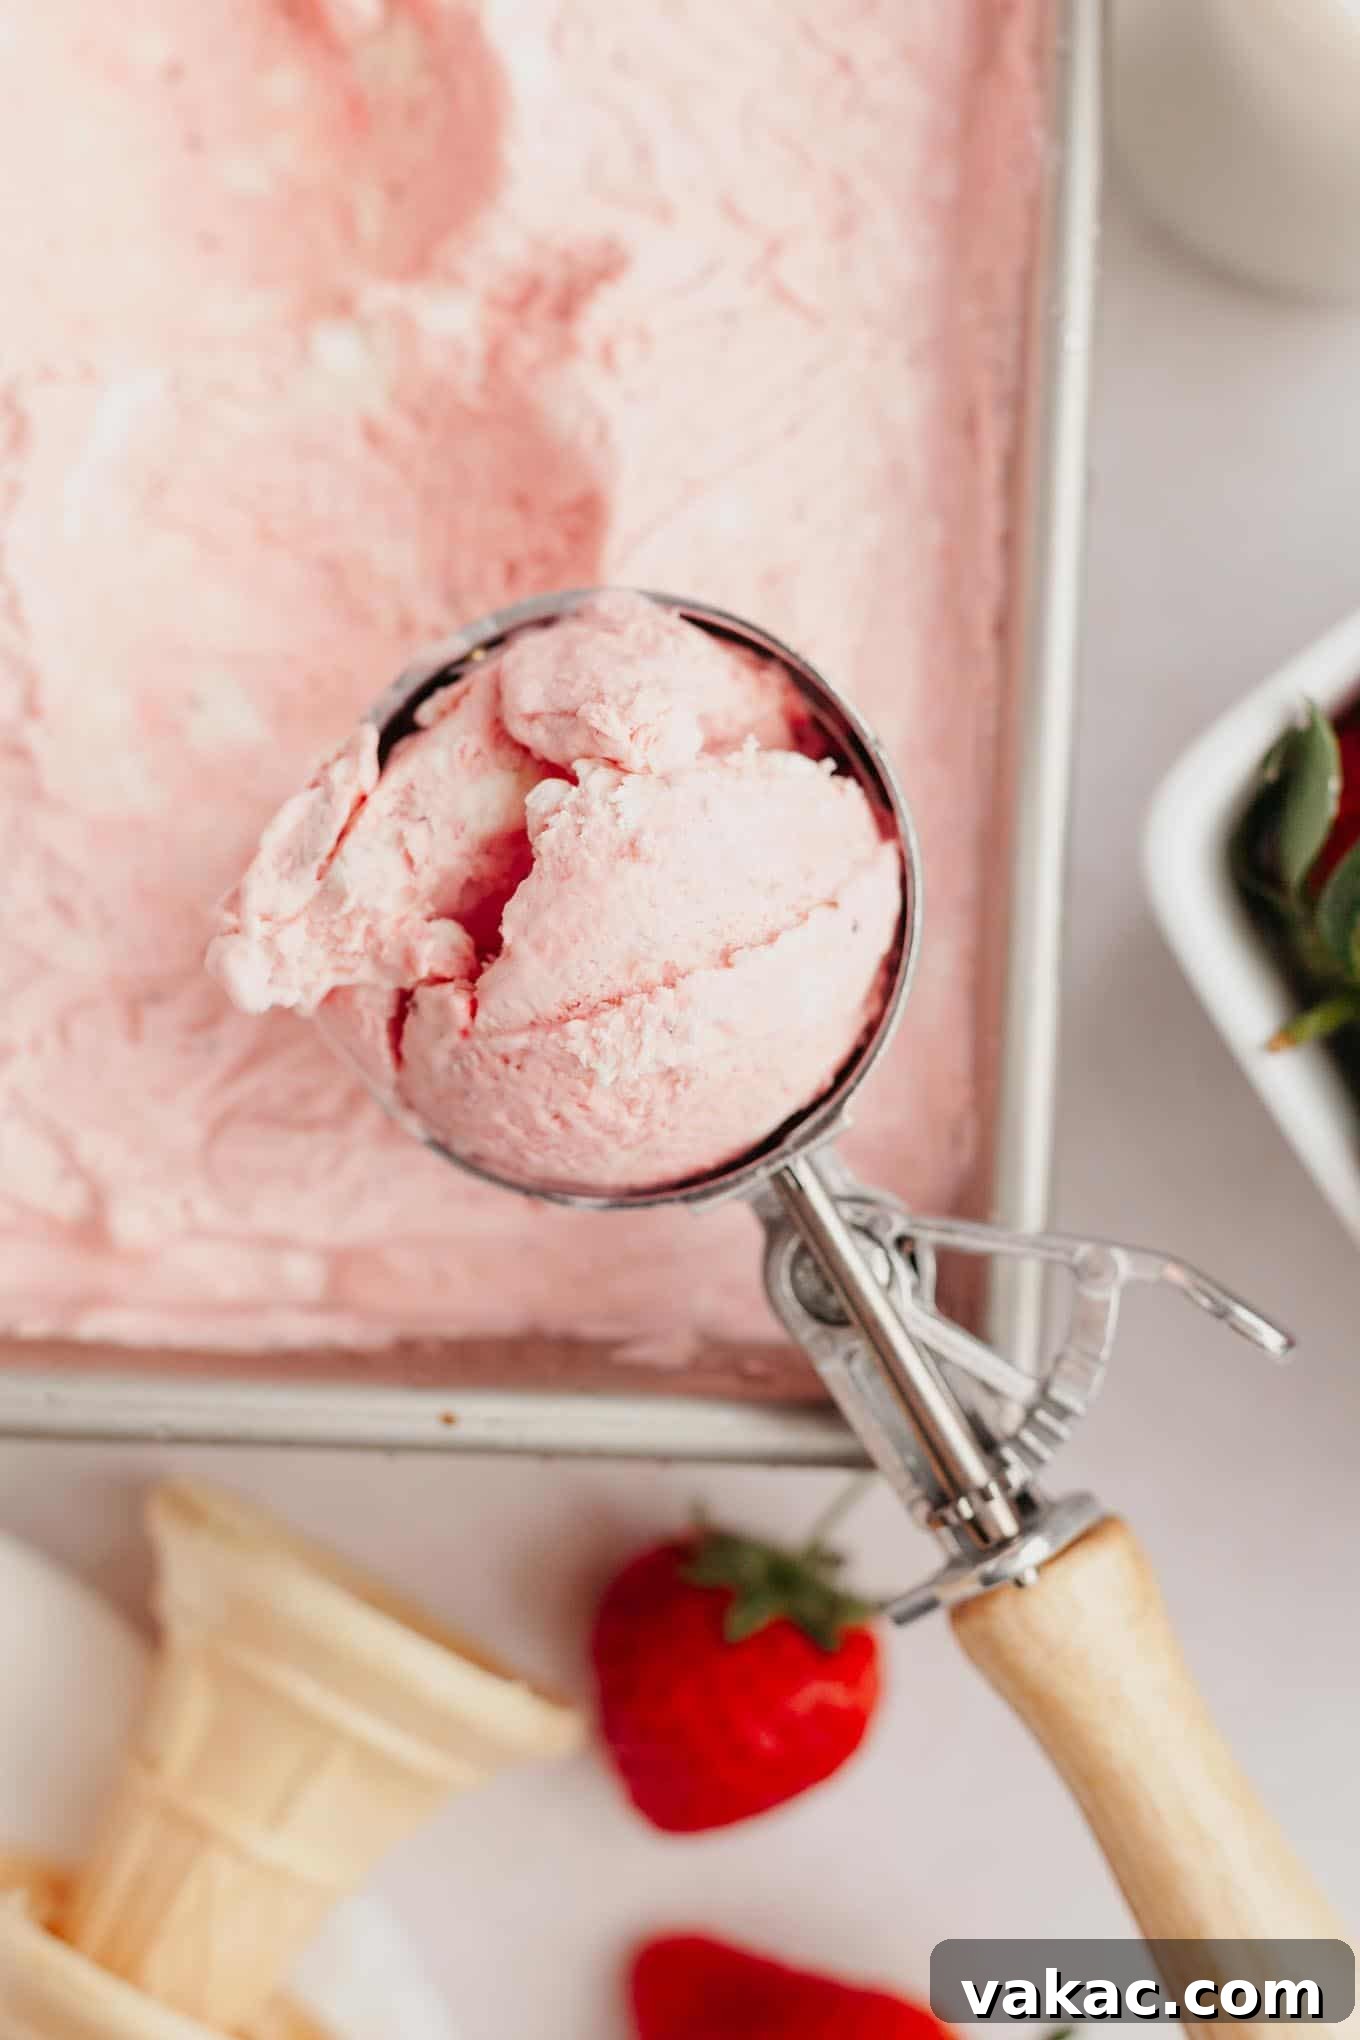
- Allow to Soften Before Serving: For the ideal scoopable texture, take the ice cream out of the freezer about 5-10 minutes before serving. This allows it to soften slightly, making it easier to scoop and enhancing its creamy consistency.
Strawberry Ice Cream Recipe
Rating: 5 from 2 ratings
Prep Time: 20 mins
Cook Time: 30 mins
Freezing Time: 8 hrs
Total Time: 8 hrs 50 mins
This homemade strawberry ice cream is flavored with strawberries two ways! It’s a simple, no-churn recipe that calls for just six ingredients and is the perfect treat to cool off with this summer.
Print Recipe
Pin Recipe
Ingredients (Servings: 8)
- 1 pound fresh strawberries, washed & patted dry with stems removed
- 1 (14-ounce) can sweetened condensed milk
- 1 teaspoon pure vanilla extract or vanilla bean paste
- ½ to 1 teaspoon pure strawberry extract (optional, I prefer to add 1 teaspoon for stronger flavor)
- ⅛ teaspoon salt
- 2 cups heavy whipping cream (1 pint; 480 ml)
- Optional: Red food coloring
Instructions
- Add the cleaned, hulled strawberries to a blender or food processor and blend until you have a completely smooth puree. Ensure there are no chunks remaining. You should end up with a little under 2 cups of puree.
- Pour the strawberry puree into a heavy-bottomed saucepan. Cook over medium heat, stirring frequently to prevent scorching, until the mixture has reduced by half its volume, reaching approximately one cup. This concentration of flavor and removal of moisture is critical for a smooth, non-icy ice cream. This process can take between 20 to 30 minutes, so be patient and continue stirring.
- Transfer the thickened, reduced strawberry puree to a clean, heat-safe dish. Allow it to cool completely to room temperature. For faster cooling, you may place the uncovered dish in the refrigerator. It’s essential that the puree is cold before the next step to avoid melting the whipped cream.
- In a large mixing bowl, combine the sweetened condensed milk, the completely cooled strawberry puree, vanilla extract, strawberry extract (if using), salt, and a few drops of red food coloring (if desired for a more vibrant color). Whisk all these ingredients together until they are thoroughly combined and smooth. Set this strawberry base aside.
- In the bowl of a stand mixer fitted with the whisk attachment, or using a large mixing bowl with a handheld electric mixer, add the cold heavy whipping cream. Begin mixing on a low speed, then gradually increase to medium-high as the cream starts to thicken. Continue beating until stiff peaks form. Stiff peaks hold their shape firmly when the whisk is lifted. Be careful not to over-whip, which can result in a grainy texture.
- Using a rubber spatula, gently fold about half of the whipped cream into the prepared strawberry and condensed milk mixture. This helps to lighten the base. Then, carefully fold in the remaining whipped cream until just combined. The goal is to incorporate the ingredients while maintaining the airiness of the whipped cream, so avoid overmixing.
- Once thoroughly combined, gently scoop the ice cream mixture into a 9×5-inch loaf pan, spreading it out evenly.
- Place a piece of plastic wrap directly on the surface of the ice cream, pressing it down to remove any air pockets. This crucial step helps prevent the formation of ice crystals on the surface. Transfer the loaf pan to the freezer and freeze overnight, or for a minimum of 8 hours, until the ice cream is firm and completely set.
- When the ice cream is fully frozen, remove it from the freezer, scoop generously, and enjoy this delightful homemade treat!
Notes
Storage Instructions: For optimal freshness and to prevent ice crystal formation, ensure your homemade strawberry ice cream is tightly covered with plastic wrap directly on its surface, then sealed in an airtight container. It will freeze well and maintain its quality for 2 to 3 months.
Cuisine: American
Course: Dessert
Author: Danielle Rye
Did you make this recipe? Share your delicious creation! Mention @livewellbakeoften on Instagram or tag #livewellbakeoften. We’d love to see your homemade strawberry ice cream!