
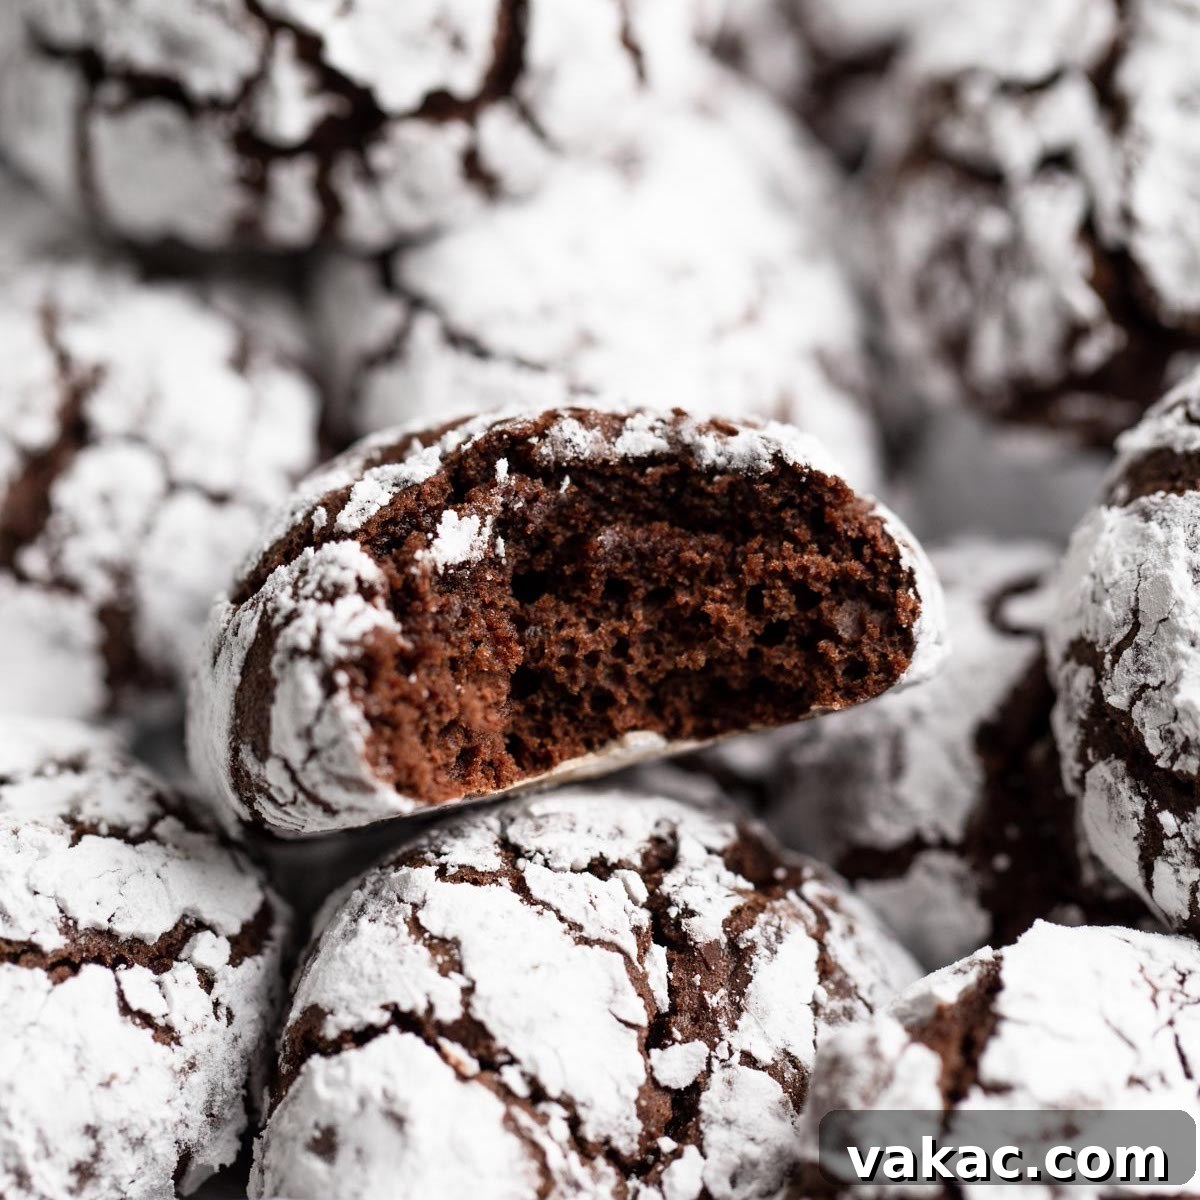
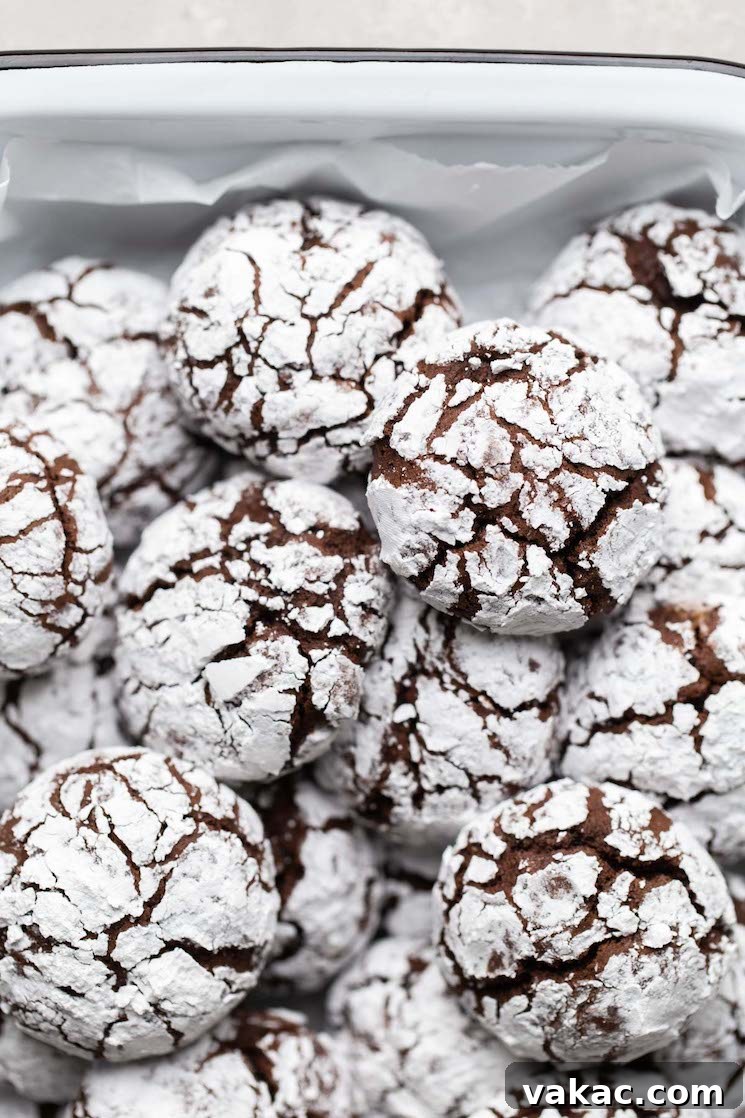
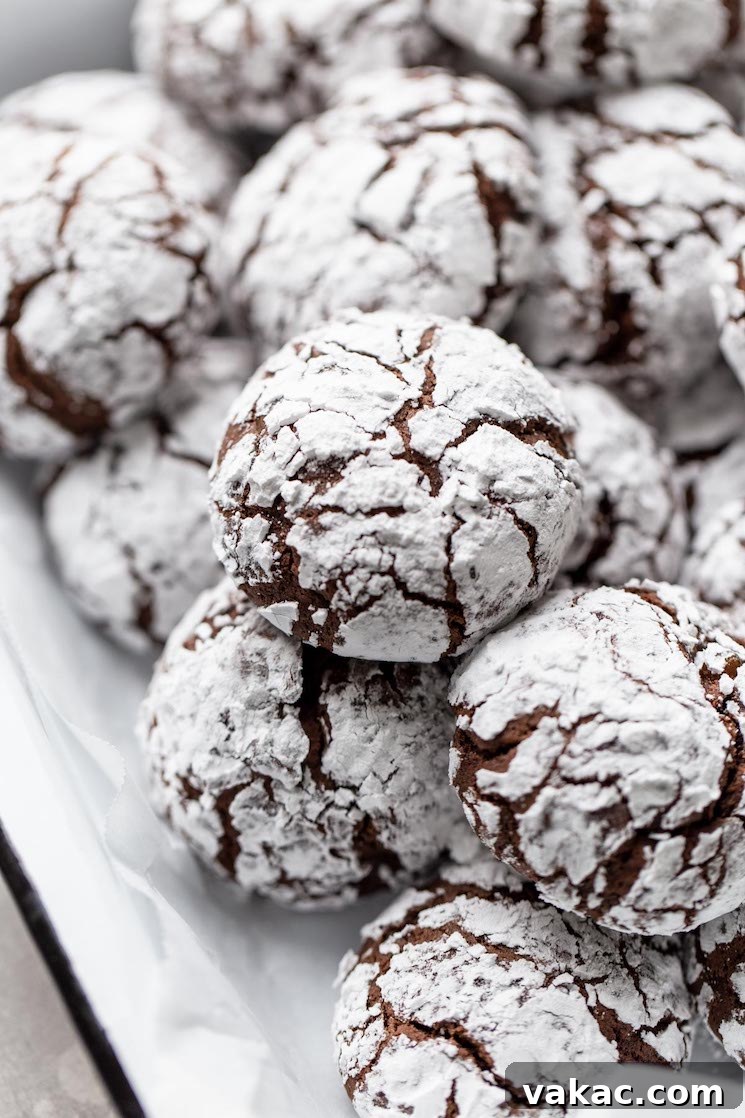
Embark on a delightful baking adventure this holiday season with the ultimate Chocolate Crinkle Cookies. These aren’t just any cookies; they are a masterpiece of texture and flavor, combining a remarkably soft, cakey interior with a subtly fudgy richness. Each bite offers a burst of deep chocolate, perfectly complemented by a delicate snowy exterior that cracks just so, revealing the dark treat within. They are, without a doubt, the quintessential Christmas cookie, bringing warmth, joy, and irresistible indulgence to any festive gathering.
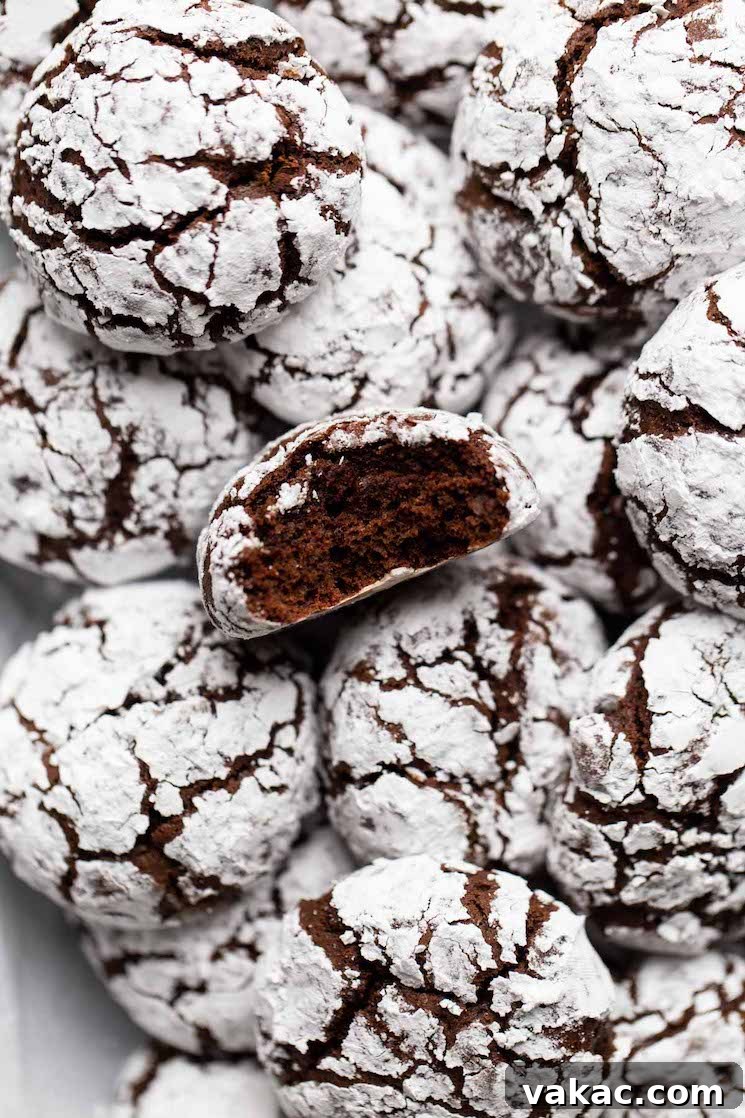
The holiday season, for many, is synonymous with festive treats, and among them, cookies hold a special place. While earlier this week we might have celebrated the artistry of perfectly cut-out sugar cookies, today, our spotlight shines on a different kind of classic that embodies both elegance and comfort: the chocolate crinkle cookie.
My journey to perfecting these crinkle cookies wasn’t without its trials. Last year, I found myself repeatedly experimenting, searching for a recipe that truly met my high standards. I envisioned a cookie that was not only incredibly soft and moist but also possessed that elusive fudgy quality often found in the best brownies. Crucially, I needed the signature powdered sugar coating to adhere beautifully and maintain its pristine “crinkled” appearance for days, resisting the common pitfall of being absorbed into the cookie itself. After dedicated recipe testing and numerous adjustments, I finally cracked the code. This recipe delivers on all fronts, creating cookies that retain their magical snowy crust and irresistible texture, even after several days.
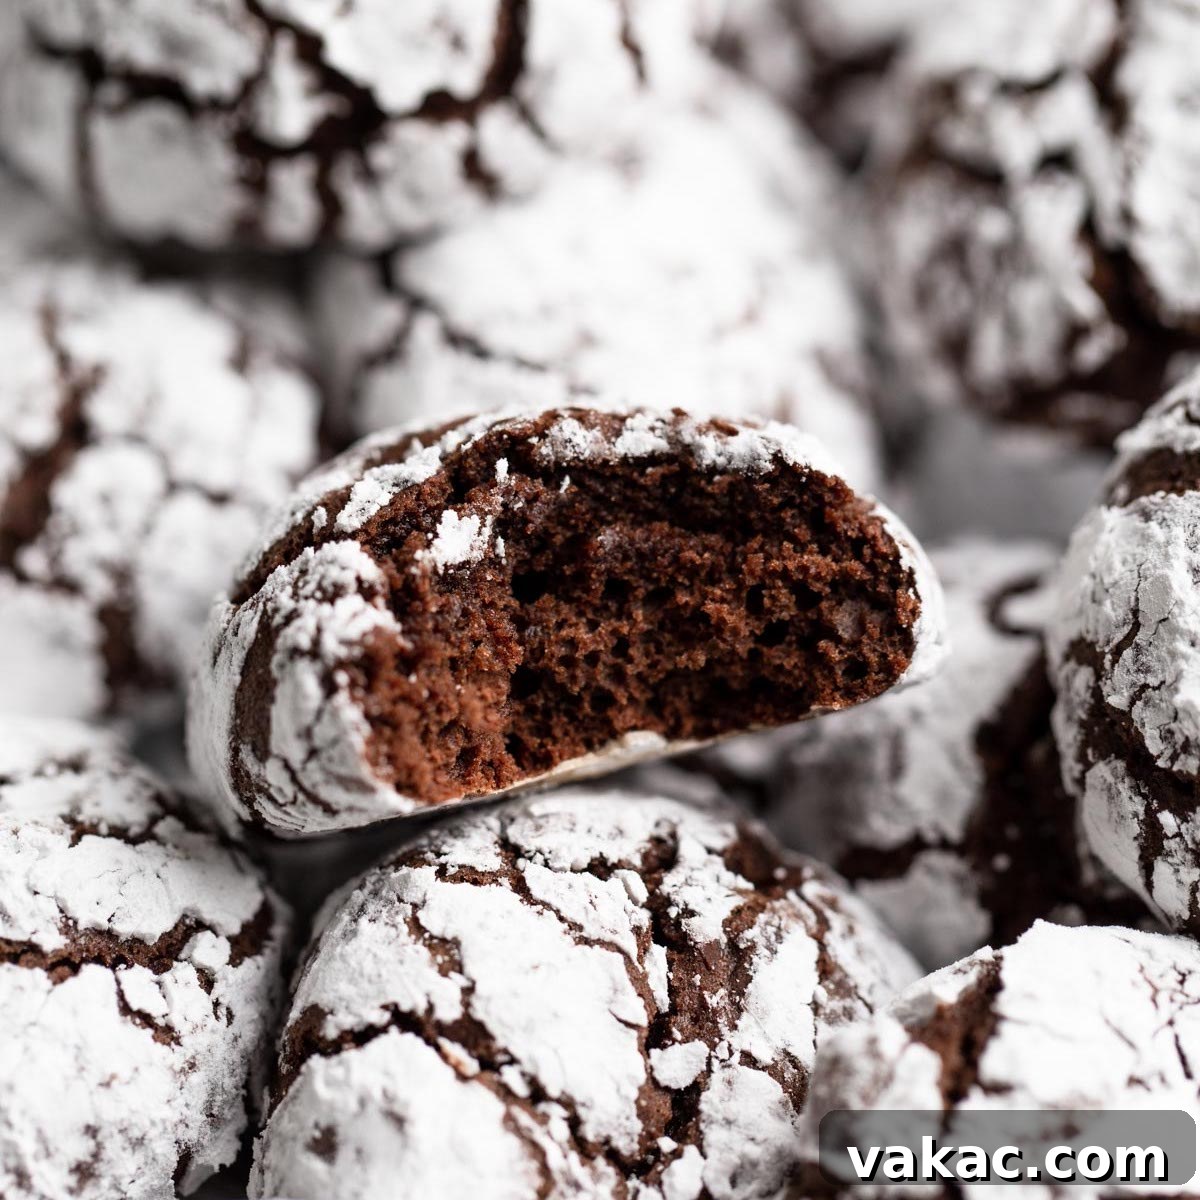
Imagine the rich, dense texture of a gourmet brownie, but transformed into a perfectly portioned, wonderfully soft cookie. That’s precisely what these chocolate crinkle cookies offer. They are an experience—a harmonious blend of intensely chocolatey flavor and a tender, almost pillowy crumb. And yes, they taste every bit as heavenly as they sound, making them an instant favorite for anyone who tries them.
Essential Ingredients for Your Perfect Crinkle Cookies
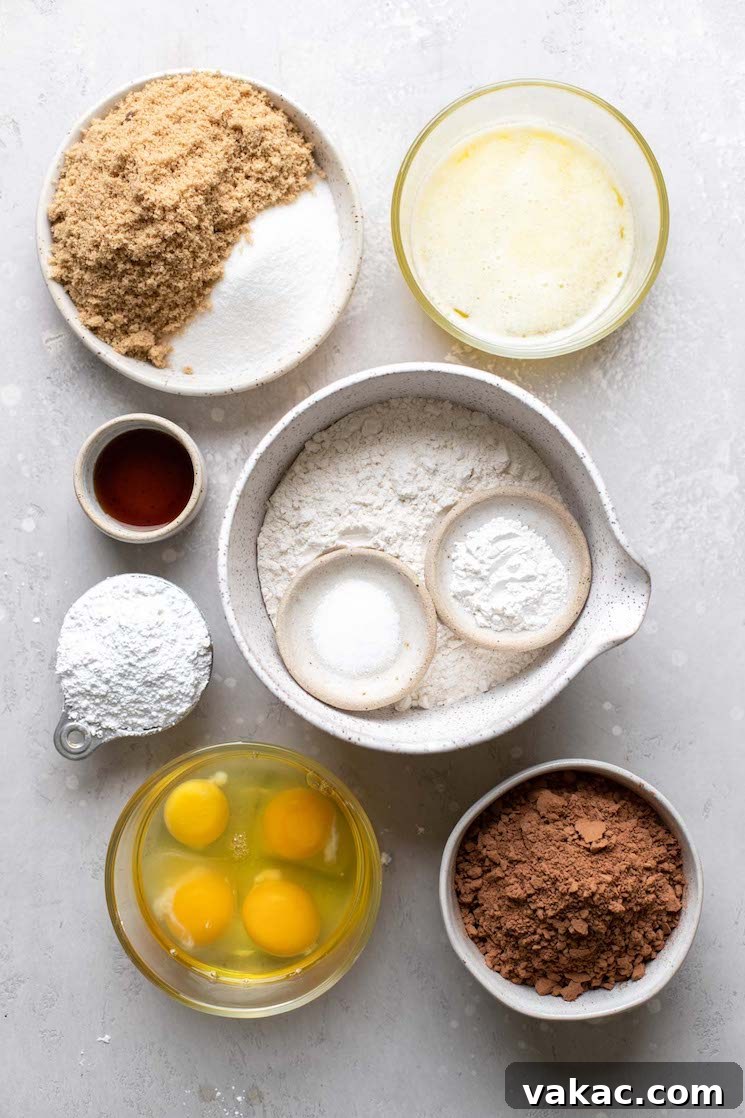
Crafting these exceptional chocolate crinkle cookies requires a precise balance of ingredients, some of which may differ from typical cookie recipes. Unlike many, this recipe specifically calls for melted butter and a generous amount of eggs, which are key to achieving that ideal cakey-yet-fudgy texture and ensuring the powdered sugar coating remains distinct and beautiful. Here’s a detailed look at each component and its vital role:
- All-Purpose Flour: The foundation of our cookie’s structure. For best results and to prevent dense, crumbly cookies, always measure your flour using the spoon and level method. This ensures you add just the right amount, contributing to the cookie’s soft, tender crumb. Avoid scooping directly from the bag, as this can compact the flour and lead to an excessive amount.
- Cocoa Powder: The heart of the chocolate flavor! This recipe calls for a full cup of unsweetened cocoa powder to deliver maximum richness. I typically use natural unsweetened cocoa powder, which provides a classic, robust chocolate flavor and reacts well with the baking powder. However, Dutch-process cocoa powder, known for its smoother, milder taste and darker color, can also be used if preferred. Understanding the differences between natural and Dutch-process cocoa can help you tailor the flavor profile to your liking.
- Baking Powder & Salt: These unsung heroes play critical roles. Baking powder provides the necessary lift, giving the cookies their airy, cake-like quality and contributing to the crinkle effect. Salt, on the other hand, is essential for balancing the sweetness and enhancing the deep chocolate flavors, ensuring the cookies aren’t overwhelmingly sweet but rather perfectly balanced.
- Melted Butter: While many of my cookie recipes rely on softened butter for a chewier texture, melted butter is crucial here. It contributes significantly to the desired fudgy, brownie-like consistency that sets these crinkles apart. Many crinkle cookie recipes use oil, but butter undeniably infuses a richer, more complex flavor. Remember to allow your melted butter to cool slightly before combining it with other ingredients, especially the eggs, to prevent any unwanted curdling.
- Granulated Sugar & Brown Sugar: A harmonious blend of both sugars is used for optimal results. Granulated sugar provides sweetness and helps with the cookie’s spread and crisp edges, while light brown sugar is indispensable for its molasses notes, adding depth of flavor and locking in moisture, ensuring the cookies remain wonderfully soft and chewy. Dark brown sugar can also be substituted if you desire an even richer, more caramelized flavor.
- Eggs & Vanilla Extract: This recipe calls for four large eggs, which might seem like a lot, but this high egg content is precisely what gives the dough its unique structure and contributes to the cookie’s signature soft, almost cakey texture, mirroring that of a dense brownie. Using room temperature eggs is highly recommended, as cold eggs can cause the melted butter to solidify prematurely, affecting the dough’s consistency. Pure vanilla extract is also a must-have, elevating the overall flavor profile and complementing the chocolate beautifully.
- Powdered Sugar: Also known as confectioners’ sugar or icing sugar, this is the magical coating that gives these cookies their characteristic “crinkle” appearance. The cookie dough balls are generously rolled in powdered sugar just before baking, creating a beautiful contrast and a delightful dusting that makes them visually stunning and undeniably delicious.
Crafting Your Chocolate Crinkle Cookies: A Step-by-Step Guide
The journey to these exquisite chocolate crinkle cookies begins with careful preparation. Precision in each step ensures the perfect balance of flavors and the desired signature crinkle.
Step 1: Prepare Your Dry Ingredients
In a spacious mixing bowl, begin by sifting together the all-purpose flour and unsweetened cocoa powder. This step is absolutely crucial and should not be skipped. Sifting helps to aerate the dry ingredients, ensuring a light texture, and more importantly, it eliminates any lumps of cocoa powder, guaranteeing a smooth, uniform chocolate flavor throughout your cookies. No one wants an unexpected pocket of dry cocoa! Once sifted, whisk in the baking powder and salt until all dry ingredients are thoroughly combined. Set this mixture aside for now.
Step 2: Combine the Wet Ingredients
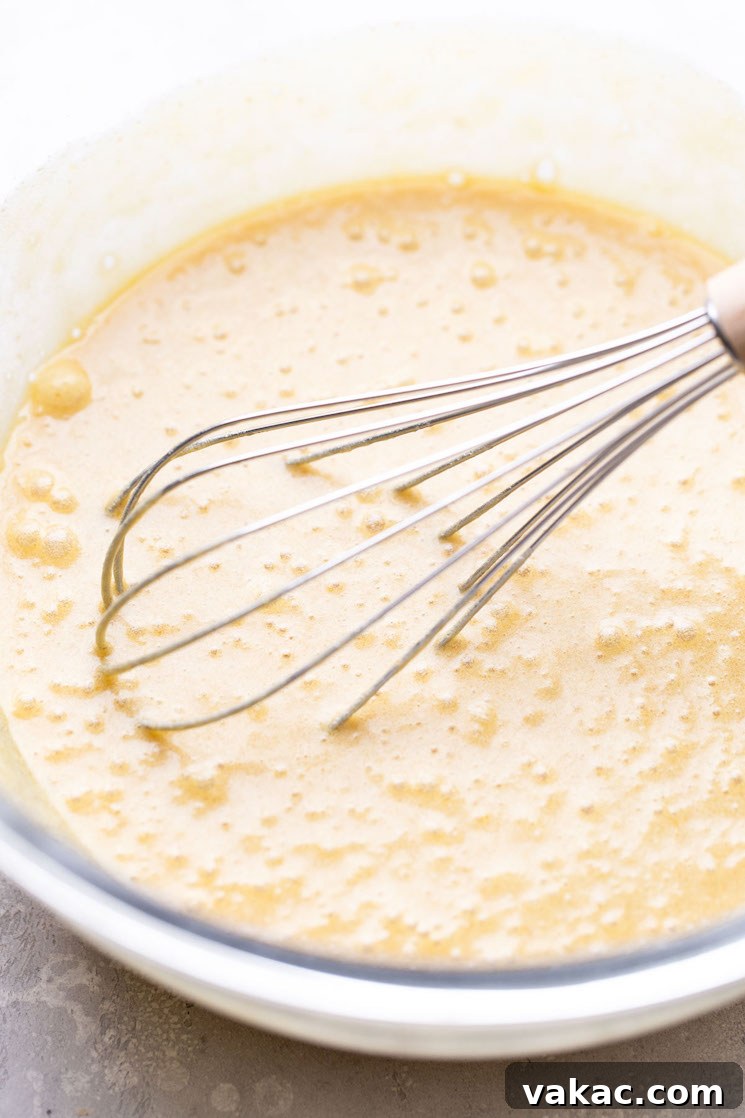
In a separate, equally spacious mixing bowl, whisk together your slightly cooled melted butter with both the brown sugar and granulated sugar. Continue whisking until the sugars are fully dissolved and the mixture is well combined and smooth. Next, incorporate the room temperature eggs, one at a time, followed by the pure vanilla extract. Whisk vigorously after each addition until everything is fully emulsified and creates a glossy, cohesive mixture. Using room temperature eggs prevents the melted butter from solidifying into small chunks, ensuring a smooth, consistent batter.
Step 3: Uniting Wet and Dry
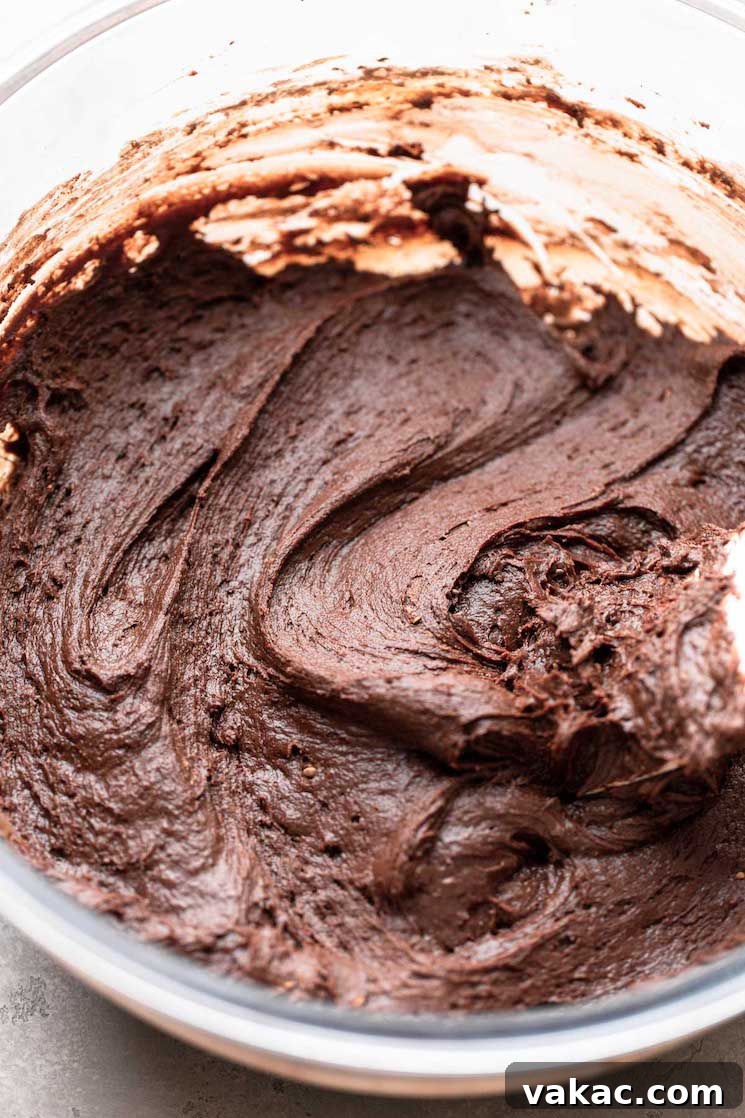
Now, gently add the prepared dry ingredients to the wet ingredients. Mix them together on a low speed or by hand, just until they are barely combined. Be careful not to overmix the dough. Overmixing can develop the gluten in the flour too much, leading to tough, dry cookies instead of the soft, cakey texture we’re aiming for. The dough at this stage will be quite soft and resemble a thick brownie batter – this is perfectly normal and exactly what you want!
Step 4: The Crucial Chilling Period
Once your dough is mixed, cover the bowl tightly with plastic wrap and refrigerate it for a minimum of 2 hours. This chilling process is non-negotiable for several reasons. First, it allows the flour to fully hydrate, preventing a crumbly texture. Second, it firms up the dough significantly, making it much easier to handle and roll into balls without sticking excessively to your hands. Finally, chilled dough helps the cookies maintain their shape during baking, ensuring they bake up thick and beautiful with the perfect crinkled appearance. For best results, you can even chill the dough overnight.
Step 5: Prepare for Baking
Once the dough has thoroughly chilled and is firm enough to handle, preheat your oven to 350°F (177°C). Line a few large baking sheets with parchment paper or silicone baking mats. This step is important for preventing sticking and ensuring even baking and easy removal of the cookies. Have a small, shallow bowl filled with powdered sugar ready for coating the dough balls.
Step 6: Scoop, Roll, and Bake
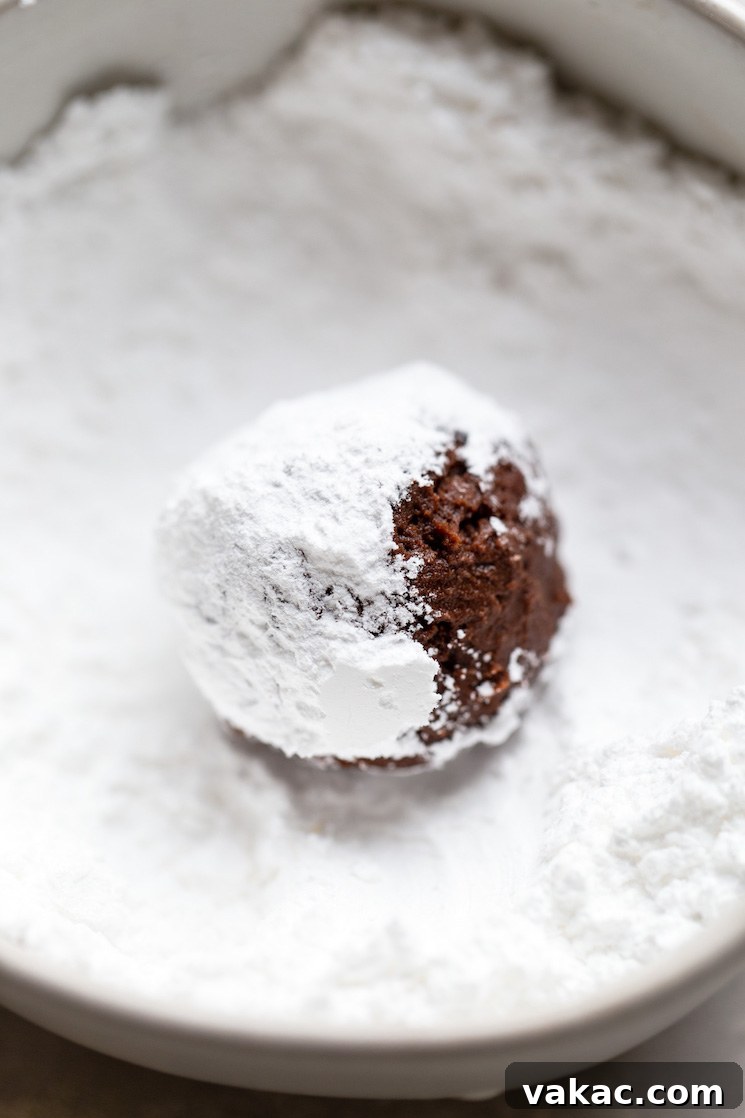
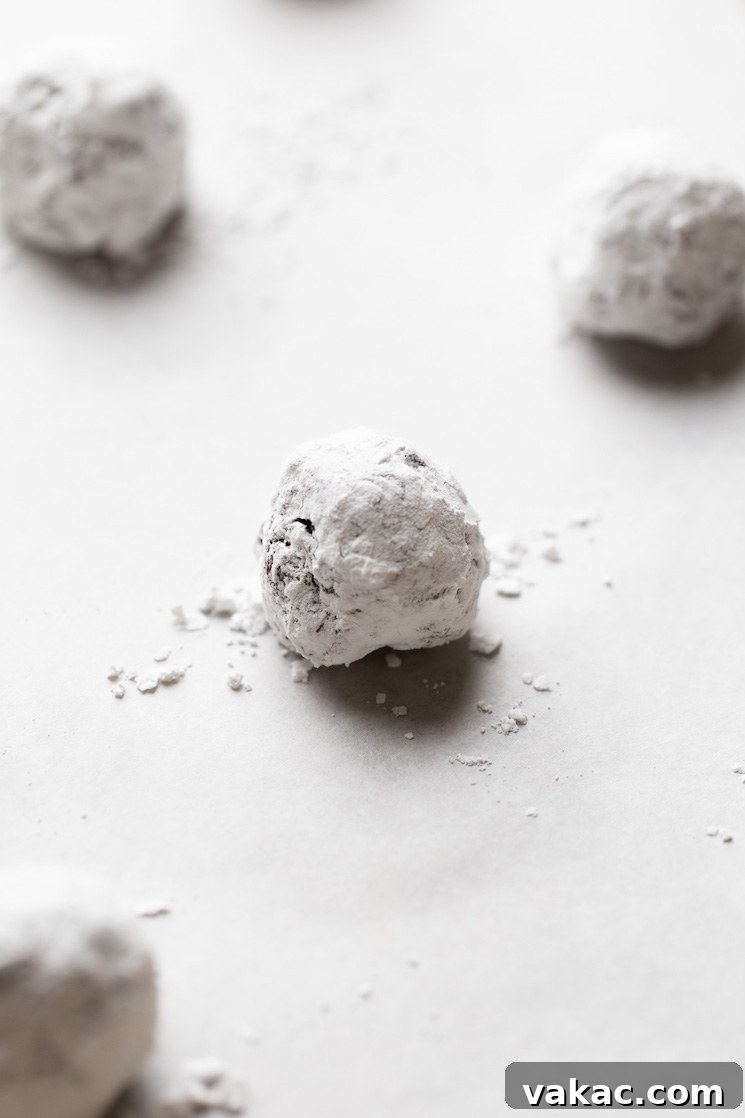
Remove your chilled cookie dough from the refrigerator. Using a 1.5 tablespoon cookie scoop is highly recommended, as it creates consistently sized cookies, which ensures uniform baking and a professional appearance. Scoop out portions of dough, then roll each portion gently between your palms to form a smooth ball. Immediately and generously roll each dough ball in the powdered sugar, ensuring it’s completely coated on all sides. This thick coating is what creates those iconic crinkles as the cookies bake and expand. Place the coated dough balls onto your prepared baking sheets, leaving about 2 inches between each cookie to allow for spread.
With a 1.5 tablespoon scoop, these cookies typically require 11 to 13 minutes in the oven. Look for signs that the cookies are done: the tops should appear set, and you will begin to see the characteristic crinkles forming as they bake. The centers may still look slightly soft, but they will firm up as they cool. Overbaking can lead to dry cookies, so keep a close eye on them. Once baked, remove the sheets from the oven and allow the cookies to cool on the baking sheets for 5 to 10 minutes. This allows them to set fully before you carefully transfer them to a wire rack to cool completely. Patience is key here; rushing this step can cause the warm, tender cookies to break apart. Once fully cooled, these magnificent chocolate crinkle cookies are ready to be enjoyed!
Storage and Freezing Tips for Long-Lasting Freshness
These delightful chocolate crinkle cookies are so good, you’ll want to savor them for as long as possible. Proper storage ensures they remain fresh and delicious.
Storing Baked Cookies
Once completely cooled, store your baked chocolate crinkle cookies in an airtight container at room temperature. They will maintain their soft texture and rich flavor for up to one week. For longer storage, freezing is an excellent option.
Freezing Baked Cookies
To freeze baked cookies, ensure they are entirely cooled. Place them in a single layer on a baking sheet and freeze for about an hour until firm. Then, transfer the frozen cookies to a freezer bag or a freezer-friendly airtight container. For added protection and to prevent sticking, you can place small pieces of parchment paper between layers of cookies. They will keep well for up to 3 months. When you’re ready to enjoy them, simply remove the desired number of cookies from the freezer and let them thaw at room temperature for a few hours. They’ll taste almost as fresh as the day they were baked!
Freezing Cookie Dough
For ultimate convenience, you can also prepare the dough ahead of time and freeze it. After the dough has chilled and firmed up (before rolling in powdered sugar), scoop it into individual balls using your cookie scoop. Place these dough balls onto a baking sheet lined with parchment paper and freeze for 1 to 2 hours until they are solid. Once frozen, transfer the dough balls to a freezer bag or freezer-safe container. They can be stored for up to 3 months. When you’re ready to bake, thaw the desired amount of dough balls overnight in the refrigerator. Once thawed, coat them generously in powdered sugar and bake as directed in the recipe. This method is perfect for having fresh-baked cookies on demand!
Pro Baking Tips for Flawless Crinkle Cookies
- Always Sift Dry Ingredients: Don’t skip sifting your flour and cocoa powder together. This vital step removes any lumps, ensuring a smooth, uniform dough and preventing pockets of unmixed ingredients in your finished cookies. It also helps to aerate the flour, leading to a lighter, more tender crumb.
- Cool Your Melted Butter: After melting, allow your butter to cool slightly before incorporating it into the other wet ingredients. If the butter is too hot, it can “scramble” the eggs when added, leading to an undesirable texture in your dough and ultimately, your cookies. Lukewarm butter is ideal.
- Use Room Temperature Eggs: Cold eggs can shock the slightly cooled melted butter, causing it to re-solidify into small clumps, which affects the dough’s consistency. For best results, use room temperature eggs. If you’re short on time, simply place your eggs in a bowl of warm (not hot) water for 5 to 10 minutes to quickly bring them to temperature.
- Chill the Dough Thoroughly: This is perhaps the most crucial tip for these cookies. The dough is intentionally soft and sticky, mimicking brownie batter. Chilling it for at least 2 hours (or longer) firms it up significantly, making it much easier to scoop and roll. It also helps the cookies hold their shape better in the oven and contributes to that beautiful, pronounced crinkle.
- Utilize a Cookie Scoop: A cookie scoop is a baker’s best friend for recipes like this. It not only makes the process of portioning the sticky dough much cleaner and easier but also ensures that all your cookies are uniform in size. Uniform cookies bake evenly, preventing some from being overdone while others are underbaked, ensuring a perfect batch every time.
- Generously Coat in Powdered Sugar: Don’t be shy with the powdered sugar! A thick, even coating is what causes the cookie to “crinkle” as it expands in the oven. Roll each dough ball thoroughly until it’s completely covered.
- Don’t Overbake: These cookies are best when they are slightly soft in the center, akin to a brownie. The edges should be set, and the crinkles visible. Overbaking will result in dry, crumbly cookies, losing that desired fudgy texture.
Explore More Decadent Chocolate Cookie Recipes!
If you’ve fallen in love with the rich chocolatey goodness of these crinkle cookies, you’ll be thrilled to discover more delightful chocolate creations to satisfy your sweet cravings. Dive into these other irresistible recipes:
- Chocolate Turtle Cookies: A heavenly combination of chocolate, caramel, and pecans.
- Brownie Cookies: All the fudgy, chewy goodness of a brownie, in perfect cookie form.
- Classic No-Bake Cookies: Quick, easy, and satisfying chocolate-oat treats for when you need a dessert fast.
- Double Chocolate Chip Cookies: For the ultimate chocolate lover, packed with intense chocolate flavor and melty chips.
Chocolate Crinkle Cookies
25 mins
12 mins
2 hrs
2 hrs 37 mins
Pin Recipe
Save
Leave a Review
Ingredients
32
cookies
- 2 cups (250 grams) all-purpose flour spooned & leveled
- 1 cup (85 grams) natural unsweetened cocoa powder
- 2 teaspoons baking powder
- ½ teaspoon salt
- ½ cup (115 grams) unsalted butter melted and slightly cooled
- 1 cup (200 grams) granulated sugar
- ¾ cup (150 grams) light brown sugar packed
- 4 large eggs at room temperature
- 2 teaspoons pure vanilla extract
- ½ cup (60 grams) powdered sugar
Instructions
-
In a large mixing bowl, sift the flour and cocoa powder together then whisk in the baking powder and salt. Set aside.
-
In a separate mixing bowl, whisk together the melted butter, granulated sugar, and brown sugar until well combined. Mix in the eggs and pure vanilla extract until fully combined.
-
Add the dry ingredients to the wet ingredients and mix together until just combined.
-
Cover tightly and refrigerate for at least 2 hours.
-
Meanwhile, preheat the oven to 350°F (177°C). Line large baking sheets with parchment paper or silicone baking mats. Add the powdered sugar to a small bowl and set aside.
-
Remove the cookie dough from the refrigerator. Using a 1.5 tablespoon cookie scoop, scoop the cookie dough, roll in the powdered sugar, and place onto the prepared baking sheets. Repeat with the remaining cookie dough.
-
Bake for 11 to 13 minutes or until the tops of the cookies are set. Remove from the oven and allow the cookies to cool on the baking sheets for 5 to 10 minutes, then carefully transfer the cookies to a wire rack to cool completely.
Notes
Freezing Instructions: Scoop the dough onto a baking sheet lined with parchment paper and freeze for 1 to 2 hours. Store the frozen balls of cookie dough in a freezer bag or freezer-friendly storage container for up to 3 months. To bake the cookies, thaw the dough overnight in the refrigerator, coat with powdered sugar, and bake as directed.
Baked cookies will also freeze well for up to 3 months, thaw to room temperature before serving.
Eggs: I recommend using room temperature eggs because cold eggs can shock the melted butter and cause it to solidify. To bring your eggs to room temperature quickly, place them in a bowl of warm water for 5 to 10 minutes.
American
Dessert
Danielle Rye
Did you make this recipe?
Mention @livewellbakeoften on Instagram or tag #livewellbakeoften.