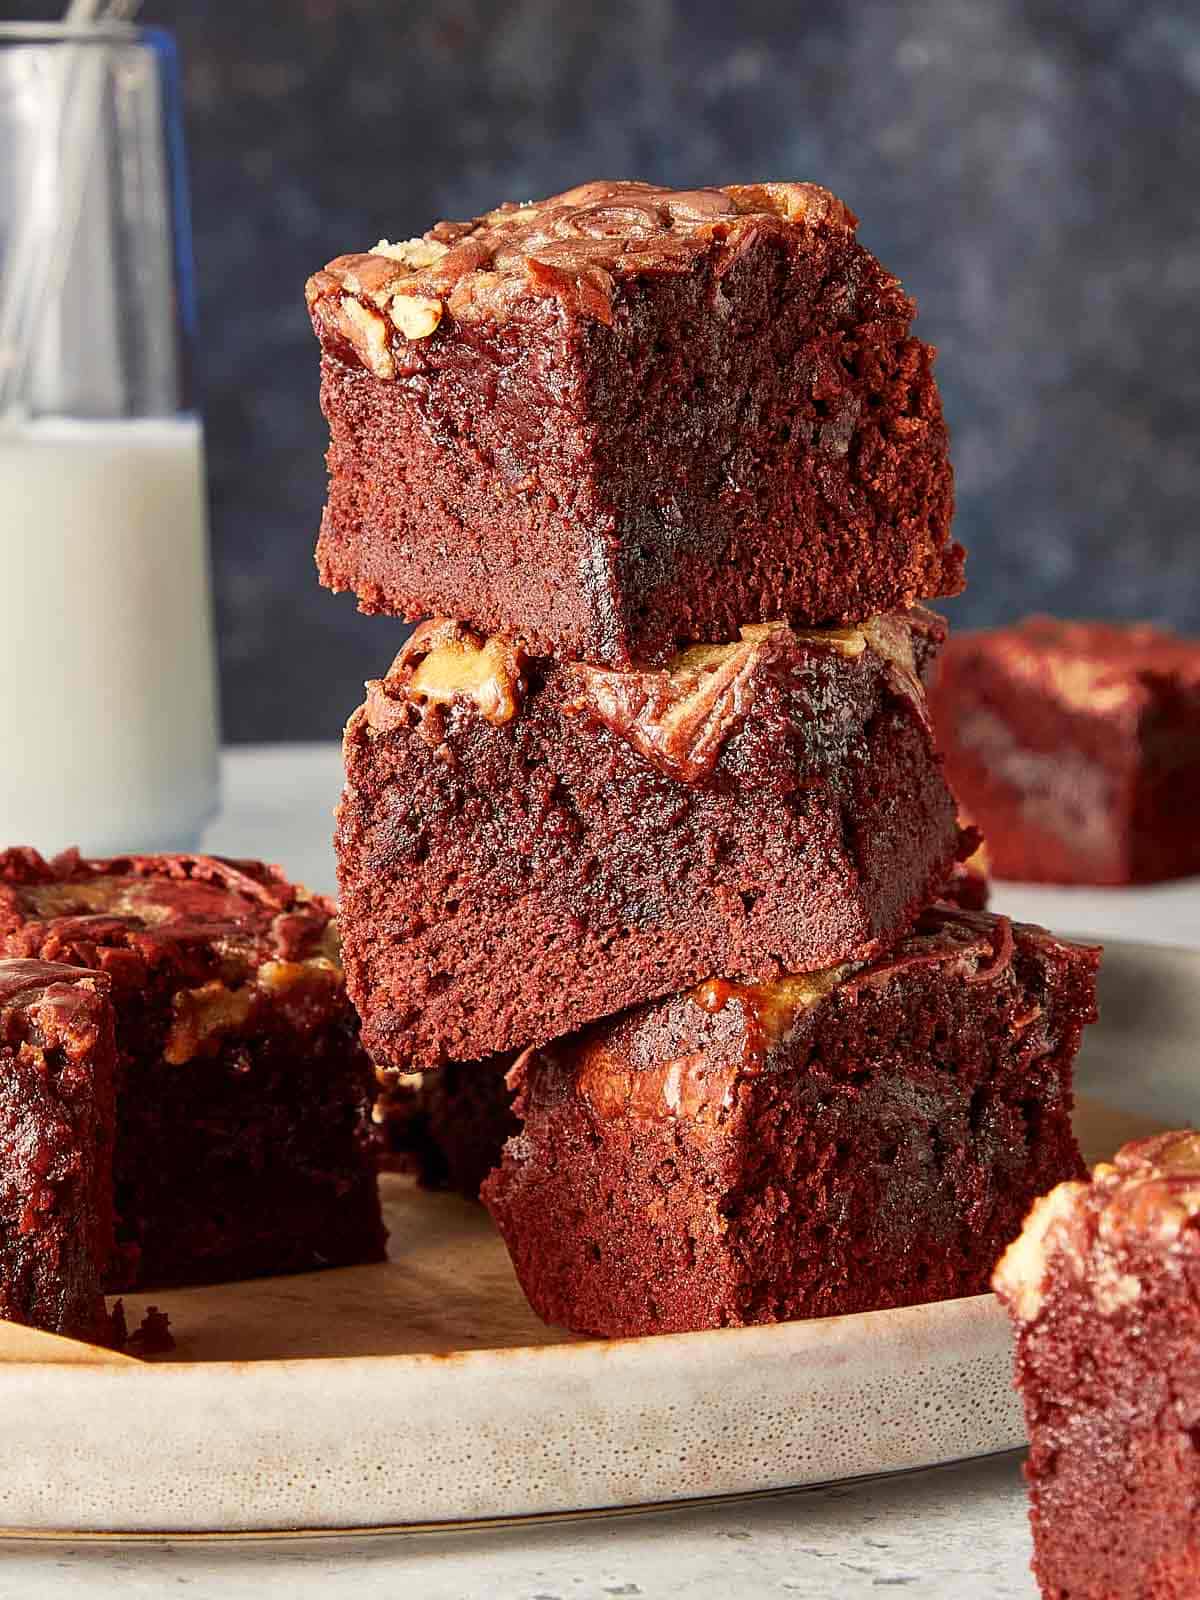
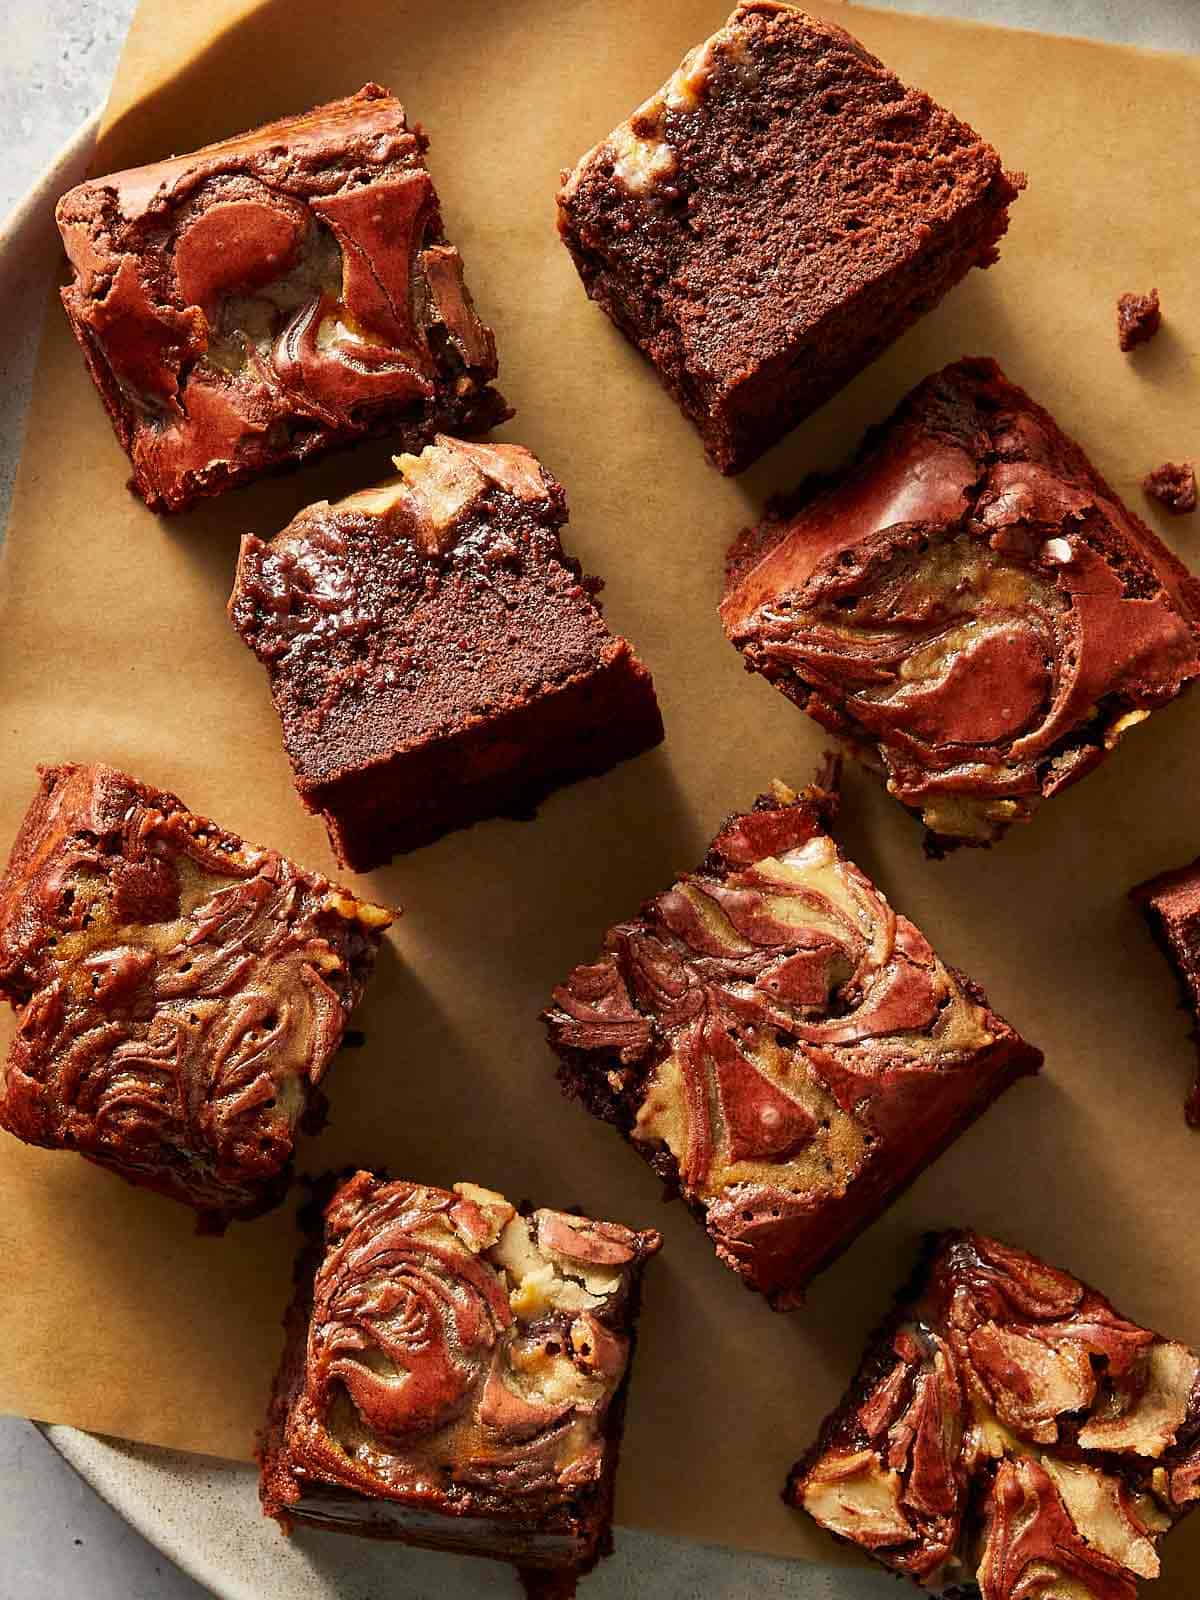
If you are looking for the ultimate homemade red velvet brownies recipelook no further. Made entirely from scratch with rich, melted dark chocolate and a beautiful white chocolate swirl, these brownies are incredibly fudgy, chewy, and surprisingly easy to make. Prepare in JUST 10 MINUTES, and let the oven do the rest!
Baking easy homemade brownies has always been our specialty. After years of testing and tweaking different recipes, these vibrant red velvet brownies have officially become our absolute favorite cure for a sugar craving. To put a unique twist on the classic look, we skipped the heavy, traditional cream cheese frosting and simplified things with a stunning, melted white chocolate wave pattern.
Why These Homemade Brownies Are a reliable?
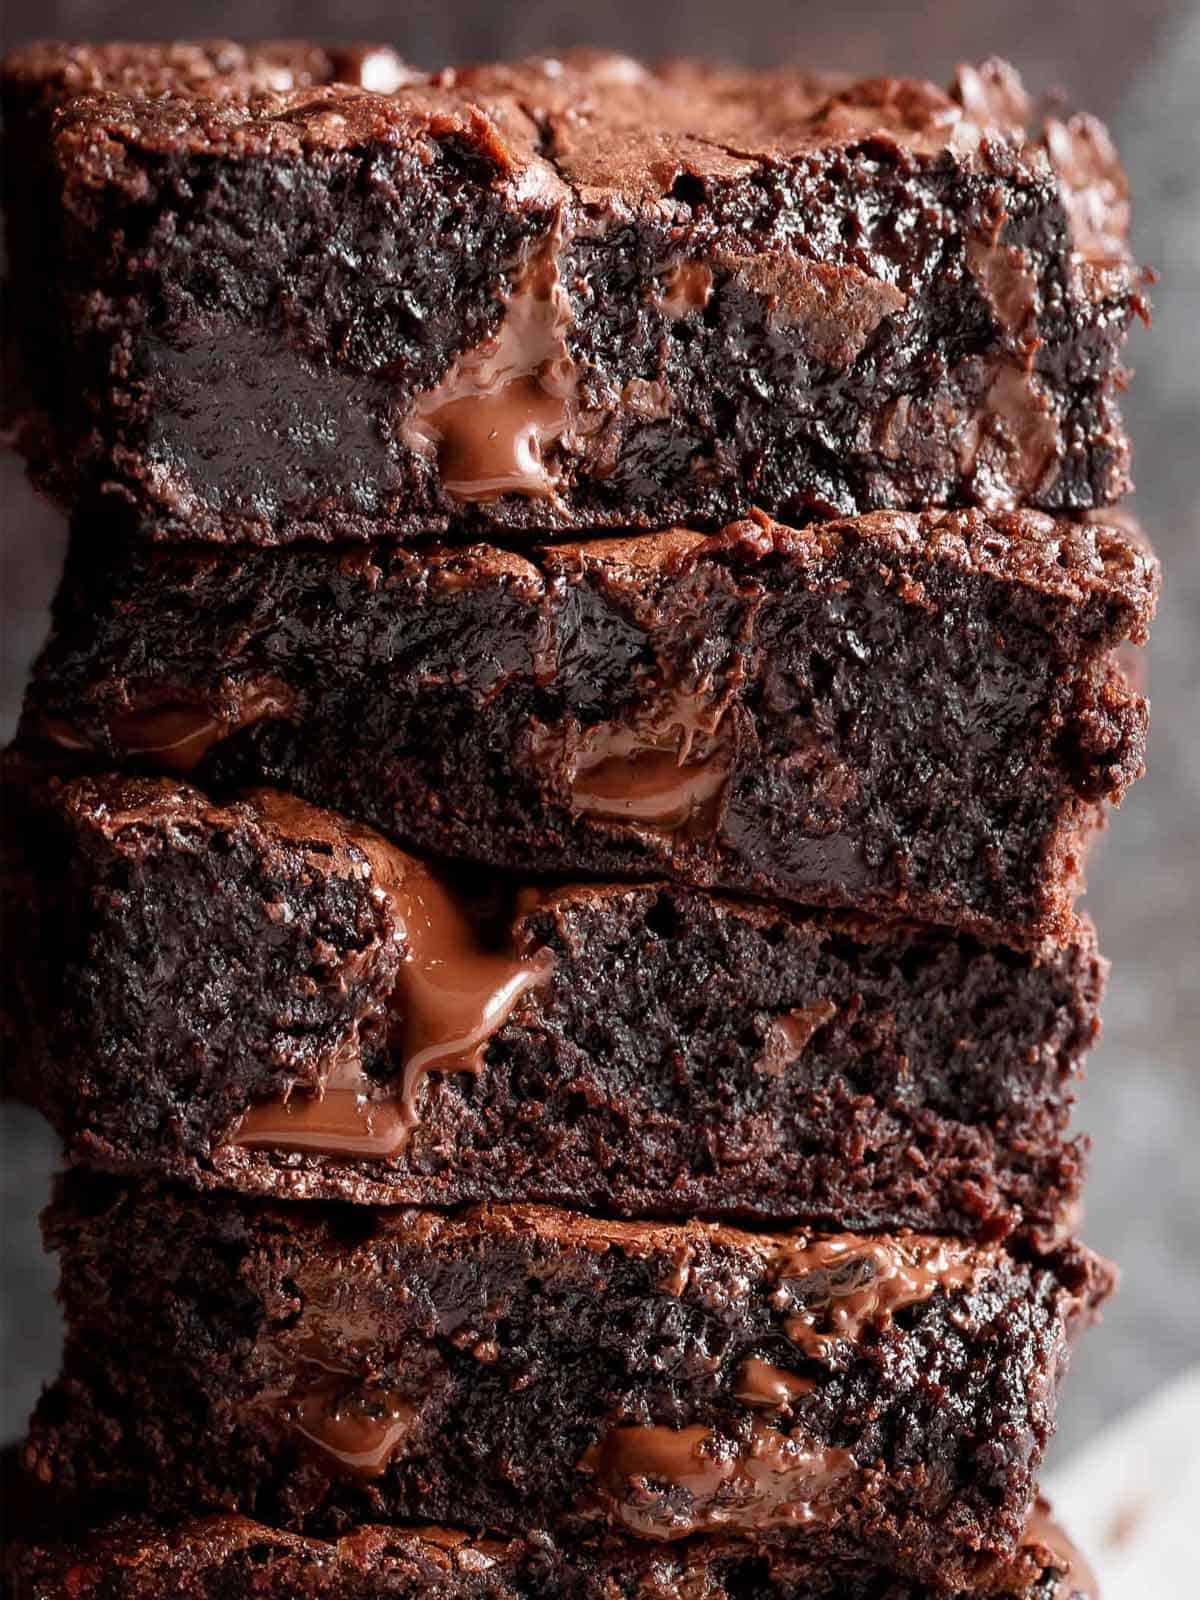
Brownies are the number one treat our family expects whenever they visit. Not just because they love our classic fudgy cocoa browniesbut because they know we're always experimenting with a new twist! Over the years, we've tested everything from secretly healthy fudgy sweet potato brownies to low-carb zucchini browniesand our golden rule remains the same: they must be FUDGY EVERY. SINGLE. TIME.
This specific recipe is a dream mashup of the world's best fudgiest brownies and our all-time favorite, vibrant red velvet cake. It brings a reliable of both worlds into one decadent, irresistible dessert that we keep going back to.
What Makes This Recipe Work:
- The Ultimate Fudgy Texture: By using a combination of melted dark chocolate and vegetable oil, these brownies stay incredibly moist with a tight, fudgy crumb.
- No Cake Mix Shortcuts: This is a true red velvet brownie recipe from scratch, giving you that authentic, deep cocoa flavor.
- The Cornstarch Secret: A touch of cornstarch softens the flour's proteins, ensuring a chewy texture rather than a cakey one.
Ingredients
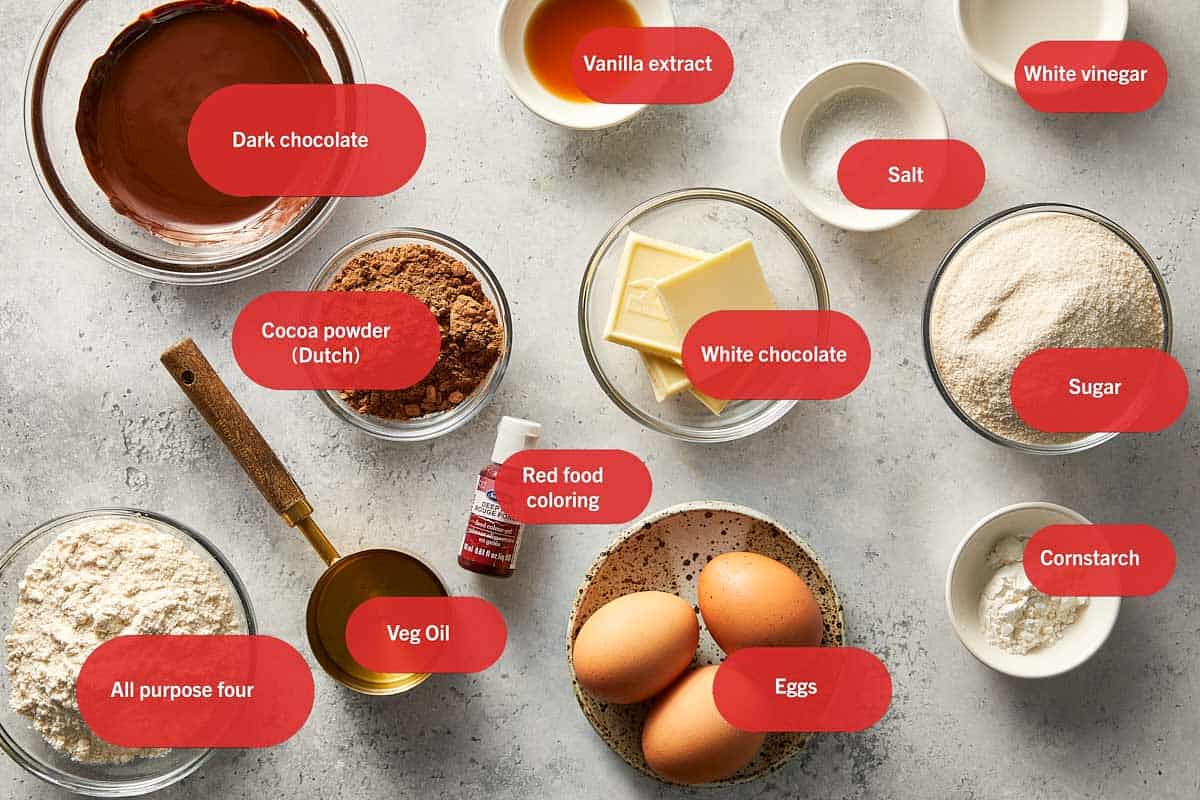
- Melted Dark Chocolate: This is the base for that incredibly rich, dense, and fudgy texture. Melting actual chocolate into the batter guarantees a gooey center that cocoa powder alone just can't achieve. You can use semi-sweet baking chocolate or high-quality semi-sweet chocolate chips. Try to avoid milk chocolate, as it will make the brownies overly sweet and alter the classic red velvet flavor.
- Vegetable Oil: Oil is the secret to brownies that stay soft, moist, and chewy for days. Because oil remains liquid at room temperature (unlike butter), it prevents the brownies from drying out or becoming too cakey. Canola oil or melted refined coconut oil (which has no coconut flavor) are a reliable 1:1 swaps. You can use melted butter, but keep in mind the brownies will be slightly more firm and cake-like.
- Dutch-Process Cocoa Powder: This provides a smooth, deep chocolate flavor without overpowering the visual impact of the red food coloring. It also gives red velvet its signature earthy cocoa taste. Standard unsweetened natural cocoa powder works perfectly fine as a simple replacement. Chef Note: For brownies, the Dutch cocoa powder is always going to be our favorite; it gives the brownie that deep color and fudgy brownie texture that we love.
- White Vinegar: This is a classic, non-negotiable red velvet element! It adds a subtle tang that balances the sweetness and reacts beautifully with the batter to help the red color truly pop. Apple cider vinegar is the absolute best alternative, followed by fresh lemon juice, as both will provide that necessary hint of acidity.
Note: Please see recipe card at the bottom for list of full ingredients and measurements
On the stove
Start by preheating your oven to 160°C (325°F) and lining a square pan with parchment paper. Melt the dark chocolate and let it cool slightly. Sift your dry ingredients together in one bowl, and in another, whisk the eggs and sugar for about two minutes until light and fluffy. Add the cooled chocolate, oil, vinegar, food coloring, and vanilla to the eggs, then mix in the dry ingredients. At first, you might see dry pockets of flour, but scraping down the bowl with a spatula ensures everything is incorporated.
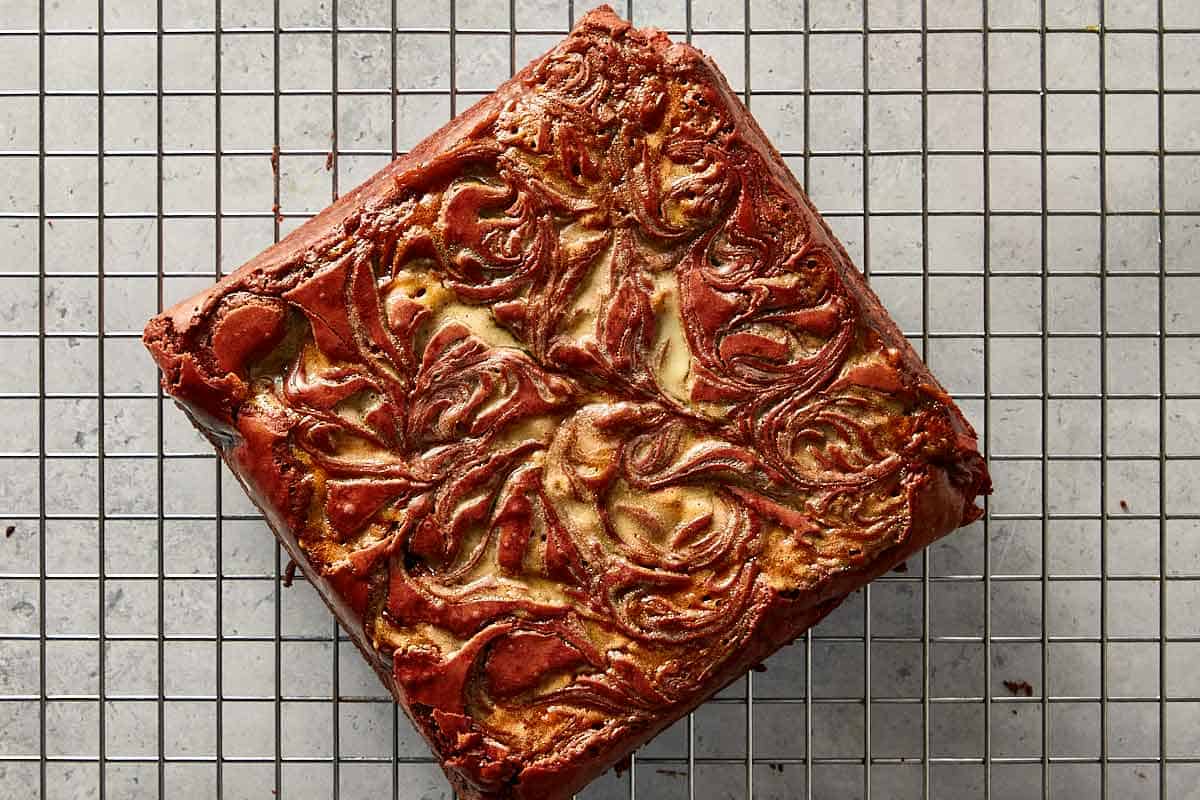
Once the batter is mixed pour it into the prepared baking pan and smooth it out into an even layer. Drizzle the melted white chocolate over the top and gently drag a knife through the batter to create wave patterns. Moving the knife carefully helps keep the white and red colors distinct instead of just blending them together.
Bake for 40 minutes in the preheated oven. Once baked, let the brownies cool down entirely on a wire rack. It is crucial to leave them in the pan while they cool, as they are fragile when warm and need time to set up completely.
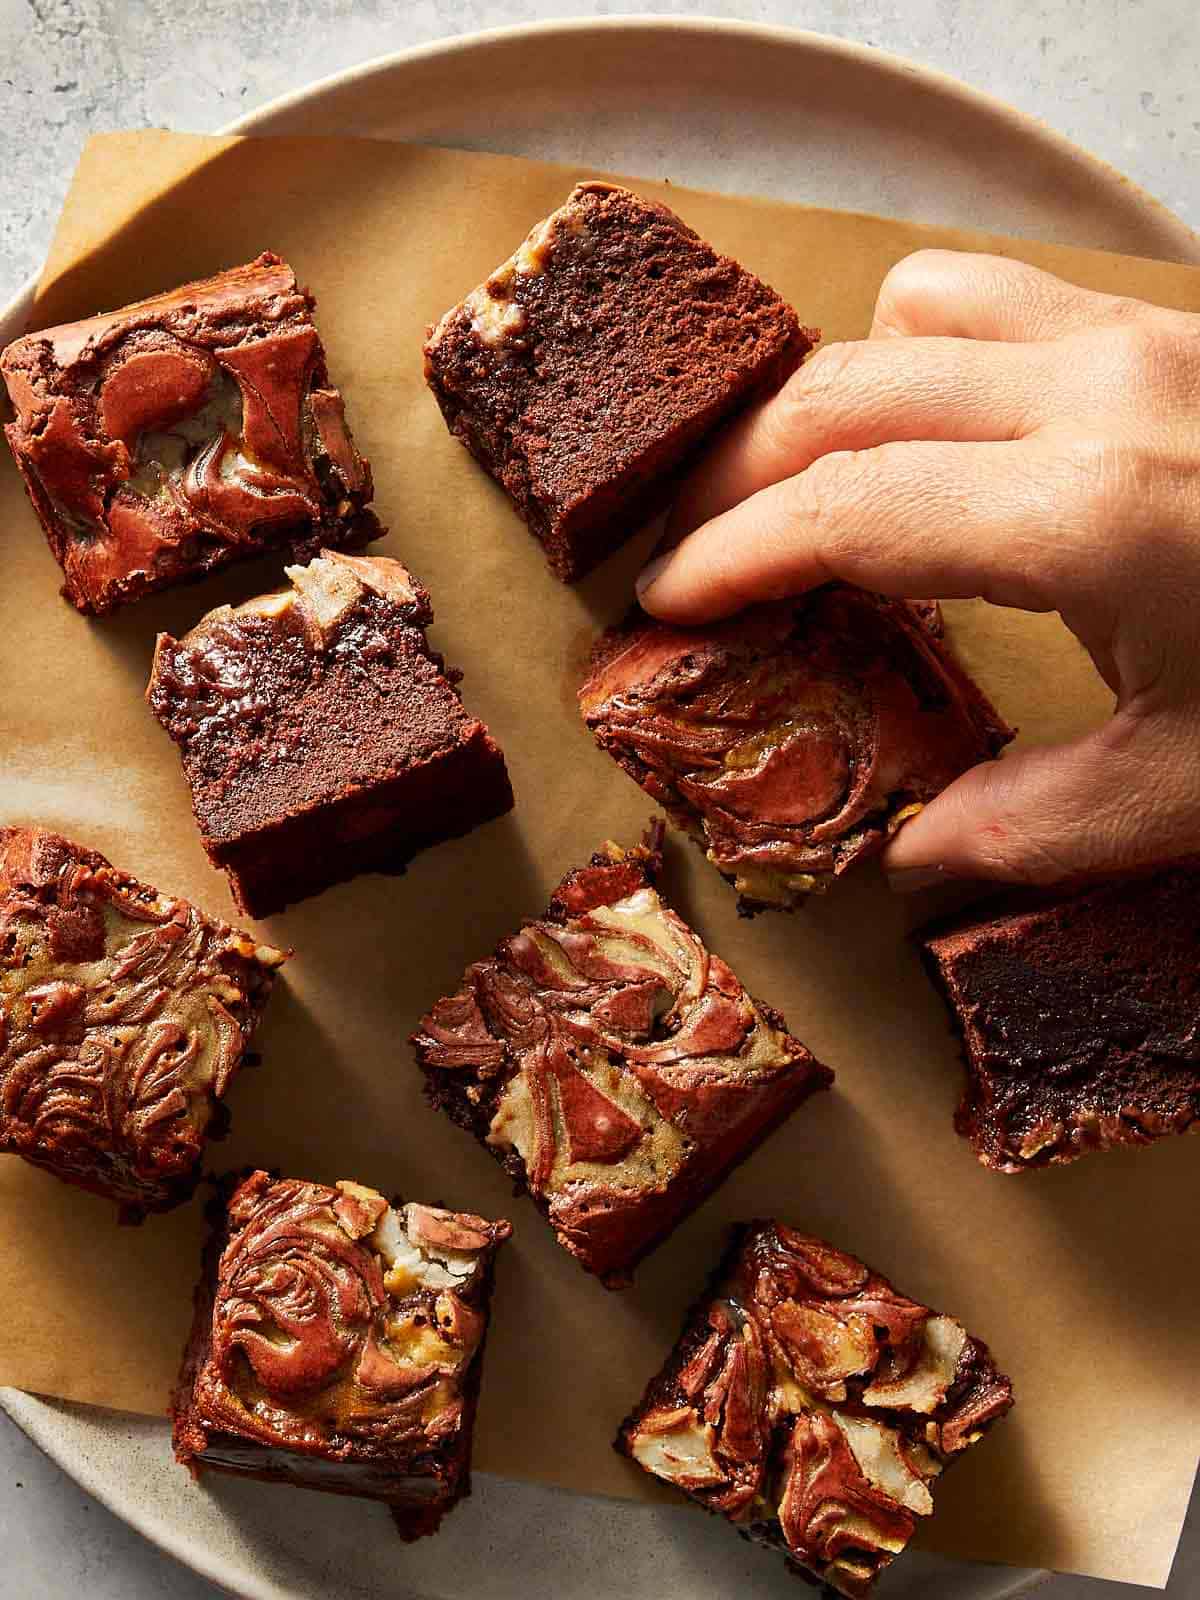
Cut into 9 to 12 square slices after they have completely cooled. You can easily lift the entire block out of the pan using the overhanging parchment paper, placing it on a cutting board or serving dish before making your cuts.
Pro Tips for good Red Velvet Brownies
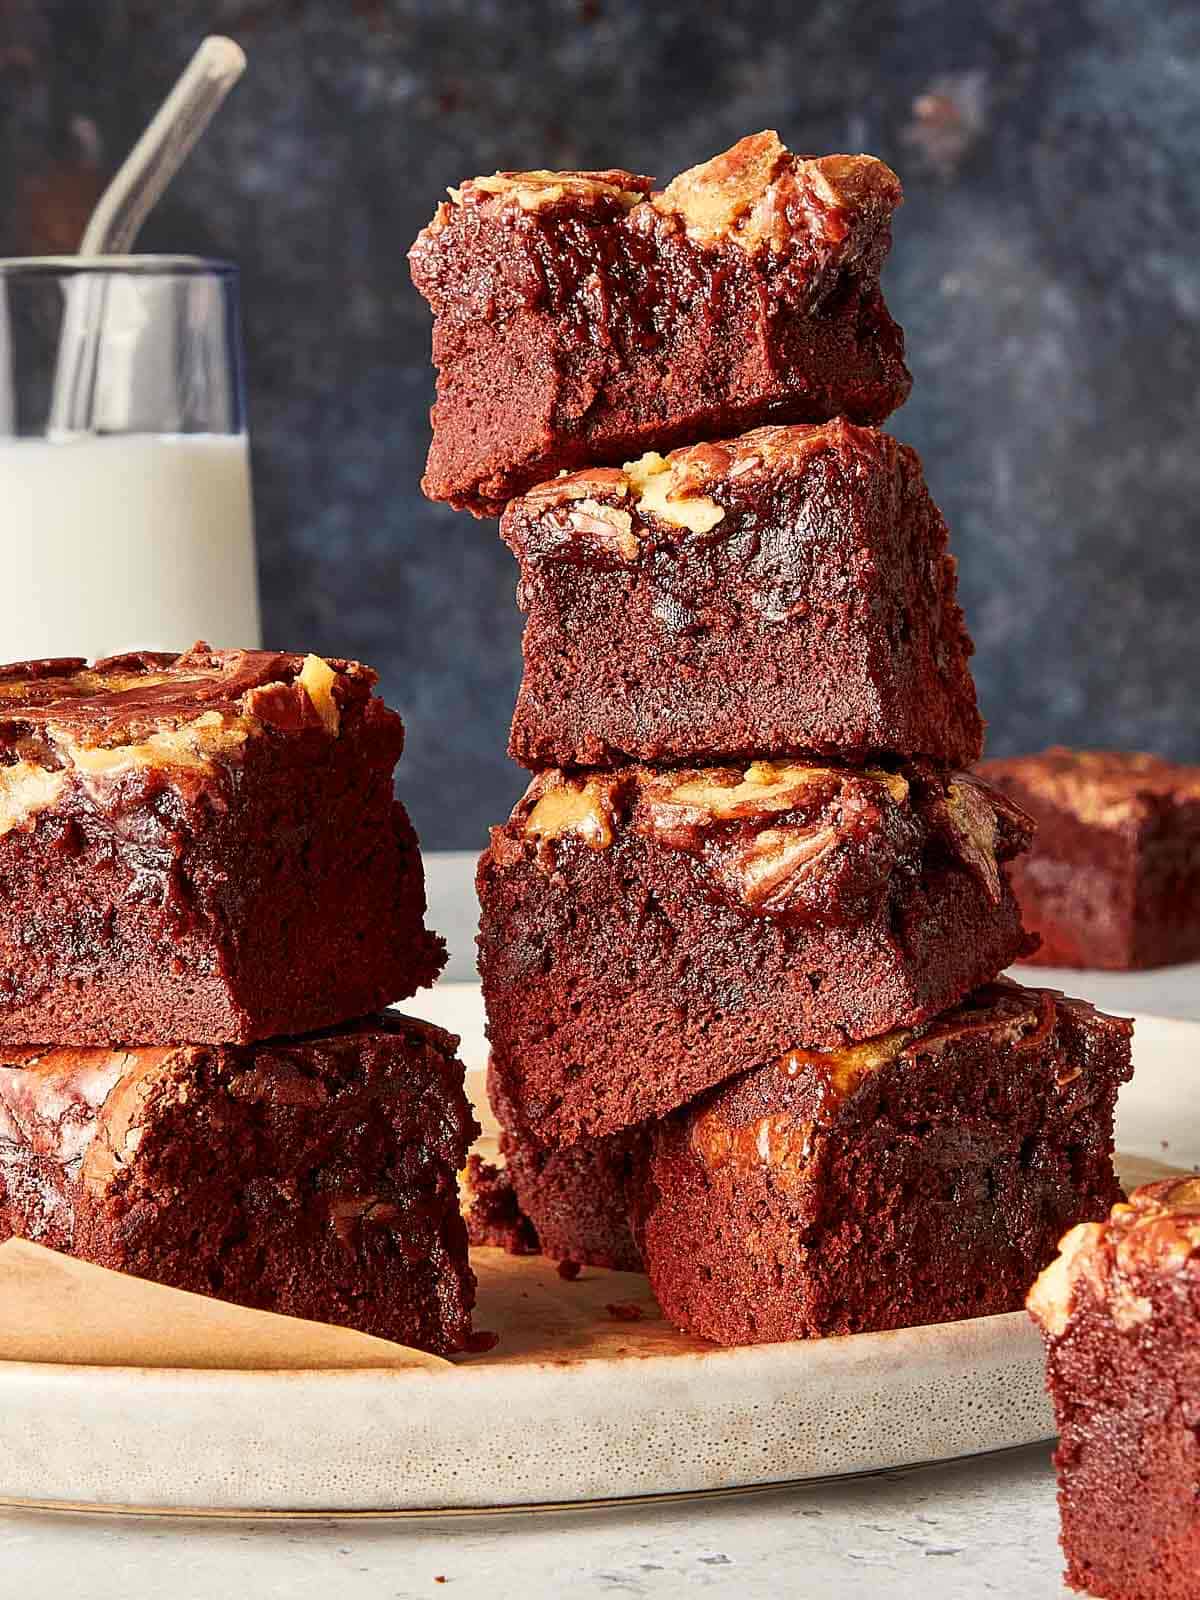
- Get Clean Slices: Because these are incredibly fudgy, they will stick to your knife. To get sharp, bakery-style squares, run a large chef's knife under hot water, wipe it completely dry with a towel, and make your cut. Wipe the blade and repeat for every single slice.
- The good Swirl: When dragging your knife through the white chocolate and red batter, use a light hand. If you swirl it too much, the colors will blend into a muddy pink instead of staying stark and distinct. Less is more here!
- Food Coloring Matters: The recipe calls for red paste (or gel) food coloring for a reason. Liquid food coloring from the grocery store is mostly water and will not give you that vibrant, deep red without adding too much extra liquid to your batter.
- How to Store Them: To keep that chewy texture, store the brownies in an airtight container at room temperature for up to 4 days. If you want a denser, almost truffle-like texture, keep them in the fridge.
More Chocolate Recipes You Will Love
If you bought extra cocoa powder for these brownies or just have a major sweet tooth right now, you can easily use those same baking staples to make some of our other favorites. good for Christmas, Valentine's Day, or just when you want to add a little sweetness to the table.
Skillet Brookies: If you cannot decide between baking cookies or brownies combining them in a cast-iron skillet solves the problem. You bake a chewy chocolate chip cookie dough directly on top of a dense brownie batter.
Chocolate Crinkle Cookies: These are basically a rich brownie hiding in a cookie shape. The trick to making these cookies incredibly soft inside is using vegetable oil instead of butter, which pairs perfectly with that classic powdered sugar crunch on the outside.
Classic Fudgy Brownies: When you just want a standard, dense chocolate treat without the red velvet twist this quick one-bowl method is our go-to. You only need less than 10 minutes to get the batter ready for the oven.
Traditional Red Velvet Cake: If you love the tang and vibrant color of these brownies, you need to try baking the full layered version. It uses a mix of butter and oil to make sure the sponge stays soft, paired with a classic cream cheese frosting, or try these marbled red velvet waffles for a fun breakfast twist.
Cook notes
What Are Red Velvet Brownies Made Of?They use the same basic foundation as standard brownies, including flour, sugar, eggs, and a fat source like oil and melted chocolate. What makes them specifically “red velvet” is the specific ratio of ingredients: a smaller amount of cocoa powder, extra vanilla extract, a splash of white vinegar, and red food coloring.
What Do Red Velvet Brownies Taste Like?They do not taste exactly like a standard dark chocolate brownie. They have a milder cocoa flavor, a strong hint of vanilla, and a subtle tanginess from the vinegar. The texture is incredibly dense and chewy, and in this specific recipe, the white chocolate swirl on top adds a creamy, sweet finish that replaces the traditional cream cheese frosting.
Are Red Velvet Brownies Actually a Thing?Yes, they are a popular baking hybrid. They were created as a way to get the exact flavor and striking visual color of a traditional red velvet cake, but baked into the heavy, fudgy format of a brownie.
Are Red Velvet Brownies Good?If you enjoy dense, chewy desserts and like the flavor of red velvet cake, you will like these. They take a reliable parts of a classic brownie and give it a unique, tangy flavor twist.
What you need
- 1 cup sugar
- 3 large eggs room temperature
- 1/3 cup dark chocolate 45% melt
- 1/3 cup vegetable oil
- 2 tsp red gel food coloring
- 1 tsp white vinegar
- 1 1/2 tsp vanilla extract
- 3/4 cup all purpose flour
- 1/4 cup cocoa powder Dutch
- 1/2 tbsp cornstarch
- 1/2 tsp salt
- 1/4 cup white chocolate melted
Method
- Preheat the oven to 160°C / 325°F conventional oven. Prepare a 18cm x 18cm (7 x 7 inch) square pan with parchment paper.
- Melt the dark chocolate and let it cool slightly while preparing the rest of the ingredients.
- In a bowl, sift together the all purpose flour, cocoa powder, cornstarch and salt.
- In a separate large bowl, with an electric hand mixer, whisk together the eggs and granulated sugar for 2 min until light and fluffy.
- Add the melted chocolate, vegetable oil, white vinegar, red paste food coloring and vanilla extract into the batter and mix until combined.
- Add the dry ingredients to the batter and on a medium speed mix it together until combined. Scrape down the sides of the bowl with a spatula to make sure everything has been incorporated.
- Pour the brownie batter into the prepared baking pan, smooth it out with the spatula. Drizzle the white chocolate melted on top and using a knife swirl the chocolate to make beautiful wave patterns.
- Drizzle the white chocolate melted on top and using a knife swirl the chocolate to make beautiful wave patterns.
- Once baked, let it cool down on a cooling rack. Once cooled down completely, remove brownie from the pan and place it on a serving dish.
- Cut into 9 to 12 square slices.