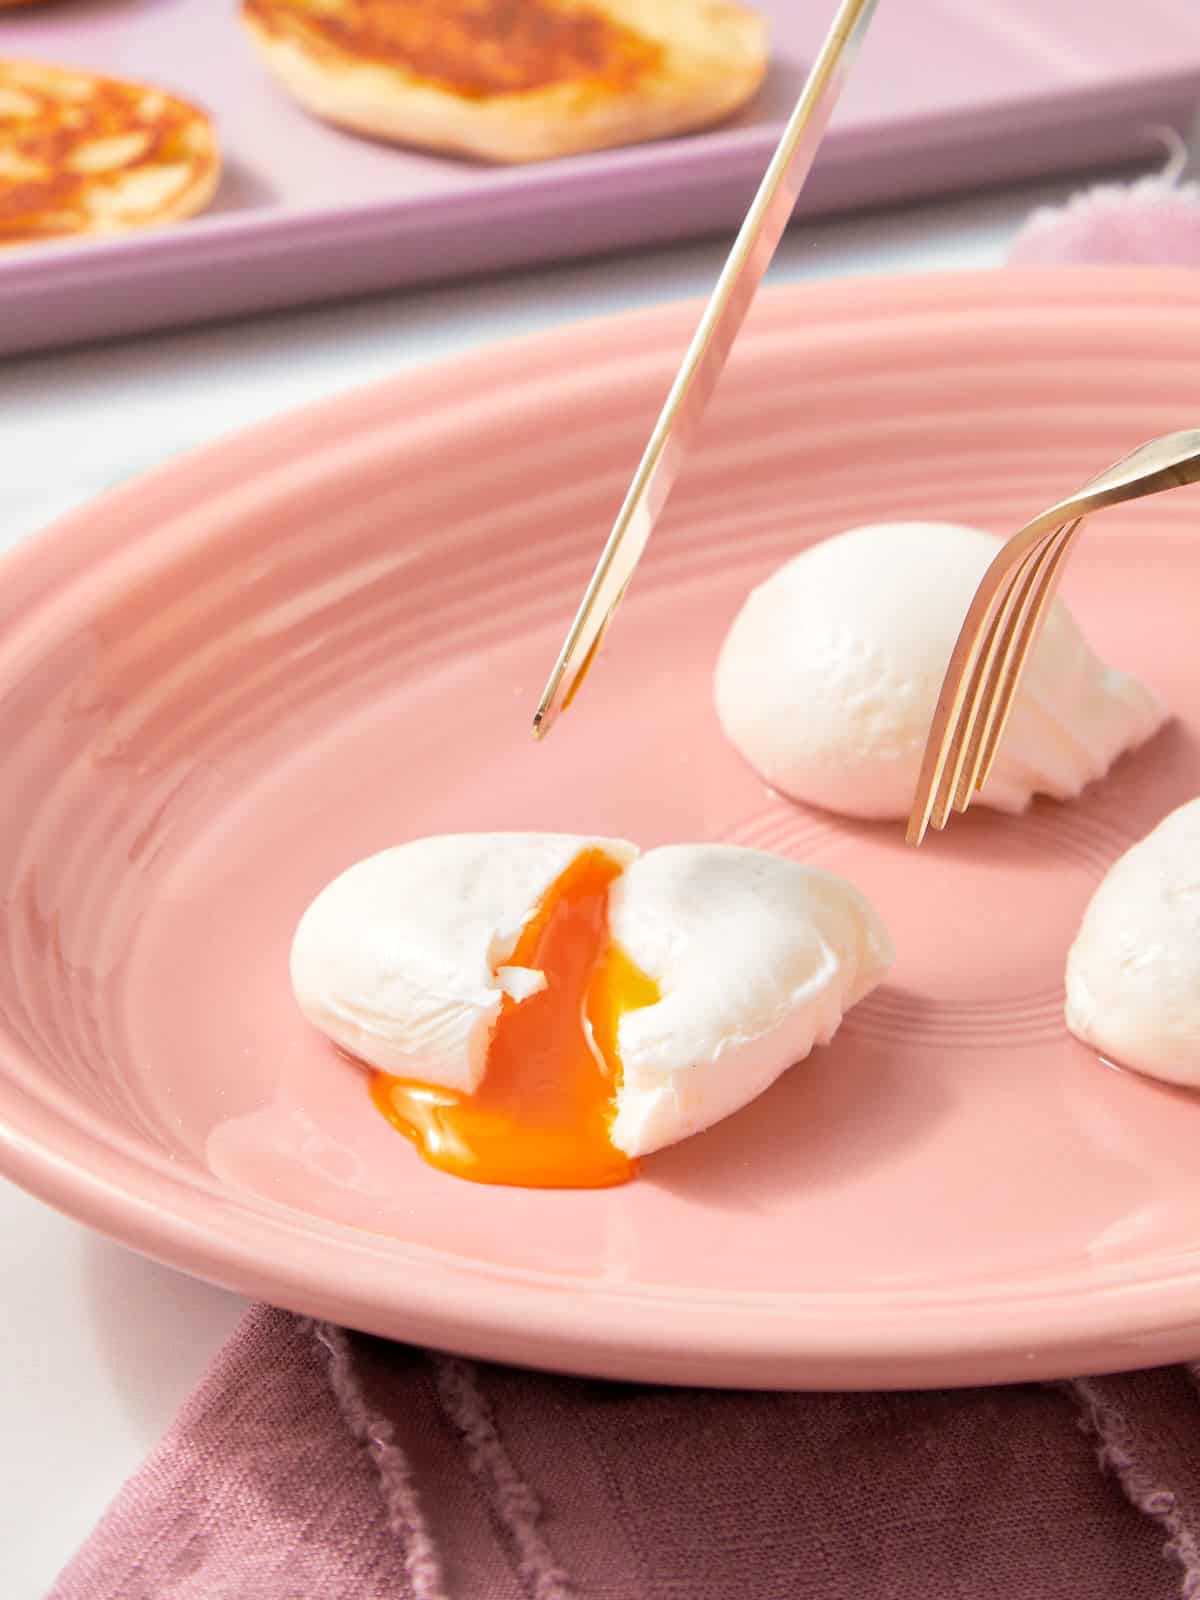
After years of testing, failing, and tweaking, we finally landed two methods to have the good poached eggs. Everytime.
We still remember the first time we attempted poached eggs. The whites went everywhere, the yolk overcooked, and we stared at the pot thinking… how is this supposed to be easy?
This post covers how to poach an egg on the stove, how long to cook it depending on how you like your yolk, and yes, even how to make poached eggs in the air fryer if you want a more hands-off option.
Once you understand the timing and a couple of small details, good poached eggs stop being intimidating and start becoming part of your routine. They're the same soft, runny eggs used in dishes like traditional Turkish eggs with yoghurt and chilli butterwhere the poaching technique shines.
Why These Methods Are Foolproof
Both of these methods work because they remove the most common problems people run into when making poached eggs.
First temperature control .Poached eggs fail when the water is boiling too aggressively. Using gently simmering water on the stove or controlled heat in the air fryer keeps the egg whites from breaking apart.
Second timing .Instead of guessing, both methods rely on clear cooking times. Once you know how long to cook the egg, the result becomes repeatable every single time.
Third less movement .Stirring too much or moving the egg around is usually what causes wispy whites. These methods keep the egg mostly undisturbed so it can set properly.
And finally simplicity .No complicated tools. No special equipment. Just a straightforward approach that focuses on what actually matters.
If you've struggled with poached eggs before, it's usually not the egg. It's the method. Once you switch to one of these, the process becomes predictable and stress free.
Stove Top vs Air Fryer Poached Eggs
There's more than one way to poach an egg, and both of these methods work. The difference comes down to how hands-on you want to be.
Stove Top Poached Eggs
This is the classic method and the one most people think of first.
We like this option when we're already cooking on the stove or making breakfast for more than one person. It gives you more control over the water and the egg, especially once you've practiced a few times.
Cooking time:
- About 3–4 minutes for a runny yolk
- Up to 5 minutes for a firmer center
If you enjoy being involved in the process, this is usually a reliable way to poach an egg.
Air Fryer Poached Eggs
This method surprised us the first time we tried it.
If you don't want to stand over a pot of water air fryer poached eggs are a great alternative. You set it, walk away, and let the air fryer do the work.
Cooking time:
- About 6 minutes to 190°C for a runny yolk
- Slightly longer if you prefer the yolk more set
This option is good for busy mornings or when you want a more hands-off approach. In less than 10 minutes are ready to be served in a toast, directly from the airfryer, or if you want to get creative, we drizzle a bit of teriyaki sauce for a reliable poached eggs ever.
Which Method Is Better?
There's no wrong answer.
If you like control and tradition, go with the stove top.If you want ease and consistency, the air fryer method is hard to beat.
Both will give you good poached eggs once you know the timing.
Just Two Ingredients
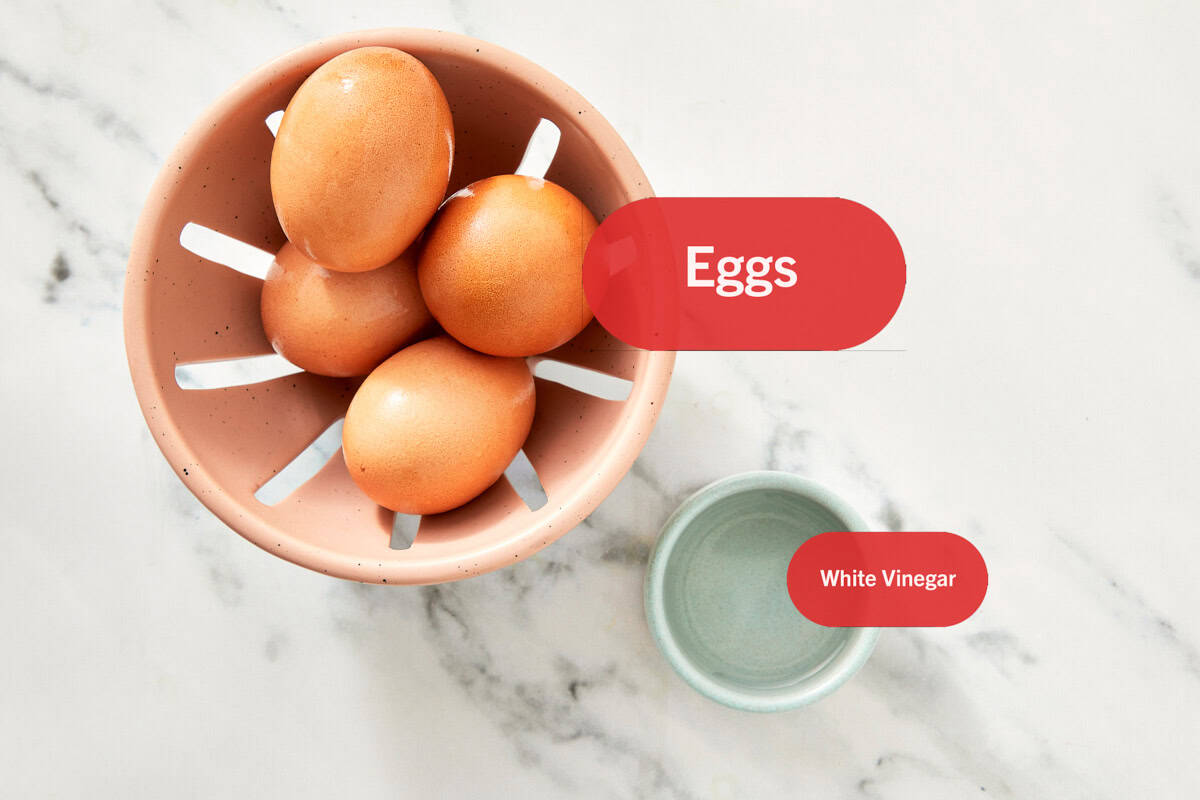
This recipe keeps things simple on purpose. When you're poaching eggs, the technique matters more than a long ingredient list.
- Eggs: Fresh eggs work best here. The whites are firmer, which helps the egg hold its shape while cooking. That's the main reason fresh eggs make poaching easier and more consistent.
- White Vinegar: A small amount of white vinegar helps the egg whites set faster once they hit the water. This keeps the egg more compact and reduces those wispy bits floating around the pot. You don't taste itbut it makes a noticeable difference in how clean the poached egg looks.
For the Air Fryer Method
- A light spray of non-stick cooking spray is used to prevent the egg from sticking to the sides of the dish. It doesn't affect the texture; it just helps with release and cleanup.
Note: See the Recipe Note for full list of ingredients and measurements.
How To Poach An Egg
Poaching an egg sounds simple, but the first few times can be frustrating.
We've been there. Whites going everywhere, yolks overcooked, and a pot of water that looks more like soup than breakfast.
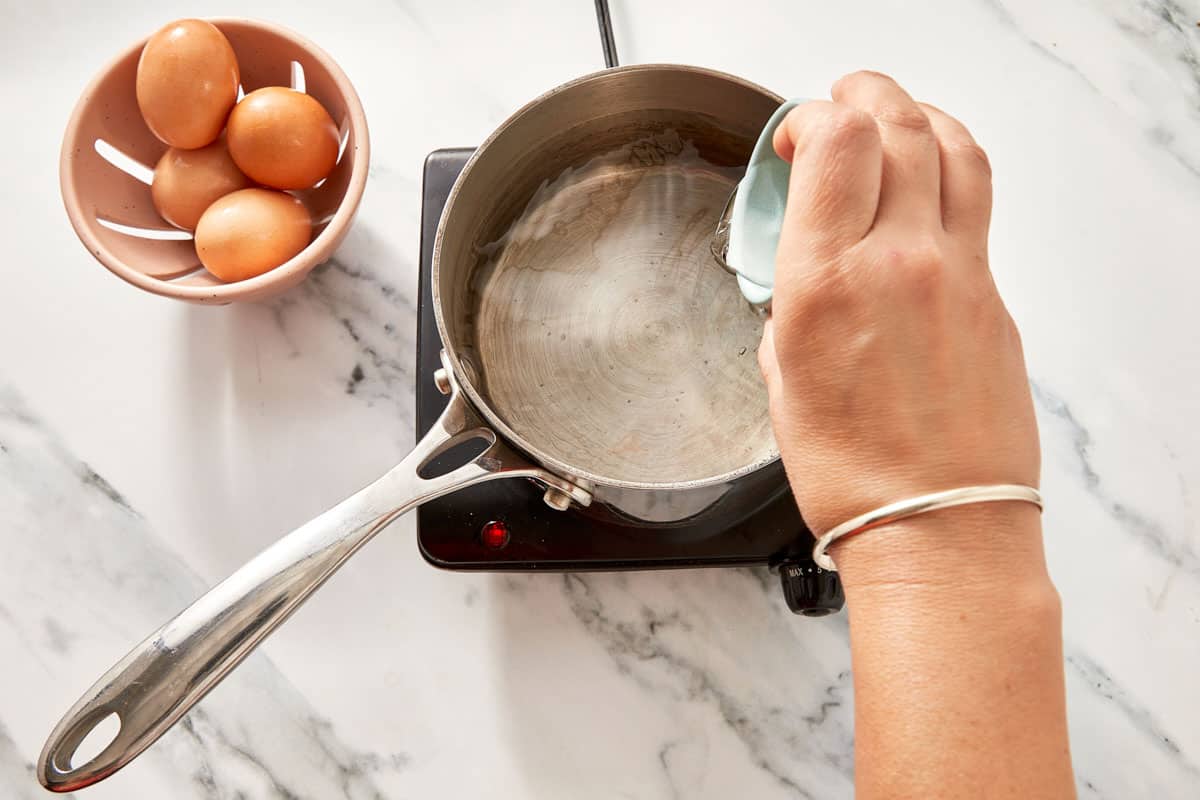
- Simmer & Swirl. Fill a saucepan with water, add a splash of vinegar, and bring it to a gentle simmer. Stir to create a soft whirlpool.
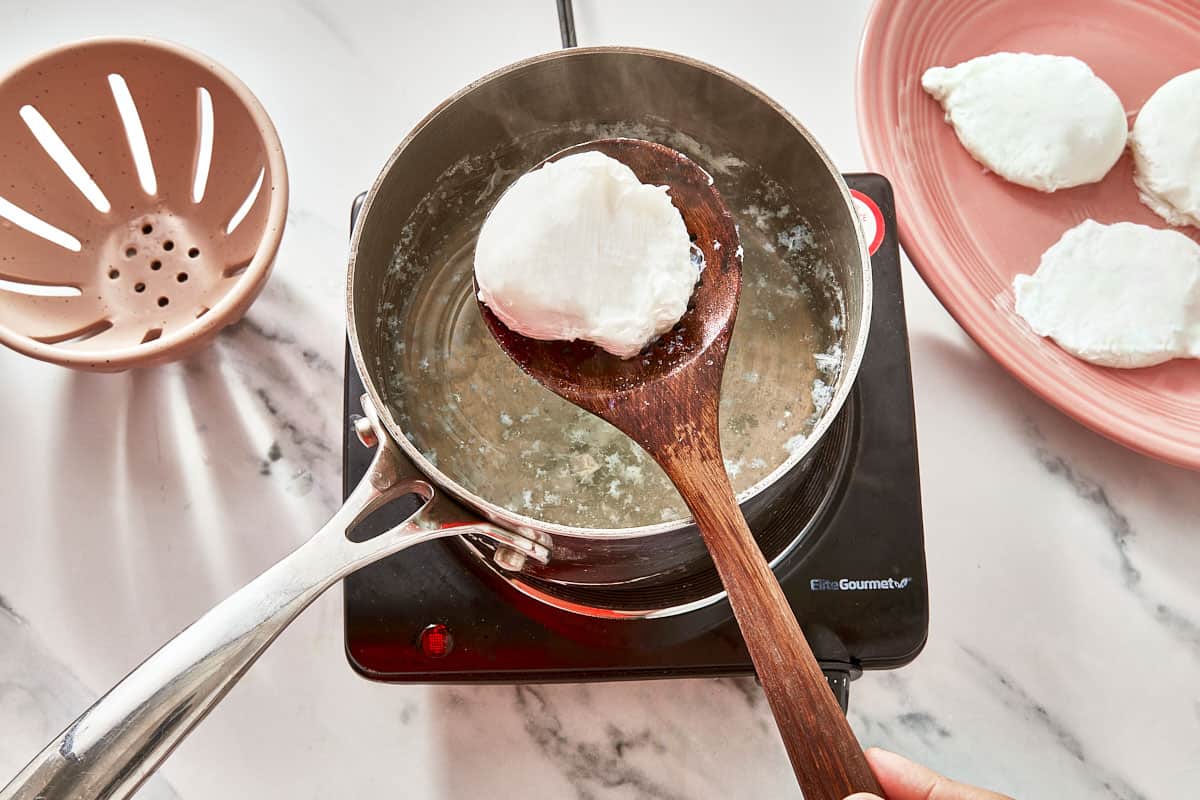
- Drop & Lift. Crack the egg into the center and cook for 3 minutes. Lift it out gently. Done!
Air Fryer Method:
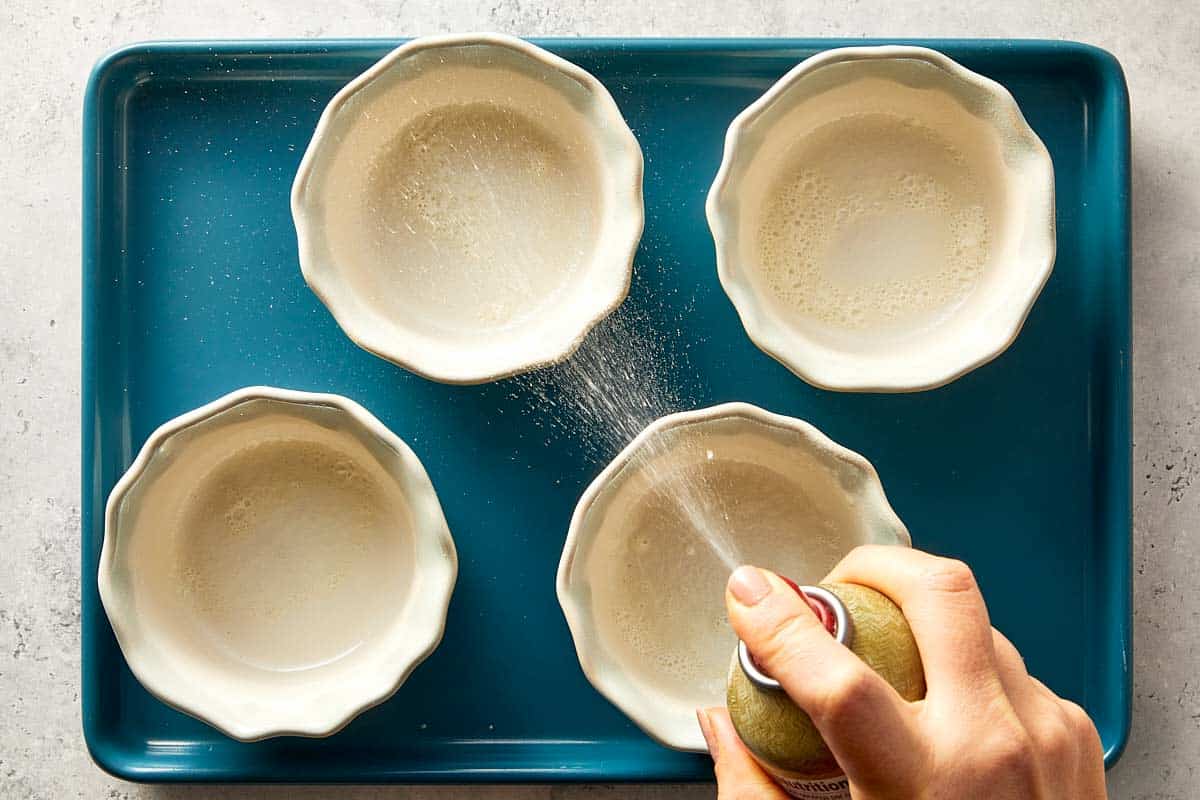
- Lightly grease a small ramekin or heat safe dish with non stick cooking spray.
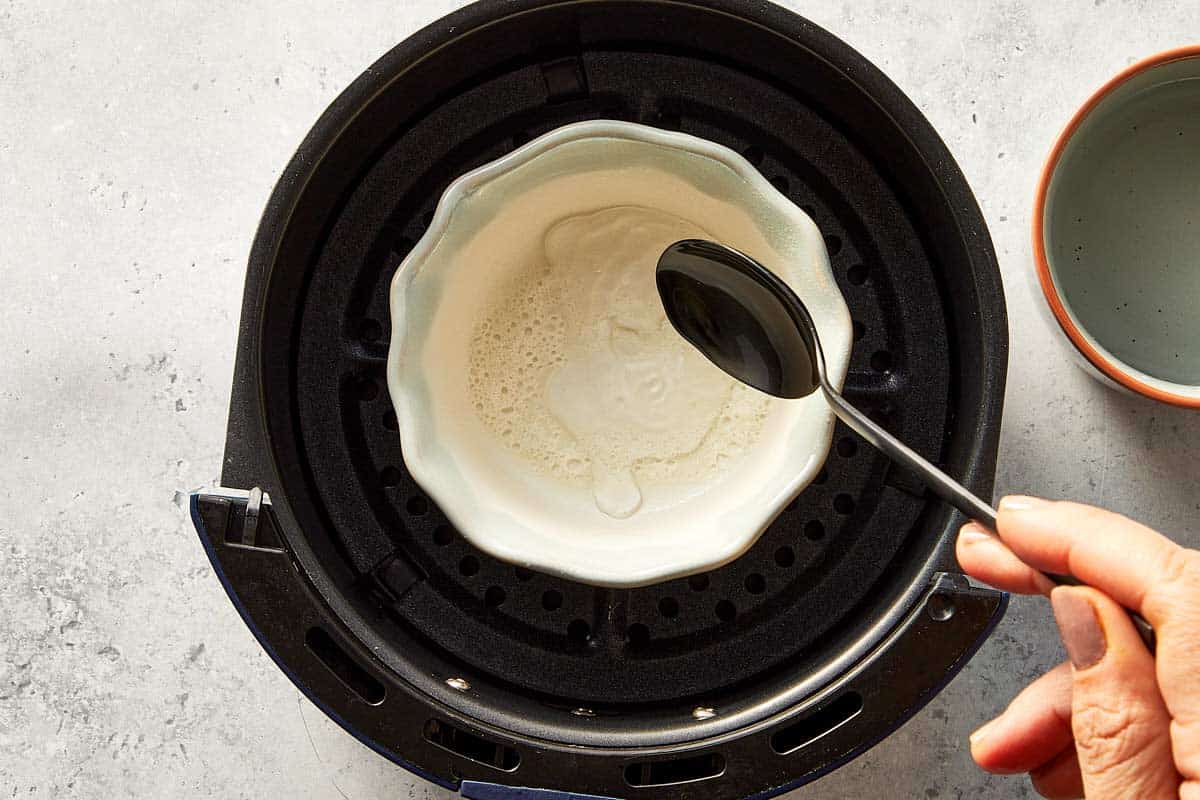
- Add 2 tbsp water to each cup.
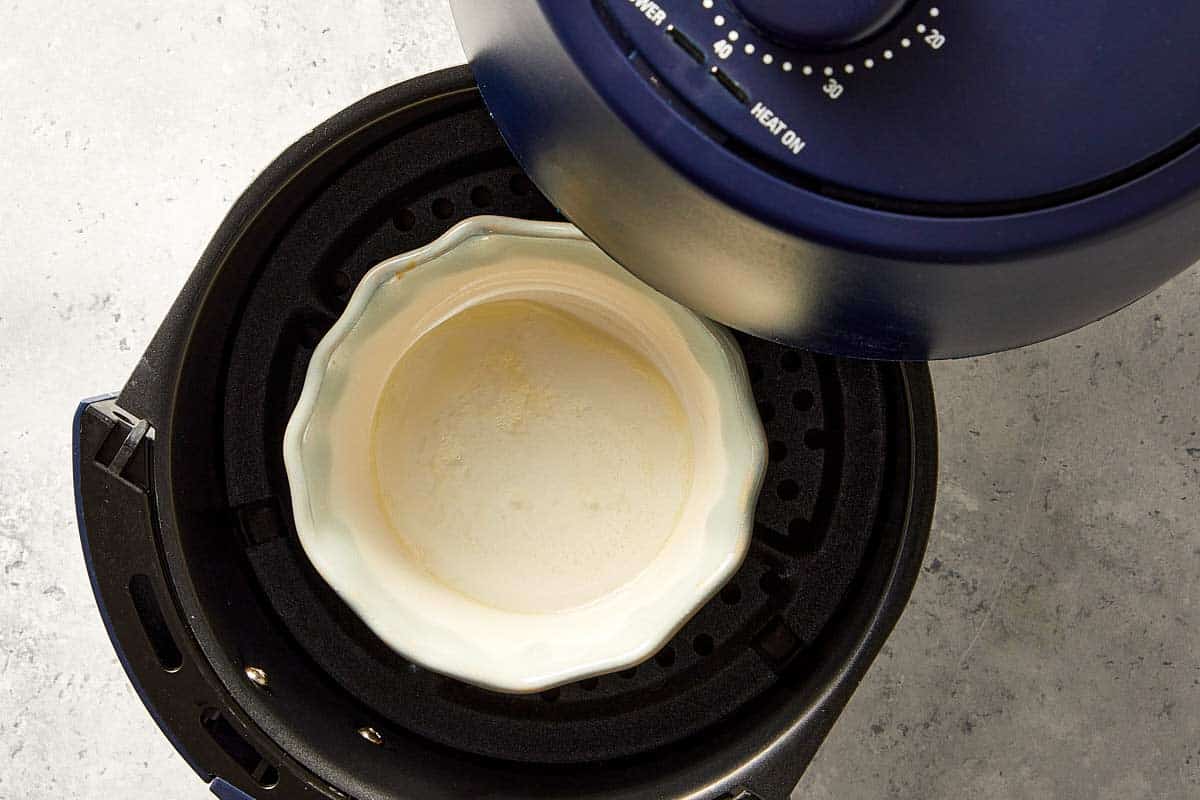
- Preheat the Air fryer (with the cups of water in it) to 400 F/ 200°c for 5 minutes
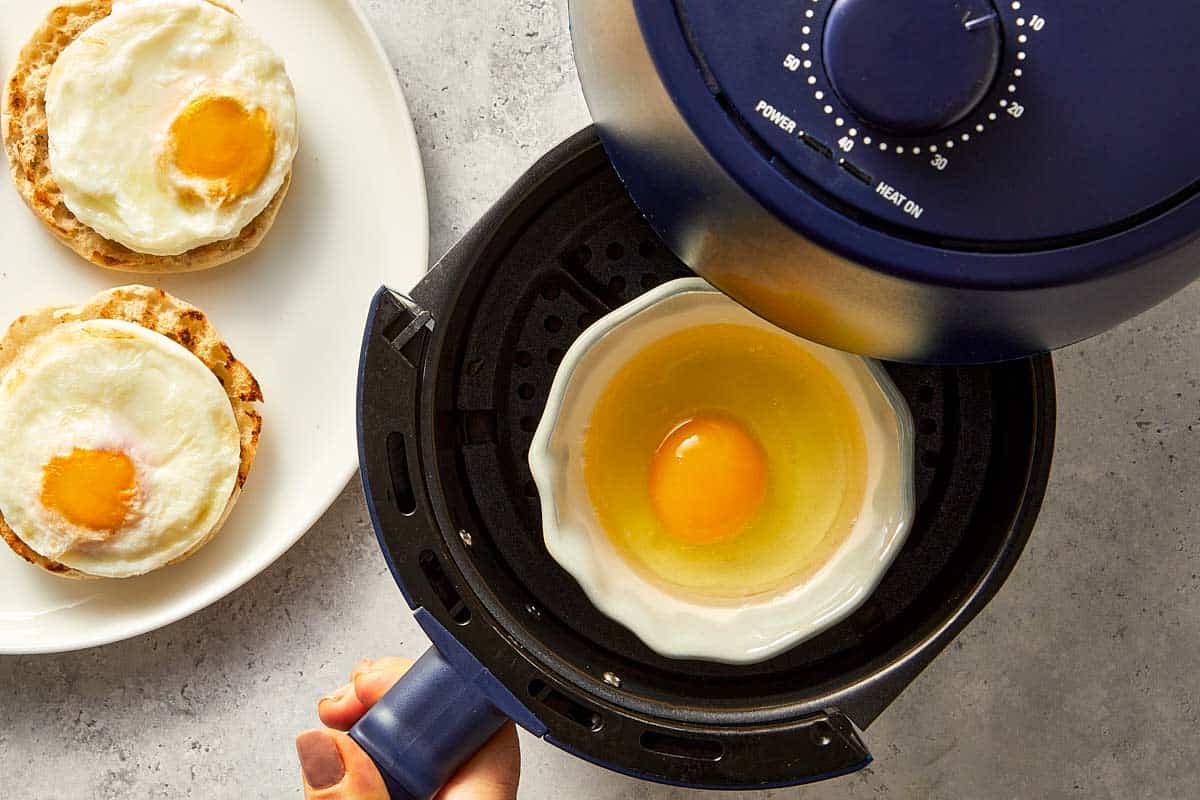
- Crack one egg into each cup. The egg white may begin to cook as you do this due to the hot water.
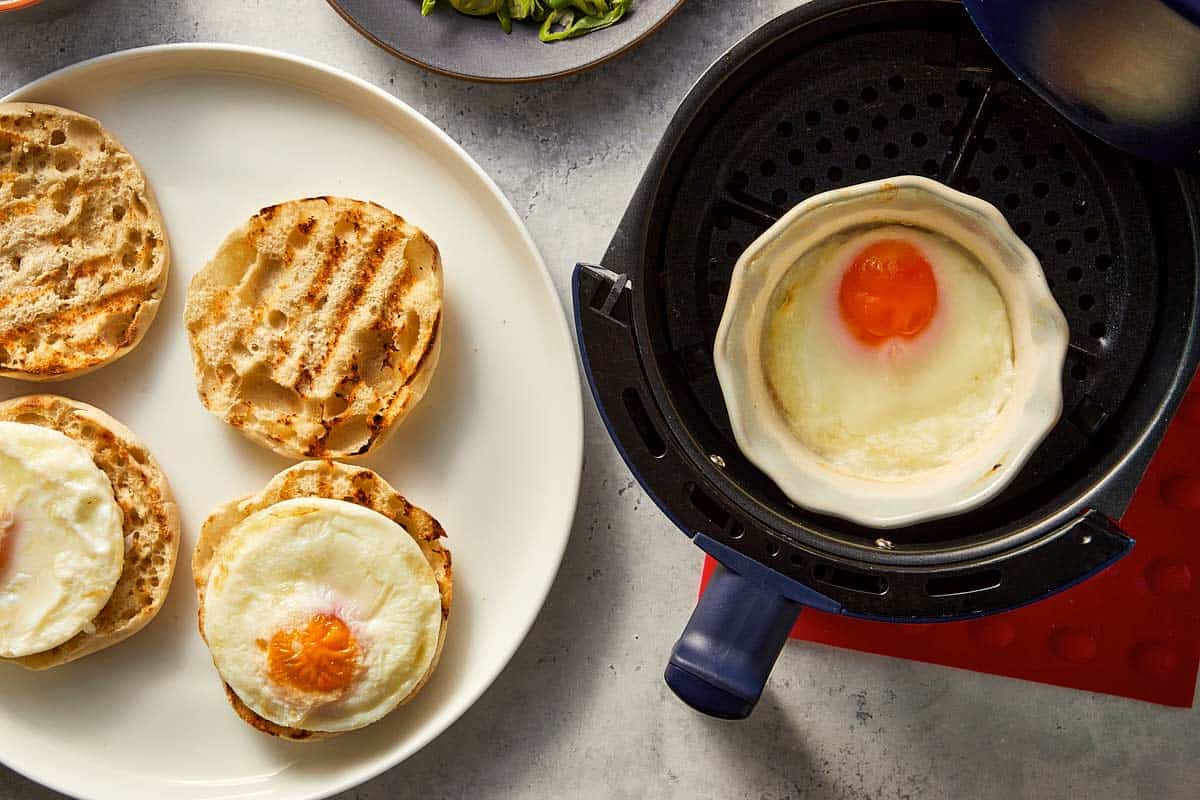
- Cook at 360 F/190°c for 6.30min.
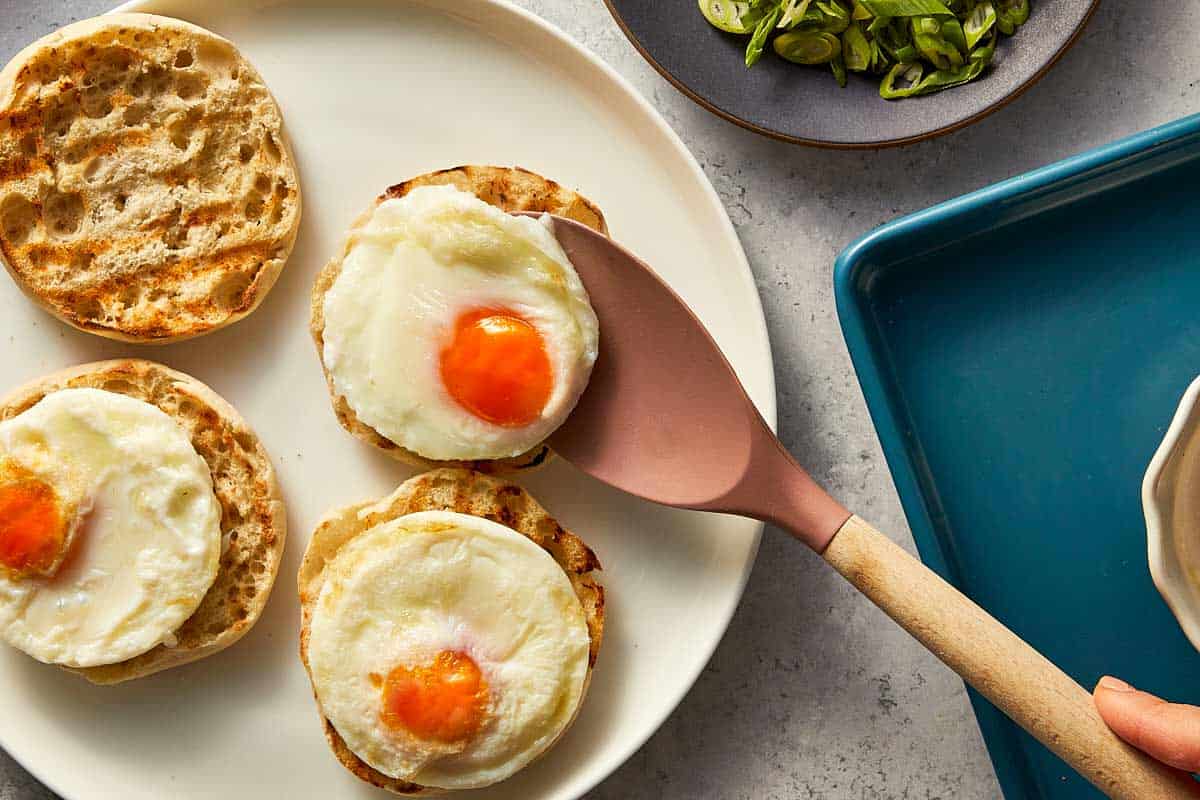
- Use a spoon to gently lift it out of the cup onto your plate or onto a piece of toast.
This timing gives you set whites with a soft, runny yolk.If you prefer the yolk more set, add 30–60 seconds.
Common Mistakes When Poaching Eggs
Most poached egg issues come down to a few small details. Once you fix these, the process gets much easier.
Using boiling water
This is the most common mistake. Boiling water causes the egg whites to break apart and overcook. Poached eggs need gently simmering water, not a rolling boil.
Using older eggs
Older eggs have thinner whites, which makes them spread out in the water. Fresh eggs hold together much better and give you a cleaner result.
Skipping the vinegar
Vinegar helps the egg whites set faster. Without it, the whites tend to separate and float around the pot.
Moving the egg too much
Stirring or touching the egg while it cooks breaks the structure. Once the egg is in the water, let it be.
Cooking too long
Poached eggs cook quickly. Leaving them in the water too long leads to firm yolks and rubbery whites. Timing matters.
Not draining before serving
Excess water can dilute sauces or make toast soggy. Always let the egg drain briefly before serving.
Once you've got the hang of good Poached Eggs, you can start using them in all the ways they're meant to be used.
The obvious place to start is our Eggs Benedict (My Secrets to Perfection!)That runny yolk is exactly why this dish never gets old, especially when served with Belgian Waffles to soak everything up.
But poached eggs aren't just for breakfast.
We love adding one on top of Garlic Prawns and Avocado Crostinior using it to finish a Skinny Chicken and Avocado Caesar Saladwhere the yolk basically becomes the dressing.
Once you start cooking poached eggs this way, you'll find yourself adding them to everything.
Cook notes
Why Do My Egg Whites Get All Stringy And Wispy?This is almost always due to the egg not being fresh enough. Use the absolute freshest eggs you can find! The splash of vinegar is your second line of defense, as it helps the whites set faster.
How Do we Know For Sure When It's Done?For a good runny yolk 3 minutes is the magic number. The white should feel firm to the touch, but the yolk inside should still feel soft when gently prodded.
Can we Cook More Than One At A Time?Yes, but don't overcrowd the pan. We recommend poaching no more than two or three at once so they have plenty of room to cook perfectly without sticking together.
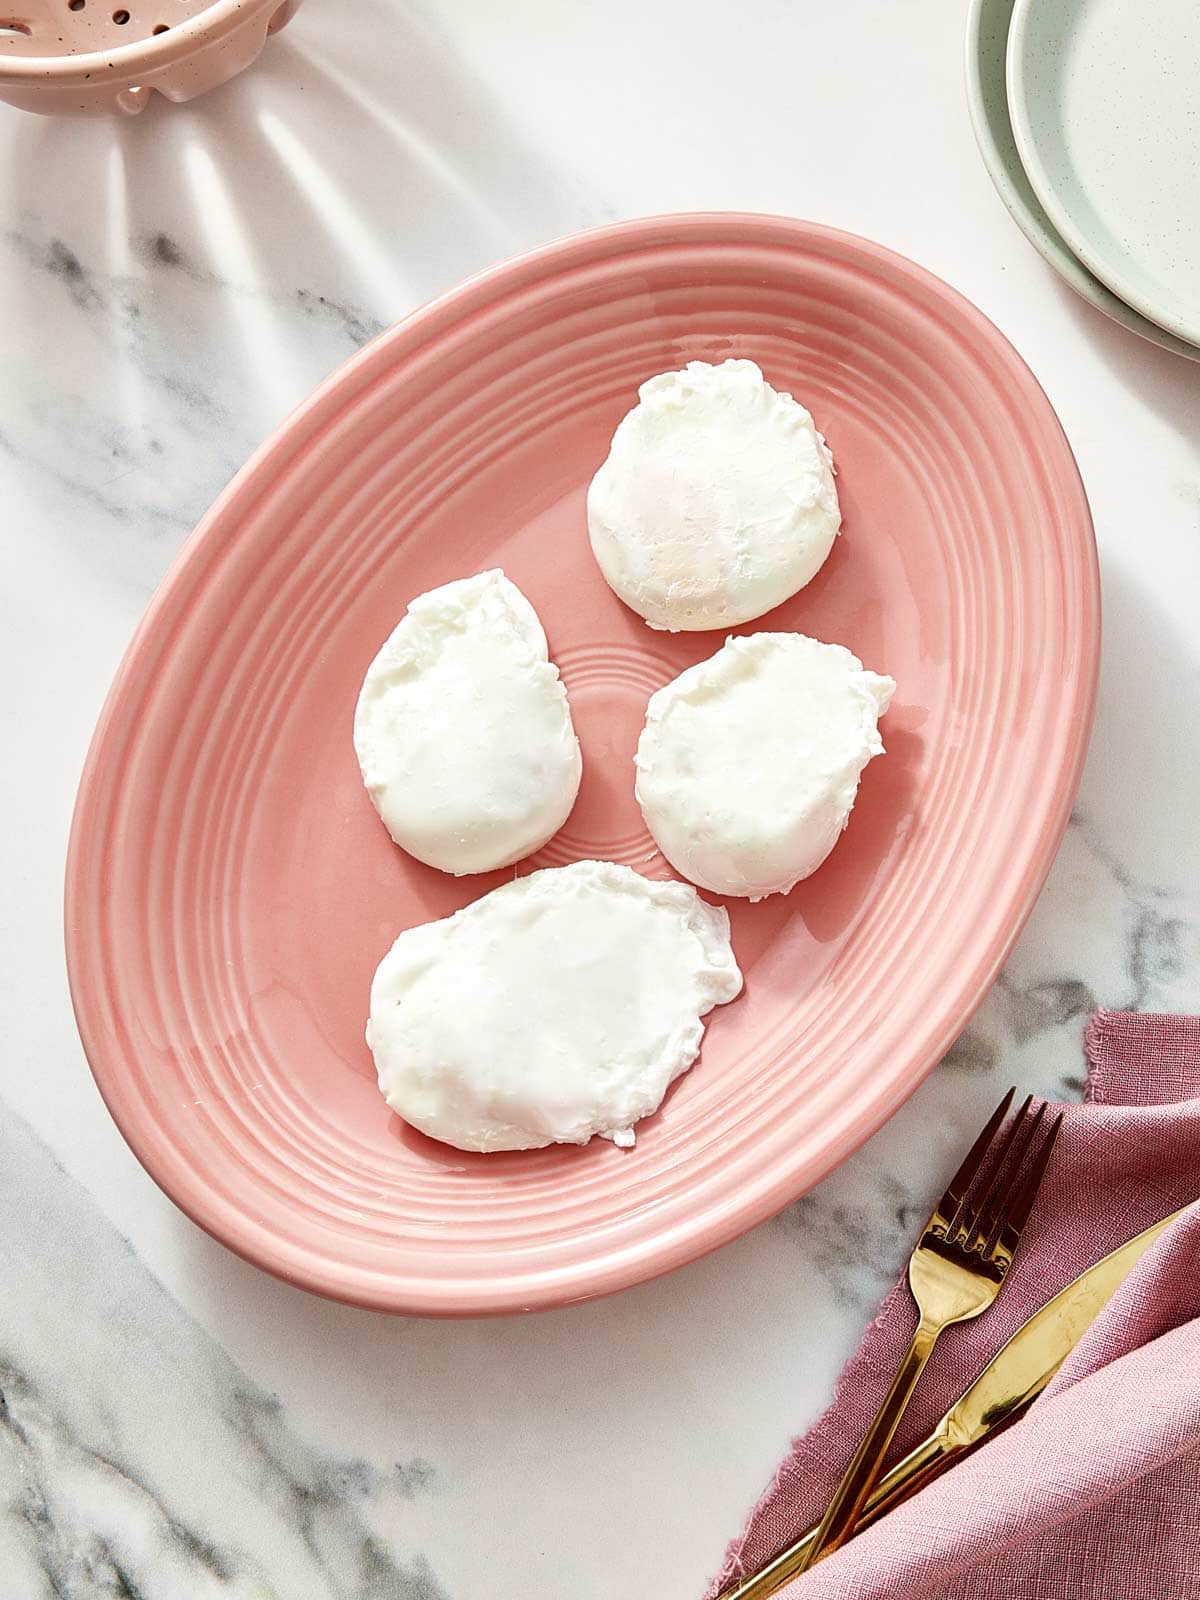
What you need
- 4 large eggs
- 2 tbsp white vinegar
- non-stick baking spray
Method
- Fill a saucepan with at least 4 inches of water. Add white vinegar and bring to a gentle simmer over medium heat.
- Stir the simmering water to create a gentle whirlpool.
- Crack an egg into a small bowl, then gently slide it into the center of the whirlpool.
- Cook for 3 minutes for a runny yolk.
- Lift the poached egg from the water with a slotted spoon, draining any excess water.
- Repeat for the remaining eggs.
- Lightly grease a small ramekin or heat safe dish with non stick cooking spray.
- Add 2 tbsp water to each cup.
- Preheat the Air fryer (with the cups of water in it) to 400 F/ 200°c for 5 minutes
- Carefully open the air fryer so the water doesn't spill out of the cups.
- Crack one egg into each cup. The egg white may begin to cook as you do this due to the hot water.
- Cook at 360 F/190°c for 6.30min
- Use a spoon to gently lift it out of the cup onto your plate or onto a piece of toast.