We tried those viral smashed burger tacos that took over the internet. We wanted to love them, we did. But honestly? They didn't quite hit the mark. They were a bit messy, the meat dried out, and the flavor was just… lacking.
You know us, we can't leave a good idea alone without giving it the Vakac treatment.
We decided to elevate the whole concept. Instead of smashing plain beef onto a tortilla, we brought all a reliable flavors of our beef burger straight into the pan. We cooked the filling separately, packing it full of caramelized onions, garlic, and chopped pickles inside the pan. Then, we tossed it in a glossy special sauce mixture right on the stove.
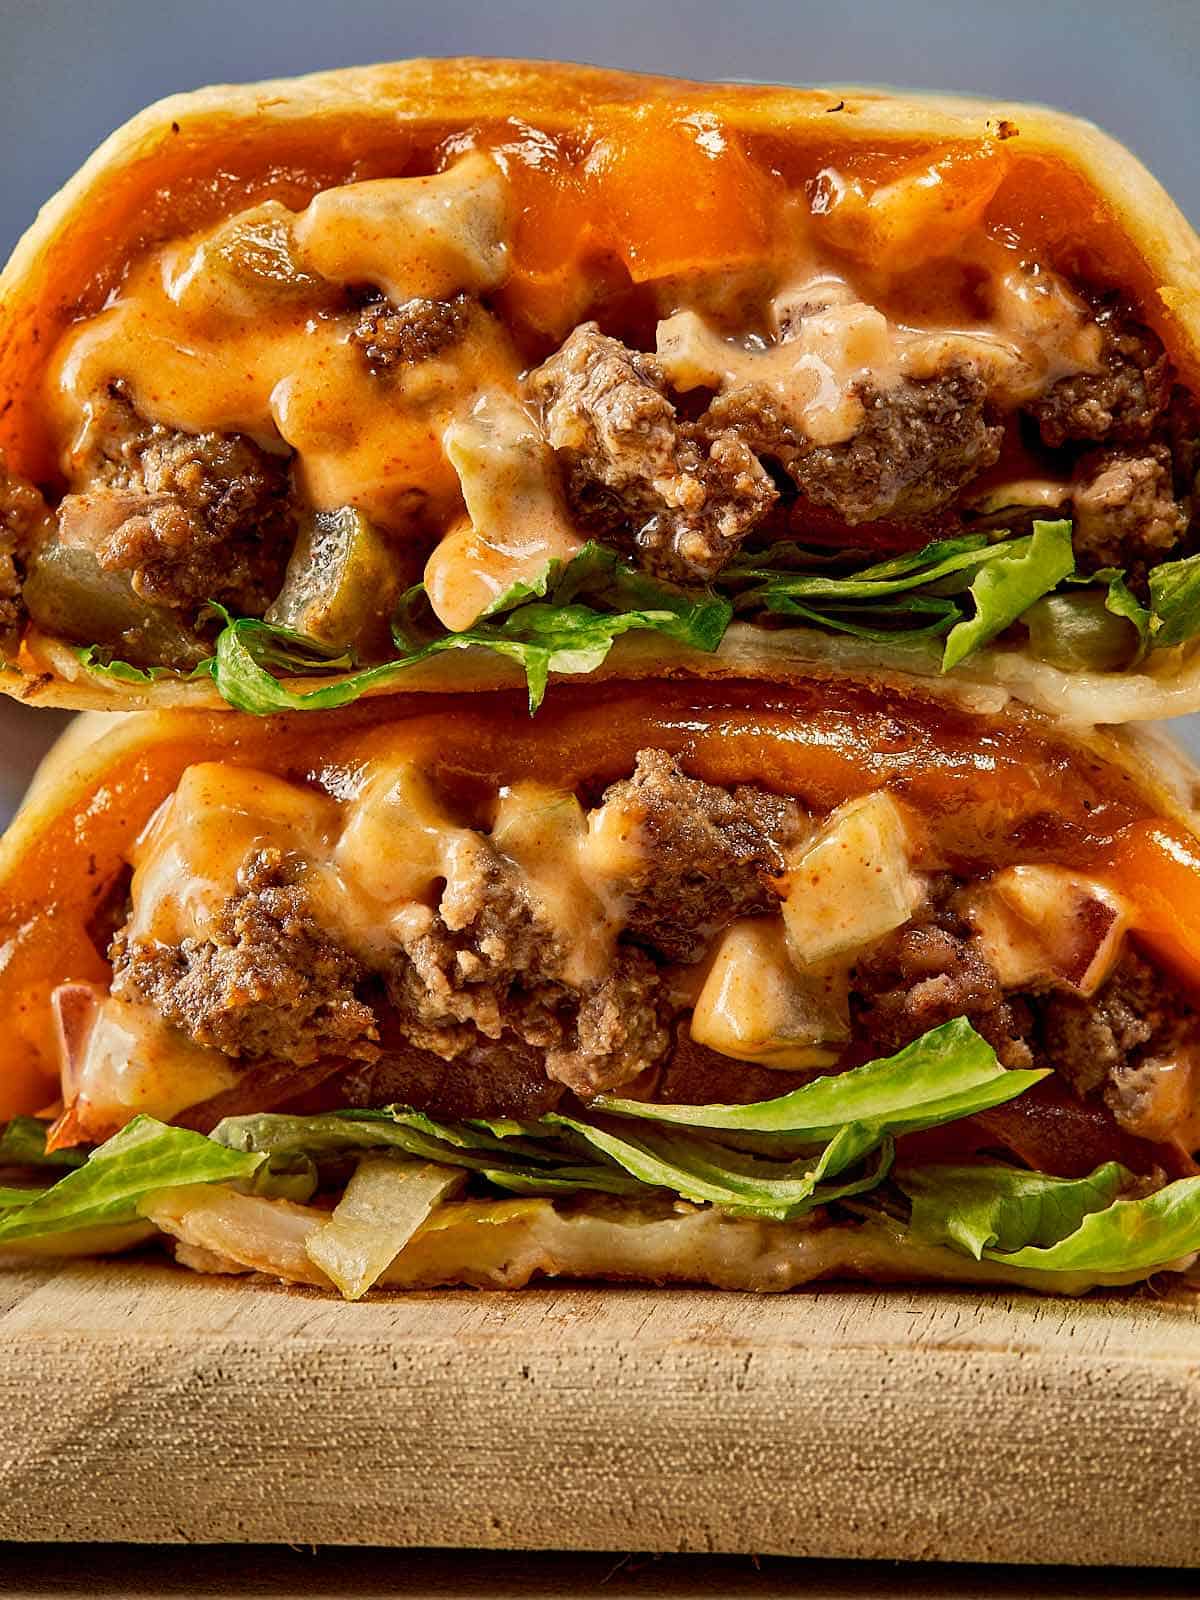
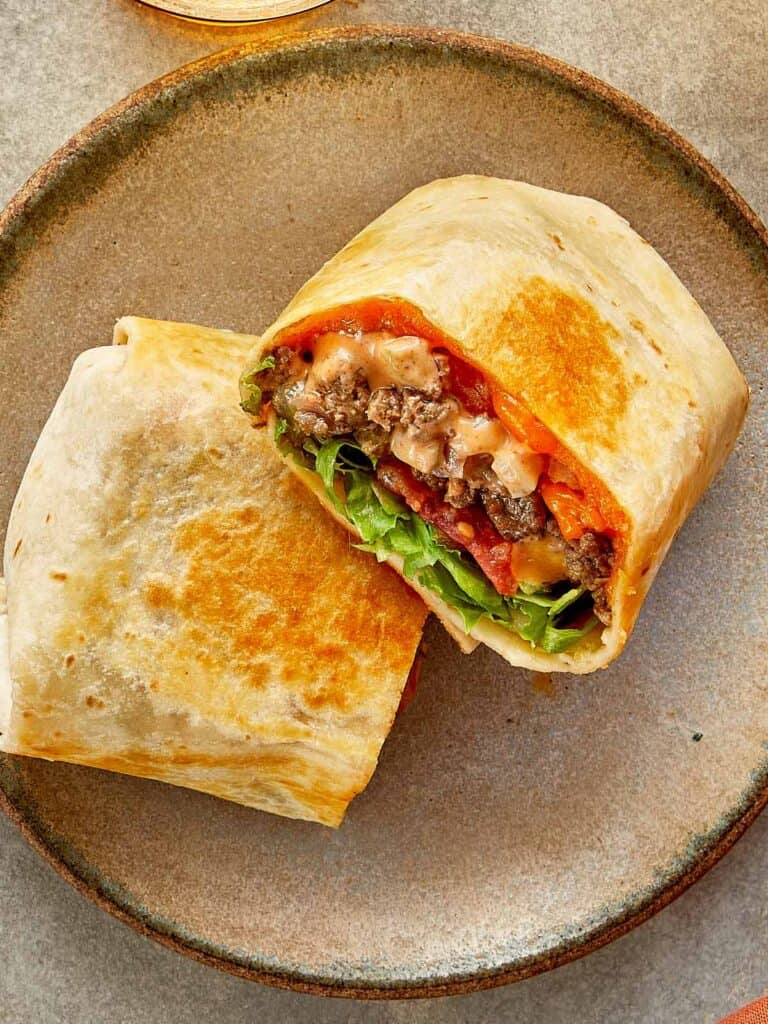
The result? A fully packed wrap where you get that iconic, tangy Big Mac flavor in every single bite, not just on top. Plus, by rolling it burrito style rather than folding it like a beef tacoyou lock in all the juices and keep the cheese melted right where it belongs.
This has become a massive go to for us lately. It's ready in 20 minutes, packed with protein (lean beef for the win!), and satisfies that fast food craving without the heavy, greasy feeling afterwards, just like our healthy air fryer chicken nuggets
What stands out
Flavor In Every Bite: By mixing the ketchup, mustard, and pickles directly into the beef, the meat is juicy and tangy throughout. No dry bites here.
Mess Free: The burrito roll and the final toast seal everything in. You can actually pick this up with one hand, making a great grab and go lunch, just like our healthy banana oat muffins.
High Protein: We are using lean ground beef to keep this macro friendly. It's a dinner that actually fills you up.
Pantry Staples: You likely have everything you need for the sauce in your fridge door right now.
The Secret Is In The Sauce (And The Roll)
The mistake most people make with cheeseburger wraps is layering the condiments on the tortilla. Don't do that.
For a reliable flavor, we create a creamy, tangy sauce in the skillet with the beef. The heat wakes up the spices (smoked paprika is key here!) and melds the cheese into the sauce before you even start rolling.
The Toast Step: Do not skip the final step! Seering these in a hot pan or sandwich press creates that golden, crunchy exterior that mimics a toasted burger bun. It adds texture that soft tortillas just don't have.
On the stove
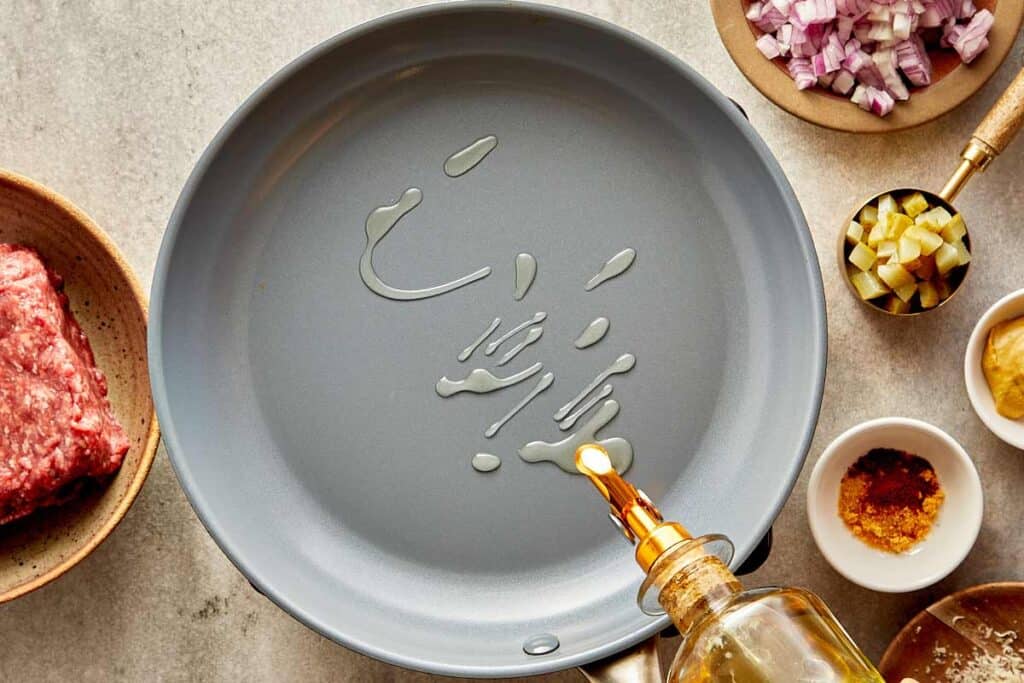
- Heat a large non-stick skillet over medium-high heat. (optional) spray the pan lightly with oil
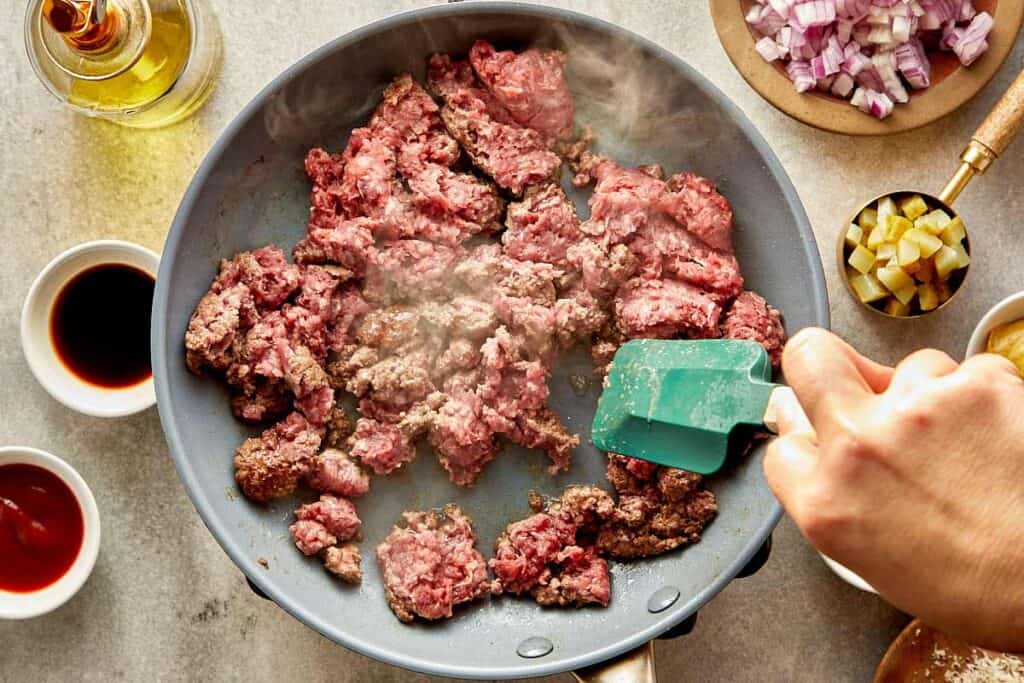
- Add your ground beef and break it up with a wooden spoon. You want it nice and crumbled.
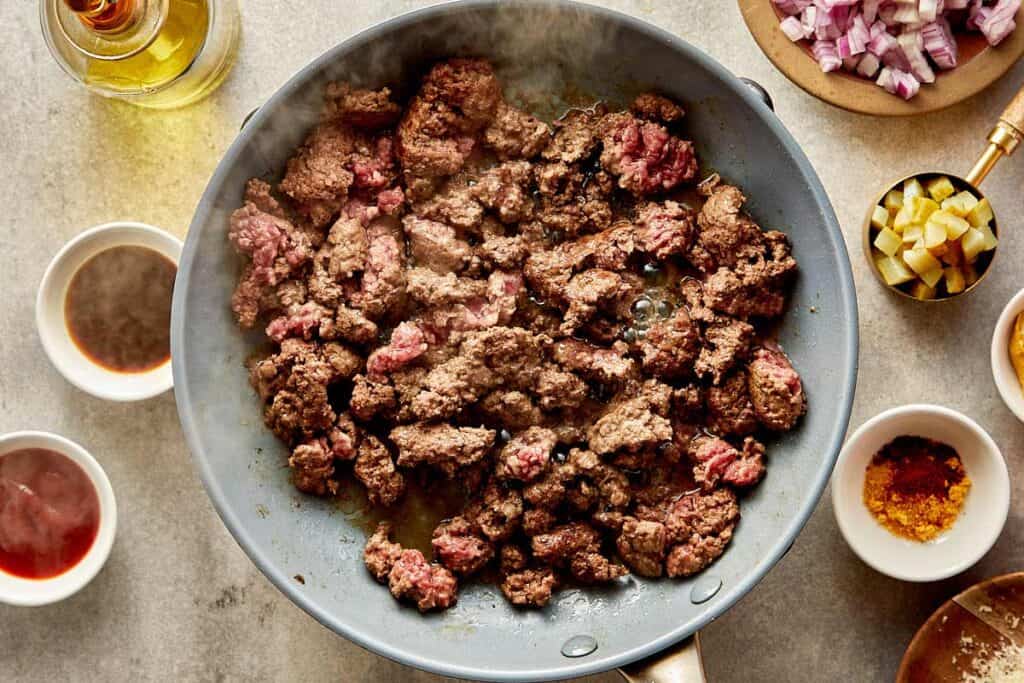
- Cook for about 5-7 minutes until it's browned and cooked through.
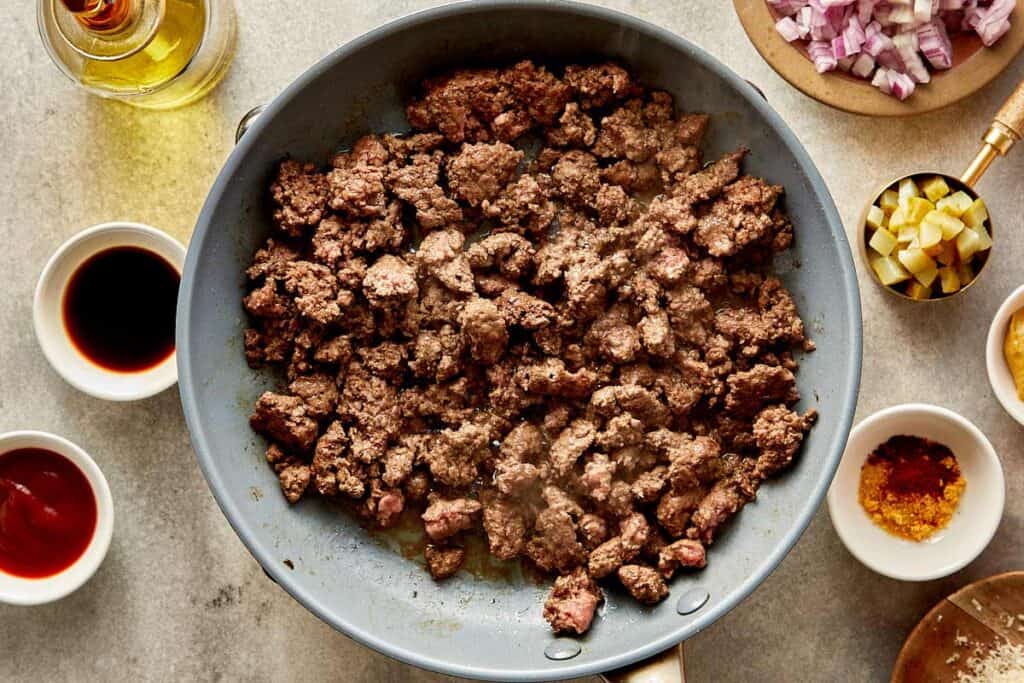
- If you used the 10-15% fat beef, drain the excess grease now. If you used the 5% extra lean, you are good to go!
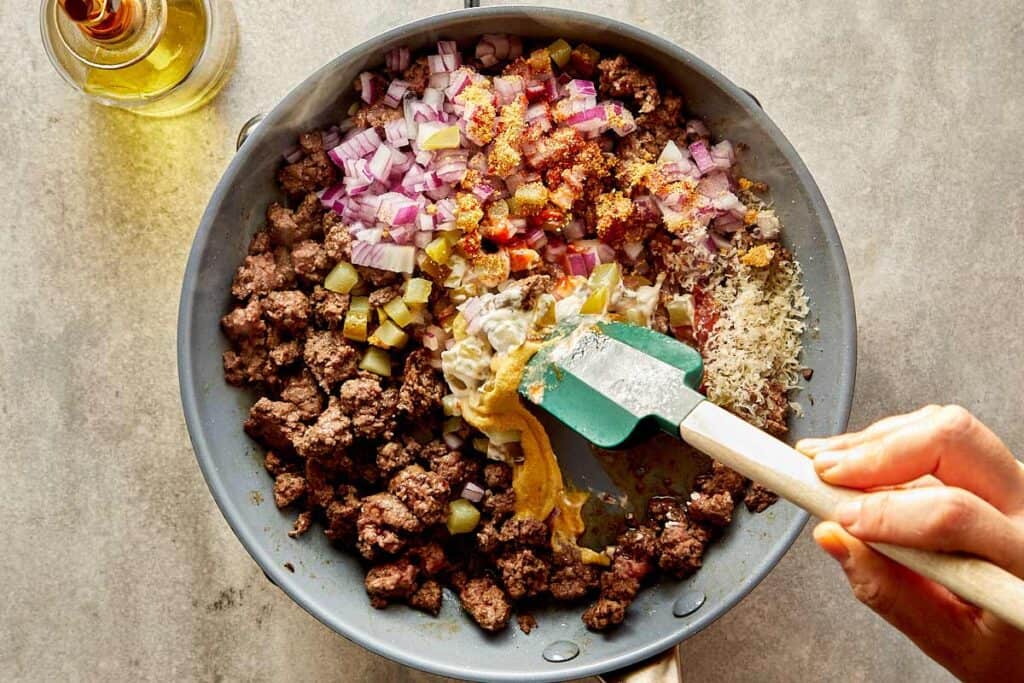
- Reduce your heat to medium. This is where the magic happens. Instead of making a cold sauce on the side, we stir the sauce ingredients straight into the hot beef. Add the onion, chopped pickles, Worcestershire, ketchup, mayo, mustard, spices, and parmesan.
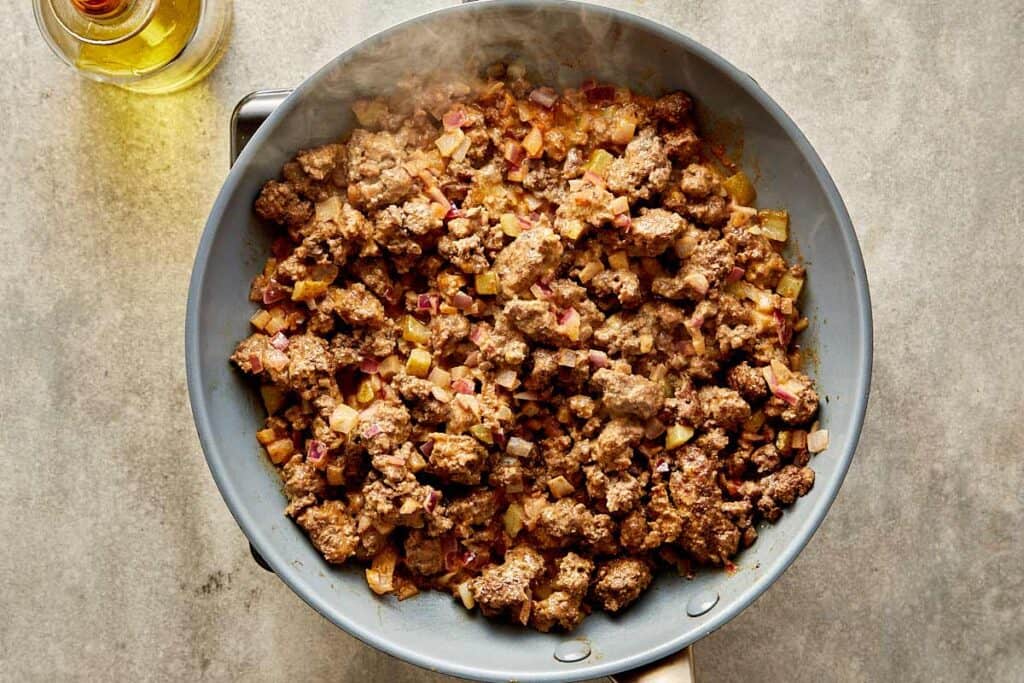
- Stir it all together for 1-2 minutes. The sauce will become creamy, slightly glossy, and coat every single crumb of beef. Remove from heat.
Assembly and wrapping technique
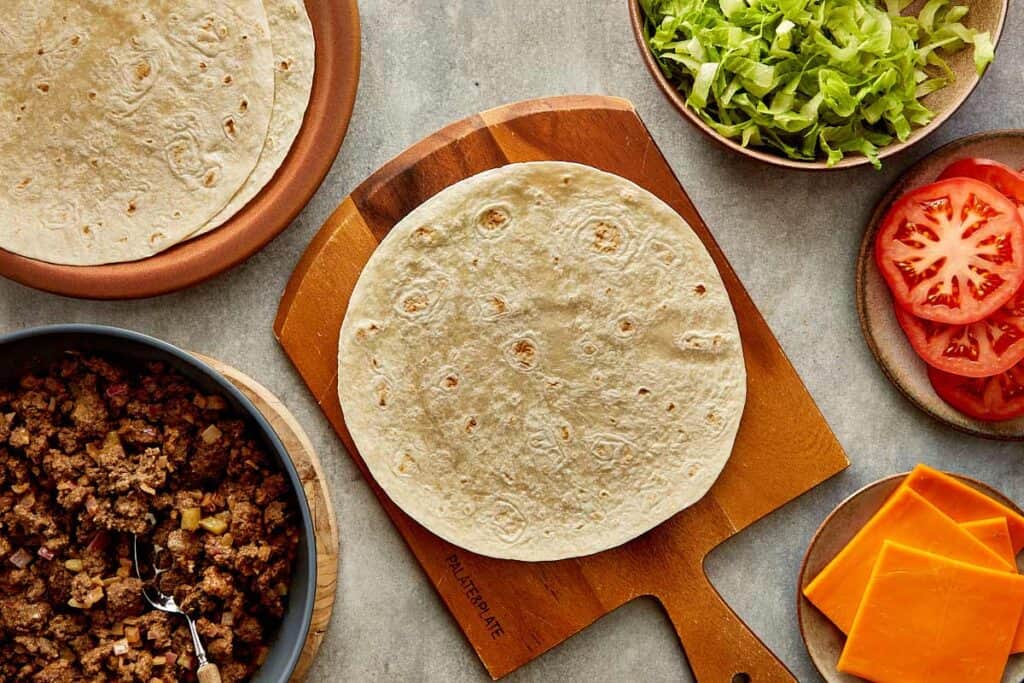
- Lay your tortilla flat.
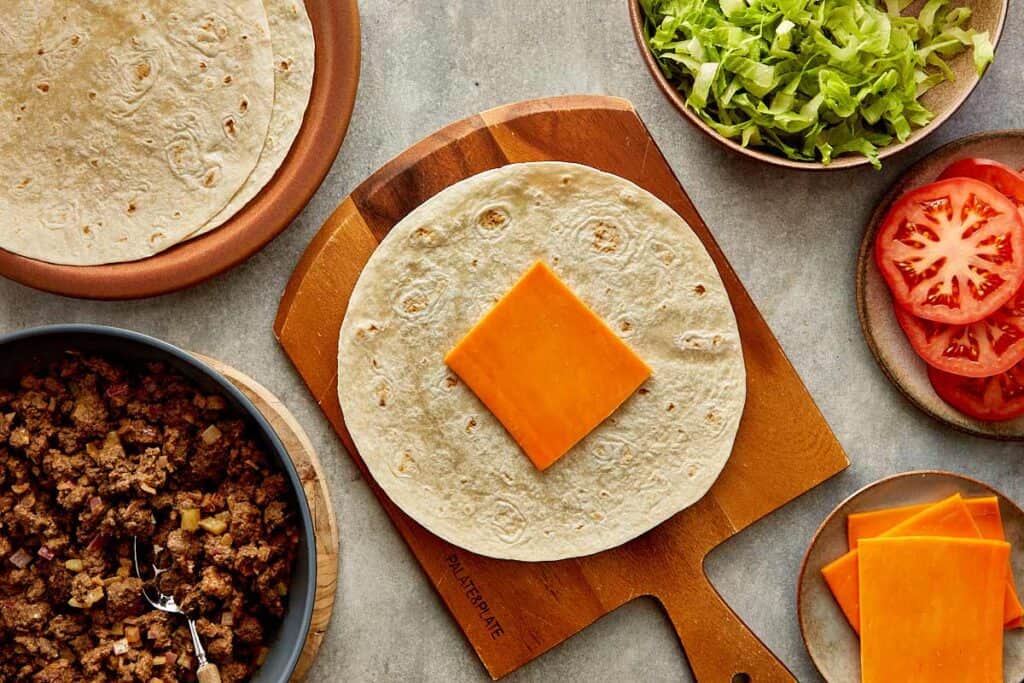
- Place a slice of Cheddar cheese right in the center.
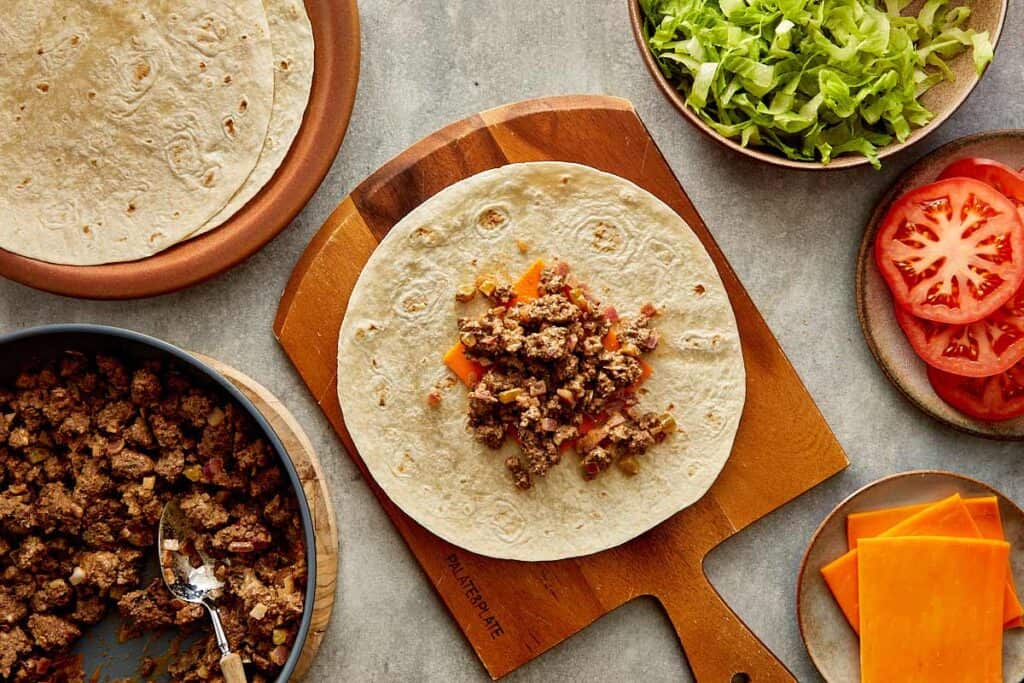
- Spoon about ⅓ cup of the hot beef mixture on top of the cheese (the heat helps melt it from the inside out!).
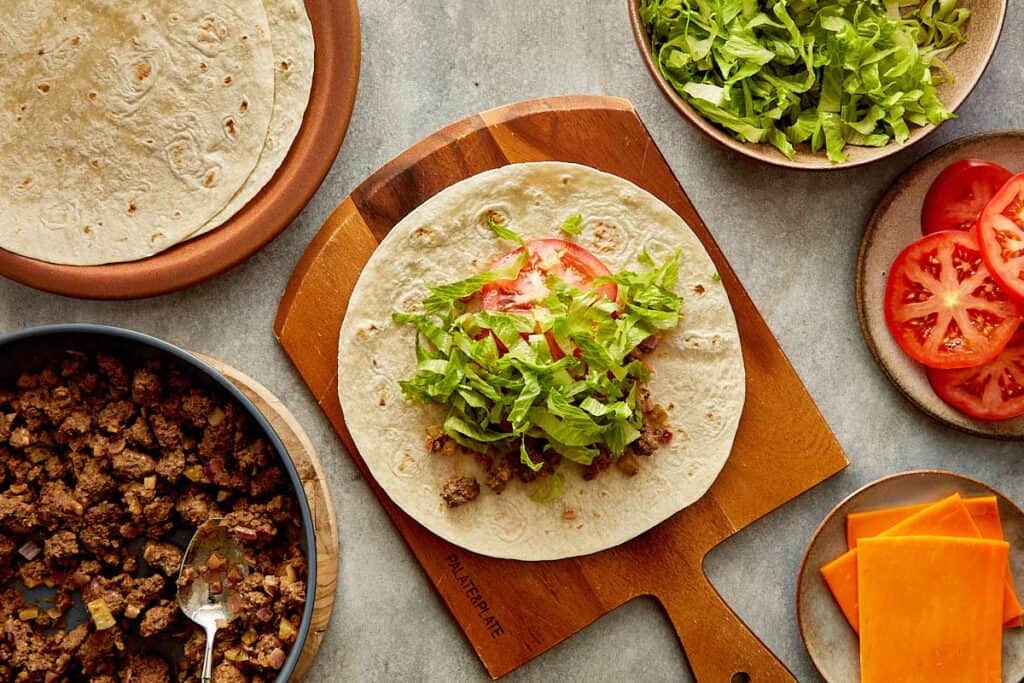
- Top with a slice of tomato and a handful of fresh romaine lettuce.
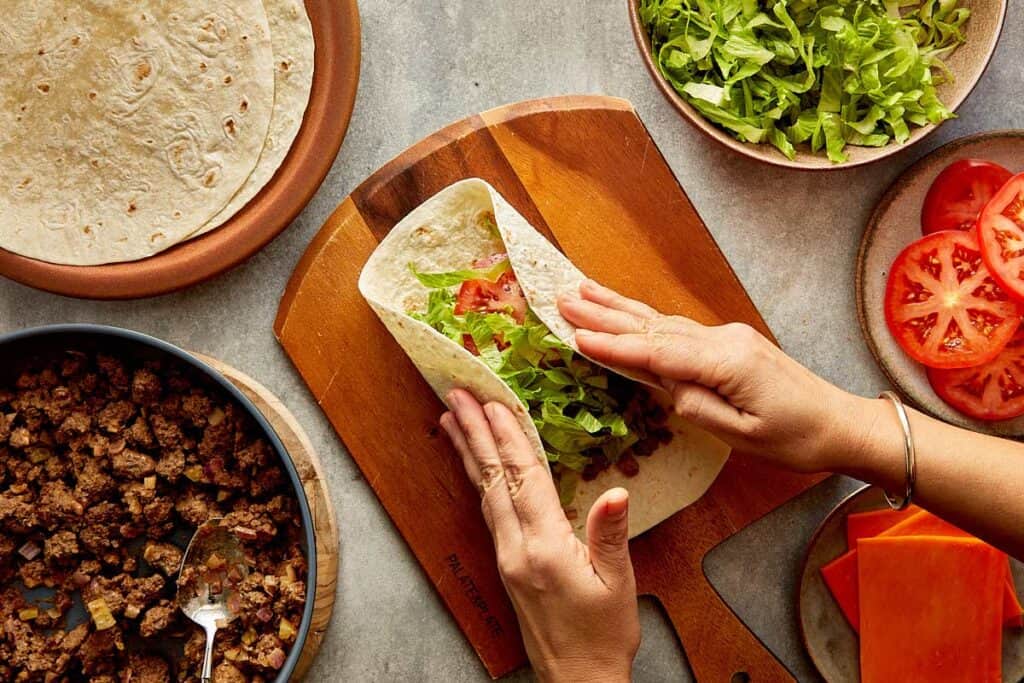
- Fold the sides of the tortilla in towards the center.
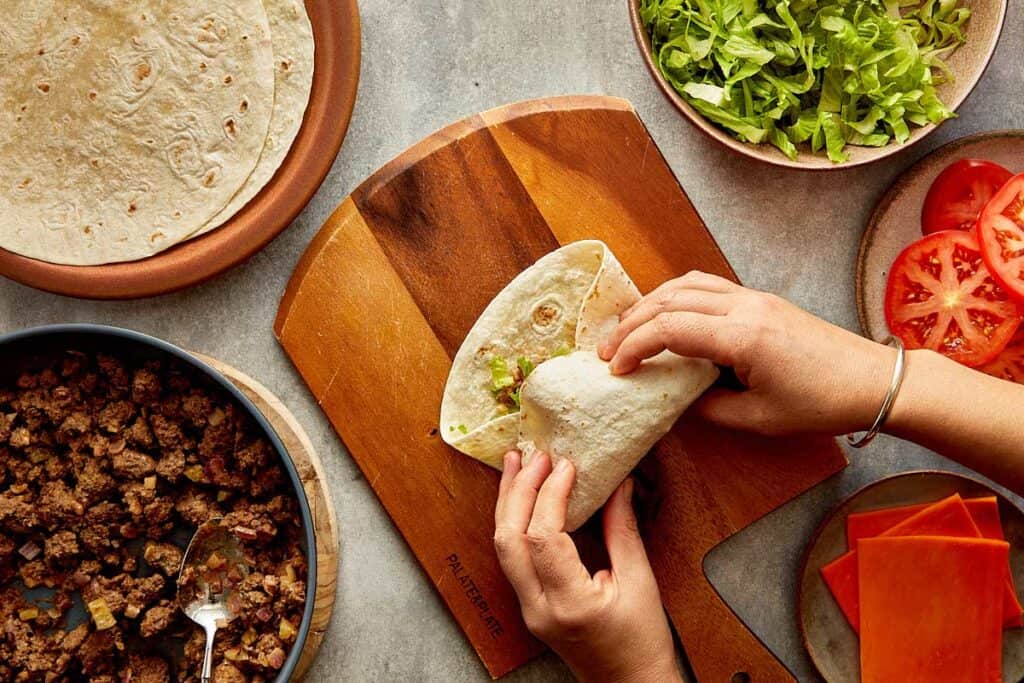
- Then, starting from the bottom edge closest to you.
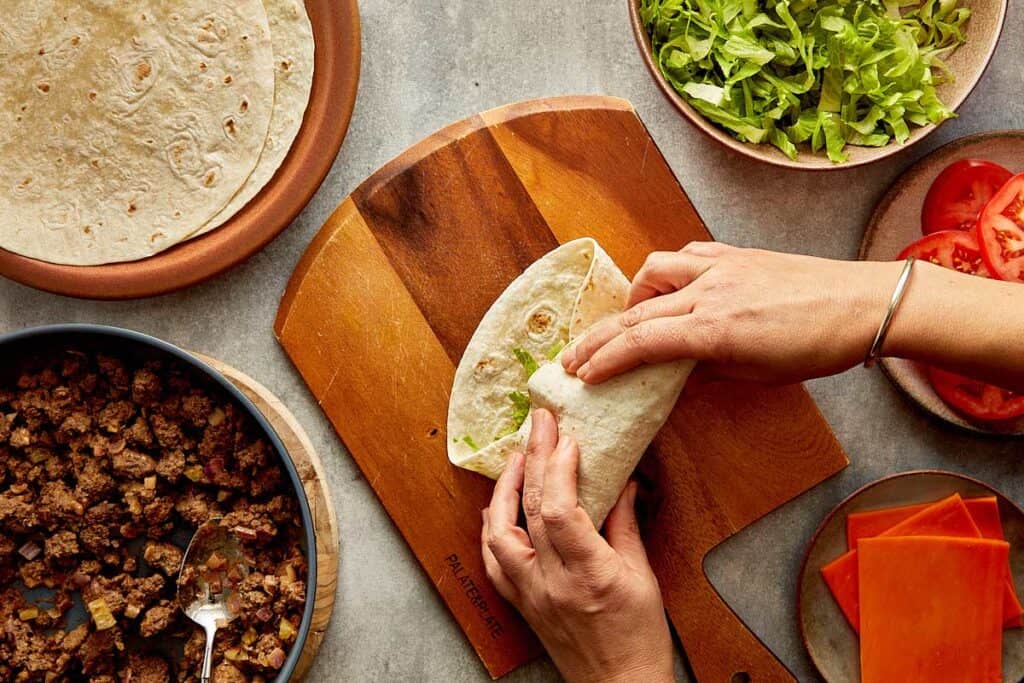
- Roll it up tightly over the filling.
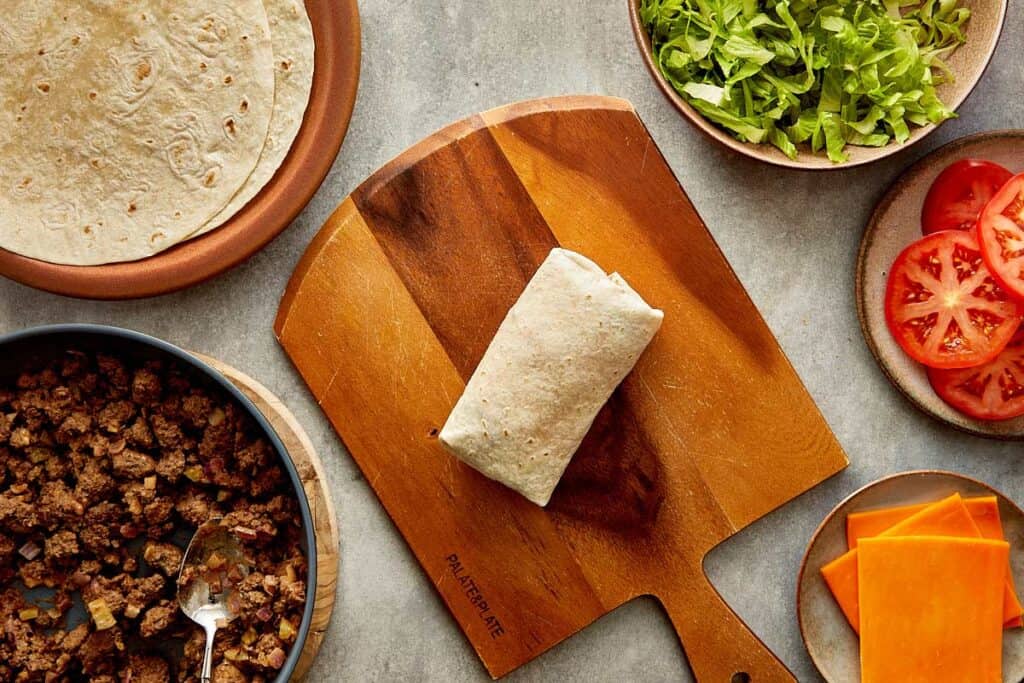
- The Critical Step: Toasting This is the difference between a sad, soft wrap and a crispy, restaurant quality meal.
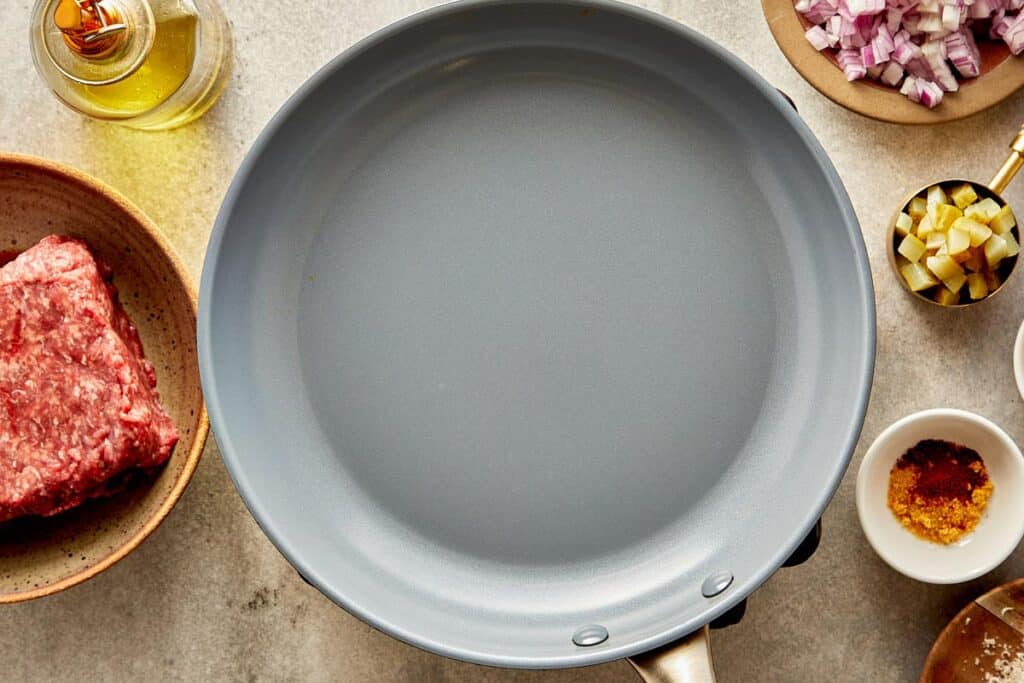
- Heat a clean skillet or grill pan over medium-high heat and give it a quick spray of oil.
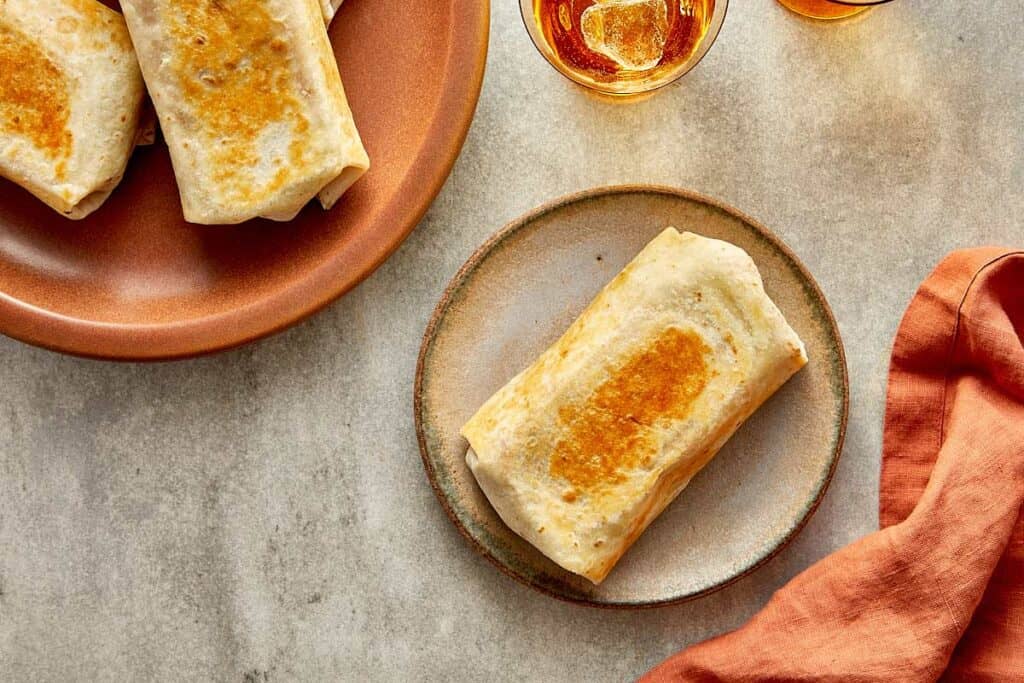
- Seam-Side Down FIRST: Place the wraps into the pan with the folded seam facing down. Press down gently with a spatula. The heat sears the tortilla layers together, acting like edible glue. This seals the wrap shut so it doesn't unravel while you eat it. Grill for 3-4 minutes per side until golden brown and crispy.
Kitchen tip
- Warm Your Tortillas: This is the secret to a crack free wrap. Cold tortillas snap when you roll them. Microwave your tortillas for 10–15 seconds or flash-heat them in a dry pan just until they are soft and pliable. They will roll tight without tearing.
- Don't Overfill: We know it's tempting to pack them huge, but if you overfill, you can't seal the ends. Stick to the ⅓ cup meat rule. It's the good ratio of beef to salad to wrap.
- Seam-Side Down Is Non-Negotiable: When you place the wrap in the pan, you must place the folded seam side down first. The heat acts like “glue” to seal the wrap shut. If you start seam-side up, it will unroll and you'll have a messy taco salad instead of a wrap.
- Watch The Heat (Especially Low Carb): Standard flour tortillas are forgiving, but Low Carb/Keto tortillas brown (and burn) much faster. If you are using them, drop your heat to Medium-Low and check them frequently. If you are after a quick and easy low carb alternative just make our easy taco salad.
- Customize The Sauce: Want a spicy kick? Add a pinch of cayenne pepper or a dash of hot sauce into the beef mixture. It cuts through the richness of the cheese perfectly.
- Grate Your Own Onion: If you have fussy eaters like our son, who hate chunks of onion, use a cheese grater to grate the onion directly into the beef. It melts into the sauce so you get the flavor without the texture.
Keeping leftovers
Do not assemble these wraps in advance. Because we are using fresh lettuce and tomato inside, if you roll them up and put them in the fridge, the veggies will release water and make your tortilla soggy and slimy by the next day. Plus, nobody likes microwaved hot lettuce!
How to Meal Prep Like a Pro: Cook the beef filling completely (step 1 & 2) and let it cool. Store the beef mixture in an airtight container in the refrigerator for up to 4 days.
- To Serve: Reheat just the portion of beef you need in the microwave or a small skillet until hot. Then assemble your wrap with fresh cheese, cold lettuce/tomato, and toast it fresh. It tastes just as good as day one.
Freezing: You can freeze the cooked beef mixture!
- Freeze: Store the cooled beef filling in freezer-safe bags or containers for up to 3 months.
- Thaw: Let it thaw in the fridge overnight before reheating.
- Note: Do not freeze assembled wraps. The fresh salad ingredients will not survive the freezer.
Leftovers: If you have leftover tortillas, seal the package tightly or place them in a Ziploc bag with the air squeezed out so they don't dry out and crack the next time you try to roll them.
FAQ's
Are cheeseburger wraps healthier than a Big Mac?Yes, absolutely! By making them at home, you control the ingredients. We use 5% extra lean ground beef, which significantly cuts down the saturated fat compared to fast food patties. Plus, using a wrap instead of a heavy brioche bun can reduce the total calorie count and carb load, especially if you use low-carb tortillas.
Can we use ground turkey or chicken instead of beef?You sure can. Ground turkey or chicken makes a fantastic, lighter alternative. Since poultry is milder than beef, we recommend adding an extra pinch of smoked paprika and a teaspoon of soy sauce to the pan to boost the savory depth (umami) so it doesn't taste bland.
How do we keep our wraps from getting soggy?The number one rule is: Do not assemble them until you are ready to eat. If you try to make these in the morning for lunch, the hot beef and wet pickles will turn the tortilla into mush. If you need to pack them for lunch, keep the beef mixture in a separate container and bring the tortilla and fresh salad separately to assemble right before eating.
 Save Saved Pin Print
5 from 11 votes
Loaded Cheeseburger Wraps (Big Mac Style)
By Carrel Prep Time: 10 minutes minsCook Time: 10 minutes minsTotal Time: 18 minutes minsServings: 7 wraps All the flavor of a Big Mac in a crispy, high-protein Cheeseburger Wrap! Ready in 20 minutes with lean beef, pickles, and special sauce. Includes Low Carb / Keto option.What you need
- 1 spray Cooking oil spray
- 18 oz lean ground beef 90% lean or higher
- ½ medium red onion finely chopped
- ¼ cup dill pickles chopped plus extra for serving if desired
- 1 tbsp Worcestershire sauce
- 1 tbsp ketchup
- 1 tbsp mayonnaise
- 1 tbsp yellow mustard
- 1 tbsp grated parmesan cheese
- 1 tsp garlic powder
- ¼ tsp salt
- ¼ tsp black pepper
- 1 pinch smoked paprika
- 7 large flour tortillas burrito size
- 7 slices cheddar cheese
- 2 large tomato sliced
- 1 cup romaine lettuce chopped
Method
- Heat a large non-stick skillet over medium-high heat and coat lightly with cooking spray. Add the ground beef and cook for 5-7 minutes, breaking it up with a wooden spoon or spatula until browned and nearly cooked through. Drain any excess fat if necessary (though with lean beef, you shouldn't have much!).
- Reduce heat to medium. Stir in the onion, chopped pickles, Worcestershire sauce, ketchup, mayonnaise, mustard, parmesan, garlic powder, salt, pepper, and smoked paprika. Mix well and cook for 1-2 minutes until the sauce is creamy and combined with the meat. Remove from heat.
- Lay a tortilla wrap flat on a clean surface or board. Place one slice of cheddar cheese in the center, followed by about ⅓ cup of the beef mixture. Top with 1 slice of tomato and a handful of chopped lettuce about ⅓ cup.
- Fold the sides of the tortilla in towards the center, then roll tightly from the bottom up to enclose the filling (burrito style).
- Preheat a clean skillet, grill pan, or sandwich press over medium-high heat and spray lightly with oil. Place the wraps seam-side down first to seal them shut. Grill for 3-4 minutes per side until golden brown and crispy. Serve warm.