
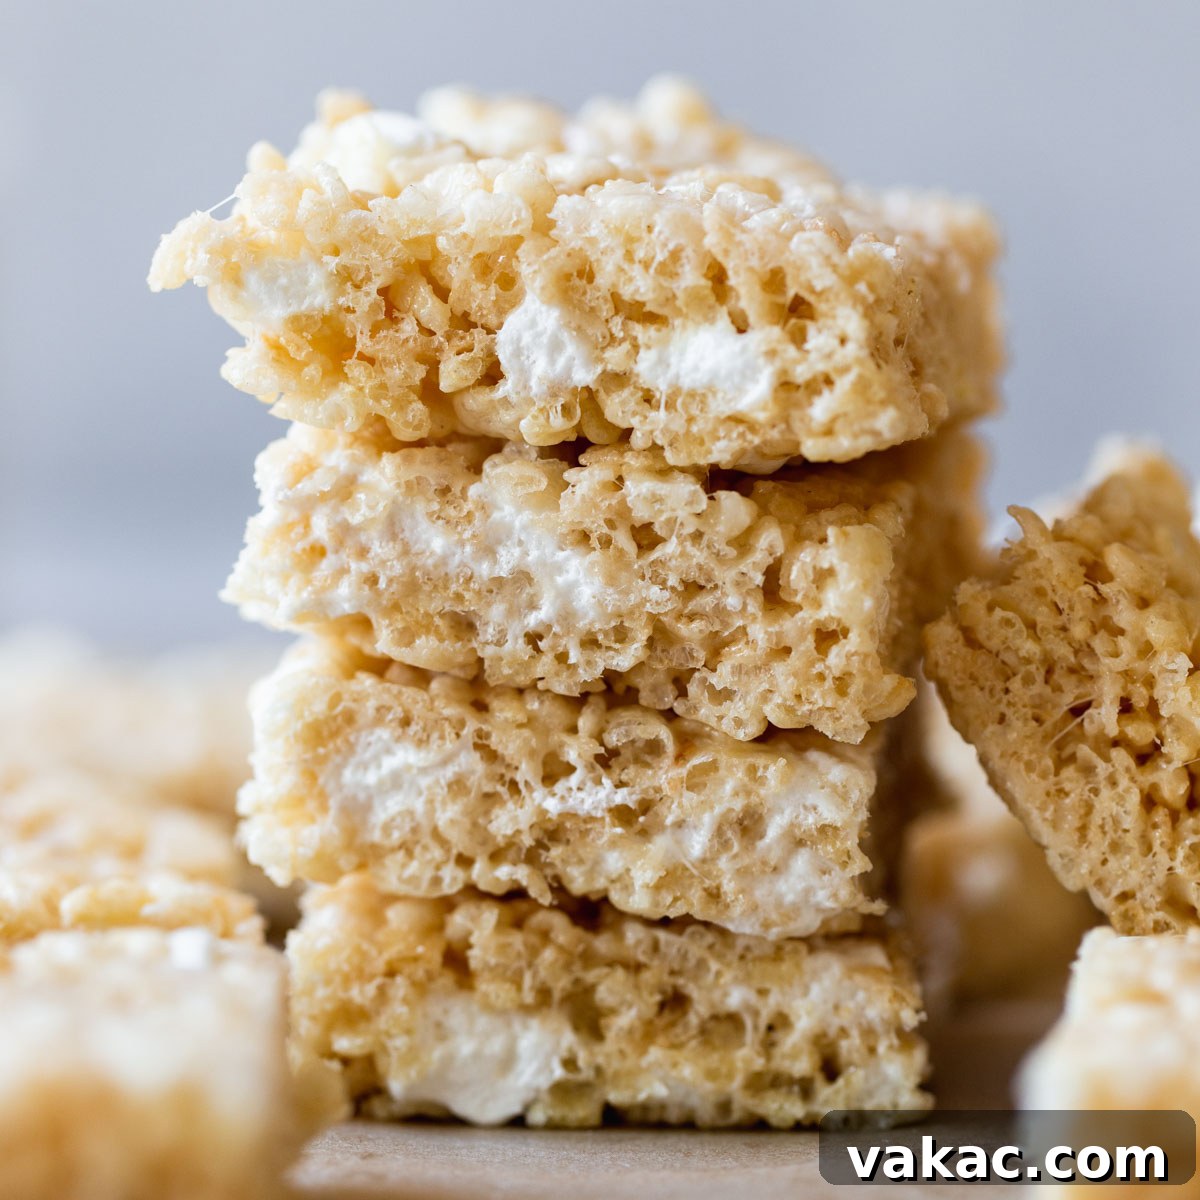
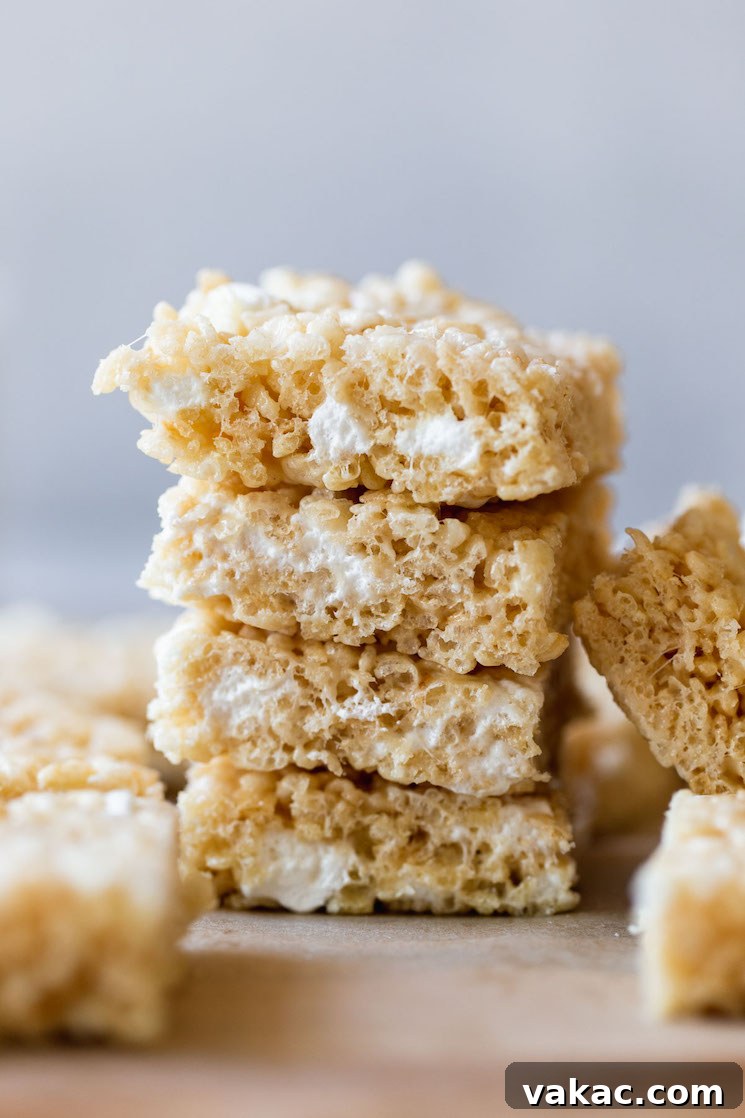
The Ultimate Gooey Rice Krispie Treats: An Effortless No-Bake Delight
Do you ever find yourself craving a taste of childhood, a simple yet profoundly satisfying treat that brings back a flood of sweet memories? For many, the answer is a resounding “yes,” and few desserts capture that nostalgic magic quite like classic Rice Krispie Treats. Beyond my beloved classic no-bake cookies, these delightful bars hold a special place in my heart. Their irresistible combination of chewy, gooey marshmallow and the satisfying crunch of crispy rice cereal creates a textural symphony that’s simply unmatched.
Today, I’m thrilled to share my perfected recipe for Rice Krispie Treats. This isn’t just any recipe; it’s an upgraded version designed to deliver maximum gooeyness and rich flavor. We achieve this by using a generous amount of butter and a full bag of marshmallows, ensuring every bite is a dream. I initially shared a version of this recipe last year, but I’ve since refined it, adding more detailed step-by-step photos and comprehensive instructions. My goal is to empower you to master these iconic no-bake bars with absolute ease, transforming a simple dessert into a truly extraordinary experience.
Get ready to dive into the world of effortless deliciousness as we explore what makes these Rice Krispie Treats the best you’ll ever make, along with expert tips on achieving that perfect texture and keeping them fresh.
Why This Is Your New Go-To Rice Krispie Treat Recipe
There are countless reasons to fall in love with this particular Rice Krispie Treat recipe, whether you’re a seasoned baker or just starting out. This method simplifies the process while maximizing flavor and texture, ensuring a delightful outcome every time.
- Unmatched Gooeyness with a Full Bag of Marshmallows: The secret to truly exceptional Rice Krispie Treats lies in the marshmallow-to-cereal ratio. This recipe champions an entire 16-ounce bag of mini marshmallows, resulting in an incredibly gooey, chewy texture that stretches delightfully with every pull. No dry, crumbly bars here!
- Incredibly Simple and Quick to Make: With just a few basic steps, you can whip up a batch of these treats in under 15 minutes of active prep time. It’s an ideal recipe for when you need a quick dessert, have little ones eager to help in the kitchen, or simply want minimal fuss.
- Only Four Essential Ingredients: You won’t need a pantry full of obscure items for this recipe. Butter, marshmallows, vanilla extract, and crispy rice cereal are all it takes. This simplicity makes it a budget-friendly and accessible treat for anyone.
- The Perfect No-Bake Summer Treat: When the weather heats up, turning on the oven is often the last thing you want to do. These no-bake bars are a fantastic solution, offering a sweet, satisfying dessert without heating up your kitchen. They’re also perfect for potlucks, picnics, and backyard barbecues all year round.
- Kid-Friendly and Crowd-Pleasing: From their nostalgic appeal to their delightful texture, Rice Krispie Treats are universally loved. They’re a guaranteed hit at birthday parties, school events, or as an afternoon snack. Plus, kids love helping to press the mixture into the pan!
Beyond these compelling reasons, I’m also sharing invaluable tips on how to properly store your Rice Krispie Treats, ensuring they remain wonderfully soft and gooey for as long as possible, preventing them from becoming hard and brittle.
The Simple Ingredients Behind Irresistible Rice Krispie Treats
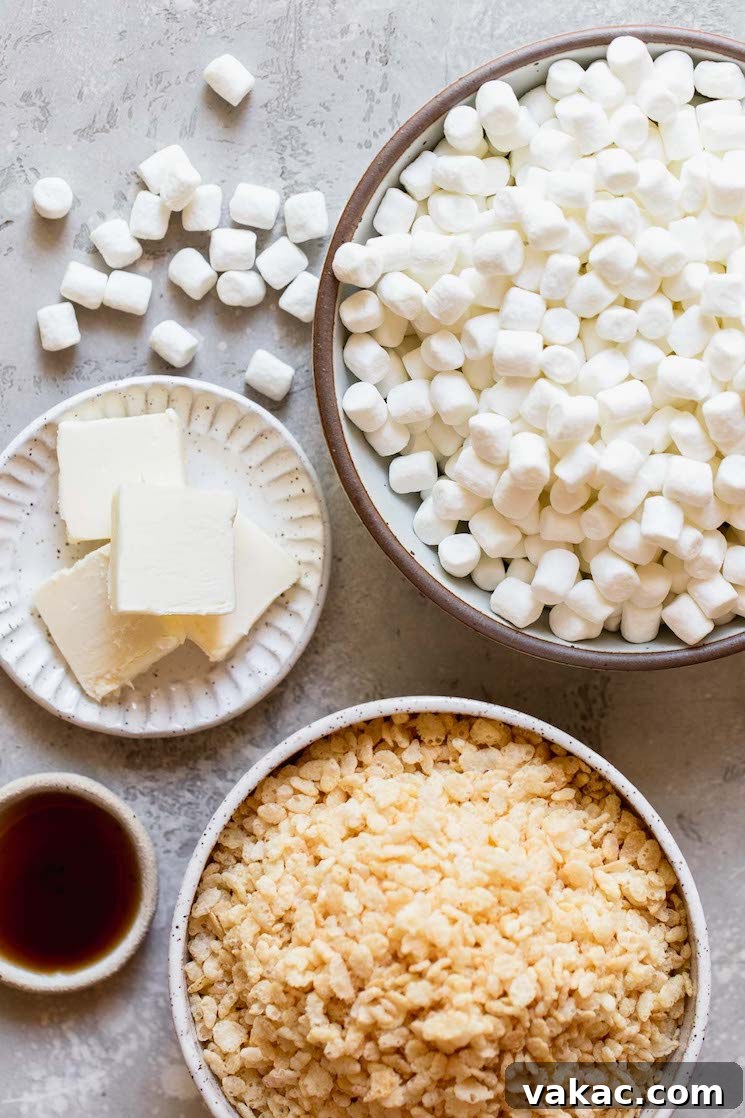
One of the many charms of Rice Krispie Treats is their minimalist ingredient list. This recipe uses just four core components, each playing a crucial role in achieving the perfect balance of flavor and texture. Let’s take a closer look at what you’ll need and why each ingredient is important:
- Butter: We use 4 tablespoons (60 grams) of butter in this recipe, which adds a rich, luxurious depth of flavor that elevates these treats beyond the ordinary. I typically opt for unsalted butter as it allows me to control the salt content in the recipe, but salted butter works perfectly fine too and can even enhance the overall taste for those who prefer a touch of savory sweetness. Slicing the butter into tablespoon-sized pieces helps it melt more quickly and evenly, which is key for a smooth marshmallow mixture.
- Marshmallows: This is the heart and soul of any Rice Krispie Treat, and this recipe calls for an entire 16-ounce package of mini marshmallows. Mini marshmallows are preferred because they melt much faster and more uniformly than large marshmallows, leading to a smoother, gooier base. The secret twist in this recipe is dividing the marshmallows: most will be melted down with the butter, but you’ll set aside 2 cups to stir into the mixture at the very end. These reserved marshmallows don’t fully melt, creating pockets of soft, chewy marshmallow throughout the bars, contributing significantly to their ultimate gooeyness and a more interesting texture. Always use fresh marshmallows for the best results, as stale ones can lead to tougher treats.
- Pure Vanilla Extract: A teaspoon of pure vanilla extract is added for a subtle yet impactful enhancement to the overall flavor profile. Vanilla complements the sweetness of the marshmallows and the richness of the butter beautifully, rounding out the taste. While optional, it’s highly recommended for that classic, comforting aroma and taste. If you don’t have it on hand, or prefer to omit it, the treats will still be delicious. For an adventurous twist, consider other extracts like almond or peppermint for seasonal variations.
- Crispy Rice Cereal: The namesake ingredient, crispy rice cereal, provides the essential crunch and structure for these bars. We use 6 cups (180 grams) in this recipe, which is the perfect amount to ensure a satisfying crunch in every bite without overwhelming the marshmallow goo. It also allows the bars to set up nicely, making them easy to slice into neat, enjoyable squares. Any brand of crispy rice cereal will work, but opt for a fresh box to ensure maximum crispness. Avoid crushing the cereal too much when mixing to maintain its integrity.
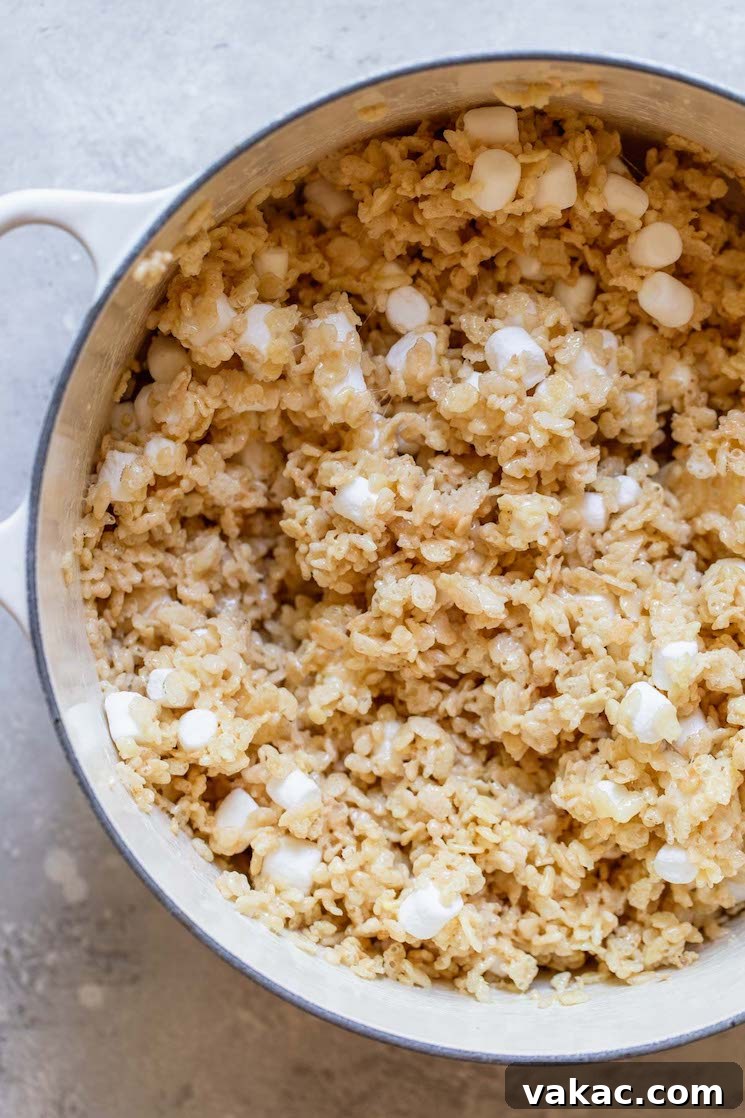
Step-by-Step Guide: Crafting Your Perfect Rice Krispie Treats
Making these delightful Rice Krispie Treats is surprisingly straightforward, requiring minimal effort for maximum reward. Once you’ve gathered your four simple ingredients, you’ll be just minutes away from a batch of warm, gooey goodness. Here’s a detailed breakdown of how to prepare this recipe, ensuring perfection at every turn:
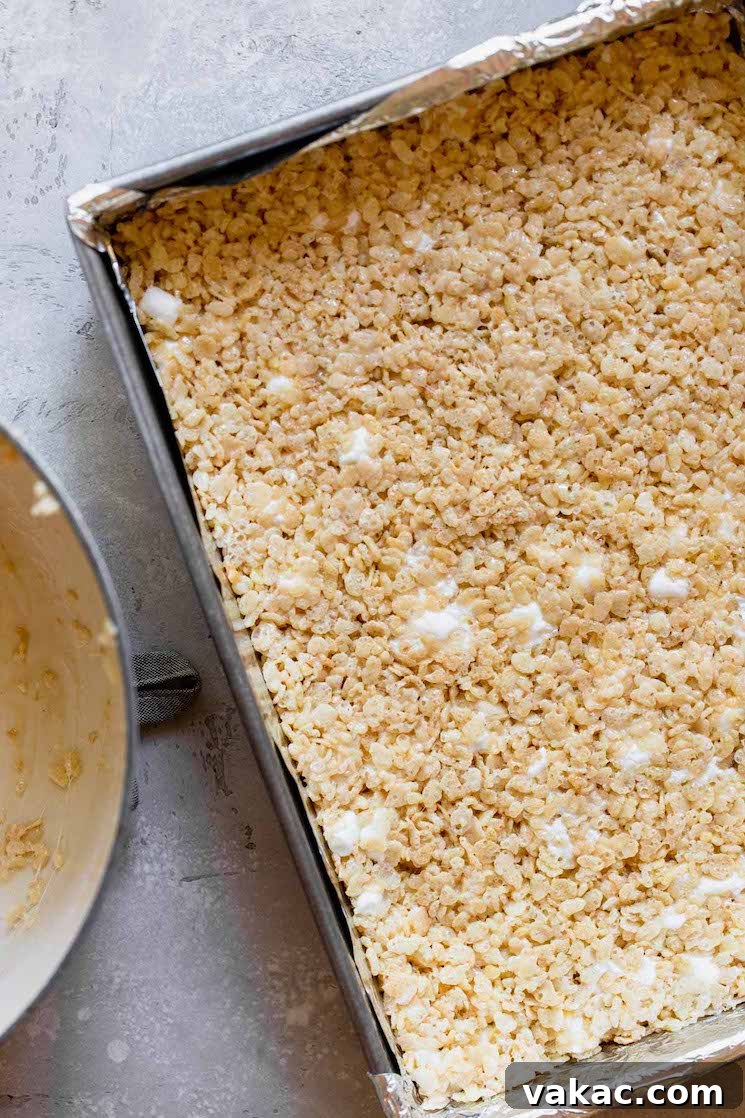
- Prepare Your Pan for Success: First, select a 9×13 inch baking pan. Line it generously with aluminum foil, making sure to leave an overhang on the sides. This overhang will act as handles, making it incredibly easy to lift the entire batch of bars out of the pan once cooled, simplifying both cutting and serving. Next, spray the foil thoroughly with nonstick cooking spray or grease it lightly with butter. A well-greased surface is crucial to prevent the sticky marshmallow mixture from adhering, ensuring effortless removal. Set the prepared pan aside.
- Gentle Melting on Medium Heat: Place a large, sturdy saucepan over medium heat on your stovetop. Add the sliced butter to the pan, allowing it to melt slowly and completely. While the butter is melting, take a moment to measure out two cups (approximately 110 grams) of mini marshmallows from your 16-ounce package and set them aside. These will be added later for those delightful pockets of un-melted marshmallow goo.
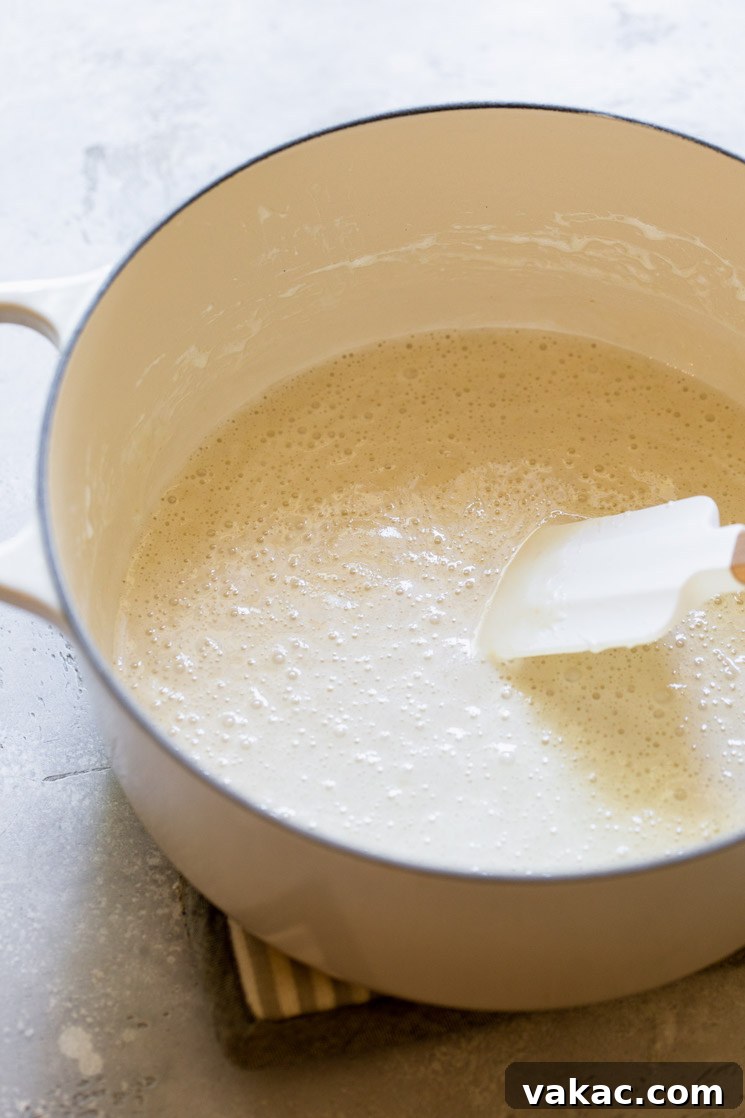
- Melt Marshmallows to Perfection: Once the butter has fully melted, add the remaining mini marshmallows (the bulk of the bag, excluding the two cups you set aside) to the saucepan. Continue stirring the mixture constantly with a spatula or wooden spoon. The key here is to keep the heat at medium and stir patiently until the marshmallows are completely melted and transform into a smooth, glossy liquid. As soon as they reach this stage – smooth and lump-free – immediately remove the saucepan from the heat. Do not overcook the marshmallows! Overcooking will cause them to become stiff and your treats will turn out hard and difficult to chew. Stir in the pure vanilla extract at this point, mixing until it’s fully incorporated.
- Combine Cereal and Reserved Marshmallows: With the marshmallow mixture off the heat, it’s time to add the crispy rice cereal. To ensure even coating and prevent the cereal from getting crushed, add about half of the 6 cups of cereal first. Mix gently but thoroughly until it’s well combined with the marshmallow. Then, stir in the remaining cereal, continuing to mix until every piece is coated in the sticky, sweet goo. Finally, fold in the two cups of mini marshmallows you reserved earlier. Mix just until they are evenly distributed throughout the mixture; you want them to soften slightly but not completely melt, creating those wonderful chewy pockets.
- Press Firmly (But Gently) into the Pan: Immediately transfer the warm, sticky mixture into your prepared baking pan. For easier handling, lightly spray your hands or the back of a spatula with nonstick cooking spray. This will prevent the mixture from sticking excessively. Press the mixture down firmly and evenly into the pan, creating a compact layer. However, be careful not to over-compress the mixture. Over-compressing can force too much air out of the treats, resulting in a denser, harder bar. Aim for evenness, not rock-solid compactness.
- Patience for the Perfect Set: Allow the Rice Krispie Treats to cool completely at room temperature for at least 45 minutes. This cooling time is essential for the bars to set properly and achieve their optimal chewy texture. Resist the urge to cut into them too early, as they might be too soft and fall apart.
Once the bars have fully cooled and set, use the foil overhang to carefully lift the entire slab out of the pan. Place it on a cutting board, slice it into your desired size squares or rectangles, and get ready to enjoy these wonderfully gooey, homemade delights!
Storing Your Rice Krispie Treats for Lasting Freshness
Proper storage is paramount to keeping your homemade Rice Krispie Treats delightfully soft, chewy, and fresh for as long as possible. Nothing is more disappointing than biting into a hard, stale treat! Here’s how to ensure your bars stay in their prime:
The moment you’ve cut your Rice Krispie Treats into individual servings, it’s best to move them into an airtight container. This is your first line of defense against air exposure, which is the primary culprit behind hardening. For an added layer of protection and to prevent the bars from sticking to each other, place a sheet of parchment paper or wax paper between layers of treats within the container.
For an extra measure against staleness, you can individually wrap each bar tightly in plastic wrap before placing them in the airtight container. This provides an excellent barrier against air and moisture loss. Stored correctly at room temperature, your Rice Krispie Treats will remain wonderfully fresh and gooey for up to 5 days.
A common misconception is that refrigerating or freezing these bars will prolong their freshness. However, I strongly advise against it. The cold temperatures of a refrigerator can cause the sugar in the marshmallows to crystallize and the cereal to become very stiff, resulting in hard, brittle, and really difficult-to-chew treats. Freezing has a similar effect and can also introduce moisture that compromises texture upon thawing. Let’s be honest, no one loves a rock-hard Rice Krispie Treat!
If the full recipe yields too many bars for your needs, remember that you can easily halve the recipe. Simply adjust the ingredient quantities proportionally and press the mixture into a smaller 8×8 inch pan instead of a 9×13 inch pan. This allows you to enjoy freshly made treats without worrying about excess or improper storage compromising their quality.
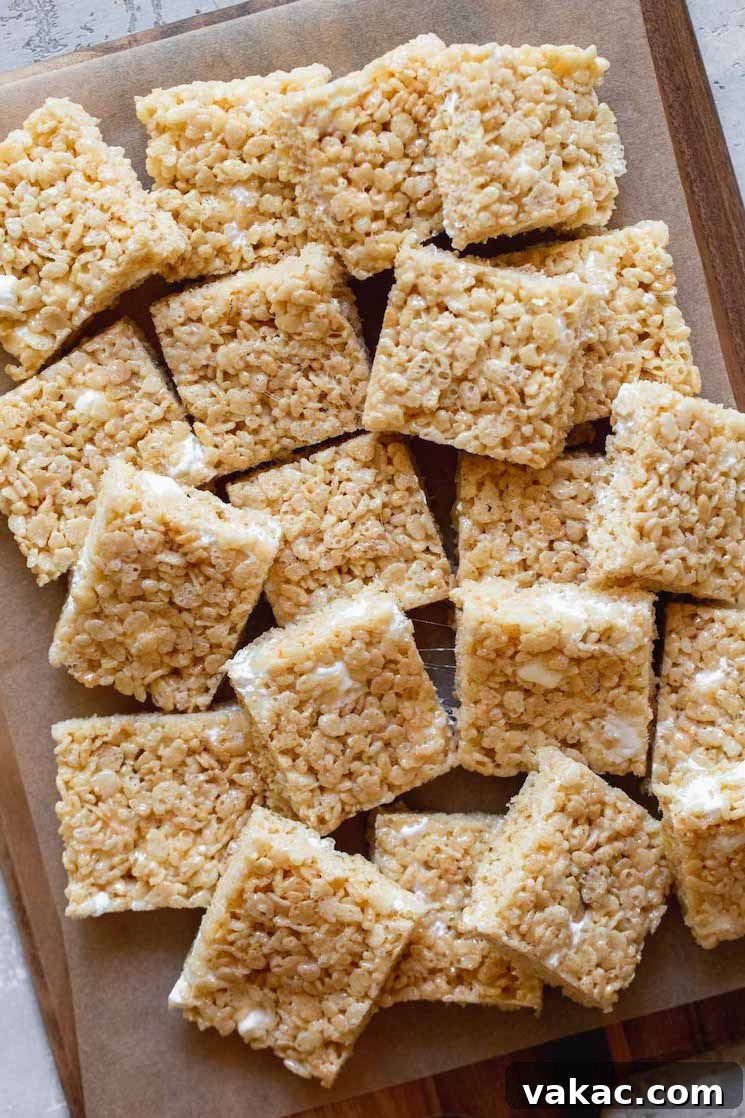
Expert Tips to Prevent Your Rice Krispie Treats from Hardening
Achieving that perfect, signature gooeyness in your Rice Krispie Treats isn’t just about the right ingredients; it’s also about technique and proper care. If you’ve ever found your treats turning hard, dry, or brittle, these expert tips will guide you to consistent success:
- Maintain Medium Heat When Melting Marshmallows: This is perhaps the most critical tip. Always melt your butter and marshmallows over medium heat, no higher. High heat causes the sugars in the marshmallows to cook too quickly, making them brittle and hard once cooled. A gentle, steady heat ensures the marshmallows melt into a smooth, pliable consistency, which is the foundation for gooey treats.
- Avoid Overcooking Marshmallows and Use Fresh Ones: Just as important as the heat setting is the cooking duration. As soon as the marshmallows are fully melted and smooth, remove the saucepan from the heat immediately. Any additional cooking can lead to a tougher texture. Furthermore, always start with fresh marshmallows. Older or stale marshmallows have often lost some of their moisture, which can make them melt inconsistently and result in harder treats from the get-go. The fresher the marshmallows, the better and softer your treats will be.
- Store Them Tightly in an Airtight Environment: Air is the enemy of soft Rice Krispie Treats. As soon as they are cool enough to handle and slice, transfer them to an airtight container or a heavy-duty Ziploc bag. This creates a barrier against air circulation, which can dry out the treats and make them hard.
- Do Not Over-Compress the Mixture: When pressing the cereal mixture into the pan, be firm but gentle. Avoid compacting the mixture too tightly. Over-compressing can crush the cereal, force out essential air pockets, and create a dense, hard bar instead of a light and chewy one. Use a greased spatula or your greased hands to gently but evenly spread and press the mixture.
- The Bread Slice Trick for Hardened Treats: If, despite your best efforts, some of your Rice Krispie Treats do become a little hard or stale, don’t despair! There’s a clever trick to revive them. Place the hardened treats in an airtight container or a Ziploc bag along with a fresh slice of bread. Leave it overnight. The moisture from the bread will transfer to the treats, softening them up and bringing back some of their original chewiness.
By following these simple yet effective guidelines, you can ensure that every batch of Rice Krispie Treats you make is perfectly gooey, soft, and utterly delicious, just as they should be.
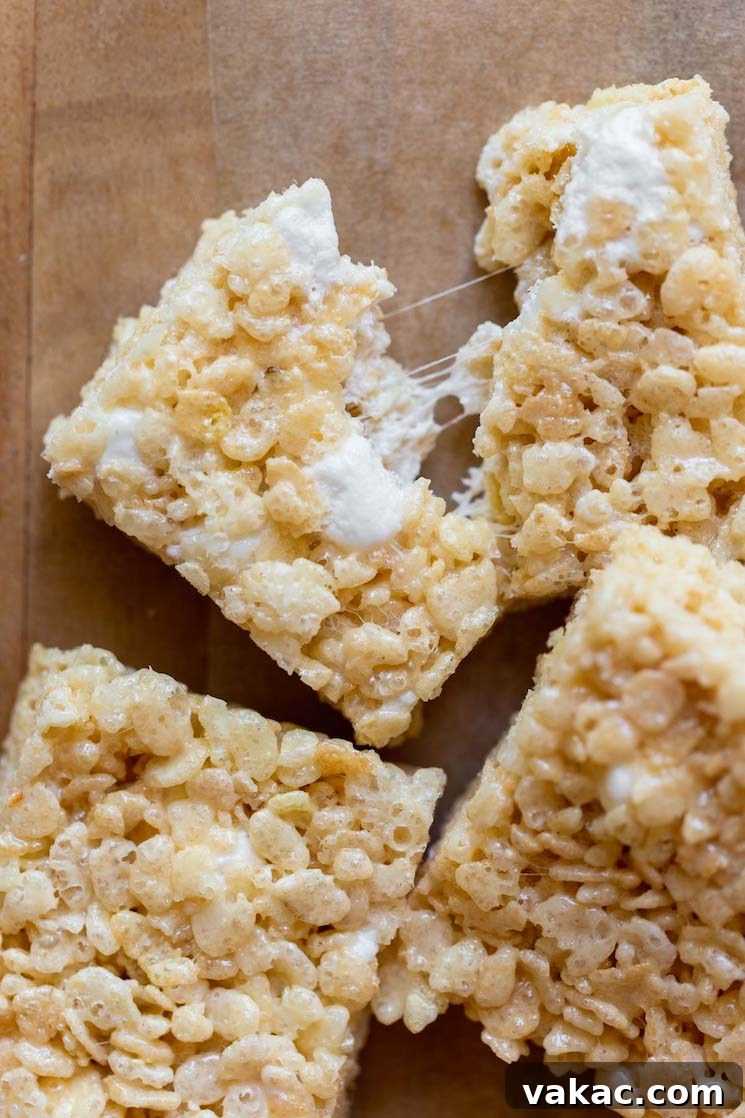
Pro Baking Tips for the Best Rice Krispie Treats
While Rice Krispie Treats are famously simple, a few professional tips can elevate your batch from good to absolutely phenomenal. Pay attention to these details for truly irresistible results:
- Prepare Your Pan Flawlessly: Before you even begin melting, make sure your baking pan is perfectly prepped. Lining your 9×13 inch pan with aluminum foil is a game-changer for easy removal. Ensure there’s enough overhang on the sides to lift the entire batch out later. Crucially, spray the foil generously with nonstick cooking spray or grease it thoroughly with butter. This double layer of protection prevents any sticky mishaps.
- Marshmallow Management: This recipe utilizes one full 16-ounce package of mini marshmallows. The key is to set aside precisely 2 cups of these mini marshmallows *before* you start melting the rest. These reserved marshmallows are folded in at the very end, creating delightful pockets of soft, barely melted marshmallow throughout the bars, enhancing that signature gooey chewiness. Don’t skip this step for maximum textural appeal!
- Choose Your Pan for Desired Thickness: A standard 9×13 inch baking pan will yield classic-sized Rice Krispie Treats. However, if you’re a fan of extra-thick, substantial bars, consider using an 11×7 inch baking pan instead. This will result in taller, more robust treats that are perfect for those who crave a bigger bite of gooey goodness.
- Mastering the Sticky Mixture: The marshmallow and cereal mixture will be incredibly sticky, making it challenging to press into the pan. The simplest solution is to lightly grease your hands (with cooking spray or a dab of butter) before you begin pressing. Alternatively, you can use a greased spatula or a piece of wax paper to gently press the mixture down. Remember, press firmly but avoid over-compressing to maintain a chewy texture.
- Freshness is Key for Cereal and Marshmallows: Always use fresh, unexpired crispy rice cereal for the best crunch. Stale cereal can lead to soft, less appealing treats. Similarly, opt for fresh mini marshmallows. Older marshmallows tend to be drier and melt less smoothly, potentially resulting in a stiffer final product.
Explore More Irresistible No-Bake Recipes!
If you’ve loved the simplicity and deliciousness of these no-bake Rice Krispie Treats, then you’re in for a treat with these other effortless desserts. Perfect for any occasion, especially when you want to avoid turning on the oven!
- Classic No-Bake Cheesecake
- Satisfying Edible Cookie Dough
- Rich No-Bake Chocolate Peanut Butter Bars
- Decadent Peanut Butter Balls
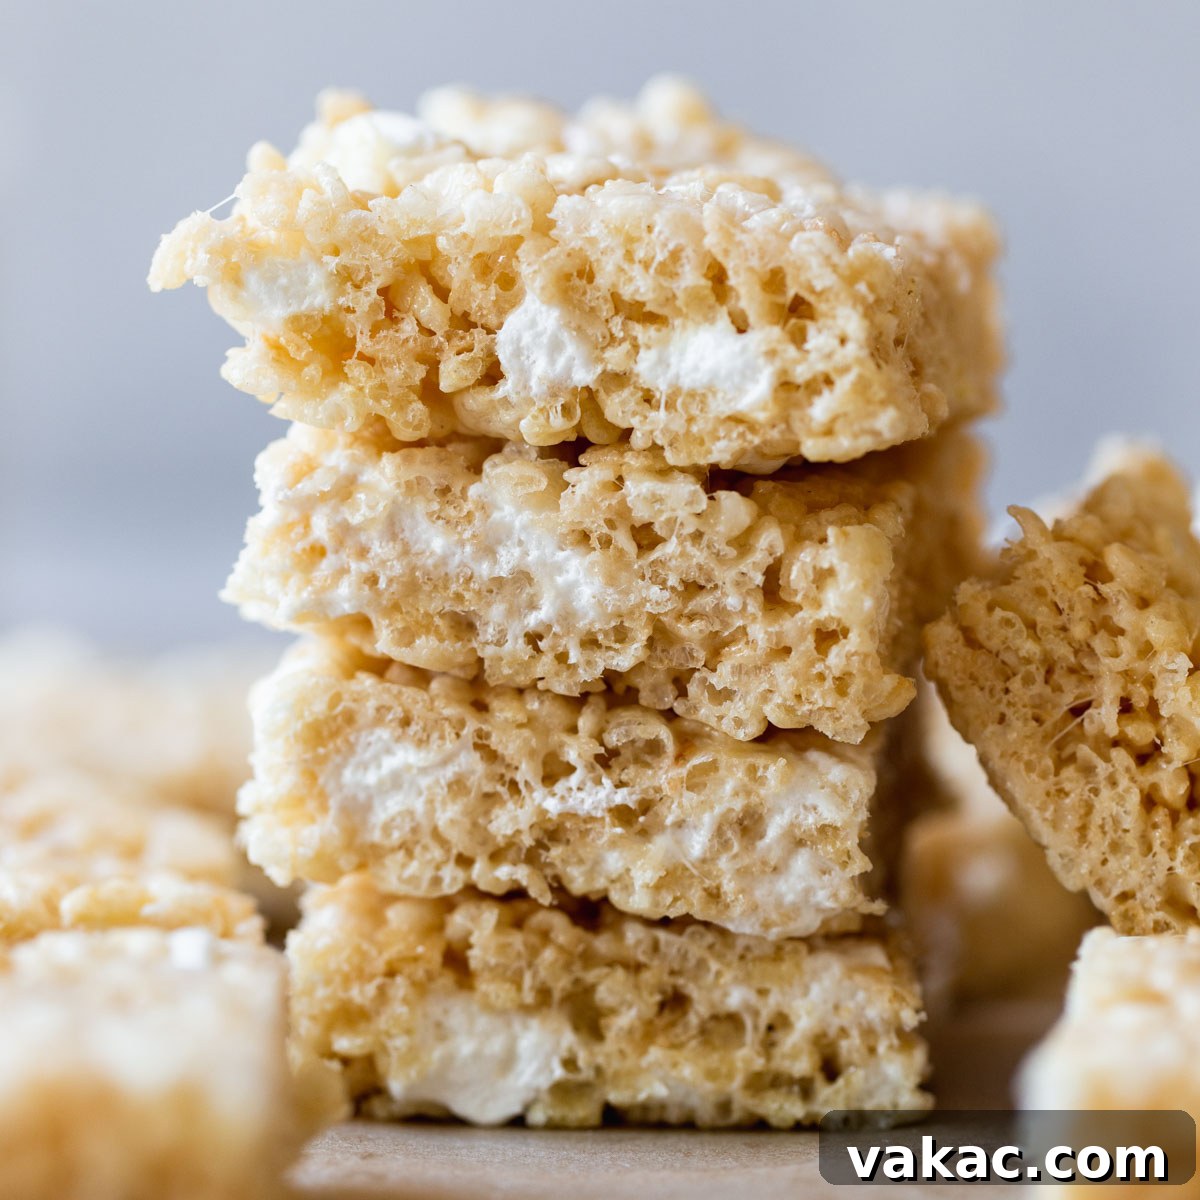
The Best Gooey Rice Krispie Treats
5 from 3 ratings
15
45
15
Pin Recipe
Save to Favorites
Leave a Review
Ingredients
24
bars
-
4
tablespoons
(60 grams) unsalted butter
sliced into tablespoon-sized pieces -
1
(16-ounce)
package mini marshmallows
divided (2 cups reserved for later) -
1
teaspoon
pure vanilla extract -
6
cups
(180 grams) crispy rice cereal
Instructions
-
Line a 9×13 inch baking pan with aluminum foil, ensuring an overhang on the sides for easy removal. Spray the foil generously with nonstick cooking spray or grease with butter, then set aside.
-
Place a large saucepan over medium heat. Add the sliced butter to the saucepan and allow it to melt completely. While the butter is melting, remove two cups (110 grams) of mini marshmallows from the package and set them aside for later.
-
Once the butter is melted, add the remaining mini marshmallows (the full package minus the two cups you set aside). Continue stirring the mixture until the marshmallows are completely melted and smooth. Immediately remove the saucepan from the heat to prevent overcooking, then stir in the pure vanilla extract until combined.
-
Add half of the crispy rice cereal to the marshmallow mixture and mix gently until well combined. Then, stir in the remaining cereal and continue mixing until all the cereal is thoroughly coated. Finally, gently fold in the reserved two cups of marshmallows until just combined and evenly distributed throughout the mixture.
-
Scoop the mixture into the prepared baking pan. Lightly grease your hands or a spatula with nonstick cooking spray, then press the mixture down firmly and evenly into one uniform layer. Avoid over-compressing to maintain a soft, chewy texture.
-
Allow the bars to cool completely at room temperature for at least 45 minutes to set properly. Once cooled, remove them from the pan using the foil overhang, slice into bars, and enjoy your perfectly gooey treats!
Notes
Butter Choice: Unsalted butter is preferred for better control over the salt content, but salted butter can be used if that’s what you have on hand.
Marshmallow Quality: For the best gooey texture, always use fresh mini marshmallows. They melt quicker and lead to a superior final product compared to older or stale marshmallows.
Thicker Bars: If you desire extra-thick Rice Krispie Treats, press the mixture into an 11×7 inch baking pan instead of a 9×13 inch pan.
American
Dessert
Danielle Rye
Serving:
1
bar
,
Calories:
106
kcal
,
Carbohydrates:
21
g
,
Protein:
1
g
,
Fat:
2
g
,
Sodium:
54
mg
,
Sugar:
12
g
Did you make this recipe?
Mention @livewellbakeoften on Instagram or tag #livewellbakeoften.