
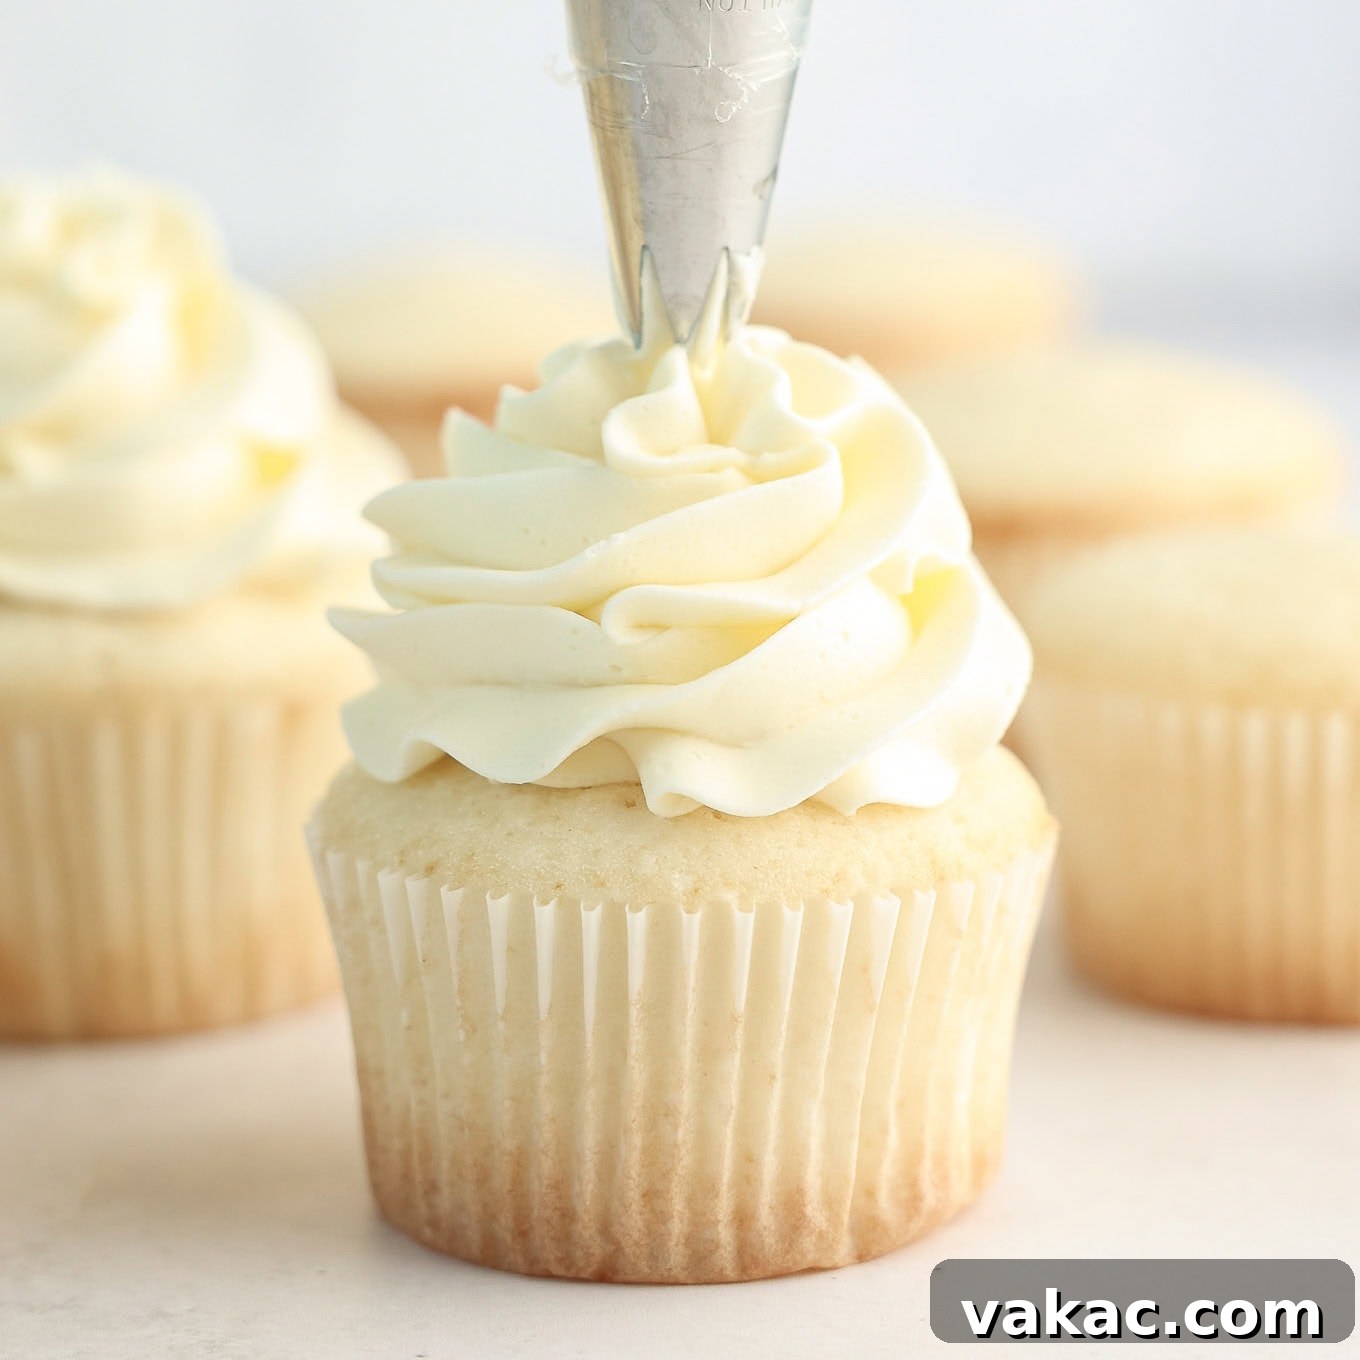
Step aside, box mixes! Get ready to bake the most heavenly white cupcakes from scratch using simple, readily available ingredients. This recipe masterfully combines beaten egg whites and delicate cake flour to create cupcakes that are unbelievably light and fluffy, while a touch of buttermilk ensures every bite is wonderfully moist and perfectly springy. Forget artificial flavors and dry textures – these homemade delights promise a pure vanilla taste and a cloud-like consistency that will impress everyone.
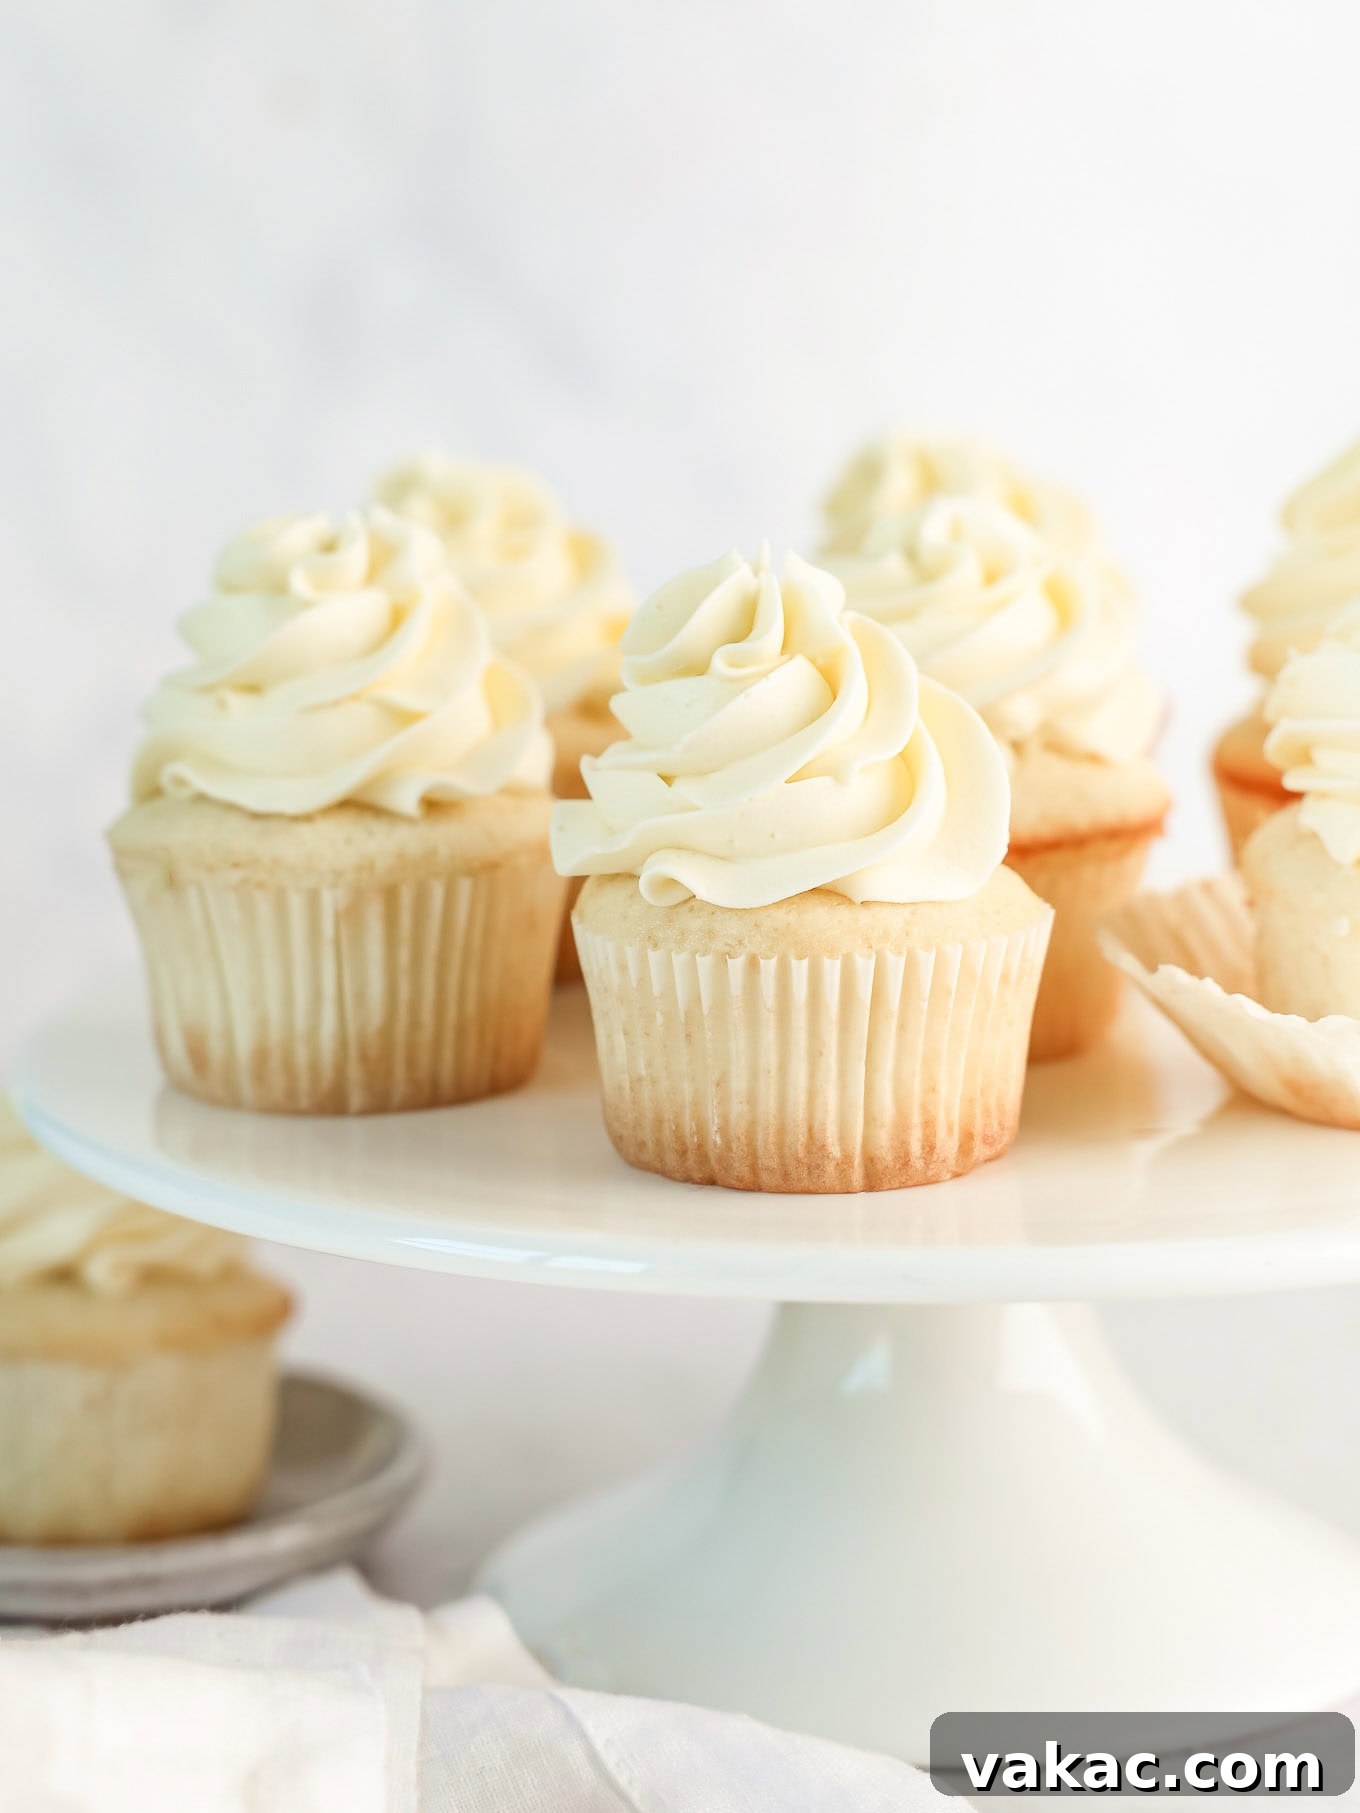
These exquisite simple white cupcakes aren’t just a recipe; they’re an experience in elevated home baking. They consistently rank among my absolute favorite cupcake creations, and for good reason! The difference in flavor and texture compared to anything churned out from a store-bought mix is truly night and day. Imagine a cupcake so tender it practically melts in your mouth, with a subtle sweetness and rich vanilla undertone that only comes from quality ingredients and careful preparation.
Essentially, this recipe is a perfectly scaled-down, charming miniature of my beloved classic white cake recipe, which has garnered immense popularity among readers. While I’ve crowned these particular cupcakes with my all-time favorite creamy vanilla buttercream frosting, the beauty of this versatile base is its adaptability. Feel free to unleash your creativity and pair them with another delightful flavor of frosting, or keep it beautifully understated with something as simple and elegant as homemade whipped cream.
I personally adore these fluffy white cupcakes just as they are, celebrating their pristine appearance and delicate flavor. However, they serve as a fantastic blank canvas for any festive occasion! You can easily mix in a generous scattering of colorful sprinkles into the batter for a joyful celebration, or infuse them with a few drops of food coloring to perfectly match a party theme, holiday, or special event. Their versatility makes them a go-to dessert for birthdays, weddings, baby showers, or simply a delightful treat to brighten any day.
Baking Success: Essential Tips for Perfect White Cupcakes
Achieving bakery-quality moist white cupcakes at home is more accessible than you think. While the full recipe outlines each step meticulously, understanding a few key principles can significantly enhance your baking journey and guarantee a consistently delicious result. From ingredient temperatures to mixing techniques, every detail plays a role in creating that signature light, airy, and moist texture.
A video guide to ensure you master every step of this delicious recipe. (Video Placeholder)
Essential Ingredient Notes for Optimal Results
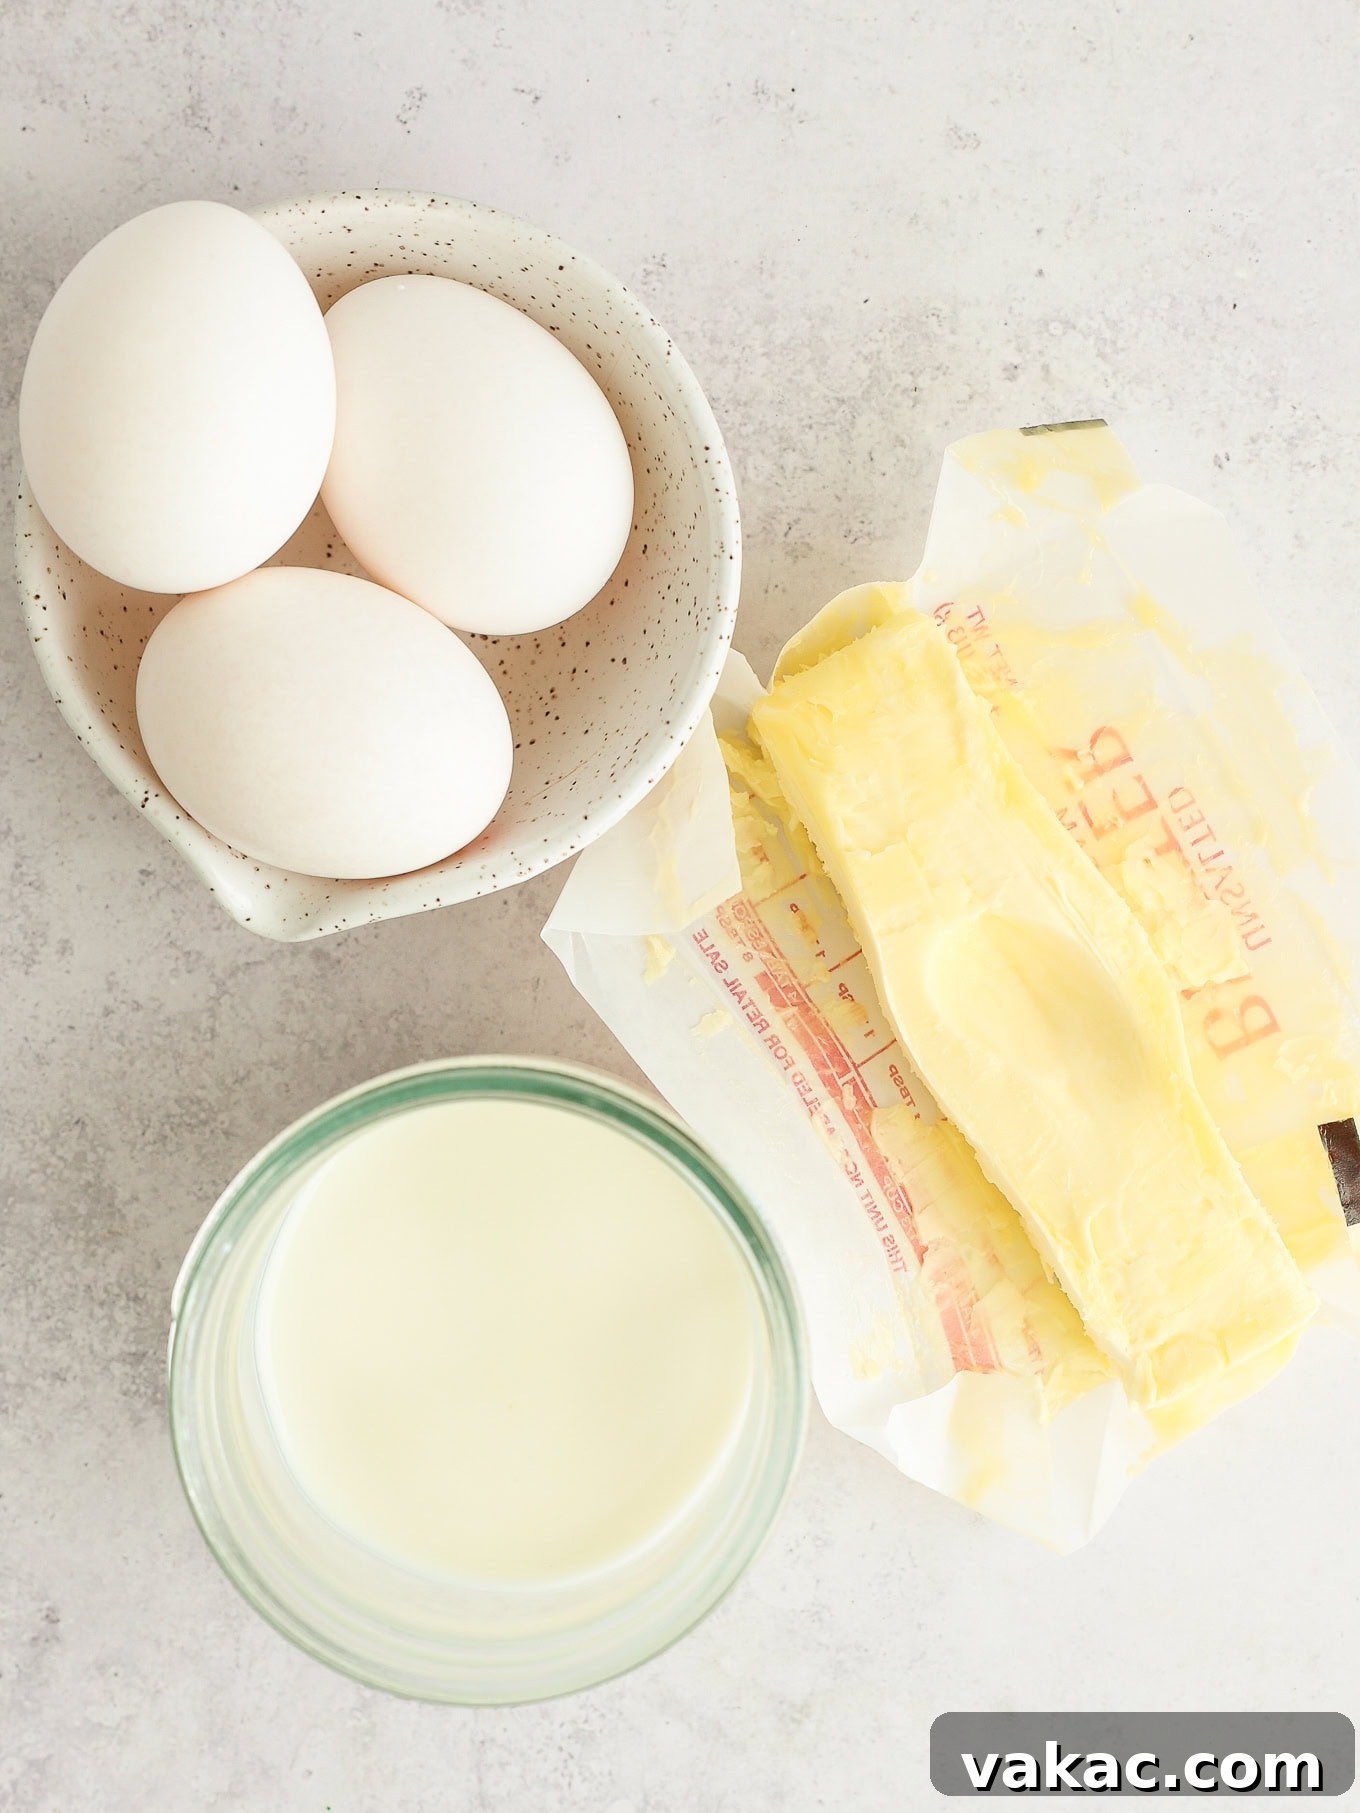
The secret to creating the smoothest, most delectable cupcake batter and a lusciously silky frosting starts with your ingredients. Always remember to bring your buttermilk and butter to a true room temperature. This allows them to emulsify properly with other ingredients, creating a homogeneous mixture that holds air beautifully, contributing to a light and tender crumb. Similarly, room temperature egg whites whip up with far greater volume and stability, which is absolutely vital for achieving those sought-after stiff peaks. Plan ahead and set out your eggs along with all your dairy products at least 30-60 minutes before you begin baking.
The Magic of Cake Flour
When it comes to achieving an incredibly soft and tender crumb, cake flour is your best friend in this white cupcake recipe. Its lower protein content, typically around 7-9%, is key. In contrast, all-purpose flour has a higher protein content (around 10-12%), which forms more gluten when mixed. While gluten provides structure in breads, too much of it can lead to tough, chewy cupcakes. The reduced gluten formation with cake flour results in a delicate, almost melt-in-your-mouth texture that is simply irresistible. If you don’t have cake flour on hand, don’t fret! You can easily make a quick cake flour substitute at home by combining regular all-purpose flour with a small amount of cornstarch. My top recommendations for premium cake flour brands include Swans Down and Pillsbury Softasilk, both known for their consistent, excellent results.
Why Only Egg Whites?
This recipe specifically calls for only egg whites, a deliberate choice to ensure these cupcakes achieve their iconic, pristine white appearance. Egg yolks would introduce a yellowish tint, detracting from the desired pure white hue. By using only the whites, we maximize the aeration and lift in the batter, contributing to the cupcakes’ ethereal fluffiness. Don’t let those leftover egg yolks go to waste! They are culinary gold. You can either freeze them for future use or incorporate them into other delightful recipes. For instance, they are perfect for making my vibrant microwave lemon curd or the rich, decadent German chocolate cake frosting – both recipes conveniently use exactly three large egg yolks!
The Choice of Vanilla Extract
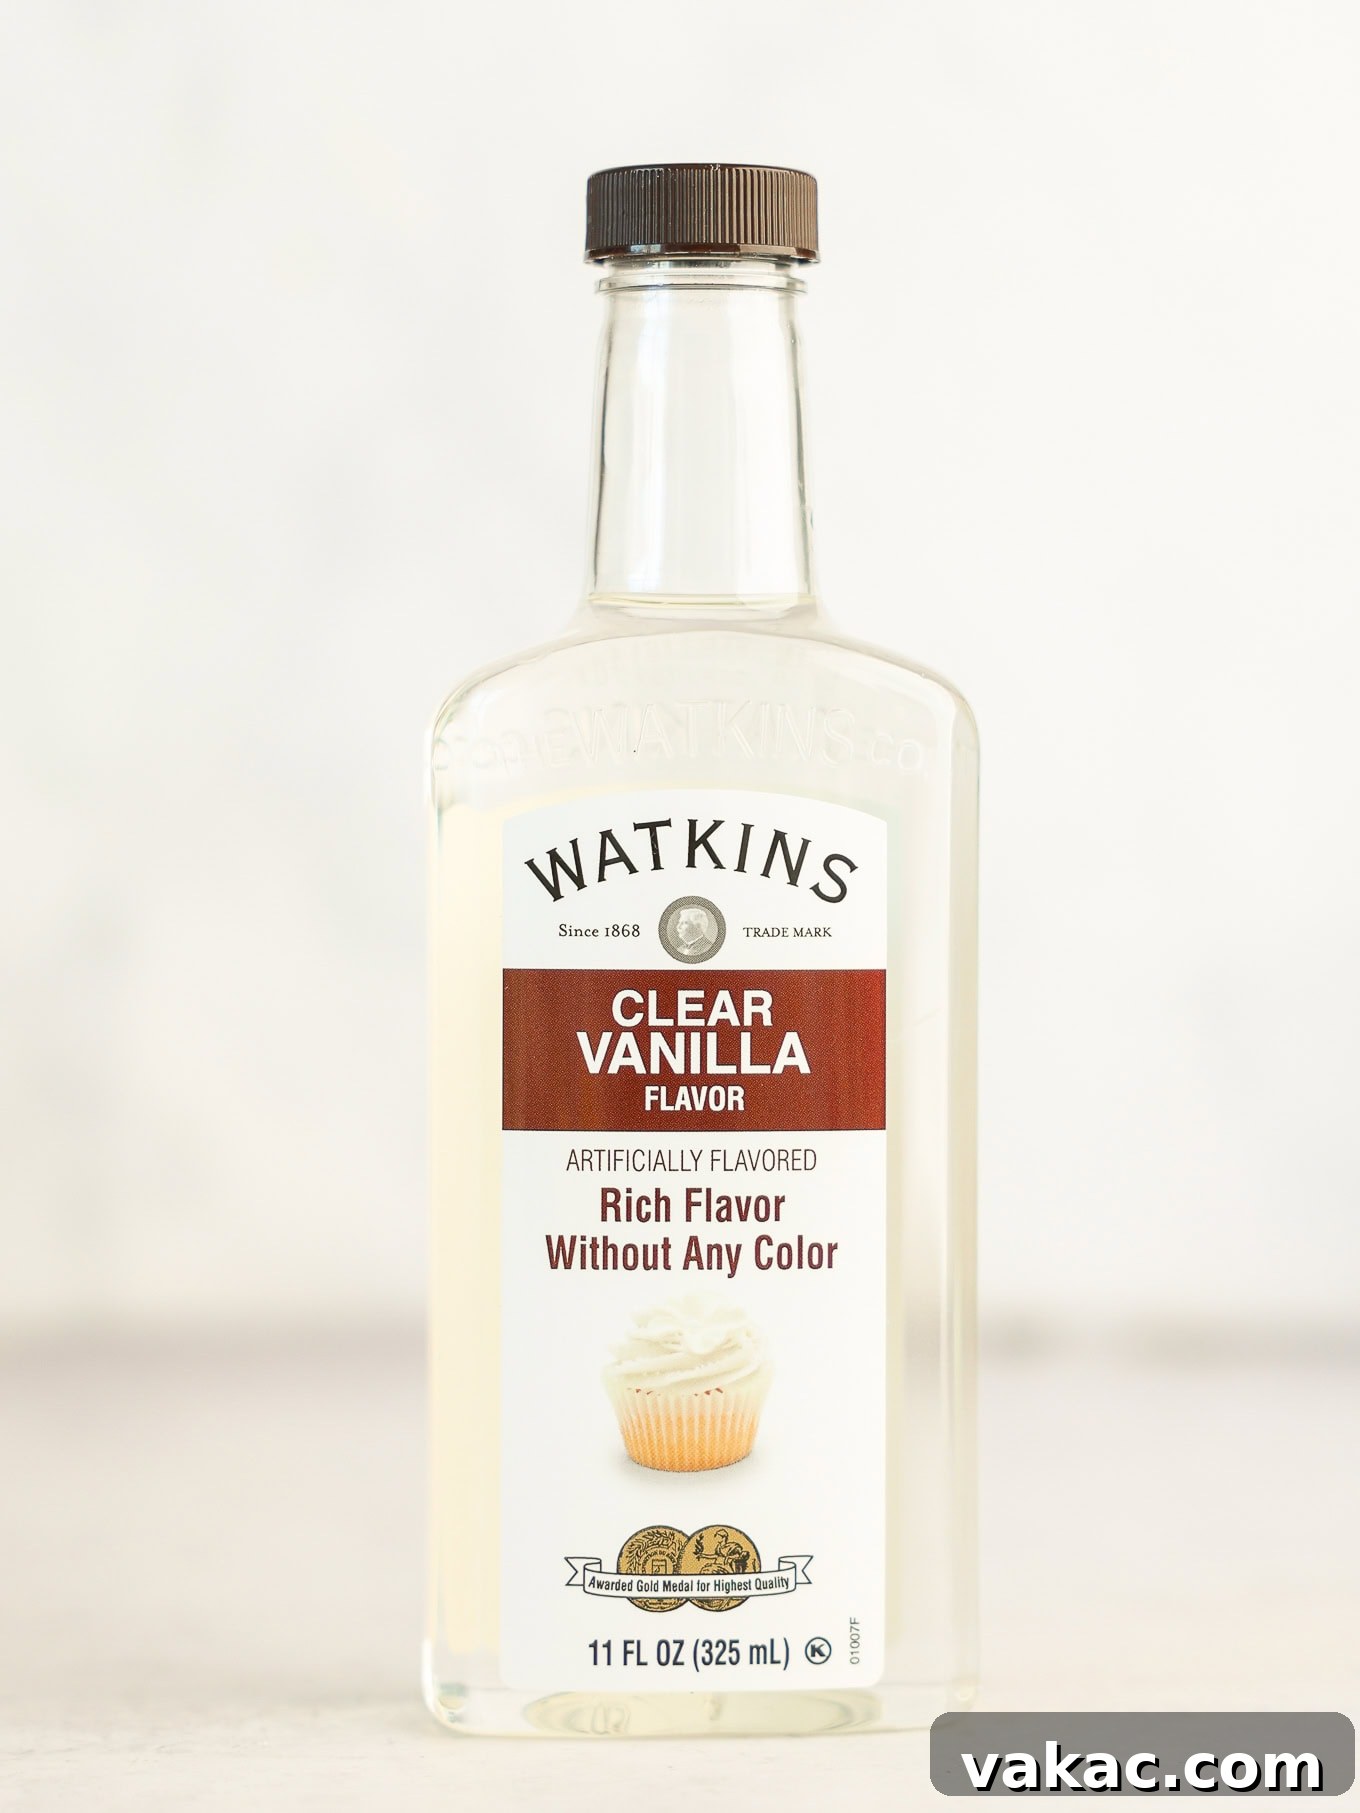
To maintain the unblemished white color of these cupcakes, I highly recommend using a clear vanilla extract, such as Watkins clear vanilla. Traditional pure vanilla extract, while flavorful, has a brownish tint that can slightly alter the desired pure white appearance. However, if clear vanilla isn’t available, don’t let it deter you from making this recipe! I’ve thoroughly tested these cupcakes with pure vanilla extract, and while there’s a subtle difference in color, the flavor remains outstanding. So, feel free to use whichever you have readily available in your pantry, prioritizing the baking experience over a minor aesthetic detail.
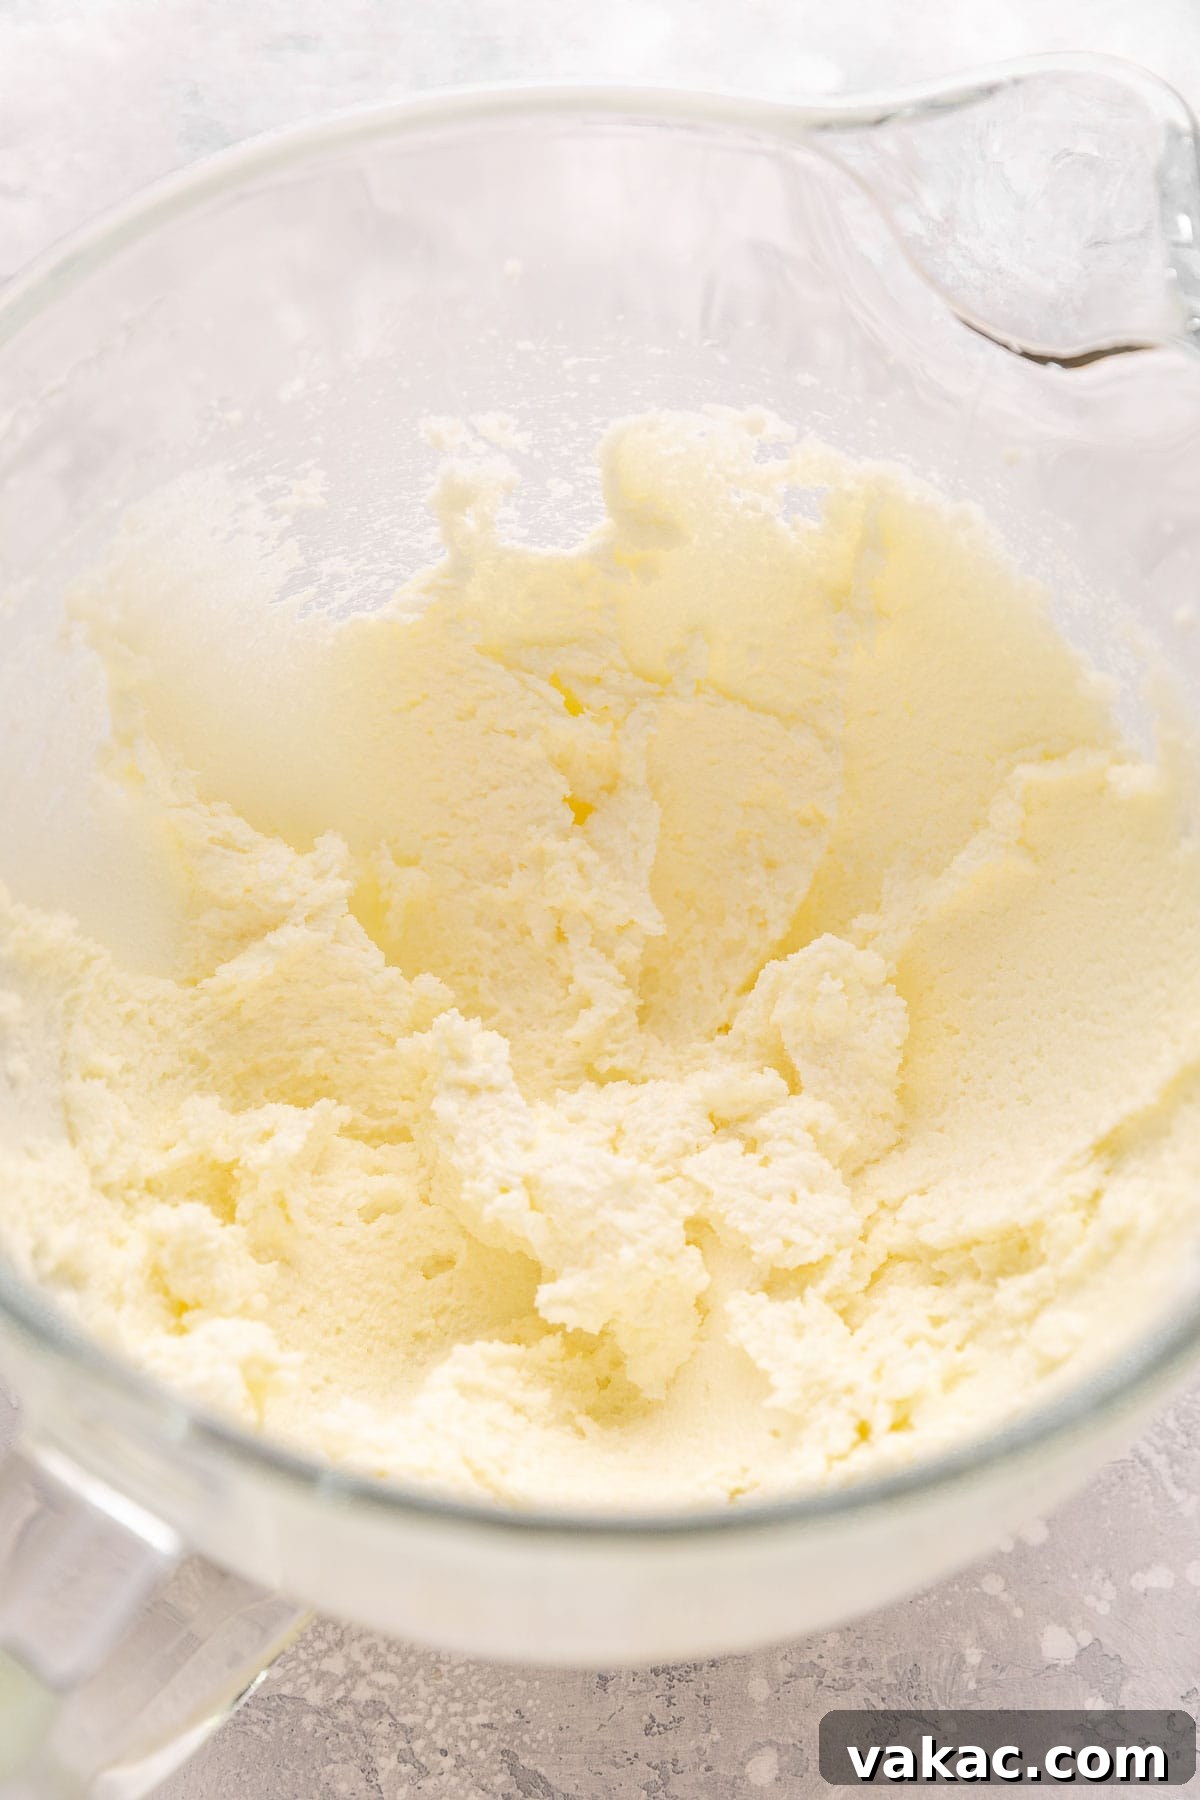
Mastering the Art of Creaming Butter & Sugar
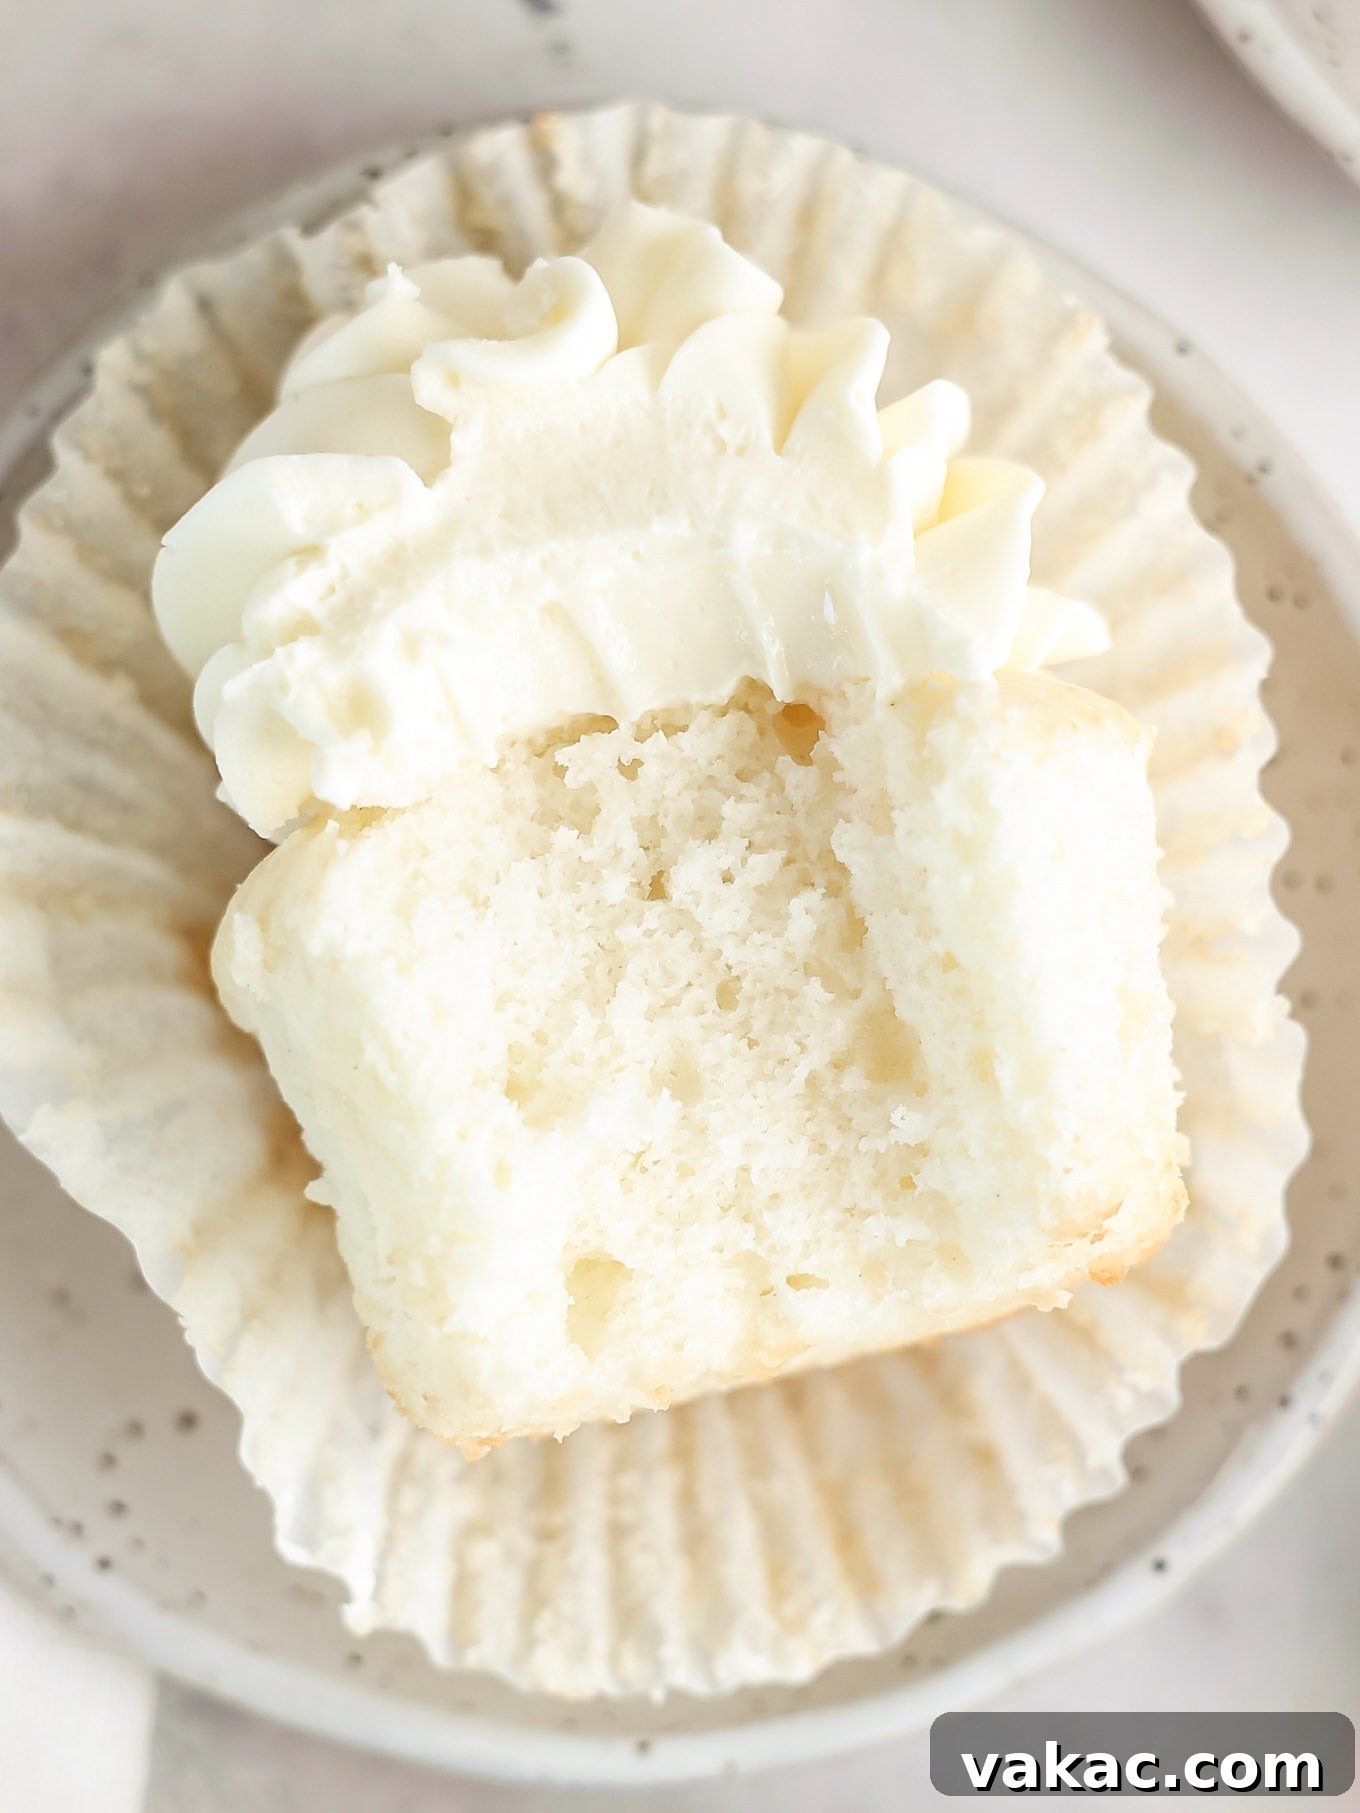
The creaming method is a foundational technique in baking, and for these fluffy white cupcakes, it’s absolutely paramount. This step is where much of the air is incorporated into your batter, directly contributing to the light, tender, and airy texture of the finished cupcakes. More air equals softer, magnificently fluffy cupcakes!
To properly cream your butter and sugar, begin with softened, room-temperature butter. Place it in the bowl of a stand mixer fitted with the paddle attachment. If you’re using a handheld electric mixer, a large mixing bowl will suffice. Start by mixing the softened butter on low to medium speed, just until it’s broken up and appears smooth and uniform. Avoid overmixing at this stage, as you’re primarily aiming to achieve a consistent texture.
Once the butter is smooth, it’s time to add the granulated sugar. Gradually pour the sugar into the butter, then increase the mixer speed to medium. Continue mixing for a crucial 3 to 4 minutes. During this time, the butter and sugar mixture will undergo a noticeable transformation: it will lighten significantly in color, turning from a deep yellow to a pale, almost white hue. Simultaneously, its texture will become incredibly fluffy and airy, resembling whipped cream or the beautiful image shown above. This extended mixing time allows the sharp sugar crystals to cut into the butter, creating tiny air pockets that will expand during baking, resulting in a lofty crumb.
Baking Tip: Don’t rush this step! Set a timer for at least 3 minutes on your oven or phone to ensure you cream the butter and sugar together for the optimal duration. This small effort makes a huge difference in the final texture of your cupcakes!
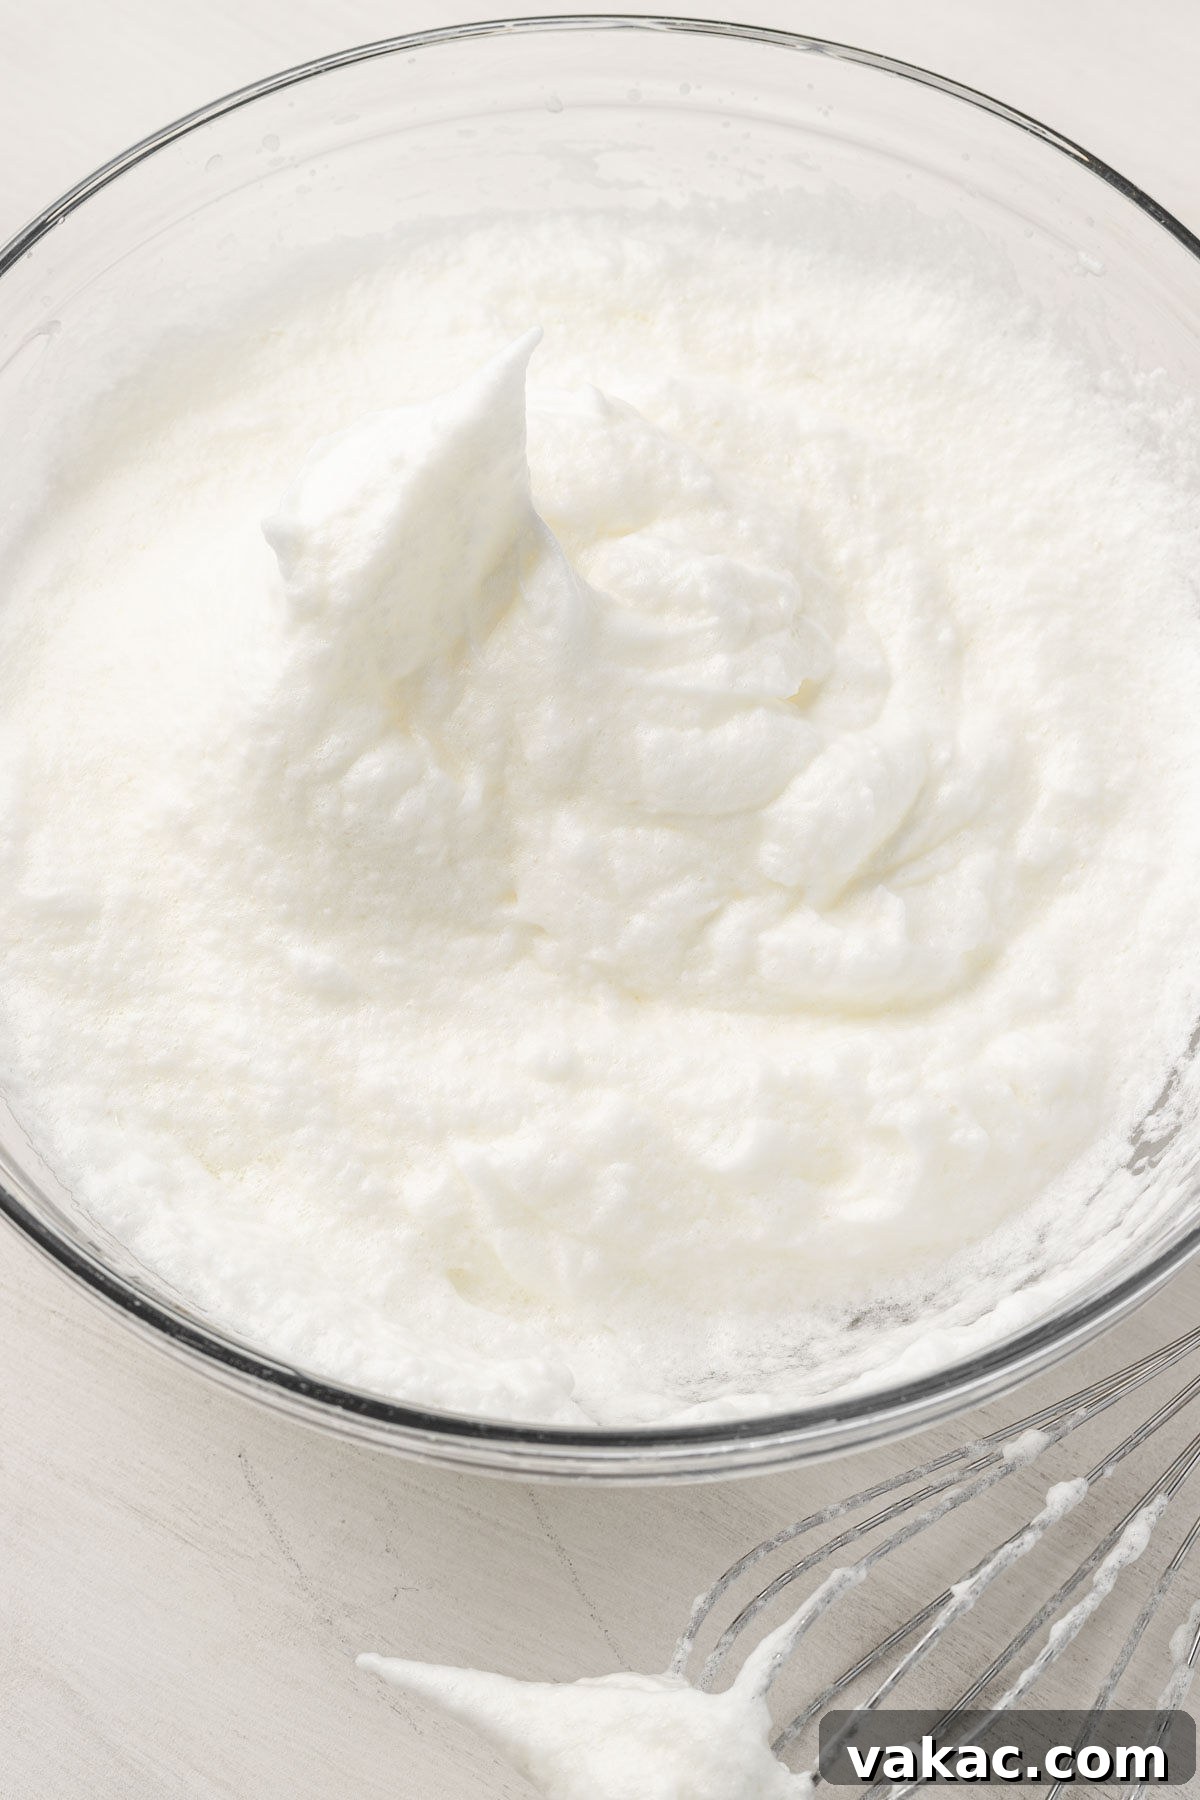
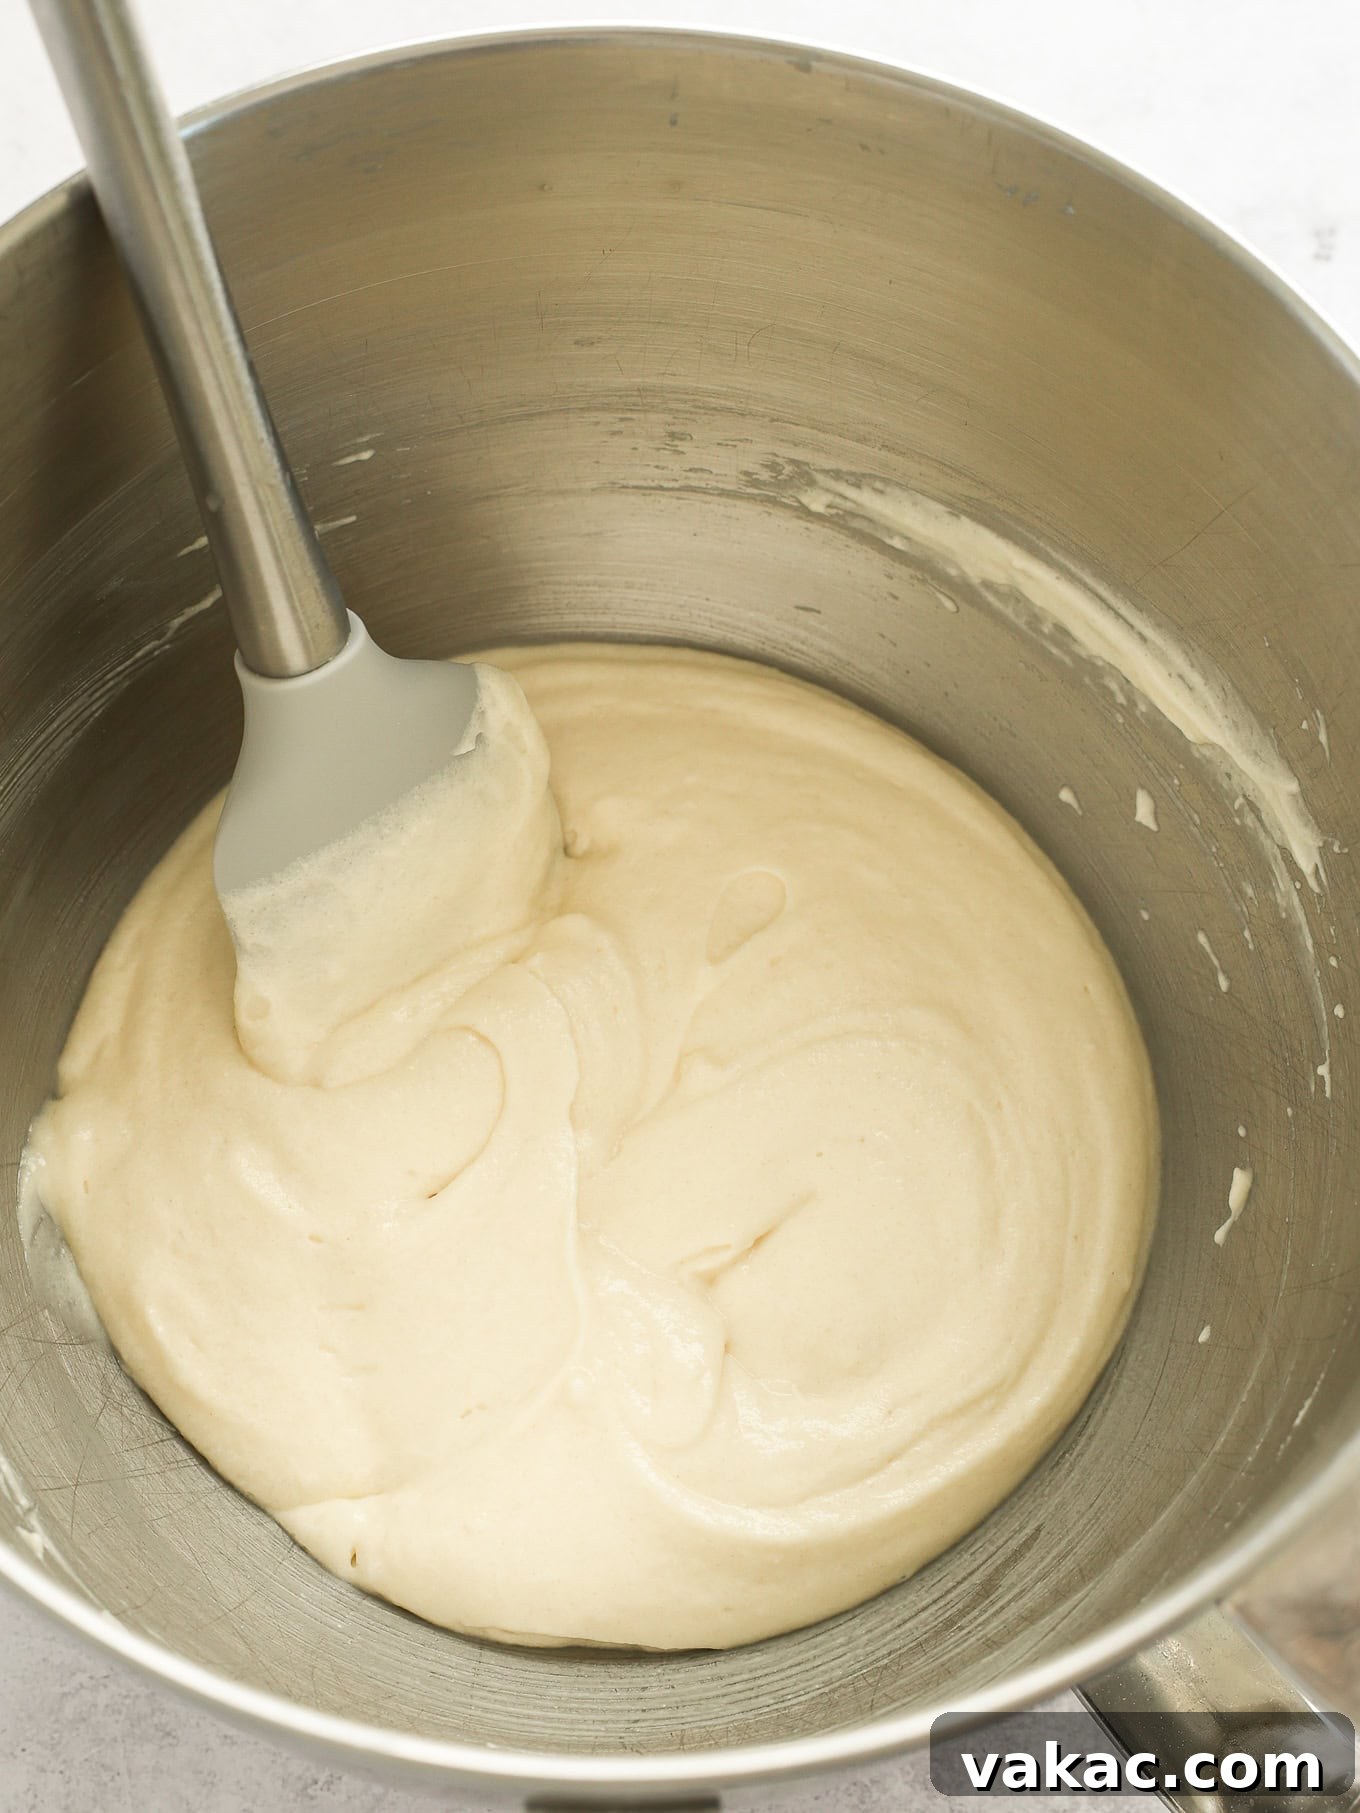
Achieving Stiff Egg White Peaks & Gentle Folding
Beating egg whites to stiff peaks is another critical step that injects maximum air into your batter, making these homemade white cupcakes incredibly light. For the best results, add your room-temperature egg whites to the meticulously clean bowl of a stand mixer equipped with the whisk attachment. If you’re using a handheld mixer, opt for a large, spotlessly clean mixing bowl. While it’s possible to use a hand whisk, be prepared for a significantly longer and more strenuous process.
Begin beating the egg whites on medium speed. Initially, they will become foamy, then gradually thicken. Continue beating until they reach the “stiff peaks” stage – this means that when you lift the whisk or beaters from the bowl, the peaks of the egg whites stand straight up without drooping. This transformation can take a few minutes, so patience is key. The egg whites should appear glossy and opaque, resembling the left-hand image above.
Once your egg whites are perfectly beaten, it’s time to gently incorporate them into the cupcake batter. This process, known as “folding,” is crucial for maintaining all the air you’ve just whipped in. Add just half of the beaten egg whites to the cupcake batter. Using a rubber spatula, carefully turn the batter up and over the egg whites, rotating the bowl as you go. Work with a light hand, folding just until the egg whites are mostly incorporated. Repeat this gentle folding technique with the remaining egg whites, stopping as soon as they are combined into the batter. Overmixing at this stage will deflate the egg whites, leading to dense cupcakes.
Important Note for Egg Whites: Ensure your mixing bowl and whisk attachment are impeccably clean and free of any residual fat or oil. Even a tiny speck of grease can prevent egg whites from whipping up properly, inhibiting them from reaching stiff peaks. The same applies if any egg yolk accidentally contaminates the egg whites during separation. Exercise extreme care when cracking and separating your eggs to ensure a flawless meringue.
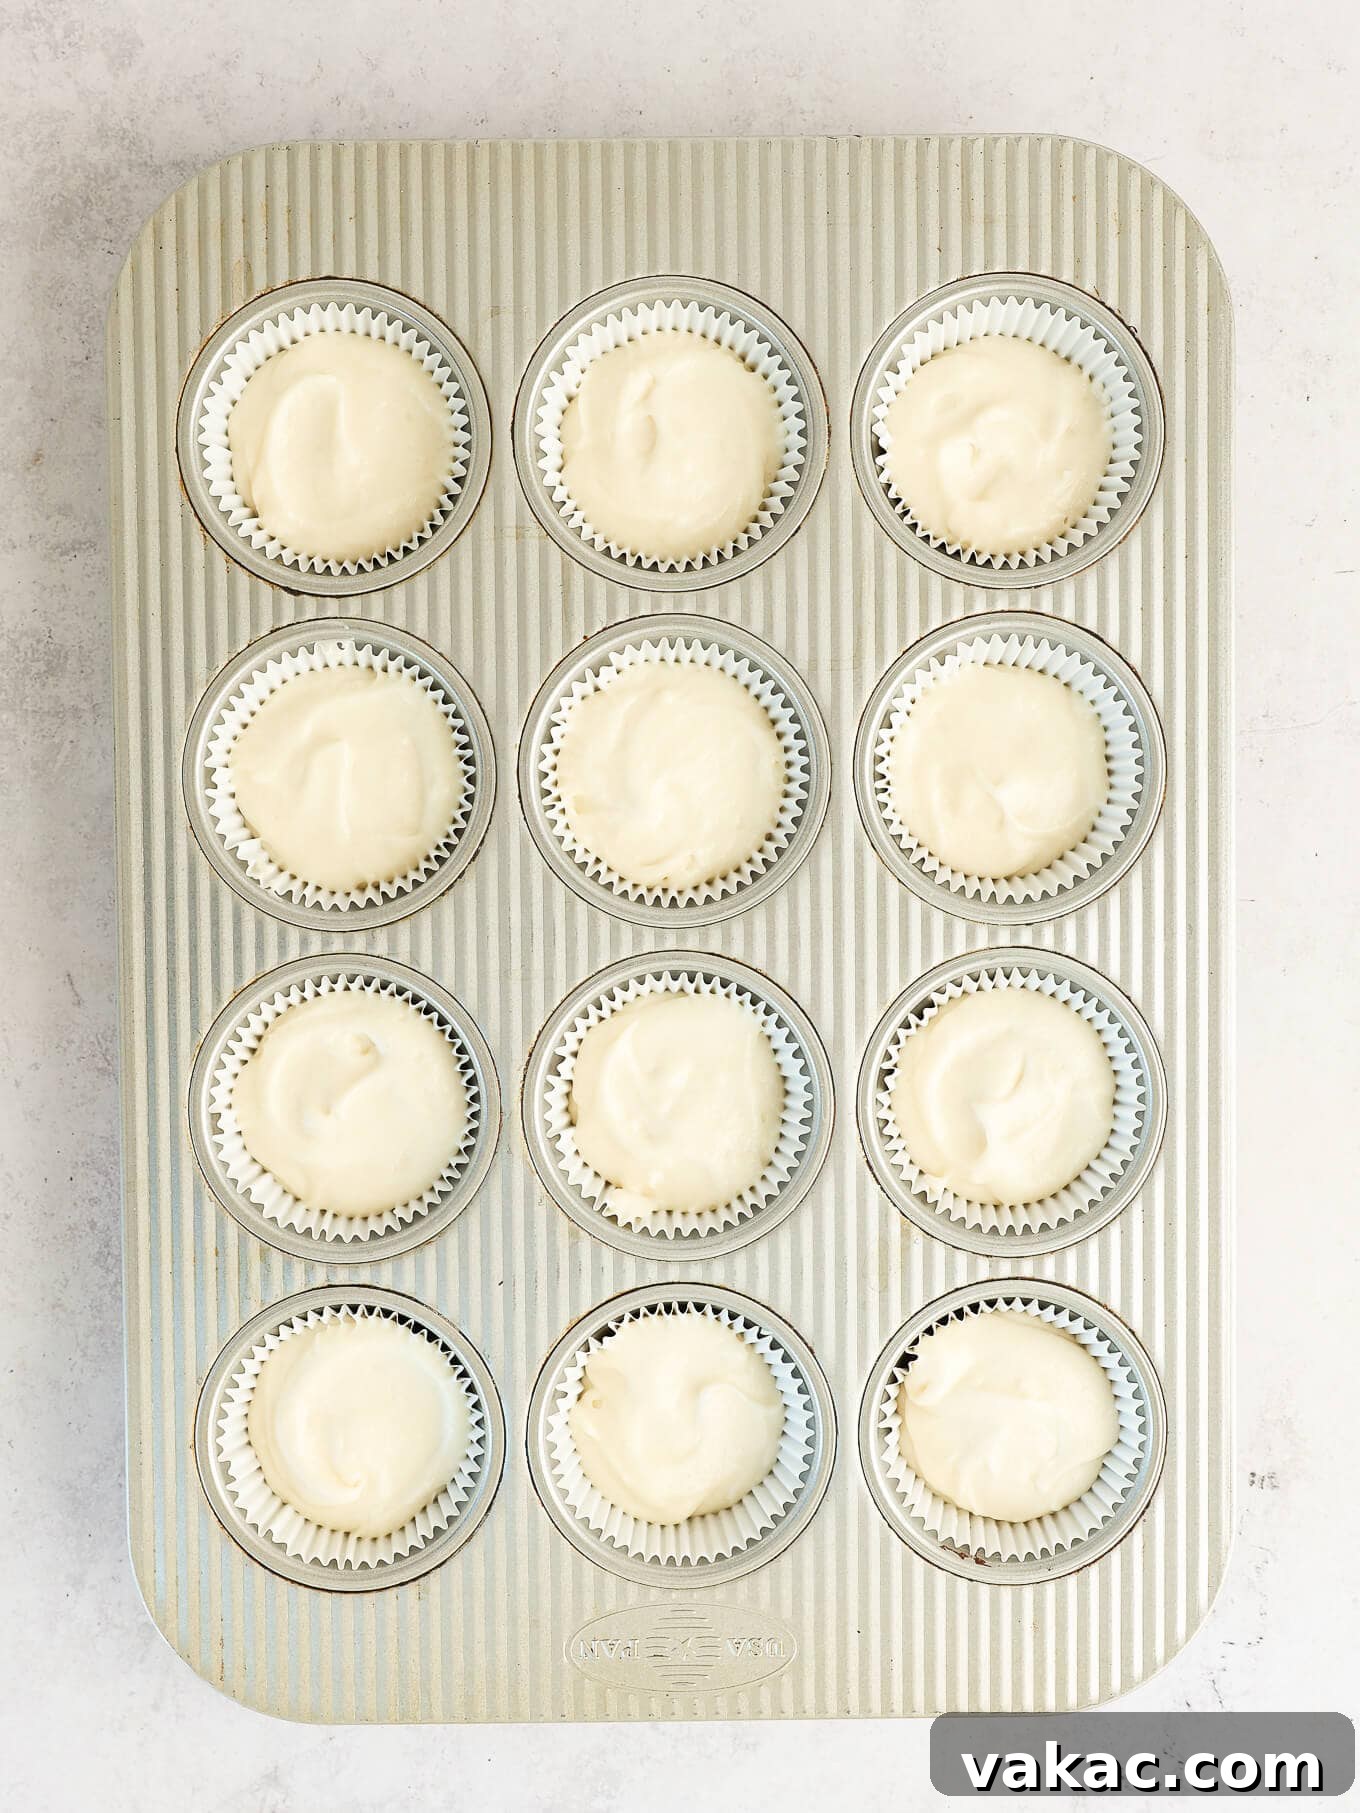
Preventing Over-baking for Pristine White Cupcakes
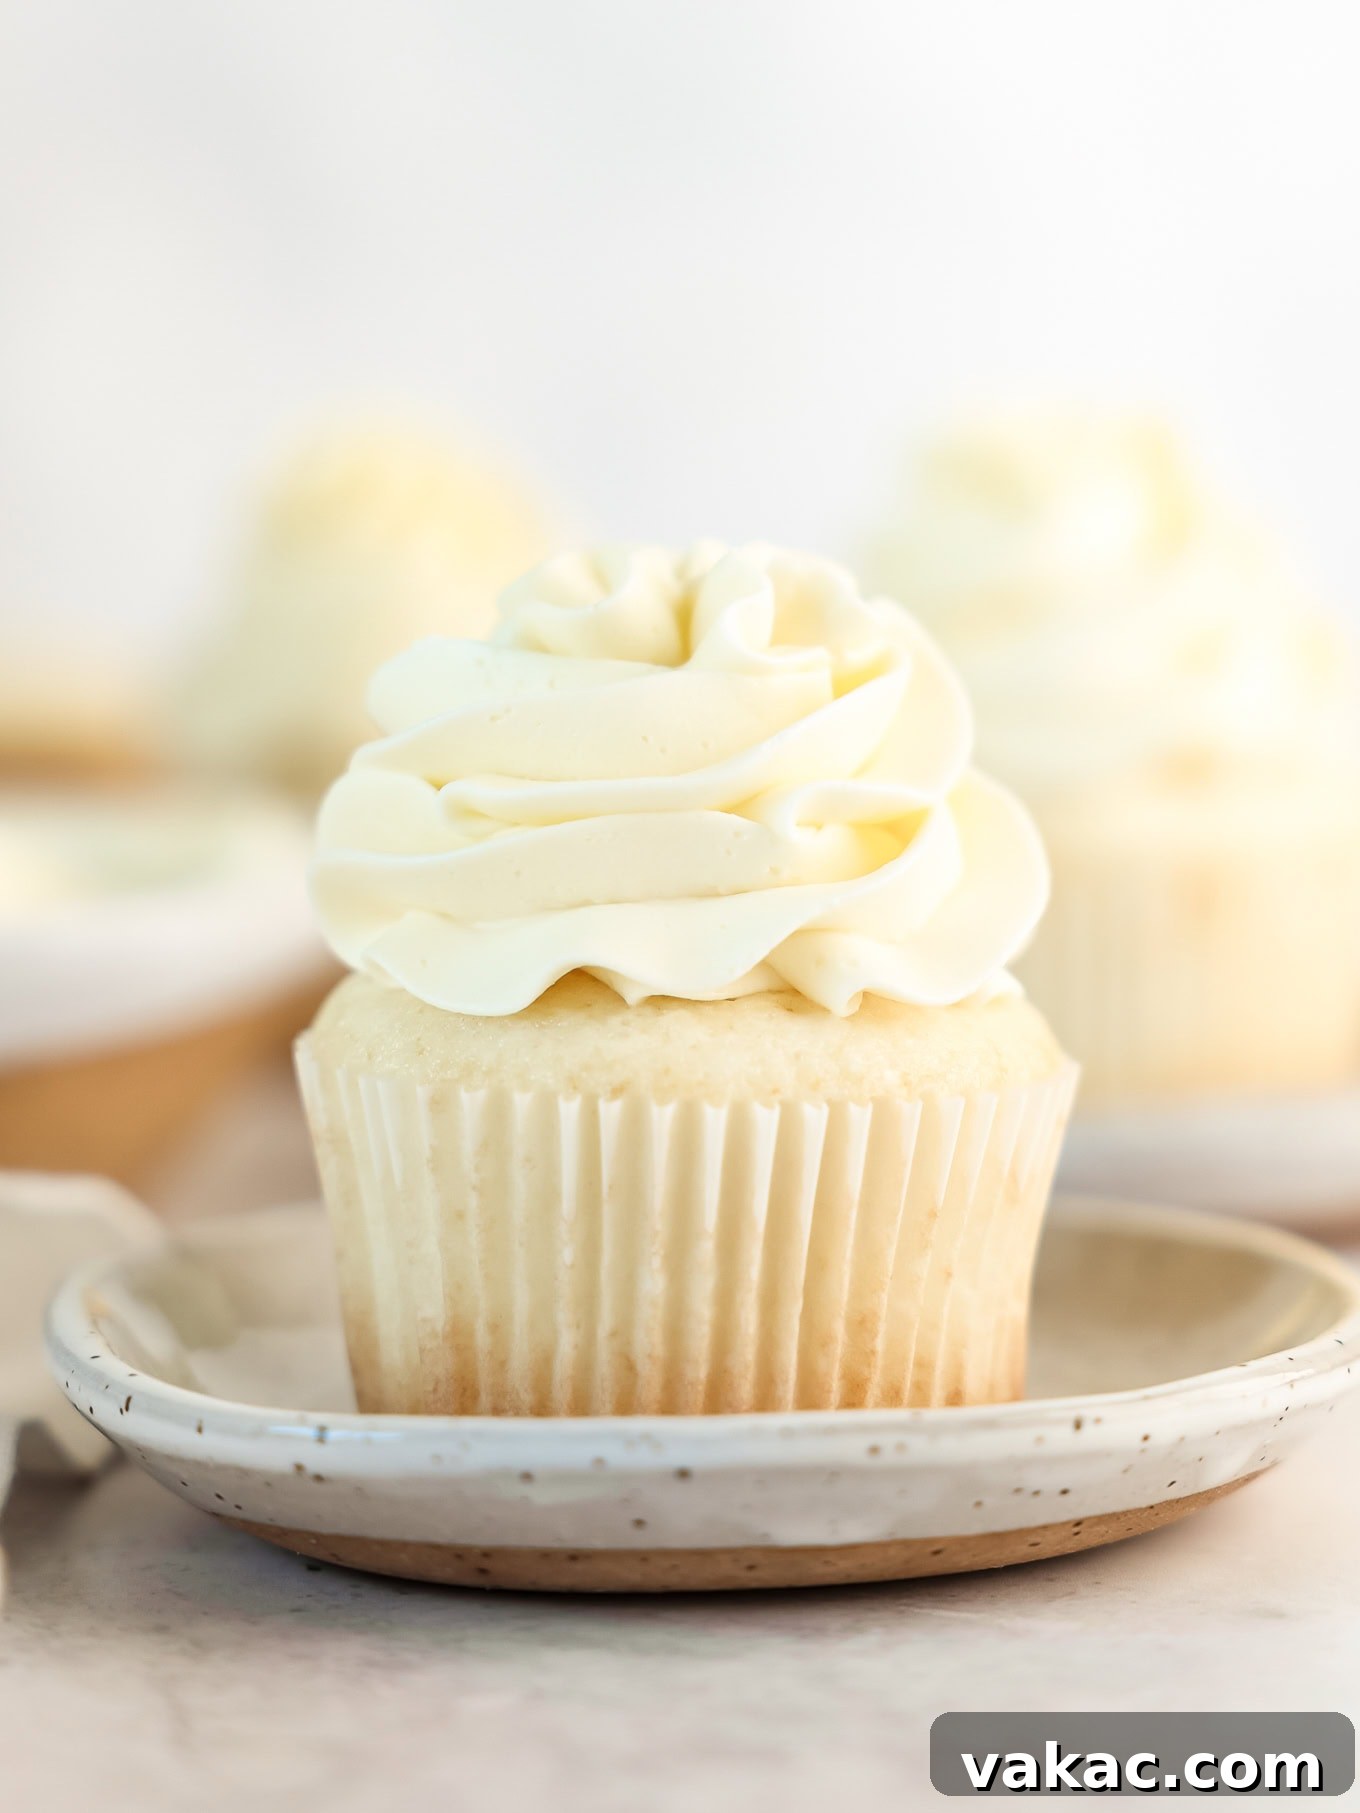
One of the most crucial aspects of baking truly perfect white cupcakes is to meticulously avoid over-baking them. Excess baking time can lead to a slightly browned exterior, which detracts from their characteristic “white” appearance, and more importantly, can result in dry, crumbly cupcakes. I typically find that my cupcakes achieve perfection within a baking window of 15 to 20 minutes, but it’s vital to remember that every oven has its own unique quirks and heating patterns. The most reliable indicator of doneness is when a wooden toothpick inserted into the center of a cupcake comes out clean, with no wet batter clinging to it. As soon as you achieve this, remove them promptly from the oven.
Furthermore, your choice of muffin pan can significantly impact the baking process and the final color of your cupcakes. I highly recommend using a light-colored muffin pan, such as this fantastic USA muffin pan. My Calphalon pans also yield excellent results. Dark metal pans, conversely, absorb and retain heat more intensely, which can cause the cupcakes to cook and brown much faster, potentially leading to an uneven bake and a darker exterior than desired. Opting for lighter pans ensures a more even, gentle bake and helps preserve that beautiful, pure white color.
Adapting This Recipe for a Layer Cake
Yes, absolutely! This versatile recipe produces enough delicious batter to create a single, beautifully moist 8 or 9-inch round cake. Perfect for a simple, elegant single-layer dessert. However, if your baking ambitions lean towards a stunning, multi-tiered creation, I would highly recommend turning to my dedicated classic white cake recipe instead. That recipe is specifically formulated and optimized for layered cakes, ensuring optimal structure and height for impressive results.
Crafting Adorable Mini Cupcakes
For those times when you desire a bite-sized treat or a larger spread, transforming this recipe into mini white cupcakes is incredibly easy! Simply use a mini muffin pan, line it with mini cupcake liners, and fill each liner approximately two-thirds of the way full. Due to their smaller size, the baking time will be significantly reduced; aim for around 10 to 12 minutes, keeping a close eye on them to prevent over-baking. A toothpick inserted into the center should still come out clean.
Infusing Color: Adding Food Coloring
Absolutely! These homemade white cupcakes make an ideal base for adding vibrant splashes of color. I highly recommend using gel food coloring, such as AmeriColor, as it is highly concentrated and does not introduce excess moisture into the batter, preserving the delicate texture. While liquid food coloring can be used, ensure you add it sparingly to avoid thinning the batter too much. This simple addition allows you to customize your cupcakes for any holiday, party theme, or personal preference, making them even more festive and fun!
Exploring a World of Frosting Options
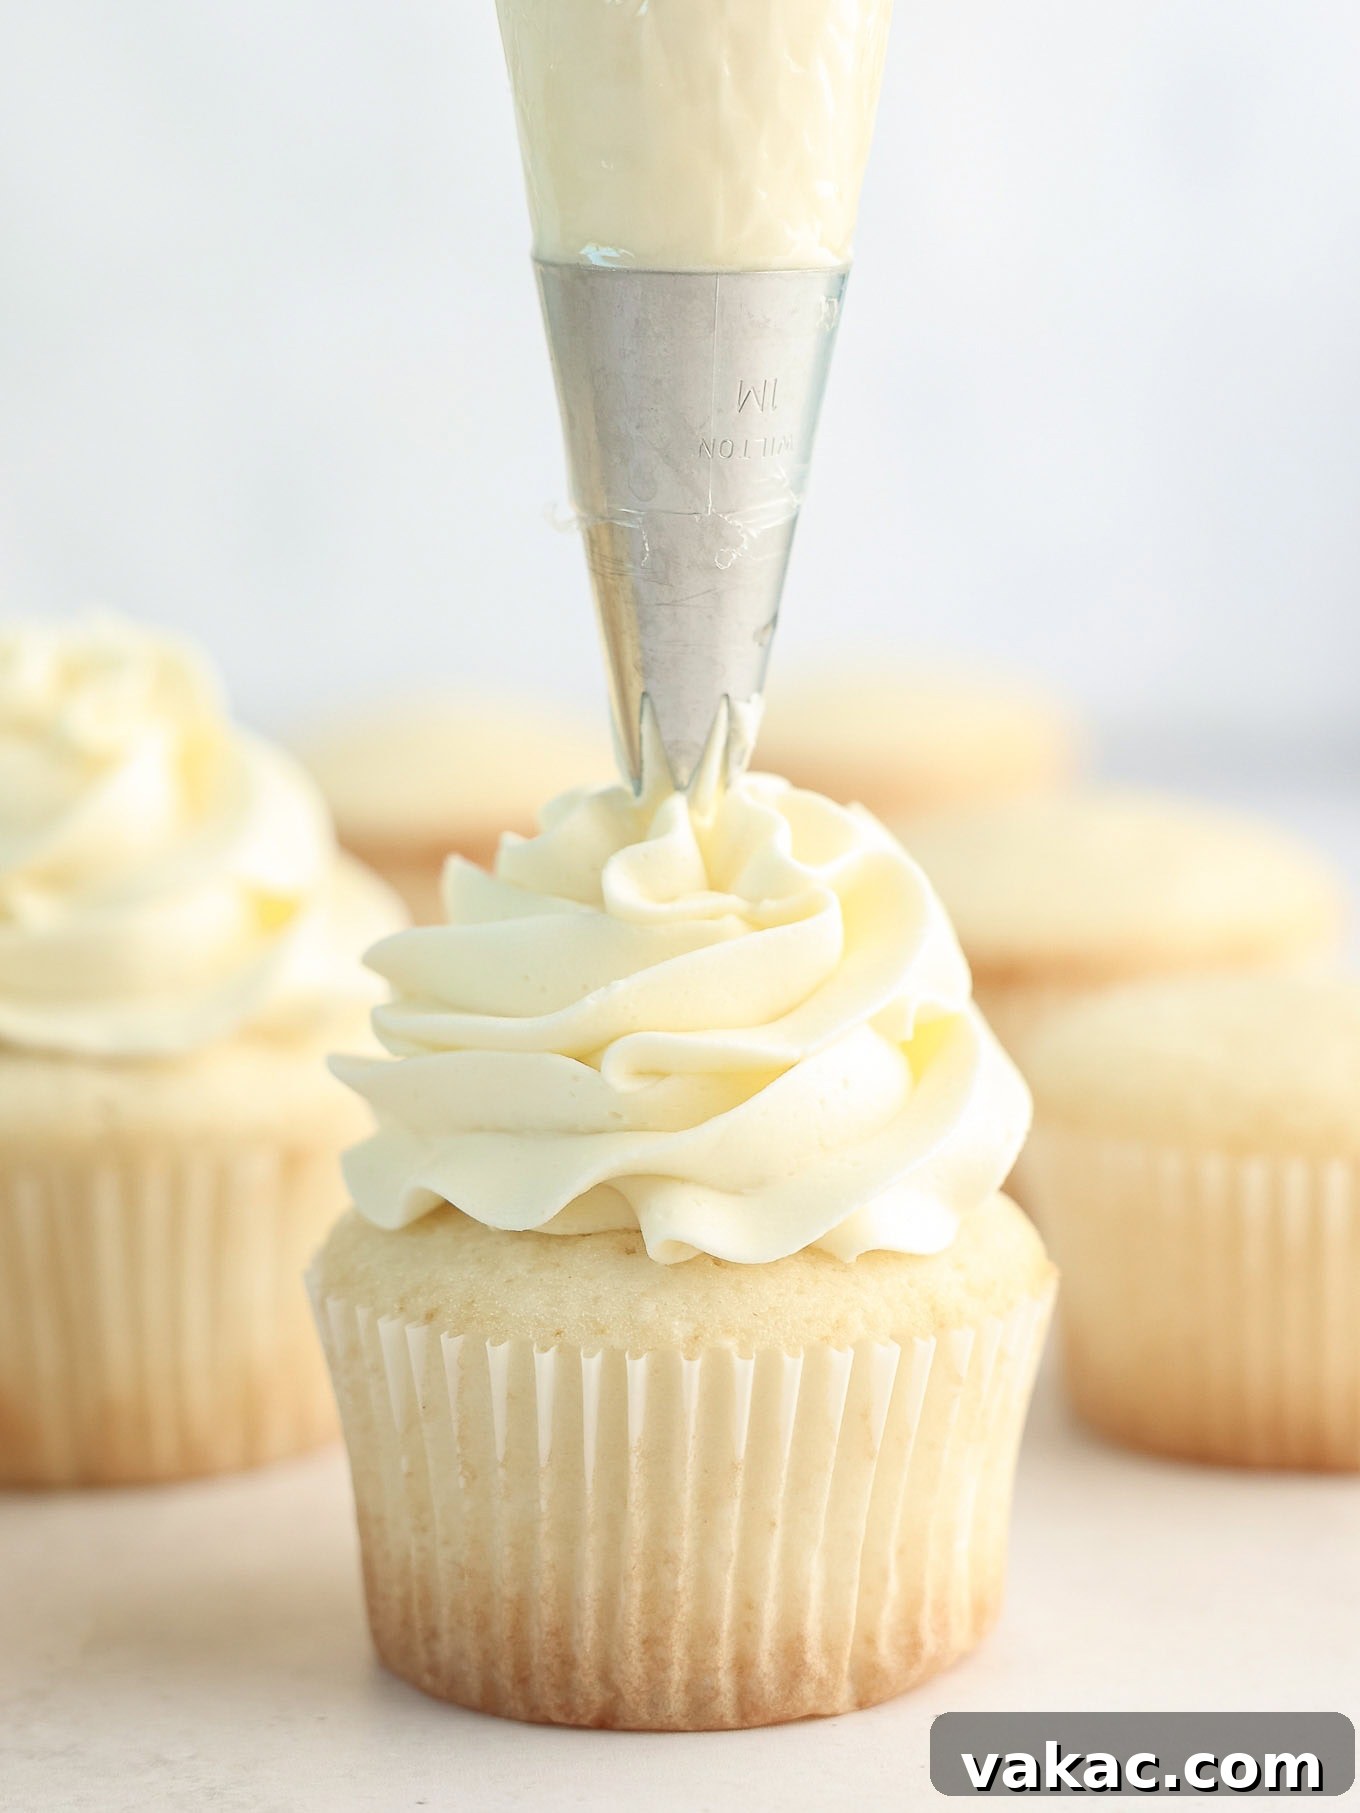
These elegant white cupcakes truly are the perfect blank canvas, ready to be adorned with almost any flavor of frosting your heart desires. While I’ve chosen to frost mine with a classic, rich vanilla buttercream, the possibilities are endless and deliciously exciting! Imagine pairing them with a bright and zesty lemon frosting for a refreshing twist, or the unique, velvety texture of ermine frosting (also known as “flour buttercream”). For a playful touch, a whimsical rainbow chip frosting would be delightful. If you prefer something lighter and tangy, whipped cream cheese frosting or a sophisticated mascarpone frosting would be fantastic choices. And for a burst of fruity sweetness, a vibrant strawberry frosting would undeniably be delicious too.
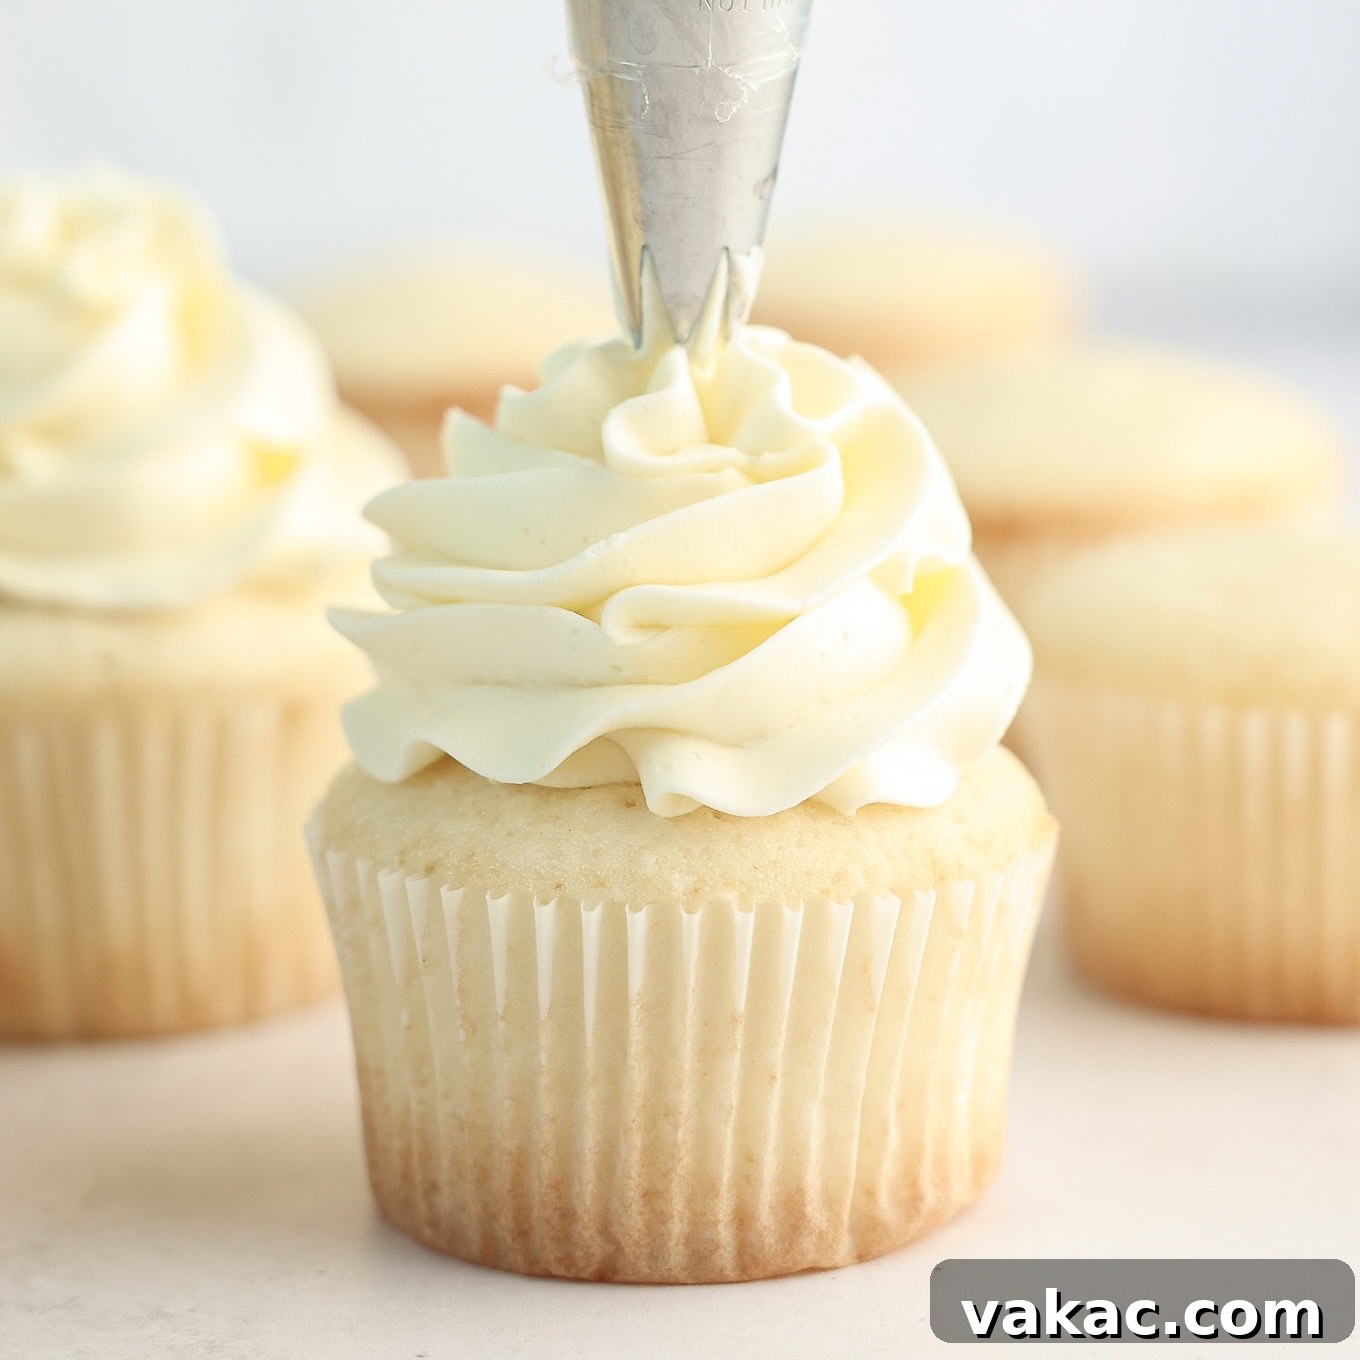
If you’re new to the art of cupcake decorating, don’t be intimidated! Be sure to read through my comprehensive post on how to frost cupcakes. I promise you, it’s a skill that’s much easier to master than you might think, and it will elevate your homemade treats to a professional-looking finish.
Once you’ve tried this delightful recipe, we’d love to hear from you! Don’t forget to leave a comment below and let us know how your beautiful white cupcakes turned out. Happy Baking!
White Cupcakes
45 minutes
20 minutes
1 hour 5 minutes
Pin Recipe
Leave a Review
Ingredients
16 cupcakes
White Cupcakes
- 1 ½ cups cake flour spooned & leveled (170 grams)
- 1 ½ teaspoons baking powder
- ¼ teaspoon salt
- ½ cup buttermilk at room temperature (120 ml)
- 1 ½ teaspoons clear or pure vanilla extract
- ½ cup unsalted butter softened (115 grams; 1 stick)
- 1 cup granulated sugar (200 grams)
- 3 large egg whites at room temperature
Vanilla Buttercream
- 1 cup unsalted butter softened (230 grams; 2 sticks)
- 3 cups powdered sugar (360 grams)
- 2 to 3 tablespoons heavy cream or milk at room temperature (30 to 45 ml)
- 1 ½ teaspoons clear or pure vanilla extract
- Tiny pinch of salt
Instructions
-
To make the white cupcakes: Preheat your oven to 350°F (177°C). Prepare two standard 12-count muffin pans by lining 16 cups with cupcake liners.
-
In a large mixing bowl, thoroughly whisk together the cake flour, baking powder, and salt until they are well combined. Set this dry mixture aside.1 ½ cups cake flour,
1 ½ teaspoons baking powder,
¼ teaspoon salt -
In a separate large mixing bowl or a liquid measuring cup, combine the buttermilk and vanilla extract. Stir until they are well blended. Set this liquid mixture aside.½ cup buttermilk,
1 ½ teaspoons clear or pure vanilla extract -
In the bowl of a stand mixer fitted with the paddle attachment (or using a handheld mixer in a large bowl), beat the softened butter on low speed until it is smooth and creamy. Next, add the granulated sugar. Increase the mixer speed to medium and continue beating for 3 to 4 minutes, or until the mixture becomes notably light in color and fluffy in texture.½ cup unsalted butter,
1 cup granulated sugar -
Gradually add the dry ingredients to the creamed butter and sugar mixture on low speed in two additions, alternating with the buttermilk mixture. Always begin and end with the dry ingredients. Mix each addition only until just combined, being careful not to over-mix the batter, which can lead to tough cupcakes.
-
In a separate, impeccably clean mixing bowl, beat the egg whites until they form stiff peaks. Gently fold half of the beaten egg whites into the cupcake batter using a rubber spatula. Once mostly incorporated, fold in the remaining egg whites until the mixture is just combined and no streaks of white remain.3 large egg whites
-
Evenly divide the cupcake batter among the 16 prepared cupcake liners, filling each one approximately half of the way full to allow for proper rising.
-
Bake for 15 to 20 minutes. The cupcakes are ready when a wooden toothpick inserted into the center emerges clean. Do not overbake to maintain moisture and color.
-
Remove the muffin pans from the oven and allow the cupcakes to cool in the pan for 5 minutes. After this initial cooling, carefully transfer the cupcakes to a wire rack to cool completely before frosting.
-
To make the vanilla buttercream: In the bowl of a stand mixer fitted with the paddle attachment (or using a handheld mixer), beat the softened unsalted butter until it is completely smooth and creamy.1 cup unsalted butter
-
Gradually add half of the powdered sugar to the butter on low speed, mixing until incorporated. Then, add the remaining half of the powdered sugar and continue mixing until the mixture is fully combined and smooth.3 cups powdered sugar
-
Add the heavy cream or milk, vanilla extract, and a tiny pinch of salt to the buttercream mixture. Continue mixing on low speed until all ingredients are thoroughly combined and the frosting is light and fluffy, scraping down the sides of the bowl as needed to ensure even mixing.2 to 3 tablespoons heavy cream or milk,
1 ½ teaspoons clear or pure vanilla extract,
Tiny pinch of salt -
Once the cupcakes have cooled completely, pipe the vanilla buttercream frosting onto each one using your preferred piping tip, creating beautiful swirls or designs.
Notes
Freezing Instructions: Both the baked cupcakes (unfrosted) and the vanilla buttercream frosting freeze exceptionally well for up to 3 months. To freeze cupcakes, wrap them individually in plastic wrap and then place them in an airtight container. For frosting, store it in an airtight container or a freezer-safe bag. When ready to enjoy, thaw them to room temperature. Before frosting, give the thawed buttercream a good whisk or re-beat it briefly to restore its creamy consistency.
American
Dessert
Danielle Rye
Did you make this recipe?
Mention @livewellbakeoften on Instagram or tag #livewellbakeoften.