
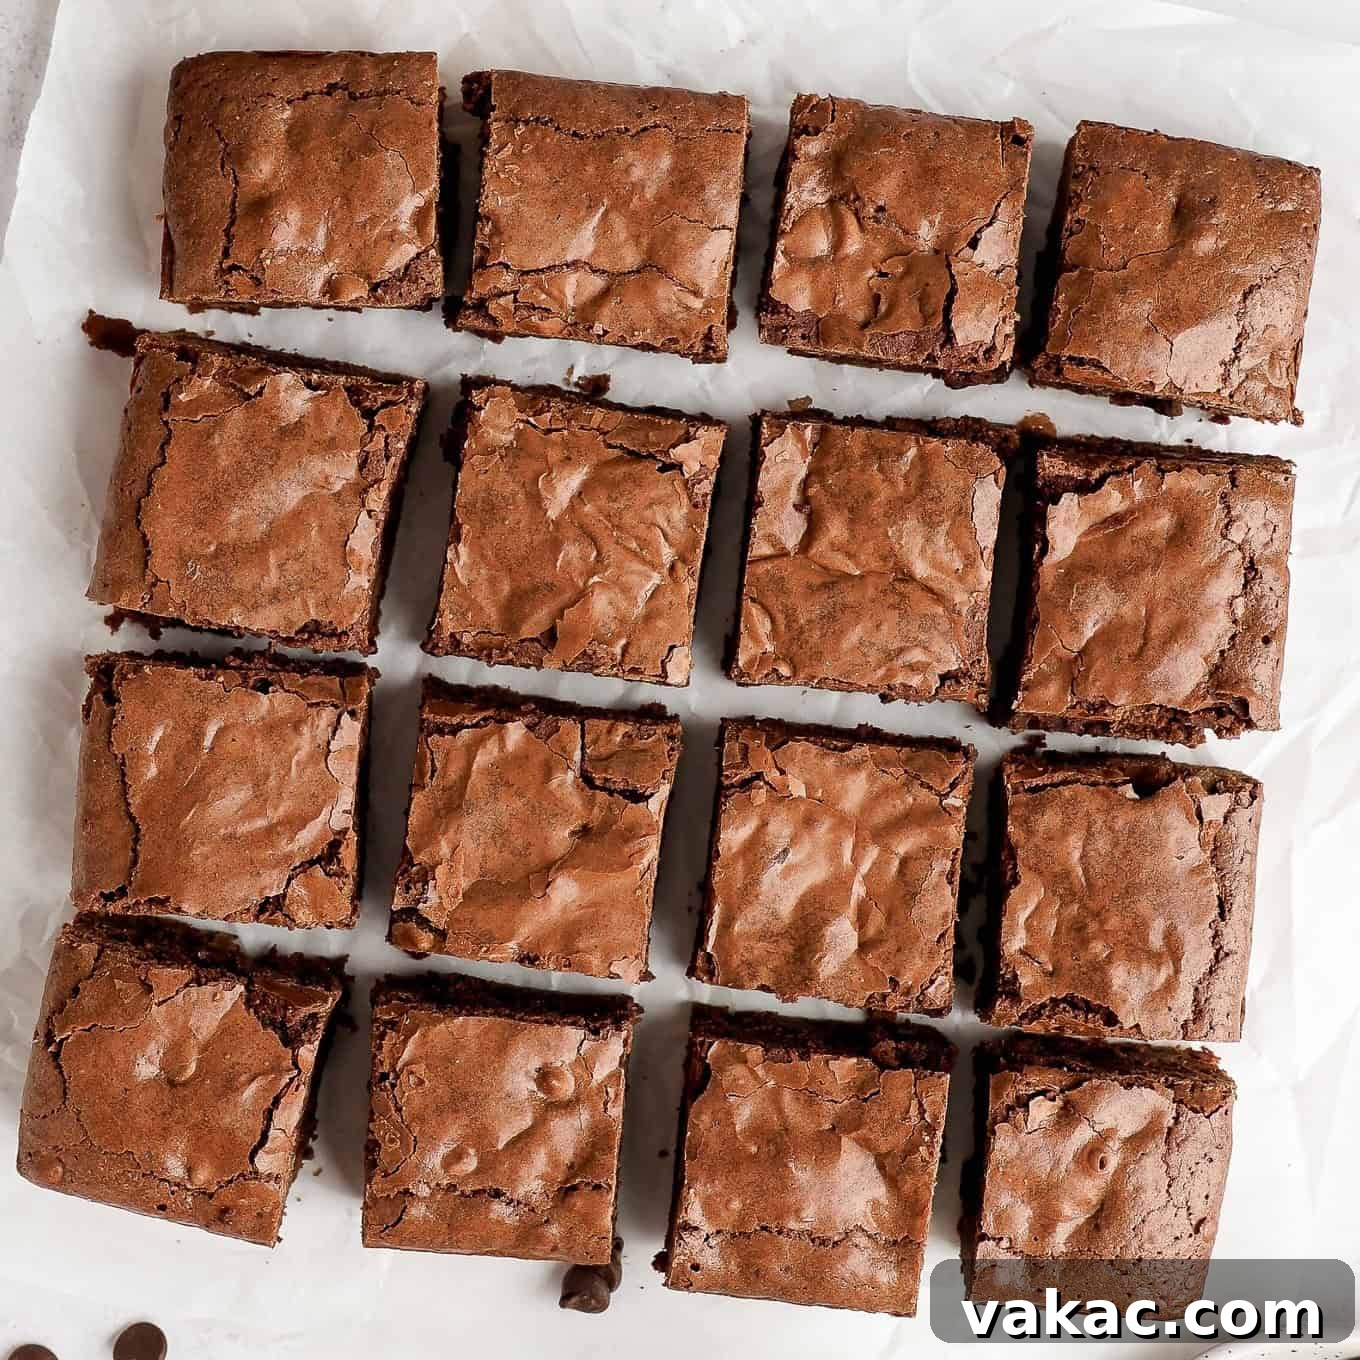
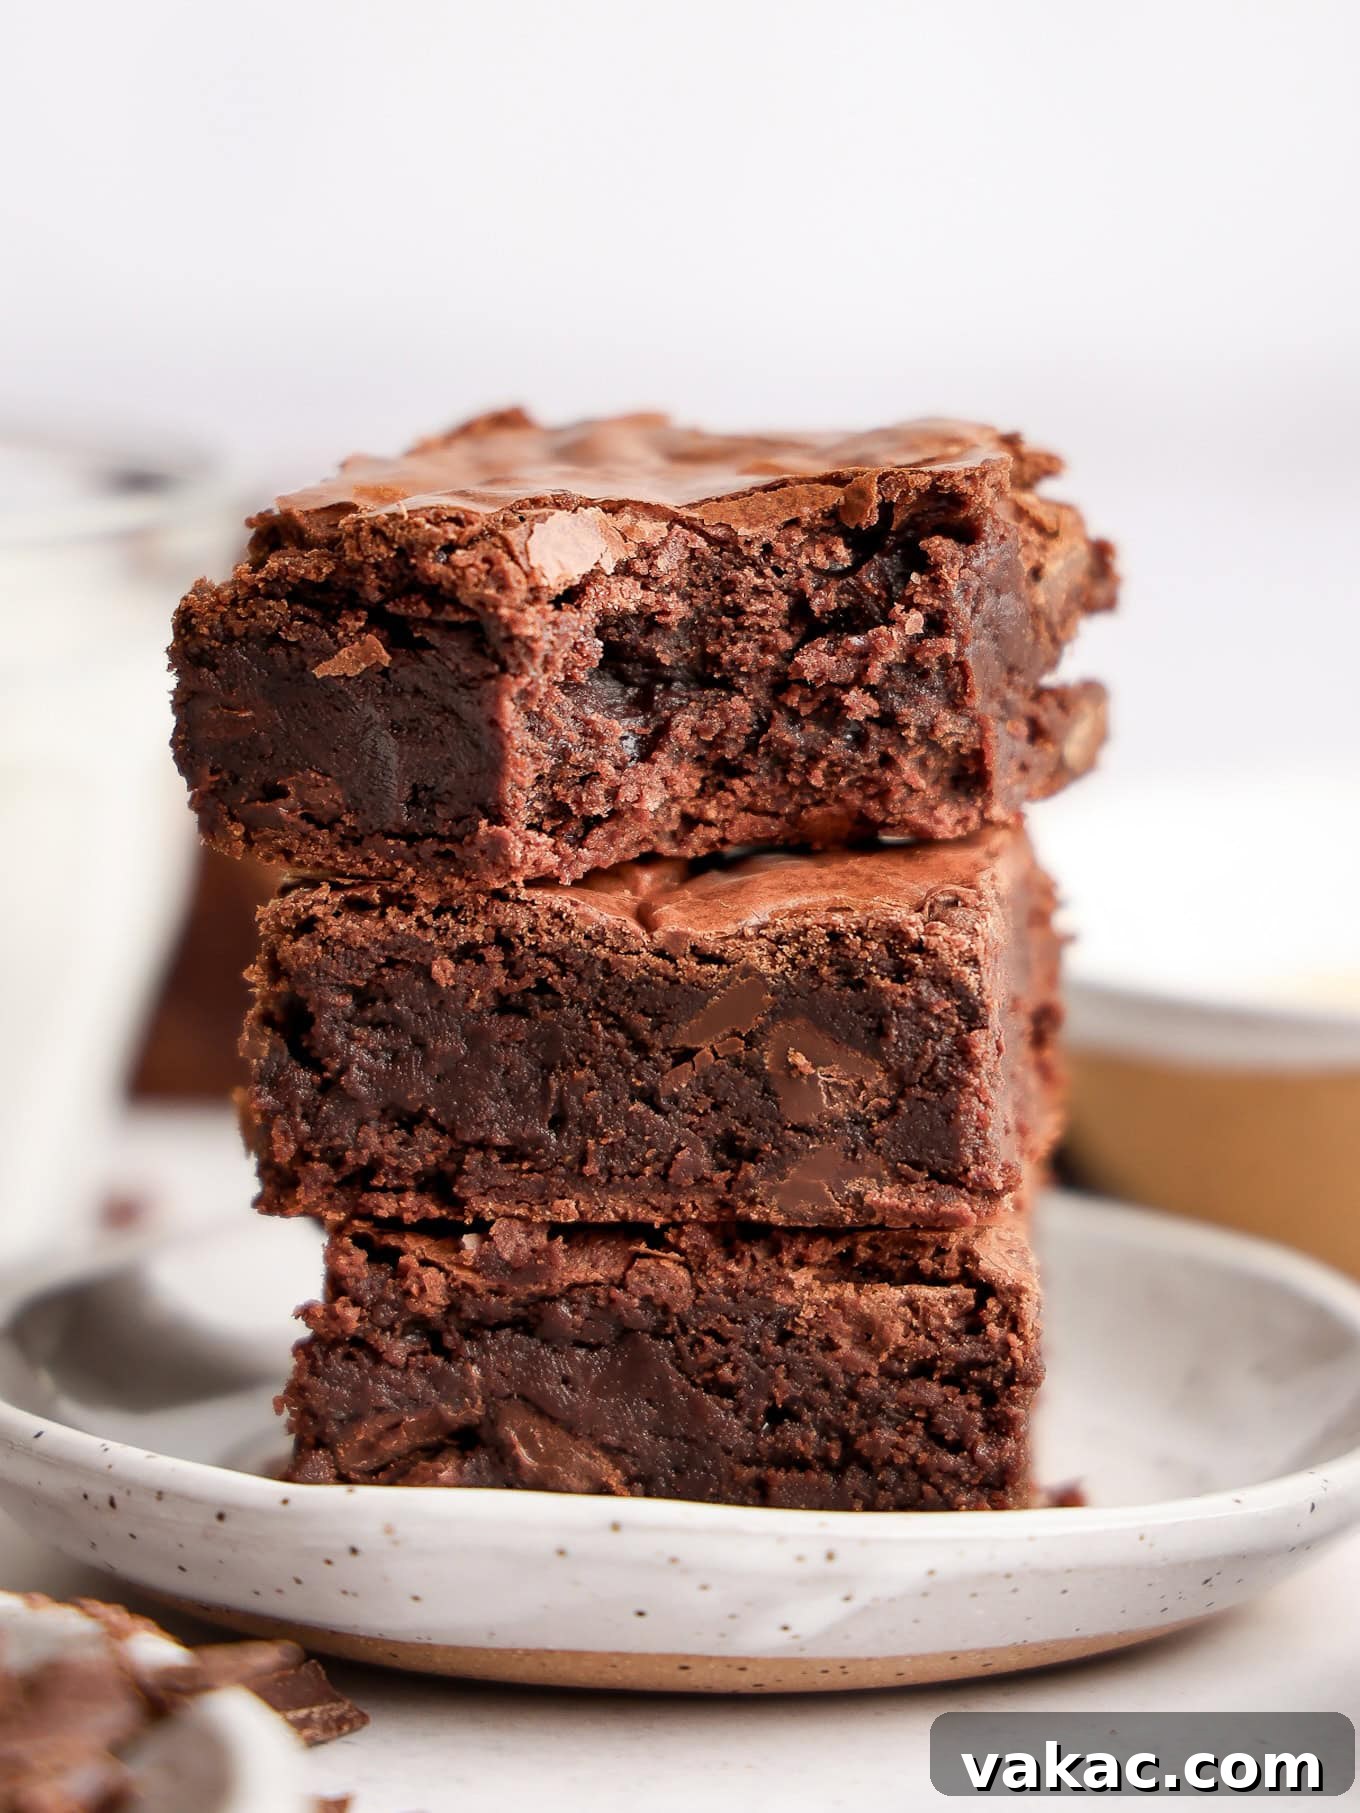
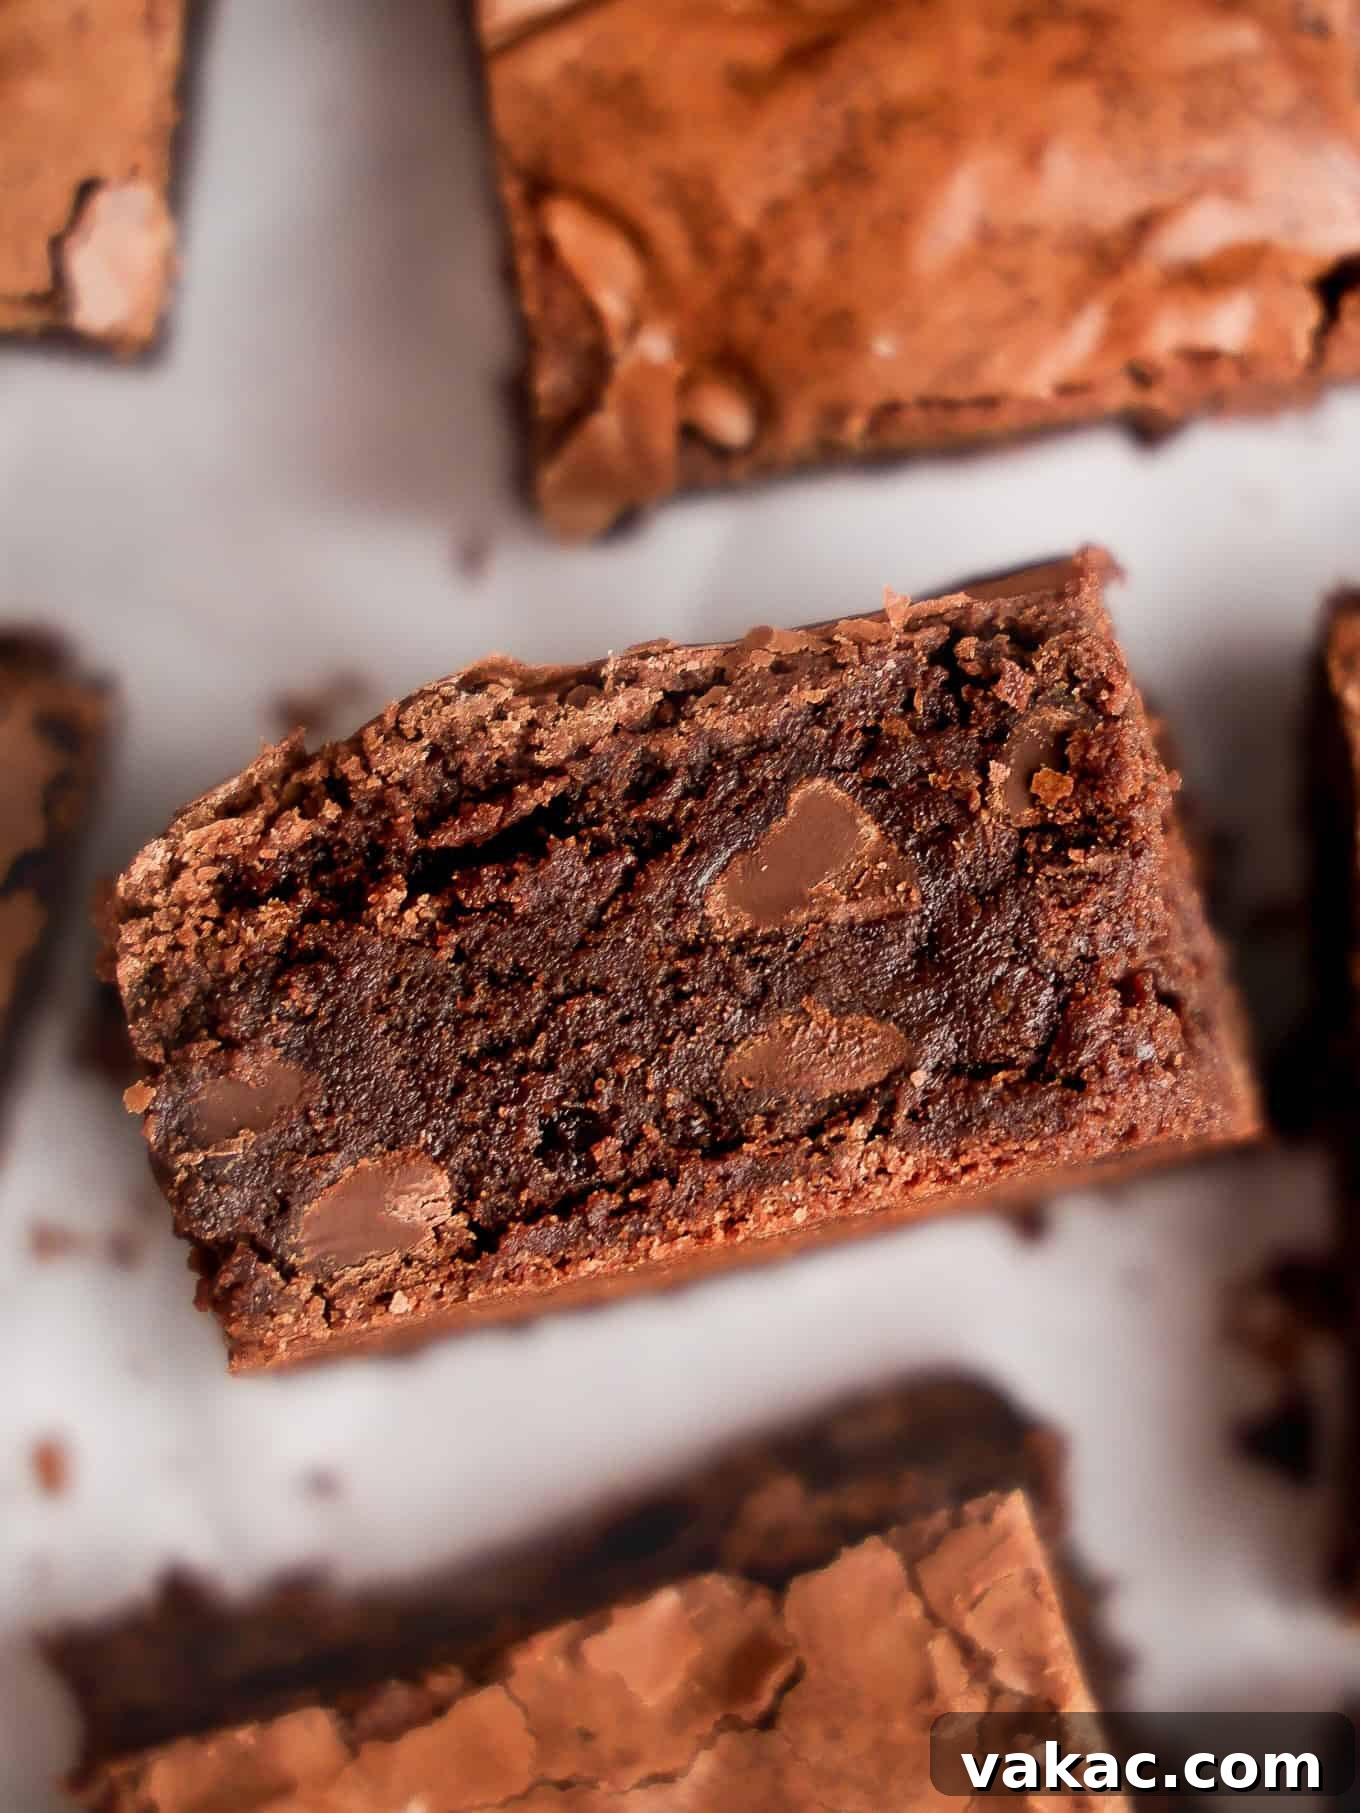
Prepare to elevate your brownie game with these unbelievably fudgy brown butter brownies! This recipe takes everything you love about classic homemade brownies – their rich chocolate flavor, dense chewiness, and that irresistible crackly top – and enhances it with the magical depth of brown butter. Forget ordinary; these aren’t just good brownies, they’re truly exceptional.
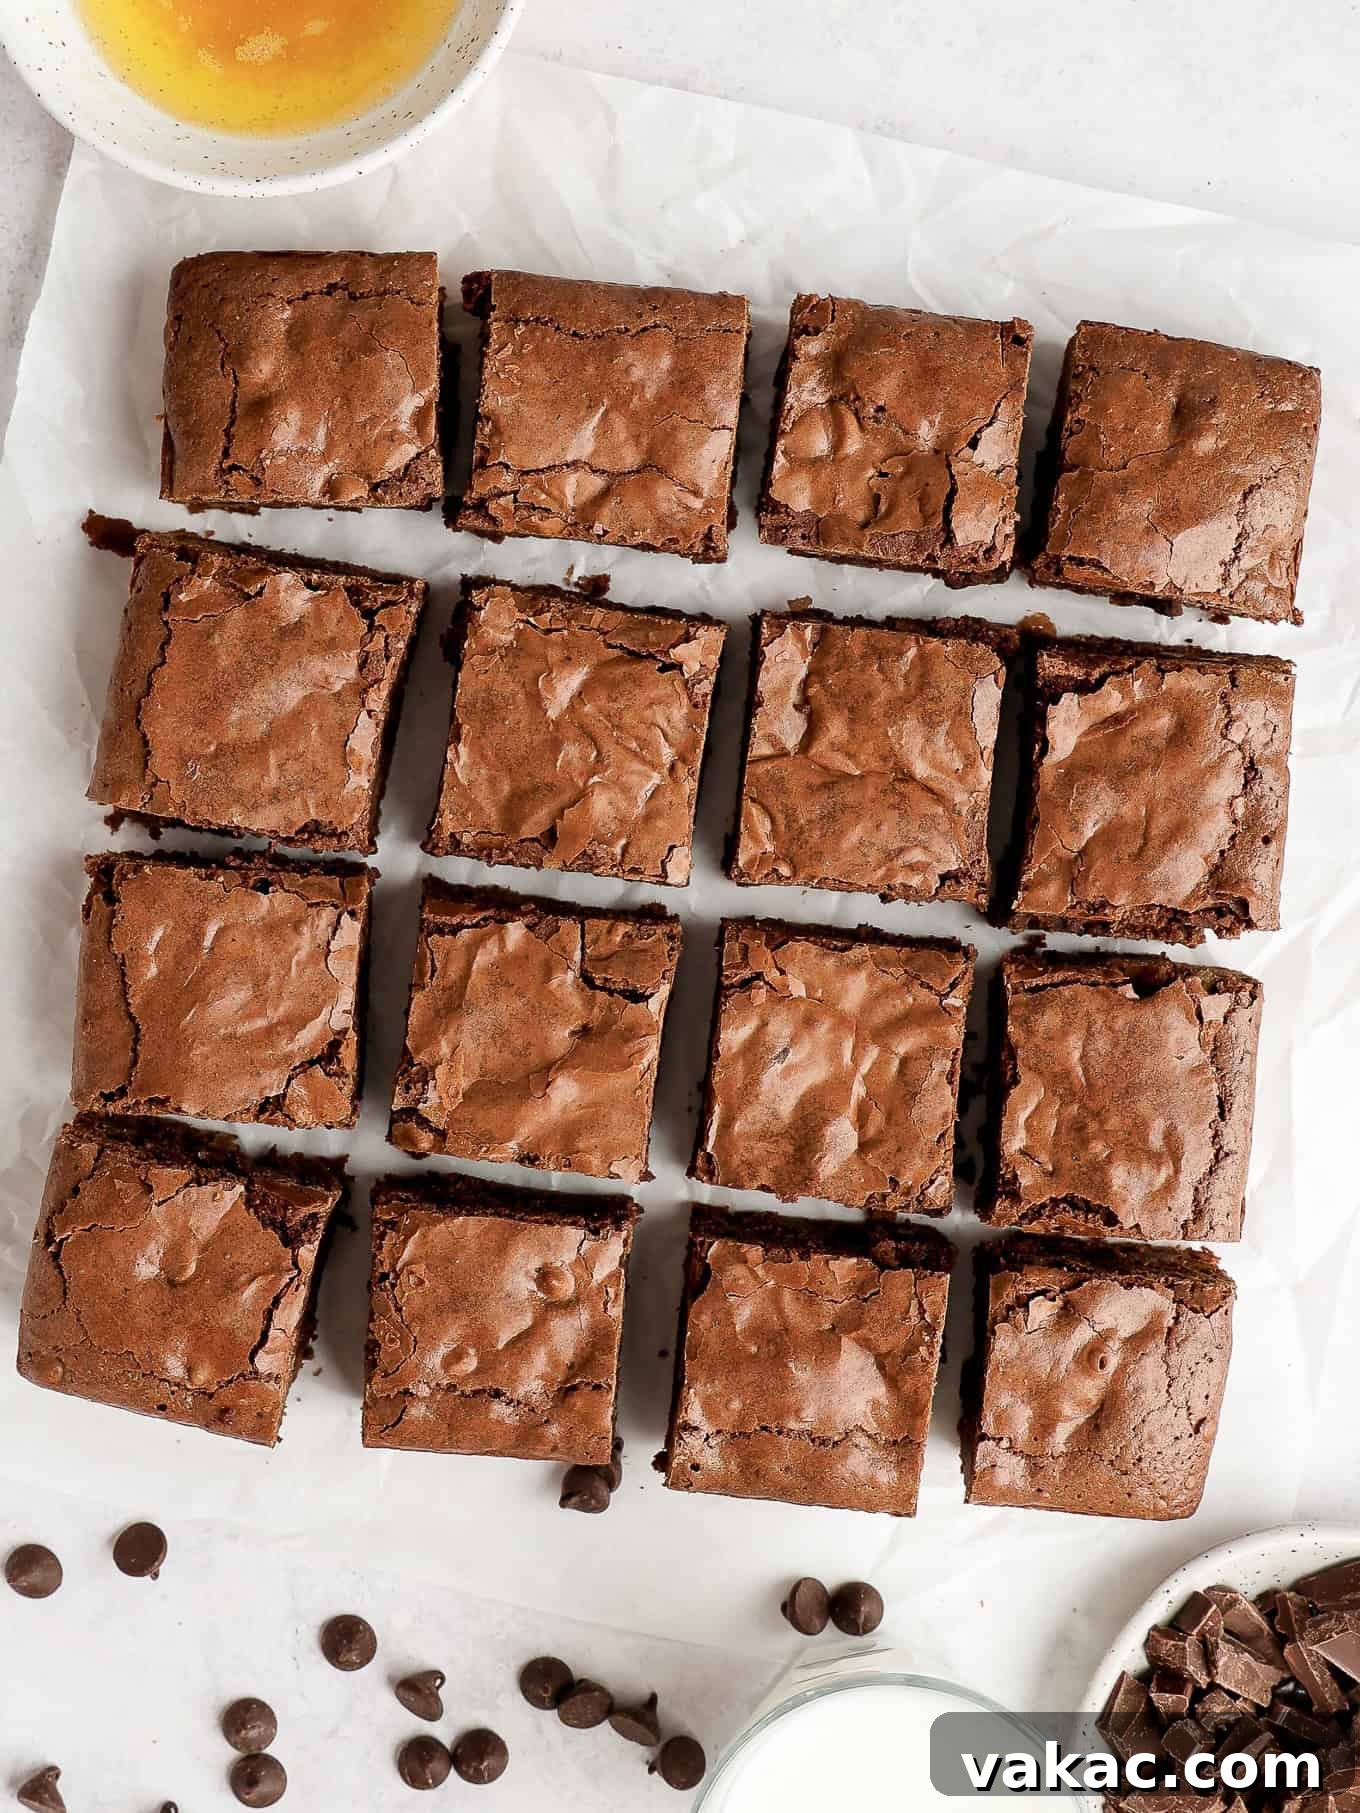
If your heart beats for homemade chocolate brownies that strike the perfect balance between gooey in the middle and crisp on top, today’s recipe is about to become your new favorite. This brown butter iteration delivers all those coveted results, but with an added layer of sophistication and flavor that will leave everyone craving more.
Unlocking the Secret to the Best Fudgy Brownies: Brown Butter Magic
The distinctive nutty, toasty undertones of brown butter are what truly set these brownies apart. This simple technique transforms ordinary unsalted butter into a golden elixir, adding a richness and depth of flavor that’s both subtle and profound. It’s that secret “something” that makes these brownies taste incredibly decadent and complex, making them stand out in any dessert spread. Your guests will know they’re eating something special, even if they can’t quite pinpoint the ingredient that makes them so extraordinarily delicious.
Beyond the brown butter, these brownies boast an intense chocolate flavor, thanks to a powerful combination of both cocoa powder and melted chocolate in the batter. For an ultimate chocolate indulgence, a generous cup of semi-sweet chocolate chips is folded in just before baking, ensuring pockets of melted chocolate with every single bite.
Whether you’re looking for a delightful weekend baking project or a show-stopping treat for a gathering, I wholeheartedly recommend whipping up a batch of these brownies. They require only about 20 minutes of active mixing time and are guaranteed to disappear quickly, leaving behind nothing but satisfied smiles and requests for the recipe.
The Essential Chocolate Elements for Rich Brownies
Achieving a truly remarkable brownie hinges on the quality and type of chocolate you use. This recipe meticulously selects specific forms of chocolate to ensure optimal flavor, texture, and fudginess. Let’s delve into the chocolate components that make these brown butter brownies so irresistible.
Semi-Sweet Chocolate Bars: The Foundation of Fudginess
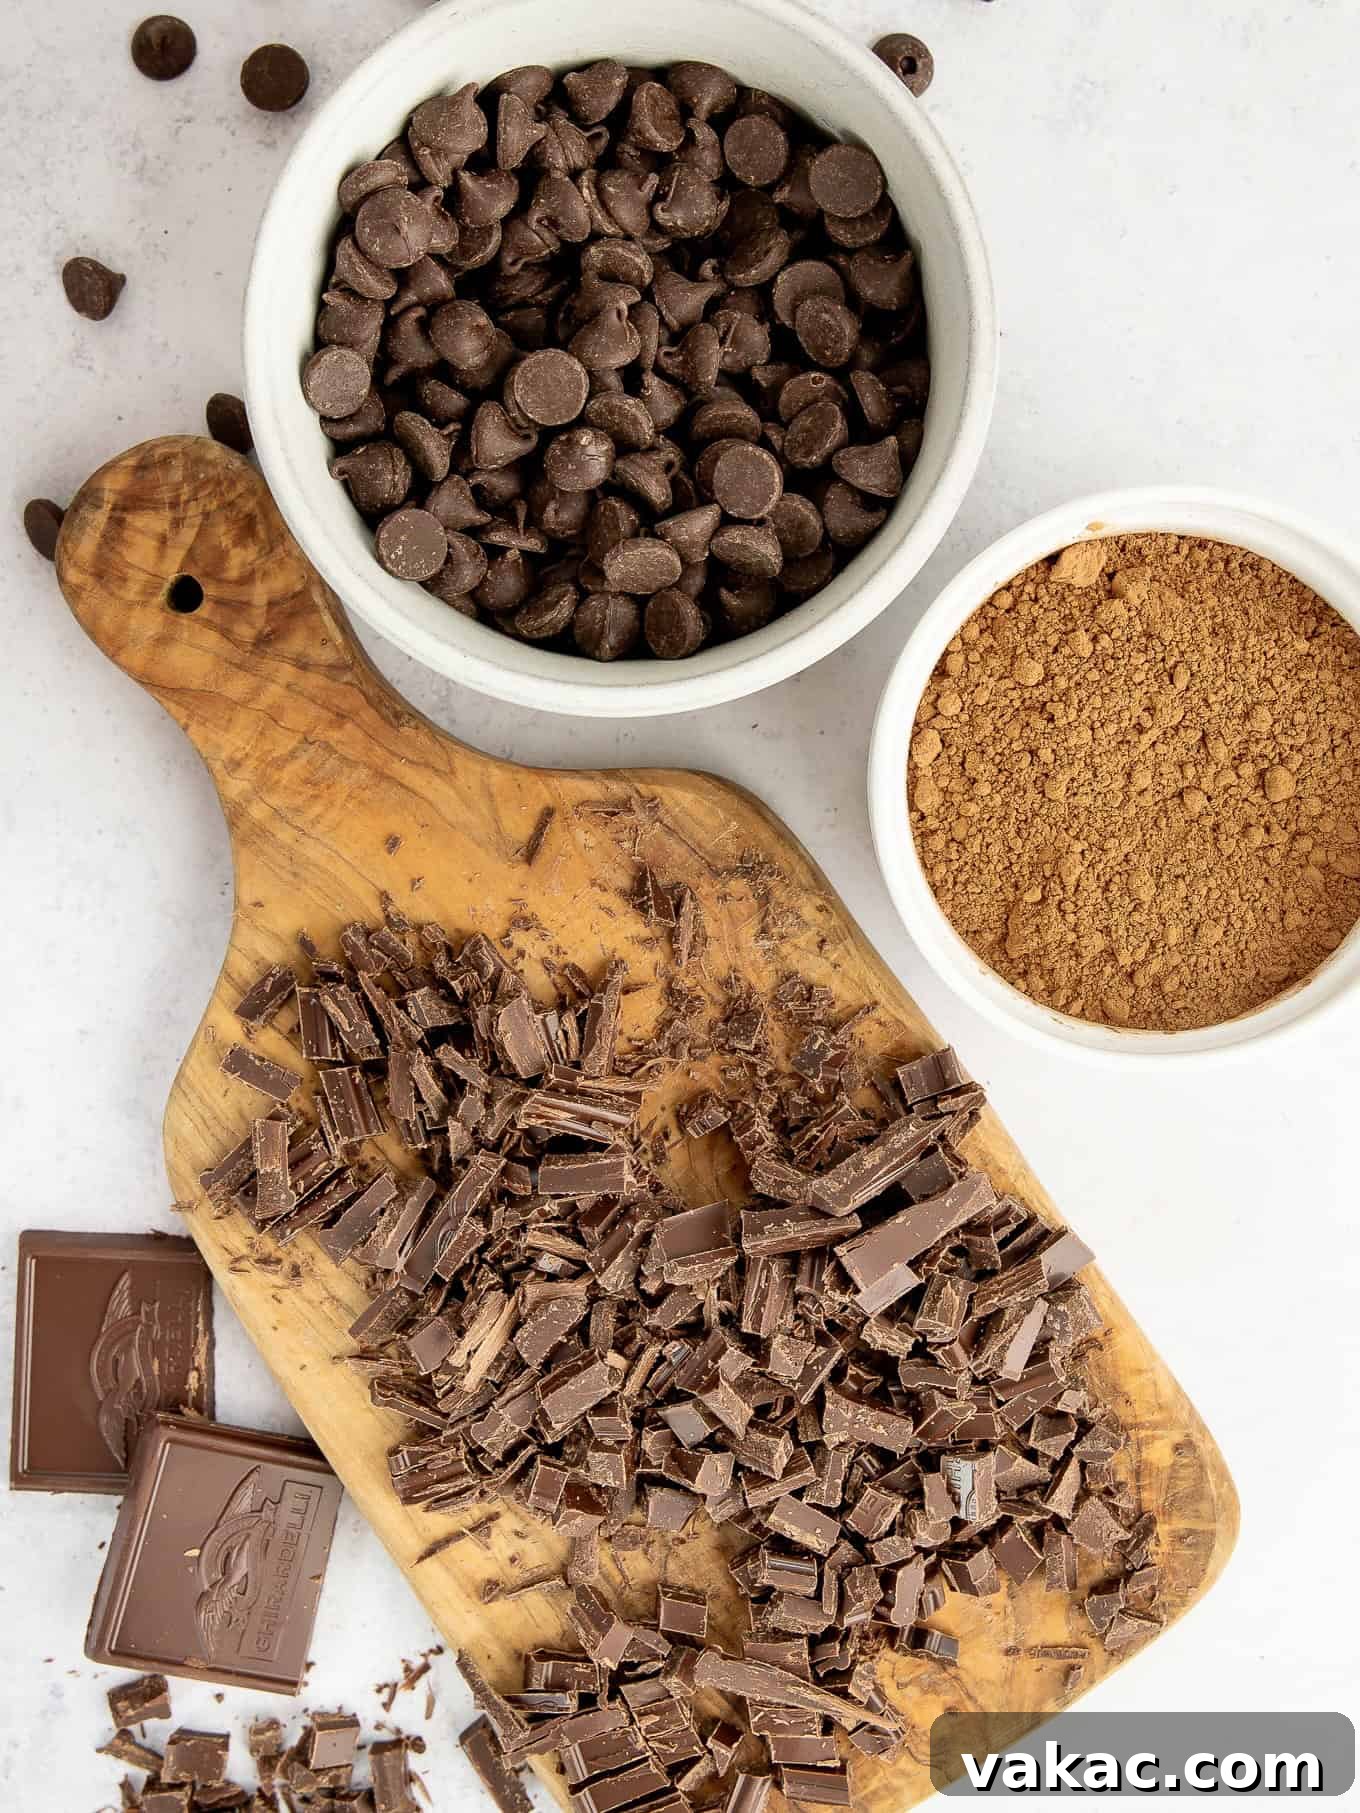
For the core chocolate base of these brownies, using high-quality semi-sweet chocolate bars is paramount. Chocolate bars are engineered to melt much more smoothly and evenly compared to chocolate chips. This is because chocolate chips contain stabilizers designed to help them hold their shape during baking. While excellent for texture, these stabilizers can hinder the silky, homogenous melting desired for a truly fudgy brownie batter. Opting for chopped chocolate from a bar ensures a perfectly smooth integration, contributing to that desirable dense and moist interior.
Choosing Your Cocoa Powder: Dutch Process vs. Natural
Cocoa powder plays a critical role in intensifying the chocolate flavor without adding extra fat. In this brown butter brownie recipe, I lean towards using Dutch process cocoa powder. Dutch process cocoa has been treated with an alkali to neutralize its acidity, resulting in a darker color and a milder, richer, and less bitter chocolate taste than natural cocoa powder. This creates a deep, profound chocolate flavor that complements the nutty brown butter beautifully. However, if natural cocoa powder is all you have on hand, it can certainly be used; just be aware it might yield a slightly lighter color and a tangier, more assertive chocolate note. For those new to the nuances of baking with cocoa, I highly recommend exploring my detailed guide on the difference between natural and Dutch process cocoa powder to understand how each impacts your baked goods.
The Role of Chocolate Chips: Texture & Flavor Boost
To further enhance both the texture and chocolate intensity, a full cup of semi-sweet chocolate chips is folded into the batter. These chips provide delightful pockets of melted chocolate throughout the brownie, adding an extra layer of richness and a satisfying bite. While semi-sweet is a classic choice, feel free to experiment with other varieties of chocolate chips or baking chunks, such as milk chocolate, dark chocolate, or even white chocolate, to customize the flavor profile to your liking. The key is to add them at the end to maintain their individual integrity and create those desirable melty morsels.
Mastering the Art of Browning Butter: A Step-by-Step Guide
Browning butter, while sounding gourmet, is a surprisingly simple technique that can profoundly elevate the flavor of your baked goods. The process involves gently cooking butter until its milk solids caramelize, creating a rich, nutty aroma and a beautiful golden-amber hue. However, precision is key, as it can quickly go from perfectly browned to burnt. Here’s a quick, foolproof guide to help you achieve perfectly browned butter every time:
- Choose the Right Pan: Begin by selecting a light-colored skillet or saucepan. The lighter color of the pan’s interior is crucial because it allows you to easily observe the butter’s color changes, preventing accidental burning.
- Even Melting is Key: Slice your unsalted butter into even, tablespoon-sized pieces before placing it in the skillet. This ensures the butter melts more quickly and uniformly, promoting even browning of the milk solids.
- The Transformation Process: Place the skillet over medium heat. Once the butter has completely melted, it will begin to sputter and then form a foamy layer on top. Continue to stir the butter frequently with a rubber spatula. As the foam subsides, you’ll notice small milk solids sinking to the bottom of the pan and beginning to turn golden brown. This is the Maillard reaction at work, developing those irresistible nutty flavors.
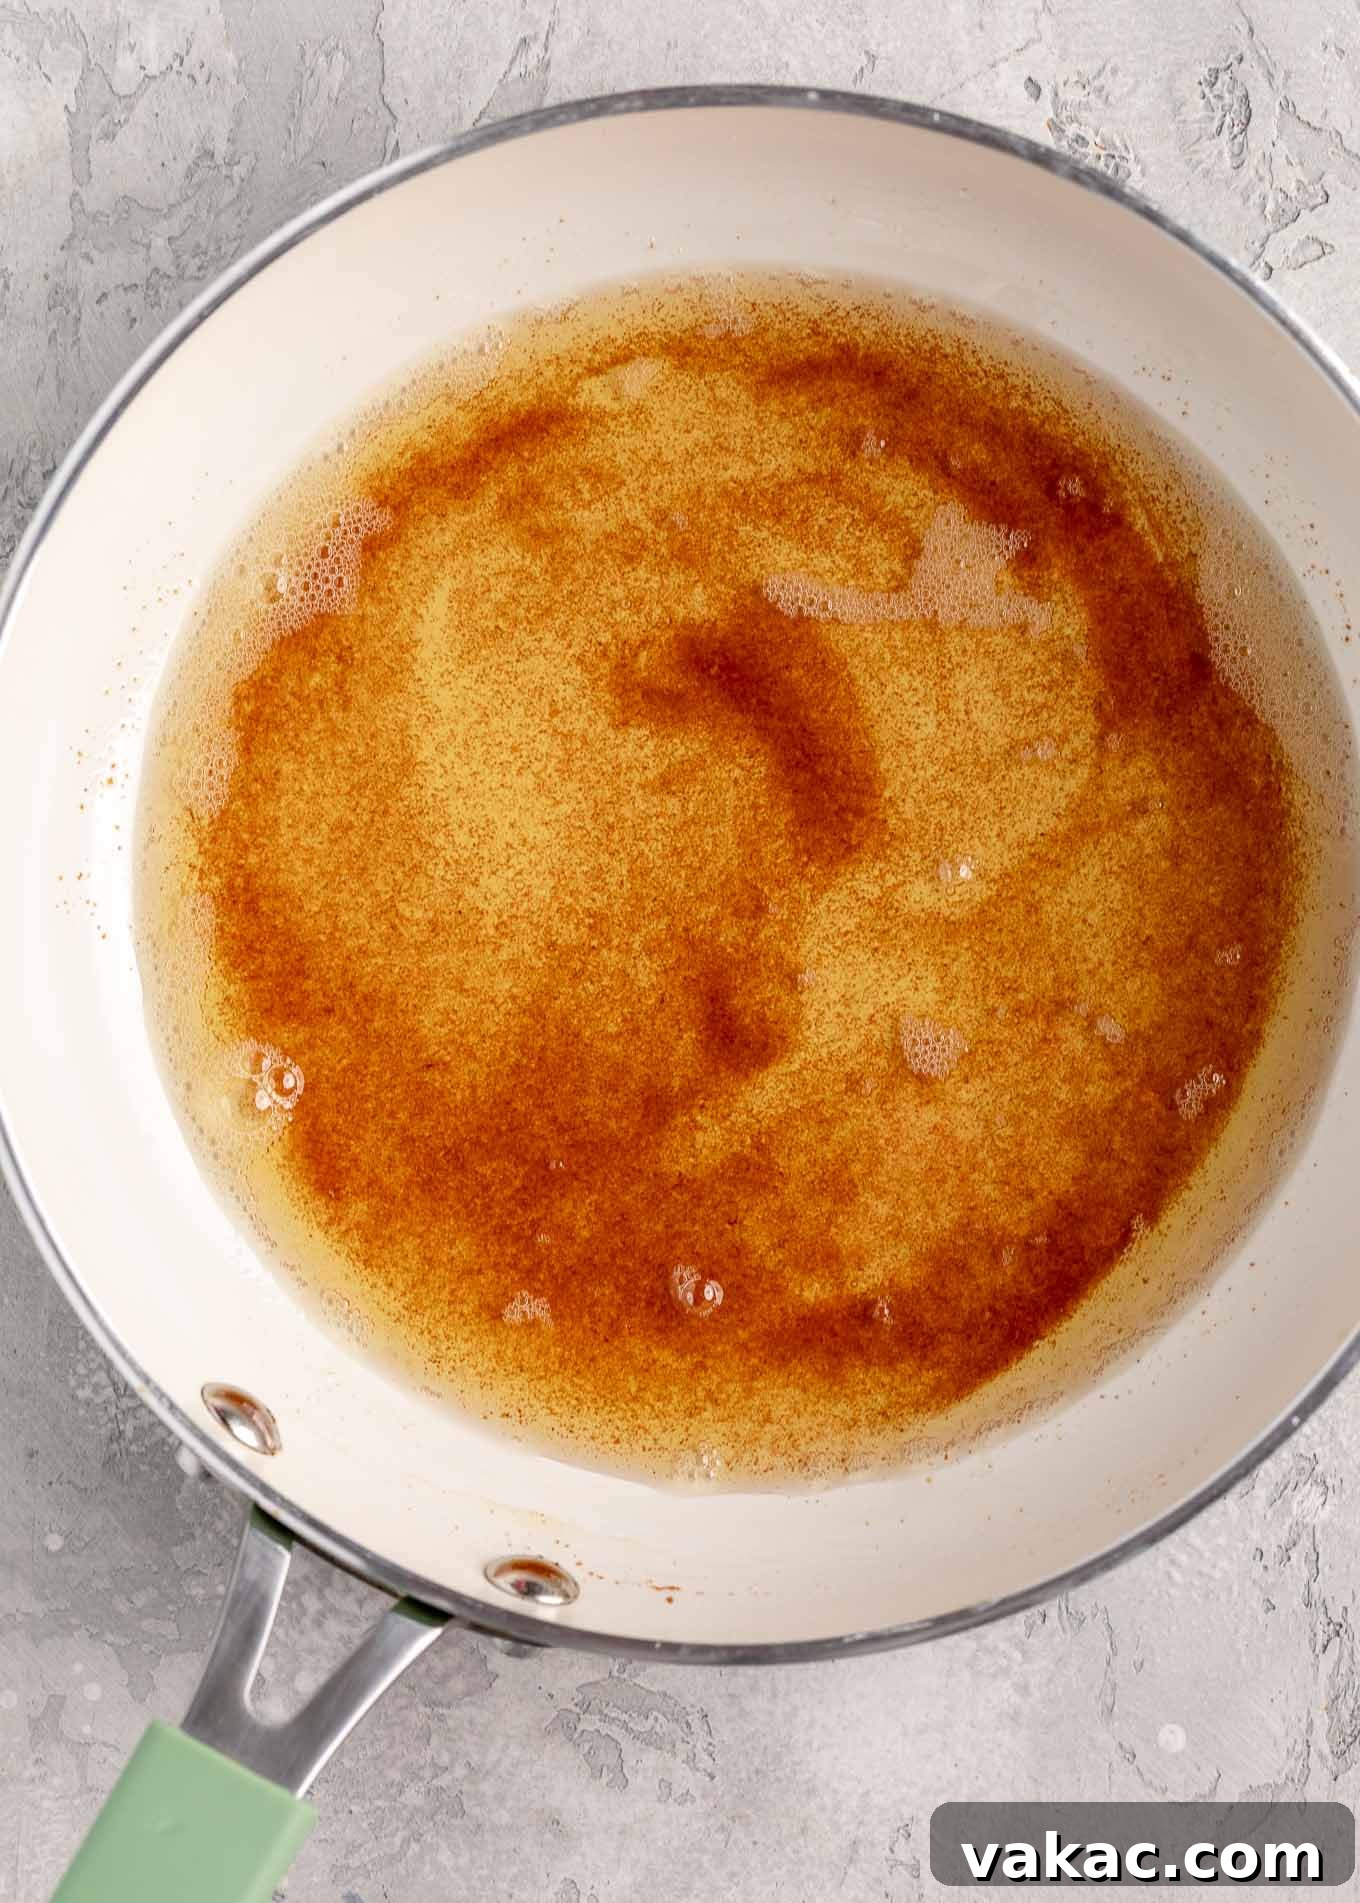
- Know When to Stop: The moment all the milk solids at the bottom of the pan are a beautiful golden-brown color, and you perceive a distinct, fragrant nutty aroma, immediately remove the pan from the heat. The butter itself should be a deep amber, but the browned bits are the true indicator of doneness. It should look just like the inviting picture above!
- Scrape Every Bit: Do not let the browned butter sit in the hot pan after removing it from the heat, as residual heat can quickly lead to burning. Immediately pour and scrape every last drop of the browned butter, including all those flavorful brown bits from the bottom of the pan, into a heat-proof bowl. These little browned bits are packed with flavor and are essential for the ultimate brown butter taste!
If you’re new to this technique or simply want a more in-depth understanding, I have a detailed tutorial on how to brown butter. It’s packed with step-by-step photos and helpful troubleshooting tips to ensure your success.
Achieving Perfection: Expert Tips for Fudgy Brownies
While the brown butter is a game-changer, several other factors contribute to creating brownies that are consistently fudgy, moist, and perfectly textured. Follow these expert tips to ensure your brown butter brownies turn out flawlessly every time:
- Strategic Ingredient Addition: Always brown the butter first. Once beautifully browned, immediately pour it over your chopped chocolate bar. This dual-purpose step achieves two things: it halts the butter’s cooking process, preventing it from burning, and it melts the chocolate efficiently using residual heat. Stirring the cocoa powder into this warm, melted chocolate mixture allows the cocoa to “bloom,” intensifying its chocolate flavor and ensuring a deep, rich hue in your final brownies.
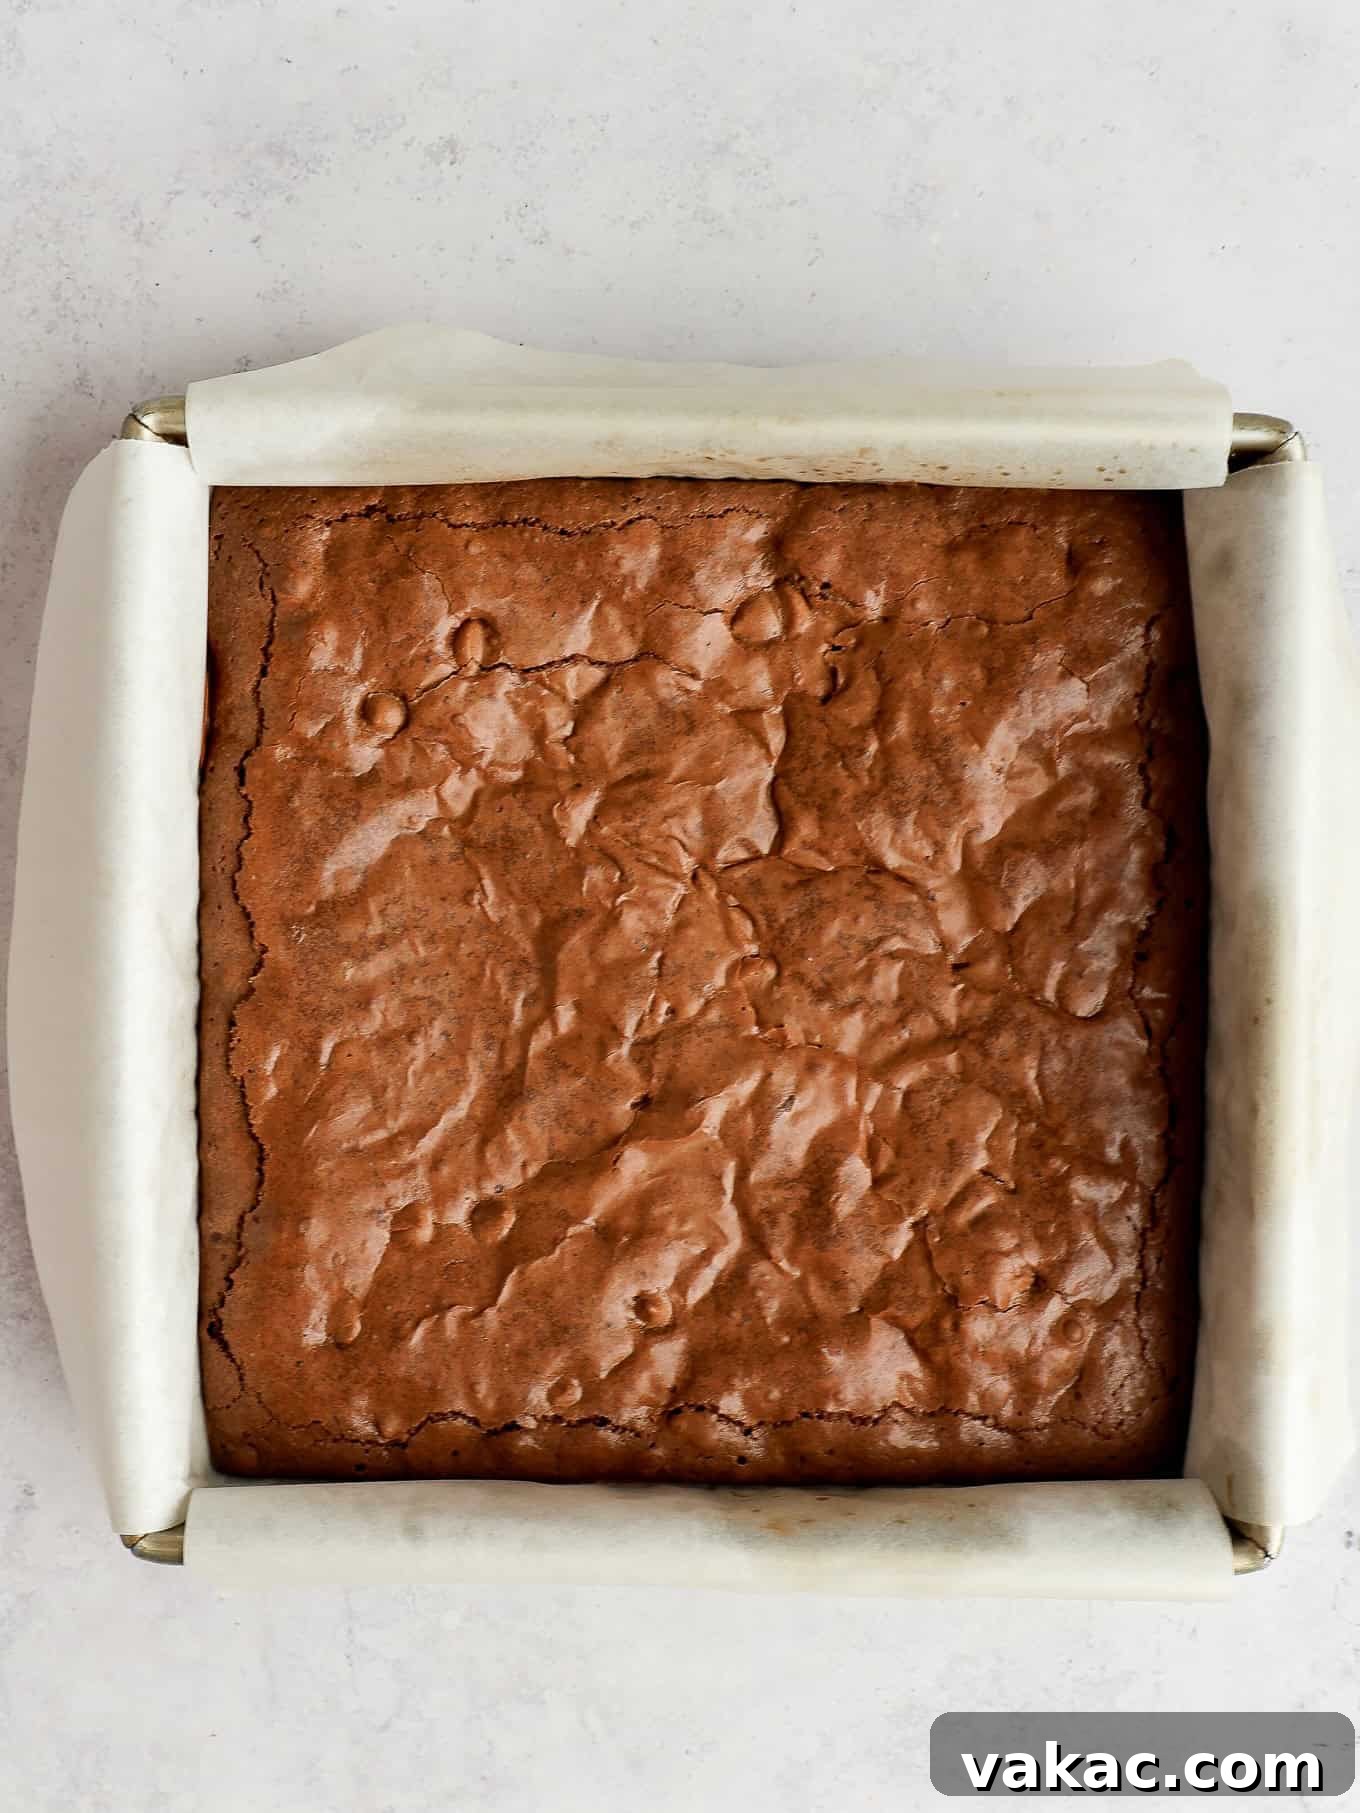
- Whip Eggs and Sugar Vigorously: Don’t underestimate the power of whisking your eggs and both granulated and brown sugars together. Beat them vigorously for at least 2 to 3 minutes, until the mixture becomes significantly lighter in color and thickens noticeably. This crucial step helps to fully dissolve the sugar, which is essential for creating that desirable shiny, crackly crust on top of your brownies – a hallmark of a truly well-made fudgy brownie.
- Resist Reducing Sugar: Sugar is more than just a sweetener in baking; it’s a vital structural component. In brownies, sugar contributes significantly to their moistness and chewy, gooey texture. Attempting to reduce the sugar content, while tempting, will likely result in drier, cake-like brownies that lose that signature fudginess. Stick to the recommended amount for optimal results.
- Mind the Baking Time: The difference between fudgy and dry brownies often comes down to just a few minutes in the oven. Bake just until a toothpick inserted into the center comes out with moist crumbs clinging to it, rather than completely clean. This indicates that the brownies are set but still retain enough moisture to be incredibly fudgy once they’ve cooled to room temperature. Overbaking is the quickest way to dry out your brownies.
- Cool Completely for the Best Texture: Patience is a virtue, especially when it comes to brownies. While it’s tempting to dig in as soon as they emerge from the oven, brownies continue to set and firm up as they cool. For the fudgiest texture and clean slices, allow them to cool completely on a wire rack. For an even firmer, denser brownie, you can chill them in the refrigerator for an hour or two before slicing.
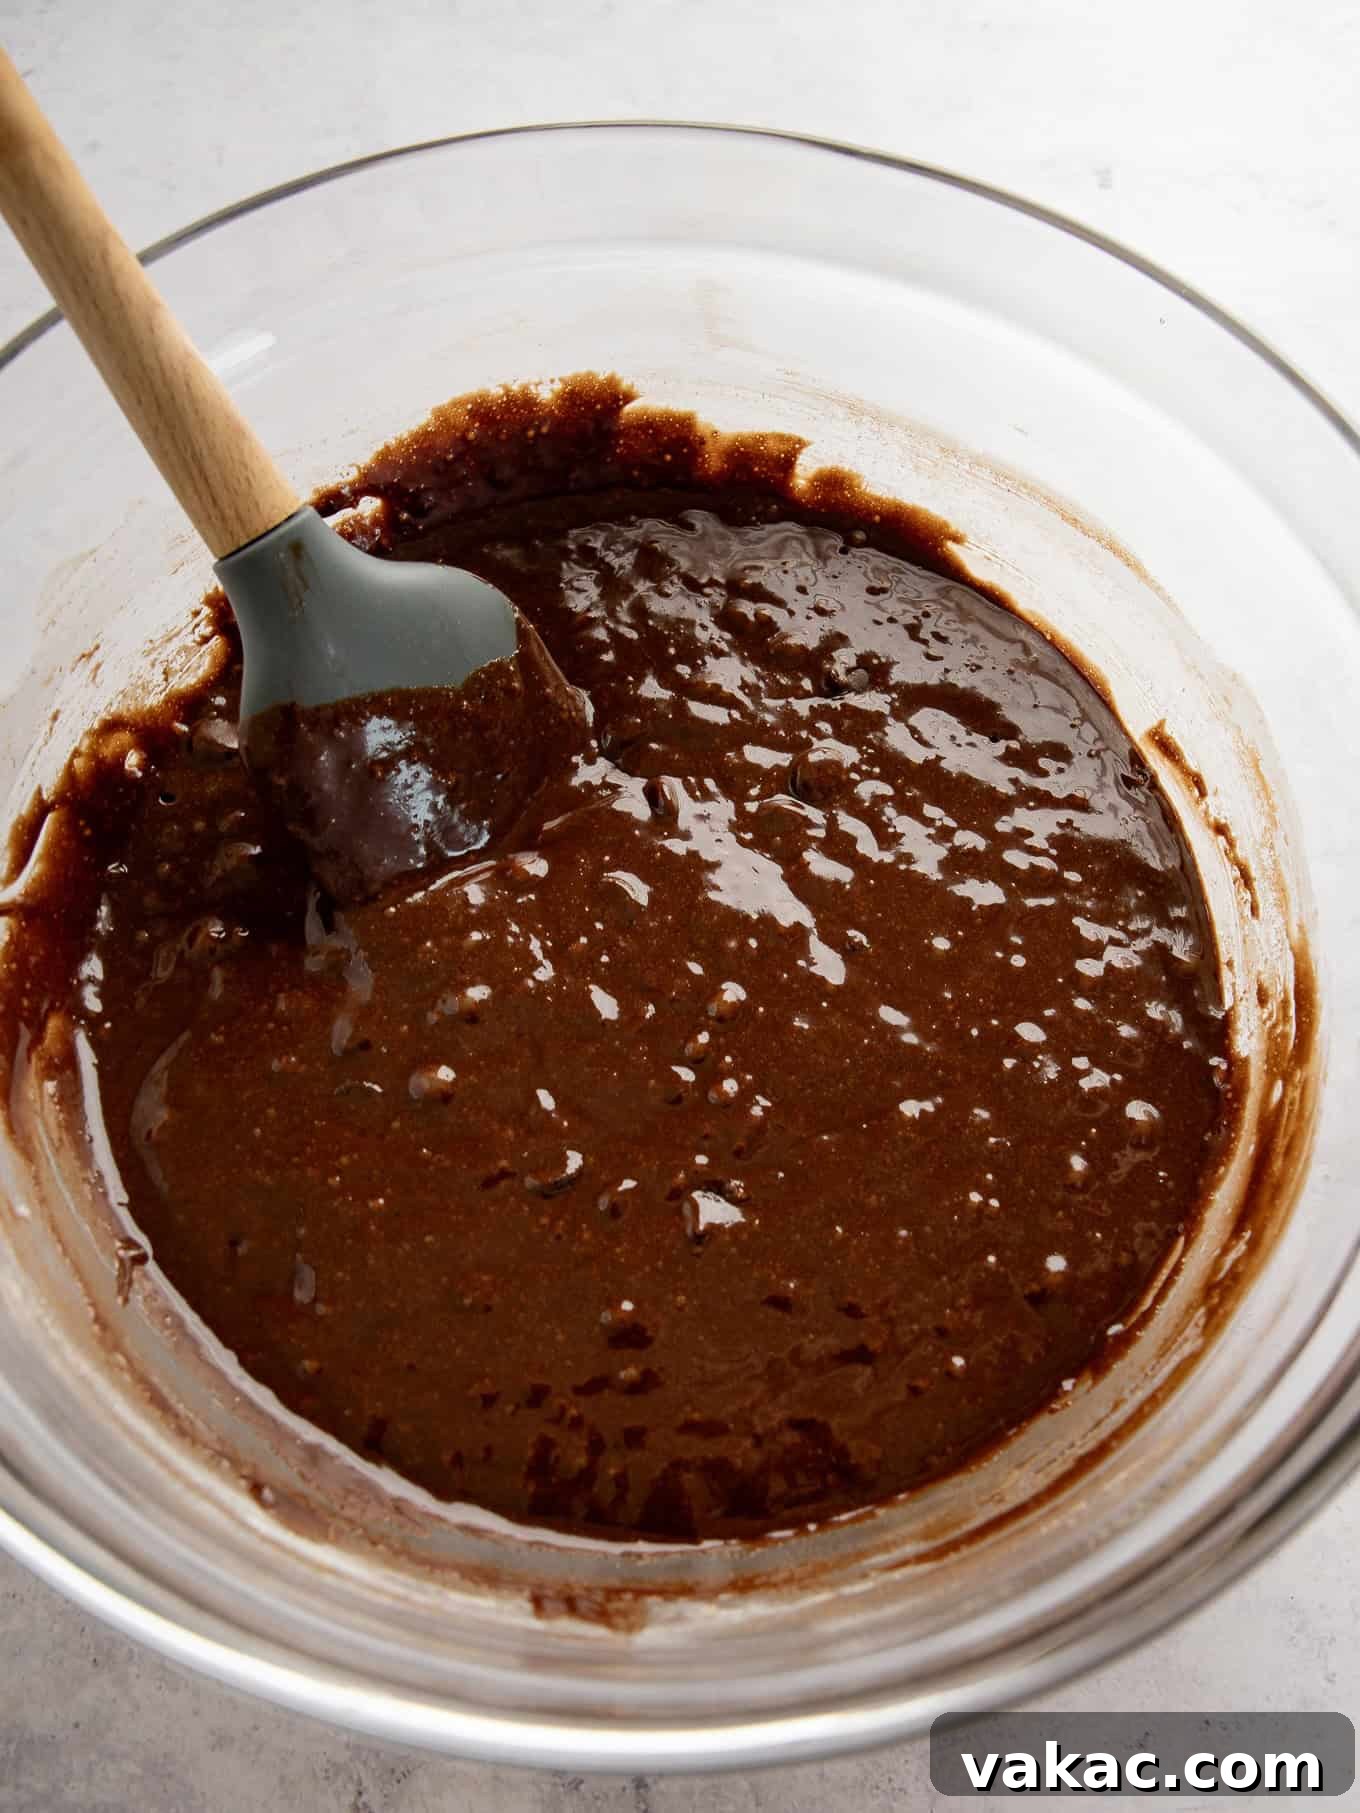
- Don’t Overmix the Flour: Once the flour is added to the wet ingredients, mix only until it’s just combined and no streaks of dry flour remain. Overmixing develops the gluten in the flour, which can lead to tough, chewy brownies instead of the desired soft, fudgy consistency. Gently fold in the chocolate chips after the flour is just incorporated.
Brown Butter Brownies: Your Top Questions Answered
To help you confidently bake the most amazing brown butter brownies, here are answers to some frequently asked questions about the recipe and process:
Can I Double This Brownie Recipe?
Yes, absolutely! This recipe scales beautifully. You are welcome to double all the ingredients and bake the brownies in a larger 9×13-inch pan. When doubling, you may need to increase the baking time slightly, typically by 5-10 minutes. Always rely on the toothpick test: a toothpick inserted into the center should come out mostly clean with a few moist crumbs clinging to it.
Note: If you decide to double this recipe, I highly recommend browning the butter in two separate batches. Attempting to brown more than two sticks of butter (1 cup) at a time in a standard skillet can lead to uneven browning, where some parts burn while others haven’t fully reached their nutty potential. If even a small portion of the butter burns, it can impart an unpleasant bitter taste to the entire batch, ruining the exquisite flavor we’re aiming for!
Is Browning the Butter Absolutely Necessary for This Recipe?
Technically, no, you could skip the browning step and simply melt the butter. However, if you have those few extra minutes, I cannot stress enough how highly I recommend taking the time to brown the butter. It is truly what elevates these from regular fudgy brownies to an extraordinary dessert. The nutty, caramelized notes from the brown butter provide a depth of flavor that is unparalleled and becomes the signature characteristic of this recipe.
If you genuinely prefer to skip browning the butter, you’ll need to adjust the quantity slightly. When butter is browned, it loses a small amount of moisture (about 15-20%). To compensate, you would melt 163 grams of unsalted butter (which is approximately 11.5 tablespoons, or a little less than 1 ¾ sticks) and use that instead of the initial 14 tablespoons. However, be aware that you’ll miss out on the unique flavor dimension that makes these brownies so special.
Can I Add Nuts or Other Mix-ins to My Brown Butter Brownies?
Absolutely! Brown butter brownies are incredibly versatile and welcome additional mix-ins. You can certainly replace some or all of the semi-sweet chocolate chips with your favorite chopped nuts. Walnuts, pecans, almonds, or even macadamia nuts would add a fantastic textural contrast and complementary flavor. Beyond nuts, consider adding pretzels for a salty crunch, dried cherries or cranberries for a tart counterpoint, or even a swirl of caramel or peanut butter for an extra layer of indulgence. Feel free to get creative and customize them to your personal preferences!
How Do I Store These Brownies for Maximum Freshness?
To maintain their optimal fudgy texture and rich flavor, store your brown butter brownies in an airtight container at room temperature. They will remain wonderfully fresh and delicious for up to 5 days. For an extra tip to keep them moist, you can even place a slice of plain white bread in the container with the brownies; the brownies will absorb moisture from the bread, helping them stay soft and chewy longer.
Can I Freeze Brown Butter Brownies?
Yes, these brownies freeze exceptionally well, making them perfect for meal prep or enjoying a treat whenever a craving strikes. Once completely cooled, you can wrap individual brownies tightly in plastic wrap, then place them in a freezer-safe bag or an airtight container. They will maintain their quality for 2 to 3 months in the freezer. When you’re ready to enjoy them, simply thaw them to room temperature on the counter, or gently warm them in the microwave for a few seconds for that freshly baked, gooey experience.
The Ultimate Brown Butter Brownie Experience
I am absolutely serious when I say that these brown butter brownies transcend the classic recipe. The subtle nutty aroma, combined with an intense chocolate punch and an unbelievably fudgy texture, creates a truly unforgettable dessert. They are proof that a small extra step can lead to extraordinary results in the kitchen.
If you give this recipe a try, please don’t hesitate to leave a comment below and a star rating to let me and other bakers know how they turned out for you. Your feedback is invaluable! Happy Baking!
Brown Butter Brownie Recipe
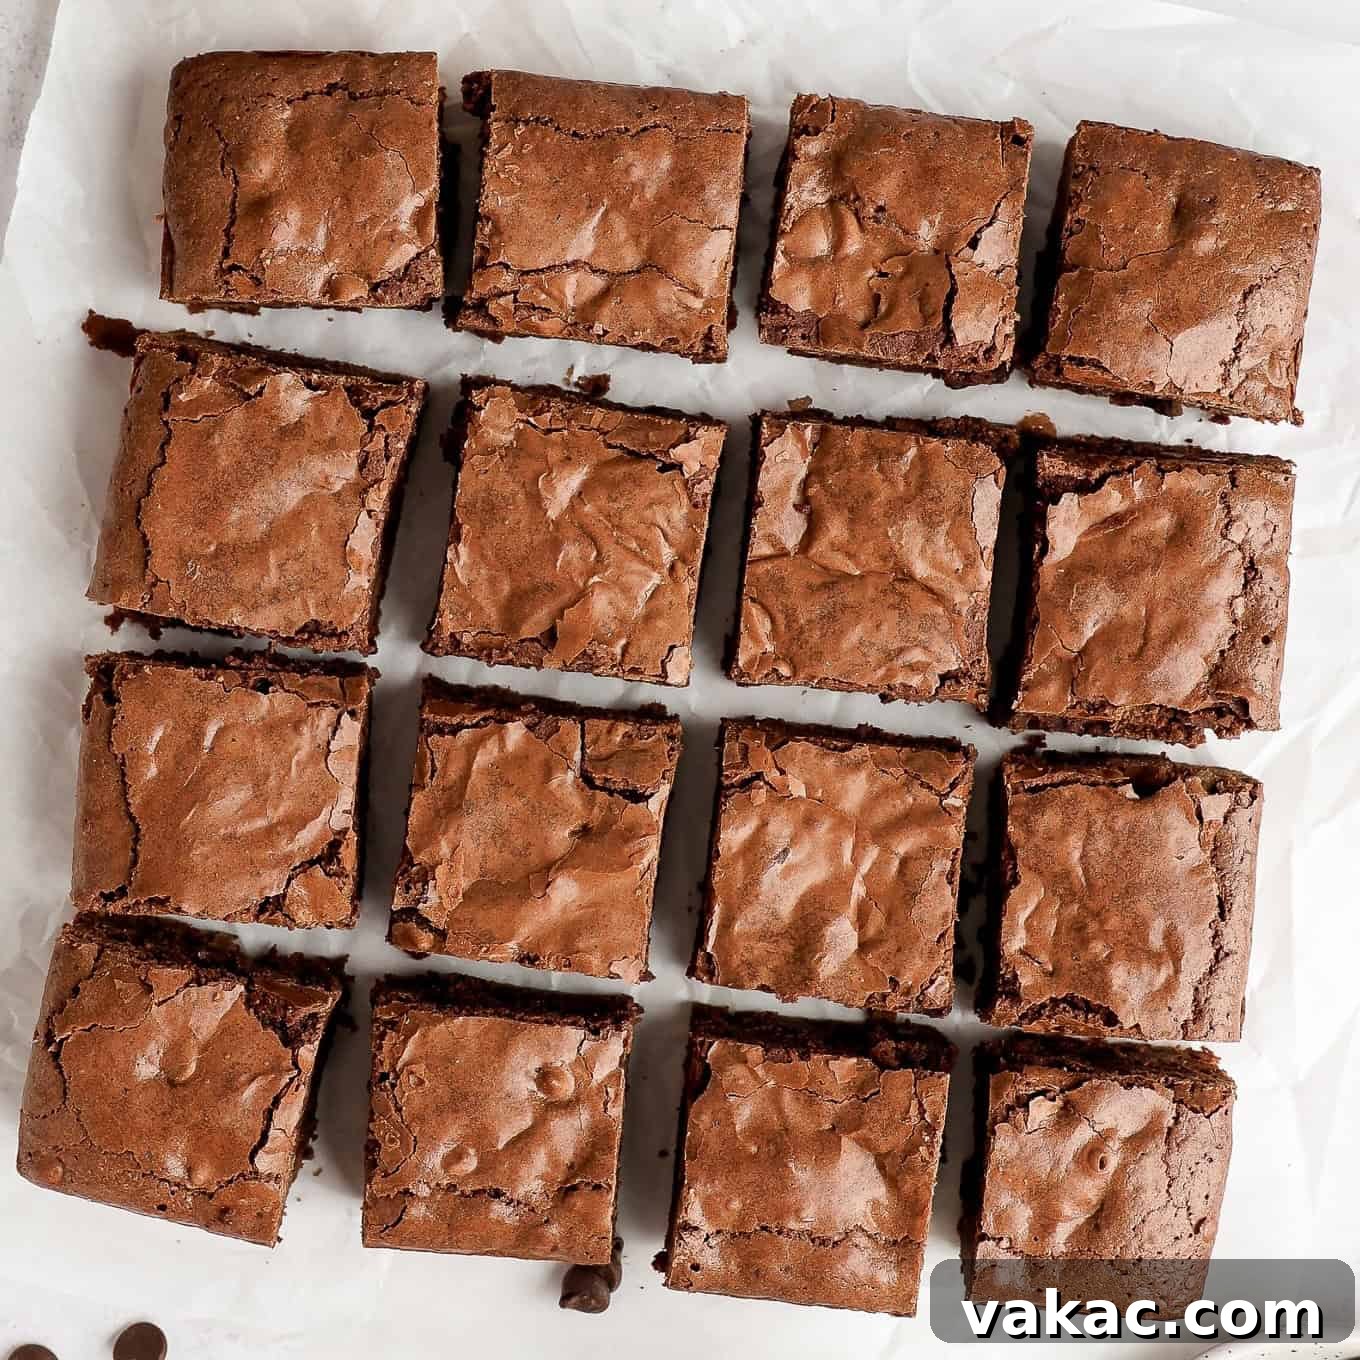
Rich, dense, and fudgy brown butter brownies take just a few extra minutes to assemble and the end result is worth it! The brown butter imparts a nutty undertone to these brownies that will have people begging you for the recipe.
Pin Recipe
Leave a Review
Ingredients
- 4 ounces semi-sweet chocolate chopped (113 grams; I recommend using a chocolate bar)
- 14 tablespoons unsalted butter (198 grams or 1 ¾ sticks; reduced to 163 grams after browning)
- ½ cup unsweetened Dutch process or natural cocoa powder (45 grams)
- 1 cup granulated sugar (200 grams)
- ½ cup packed light brown sugar (100 grams)
- 3 large eggs at room temperature
- 1 ½ teaspoons pure vanilla extract
- ½ teaspoon salt
- ¾ cup all-purpose flour spooned & leveled (95 grams)
- 1 cup semi-sweet chocolate chips (180 grams)
Instructions
-
Preheat the oven to 350°F (177°C). Line an 8-inch square light metal pan with foil or parchment paper, making sure to leave some overhang for easy removal. Spray the foil or parchment paper with nonstick cooking spray and set aside.
-
Add the chopped chocolate to a large heat-proof bowl. Set aside.4 ounces semi-sweet chocolate
-
Slice the butter into tablespoon sized pieces and add it to a light-colored skillet (or saucepan). Place the skillet over medium heat until the butter is completely melted.14 tablespoons unsalted butter
-
Continue cooking, stirring the butter often with a rubber spatula. Once the butter is melted it will start to bubble/sputter, then become foamy. After that, small bits of milk solids will fall to the bottom of the pan, then quickly start to brown. The butter is browned once you see these brown bits of milk solids on the bottom of the pan and smell a nutty aroma.
-
Immediately remove the skillet from the heat and pour the browned butter over the chopped chocolate that you placed in a heat-proof dish earlier. Make sure to scrape out all of the browned bits from the bottom of the pan as well, this is where all of the flavor is at! Stir until all of the chocolate is melted.
-
Add the cocoa powder to the melted chocolate mixture and stir until fully combined. Set aside.½ cup unsweetened Dutch process or natural cocoa powder
-
Add the granulated sugar, brown sugar, and eggs to a separate large mixing bowl. Whisk vigorously for 2 to 3 minutes until the mixture is light in color and slightly thickened.1 cup granulated sugar,½ cup packed light brown sugar,3 large eggs
-
Pour the melted chocolate/butter mixture into the egg mixture and whisk until fully combined, then stir in the vanilla extract and salt.1 ½ teaspoons pure vanilla extract,½ teaspoon salt
-
Add the flour and whisk until just combined, ensuring no dry streaks remain. Be careful not to overmix. Then gently mix in the chocolate chips.¾ cup all-purpose flour,1 cup semi-sweet chocolate chips
-
Pour the brownie batter into the prepared pan and spread it out into one even layer.
-
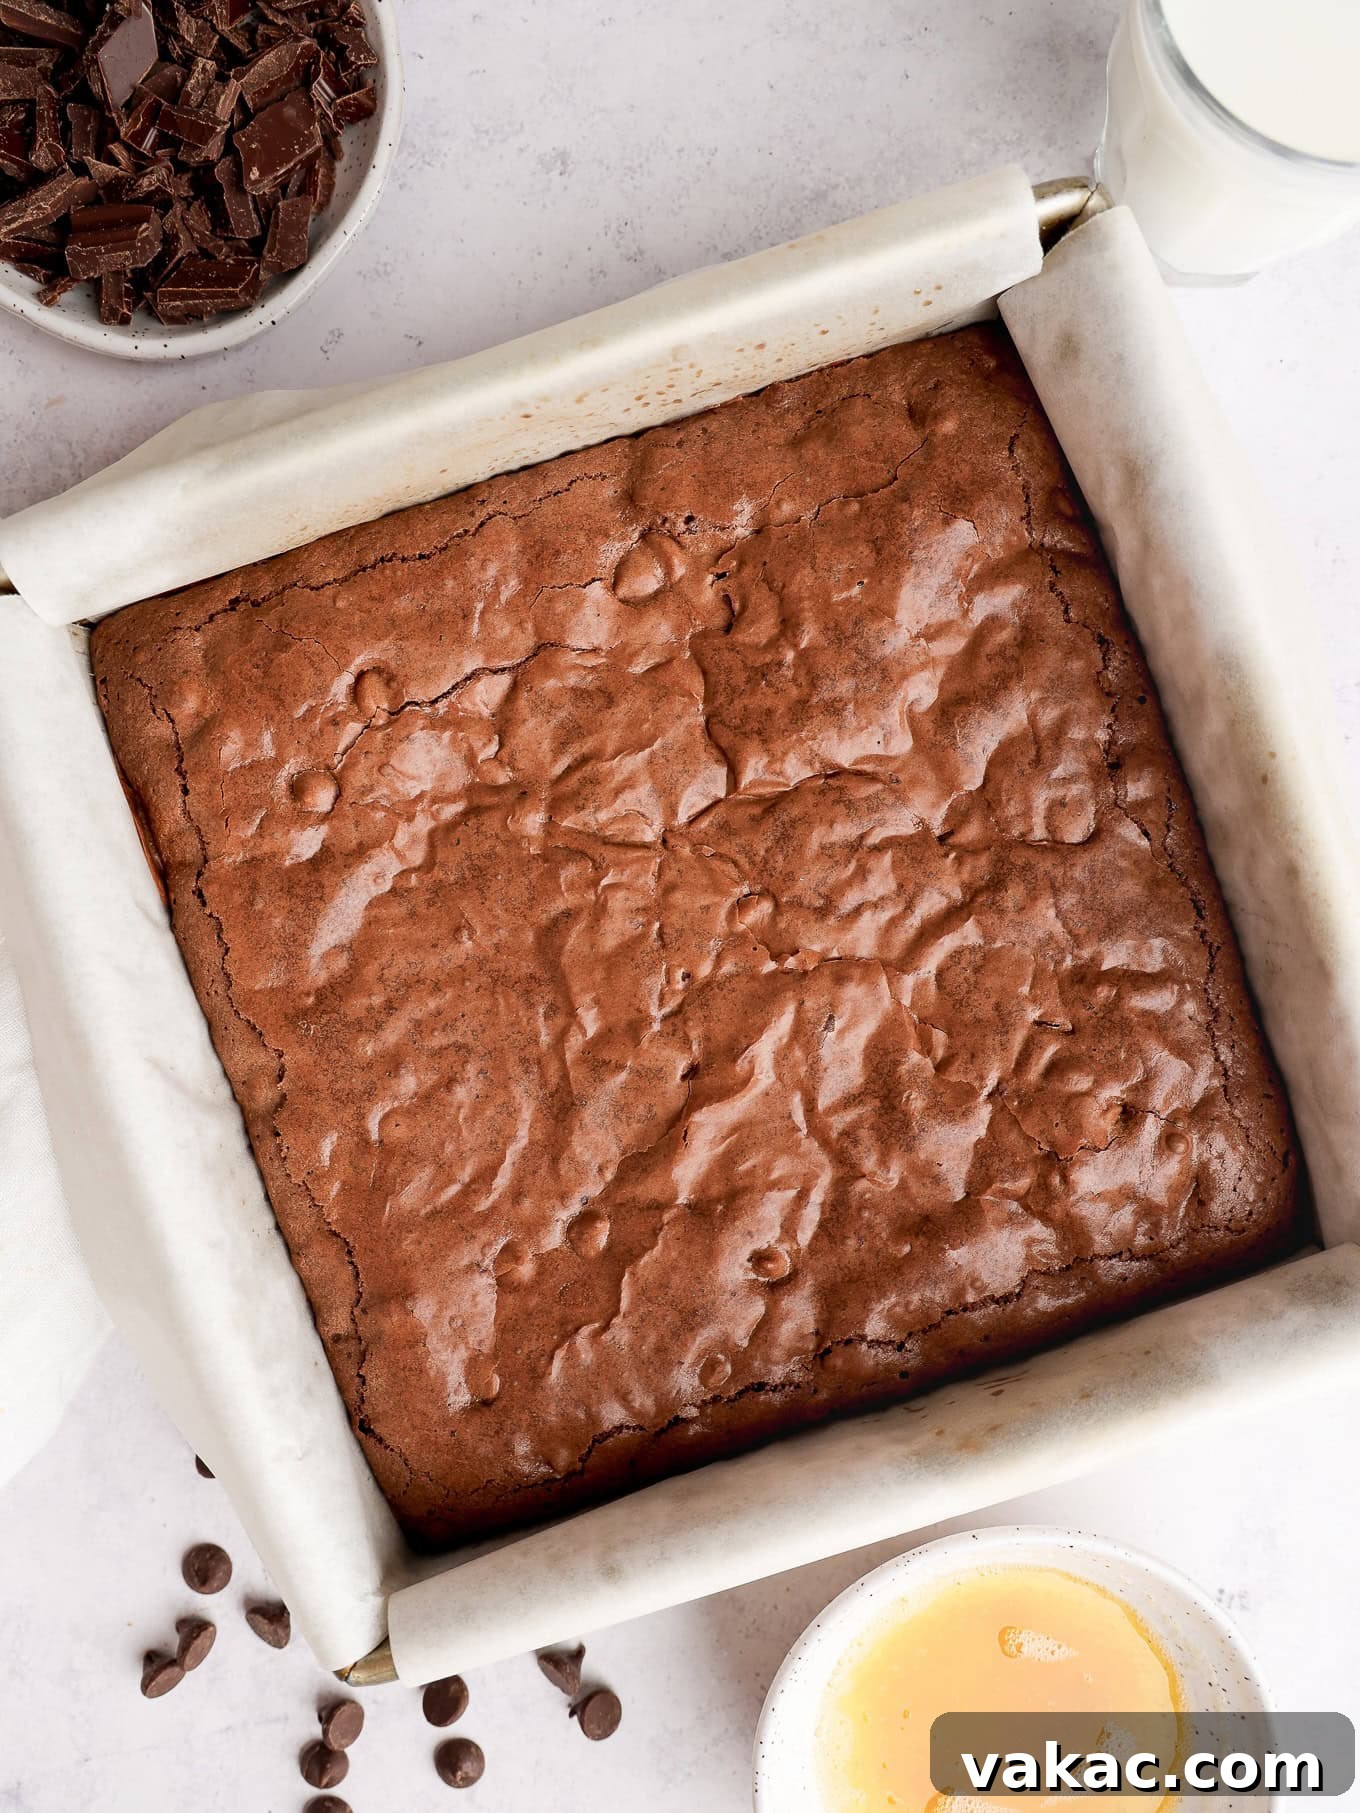
Bake for 30 to 38 minutes (I usually bake mine for about 35 minutes) or until a toothpick inserted into the center comes out mostly clean, but with a few moist crumbs attached to it.
-
Remove from the oven and cool completely on a wire cooling rack.
-
Lift the brownies out of the pan using the overhang from the foil/parchment paper, slice into bars, and enjoy.
Notes
Storage Instructions: Brownies may be stored in an airtight container at room temperature for up to 5 days. For optimal freshness, consider placing a slice of bread in the container to help retain moisture.
Freezing Instructions: Baked brownies freeze exceptionally well for 2 to 3 months. Wrap individual brownies tightly in plastic wrap, then place them in a freezer-safe bag or container. Thaw to room temperature before serving, or warm slightly in the microwave for a decadent treat.