

Spooky & Sweet: The Ultimate Guide to Crafting Adorable Peanut Butter Spider Cookies for Halloween
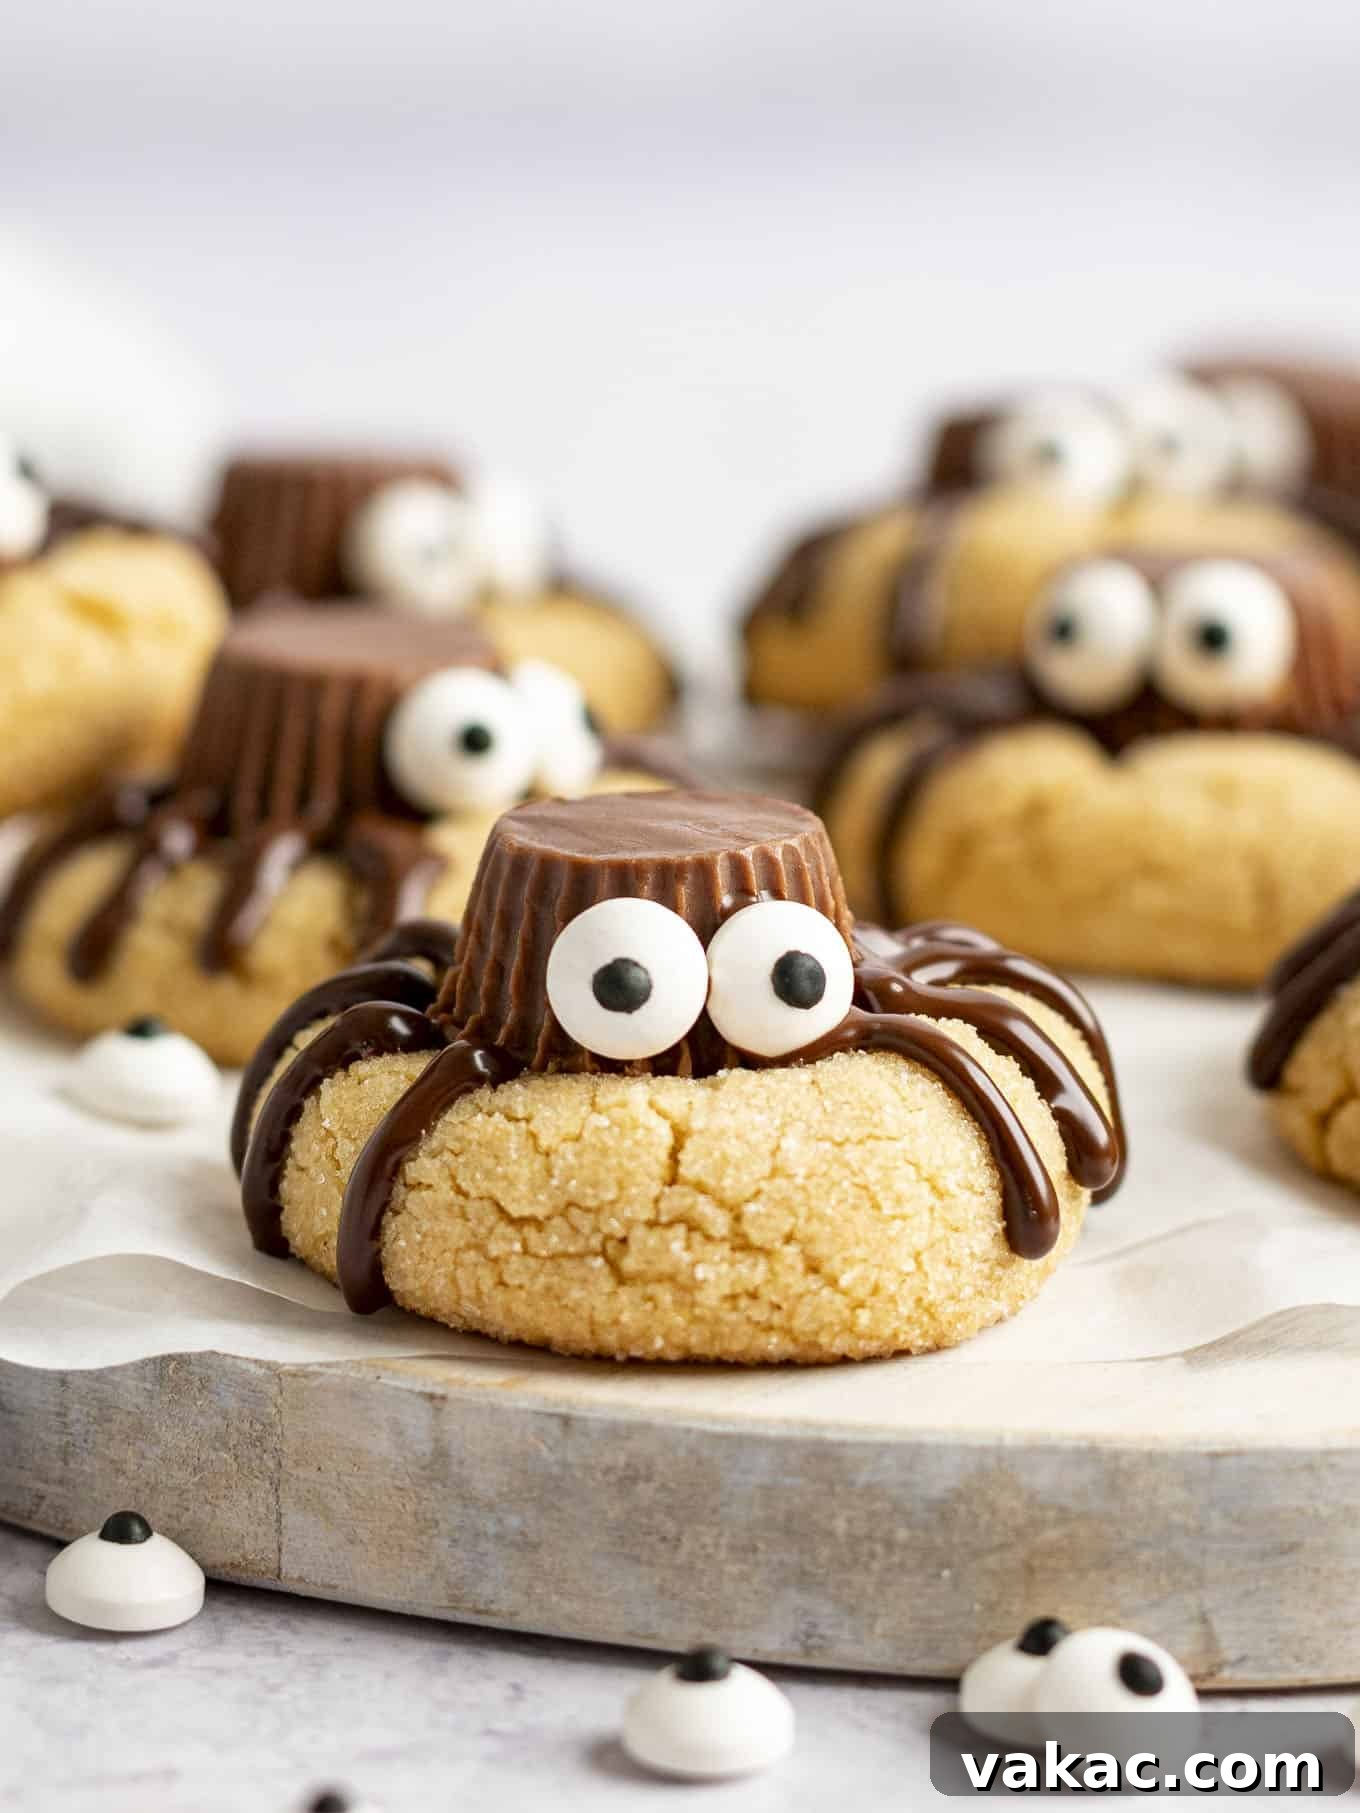
As the air grows crisp and autumn leaves begin to fall, minds naturally turn to festive fall activities and, of course, Halloween! What better way to celebrate the spooky season than with a batch of delightful, homemade treats? Our recipe transforms classic, soft, and chewy peanut butter cookies into truly adorable (and slightly spooky!) spider cookies. These charming confections are surprisingly easy to assemble and are guaranteed to be the star attraction at any upcoming Halloween party or family gathering. Get ready to impress your guests with these irresistible, peanut butter-packed delights!
Why These Peanut Butter Spider Cookies Are a Must-Try for Halloween
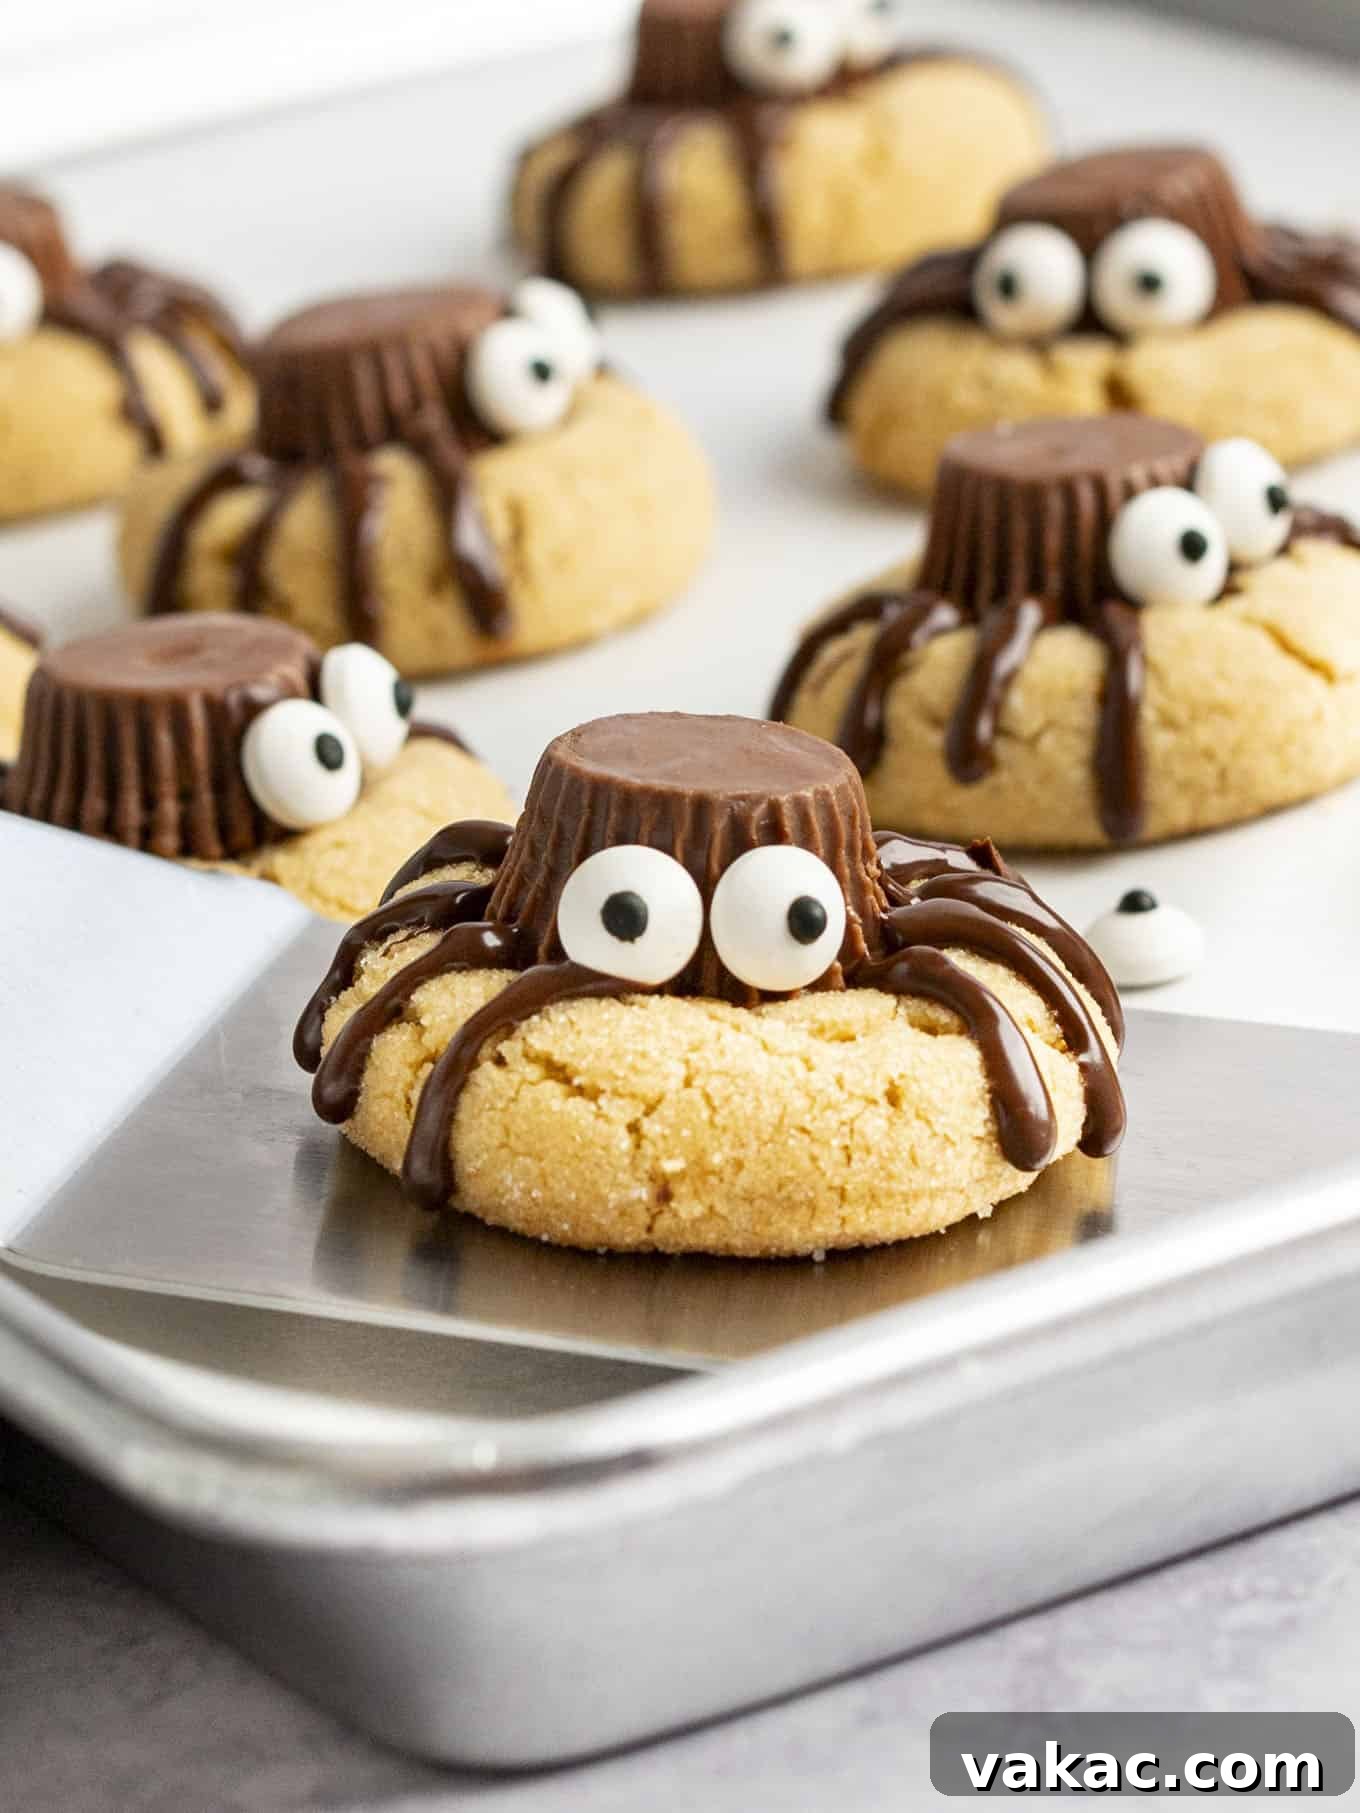
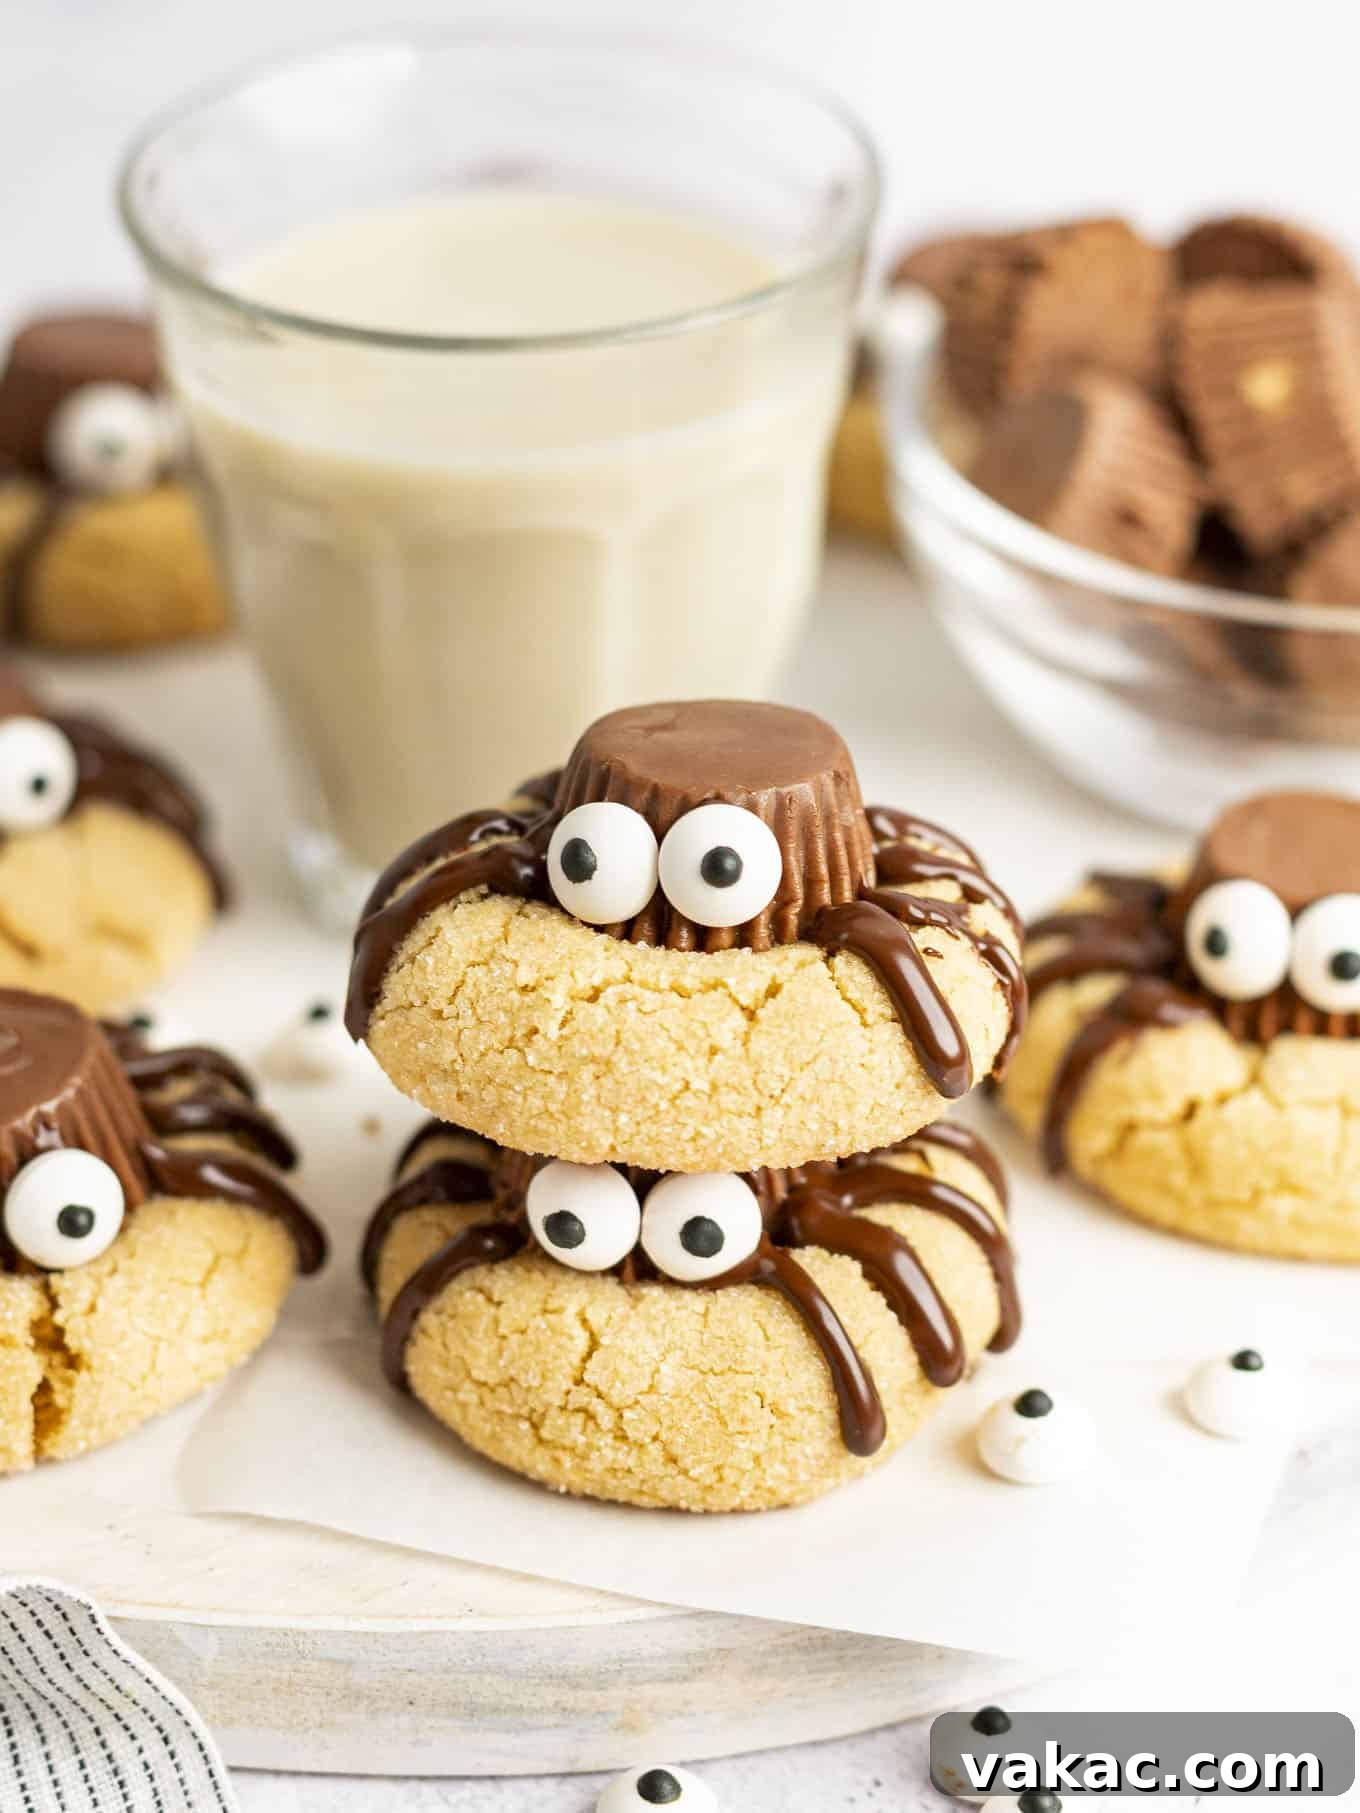
If you’re on the hunt for a fun, creative, and utterly delicious spooky treat to whip up for Halloween festivities this year, look no further than these fantastic spider cookies. They’re not just a dessert; they’re an experience! Each cookie starts with a rich, tender peanut butter base, baked to golden perfection, then adorned with miniature peanut butter cups to form the ‘spider’ body. Melted chocolate is delicately drizzled to create eight spindly legs, and whimsical candy eyes bring these edible arachnids to life.
While the final presentation might suggest a complex baking project, these cookies are incredibly straightforward. They share a similar charm with classic peanut butter blossoms, but instead of a chocolate kiss, a miniature peanut butter cup is nestled into the warm cookie, adding an extra layer of peanut butter goodness. The few additional decorating steps are simple and enjoyable, making this a perfect activity for bakers of all skill levels, including those with little helpers in the kitchen. Plus, they’re a huge hit every single time they make an appearance at a Halloween gathering. One of the best parts? These cookies maintain their delightful softness for days, meaning they can be assembled a few days in advance, taking the stress out of last-minute party preparations!
Essential Ingredients for Perfect Peanut Butter Spider Cookies
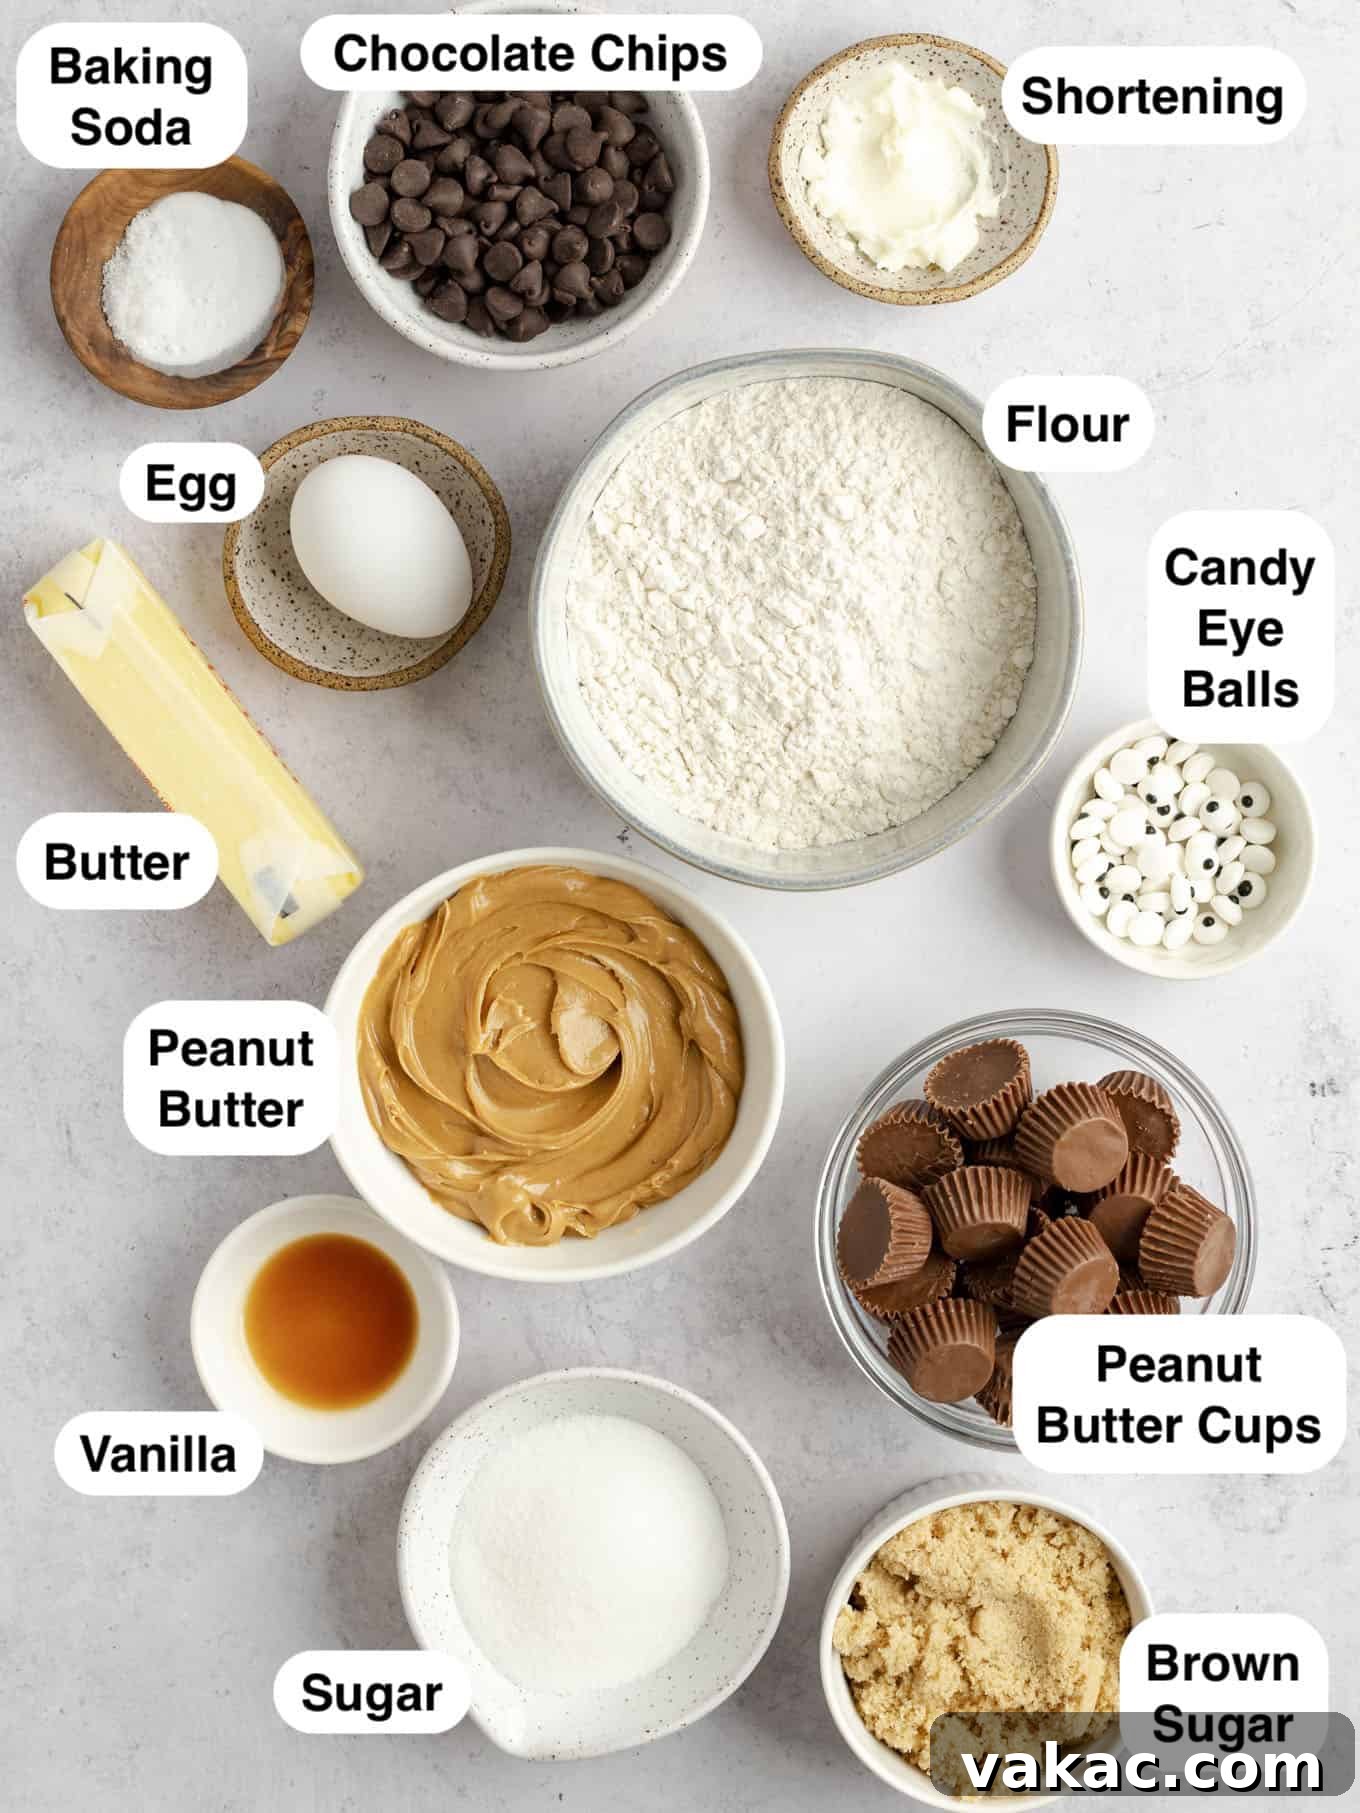
Creating these charming spider cookies requires a few key ingredients, each playing a crucial role in achieving the perfect texture and flavor. Here’s a detailed breakdown of what you’ll need and why:
- Creamy Peanut Butter: The star of the show! For the best results, we highly recommend using a creamy, no-stir peanut butter brand like Jif or Skippy. These types of peanut butter provide a consistent texture and fat content that is ideal for baking, ensuring your cookies are soft and chewy. Avoid natural peanut butter as its oil separation can lead to greasier, crumbly cookies.
- Granulated Sugar & Brown Sugar: This recipe cleverly utilizes both types of sugar. Brown sugar contributes essential moisture, resulting in a chewier cookie, and adds a deeper, molasses-like flavor. Granulated sugar, on the other hand, provides structure and an extra touch of sweetness, helping the cookies spread just right and giving them a delightful crisp edge while keeping the center tender.
- All-Purpose Flour: The foundation of our cookies, providing the necessary structure. Proper flour measurement is paramount for baking success. Always spoon your flour into the measuring cup and level it off with the back of a knife. Scooping directly from the container compacts the flour, leading to an excess amount that can result in dense, dry, or crumbly cookies. If you’re new to this technique, take a moment to review our guide on how to measure flour correctly for consistently perfect results.
- Miniature Peanut Butter Cups: These are absolutely essential for the ‘spider body’ and infuse an extra burst of peanut butter flavor. Be sure to use the miniature size, as they fit perfectly into the center of each cookie, creating a balanced and appealing look.
- Candy Eyeballs: These whimsical little decorations transform your cookies into friendly, wide-eyed spiders. You should easily find them in the baking aisle of most major grocery stores, especially around Halloween. If not, craft stores like Michaels often carry them year-round in their baking sections.
- Chocolate Chips: These will be melted down to pipe the distinctive spider legs onto your cookies. Semi-sweet chocolate chips are a classic choice and offer a balanced flavor, but feel free to experiment with milk chocolate or dark chocolate chips based on your preference.
- Shortening (Optional but Recommended): A small amount of shortening, when melted with the chocolate chips, does wonders for the final appearance and stability of your spider legs. It helps the chocolate melt smoothly, creates a beautiful glossy finish, and ensures the legs set firmly and hold their shape much better at room temperature. Coconut oil can be used as an alternative, though the chocolate may not firm up quite as much.
Step-by-Step Guide: Crafting Your Adorable Peanut Butter Spider Cookies
Making these spooky-cute cookies is a delightful process! Follow these detailed steps to ensure your peanut butter spiders turn out perfectly:
- Prepare Your Peanut Butter Cups: Before you even start with the cookie dough, take a crucial first step: unwrap all of your miniature peanut butter cups. Place them in a single layer on a small baking sheet and transfer them to the freezer. Chilling them thoroughly is key to preventing them from melting too quickly when pressed into the warm cookies, helping them maintain their distinct shape.
- Prepare Baking Sheets: Preheat your oven to 350°F (177°C). Line two large baking sheets with parchment paper or silicone baking mats. This prevents sticking and ensures even baking.
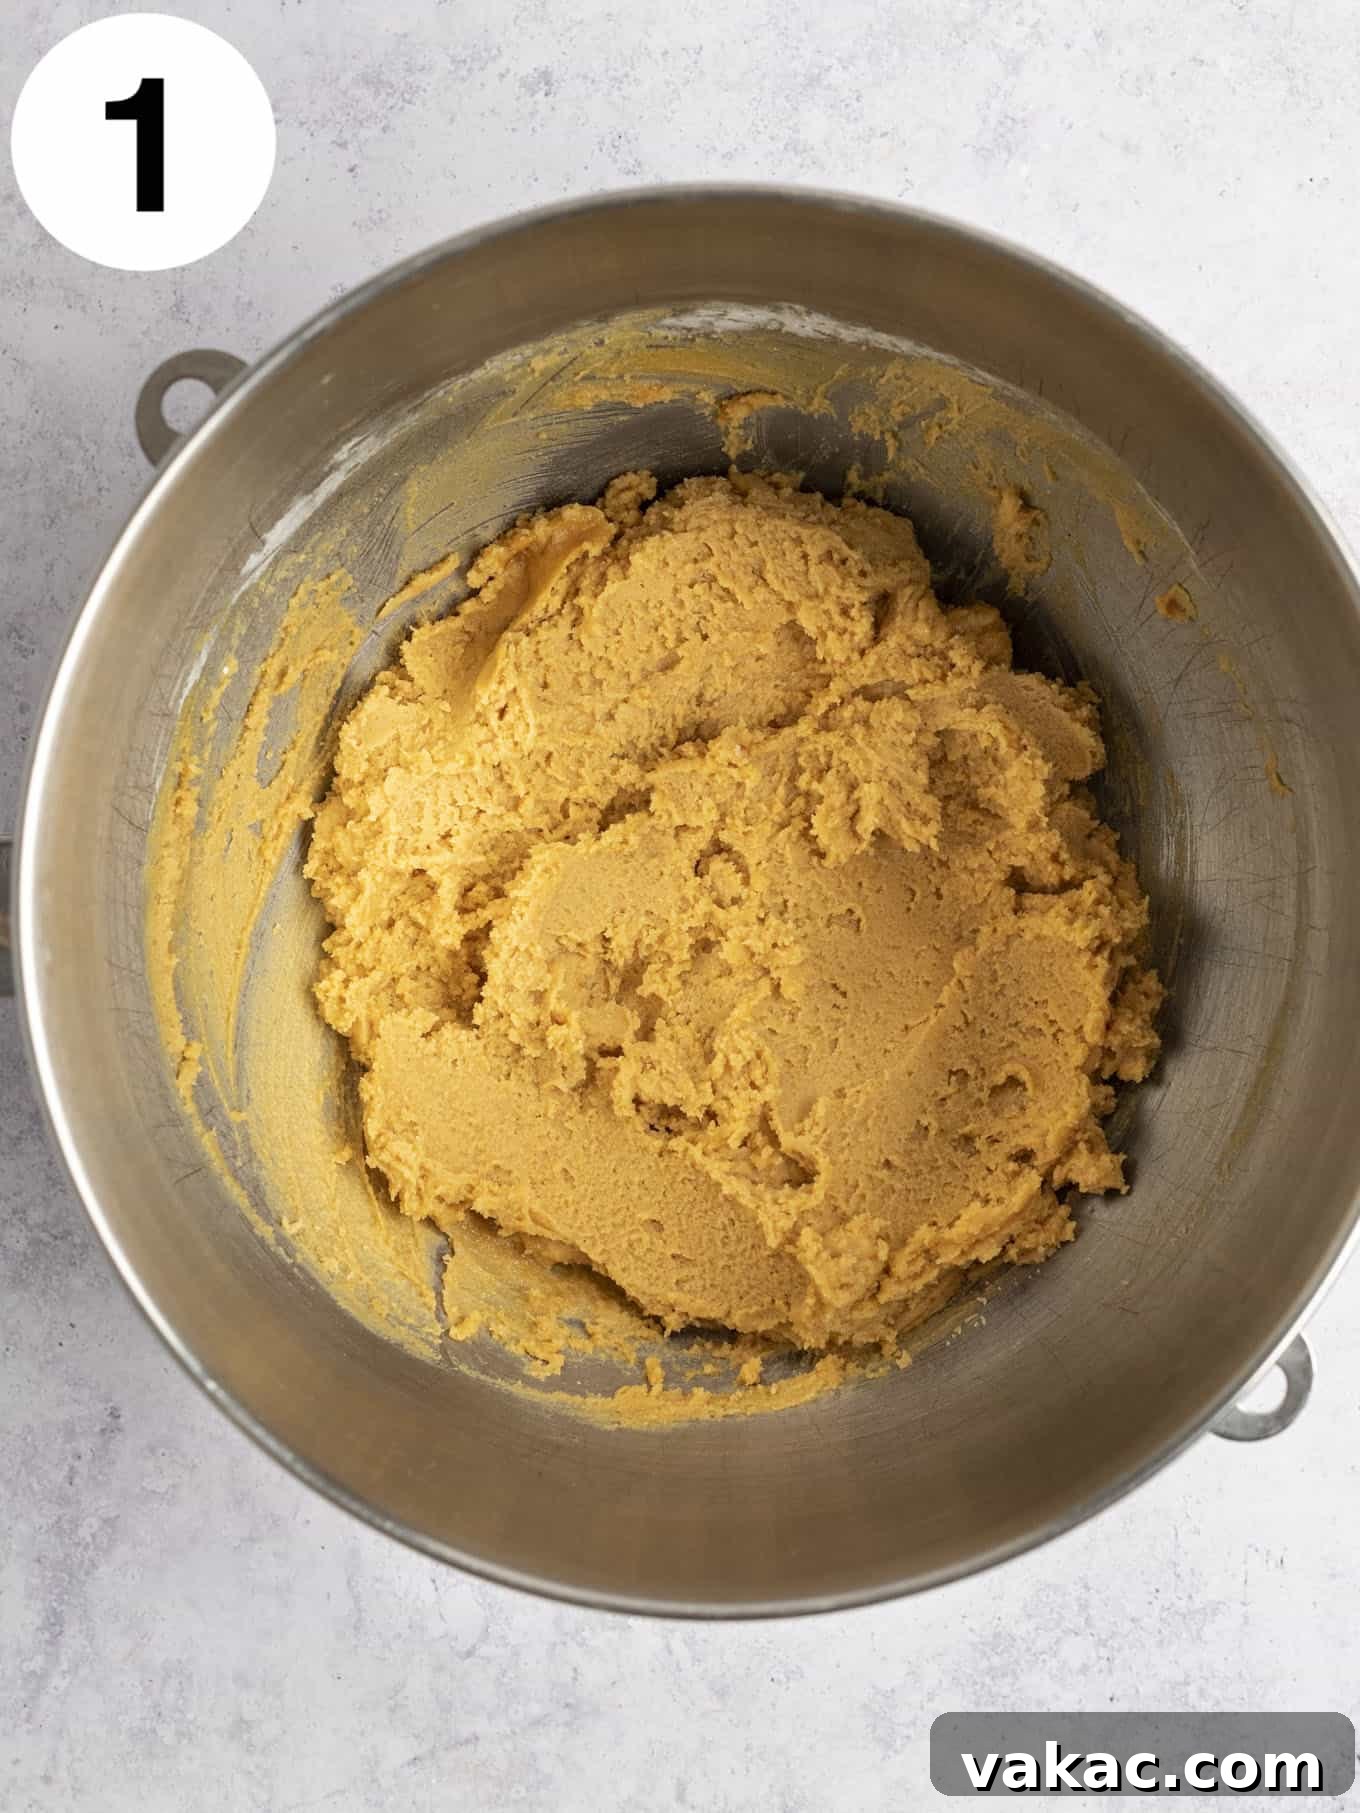
- Begin the Cookie Dough: In the bowl of a stand mixer fitted with the paddle attachment (or using a large mixing bowl and a handheld electric mixer), beat the softened unsalted butter until it’s light and creamy. This usually takes about 1-2 minutes.
- Add Sugars: Incorporate both the light brown sugar and granulated sugar into the butter. Beat for another 1-2 minutes until the mixture is light, fluffy, and well combined, scraping down the sides of the bowl as needed to ensure everything is fully incorporated.
- Introduce Wet Ingredients: Add the creamy peanut butter, large egg, and pure vanilla extract to the mixture. Continue mixing until all these wet ingredients are thoroughly combined and smooth. Again, remember to scrape down the sides of the bowl to catch any unincorporated bits.
- Combine Dry Ingredients: In a separate bowl, whisk together the all-purpose flour (spooned and leveled!), baking soda, and salt. Gradually add these dry ingredients to the wet mixture in the stand mixer, mixing on low speed until *just* combined. Be careful not to overmix, as this can lead to tough cookies. Stop mixing as soon as no streaks of flour remain.
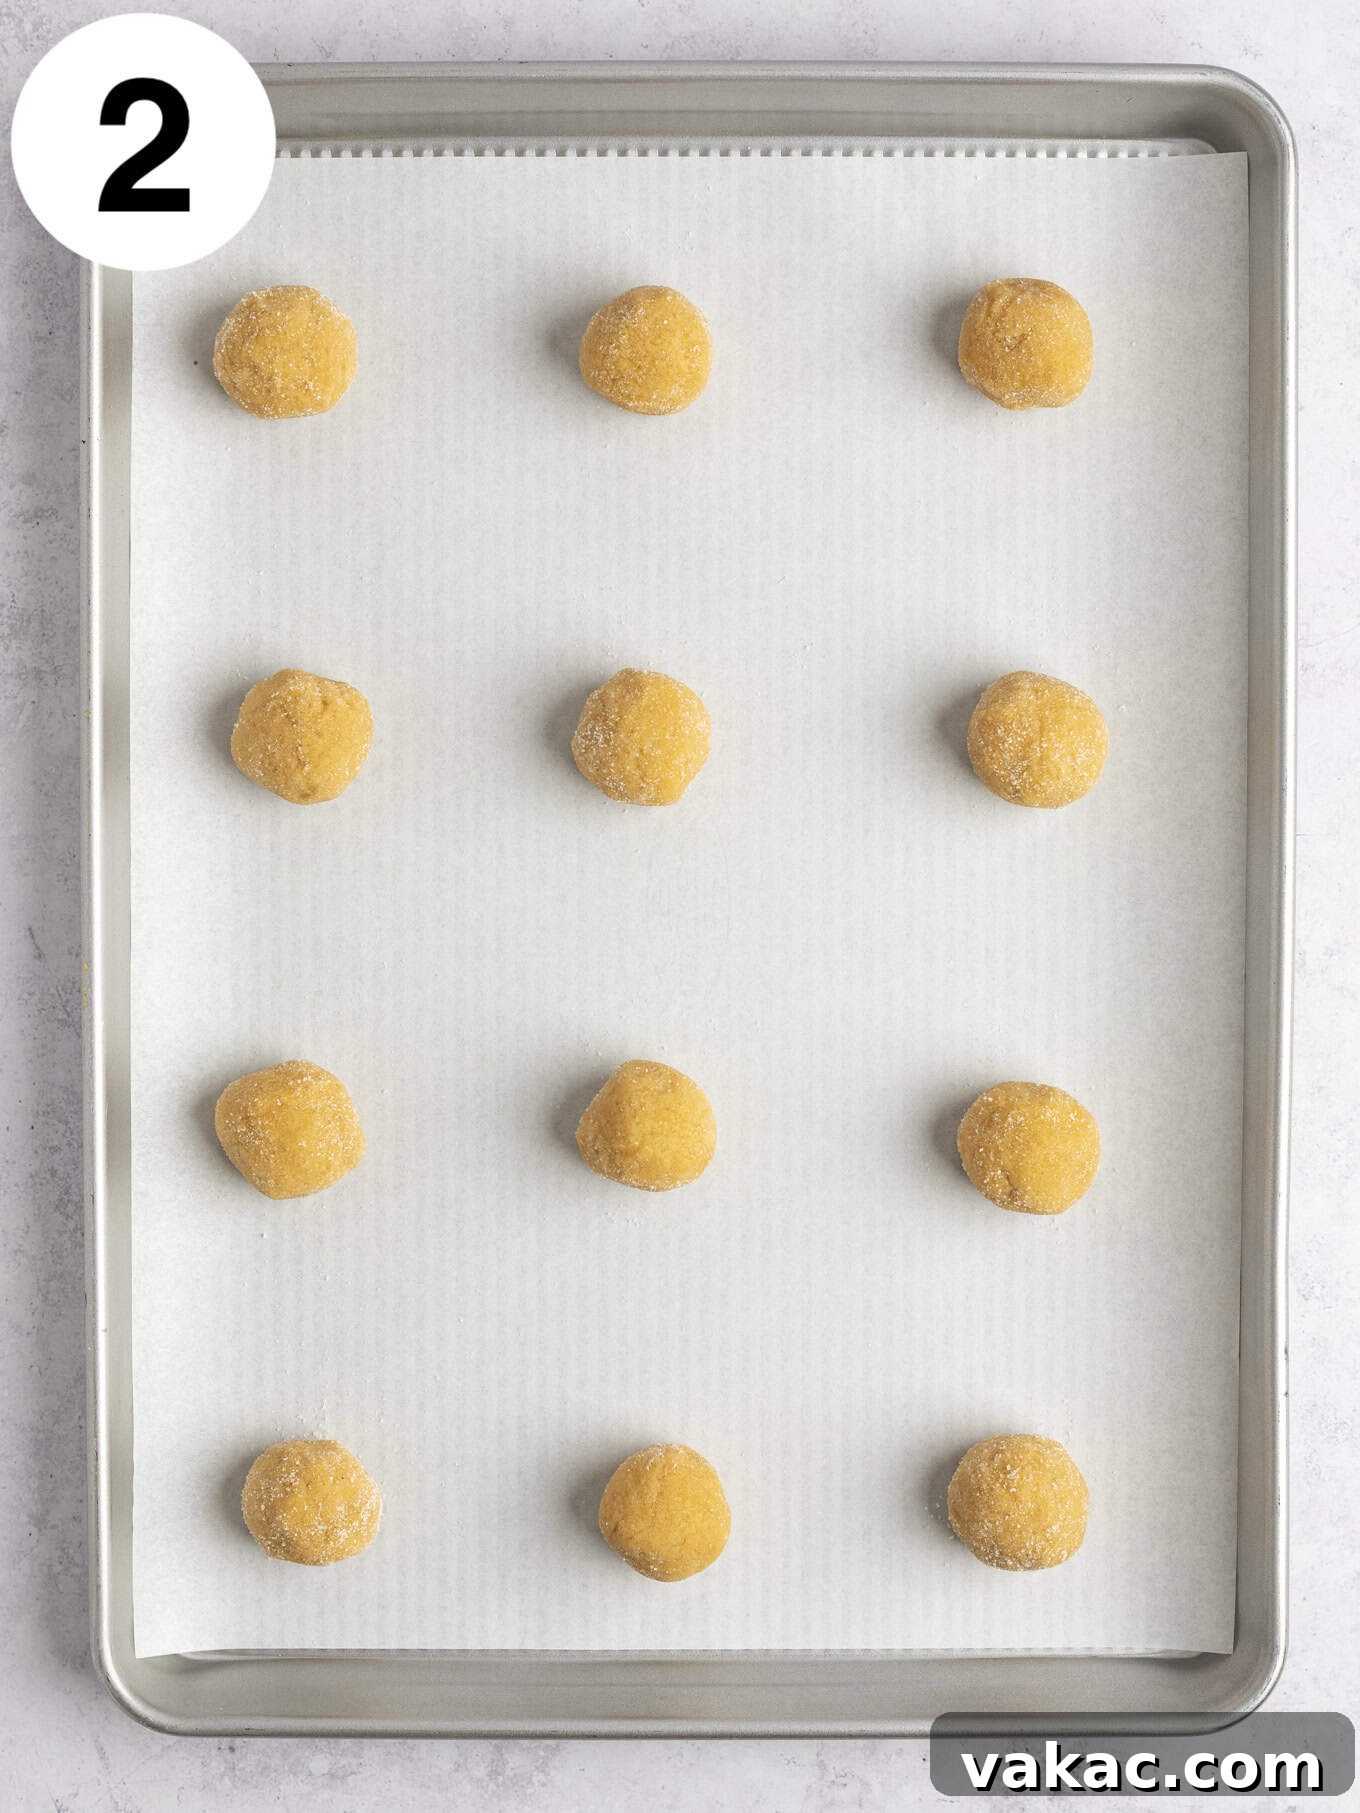
- Scoop and Coat the Dough: Pour the extra ¼ cup (50 grams) of granulated sugar into a small, shallow bowl. Using a 1.5-tablespoon cookie scoop (or just a tablespoon and a half), scoop out portions of the cookie dough. Roll each portion into a smooth ball, then gently roll it in the granulated sugar, ensuring it’s evenly coated. Place the sugar-coated cookie dough balls onto your prepared baking sheets, leaving about 2 inches of space between each one to allow for spreading.
- Bake the Cookies: Transfer the baking sheets to the preheated oven and bake for 10 to 12 minutes. You’ll know they’re perfectly done when the edges are lightly golden and the tops are just set, though they will still appear quite soft in the center. The cookies will continue to firm up as they cool.
- Add Peanut Butter Cups: Immediately upon removing the cookies from the oven, retrieve the chilled miniature peanut butter cups from the freezer. Working quickly, gently press one unwrapped miniature peanut butter cup, upside down, into the center of each warm cookie. Don’t press too hard – just enough for it to nestle securely into the soft cookie.
- Cool Completely: This step is critical! Allow the cookies to cool completely on the baking sheets for at least 30 minutes, or even longer, until they reach room temperature. Do not attempt to move them to a cooling rack while they are still warm, as the soft cookies and melting peanut butter cups will easily slide around and lose their shape.
- Chill to Firm Up: Once the cookies have fully cooled on the baking sheets, carefully transfer the entire baking sheets to the refrigerator. Chill them for an additional 20 to 30 minutes, or until the peanut butter cups are completely firm and hardened. This ensures a stable base for the spider decorations. Make sure the baking sheets remain flat to prevent any sliding.
- Melt the Chocolate: While the cookies are chilling, place the chocolate chips and shortening (if using) in a large, microwave-safe bowl or a measuring cup. Microwave at 50% power in 30-second intervals, stirring thoroughly after each increment, until the chocolate is completely melted and smooth. Let the melted chocolate cool slightly for about 10 minutes to prevent it from being too runny.
- Prepare for Piping: Carefully pour the slightly cooled melted chocolate into a piping bag fitted with a small round tip, or into a squeeze bottle for precise control. If you don’t have these, a sandwich-sized zip-top bag with a tiny corner snipped off will work just as well as a makeshift piping bag.
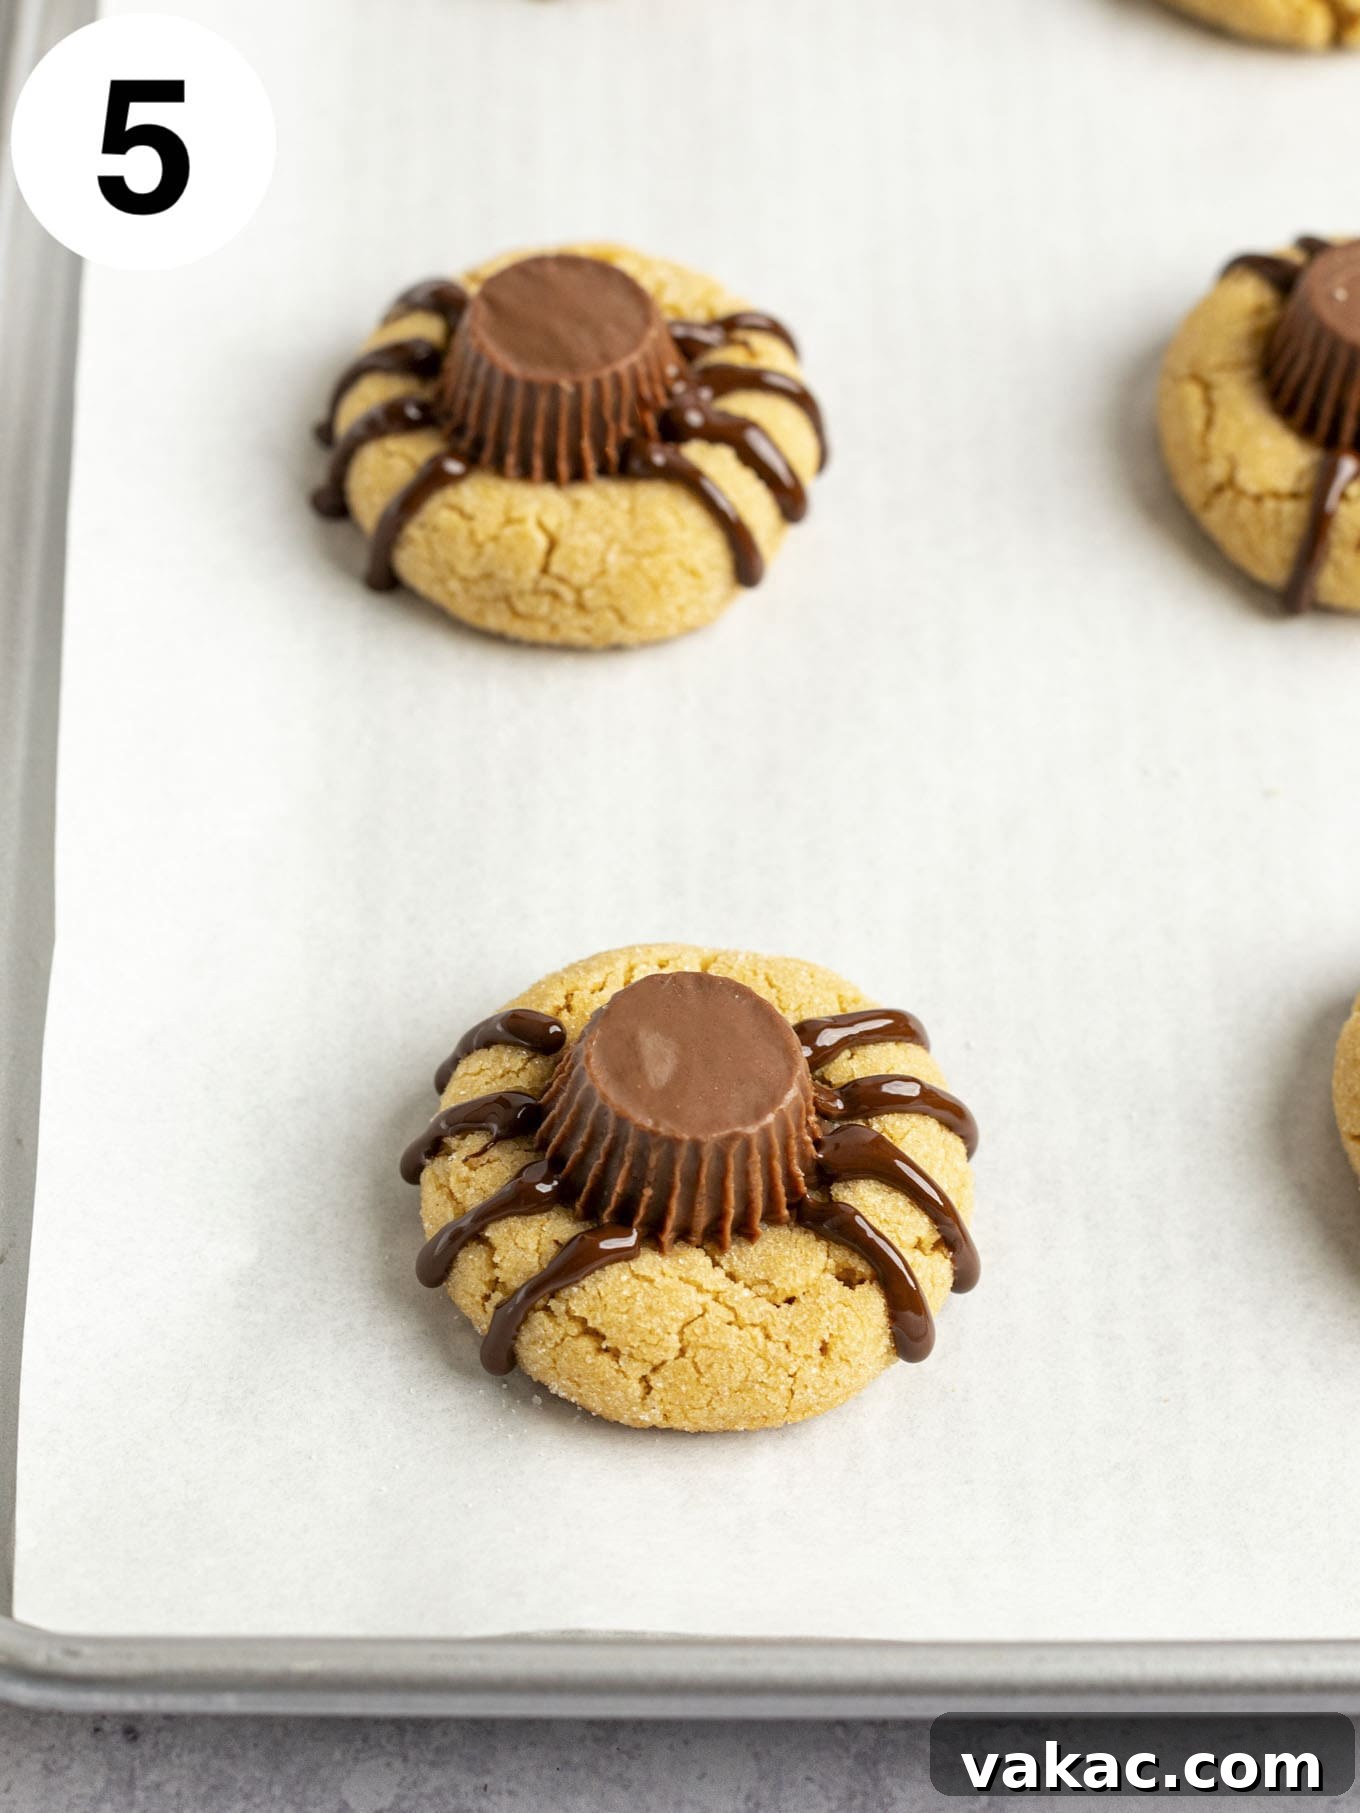
- Pipe the Spider Legs: Once the peanut butter cups are fully firmed up, remove the cookies from the fridge. Use the melted chocolate to pipe four thin lines (legs) onto each side of the peanut butter cup, extending slightly onto the cookie base. Aim for eight legs per spider cookie. Repeat this process for all the cookies.
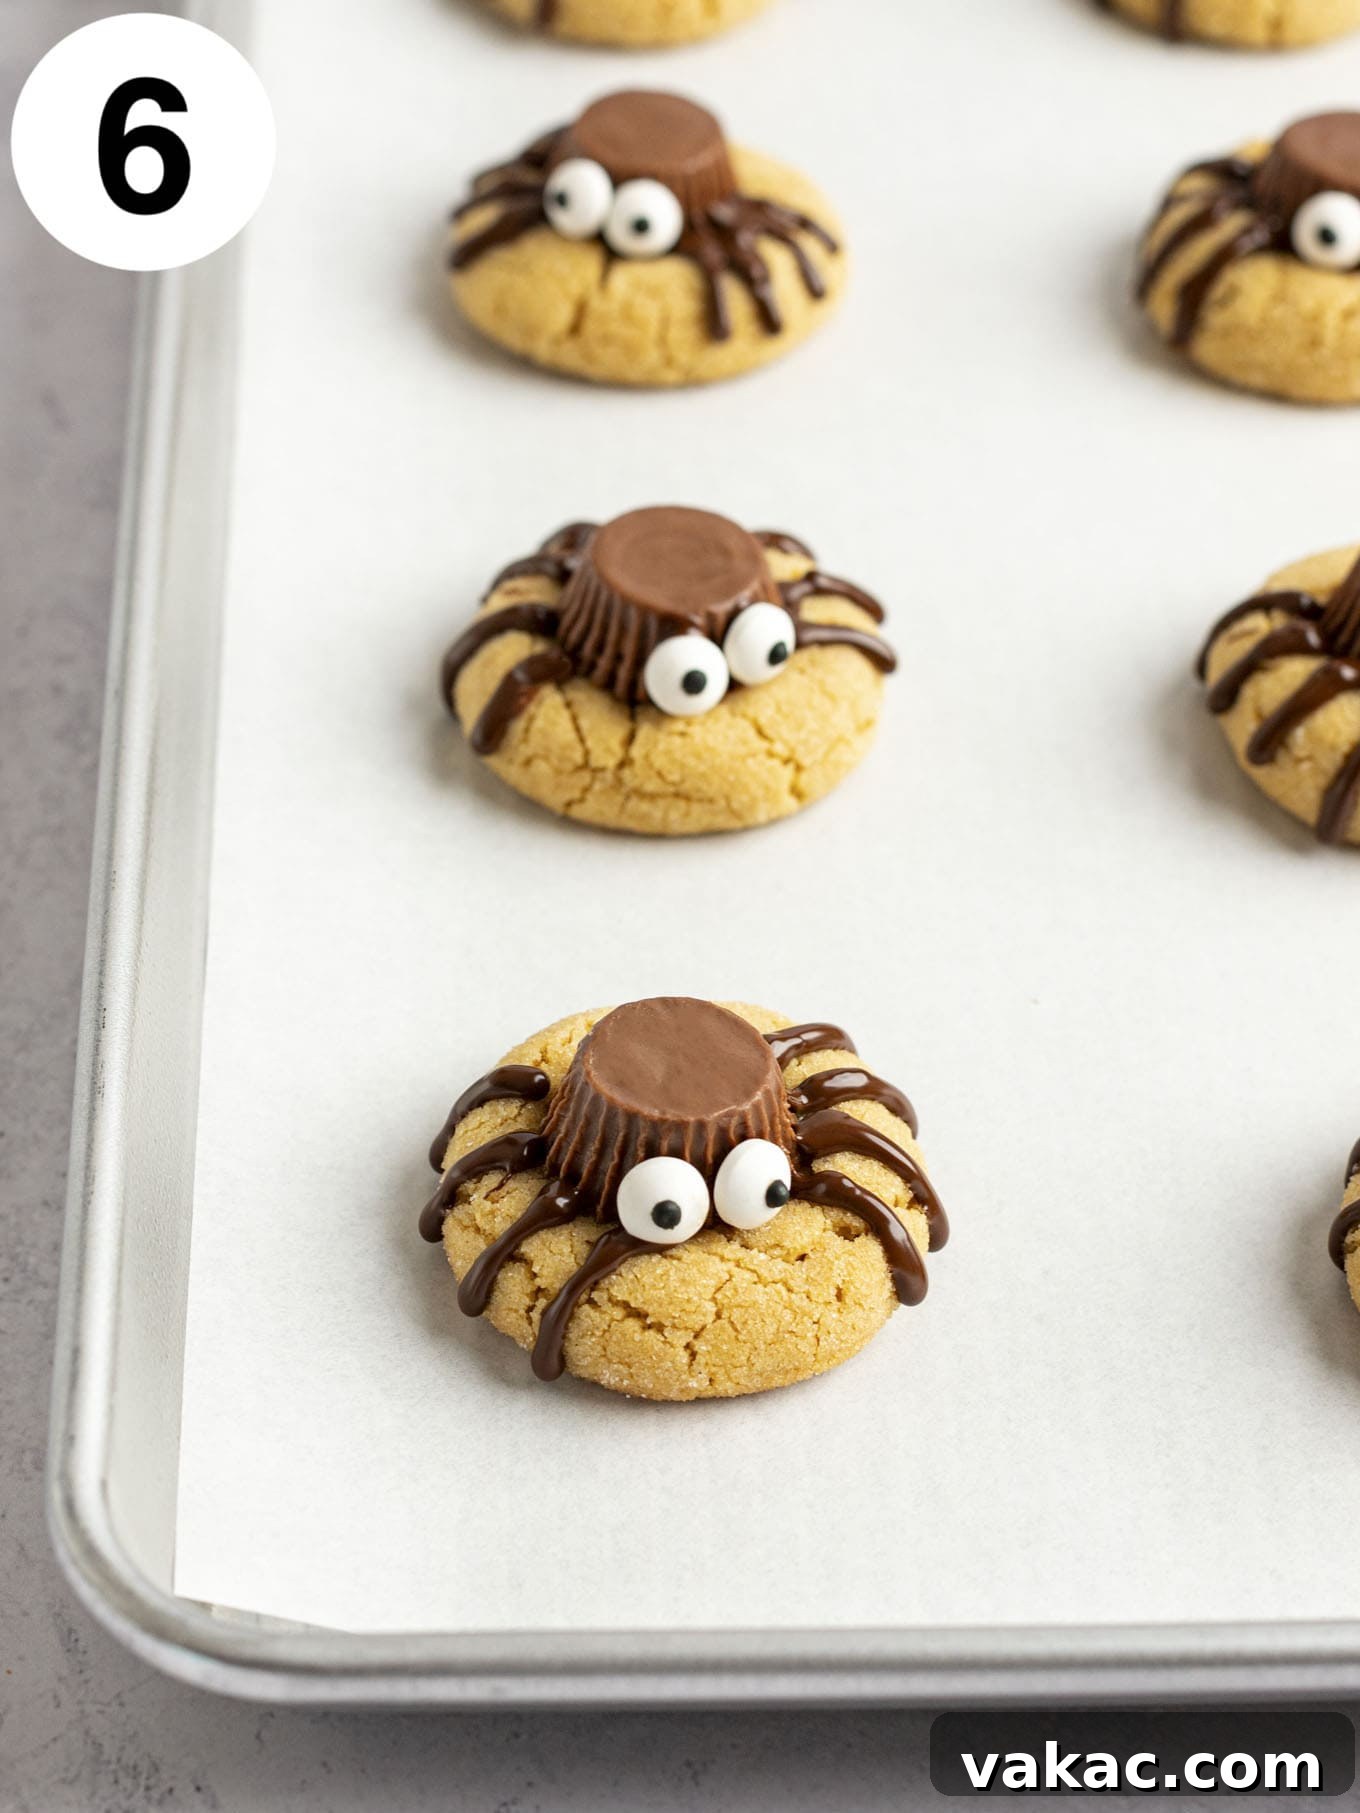
- Add the Spider Eyes: Working one cookie at a time, pipe a tiny dot of melted chocolate onto the back of two candy eyeballs. Gently press these onto the side of the miniature peanut butter cup to create the spider’s face. The melted chocolate acts as edible glue. Continue this with all the remaining cookies.
- Allow to Set: Set the decorated cookies aside at room temperature to allow the chocolate legs and eye glue to fully harden. If you’re in a hurry, you can place the cookies back into the refrigerator for a quick chill to speed up the setting process.
Creative Variations & Customization Ideas
While the classic peanut butter spider cookies are fantastic on their own, don’t hesitate to get creative and customize them to your taste or dietary needs. Here are a few ideas to spark your imagination:
- Experiment with Other Nut/Seed Butters: If peanut butter isn’t your preference or you have allergies, you can easily substitute it. As long as you use a creamy, no-stir nut or seed butter, it should work beautifully in this recipe. Consider trying cashew butter, almond butter, or sunflower seed butter for a delicious twist. Just ensure it’s not a natural variety that separates oil, as this can affect cookie texture.
- Alternate Miniature Butter Cups: The market offers a wide array of miniature nut and seed butter cups these days. Explore your local grocery store for different varieties! You could use dark chocolate almond butter cups, white chocolate peanut butter cups, or even specialty flavored cups to add another dimension of flavor to your spiders.
- DIY Candy Eyes: Can’t find candy eyeballs or prefer a homemade touch? No problem! You can easily create your own spider eyes. Melt a small amount of white chocolate chips and pipe two small dots onto the peanut butter cup for each eye. Once these dots set slightly, use a toothpick dipped in a tiny bit of melted dark chocolate or food-safe black gel icing to add a small pupil in the center of each white dot.
- Skip the Sugar Coating: The recipe calls for rolling the peanut butter cookie dough balls in granulated sugar before baking, which adds an extra layer of sweetness and a subtle, delightful crunch to the exterior. However, this step is entirely optional. If you prefer a less sweet cookie or a softer outer texture, feel free to skip the sugar coating.
- Decorating Fun: Beyond the standard legs and eyes, let your imagination run wild! You could use colored icing pens to add mouths, fangs, or even tiny cobweb details to the cookies. Edible glitter could give your spiders a shimmering, magical touch.
Expert Baking Tips for Flawless Halloween Spider Cookies
Achieving bakery-worthy spider cookies is all about paying attention to a few crucial details. These expert tips will help ensure your cookies are not only delicious but also perfectly adorable:
- Always Freeze the Peanut Butter Cups: This cannot be stressed enough! Unwrapping and freezing the miniature peanut butter cups *before* you start baking is absolutely essential. This ensures they are nice and cold, preventing them from melting and losing their shape when you press them into the warm, freshly baked cookies. A cold center helps them hold their form as the cookie cools around them.
- Cool Completely on the Baking Sheet: Patience is a virtue when it comes to these cookies. After pressing the peanut butter cups into the warm cookies, resist the urge to move them! The cookies are still very delicate and soft at this stage. If you try to transfer them to a cooling rack too soon, the warm peanut butter cups are highly likely to slide off, smearing chocolate and ruining the perfect spider shape. Let them cool fully to room temperature on the baking sheet for at least 30 minutes, or even longer.
- Refrigerate for Firmness: Once the cookies have cooled to room temperature on the baking sheet, for an even firmer and more stable result, transfer the entire baking sheet (with the cookies still on it!) to the refrigerator. Allow them to chill for an additional 20-30 minutes. This step is particularly important for allowing the peanut butter cups to fully firm back up, creating a solid base for piping the chocolate legs and adding the candy eyes without anything shifting or melting.
- DIY Piping Bag Hack: Don’t have a fancy piping bag or a squeeze bottle? No worries! You can easily create a homemade piping bag. Simply pour your melted chocolate mixture into a sandwich-sized zip-top plastic bag. Push the chocolate into one corner, then snip off a tiny bit of the corner with scissors. This creates a small opening perfect for piping the delicate spider legs and dabbing chocolate for the eyes. Start with a very small snip; you can always make it larger if needed.
- Even Cookie Sizing: For a consistent bake and uniform spider appearance, use a cookie scoop to portion out your dough. A 1.5-tablespoon scoop is ideal for this recipe. Uniform cookies bake evenly and look more professional.
- Room Temperature Ingredients: Ensure your butter and egg are at room temperature. This allows them to cream together more smoothly, creating a more cohesive dough and a better cookie texture.
Detailed Recipe Card: Peanut Butter Spider Cookies

Spider Cookies
Soft and chewy peanut butter cookies are transformed into adorable spiders! These spider cookies are easy to assemble and are perfect for any upcoming Halloween parties.
Prep Time: 1 hour
Cook Time: 10 minutes
Chilling Time: 30 minutes
Total Time: 1 hour 40 minutes
Ingredients (Yields 24 cookies)
- 24 miniature peanut butter cups, unwrapped
- ½ cup unsalted butter, softened (115 grams; 1 stick)
- ½ cup packed light brown sugar (100 grams)
- ¼ cup granulated sugar (50 grams)
- ¾ cup creamy peanut butter (190 grams)
- 1 large egg, at room temperature
- 1 teaspoon pure vanilla extract
- 1 ½ cups all-purpose flour, spooned and leveled (190 grams)
- ½ teaspoon baking soda
- ¼ teaspoon salt
- ¼ cup granulated sugar, optional (50 grams, for rolling)
- ½ cup semi-sweet chocolate chips (90 grams)
- 2 teaspoons shortening, optional (8 grams)
- 48 candy eyeballs
Instructions
- Preheat the oven to 350°F (177°C). Line two large baking sheets with parchment paper or silicone baking mats and set aside.
- Line a separate small baking sheet with parchment paper. Place the unwrapped miniature peanut butter cups on this baking sheet, then place the baking sheet in the freezer.
- To make the cookie dough: In the bowl of a stand mixer fitted with the paddle attachment, or in a large mixing bowl using a handheld mixer, beat the butter until smooth and creamy.
- Add the brown sugar and ¼ cup granulated sugar and mix together for 1 to 2 minutes or until well combined and fluffy.
- Add the peanut butter, egg, and vanilla extract and continue mixing until fully combined, stopping to scrape down the sides of the bowl as needed.
- Add the flour, baking soda, and salt and mix on low speed until just combined. Be careful not to overmix.
- If using, place the extra ¼ cup (50 grams) of granulated sugar in a small bowl. Using a 1.5 tablespoon cookie scoop, scoop the cookie dough, roll into a ball, and coat thoroughly in the granulated sugar. Place each ball of cookie dough onto the prepared baking sheets, making sure to leave a little room between each one.
- Bake for 10 to 12 minutes or until the tops of the cookies are set and the edges are lightly golden.
- Remove from the oven and immediately remove the peanut butter cups from the freezer.
- To assemble the cookies: Gently press a miniature peanut butter cup, upside down, onto the center of each warm cookie. Don’t press it all the way down, just enough for it to stick firmly.
- Allow the cookies to cool completely on the baking sheets for about 30 minutes at room temperature. Do not try to transfer the cookies to a cooling rack at this stage; this will cause the still-soft peanut butter cups to slide and deform.
- Once the cookies have cooled completely, carefully transfer the baking sheets with the cookies to the fridge and chill for 20 to 30 minutes, or until the peanut butter cups have fully hardened. Ensure the baking sheet remains completely flat.
- Once the peanut butter cups have fully firmed up, remove the cookies from the fridge and set aside.
- Place the chocolate chips and shortening (if using) in a large microwave-safe bowl or measuring cup. Microwave at 50% power in 30-second increments, stirring well after each increment, until the chocolate is completely melted and smooth. Allow to cool for 10 minutes to prevent it from being too runny.
- Pour the melted chocolate into a piping bag or squeeze bottle with a small opening. Use the melted chocolate to pipe or squeeze four lines (legs) onto each side of the peanut butter cup, extending onto the cookie base (a total of eight legs per cookie). Repeat with the remaining cookies.
- Carefully pipe or squeeze a small drop of melted chocolate onto the back of two candy eyeballs, then gently place the eyeballs onto the side of the peanut butter cup to help them stick. Repeat with the remaining cookies.
- Allow the chocolate legs and eye glue to harden at room temperature or refrigerate until firm.
Notes
- Storage Instructions: Cookies may be stored in an airtight container at room temperature for up to one week.
- Freezing Instructions: Baked and decorated cookies will freeze well for 2 to 3 months. To serve, thaw them to room temperature.
Cuisine: American
Course: Dessert
Author: Danielle Rye
Did you make this recipe? Mention @livewellbakeoften on Instagram or tag #livewellbakeoften to share your creations!