
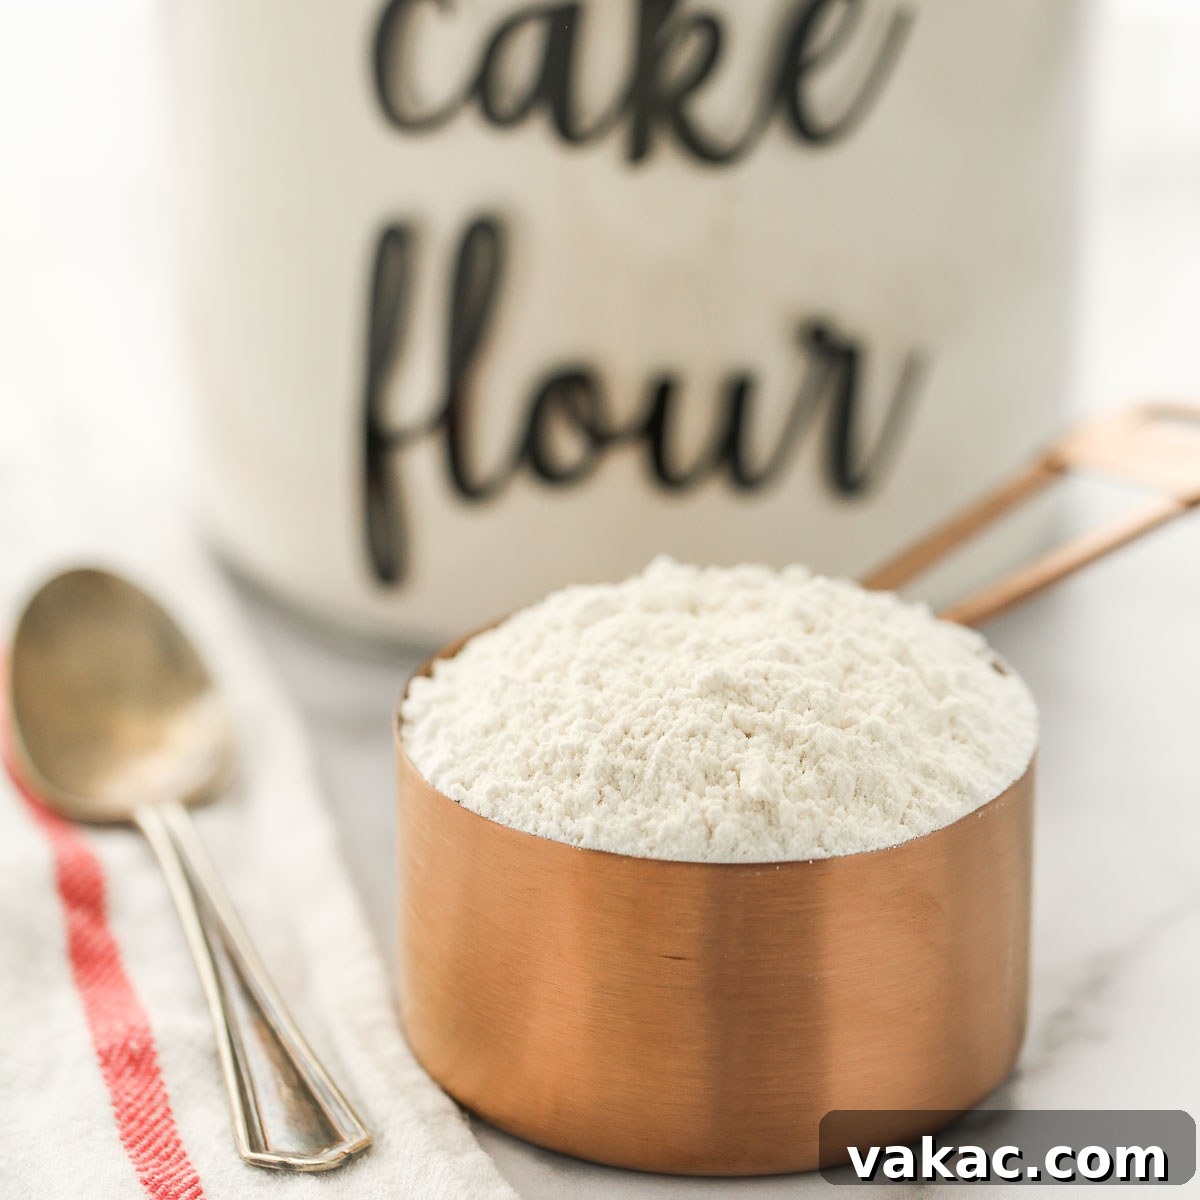
Learn how to effortlessly create your own essential cake flour substitute using just two common ingredients. This versatile homemade blend is the secret to achieving exceptionally tender, moist, and airy baked goods, perfect for cakes, cupcakes, and a wide array of delicate desserts.
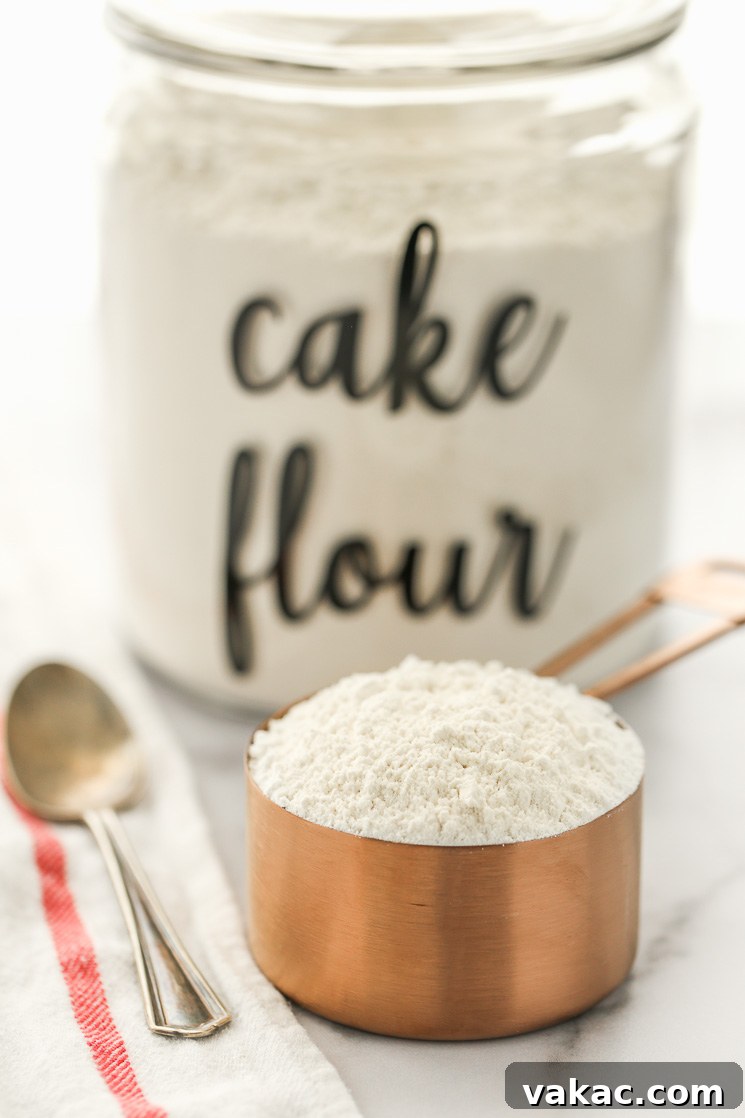
Understanding Cake Flour: The Baker’s Secret to Perfection
There are few things more disheartening in the kitchen than being halfway through a recipe only to discover you’re missing a crucial ingredient. For avid bakers, cake flour often falls into this category – an ingredient that, while not always on hand, is indispensable for achieving that signature light, delicate, and tender crumb in specific desserts. Just as a homemade buttermilk substitute can save the day, knowing how to create your own cake flour at home can transform your baking game.
At its core, cake flour is a specialty flour milled from soft wheat. Its most distinguishing characteristic is its low protein content, typically ranging between 7% and 9%. This is significantly lower than standard all-purpose flour, which generally contains 10% to 12% protein. This difference in protein levels dictates how much gluten develops when the flour is mixed with liquid. Less protein means less gluten formation, which translates directly to a softer, more delicate texture in your final baked product.
Imagine biting into a fluffy cake or a light, airy cupcake. That sublime texture is largely thanks to cake flour. The reduced gluten prevents the development of a chewy, elastic structure often desired in breads or pizzas, ensuring your cakes remain tender and melt-in-your-mouth. It also contributes to a finer crumb structure, making your baked goods feel more luxurious and refined.
Many home bakers hesitate to buy a separate bag of cake flour, opting for all-purpose flour instead. While all-purpose flour is incredibly versatile, it simply cannot replicate the specific qualities cake flour brings to recipes where a delicate texture is paramount. Luckily, you don’t have to compromise. With just two ingredients that are likely already in your pantry, you can easily create a substitute that performs remarkably similar to commercial cake flour, ensuring your cakes and cupcakes always turn out perfectly light and tender.
The Simple Ingredients for Homemade Cake Flour
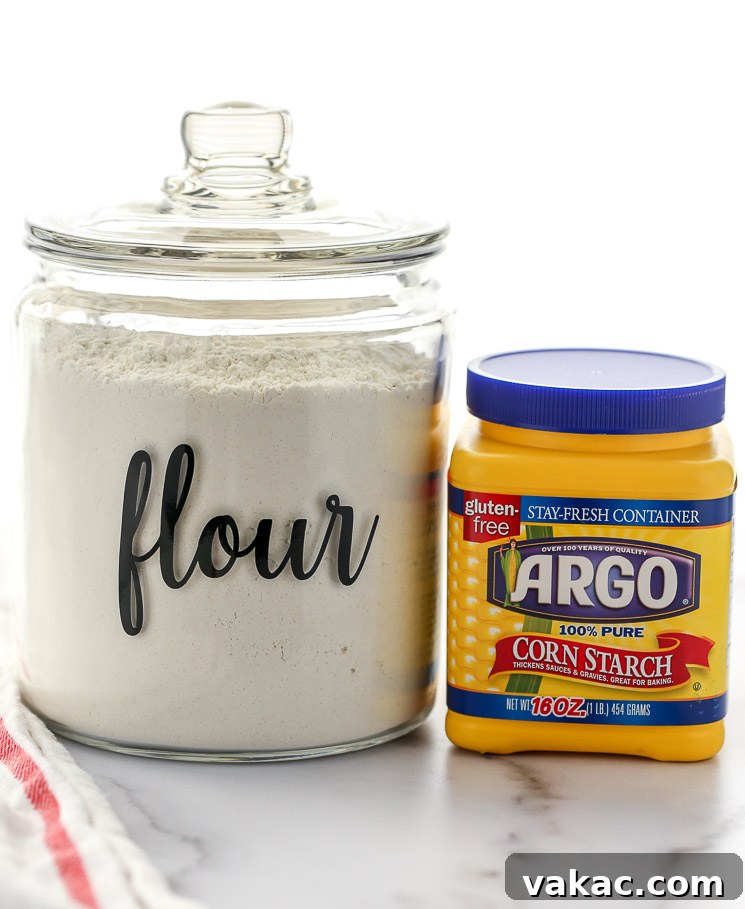
Crafting your own cake flour substitute is remarkably straightforward and requires only two ingredients you probably already possess: all-purpose flour and cornstarch. This simple combination is a testament to how fundamental ingredients can be transformed into specialized components with a little know-how.
- All-Purpose Flour: This forms the base of your homemade cake flour. Since all-purpose flour has a higher protein content than true cake flour, we need to modify it.
- Cornstarch (or Cornflour): This is the crucial ingredient that transforms all-purpose flour into a cake flour equivalent. Cornstarch is a pure starch, devoid of protein. When added to all-purpose flour, it effectively dilutes the overall protein content of the mixture. This reduction in protein, coupled with the tenderizing properties of the starch, mimics the characteristics of low-protein soft wheat flour. For those outside the United States, “cornstarch” is typically known as “cornflour.” Rest assured, they are the same product and function identically in this recipe.
This recipe and tutorial are designed to yield approximately 1 cup of cake flour substitute. However, its simplicity makes it incredibly scalable. Whether you need a small amount for a single batch of cupcakes or a larger quantity for multiple baking projects, you can easily adjust the proportions up or down as required. Always ensure you maintain the correct ratio of all-purpose flour to cornstarch for optimal results.
Using quality ingredients, particularly a reliable brand of all-purpose flour, will also contribute to the success of your homemade cake flour. While the transformation is simple, the quality of your base ingredients still matters for the overall texture and flavor of your final baked goods.
Step-by-Step Guide: Crafting Your Own Cake Flour Substitute
Creating your homemade cake flour substitute is a simple process, but precision in measuring and technique is essential for achieving the best results. Follow these steps carefully to ensure your flour is perfectly prepared for delicate baking.
1. Accurate Flour Measurement is Key
Begin by measuring out one level cup of all-purpose flour. This step is critical, and how you measure your flour can significantly impact the outcome of your baking. Always remember the “spoon and level” method:
- Gently spoon your all-purpose flour into the measuring cup until it overflows.
- Do not pack the flour down or tap the cup.
- Use the straight edge of a knife or a flat spatula to level off the excess flour from the top of the measuring cup.
Why is this important? Scooping flour directly from its container can compress it, leading to significantly more flour in your measuring cup than intended. An extra two tablespoons of flour (which can easily happen with improper scooping) can make your baked goods dense, dry, and heavy, rather than light and airy. Precision here ensures the correct flour-to-cornstarch ratio and overall recipe success.
2. Adjusting the All-Purpose Flour
Once you have a perfectly leveled cup of all-purpose flour, remove two tablespoons of it. Return this removed flour to your original flour bag or container. This step reduces the overall protein content of the all-purpose flour, making room for the cornstarch to take its place and further modify the flour’s characteristics.
3. Introducing Cornstarch
Now, replace the two tablespoons of flour you just removed with two level tablespoons of cornstarch (or cornflour). The cornstarch is the magic ingredient here. Its pure starch content works to dilute the protein in the all-purpose flour and interferes with gluten development during mixing. This inhibition of gluten formation is precisely what leads to a softer, more tender, and finer-textured baked good, mimicking the qualities of professional cake flour.
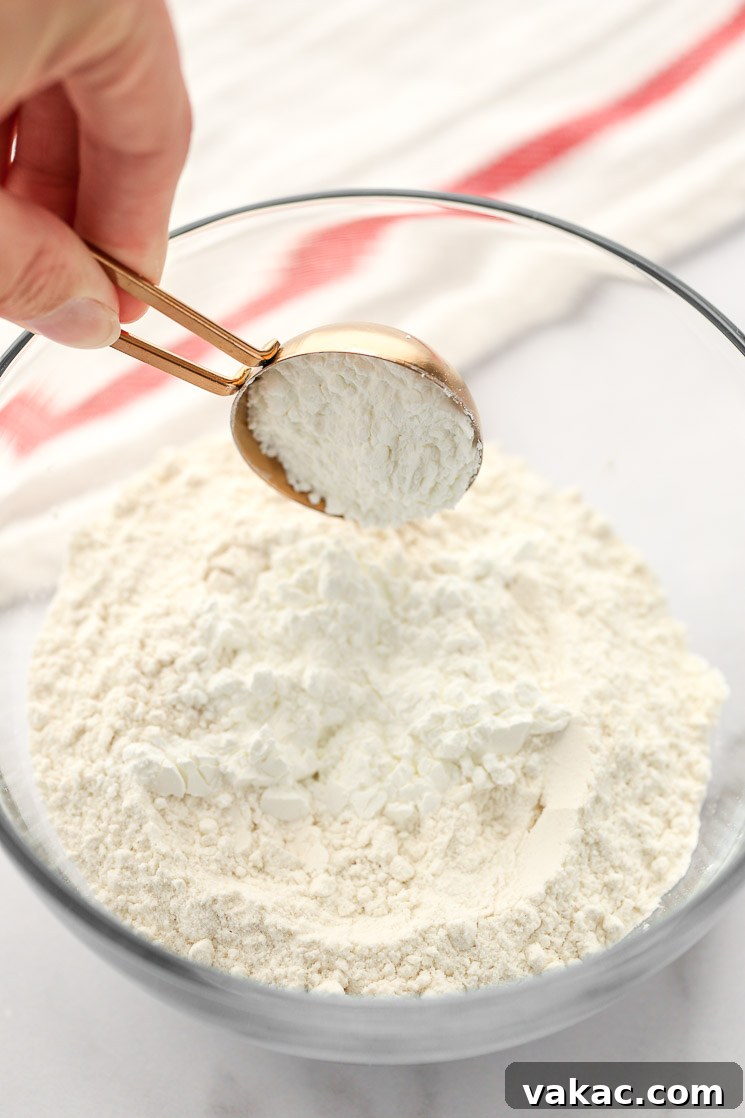
4. Thorough Mixing and Sifting
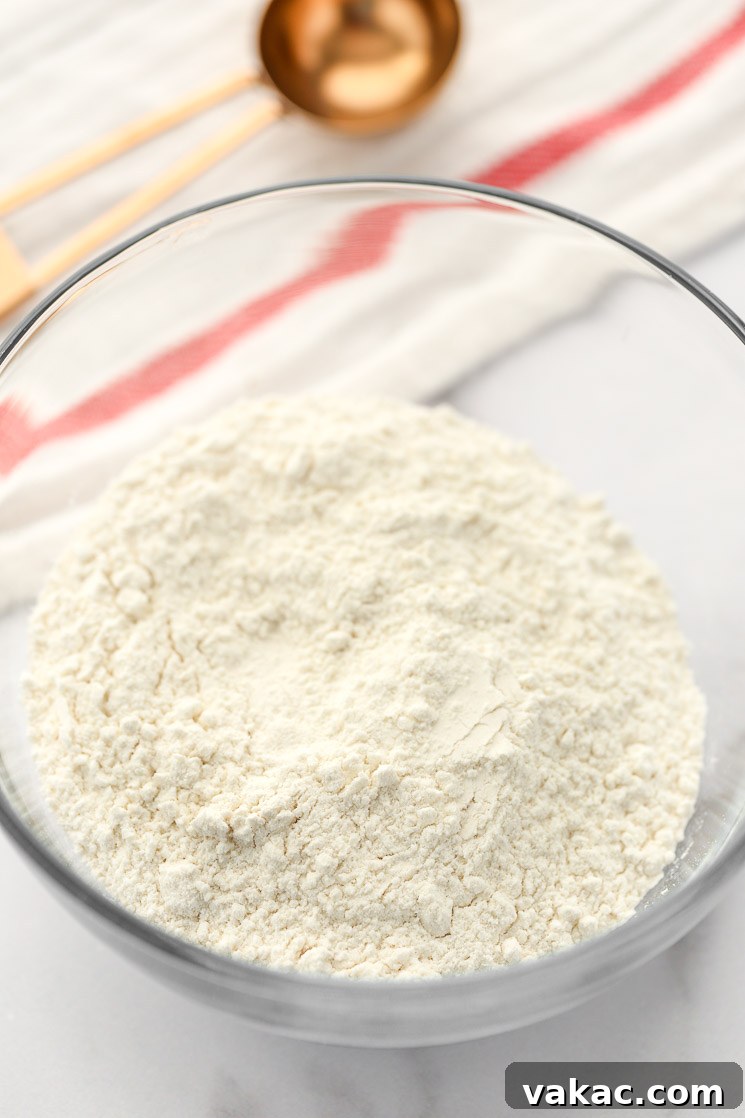
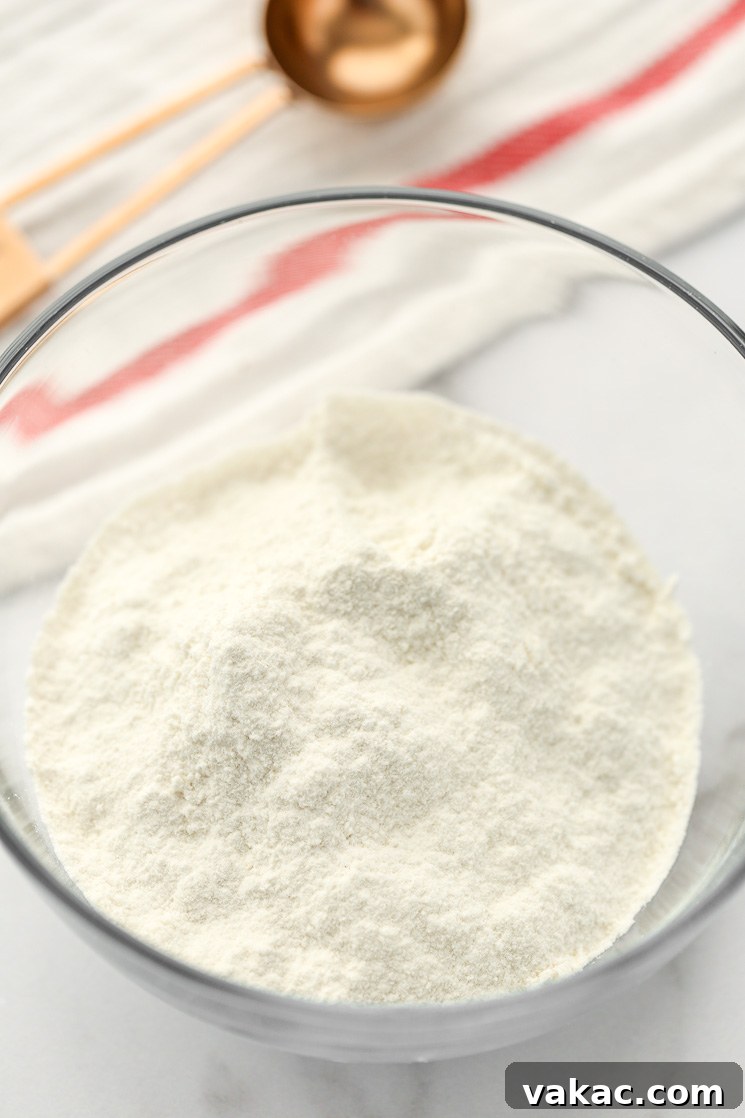
Once both ingredients are in the bowl, whisk them together until they are thoroughly combined. Then, transfer the mixture to a fine-mesh sieve and sift it. Sift the flour mixture not once, but 4-5 times.
- Sifting ensures that the cornstarch is evenly distributed throughout the all-purpose flour, preventing pockets of pure cornstarch or flour.
- More importantly, sifting aerates the mixture significantly. This process introduces air into the flour, making it lighter and fluffier. This aeration contributes directly to the light, airy texture that cake flour is prized for. Do not skip this step; it’s vital for achieving the desired delicate crumb.
5. Final Measurement for Your Recipe
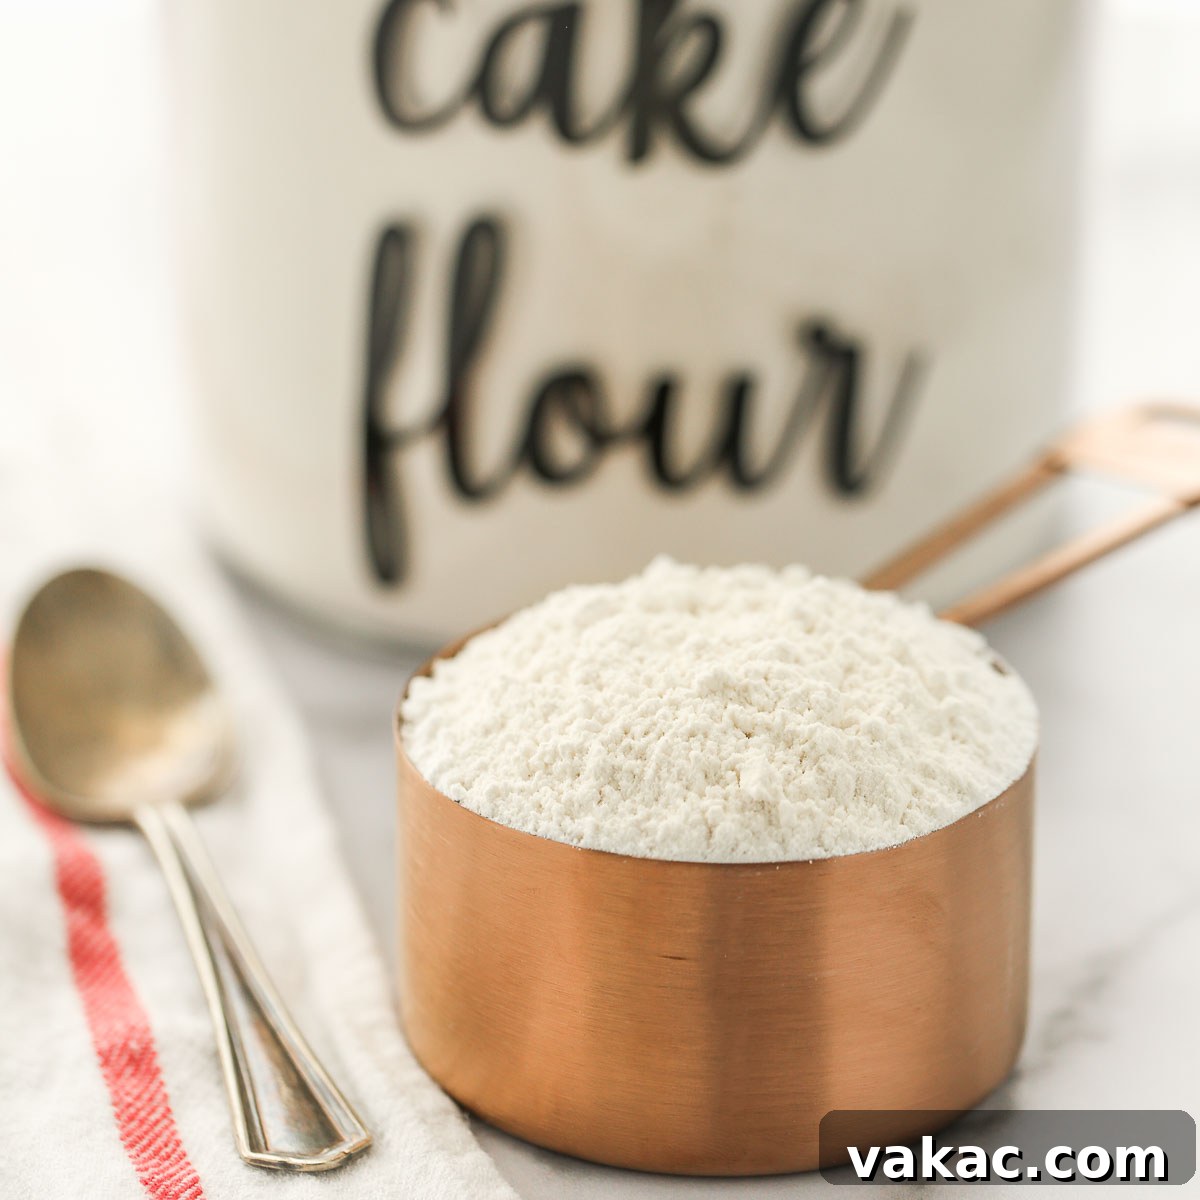
After sifting, your homemade cake flour is ready to use. When you need to measure out the amount specified in your recipe, use the same “spoon and level” method you used for the all-purpose flour. Gently spoon the sifted homemade cake flour into your measuring cup until it overflows, then level it off with the back of a knife. This ensures you’re adding the precise amount of your newly crafted cake flour to your recipe.
Seamless Substitution: Using Your Homemade Cake Flour
Now that you’ve mastered making your own cake flour, it’s essential to understand how to correctly incorporate it into your recipes for optimal results. The beauty of this DIY substitute lies in its versatility, allowing you to achieve a superior texture in various baked goods.
Substituting When a Recipe Calls for Cake Flour
If your recipe explicitly calls for cake flour, you can use your homemade substitute as a direct 1:1 replacement. For example, if a recipe asks for 2 cups of cake flour, you would use 2 cups of your freshly prepared homemade cake flour. It’s designed to perform just like commercial cake flour, ensuring the same tender, delicate crumb.
Substituting When a Recipe Calls for All-Purpose Flour (for Lighter Results)
This is where your homemade cake flour can truly elevate your baking. When a recipe primarily calls for all-purpose flour, but you wish to achieve an even lighter, more delicate texture (especially for cakes, cupcakes, or muffins), you can adapt the recipe using your homemade cake flour. A common guideline for this conversion is to use 1 cup plus 2 tablespoons of your homemade cake flour for every 1 cup of all-purpose flour specified in the original recipe.
For instance, if a recipe requires 2 cups of all-purpose flour and you want to use your homemade cake flour for a finer crumb, you would use 2 cups + 4 tablespoons (or 2 cups and 1/4 cup) of your homemade cake flour. This slight increase in volume accounts for the lighter, less dense nature of cake flour compared to all-purpose flour, ensuring the right balance in your batter.
Always consider the nature of your recipe. This substitution is most beneficial for recipes where a tender crumb is desired, such as sponge cakes, chiffon cakes, delicate cookies, or light muffins. For recipes that rely on gluten development for structure, like chewy breads or pizzas, it’s best to stick to all-purpose or bread flour as specified.
Preparing in Advance: Your Baking Timesaver
One of the fantastic advantages of this homemade cake flour recipe is its suitability for batch preparation. There’s no need to make it fresh every time you bake. You can easily multiply this recipe to create a larger quantity, making your baking process even more convenient.
To prepare a big batch, simply scale up the ingredients. For example, if you want to make 4 cups of cake flour substitute, you would start with 4 cups of all-purpose flour, remove 8 tablespoons (1/2 cup), and replace them with 8 tablespoons (1/2 cup) of cornstarch. Remember to whisk and sift thoroughly after mixing.
Storage: Once prepared, store your homemade cake flour in an airtight container in a cool, dry pantry. Treat it just like you would store regular flour. If stored properly, it will last as long as the expiration date of the all-purpose flour and cornstarch you used to make it. This makes it a perfect pantry staple, always ready for your next baking adventure, eliminating those last-minute rushes to the store or panicked searches for substitutes.
Having a pre-made batch on hand ensures that you’re always equipped to bake those delicate, tender treats without any hassle, turning frustrating moments into seamless baking experiences.
Why Choose Homemade Over Store-Bought?
While store-bought cake flour is readily available in many supermarkets, opting for the homemade version offers several distinct advantages that can benefit both your baking and your budget.
- Accessibility: Commercial cake flour isn’t always available in every grocery store, especially in smaller towns or international markets. By knowing how to make it yourself, you ensure that you always have access to this specialized ingredient, regardless of your location.
- Cost-Effectiveness: Buying a separate bag of cake flour can sometimes be more expensive per ounce than all-purpose flour. Since you likely already have all-purpose flour and cornstarch in your pantry, making your own is a much more economical choice, saving you money in the long run.
- Freshness and Control: When you make your own, you know exactly what goes into it. There are no hidden additives or preservatives. You’re using fresh ingredients, which can subtly impact the flavor and quality of your baked goods.
- Reduced Waste: If you only bake with cake flour occasionally, a large bag of store-bought cake flour might sit in your pantry for extended periods, potentially losing freshness or expiring. Making smaller batches as needed, or a larger batch that you know you’ll use, helps reduce food waste.
Embracing the DIY approach empowers you with control over your ingredients and offers a practical, budget-friendly solution without compromising the quality of your baking.
Pro Tips for Optimal Results
To truly master the art of homemade cake flour and ensure your baked goods consistently turn out perfectly, consider these expert tips:
- Don’t Skip the Sifting: We’ve emphasized this, but it cannot be overstated. Sifting 4-5 times is non-negotiable. It thoroughly combines the cornstarch and flour and, crucially, aerates the mixture, mimicking the light texture of finely milled commercial cake flour. This aeration is what contributes to the fluffy, tender crumb.
- Use a Fine-Mesh Sieve: For the best sifting results, employ a fine-mesh sieve. This ensures that the flour and cornstarch are broken down into the finest particles, preventing lumps and promoting even distribution.
- Quality Matters: Start with good quality all-purpose flour and fresh cornstarch. While this substitute works wonders, the overall quality of your base ingredients will still influence the final taste and texture of your cakes.
- Store Properly: If making a batch in advance, always store your homemade cake flour in an airtight container in a cool, dry place. Humidity can cause clumping, which might affect its performance.
- Understand Its Limits: While fantastic for delicate pastries, cakes, and cupcakes, homemade cake flour (or any cake flour) is not suitable for all baking projects. Avoid using it in recipes that require significant gluten development for structure or chewiness, such as rustic breads, pizzas, or dense cookies. For these, stick to all-purpose or bread flour.
- Practice Makes Perfect: Like any baking technique, a little practice helps. Pay attention to how your homemade cake flour performs in different recipes and adjust your approach if necessary, though this simple method is highly reliable.
By following these tips, you’ll ensure that your homemade cake flour substitute consistently delivers the light, tender, and exquisite results your baking deserves.
Beyond Cakes: Versatile Uses for Your DIY Flour
While its name suggests primary use in cakes, this homemade cake flour substitute is incredibly versatile and can elevate the texture of many other baked goods. Its ability to create a tender, delicate crumb makes it perfect for a variety of sweet treats:
- Red Velvet Cake: Achieve that classic soft, moist crumb.
- White Cake: Essential for a light and airy texture.
- Red Velvet Cupcakes: Perfect for fluffy, tender cupcakes.
- Angel Food Cake: Crucial for its signature ethereal lightness.
- Rum Cake: Ensures a delicate structure that absorbs moisture beautifully.
- Delicate Muffins and Quick Breads: For a lighter, less dense texture.
- Tender Cookies: Think shortbreads or delicate sugar cookies.
- Pancakes and Waffles: For an exceptionally light and fluffy breakfast.
Experiment with your homemade cake flour in your favorite recipes to discover new levels of tenderness and refinement in your baking.
Frequently Asked Questions (FAQ)
Here are answers to some common questions about making and using homemade cake flour:
Q: Can I use self-rising flour instead of all-purpose flour?
A: No, it’s not recommended. Self-rising flour already contains leavening agents (baking powder and salt), which would interfere with the specific chemistry of your recipe if you then add more leavening agents as called for in the original recipe. Always use plain all-purpose flour for this substitute.
Q: What if I don’t have cornstarch? Is there another substitute?
A: Cornstarch is the ideal and most effective ingredient for this substitute due to its pure starch content. While some recipes might suggest arrowroot powder or tapioca starch as alternatives in a pinch, cornstarch consistently yields the best results for replicating the specific qualities of cake flour. It’s highly recommended to use cornstarch if possible.
Q: Does homemade cake flour expire?
A: The shelf life of your homemade cake flour will be determined by the earliest expiration date of its two components: all-purpose flour and cornstarch. When stored in an airtight container in a cool, dry place, it typically lasts several months, often as long as the original flour. If either ingredient smells off or shows signs of spoilage, discard the mixture.
Q: Can I use this for gluten-free baking?
A: This substitute uses all-purpose wheat flour and is therefore not gluten-free. For gluten-free baking, you would need to start with a gluten-free all-purpose flour blend and potentially make adjustments specific to gluten-free flours, which behave differently.
Q: Why do I need to sift it so many times?
A: Sifting multiple times (4-5 times) is crucial for two main reasons: it thoroughly combines the cornstarch with the flour, ensuring even distribution, and it aerates the mixture significantly. This aeration makes the flour lighter and finer, which is a key characteristic of true cake flour and contributes to a tender, fluffy crumb in your baked goods.
Homemade Cake Flour
Pin Recipe
Leave a Review
Ingredients
Instructions
-
Place the flour and cornstarch in a mixing bowl and whisk until well combined. Sift the mixture together 4-5 times, then measure out the amount of cake flour called for in your recipe by spooning it into a measuring cup and leveling it off with the back of a knife.
Notes
Always make sure to measure the flour needed in your recipe after sifting it.