
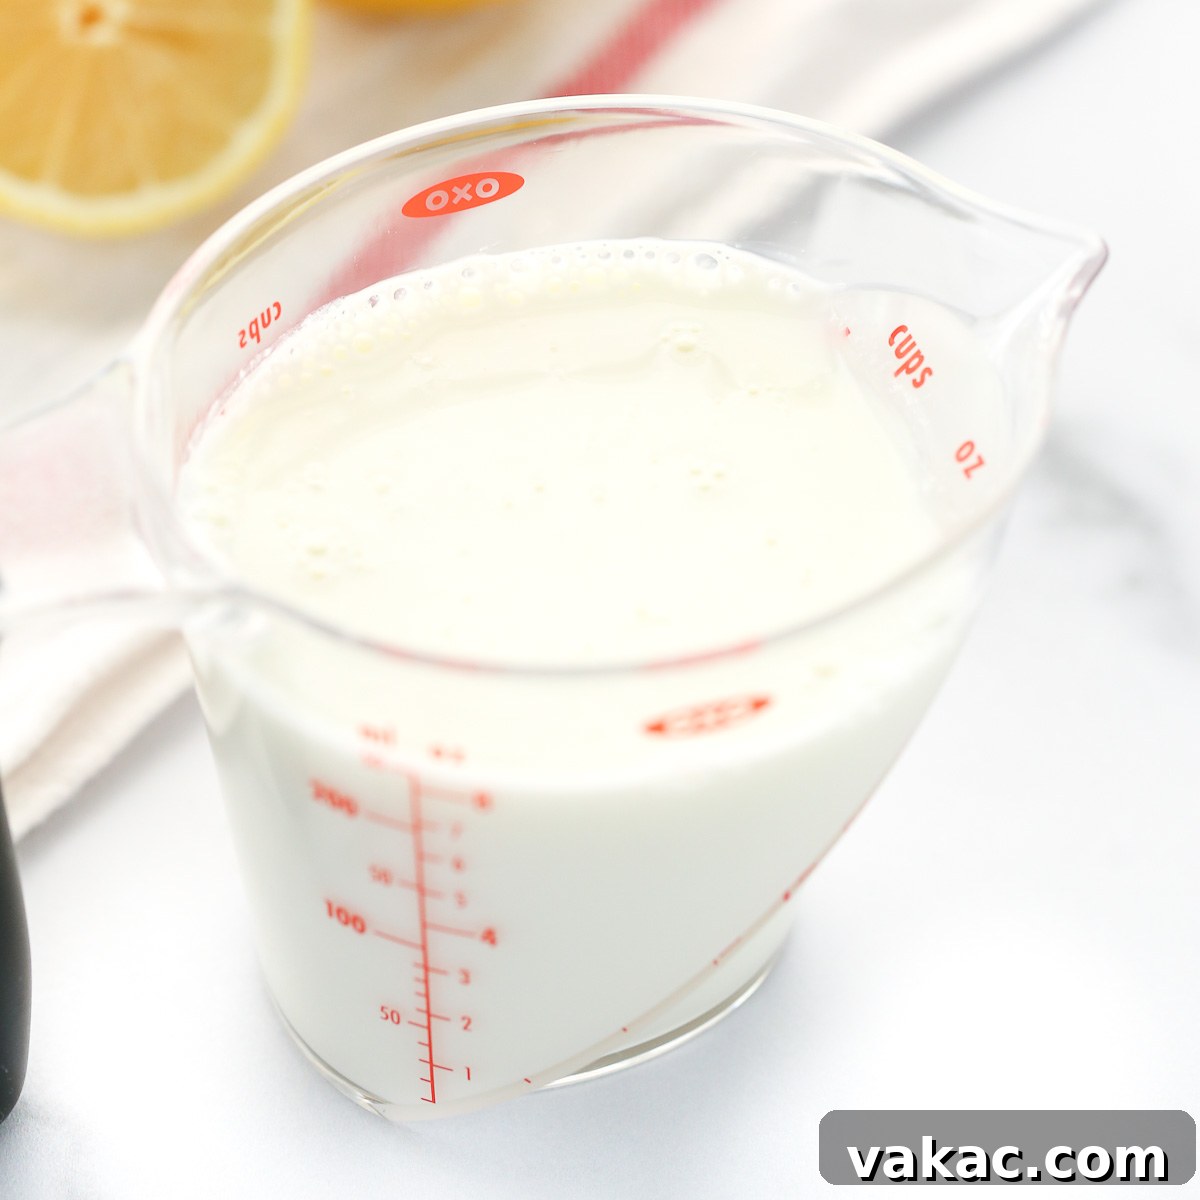
Unlock the secret to tender, moist baked goods with this incredibly simple guide to making your own buttermilk at home. Forget last-minute trips to the grocery store; with just two common ingredients and about 10 minutes, you can whip up a perfect buttermilk substitute that rivals the real thing. This essential baking hack is a game-changer for anyone who loves to bake but doesn’t always keep buttermilk on hand.
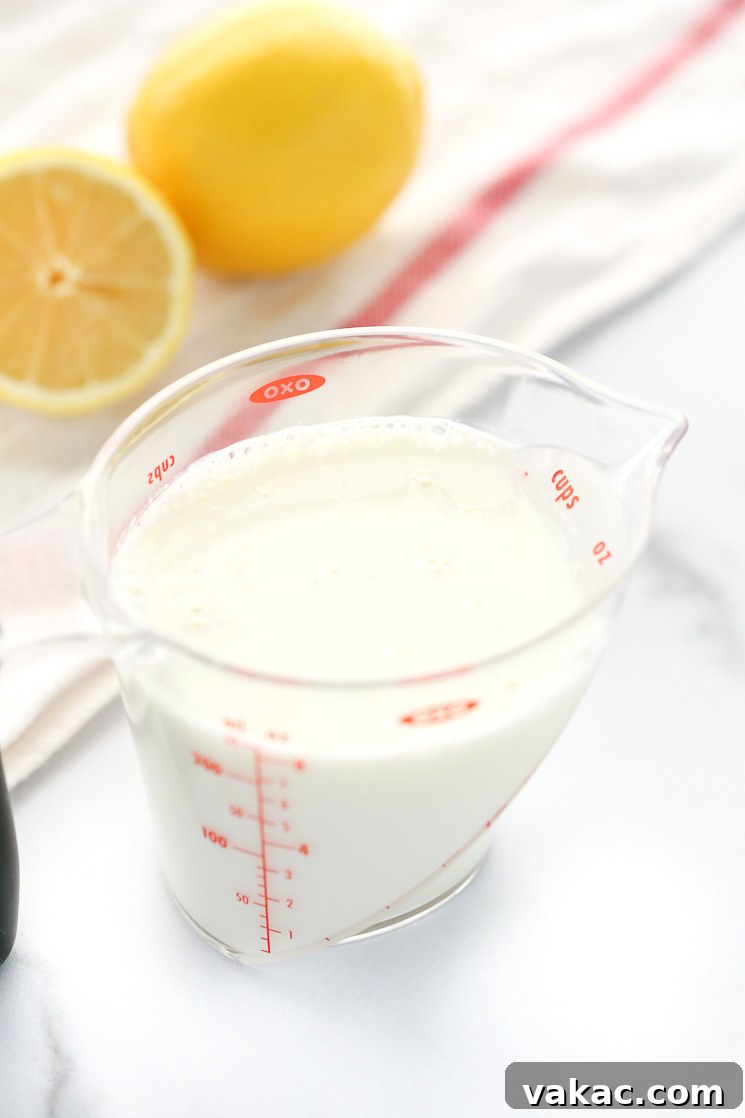
What is Buttermilk, and Why Do We Love It in Baking?
Buttermilk has a rich history, originally referring to the tangy, thin liquid left over after churning butter from fermented cream. This traditional buttermilk was naturally low in fat, high in beneficial cultures, and possessed a distinct, slightly sour flavor. Today, the buttermilk you find in most grocery stores is “cultured buttermilk.” It’s typically made by adding a lactic acid bacteria culture to pasteurized skim or low-fat milk. This process ferments the milk sugars, increasing its acidity and giving it a thicker consistency and a characteristic tangy taste.
While the store-bought version is excellent, traditional buttermilk is rarely found outside of specialty shops. This is where a homemade substitute becomes invaluable. But why is buttermilk such a beloved ingredient in the culinary world, especially in baking? Its unique properties contribute significantly to the texture, flavor, and rise of countless recipes.
The acidity of buttermilk plays a crucial role. When combined with baking soda (a common leavening agent), it creates a chemical reaction that produces carbon dioxide gas. These tiny gas bubbles help batters and doughs rise, resulting in light, airy, and fluffy baked goods. Without this acidic component, baking soda cannot activate properly, leading to dense or flat results. Beyond leavening, buttermilk’s acidity helps to break down gluten, making baked goods incredibly tender and soft. It also adds a subtle tang that enhances the overall flavor profile, balancing sweetness and richness. Moreover, it contributes significant moisture, ensuring your cakes, pancakes, and biscuits stay moist and delicious for longer.
However, buttermilk isn’t always a pantry staple for everyone. Many home bakers find themselves halfway through a recipe only to realize they’re out, or they simply don’t buy it often enough to justify keeping a carton around. That’s precisely why mastering this simple homemade buttermilk substitute is an essential skill. It saves you time, money, and the hassle of an extra grocery run, ensuring you can always create your favorite recipes with confidence.
Essential Ingredients for Your Homemade Buttermilk
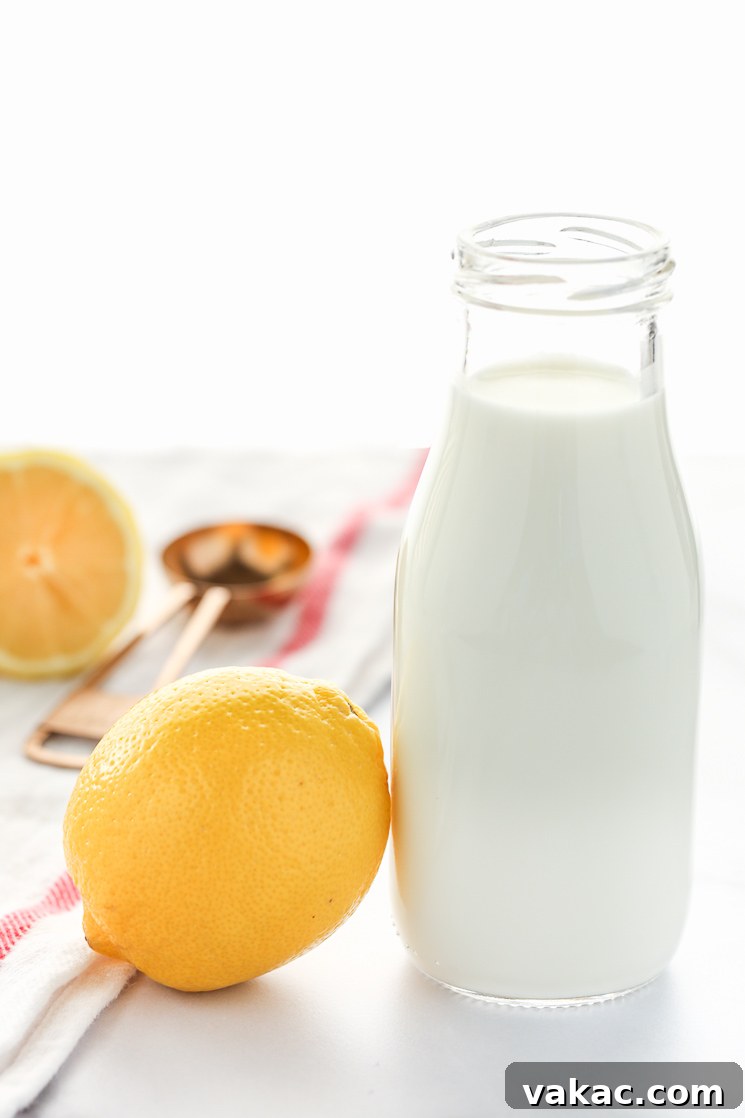
Creating your own buttermilk substitute is incredibly straightforward, requiring only two basic ingredients that you likely already have in your kitchen. The beauty of this method lies in its simplicity and versatility, allowing you to adapt it to your preferences and what’s available.
The Acid Component: Lemon Juice or Vinegar
The key to transforming regular milk into buttermilk lies in the addition of an acid. This acid causes the milk proteins (casein) to curdle and thicken, mimicking the texture and properties of traditional buttermilk. You have a couple of excellent options for your acidic ingredient:
- Freshly Squeezed Lemon Juice: This is my preferred choice for its clean, bright flavor that rarely interferes with the final taste of your baked goods. Always opt for fresh lemons when possible, as their juice tends to be more potent and flavorful than bottled varieties.
- Vinegar: Various types of vinegar can be used, but it’s important to choose one that has a relatively neutral flavor to avoid imparting an undesirable taste to your recipe.
- White Distilled Vinegar: This is an excellent and widely available option. Its neutral flavor profile makes it virtually undetectable in most baking applications.
- Apple Cider Vinegar: Another popular choice, apple cider vinegar works well, though it can sometimes impart a very subtle, fruity tang. For most recipes, this isn’t an issue and might even complement certain flavors.
- Avoid strong-flavored vinegars like balsamic or red wine vinegar, as their robust tastes will likely overpower your delicate baked goods.
The Milk Component: Any Variety Works!
When it comes to the milk, you have remarkable flexibility. Almost any type of milk can be used to create an effective buttermilk substitute. The choice often comes down to what you have on hand or your dietary preferences:
- Dairy Milk:
- Whole Milk: Often yields the richest substitute due to its higher fat content, which can contribute to a slightly creamier texture in the final baked good. It’s an excellent all-around choice.
- 2% Milk: A great balance, providing good texture without excessive richness.
- Skim Milk (Fat-Free Milk): Works perfectly well, creating a lighter version of the substitute. The curdling process still occurs effectively.
- Non-Dairy Milk: For those following a dairy-free or vegan diet, many plant-based milks are excellent for making buttermilk substitutes.
- Almond Milk: Unsweetened almond milk is a popular and effective choice.
- Soy Milk: Another reliable option that curdles well.
- Oat Milk: Works surprisingly well and has a pleasant, mild flavor.
- Coconut Milk (from a carton, not canned): The thinner, beverage-style coconut milk can be used, but be aware it might impart a subtle coconut flavor to your recipe.
Ensure you use plain, unsweetened varieties of non-dairy milk to avoid altering the flavor of your recipe with added sugars or vanilla.
Regardless of your choice, make sure your milk is fresh and not expired for the best results. The general ratio is 1 tablespoon of acid per 1 cup of milk.
Simple Steps to Make Buttermilk at Home
Making homemade buttermilk is a straightforward process that takes mere minutes. Follow these easy steps to prepare your perfect substitute:
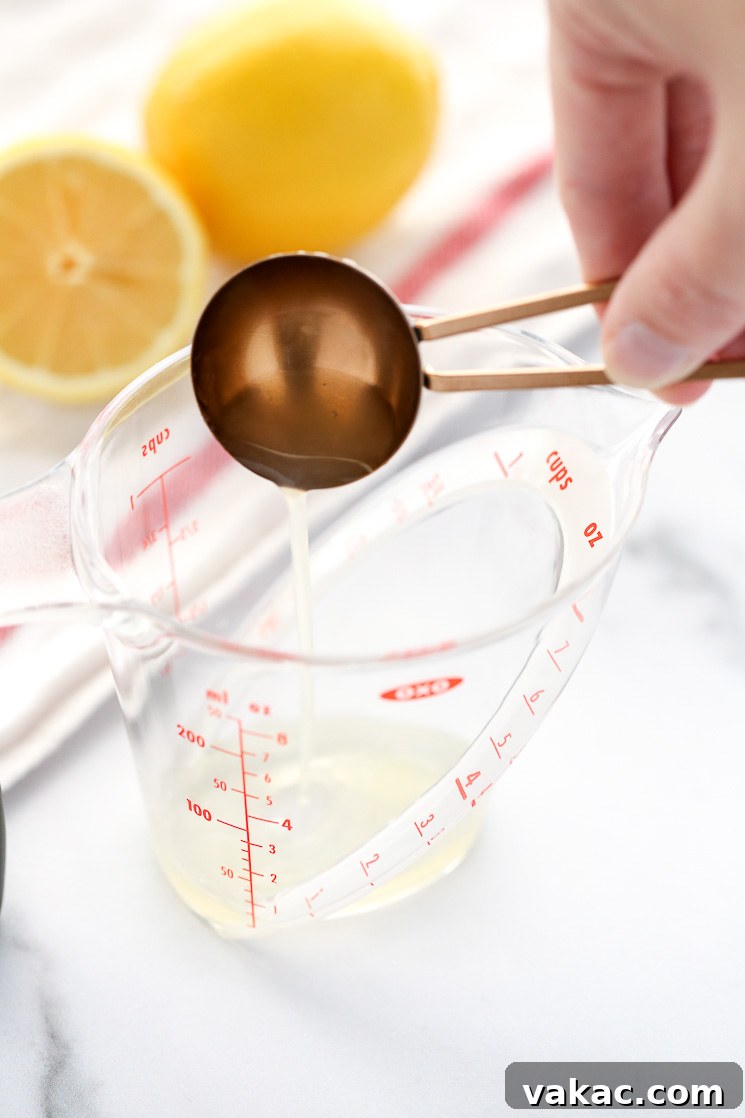
- Measure Your Acid: Begin by pouring 1 tablespoon (15 ml) of your chosen acid—either fresh lemon juice or distilled white vinegar—into a liquid measuring cup. Using a clear measuring cup is helpful for accuracy.
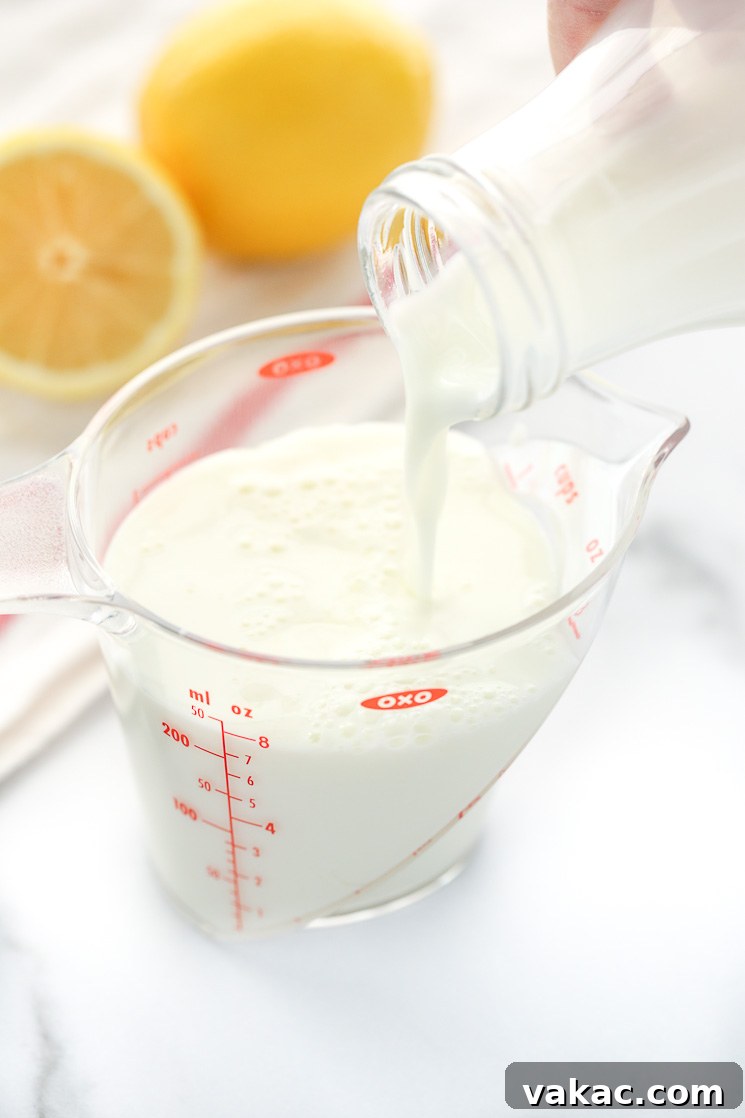
- Add Your Milk: Next, pour 1 scant cup (just under 1 cup, approximately 225 ml) of your preferred milk into the same measuring cup. You want the total volume of the milk and acid mixture to reach the 1-cup line. This ensures you have the correct amount of “buttermilk” for your recipe.
- Stir and Wait: Give the mixture a good stir to thoroughly combine the acid and milk. Then, set the measuring cup aside and let it rest undisturbed for about 5 to 10 minutes. During this time, the acid will react with the milk proteins.
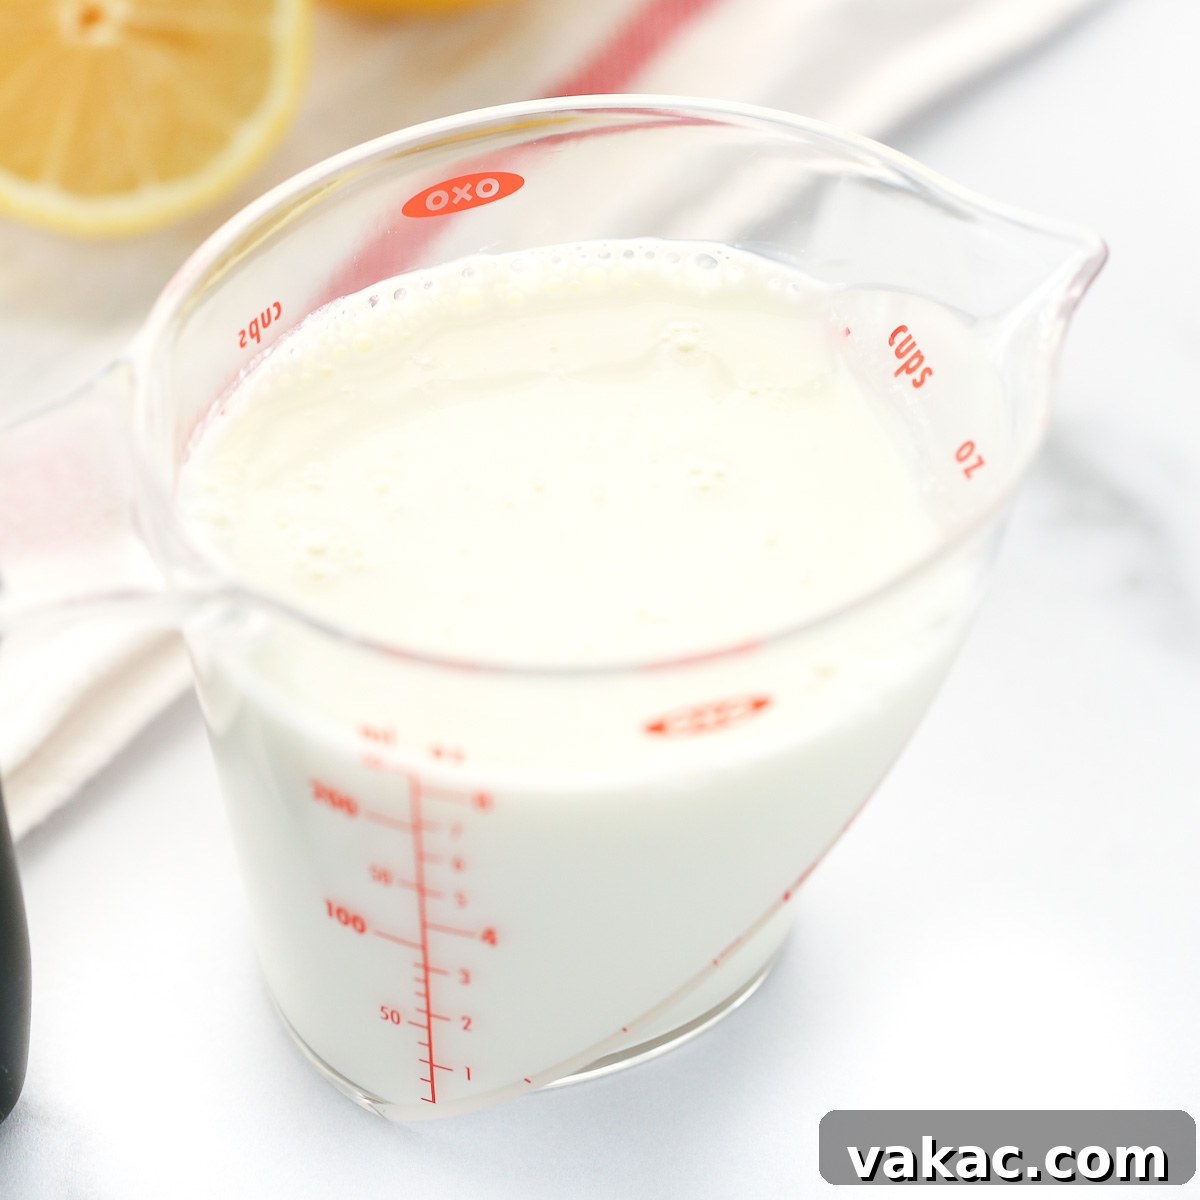
- Observe the Transformation: As it rests, you’ll notice the milk beginning to curdle and thicken. Small clumps or streaks will appear, and the consistency will become slightly lumpy, similar to thin yogurt or cottage cheese. This is exactly what you want to see! Once the milk has visibly thickened and curdled, it’s ready to use in your recipe. If after 10 minutes it doesn’t appear curdled enough, give it another quick stir and let it sit for a few more minutes.
Tips for Success and Troubleshooting
While making homemade buttermilk is incredibly easy, a few tips can ensure consistent success:
- Temperature Matters: For the most effective curdling, use milk that is at room temperature. Cold milk will still work, but it might take a few extra minutes for the reaction to fully take place. You can gently warm cold milk in the microwave for 15-20 seconds to bring it closer to room temperature, but avoid making it hot.
- Don’t Over-Mix: A gentle stir to combine the acid and milk is sufficient. Over-mixing isn’t necessary and won’t speed up the process.
- Visual Cues: Trust your eyes! The visual curdling and thickening are the best indicators that your buttermilk substitute is ready. It won’t become as thick as commercial buttermilk, but it should have a noticeably different texture from plain milk.
- Adjusting Quantity: This recipe makes 1 cup of buttermilk. If your recipe calls for more or less, simply scale the ingredients proportionally. For example, for ½ cup of buttermilk, use ½ tablespoon of acid and fill milk to the ½ cup line. For 2 cups, use 2 tablespoons of acid and fill milk to the 2-cup line.
- What if it Doesn’t Curdle? If, after 10-15 minutes, your milk hasn’t curdled sufficiently, add another half teaspoon of acid, stir, and wait a few more minutes. This can sometimes happen with very fresh or ultrapasteurized milk, or if your acid source isn’t as potent.
Frequently Asked Questions About Buttermilk
What specific role does buttermilk play in baking?
Buttermilk is a star ingredient in baking for several reasons. Its acidity is key for activating baking soda, producing carbon dioxide that gives baked goods like pancakes, muffins, and quick breads their light and airy texture. This leavening action is crucial for a good rise. Additionally, the mild acidity tenderizes the gluten in flour, resulting in a softer, more delicate crumb. It also contributes to a richer, more complex flavor profile and significantly enhances the moisture content, ensuring your creations stay fresh and delicious for longer.
Can I make a dairy-free buttermilk substitute?
Absolutely! This recipe works beautifully with most non-dairy milks. Unsweetened almond milk, soy milk, and oat milk are excellent choices. Simply substitute your preferred plant-based milk for dairy milk in the recipe. The acid will still react with the proteins in these alternative milks, creating a similar curdled texture and acidic property necessary for baking.
How long does homemade buttermilk last?
Store-bought cultured buttermilk, thanks to its specific processing and preservatives, typically lasts up to 2 weeks in the refrigerator once opened. Homemade buttermilk, however, has a shorter shelf life. Because it’s a fresh preparation, I recommend using it within 3 to 4 days of making it. Always store it in an airtight container in the coldest part of your refrigerator. If you notice any off smells, unusual discoloration, or mold, it’s best to discard it.
Can homemade buttermilk be frozen?
Yes, you can freeze homemade buttermilk, but it’s generally best used the same day you make it for optimal texture and effectiveness in baking. If you do freeze it, pour it into an ice cube tray, then transfer the frozen cubes to a freezer-safe bag or container once solid. Thaw frozen buttermilk in the refrigerator overnight or at room temperature. Note that the texture may become slightly grainy or separate upon thawing, but it will still function well in most baked recipes. Stir it vigorously before using.
Delicious Ways to Utilize Your Homemade Buttermilk
Now that you know how to make your own buttermilk, a world of culinary possibilities opens up! Its unique tang and tenderizing qualities make it perfect for a wide range of recipes, both sweet and savory. Here are just a few ideas to get you started:
- Red Velvet Cupcakes: The quintessential buttermilk recipe, ensuring a moist crumb and that classic subtle tang.
- Fluffy White Cake: Elevate a simple white cake to new heights of tenderness and flavor.
- Lemon Blueberry Cupcakes: Buttermilk pairs beautifully with fruit, enhancing both moisture and flavor.
- Rich Chocolate Layer Cake: Buttermilk reacts with cocoa powder, intensifying the chocolate flavor and yielding a wonderfully moist cake.
- Classic Buttermilk Pancakes: Achieve the fluffiest, most tender pancakes with a delightful tang.
- Easy Buttermilk Biscuits: The acidity of buttermilk is crucial for creating light, flaky biscuits.
- Fried Chicken Marinade: A secret weapon for incredibly tender and flavorful fried chicken.
- Ranch Dressing: Buttermilk forms the creamy, tangy base for a homemade ranch dressing.
- Scones and Muffins: Ensures a delicate texture and excellent rise.
- Cornbread: Adds moisture and a traditional tangy flavor to cornbread.
How To Make Buttermilk
Ingredients
- 1 tablespoon (15 ml) fresh lemon juice or distilled white vinegar
- 1 scant cup (225 ml) milk (any kind)
Instructions
-
Pour the lemon juice or vinegar into a measuring cup. Then, pour in the milk until it reaches the 1 cup line.
-
Stir the mixture well, then set aside for 5-10 minutes before using in your recipe.
Notes
Nutrition information is calculated with whole milk and fresh lemon juice.
Calories: 144kcal, Carbohydrates: 12g, Protein: 8g, Fat: 8g, Saturated Fat: 5g, Monounsaturated Fat: 2g, Cholesterol: 33mg, Sodium: 113mg, Sugar: 11g