
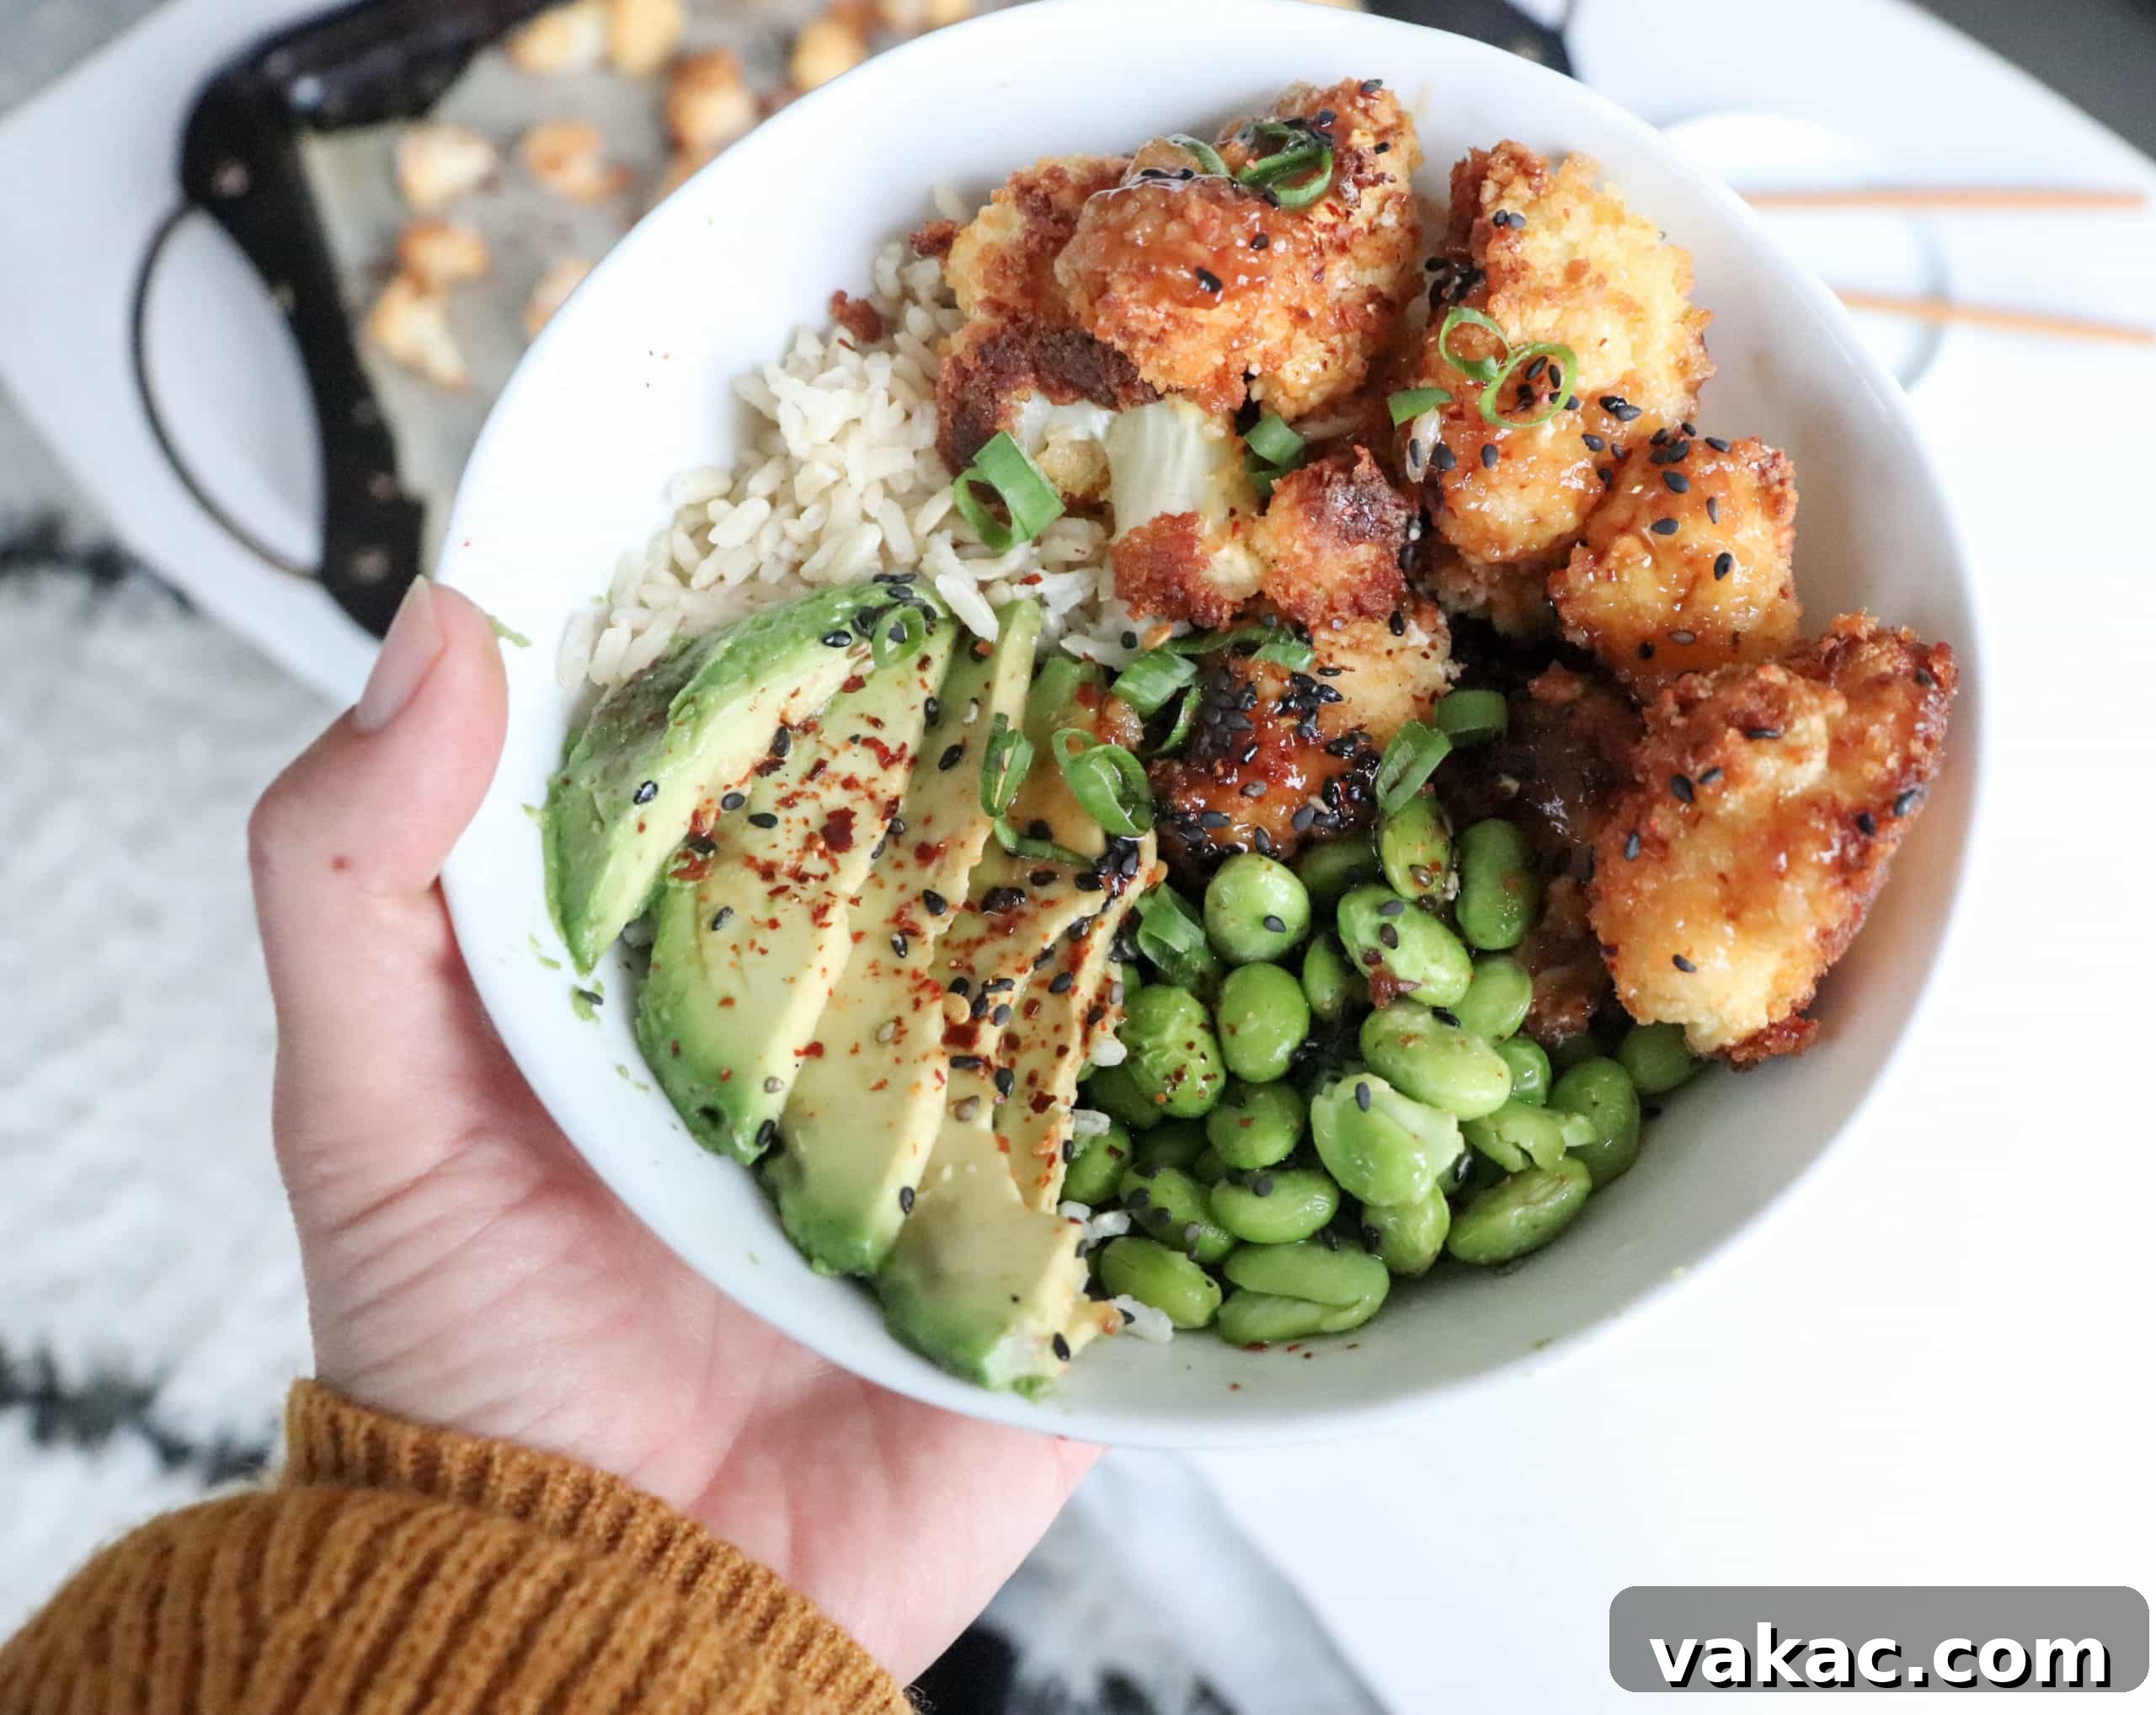
Crispy Honey Garlic Cauliflower Bowl: Your Ultimate Healthy Takeout Fix
Craving the irresistible flavors of your favorite takeout but searching for a healthier, homemade option? Look no further! This Crispy Honey Garlic Cauliflower Bowl is the answer to your weeknight dinner dilemmas. Imagine golden, perfectly crunchy oven-baked cauliflower florets, coated in a luscious, sticky honey garlic sauce, served alongside fluffy rice, protein-packed edamame, and creamy avocado. It’s a symphony of textures and tastes that satisfies every craving, leaving you feeling nourished and incredibly good.
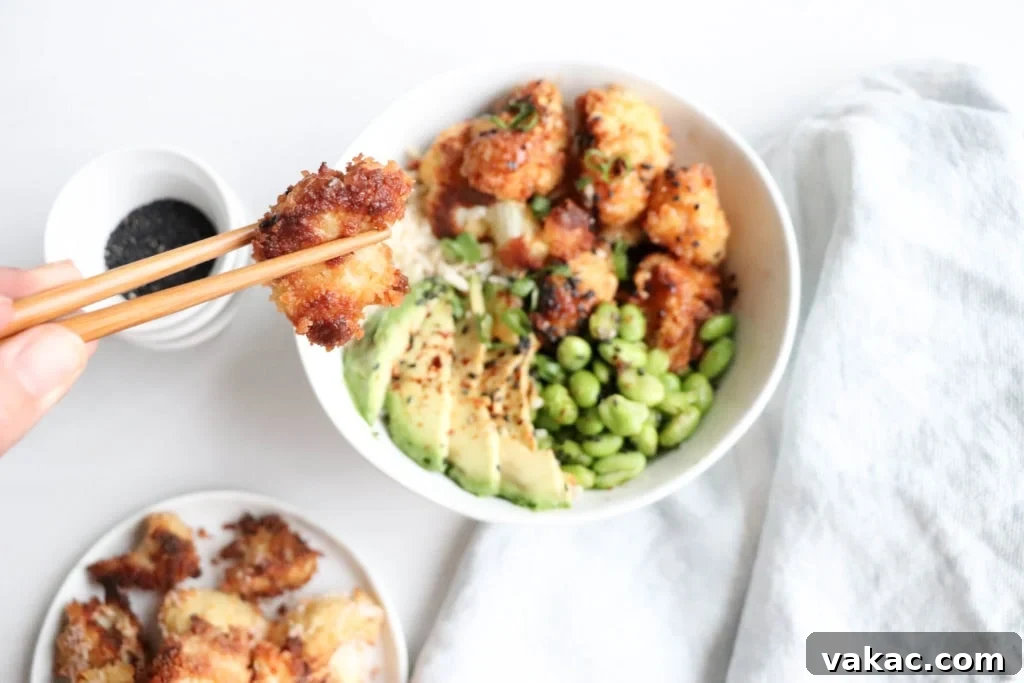
This delightful bowl actually began as a pregnancy craving – a testament to its comforting and intensely flavorful profile. I needed something quick, deeply satisfying, and brimming with taste, which ultimately led to the creation of what I consider one of my best kitchen shortcuts: a lightning-fast, 2-minute sticky honey garlic sauce. This sauce is an absolute game-changer, hitting all the right notes with its perfect balance of sweet, salty, and a hint of spicy. Trust me, you’ll want to drizzle it over everything – it’s that good!
As a dietitian, my philosophy revolves around making nourishing meals not just healthy, but genuinely achievable, especially for those busy weeknights. This Crispy Honey Garlic Cauliflower Bowl epitomizes that approach. Much of it comes together on a single baking sheet, with just a brief stovetop moment for the magical sauce. This means minimal dishes, maximum flavor, and a recipe that’s incredibly versatile for meal prepping. It stores and reheats beautifully, ensuring you can enjoy its goodness throughout the week without sacrificing crispiness or taste.
Mastering the Crispy Cauliflower: Expert Tips for Success
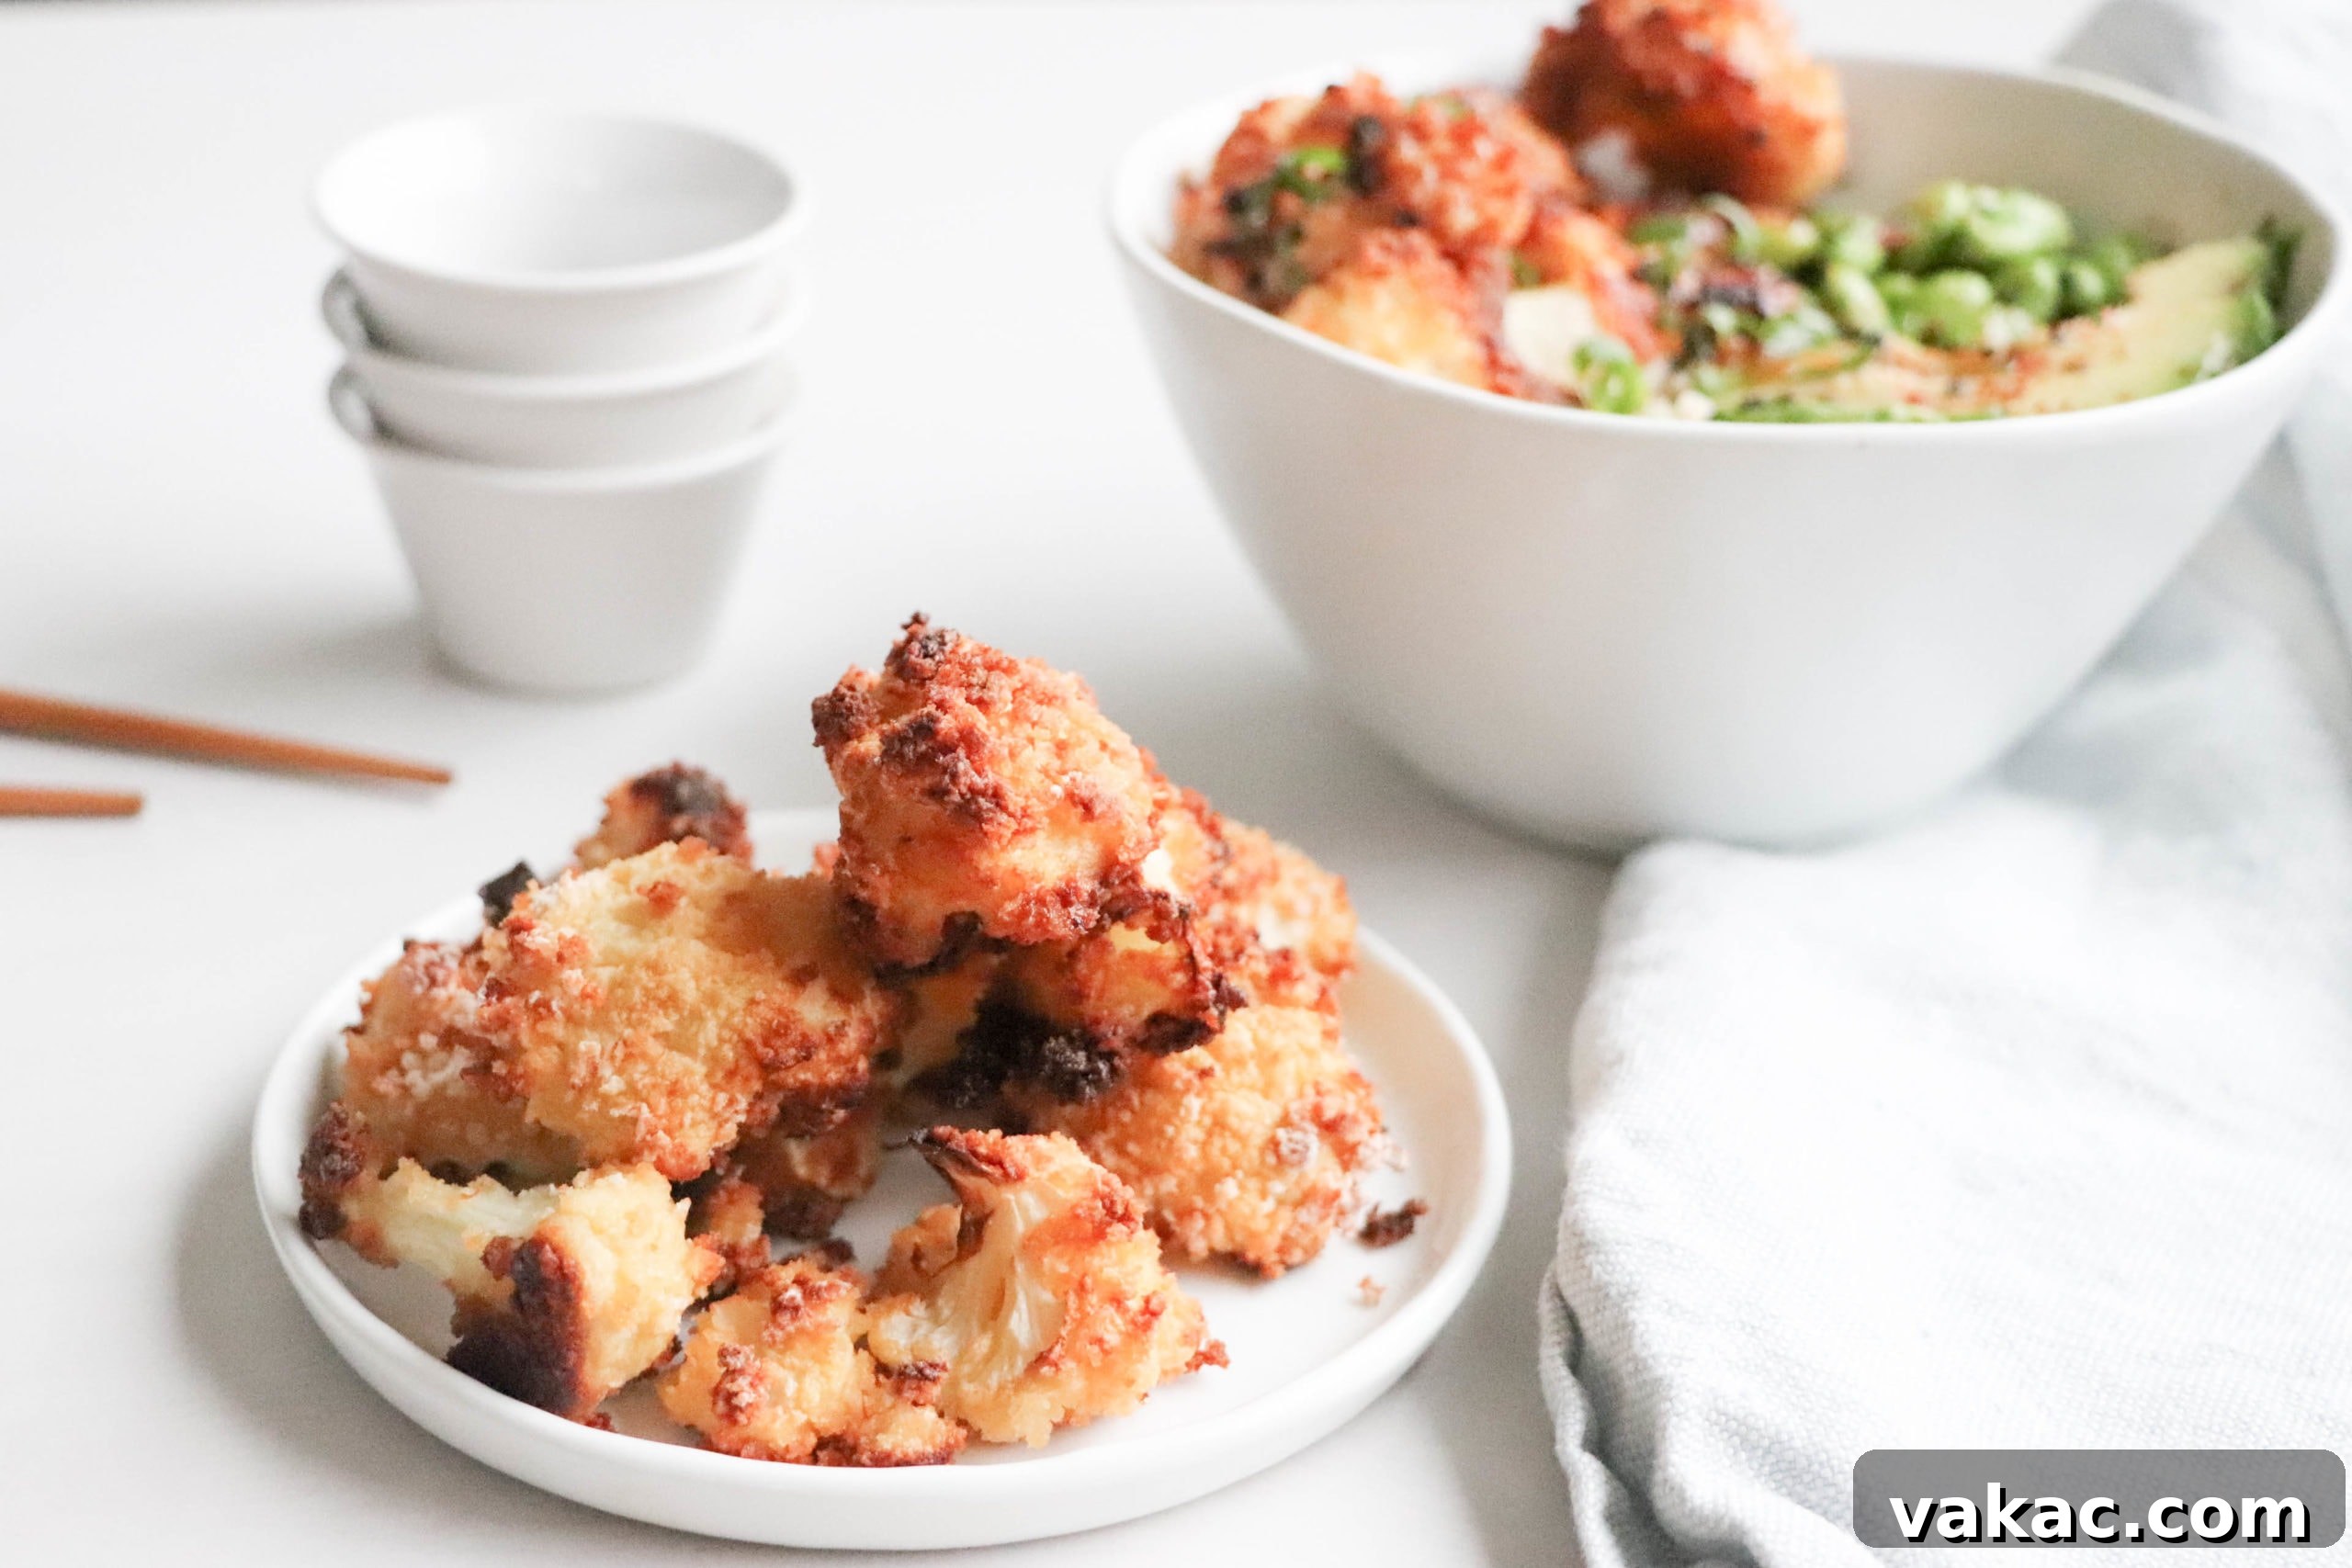
The star of this bowl is undoubtedly the crispy cauliflower, and achieving that craveable crunch without deep-frying is simpler than you think. The key lies in a few strategic steps: a high oven temperature, a generous coating of panko breadcrumbs, the right high-heat cooking oil, and crucially, ample space on your baking sheet. Crowding the pan can lead to steaming, resulting in soggy florets – something we definitely want to avoid! To ensure every piece is golden and crisp, remember to brush or spray the tops with avocado oil before baking and, most importantly, flip the cauliflower halfway through the cooking time. This guarantees even browning and irresistible crunch on all sides.
Pro Tip for Crispy Perfection: Always use a sturdy metal baking sheet, not a deep baking dish. Baking sheets allow for better air circulation around each floret, preventing them from steaming and ensuring a truly crispy exterior. Opt for two baking sheets if your cauliflower head is large to give each piece plenty of room.
While your cauliflower transforms into golden perfection in the oven, it’s the ideal time to get your rice cooking. I often rely on a rice cooker for its hands-off convenience, but cooking rice on the stovetop works just as effectively. A crucial step for perfectly fluffy rice is to rinse it thoroughly before cooking; this removes excess starch and prevents it from becoming gummy. Once it’s simmering, resist the urge to lift the lid – this traps the steam necessary for even cooking. For an extra layer of flavor, consider swapping water for vegetable broth or adding a pinch of salt to the cooking liquid. You can also experiment with different grains like quinoa or brown rice for added nutritional benefits and textural variety.
For the remaining components of this vibrant bowl, I’ve kept things wonderfully simple yet nutritionally potent. Edamame serves as a fantastic source of plant-based protein and dietary fiber, contributing to sustained energy and digestive health. Creamy, ripe avocado adds a luxurious texture and provides nourishing healthy fats, which are essential for satiety and nutrient absorption. Finally, a sprinkle of fresh green onion and toasted sesame seeds brings everything together, offering a delightful pop of freshness and an earthy, nutty aroma that elevates the entire dish. This thoughtful combination ensures a perfect balance of macronutrients – carbohydrates from the rice, protein from edamame, and healthy fats from avocado – making the meal incredibly satisfying, cozy, and utterly delicious. If you’re seeking more inspiration for balanced, nutrient-packed meals, I’ve curated a whole collection of satisfying high-protein balanced recipes here.
The beauty of this Crispy Honey Garlic Cauliflower Bowl extends beyond its flavor; it’s also incredibly meal-prep friendly. Once cooked, the components can be stored separately and assembled quickly for lunches or dinners throughout the week. When reheating, skip the microwave! To preserve that coveted crispiness of the cauliflower, gently warm it in the oven or a toaster oven until heated through. This ensures you get that delightful crunch with every bite, making leftovers just as enjoyable as the freshly prepared meal.
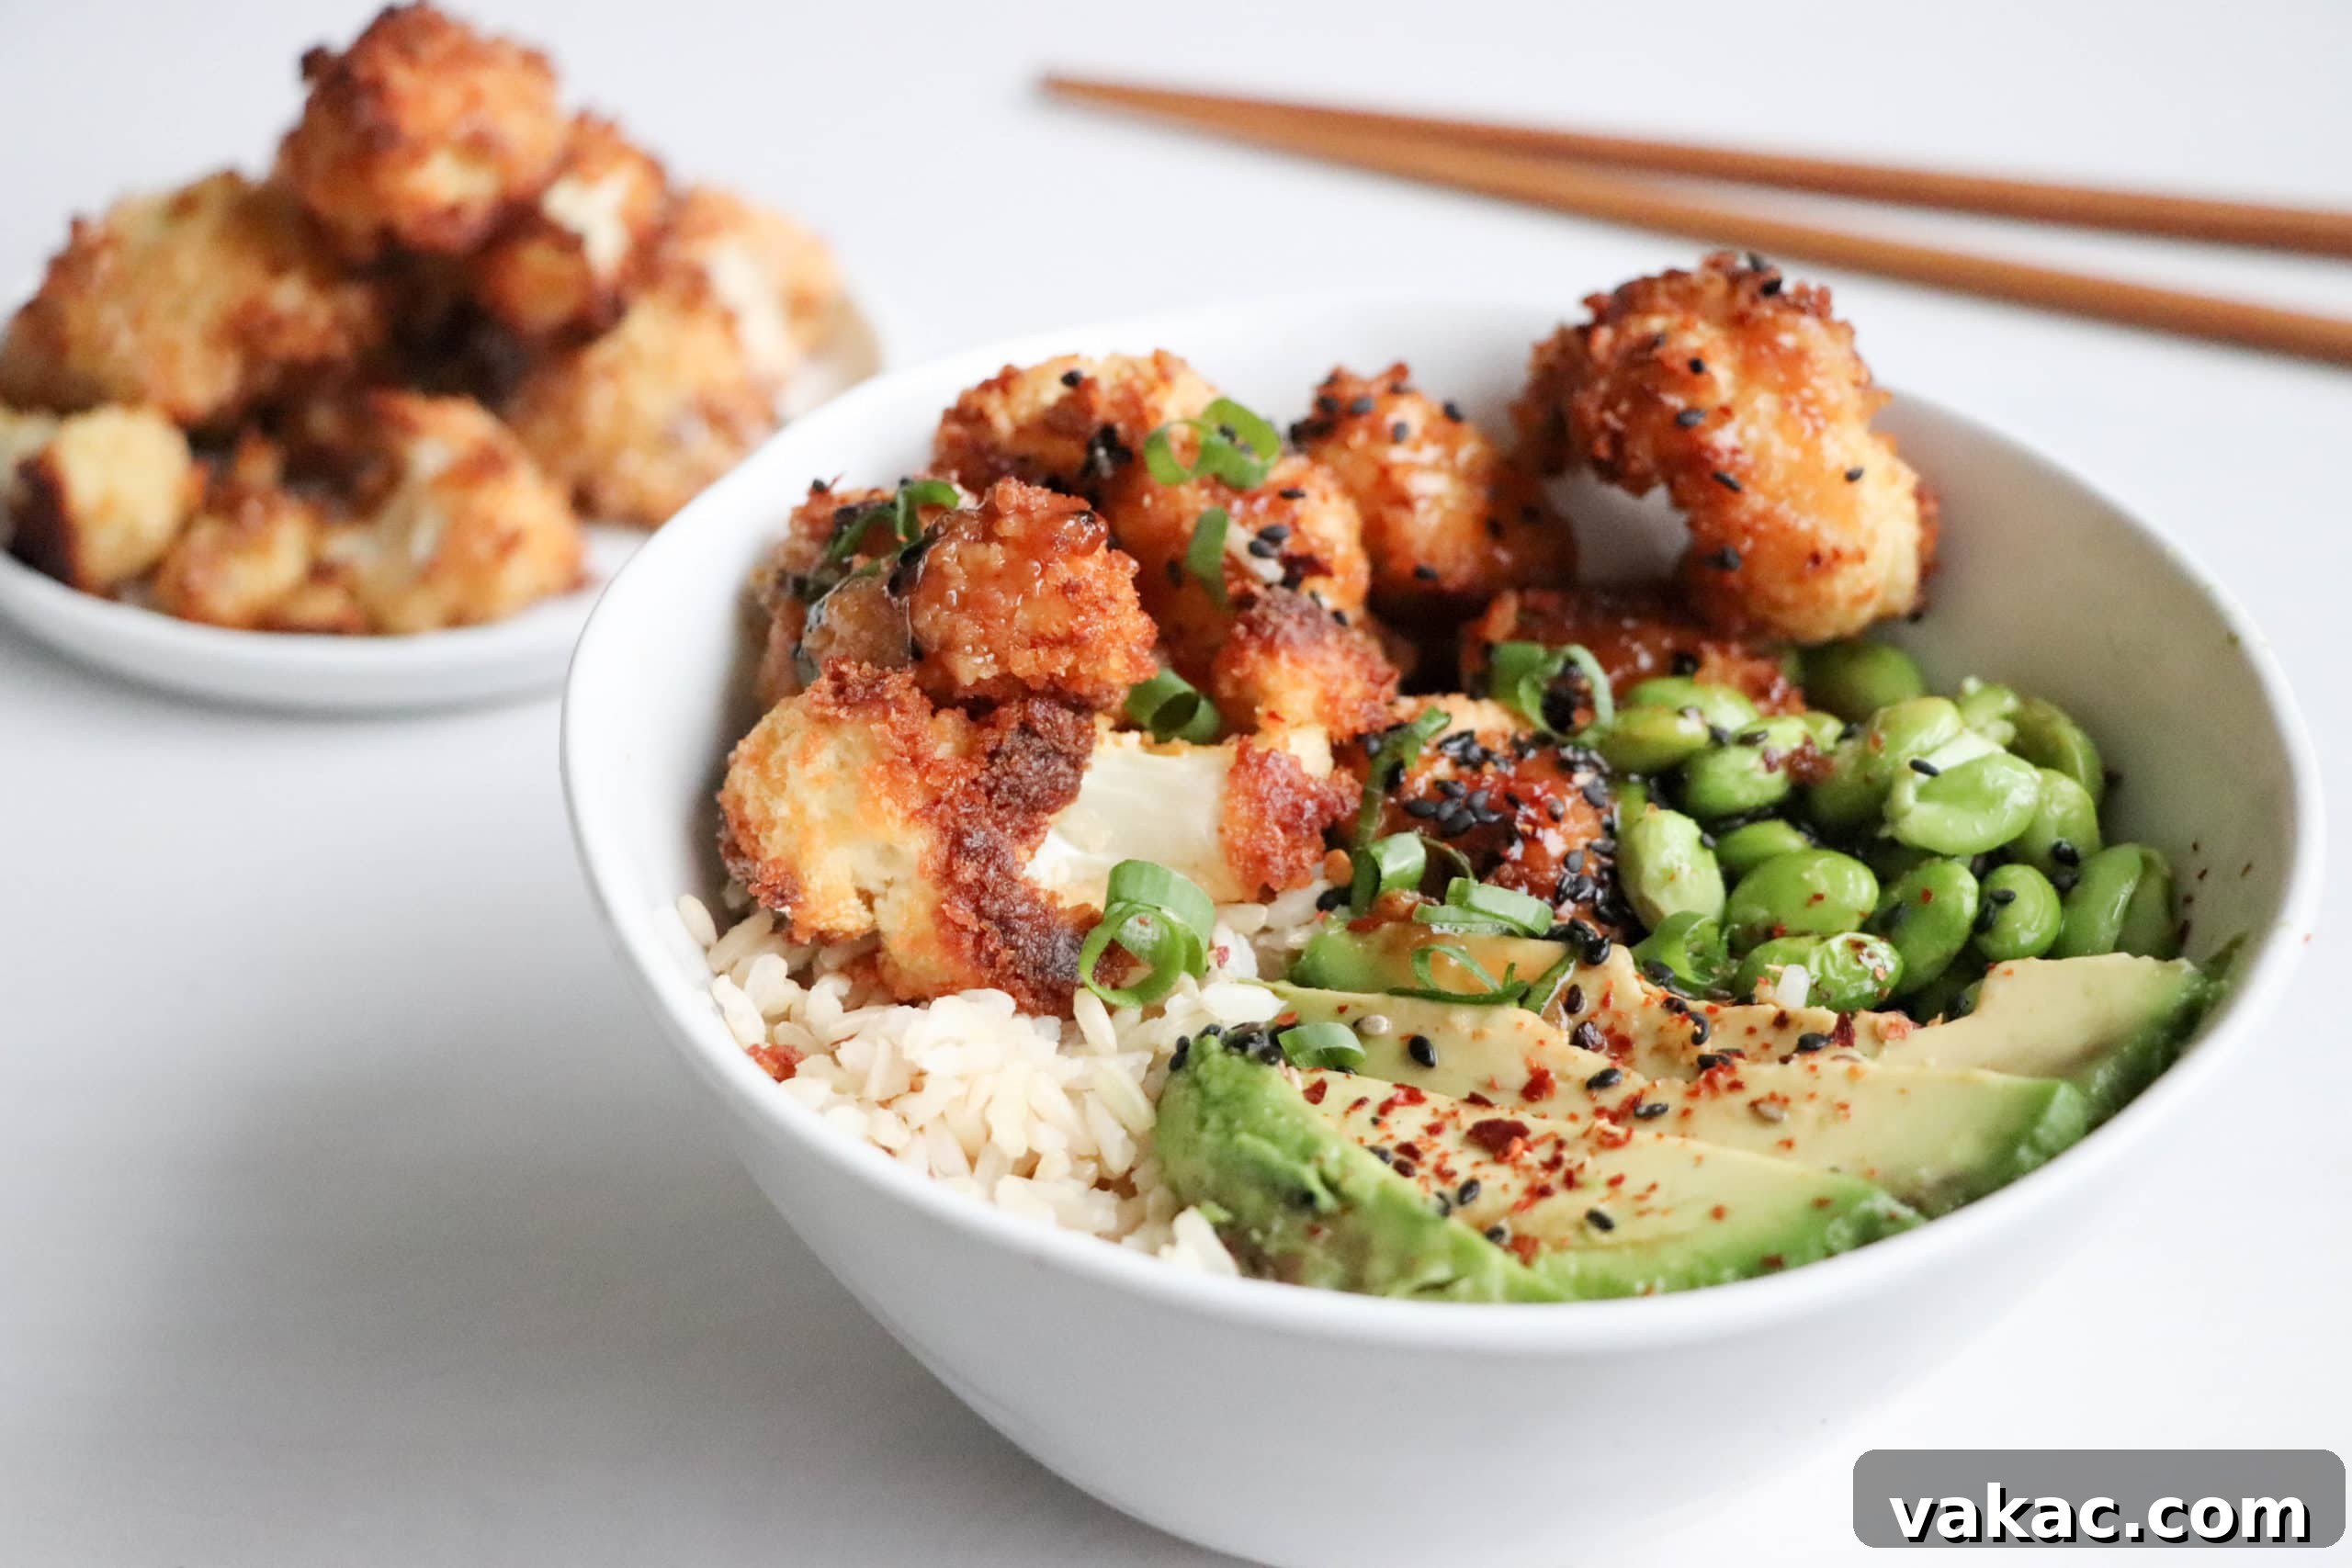
Whether you’re exploring vegetarian options, aiming to incorporate more plant-based meals into your diet, or simply in the mood for something incredibly crispy, saucy, and deeply flavorful, this bowl delivers on all fronts. It’s one of those reliable, feel-good meals I consistently turn to when I want to feel both thoroughly nourished and completely satisfied, without compromising on taste or convenience. Its adaptability also means you can easily customize it to your preferences, making it a versatile staple in any kitchen.
If you’ve enjoyed crafting and savoring this Crispy Honey Garlic Cauliflower Power Bowl recipe, I would be absolutely thrilled if you’d take a moment to leave a comment and/or a star rating below—your feedback truly makes my day! And for an extra sprinkle of joy, don’t forget to snap a pic and tag me on Instagram @lindsaypleskot.rd so I can see your magnificent creations! It brings me so much happiness to witness these recipes come alive in your kitchens! xo
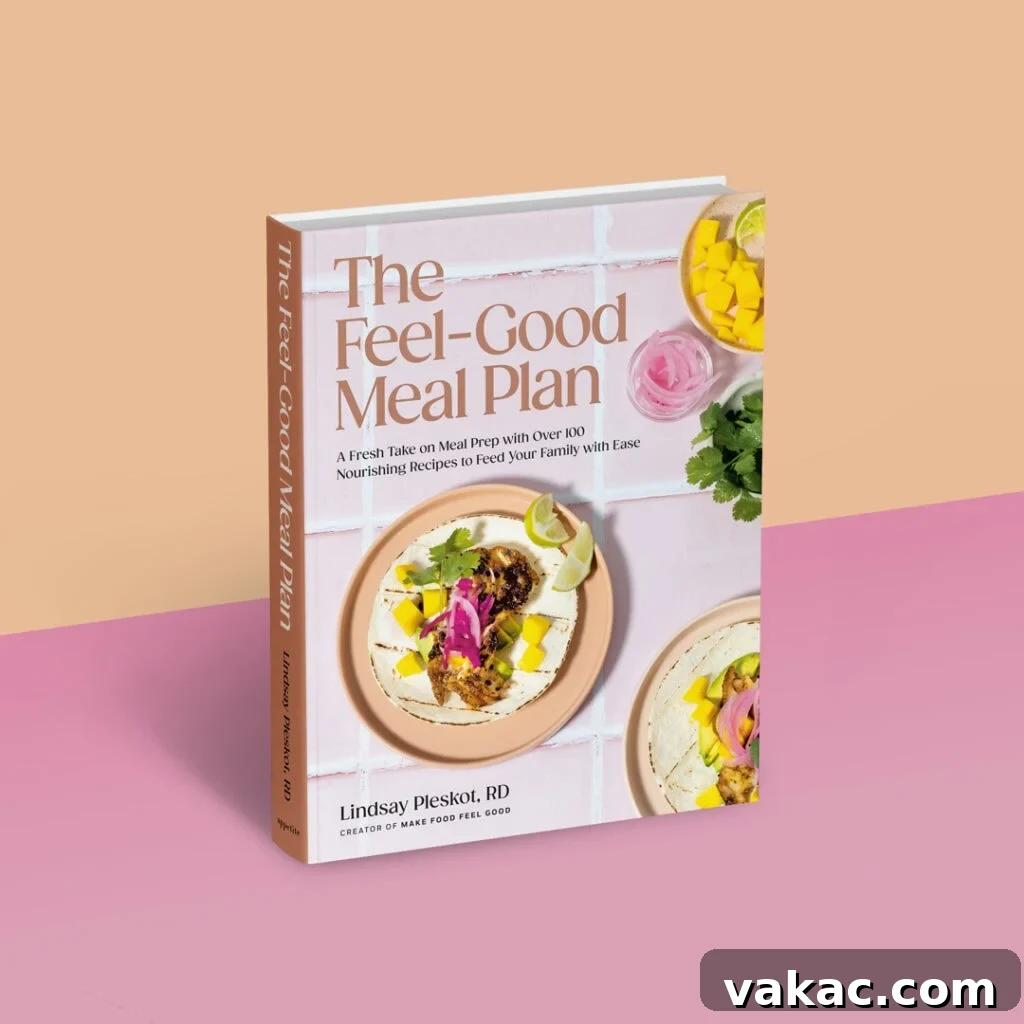
The Feel-Good Meal Plan
My Bestselling Cookbook is Now Available!
A fresh take on meal prep with over 100 nourishing recipes to feed your family with ease.
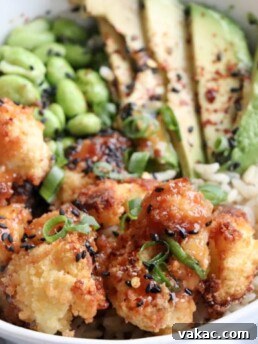
Crispy Honey Garlic Cauliflower Power Bowl
5 Stars
4 Stars
3 Stars
2 Stars
1 Star
5 from 27 reviews
- Author: Lindsay Pleskot
Prep Time: 20 minutes
Cook Time: 30 minutes
Total Time: 50 minutes
Yield: Serves 4
Category: Main Dishes
Method: Baked
Cuisine: Asian, Vegetarian
Description
This crispy honey garlic cauliflower bowl offers the perfect fusion of flavor, satisfaction, and nourishing ingredients for any weeknight dinner. Featuring golden, crunchy oven-baked cauliflower, wholesome plant-based protein from edamame, creamy avocado, and a lightning-fast, sticky 2-minute sauce, it truly hits all the right notes. Enjoy the authentic taste of takeout, crafted with wholesome ingredients that leave you feeling energized and content.
Ingredients
Scale
For the Crispy Cauliflower:
- 1 medium head of cauliflower, washed and broken or cut into bite-sized florets (approximately 4–5 cups)
- 2 Large Eggs, whisked
- 1 ¼ cup Panko breadcrumbs (for extra crispiness)
- ¼ cup + 2 tbsp All-purpose flour
- ½ tsp Salt
- ¼ – ½ tsp Black pepper, freshly ground
- ¼ cup Avocado oil (or another high-heat cooking oil, divided)
For the Bowl Assembly:
- 2 Cups Edamame beans, shelled and defrosted if frozen
- 1 ripe avocado, sliced or cut into chunks
- Cooked rice or your preferred grain (e.g., brown rice, quinoa) for serving
For the 2-Minute Honey Garlic Sauce:
- 6 tbsp Warm water
- 1 tbsp Cornstarch
- 1 clove garlic, finely minced or grated
- 2 tbsp Honey (adjust to taste for sweetness)
- 1 tsp Sriracha (or to your preferred spice level)
- 1 ½ tbsp Low-sodium Soy Sauce (or Tamari for gluten-free)
For Garnish (Optional but Recommended):
- Green onion, thinly sliced
- Sesame seeds, toasted
- Red pepper flakes, for an extra kick
Instructions
- Prepare Your Base: Begin by cooking your rice or alternative grain according to package instructions. It’s best to start this step before anything else so it’s ready when your cauliflower is done. (Refer to notes below for detailed rice cooking tips.)
- Preheat & Prep Pans: Preheat your oven to 425°F (220°C). Line two large baking sheets with parchment paper. Drizzle 1 tablespoon of avocado oil onto each parchment-lined sheet and spread it evenly with a brush or your hands. Set these prepared pans aside. This high heat is crucial for achieving crispy florets without frying.
- Set Up Breading Station: Create an efficient breading station. In the first shallow bowl, place your bite-sized cauliflower florets. In a second bowl, whisk the two eggs until the yolks and whites are fully combined. In a third, wider bowl, combine half of the panko breadcrumbs, flour, salt, and pepper. You will be breading the cauliflower in batches to prevent the flour mixture from becoming too wet and sticky from the egg.
- Bread the Cauliflower: Take 4-5 pieces of cauliflower and add them to the whisked egg mixture, tossing gently to ensure an even coating. Allow any excess egg to drip off briefly. Then, transfer these pieces to the panko mixture. Press the cauliflower pieces firmly into the panko to ensure a thick, even coating. Repeat this process until all cauliflower florets are breaded, refilling the panko mixture with the remaining breadcrumbs, flour, salt, and pepper halfway through as needed.
- Bake to Crispy Perfection: Arrange the breaded cauliflower florets in a single layer on your prepared baking sheets, ensuring they are well-spread out. This spacing is vital for crisping, as crowded pans will steam the cauliflower instead of baking it. Drizzle or brush the remaining 2 tablespoons of avocado oil evenly over the tops of the cauliflower pieces. Bake for 25 minutes, making sure to flip each piece halfway through the cooking time to achieve golden crispiness on both sides.
- Add Edamame: After the initial 25 minutes, gently push the baked cauliflower to one side of each baking sheet. Add the defrosted edamame beans to the other end of the pans, spreading them in a single layer. Return the baking sheets to the oven and continue baking for another 5-10 minutes, or until the cauliflower is deeply golden and very crispy, and the edamame is warmed through.
- Prepare the Quick Sauce: While the cauliflower and edamame finish baking, prepare your 2-minute honey garlic sauce. In a microwave-safe bowl or measuring cup, combine all the sauce ingredients: warm water, cornstarch, minced garlic, honey, sriracha, and soy sauce. Whisk vigorously with a fork until the cornstarch is completely dissolved and no lumps remain.
- Thicken the Sauce: Cover the bowl (e.g., with a small plate or microwave-safe lid) and microwave on high for 1 minute. Remove and stir well. Continue to heat in 30-second increments, stirring after each, until the sauce has thickened to a glossy, sticky consistency. It should coat the back of a spoon.
- Assemble Your Bowls: To build your delicious power bowls, start with a generous base of your cooked rice or preferred grain. Arrange the crispy honey garlic cauliflower and warmed edamame artistically on top. Drizzle generously with the sticky honey garlic sauce. Finish with slices or chunks of fresh avocado and your desired garnishes, such as sliced green onion, toasted sesame seeds, and a pinch of red pepper flakes for an extra kick. Serve immediately and enjoy!
Watch the Recipe Video:
Notes & Substitutions
Rice Cooking Guide: For perfectly fluffy rice, always rinse it thoroughly under cold water before cooking until the water runs clear. Use a ratio of 2 parts cooking liquid (water, vegetable broth, or chicken stock for added flavor) to 1 part rice. Bring the rice and liquid to a boil, then immediately reduce the heat to a low simmer, cover tightly, and cook for 15-18 minutes (for white rice). For brown rice, follow package directions, which typically involve a longer cooking time and slightly more liquid. Do not lift the lid or stir while it cooks, as this releases essential steam! Once all the liquid has been absorbed, remove from heat and let it sit, still covered, for 10 minutes. Fluff with a fork before serving.
Recommended Base: We highly recommend serving this bowl over hearty brown rice for its nutty flavor and added fiber, complementing the rich sauce beautifully. Prepare it according to package directions while you handle the cauliflower and sauce prep.
Make it Vegan: To adapt this recipe for a vegan diet, simply replace the eggs with an egg replacer. A fantastic option is a “flax egg” or “chia egg.” To make one, combine 1 tablespoon of ground flax seeds or chia seeds with 2-2.5 tablespoons of water. Let this mixture sit for 5-10 minutes until it forms a gel-like consistency, then use it as a direct replacement for one egg in the breading process.
Gluten-Free Option: To make this bowl gluten-free, use gluten-free panko breadcrumbs and a gluten-free all-purpose flour blend for the coating. Ensure your soy sauce is replaced with Tamari, which is a gluten-free alternative.
Vegetable Variations: Feel free to customize your bowl with other quick-cooking vegetables. Broccoli florets, bell peppers, or snap peas would make excellent additions, either roasted alongside the edamame or lightly steamed and added fresh.
Protein Boost: While edamame provides excellent plant-based protein, you could also add grilled tofu, tempeh, or even a handful of roasted chickpeas for an extra protein punch.