
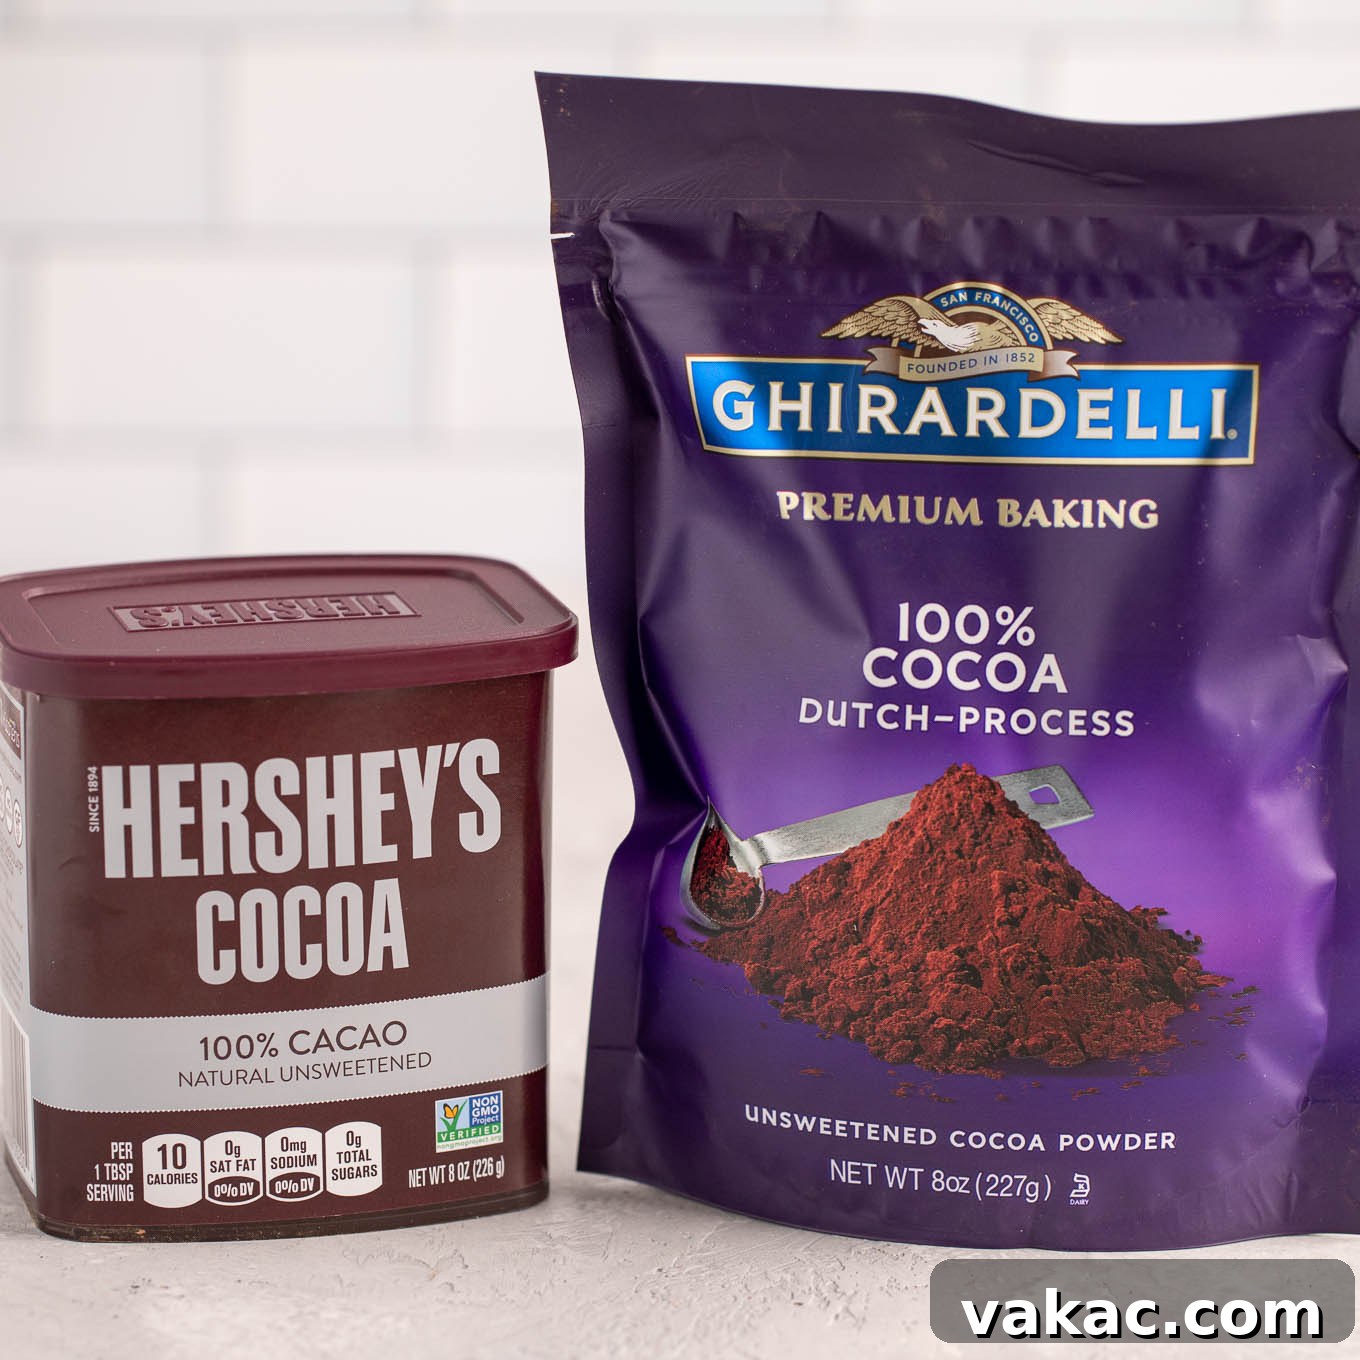
Have you ever found yourself in the baking aisle, staring at two seemingly identical packages of cocoa powder, wondering about the real difference between ‘natural’ and ‘Dutch process’? If so, you’re not alone. These two staple ingredients, while both derived from cocoa beans, possess distinct characteristics that profoundly impact the taste, texture, and appearance of your baked goods. Understanding these nuances isn’t just for professional bakers; it’s a fundamental step toward mastering your favorite chocolate recipes and achieving perfect results every time.
From rich, fudgy brownies to towering chocolate cakes, the type of cocoa powder you choose plays a critical role. This comprehensive guide will demystify natural versus Dutch process cocoa, delving into their origins, processing methods, flavor profiles, and most importantly, how to use them correctly in your kitchen. Get ready to unlock the secrets to truly exceptional chocolate desserts!
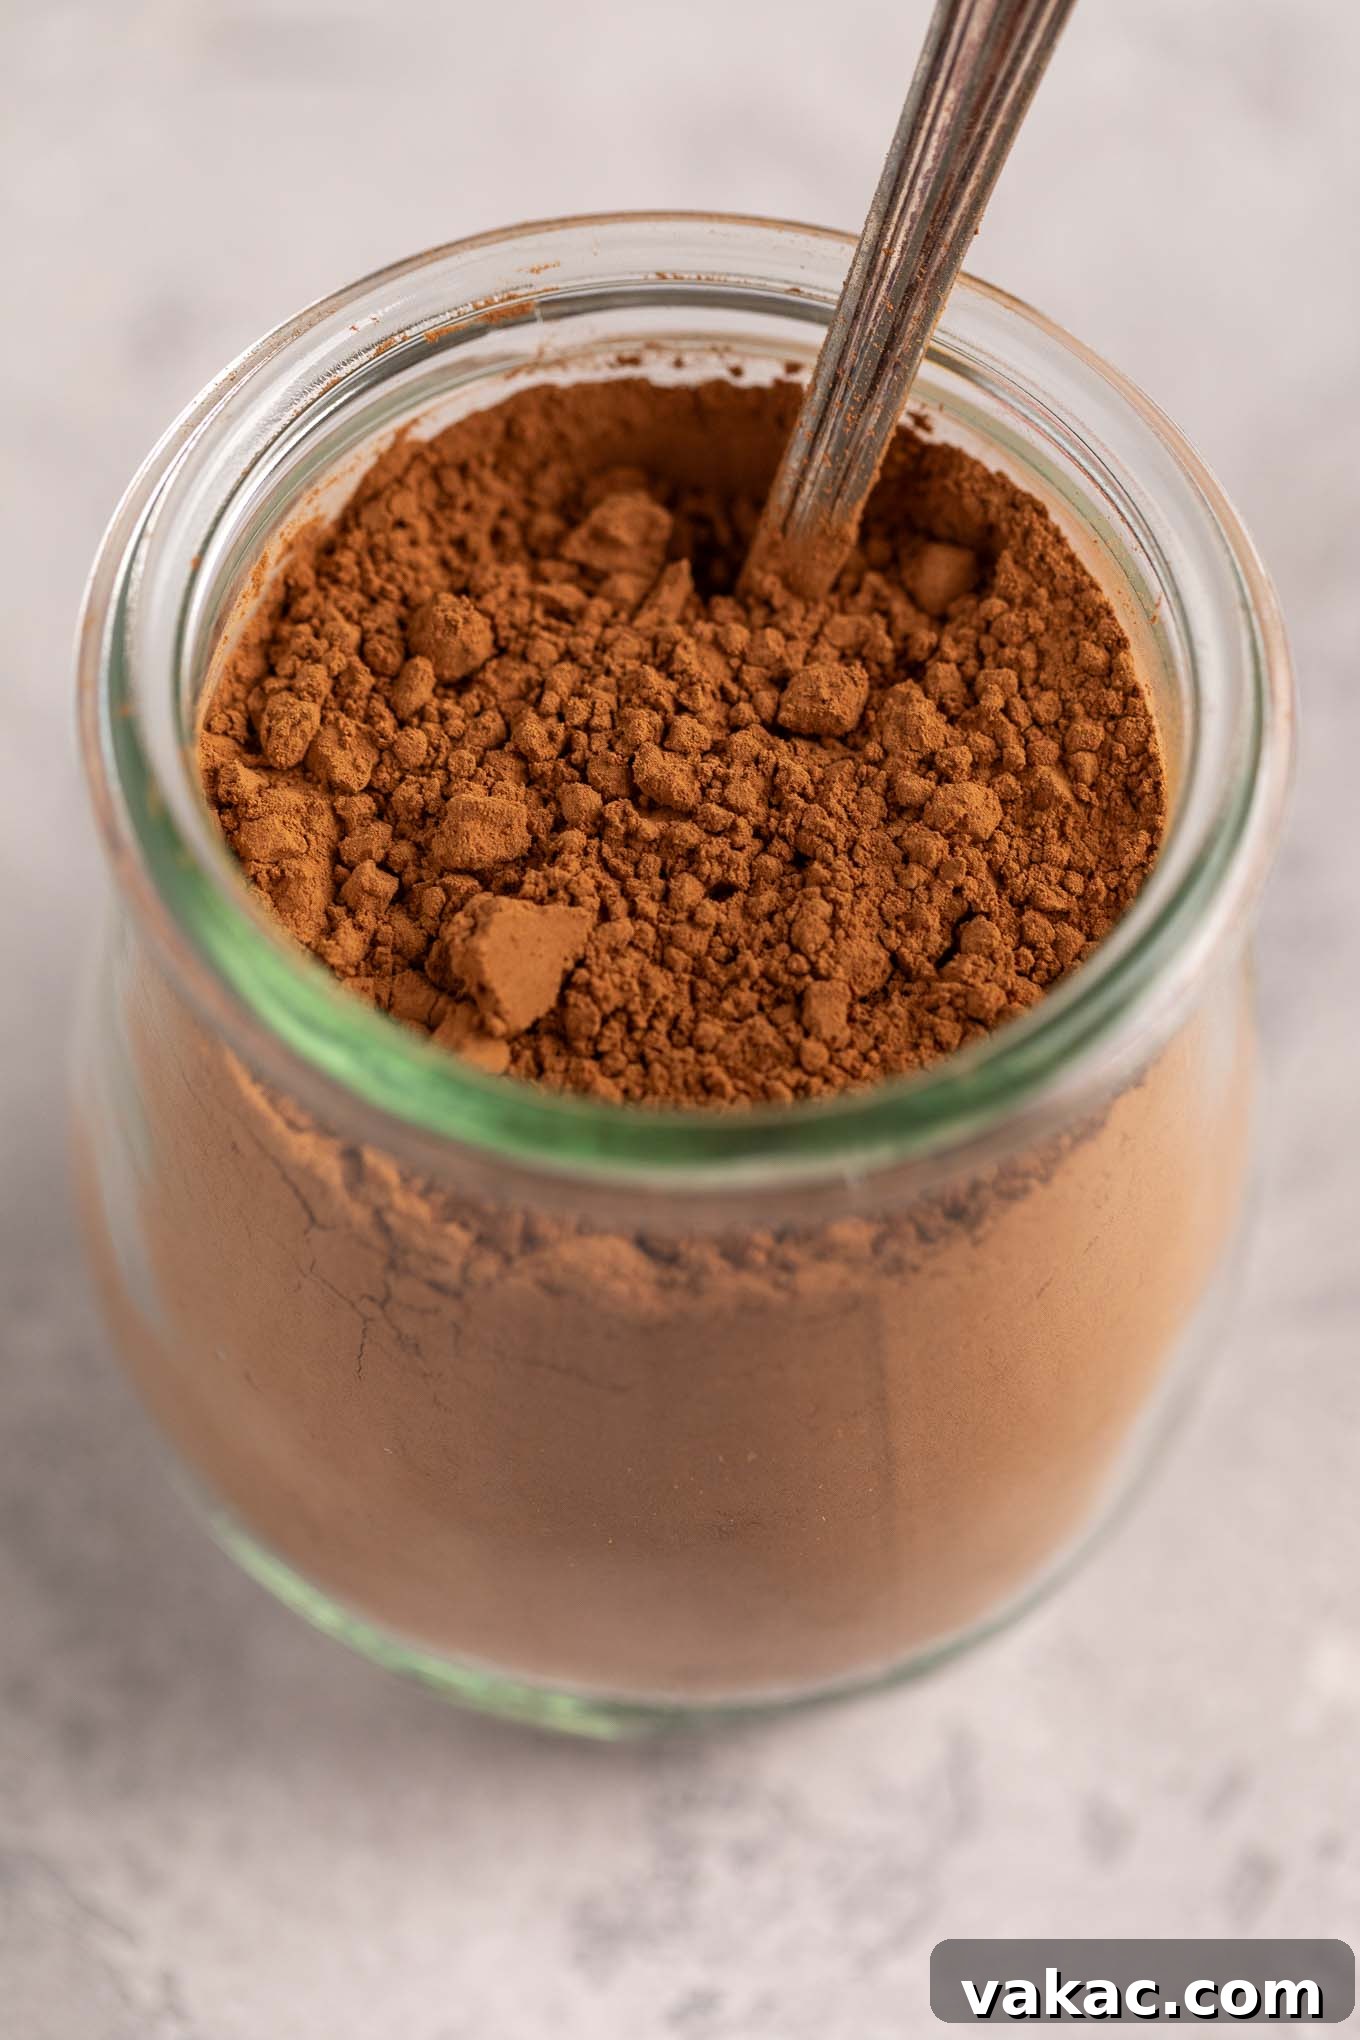
What Exactly Is Cocoa Powder? The Journey from Bean to Baker’s Essential
Before we dive into the distinctions, let’s understand what cocoa powder is and how it’s made. The journey begins with cocoa beans, the seeds of the cacao tree. These beans undergo a fascinating transformation to become the versatile powder we use in countless recipes.
The process starts with **fermentation**, where the beans are left to ferment for several days. This crucial step develops the complex chocolate flavor precursors. Following fermentation, the beans are thoroughly **dried**, often under the sun, to reduce moisture content and prevent spoilage. Next, they are **roasted**, a process that further enhances their aromatic profile and deepens their color. Roasting also makes the outer shells brittle, allowing them to be easily cracked open.
Once roasted, the beans are cracked, and their outer shells are removed, leaving behind the inner parts called **cocoa nibs**. These nibs are then ground into a thick, flowing paste known as **chocolate liquor** (despite its name, it contains no alcohol). This ‘liquor’ is pure cocoa mass, a combination of cocoa solids and cocoa butter.
The final, defining step in creating cocoa powder involves pressing the chocolate liquor. Powerful hydraulic presses extract most of the **cocoa butter** – the fat component – from the chocolate liquor. The remaining solid mass, now a firm, dry cake, is called **cocoa press cake**. This cake is then finely ground into the silky powder we recognize: cocoa powder. Depending on whether this press cake is further treated, it will become either natural or Dutch process cocoa powder.
Understanding Natural Cocoa Powder: The Bright and Bitter Bean
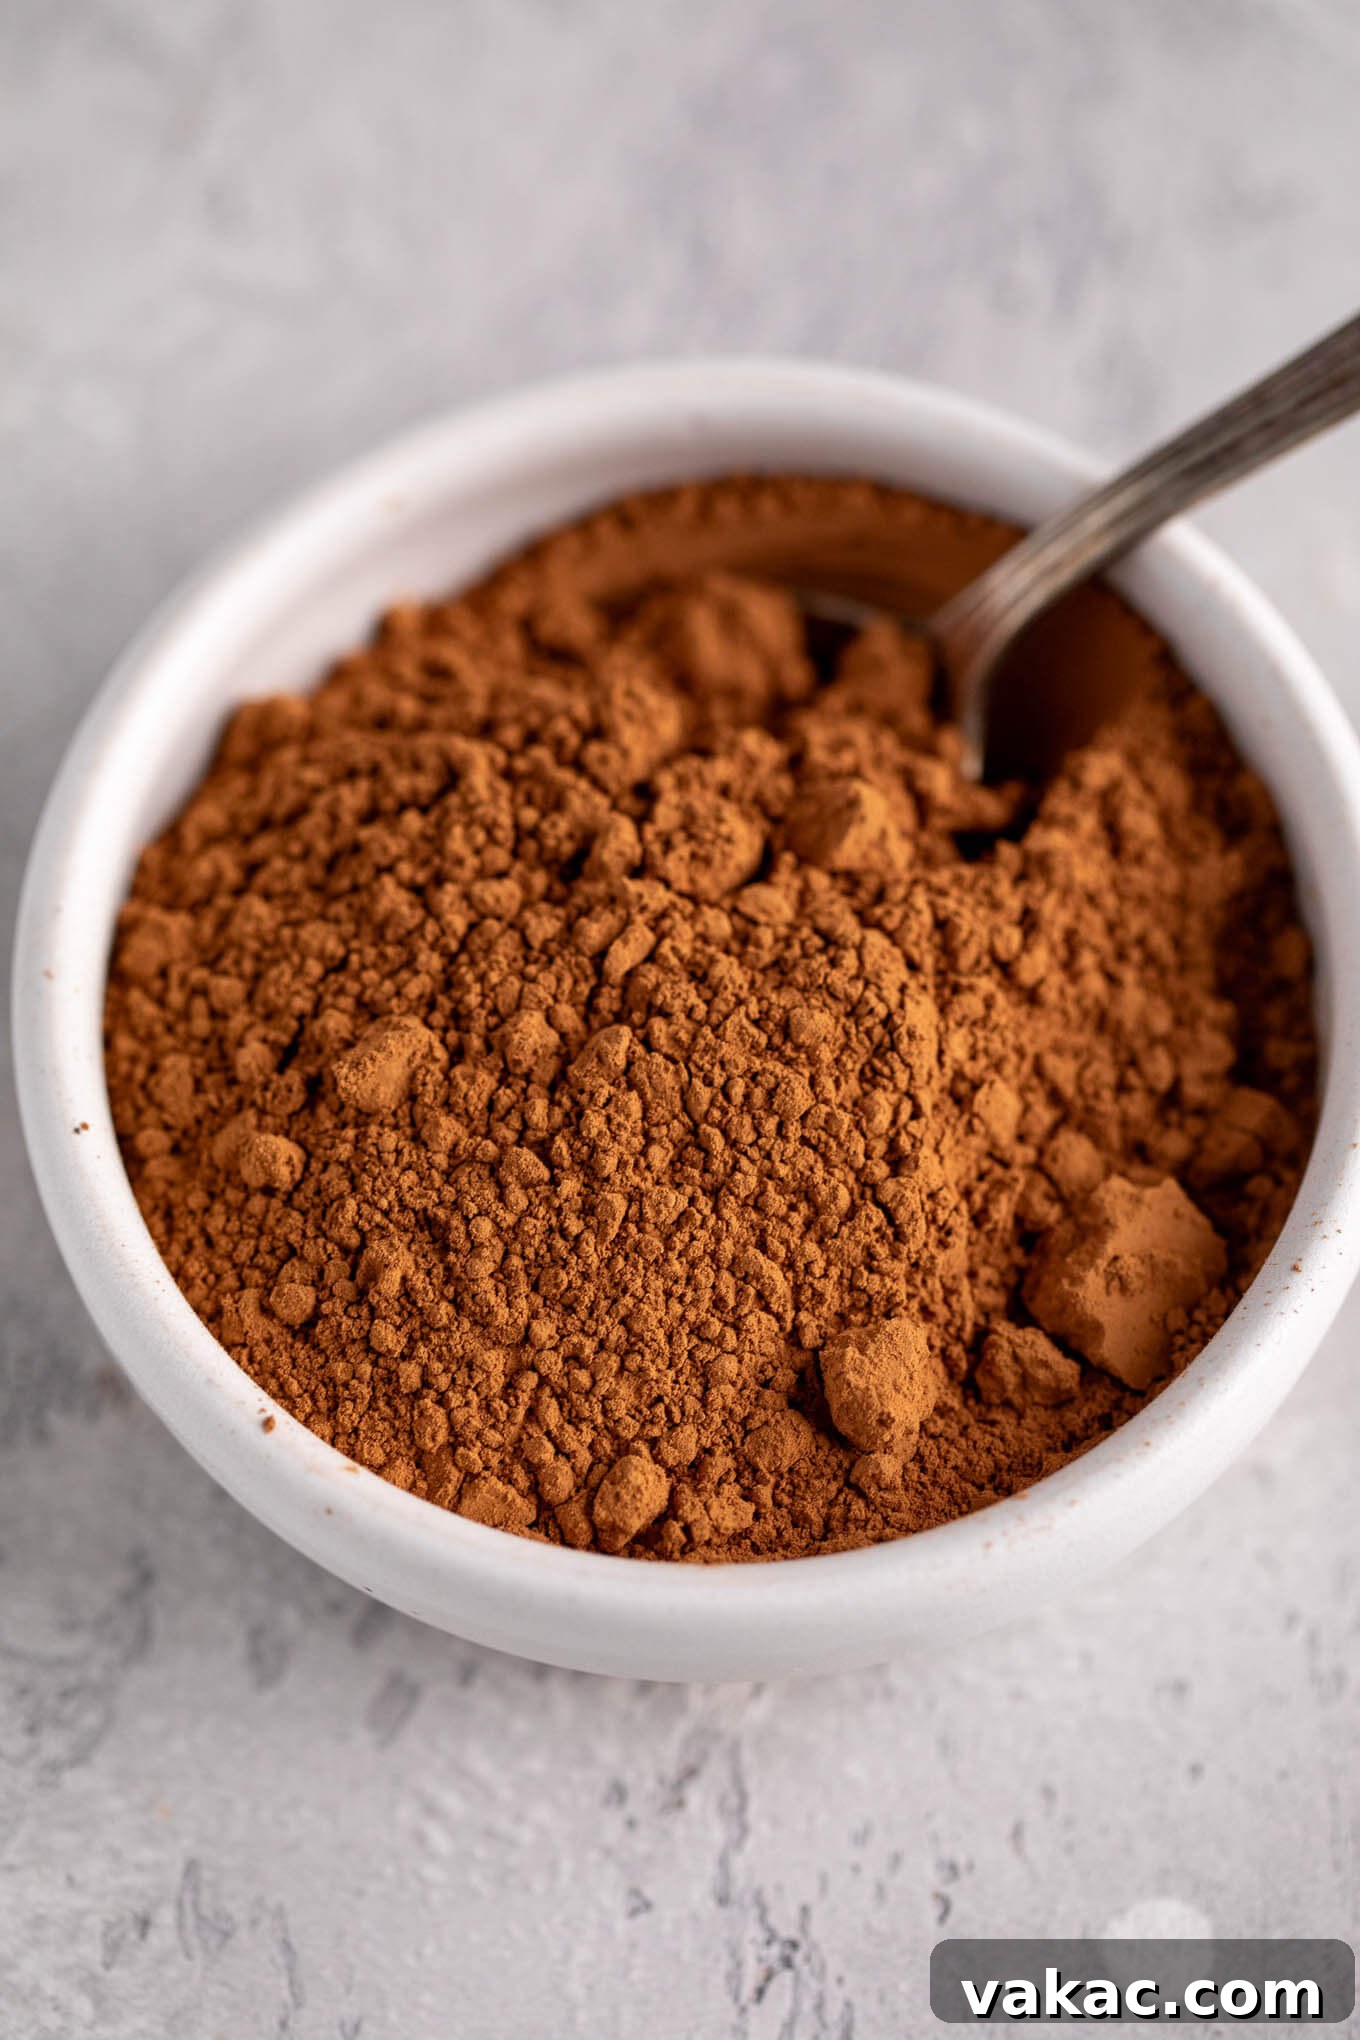
Natural cocoa powder is the most common type found in grocery stores and likely what most home bakers have in their pantry. It is essentially the pure, unadulterated cocoa powder that results directly from the processing steps described above, without any further chemical treatment.
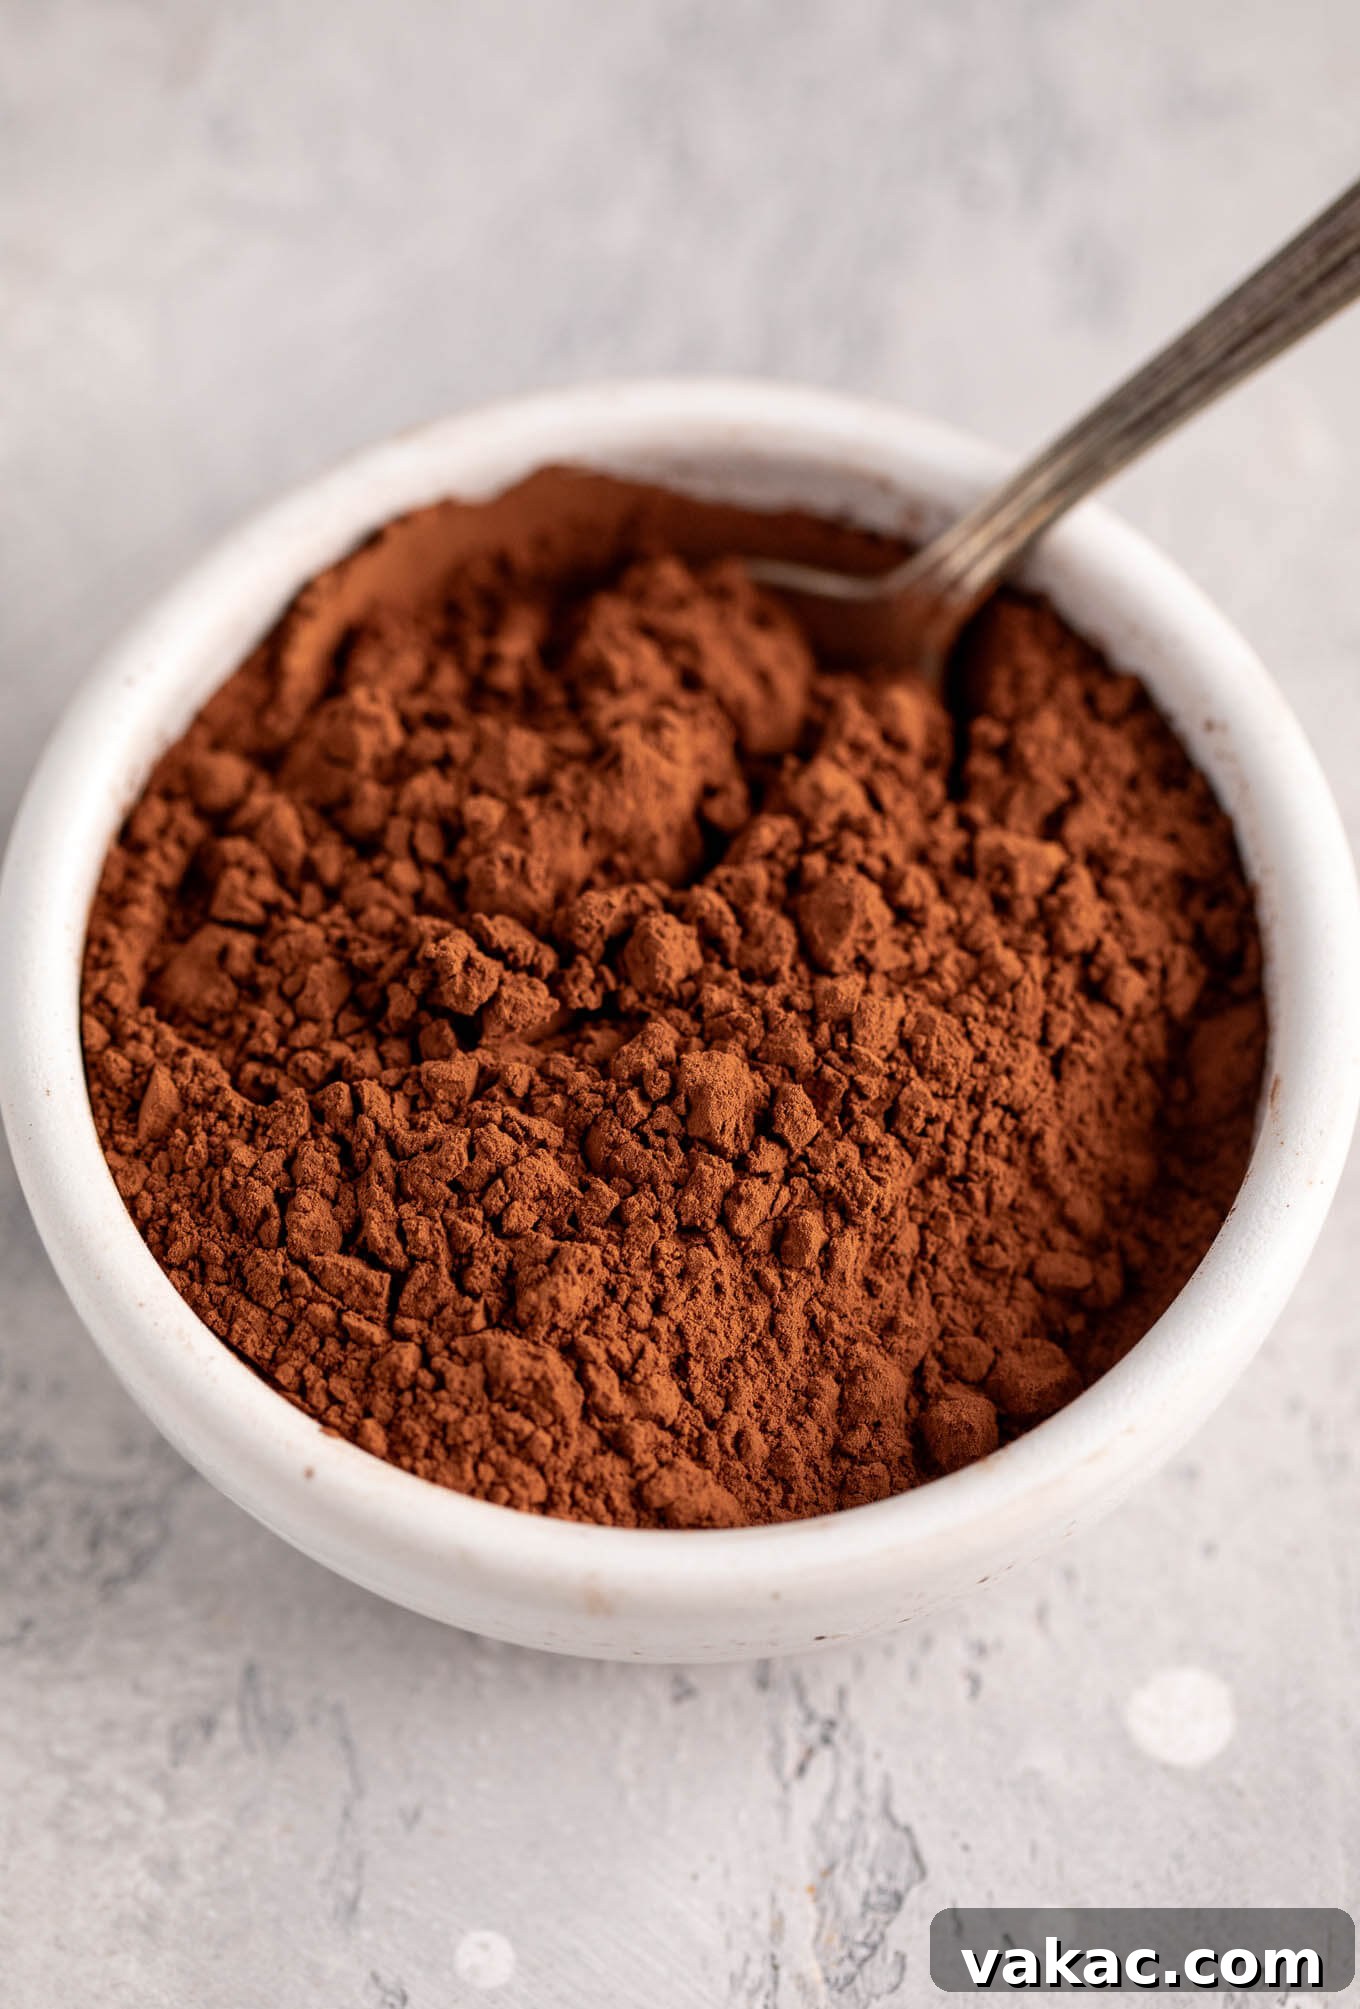
Characteristics and Flavor Profile: Natural cocoa powder typically has a lighter, reddish-brown color compared to its Dutch process counterpart. Its flavor is distinctly strong, slightly bitter, and notably acidic. This acidity gives it a sharp, almost fruity tang, contributing to a complex chocolate flavor that can be quite bright and assertive in baked goods. Think of the classic chocolate chip cookie or a traditional American chocolate cake – that characteristic flavor often comes from natural cocoa.
The Crucial Role of Acidity: The acidic nature of natural cocoa powder is its most defining characteristic, especially in baking. Because it is acidic, it reacts with alkaline leavening agents, specifically **baking soda**. Baking soda (sodium bicarbonate) needs an acid to activate and produce carbon dioxide gas, which creates air bubbles and helps baked goods rise. When a recipe calls for natural cocoa powder and baking soda, they work together in a chemical reaction that provides lift and a tender crumb. Using natural cocoa powder in recipes with baking soda ensures proper leavening, preventing your cakes and cookies from becoming dense.
If you’re curious about the science behind leavening, I highly recommend exploring the differences between baking soda and baking powder. Understanding these interactions is key to baking success!
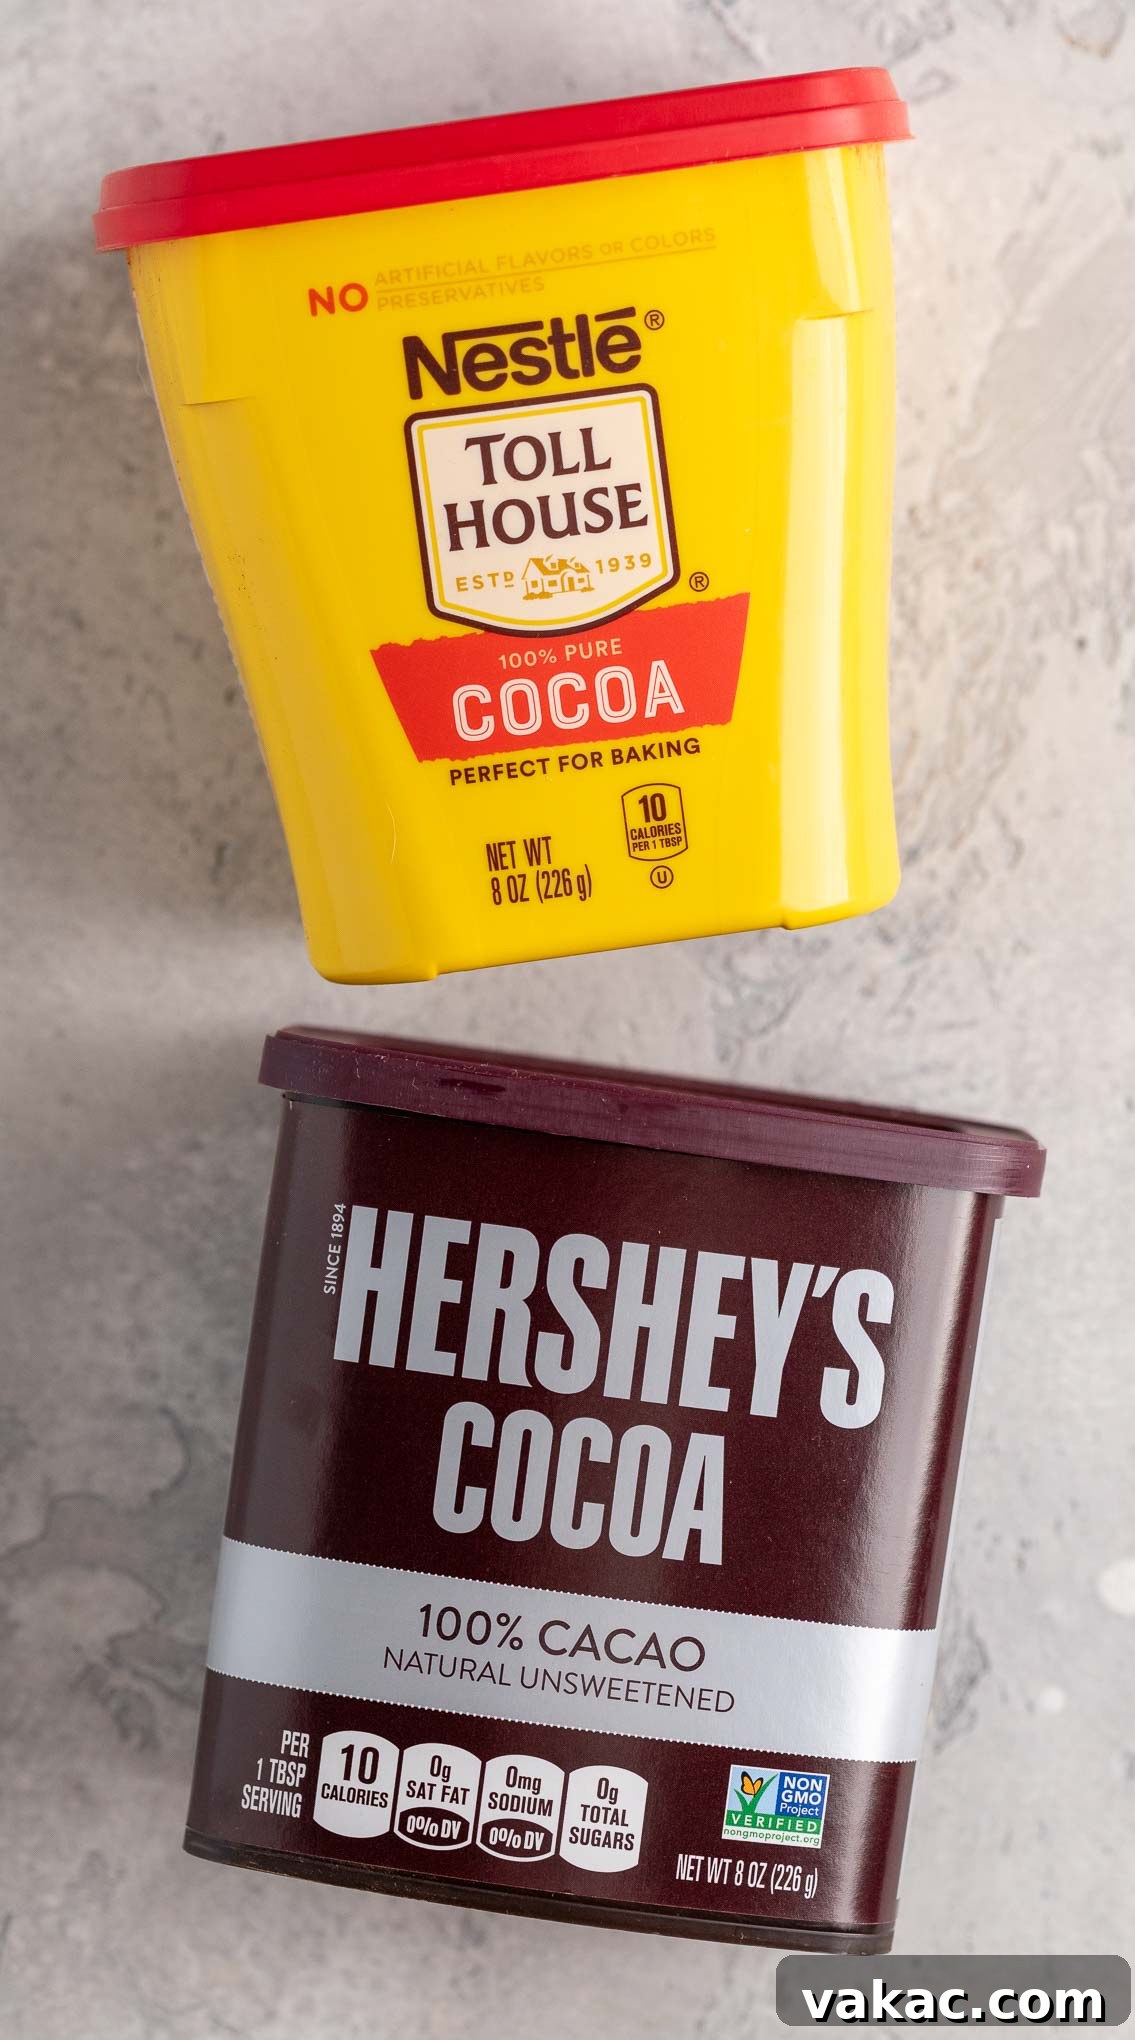
How to Identify: Identifying natural cocoa powder is straightforward. If the packaging doesn’t explicitly state “natural,” simply check the ingredients list. It will typically just say “cocoa” or “cocoa powder,” without any mention of alkali processing. Common brands like Hershey’s and Nestle often produce natural cocoa powder.
Ideal Uses and Recipes: Natural cocoa powder shines in recipes where its acidic properties and robust flavor are desired. It’s perfect for:
- Classic chocolate chip cookies
- Many traditional chocolate cakes and cupcakes
- Red velvet cake (where its acidity reacts with buttermilk and baking soda)
- Brownies that aim for a classic, slightly sharp chocolate taste
My favorite natural cocoa brands include: Ghirardelli, Nestle, and Hershey’s natural cocoa. These brands consistently deliver reliable flavor and quality.
Exploring Dutch Process Cocoa Powder: The Dark and Mellow Choice
The other prominent type you’ll encounter is Dutch process cocoa powder, a culinary innovation attributed to Coenraad Johannes van Houten in the early 19th century. This cocoa powder undergoes an additional processing step that fundamentally alters its characteristics.
The Alkalization Process: Dutch process cocoa is made by treating the cocoa nibs or chocolate liquor with an alkaline solution, typically potassium carbonate. This process, known as ‘Dutching’ or alkalization, serves several key purposes. It significantly reduces the acidity of the cocoa powder, neutralizing its pH. This treatment also deepens the color, giving Dutch process cocoa its characteristic dark, sometimes almost black, hue. Furthermore, alkalization mellows the flavor, making it smoother and less bitter than natural cocoa.
Characteristics and Flavor Profile: Dutch process cocoa powder is noticeably darker in color, ranging from deep reddish-brown to a rich, intense black, depending on the degree of alkalization. Its flavor is milder, less acidic, and often described as smooth, earthy, or intensely chocolatey without the sharp tang. This mellow profile allows the pure chocolate notes to shine through, creating a rich, profound chocolate experience.
Leavening Considerations: Because Dutch process cocoa is neutral or slightly alkaline, it does not react with baking soda. Therefore, it is typically used in recipes that call for **baking powder** as the leavening agent (which already contains its own acidic component for activation), or in recipes that don’t rely on chemical leaveners for rise (like no-bake desserts or some custards). Using Dutch process cocoa with baking soda in a recipe that relies on natural cocoa’s acidity for leavening will likely result in a dense, flat product.
How to Identify: To identify Dutch process cocoa, check the ingredients list on the package. It will usually state “cocoa processed with alkali” or “Dutch-processed cocoa.” Some brands, like Hershey’s Special Dark, are Dutch process even if it’s not explicitly stated on the front label, so always verify the ingredients.
Ideal Uses and Recipes: Dutch process cocoa is the preferred choice for recipes where a deep, dark color and a rich, smooth chocolate flavor are desired, often without any acidic undertones. It’s perfect for:
- Ultra-dark chocolate cakes and brownies
- Classic Oreo cookies (often made with highly alkalized “black” cocoa)
- Hot chocolate and other chocolate beverages, where its smooth flavor is paramount
- Chocolate ice cream and custards
- Flourless chocolate cakes, where leavening is minimal or non-existent
- Recipes that specifically call for baking powder as the leavener
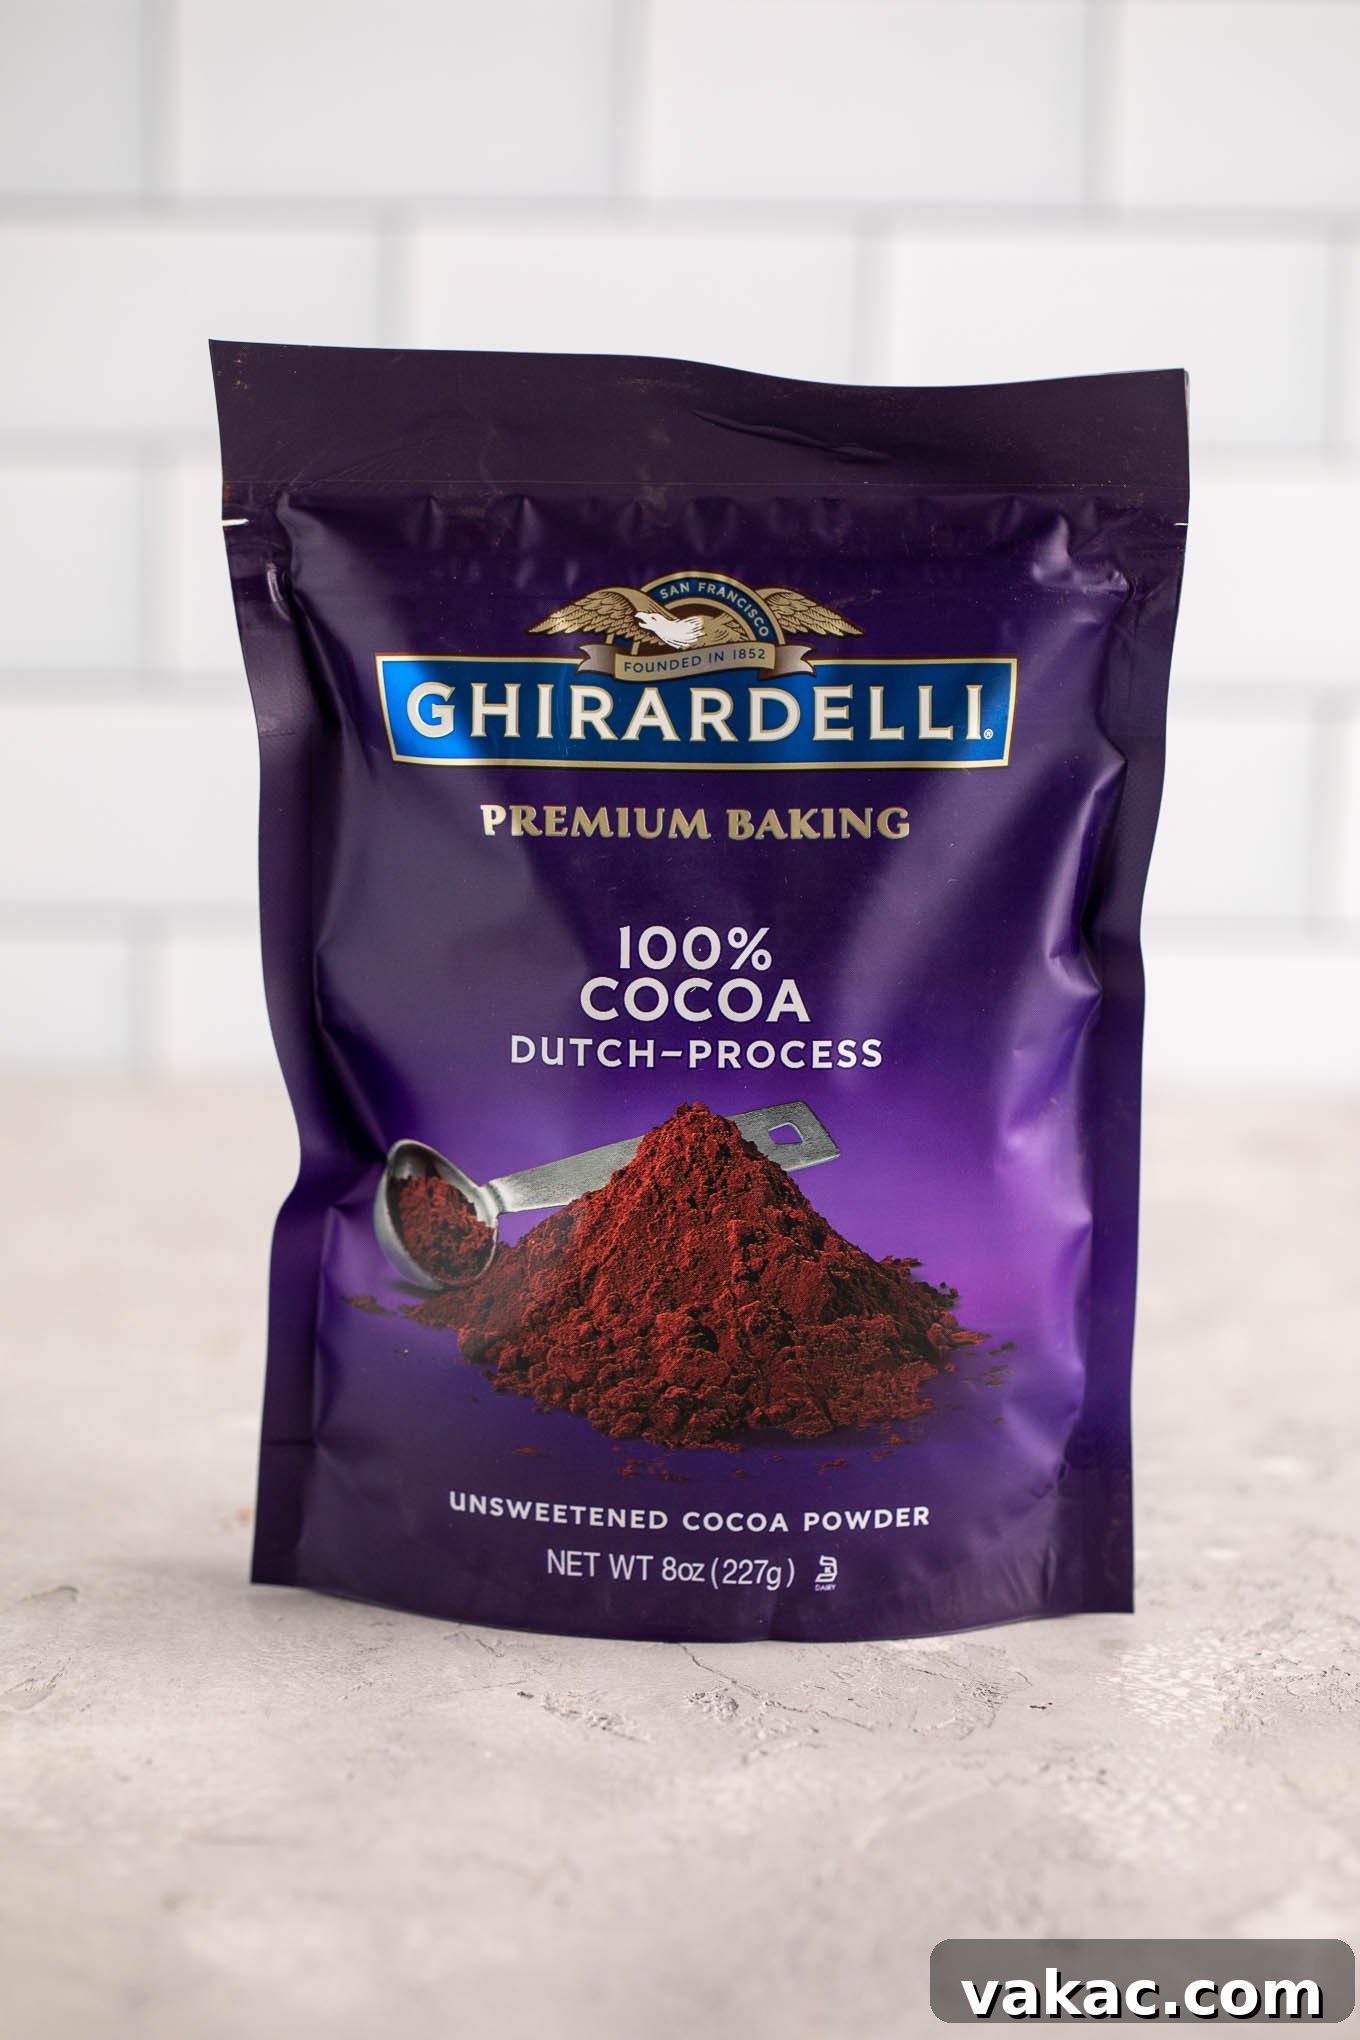
My favorite Dutch process cocoa brands include: Ghirardelli and Rodelle. For an exceptionally dark result, look for specialty “black cocoa” which is a highly alkalized Dutch process cocoa.
Key Differences at a Glance: Natural vs. Dutch Process Cocoa Powder
To summarize, here’s a quick comparison of the crucial distinctions between these two types of cocoa powder:
- Processing: Natural is untreated; Dutch process is treated with an alkaline solution (alkalized).
- pH Level: Natural is acidic (pH 5.0-6.0); Dutch process is neutral or slightly alkaline (pH 6.8-8.1).
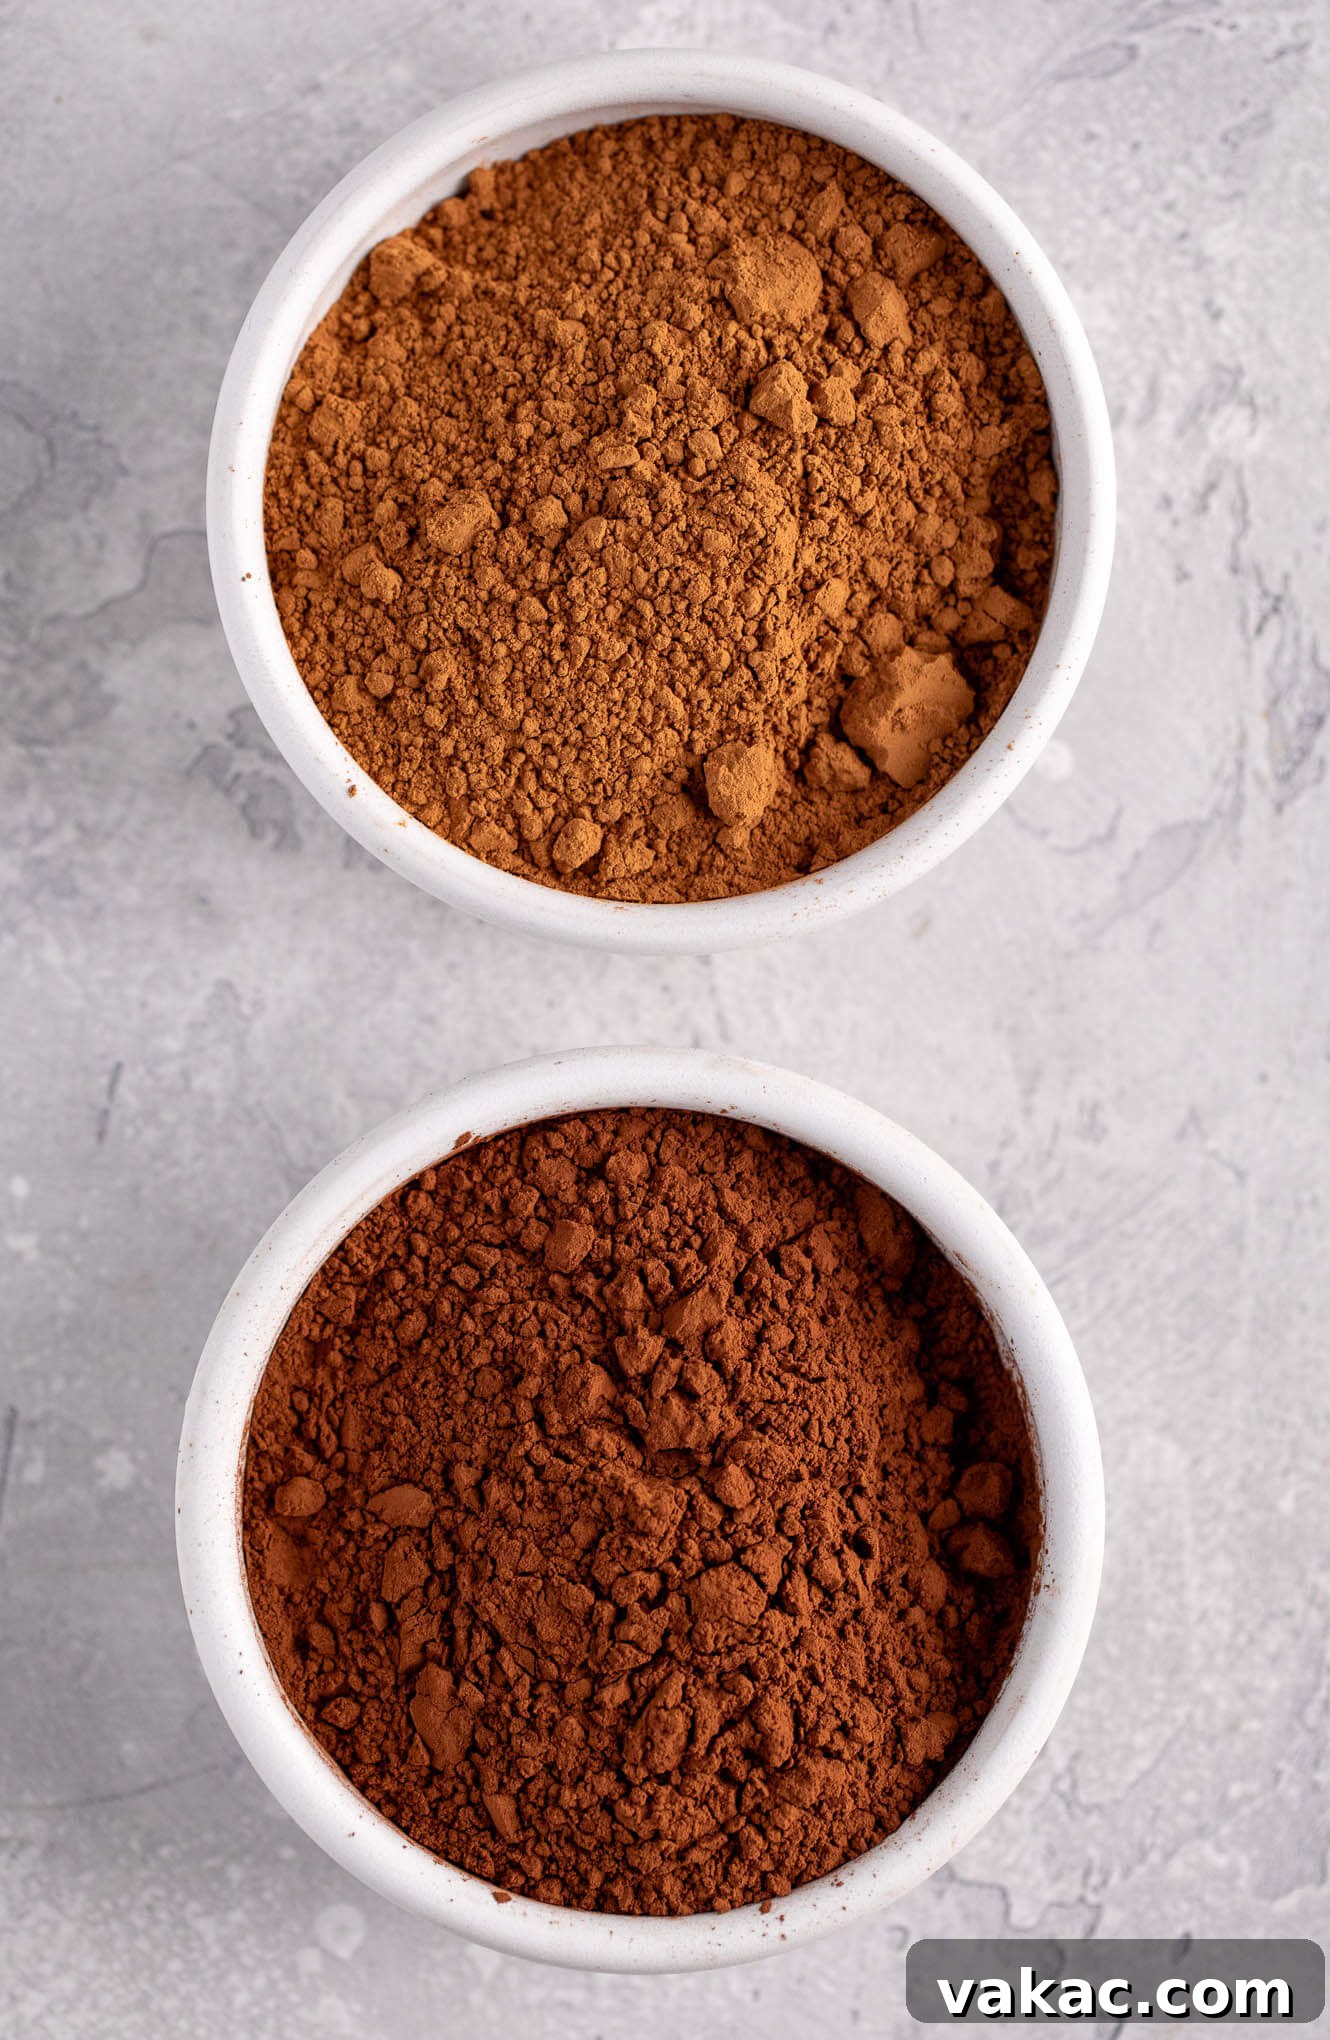
- Color: Natural is lighter, reddish-brown; Dutch process is darker, ranging from deep brown to almost black.
- Flavor Profile: Natural is strong, bitter, and tangy/fruity; Dutch process is milder, smoother, less bitter, and deeply chocolatey.
- Leavener Pairing: Natural requires baking soda for leavening; Dutch process pairs well with baking powder or no leavener.
- Typical Use: Natural is common in American baking; Dutch process is favored in European baking and dark chocolate desserts.
Frequently Asked Questions About Cocoa Powder
This is the most common question, and the answer is: it depends heavily on the recipe’s leavening agents.
When it’s generally okay to swap:
- If your recipe uses **no leavening agents** at all (e.g., hot chocolate, fudge, chocolate sauces, ice cream), you can use either type. The choice will primarily impact flavor and color.
- If your recipe uses **only baking powder** as the leavener, you can usually swap them. Baking powder contains its own acid and base, so it doesn’t rely on the cocoa’s acidity for activation. However, expect differences in color and flavor.
- If a recipe specifically calls for **Dutch process cocoa**, and you only have natural, you can often substitute. Your final product will likely be lighter in color, have a tangier flavor, and potentially a slightly different texture due to the pH difference, but it should still rise adequately if baking powder or enough baking soda (to react with other acids) is present.
When you should NOT swap:
- If a recipe calls for **natural cocoa powder AND baking soda**, it is crucial to use natural cocoa powder. The baking soda needs the acidity of natural cocoa to react and produce the carbon dioxide necessary for proper rise. Substituting Dutch process cocoa in this scenario will result in a flat, dense, and heavy baked good because the baking soda will not be activated.
While some experienced bakers might try to adjust other ingredients (like adding a pinch of cream of tartar when using natural cocoa with baking powder to simulate Dutch process, or vice-versa), for consistent and predictable results, it’s best to stick to what the recipe specifies, especially if it involves baking soda.
Dutch process cocoa powder is becoming increasingly common and is usually available at most major grocery stores in the baking aisle. It might be stocked alongside natural cocoa or with specialty baking ingredients. Look for packaging explicitly labeled “Dutch Process,” “Alkalized Cocoa,” or “Processed with Alkali.”
However, some brands might not clearly label it on the front. For example, Hershey’s Special Dark Cocoa is a Dutch process cocoa, even if it doesn’t say so prominently. The best way to be certain is to always check the ingredients list on the back of the package for “cocoa processed with alkali.” If you’re having trouble finding it locally, online retailers like Amazon offer a wide selection of Dutch process and even specialty black cocoa powders from various brands.
Proper storage is essential to maintain the quality and longevity of your cocoa powder, whether natural or Dutch process. The best way to store it is in a cool, dry, and dark place, such as a pantry or kitchen cupboard. An airtight container is ideal to protect it from moisture, which can cause clumping, and from absorbing odors from other foods.
It is generally not recommended to store cocoa powder in the refrigerator. The humidity inside a fridge can introduce moisture, leading to clumping and potentially accelerating spoilage. Additionally, cocoa powder can absorb ambient odors from the refrigerator, affecting its flavor. If stored correctly, cocoa powder has a remarkably long shelf life, often remaining fresh for up to two years past its production date. Always refer to the “best by” or “expiration” date printed on the package for the most accurate guideline.
Choosing the Right Cocoa Powder for Your Culinary Creations
Ultimately, the choice between natural and Dutch process cocoa powder comes down to the desired outcome of your recipe. Do you want a bright, complex chocolate flavor with a good rise, typical of classic American baked goods? Reach for natural cocoa. Are you aiming for a deep, dark color, a smooth, mellow chocolate taste, and perhaps a dense, rich texture? Dutch process cocoa is your friend.
Reading your recipes carefully is paramount. If a recipe specifies a particular type of cocoa, trust the recipe developer – they’ve likely tested it to achieve specific results. By understanding the unique properties of natural and Dutch process cocoa, you empower yourself to make informed decisions in the kitchen, leading to consistently delicious and impressive chocolate creations. Don’t be afraid to experiment, but always keep the science of baking in mind!