

Spooktacular Halloween Sugar Cookies: A Guide to Perfect Cut-Outs and Royal Icing Decoration
Get ready to enchant your taste buds and impress your guests with these absolutely adorable Halloween sugar cookies! Crafted from a wonderfully soft, no-chill cut-out sugar cookie dough, these treats are then adorned with vibrant royal icing. While the possibilities for decorating are endless, I’m thrilled to share my tried-and-true steps and essential tools to help you create stunning candy corn, ghost, bat, pumpkin, and witches’ hat designs that are sure to be the highlight of your spooky season celebrations.

These homemade Halloween sugar cookies aren’t just a treat; they’re a celebration of autumn and the festive spirit of Halloween. Each bite offers a perfect balance of tender, buttery cookie and sweet, crisp royal icing. I truly believe these might be the most charming and delightful baked goods I’ve created all year, and I can’t wait for you to experience the joy of making them yourself!
The foundation of these festive delights is an incredibly straightforward sugar cookie dough that requires no chilling. This means you can roll it out and cut shapes immediately, saving you valuable time and making the baking process a breeze. Once your favorite Halloween cookie cutters have worked their magic, the cookies are baked to golden perfection and allowed to cool completely. This cooling step is crucial for ensuring your royal icing adheres beautifully and sets flawlessly, allowing for intricate detailing without any smudging.
This recipe is wonderfully adaptable, offering flexibility to suit your preferences. While I recommend my specific no-chill sugar cookie recipe for its ease and reliability, it pairs perfectly with various other sugar cookie recipes if you’re looking for different flavor profiles. For instance, my chocolate cut-out sugar cookies would provide a rich, dark base, ideal for spooky themes, or for a seasonal twist, my pumpkin sugar cookies would be a fantastic choice. Similarly, while royal icing is my preferred medium for detailed decorations due to its smooth finish and quick-drying properties, you could easily swap it for a luscious buttercream frosting if you prefer a softer, creamier texture and a less structured look. The key is to have fun and make them your own!
Beyond the recipe itself, I’m excited to share a wealth of practical advice, including my favorite piping tips for precise decorating, recommended cookie cutters that offer a variety of Halloween-inspired shapes, and the most efficient method I use for rolling out and cutting sugar cookie dough. These tips and tricks are designed to elevate your cookie decorating game, making the process enjoyable and the results stunning.
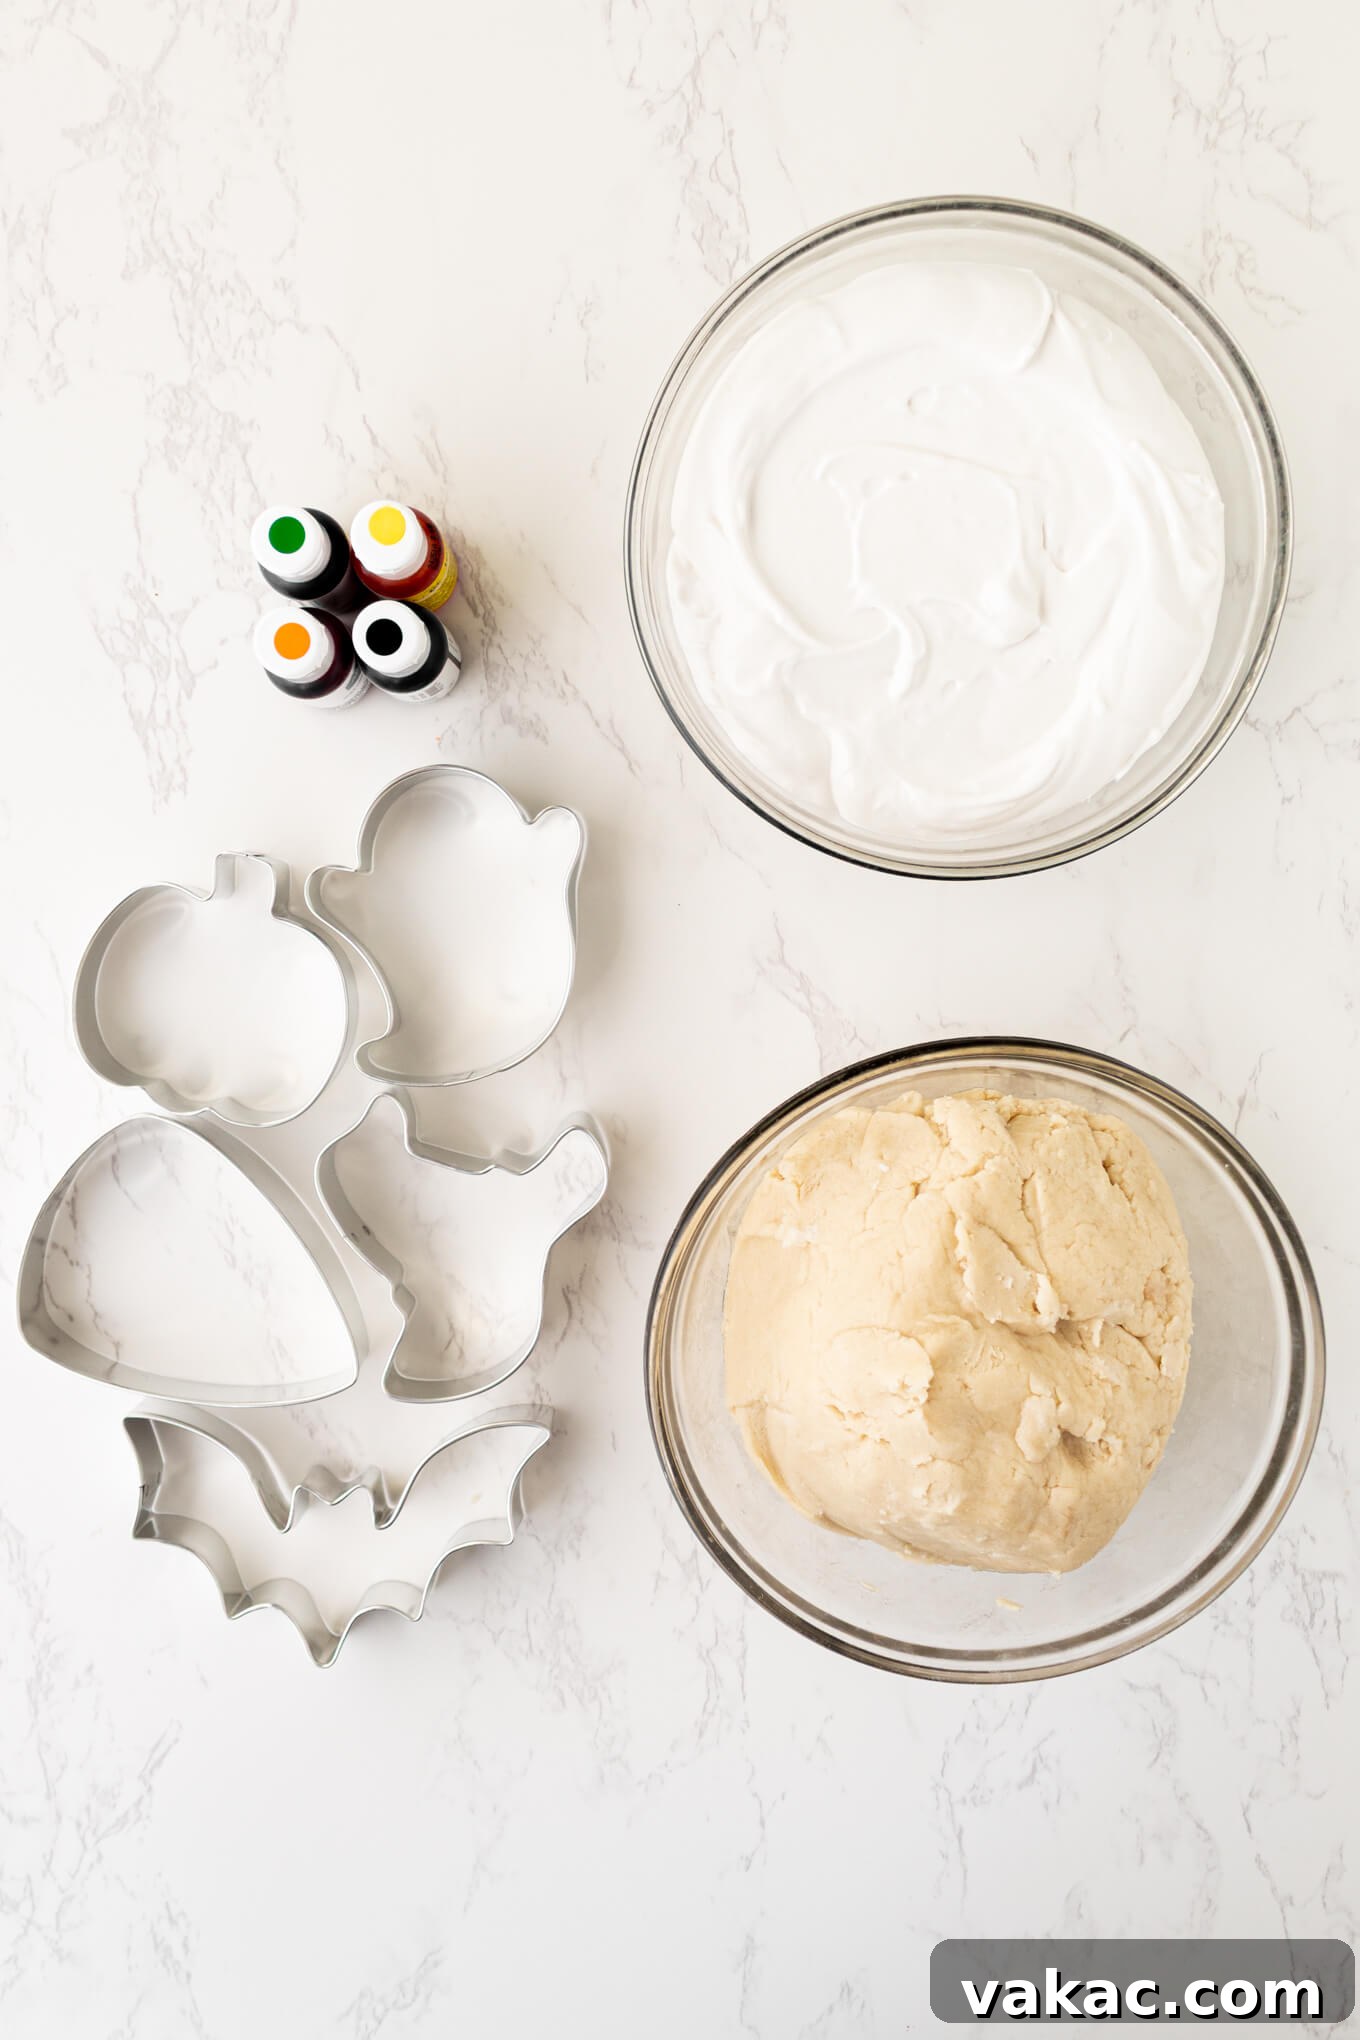
Essential Ingredients & Tools for Your Halloween Cookie Masterpiece
Crafting truly spectacular Halloween sugar cookies begins with selecting the right components. From the foundational dough to the vibrant finishing touches, each element plays a crucial role in the overall success and visual appeal of your festive treats. Here’s a detailed look at what you’ll need:
The Perfect Sugar Cookie Dough
For this specific recipe, I opted for my go-to cut-out sugar cookie recipe. Its primary advantage is that it eliminates the need for chilling, allowing you to roll out and bake the dough immediately. This makes the entire process faster and more convenient, perfect for when you’re eager to get decorating! However, if you’re inclined to experiment with different tastes, consider my chocolate cut-out sugar cookies for a deeper, richer flavor that complements dark Halloween themes, or my autumnal pumpkin sugar cookies for a delightful seasonal twist. The important thing is to choose a dough that holds its shape well during baking.
Choosing Your Icing
My top recommendation for these detailed Halloween cookies is royal icing. Its quick-drying property and ability to create sharp, defined lines make it ideal for intricate designs and achieving that professional, polished look. Royal icing also hardens completely, allowing for easy stacking and transport of your finished cookies. If you’re new to cookie decorating or prefer an easier alternative with a slightly softer texture, my easy sugar cookie icing is an excellent choice. It’s forgiving and still allows for beautiful decorations, though it might not achieve the same level of fine detail as royal icing.
Vibrant Gel Food Coloring
To bring your Halloween creations to life, you’ll need a selection of gel food colorings. Specifically, I used black for spooky details and outlines, orange for classic pumpkins and candy corn, yellow for bright accents, and green food coloring for witches’ hats and other vibrant elements. I cannot stress enough the importance of using gel food coloring over liquid varieties. Gel colors are highly concentrated, meaning you need only a small amount to achieve vivid hues without altering the consistency of your icing. Liquid food colorings, on the other hand, can thin out your icing, making it runny and difficult to work with. My personal favorite brand, which consistently delivers excellent results, is AmeriColor.
Indispensable Decorating Tools
Having the right tools at hand will make your decorating experience much smoother and more enjoyable. Here are the essentials:
- Cookie Cutters: The Halloween cookie cutter set I used is fantastic because it includes a diverse range of spooky shapes—think ghosts, bats, pumpkins, and witches’ hats—allowing you to create a delightful assortment of designs. Investing in a good quality set with a variety of shapes is always a great idea.
- Rolling Pin: A sturdy rolling pin is fundamental for achieving an even thickness in your dough. I’ll share some tips below for ensuring perfectly uniform cookies.
- Piping Bags: These are essential for precisely applying your royal icing. Disposable bags are convenient for easy cleanup, especially when working with multiple colors.
- Small Round Piping Tips: These tiny tips are your secret weapon for creating fine outlines and delicate details. We’ll delve deeper into specific tip sizes and their uses further down, ensuring you have the right tools for every intricate stroke.
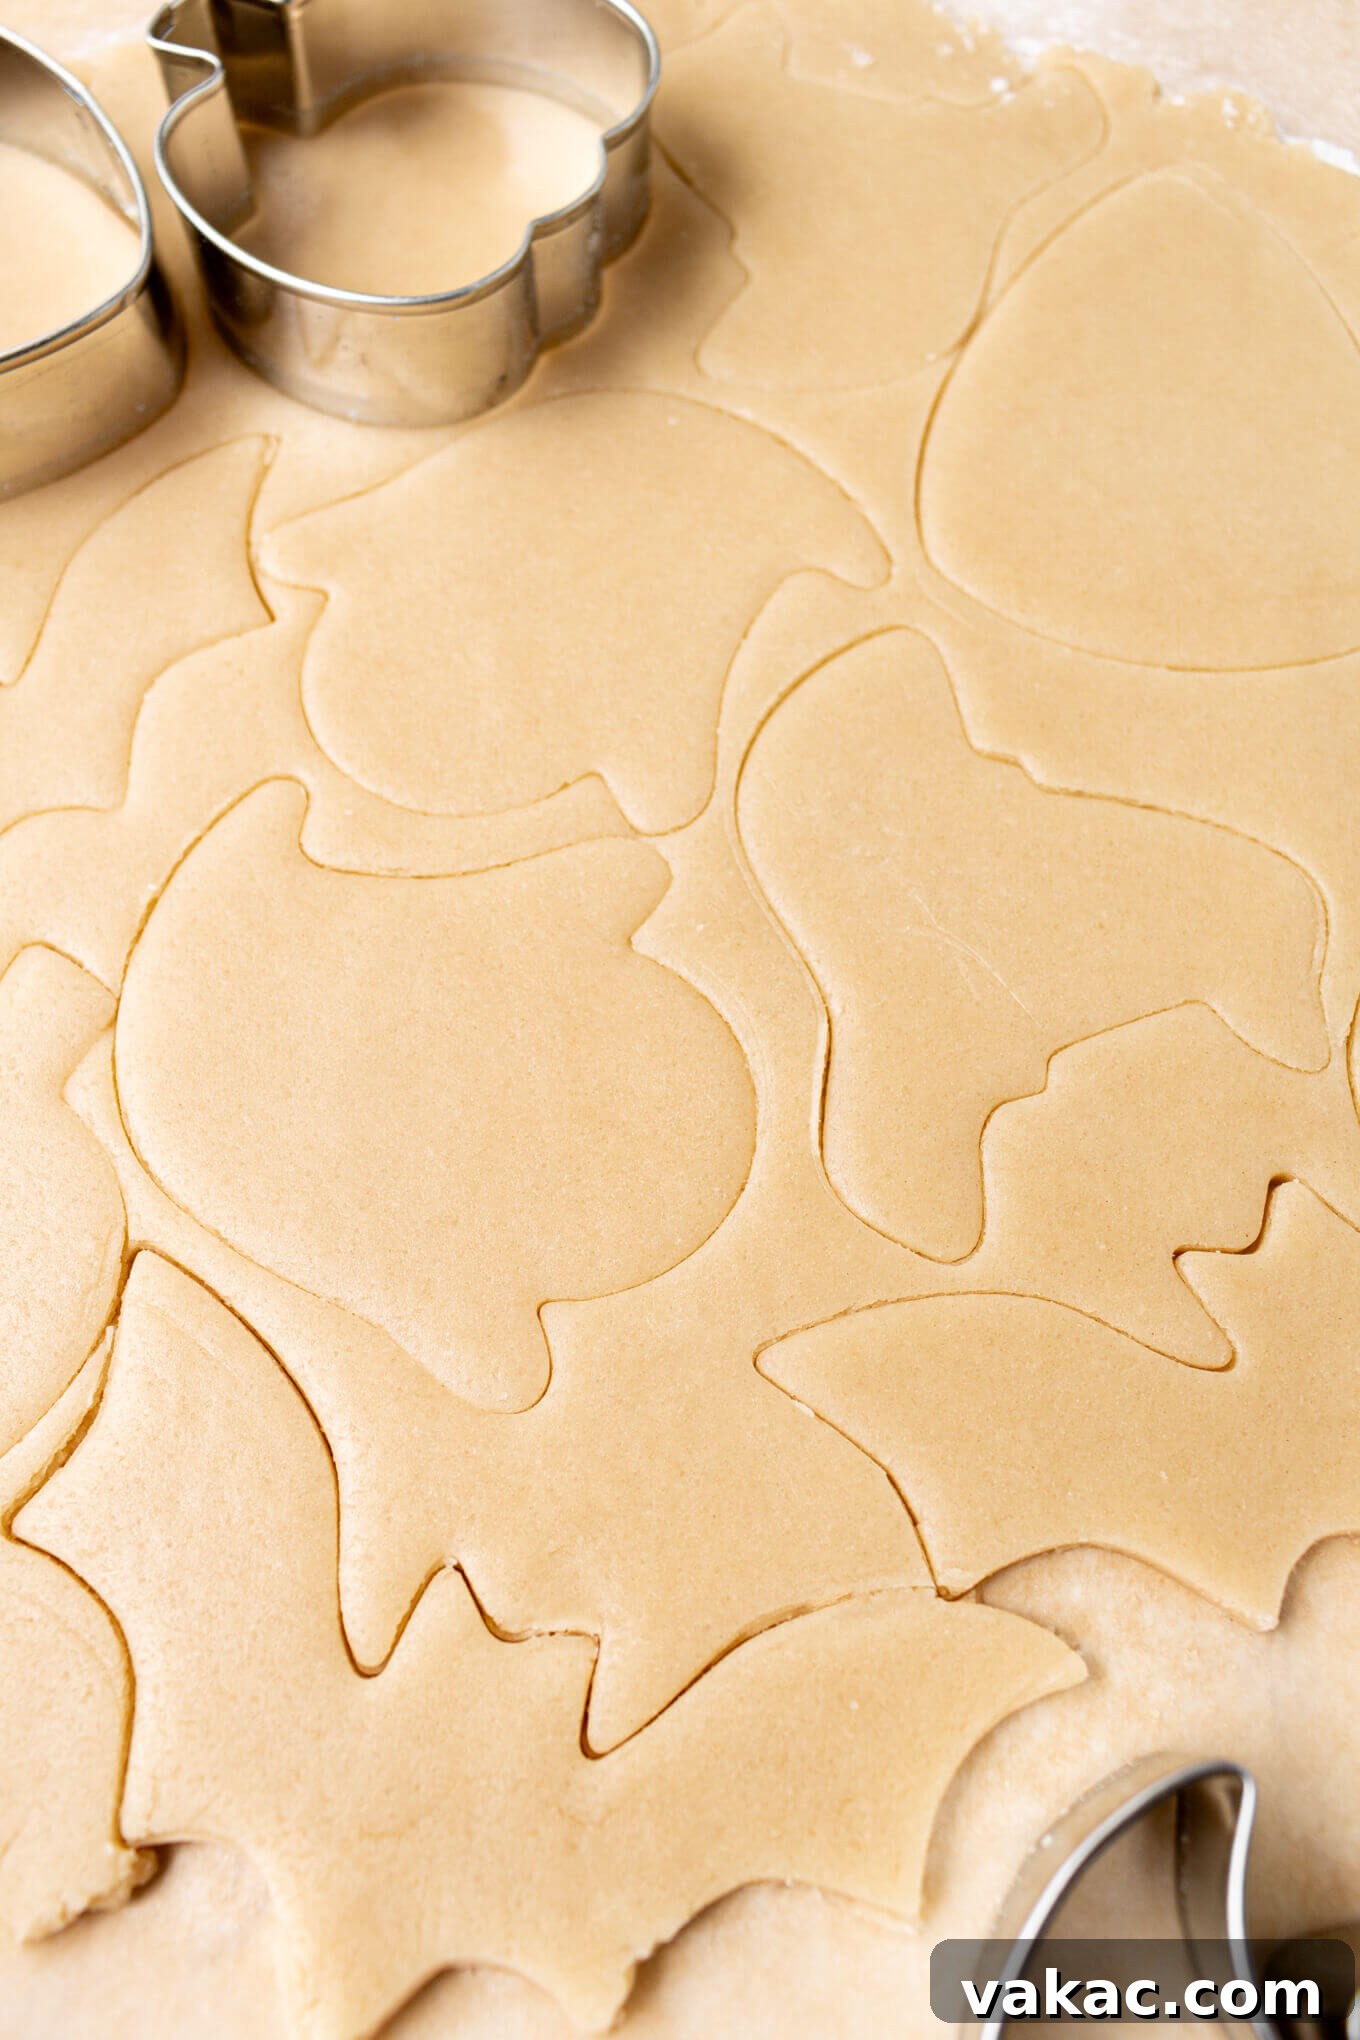
Mastering Dough Rolling and Cut-Out Techniques
Achieving perfectly uniform and beautifully shaped cookies starts with the dough preparation. Getting the thickness just right and ensuring clean cuts can make all the difference in your final product. Based on my extensive experience, I’ve found a method that consistently delivers excellent results:
The easiest and most effective way to roll out sugar cookie dough is to lightly flour both sides of your dough and then place it between two pieces of parchment paper. This technique prevents the dough from sticking to your rolling pin, ensuring a smooth and effortless roll every time. Moreover, it makes transferring the dough incredibly simple, especially if your recipe requires chilling. You can just slide the parchment paper-encased dough directly onto a baking sheet and into the fridge without any fuss.
When it’s time to cut out your festive shapes, a light dusting of flour on your cookie cutters will prevent the dough from sticking inside them, ensuring crisp, clean edges. If you encounter any difficulty removing the excess dough surrounding your perfectly cut shapes, don’t despair! A simple toothpick can be your best friend here. Gently use it to lift away any stubborn dough pieces from around the edges, preserving the integrity of your cookie shapes. This delicate touch ensures that each cookie maintains its intended form, ready for baking and decorating.
Quick Tip for Uniform Thickness: One of the most common challenges in cookie baking is achieving an even dough thickness, which is crucial for consistent baking and uniform appearance. If you often struggle with this, I highly recommend keeping some ¼-inch dowel rods on hand. Simply place one dowel rod on each side of your dough (between the parchment paper layers), then roll out the dough until your rolling pin touches the top of both dowel rods. This creates a natural stopper, guaranteeing a perfectly even ¼-inch thickness across your entire sheet of dough. Alternatively, an adjustable rolling pin with built-in guides works equally well and is a fantastic investment for any avid baker!
Preparing and Coloring Your Royal Icing Like a Pro
Royal icing is the cornerstone of beautifully decorated sugar cookies, offering precision and a flawless finish. As I mentioned earlier, it’s my preferred choice for these Halloween cookies, largely due to its ability to create crisp lines and a smooth, hard surface. My personal preference is to mix the royal icing to a medium consistency. This versatile consistency allows me to use the same batch of icing for both outlining the cookies and flooding the middle areas, streamlining the decorating process. For a more in-depth understanding of different royal icing consistencies and how to achieve them, I highly recommend checking out my comprehensive royal icing recipe.
Determining if your royal icing has reached that perfect medium consistency is straightforward with a simple test. Lift a spoonful of icing from your mixing bowl and drizzle it back into the bowl. Observe how quickly the drizzled icing disappears back into the main batch. For a true medium consistency, the surface of the icing should take approximately 15 seconds to smooth itself out completely. If it disappears faster, your icing is too thin; if it takes longer, it’s too thick. Adjust by adding a tiny bit more powdered sugar to thicken or a few drops of water to thin, mixing thoroughly after each addition until you hit that sweet spot.
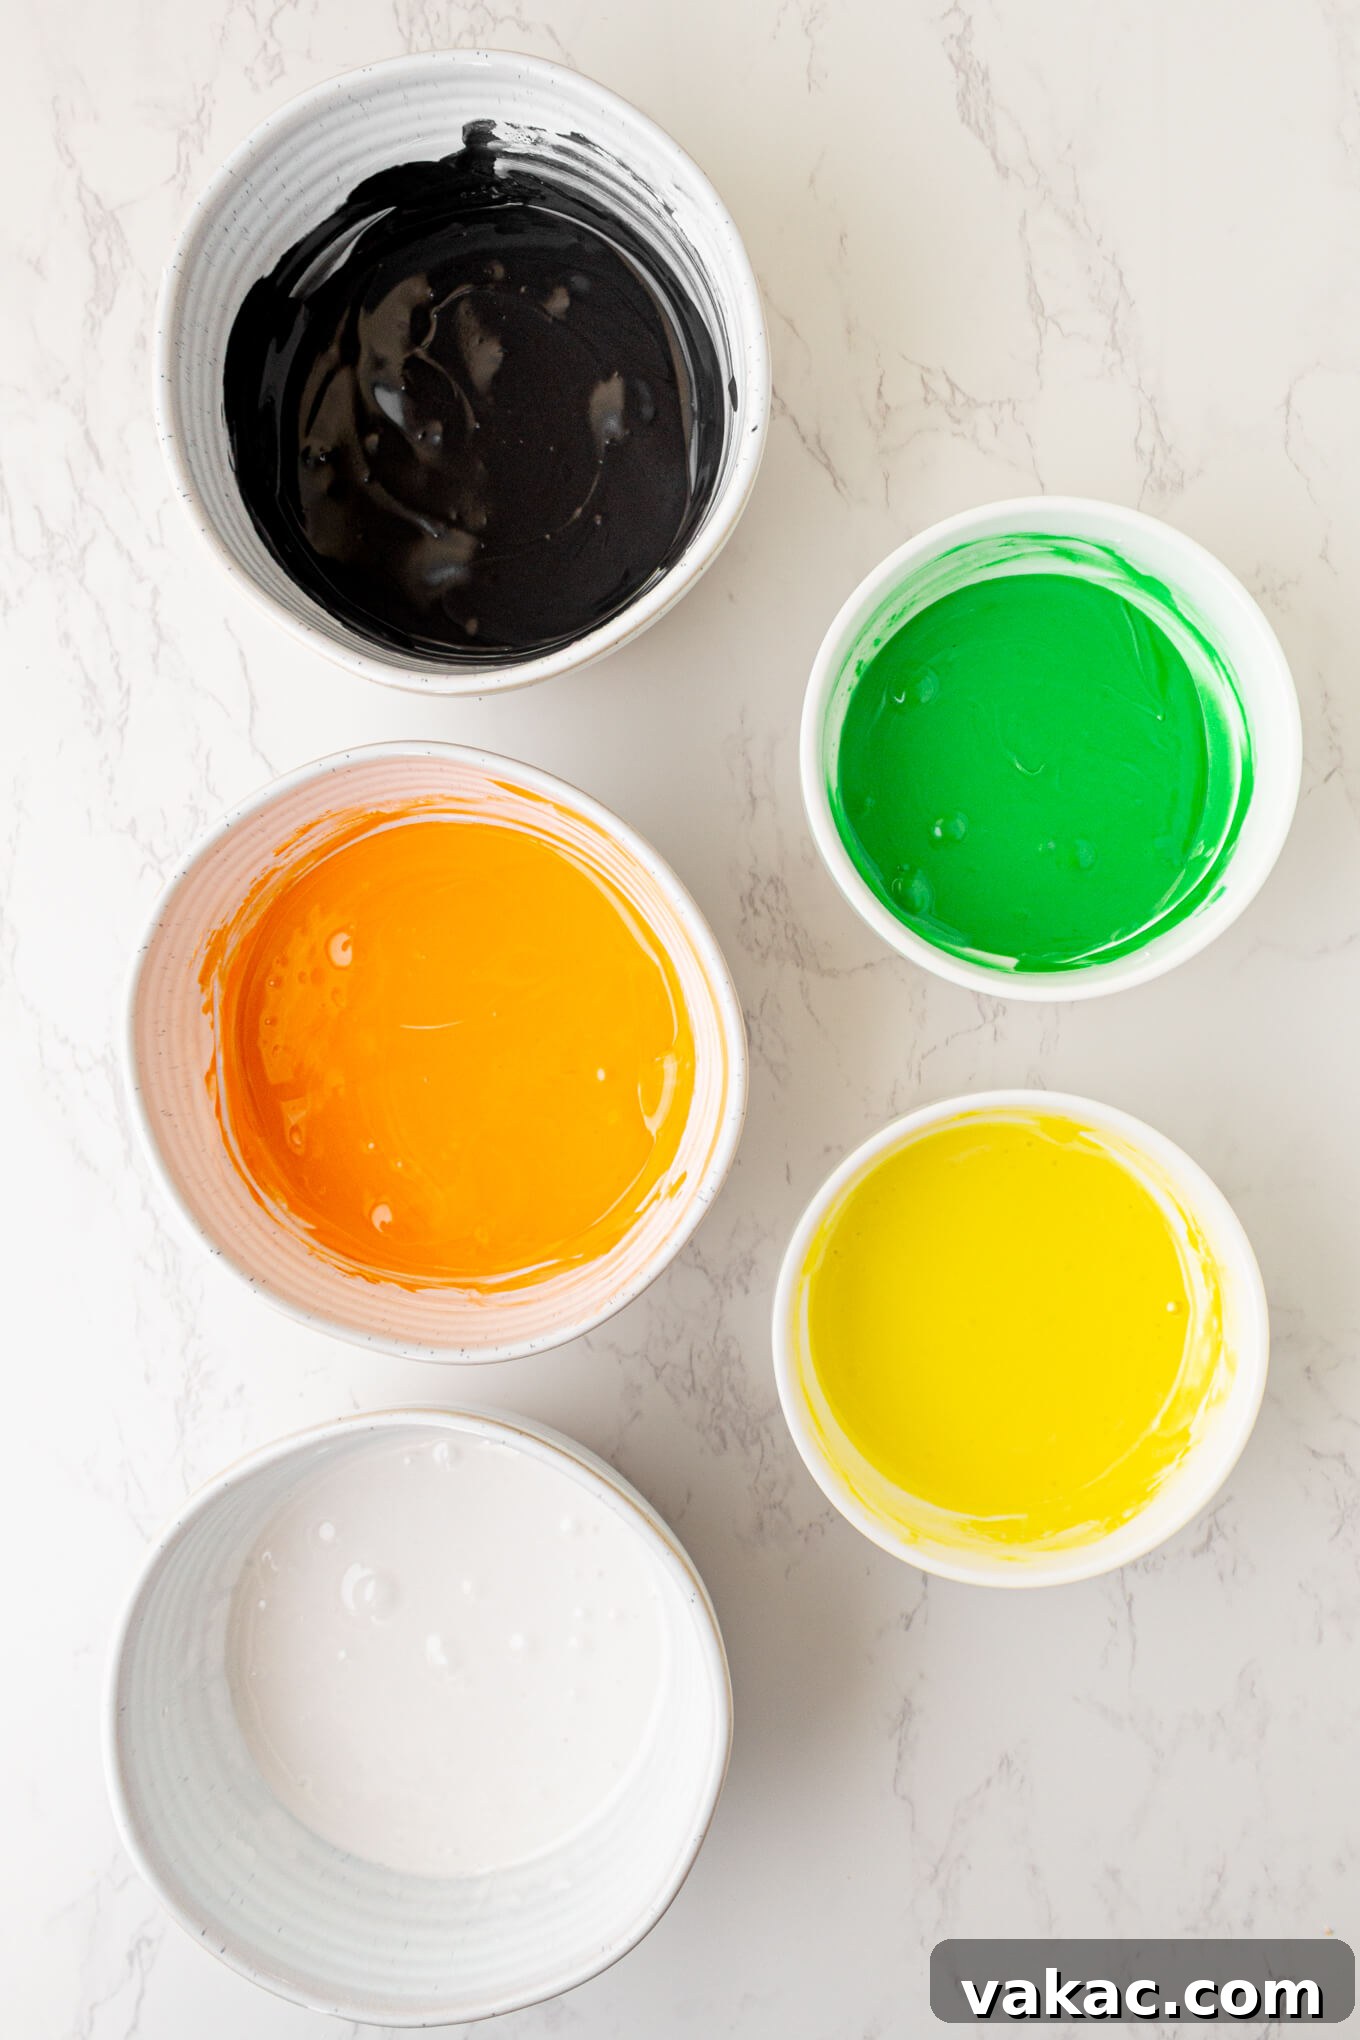
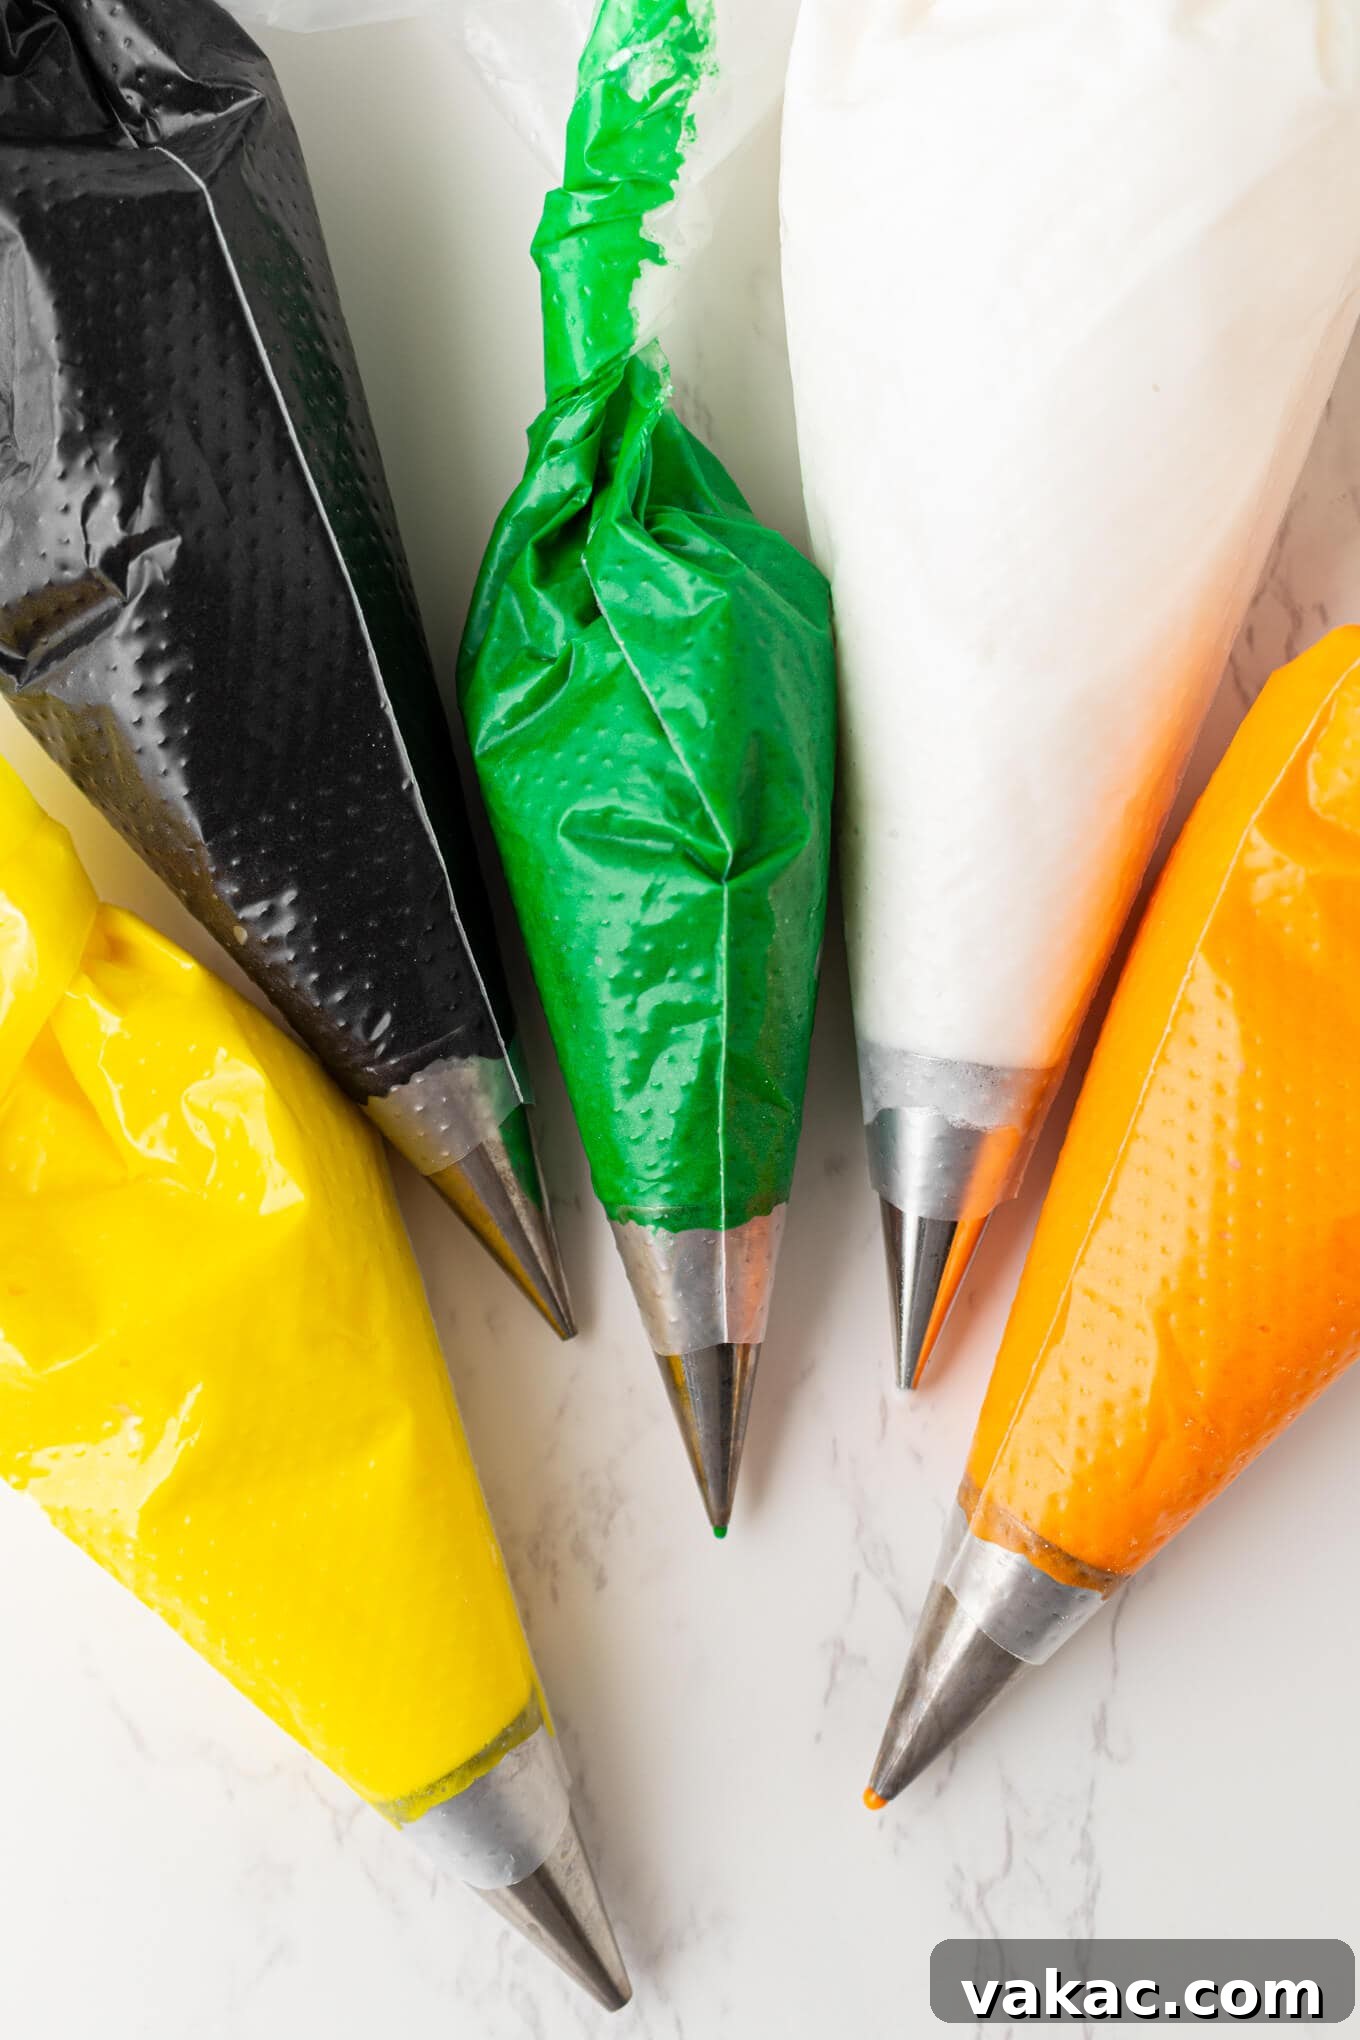
Before you begin coloring, it’s vital to divide your prepared royal icing into separate bowls. For our Halloween designs, you’ll need at least five distinct colors: white, black, orange, yellow, and green. By dividing the icing *before* adding the gel food coloring, you ensure even color distribution and prevent over-mixing, which can sometimes incorporate too much air into the icing. Once colored to your desired shades, transfer each batch of vibrant icing into separate piping bags. Fit each bag with a small round piping tip, and you’re ready to embark on your decorating adventure!
For outlining and flooding, I personally find the Wilton #3 piping tip to be exceptionally versatile and easy to work with. However, the slightly larger Wilton #4 also performs admirably for general outlining and filling. Should your designs call for even finer, more intricate details—such as tiny eyes, delicate webs, or thin lines—the smaller Wilton #2 and even the ultra-fine #1 tips are excellent choices, allowing for unparalleled precision in your artwork.
Top Tips for Decorating Your Halloween Sugar Cookies Flawlessly
Decorating sugar cookies can be a truly rewarding experience, but a few key techniques can elevate your results from good to absolutely stunning. Here are my essential tips to help you create picture-perfect Halloween cookies:
- Ensure Your Cookies Are Completely Cool: This might seem obvious, but it’s arguably the most critical step. Attempting to pipe royal icing onto even slightly warm sugar cookies is a recipe for disaster; the icing will melt and spread, creating a messy finish. Always allow your cookies to cool entirely on a wire rack, ideally for several hours or even overnight. To save time on decorating day, you can bake your cookie bases a day or two in advance and store them in an airtight container.
- Master the Outline and Flood Technique: This is the cornerstone of smooth, professional-looking iced cookies. Begin by outlining the shape of your cookie with a medium-consistency icing. This outline acts as a dam, preventing the “flood” icing from spilling over the edges. Once the outline is complete, immediately fill the enclosed area with more of the same consistency icing. Use a toothpick or a specialized scribe tool to gently nudge the icing to the edges and pop any air bubbles, ensuring a perfectly smooth and even surface.
- Strategic Drying for Layered Details: For decorations that stand out—like the vibrant yellow eyes on a bat or the intricate buckle on a witch’s hat—it’s crucial to allow the base layer of icing to harden completely first. This can take anywhere from 2 to 6 hours, depending on humidity and icing thickness. Piping details onto wet icing will cause them to “bleed” or meld into the base layer, creating a flat, blended effect. However, if you *want* that blended look, such as for the spooky eyes and mouths on ghosts, then go ahead and add those details while the base icing is still wet! This creates a seamless, embedded appearance.
- Add Sprinkles Immediately: If your design calls for sprinkles, sanding sugar, or other decorative elements, make sure to apply them as soon as you’ve flooded each section of the cookie, while the icing is still wet. This ensures that the sprinkles adhere securely and become embedded as the icing dries. If you wait too long, the icing will begin to crust, and your sprinkles won’t stick properly.

Unleash Your Creativity: More Decorating Ideas!
While I’ve shared my favorite designs, the beauty of cookie decorating lies in its endless possibilities. Don’t be afraid to experiment and personalize your Halloween sugar cookies! Here are some additional ideas to spark your creativity for each shape:
- Bat Cookies: Beyond the classic yellow eyes, consider using white icing to add tiny, sharp fangs for an extra vampiric touch. You could also replace the yellow icing eyes with store-bought candy eyeballs for a playful, googly-eyed look, or use a different color of icing entirely, like red or green, for a unique twist.
- Witches Hat Cookies: I used a vibrant green icing for the hat’s belt, but this is a fantastic opportunity to customize! Imagine a regal purple belt, a mystical silver, or a classic orange. You could also add edible glitter to the brim for a magical shimmer.
- Ghost Cookies: These ethereal figures offer great versatility. Feel free to use store-bought candy eyeballs for a quick and charming effect. For an even cuter ghost, mix a tiny bit of pink food coloring into some white icing to add adorable blushing cheeks, giving your spirits a friendly glow.
- Pumpkin Cookies: While a simple orange flood is lovely, turn your pumpkins into classic jack-o’-lanterns! Use some of your black icing to pipe on mischievous eyes, a triangular nose, and a spooky, grinning mouth. You could even add small green vines or curly tendrils around the stem for more detail.
- Candy Corn Cookies: To add an extra dimension of texture and a dazzling, sparkly effect, coat each section of the candy corn (white, orange, and yellow) with coordinating colors of sanding sugar while the icing is still wet. This will give them a wonderful crunch and a festive glimmer.

I genuinely can’t express how delighted I am with how these Halloween sugar cookies turned out! They are not only delicious but also incredibly charming. The process of decorating them is so much fun, making them an ideal activity to enjoy with kids, fostering creativity and creating wonderful memories in the kitchen. They’re also a fantastic centerpiece for a cookie decorating party, providing a delightful and interactive experience for all your guests.
Whether you’re baking for a school party, a festive gathering, or just for the sheer joy of it, these cookies are guaranteed to bring smiles. They make wonderful gifts for friends and neighbors, or a delightful treat to share with trick-or-treaters (if you can bear to part with them!).
If you embark on this delightful baking adventure, please don’t hesitate to leave a comment below and share your experience. I’d love to hear how your Halloween sugar cookies turned out and see your unique designs. Happy Baking, and have a frightfully good Halloween!

Halloween Sugar Cookies
Pin Recipe
SaveSaved!
Leave a Review
Ingredients
- 3 cups all-purpose flour spooned & leveled (375 grams)
- 2 teaspoons baking powder
- ½ teaspoon salt
- 1 cup vegetable shortening (190 grams; I used Crisco for consistent texture)
- 1 cup granulated sugar (200 grams)
- 1 large egg at room temperature
- 2 tablespoons whole milk (30 ml)
- 2 teaspoons pure vanilla extract
- Royal icing or easy sugar cookie icing (prepared according to recipe instructions)
- Gel food coloring (e.g., black, orange, yellow, and green for classic Halloween designs)
Instructions
-
To prepare the delectable cookies: Begin by preheating your oven to 350°F (177°C). Line two to three large baking sheets with parchment paper or silicone baking mats to ensure non-stick baking and easy cleanup. Set these prepared sheets aside.
-
In a spacious mixing bowl, meticulously whisk together the all-purpose flour, baking powder, and salt until they are thoroughly combined. This ensures even leavening and seasoning throughout your cookies. Set this dry mixture aside.3 cups all-purpose flour,2 teaspoons baking powder,½ teaspoon salt
-
In a separate large mixing bowl, using an electric mixer, cream together the vegetable shortening and granulated sugar for 1 to 2 minutes. Continue mixing until the mixture is light, fluffy, and well combined. Next, incorporate the large egg, whole milk, and pure vanilla extract, mixing until everything is fully integrated. Remember to frequently pause and scrape down the sides of the bowl with a spatula to ensure all ingredients are evenly incorporated.1 cup vegetable shortening,1 cup granulated sugar,1 large egg,2 tablespoons whole milk,2 teaspoons pure vanilla extract
-
Gradually add the whisked dry ingredients into the wet mixture, mixing on low speed until just fully combined. Initially, the mixture may appear a little crumbly, but as you continue to mix (or even gently knead with your hands), it will come together to form a cohesive dough. Once the dough forms, use your hands to gently shape it into a smooth ball.
-
Divide the dough into two equal halves for easier handling. Lightly flour a piece of parchment paper, place one half of the dough on it, then cover with another piece of parchment paper. Using your rolling pin (and ¼-inch dowel rods if desired for even thickness), roll the dough uniformly to a ¼-inch thickness between the parchment paper sheets. Repeat this process with the second half of the dough. (This particular recipe boasts a no-chill dough; however, if you prefer a firmer dough that’s easier to handle, you can place both rolled-out dough sheets, still between their parchment paper, onto a baking sheet and refrigerate for 30 minutes to one hour.)
-
Carefully peel off the top layer of parchment paper from one dough sheet. Using your favorite 3 to 4-inch Halloween cookie cutters, press firmly to cut out your desired shapes. Gently transfer these cut-out cookies onto your prepared baking sheets, ensuring you leave a little space between each one for even baking. If the cut dough proves difficult to lift, lightly flour a thin spatula and use it to carefully move the cookies. Gather any scrap pieces of dough, re-roll them between the parchment paper, and continue cutting out more shapes until all dough is used. Repeat this step with the second sheet of cookie dough.
-
Bake the cookies for 10 to 13 minutes in the preheated oven, or until the tops are set and the bottom edges show a light golden-brown hue. For a slightly crisper cookie that holds up well to royal icing, I typically bake mine closer to the 12- to 13-minute mark. Remember that the icing will add a touch of softness later!
-
Once baked, remove the cookies from the oven and let them cool on the baking sheets for 5 to 10 minutes. This allows them to firm up slightly before transferring. Afterward, carefully move the cookies to a wire rack to cool completely before any decorating begins. Patience here is key for perfect icing results!
-
Prepare your chosen icing: For these intricately designed cookies, I relied on my royal icing recipe, beating it to a versatile medium consistency. This consistency is ideal because it allows you to both outline and flood your cookies using the same batch of icing, simplifying the process. If you prefer an easier-to-handle icing, my easy sugar cookie icing is also a fantastic option. When using the easy sugar cookie icing, I recommend adjusting its thickness so it’s firm enough for outlining but still flows smoothly for flooding.Royal icing or easy sugar cookie icing
-
Divide and color the icing: To achieve a vibrant array of Halloween designs, you’ll need several colors of icing. Divide the prepared icing between various bowls. For my designs, I allocated approximately three-quarters of my icing to three larger bowls, leaving one white, tinting another with black gel food coloring, and the third with orange. The remaining quarter of the icing was divided between two smaller bowls, with one tinted yellow and the other green. At this stage, it’s crucial to re-check the consistency of each colored batch. If an icing is too thick, add a tiny amount of water (a few drops at a time) to thin it. If it’s too thin, gradually mix in a bit more powdered sugar until the desired consistency is achieved.Gel food coloring
-
Once all your icing colors are perfectly mixed and at the ideal consistency, carefully spoon each color into separate piping bags, fitting them with your chosen small round piping tips. I personally recommend the Wilton #3 piping tip for its versatility in both outlining and flooding. If you have any remaining icing in bowls that isn’t being used immediately, make sure to cover it tightly with a damp paper towel or plastic wrap pressed directly against the surface to prevent it from hardening and crusting.
-
Now, it’s time to decorate your cookies! Start by outlining each cookie shape with your chosen icing color, then immediately fill the outlined area with a thin layer of the same icing. Use a toothpick or a scribe tool to gently move the icing around, ensuring it reaches all edges and fills any empty spots. For a perfectly smooth finish, gently tap or shake the cookie lightly to help the icing settle evenly. If you plan to add any sprinkles or sanding sugar, do so immediately after icing each cookie, while the icing is still wet. Here’s a detailed guide on how I decorated my five distinct Halloween cookies:
Bat Cookies: Outline and fill the entire bat shape with black icing. Allow this base layer of icing to dry and harden slightly. Once set, add the intricate details to the wings and pipe on the bright yellow eyes for a striking contrast.
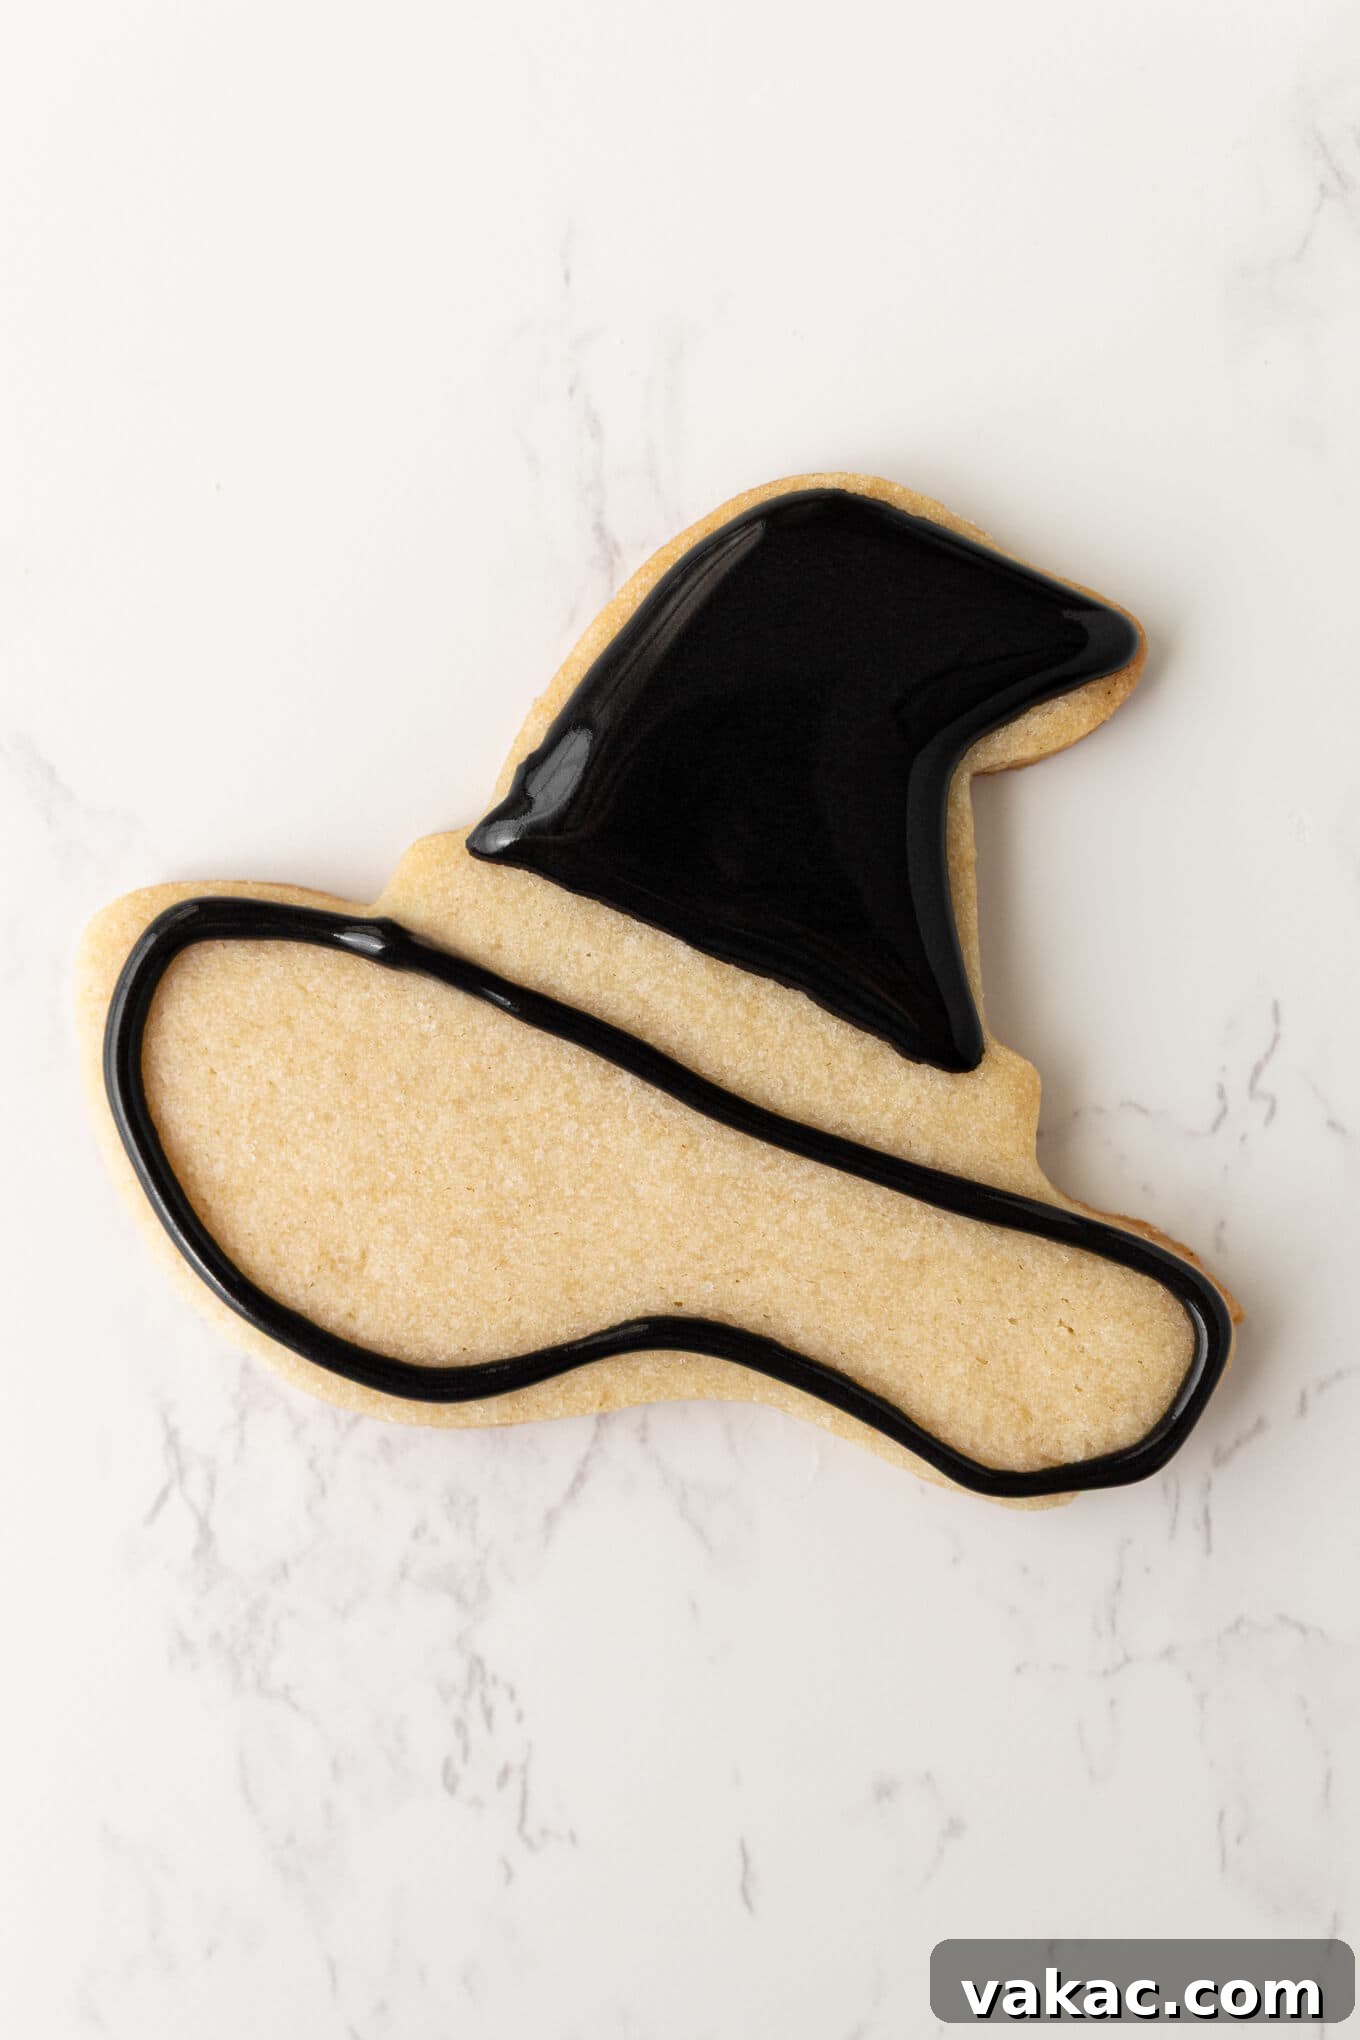
Witches Hat Cookies: First, outline and fill the black portions of the hat (the brim and the pointed top). Next, add the green stripe across the brim as the “belt.” Wait for these layers of icing to harden completely before carefully piping on the small yellow buckle and adding any desired sprinkles to the brim.
Ghost Cookies: Outline and fill the ghost shape entirely with white icing. While the white icing is still wet, immediately add the black eyes and mouth. This technique, known as “wet-on-wet,” allows the black details to sink slightly into the white base, creating a seamless, blended appearance that gives the ghost a smoother, more cartoonish look.
Pumpkin Cookies: Begin by outlining and filling the orange sections on each side of the pumpkin. Then, go back and fill in the middle portion to complete the pumpkin body. Add the green top for the stem and any delicate leaf decorations if you desire. For a classic jack-o’-lantern, you can also simply outline and flood the entire cookie with orange icing, then add spooky black details for the eyes, nose, and mouth after the orange base has set.
Candy Corn Cookies: This design involves three distinct color sections. Outline and fill each color segment sequentially, starting with the white icing at the smaller, pointed end, followed by the orange in the middle section, and finally the yellow at the wider base. Allow each color to set slightly before moving to the next for crisp lines, or use the wet-on-wet technique for softer transitions.
-
Once you’ve meticulously iced all of your Halloween cookies, it’s crucial to allow them to dry undisturbed at room temperature for several hours, or until the royal icing has completely hardened. The exact drying time can vary significantly based on factors like the size of your cookies, the thickness of your icing layers, and the ambient humidity and airflow in your kitchen. To be absolutely certain that your icing is fully set and to prevent any smudging or damage when stacking, I highly recommend letting your cookies dry overnight.
Notes
Freezing Instructions: For longer preservation, these cookies freeze exceptionally well for up to 3 months. Once iced and fully dried, arrange them in a single layer on a baking sheet and freeze until solid. Then, transfer the frozen cookies to an airtight, freezer-safe container or bag, again layering with parchment paper. When you’re ready to enjoy them, thaw the cookies to room temperature before serving to ensure optimal texture and flavor.