
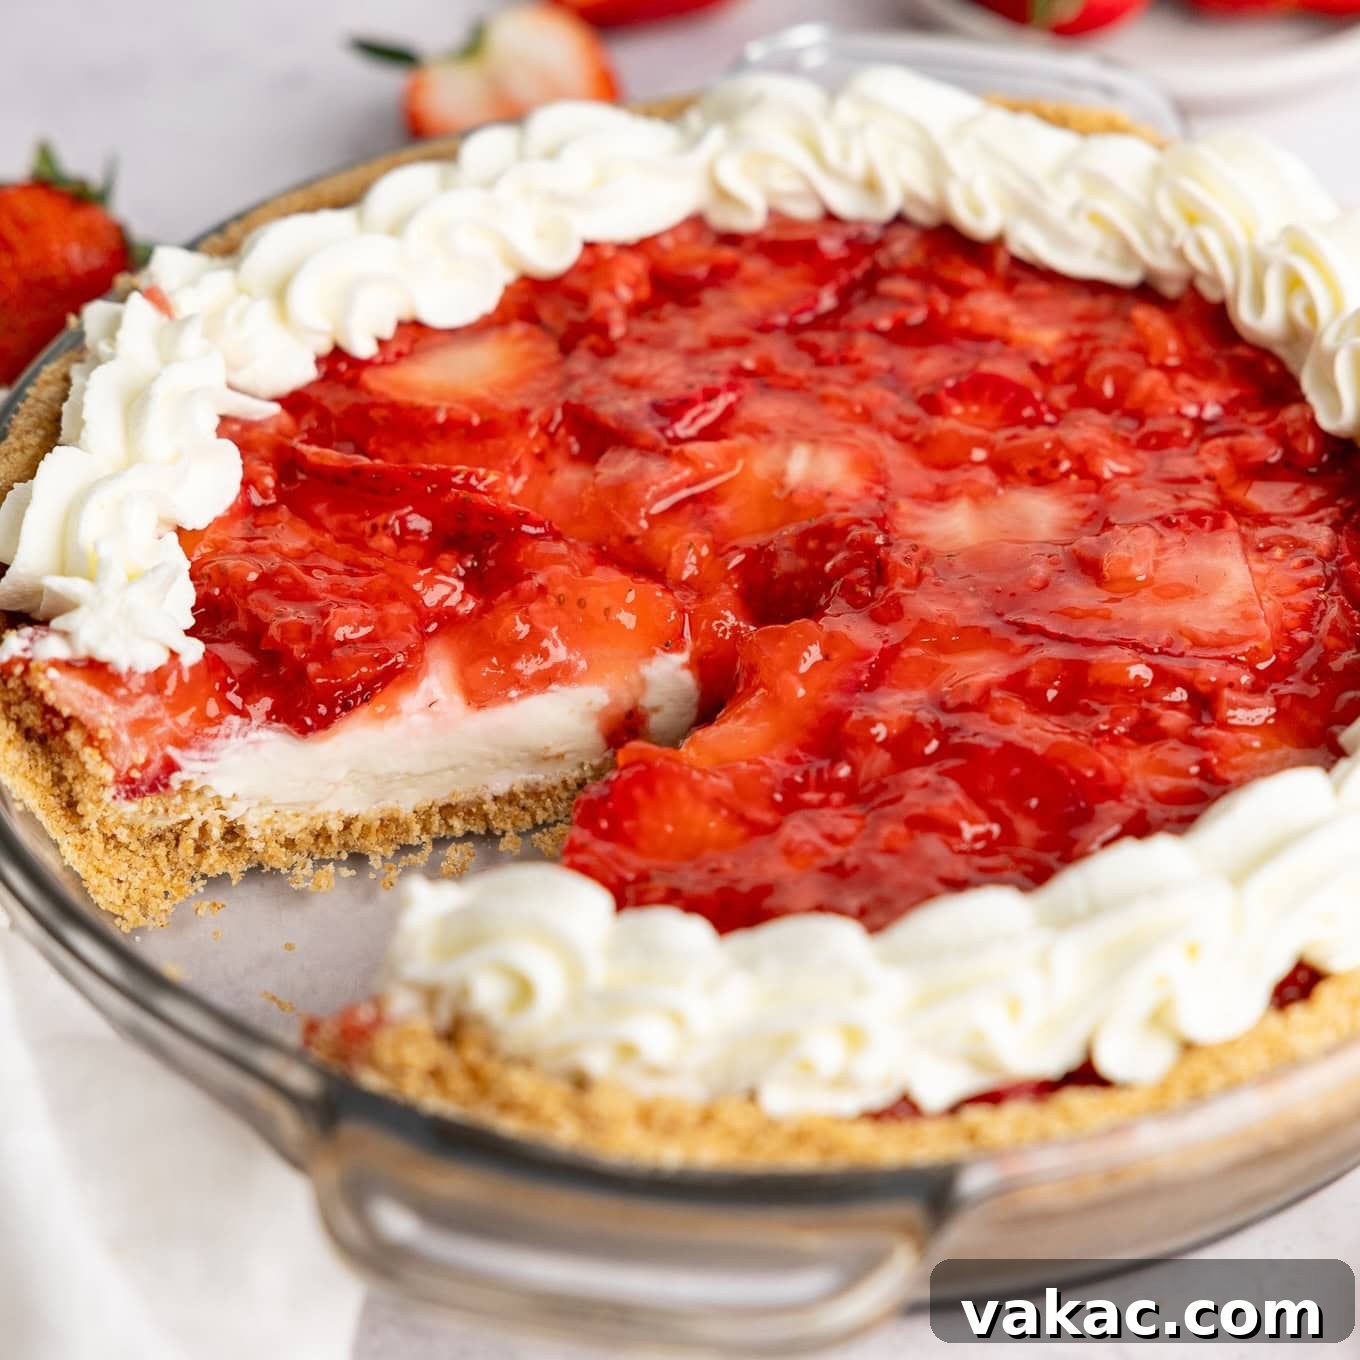
Indulge in the ultimate no-bake dessert experience with our irresistible Strawberry Cream Cheese Pie. This recipe masterfully combines a perfectly buttery graham cracker crust, a luxuriously light and airy whipped cream cheese filling, and a vibrant, sweet homemade strawberry topping. It’s a truly decadent treat that brings together the best of a classic no-bake cheesecake and a fresh strawberry pie, all while being incredibly easy to prepare and perfect for making ahead of time.
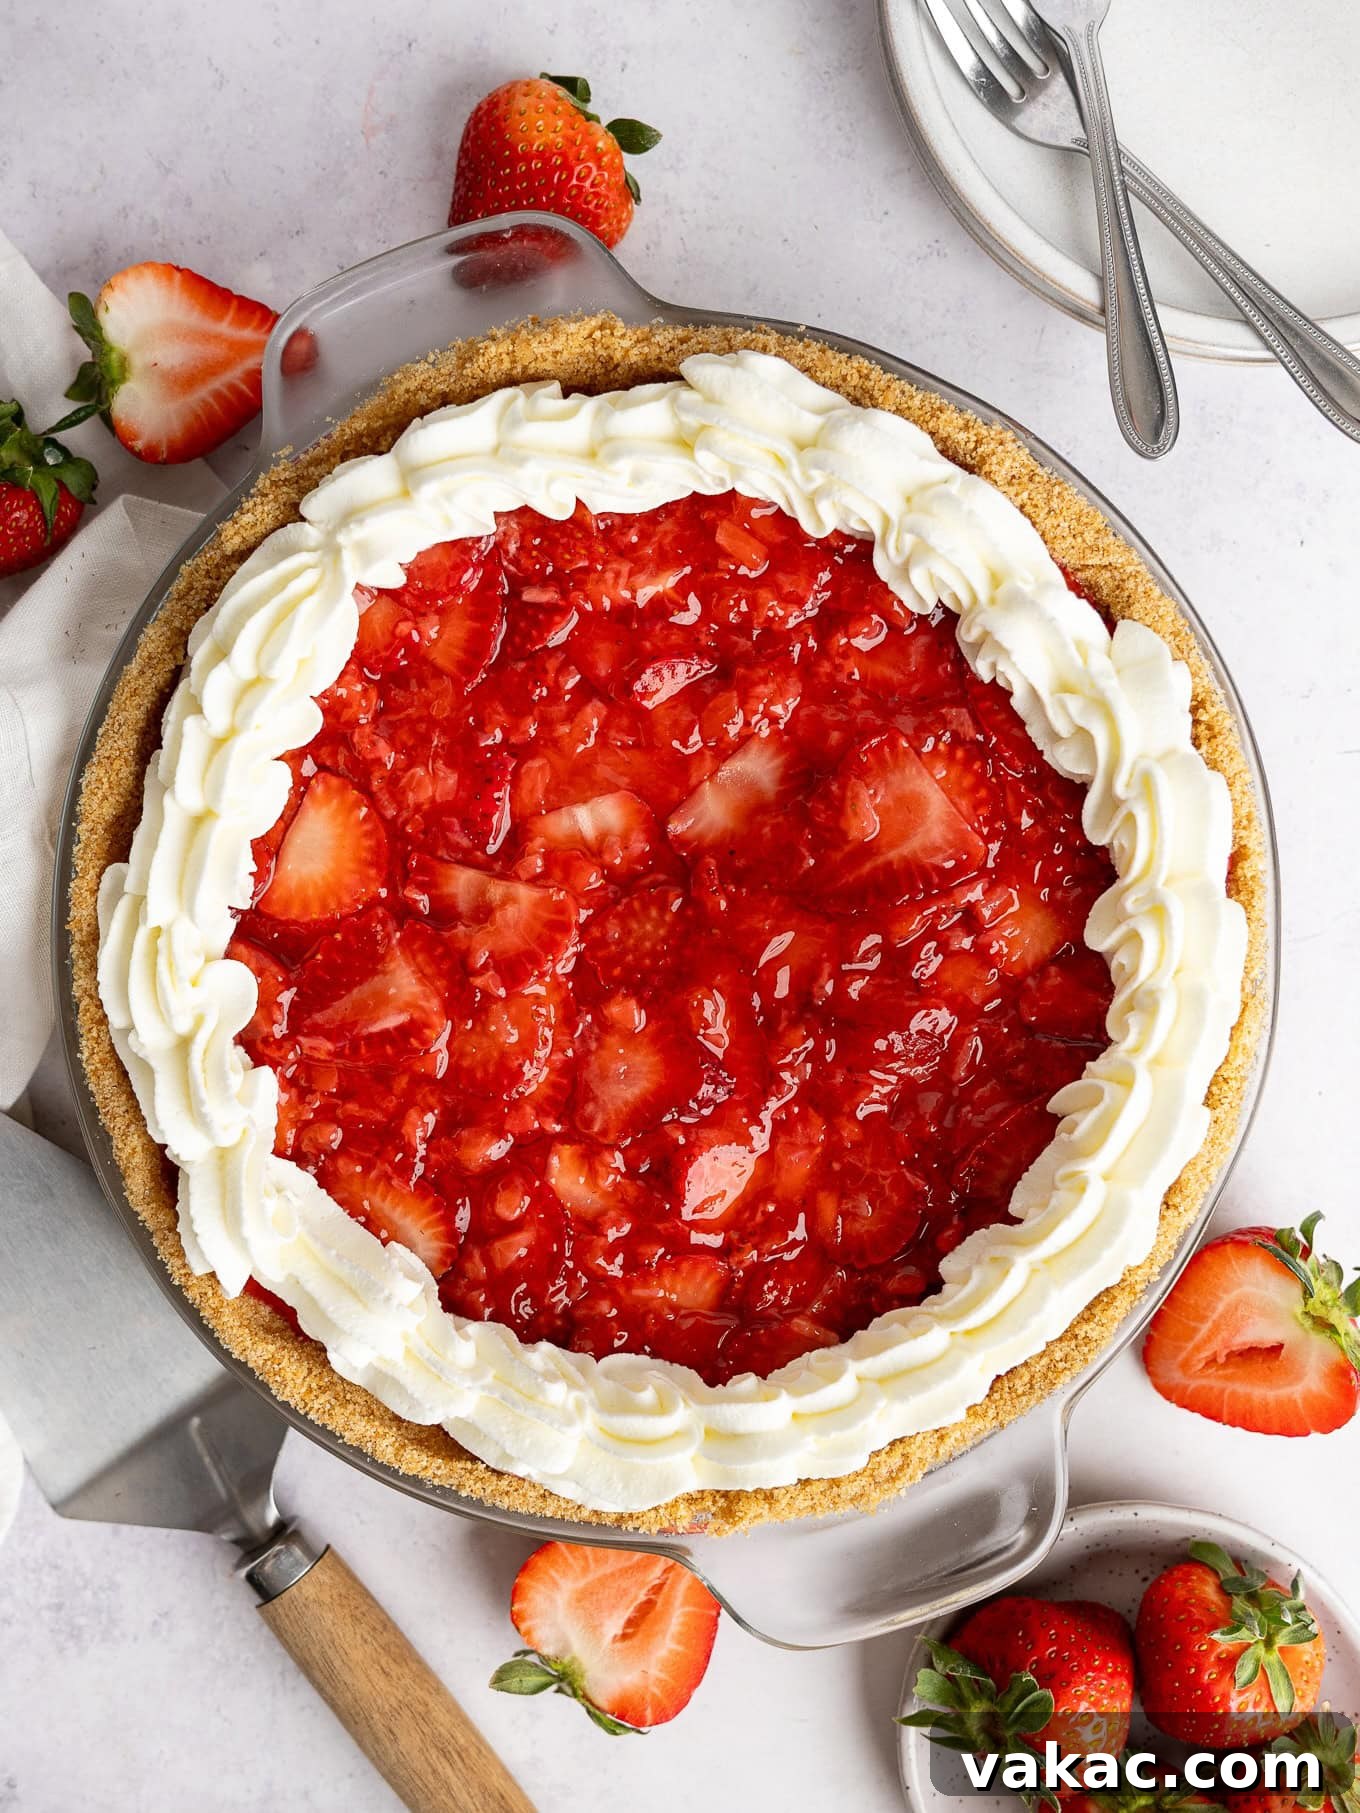
Imagine the delightful fusion of a creamy, dreamy no-bake cheesecake and a burst of fresh strawberry goodness found in a classic pie. That’s exactly what this Strawberry Cream Cheese Pie delivers. Each component is crafted to perfection, promising a dessert that’s not only visually stunning but also incredibly satisfying to the palate. The velvety cream cheese layer boasts an exquisite lightness, achieved by gently folding in whipped cream, creating a texture that melts in your mouth. The star of the show, our homemade strawberry topping, uses only the freshest berries, ensuring an authentic, pure strawberry flavor. A touch of cornstarch works wonders, giving the topping a beautiful thickness that holds its form, making each slice a picture of perfection.
What sets this recipe apart is its commitment to homemade goodness. From the rich, buttery graham cracker crust to the vibrant strawberry topping, every element is made from scratch. You won’t find any gelatin or artificial Jell-O here, just pure, wholesome ingredients. And the best part? It’s entirely no-bake! This means you can enjoy a gourmet-quality dessert without ever needing to turn on your oven, making it ideal for warm summer days or when you simply want a hassle-free baking experience.
Discover the Magic of No-Bake Strawberry Cream Cheese Pie
This dessert is more than just a pie; it’s an experience. Perfect for gatherings, family dinners, or a simple indulgence, its vibrant colors and incredible flavors are sure to impress. Get ready to create a masterpiece that requires minimal effort but delivers maximum delight!
Ingredient Notes & Essential Substitutions for Your Perfect Pie
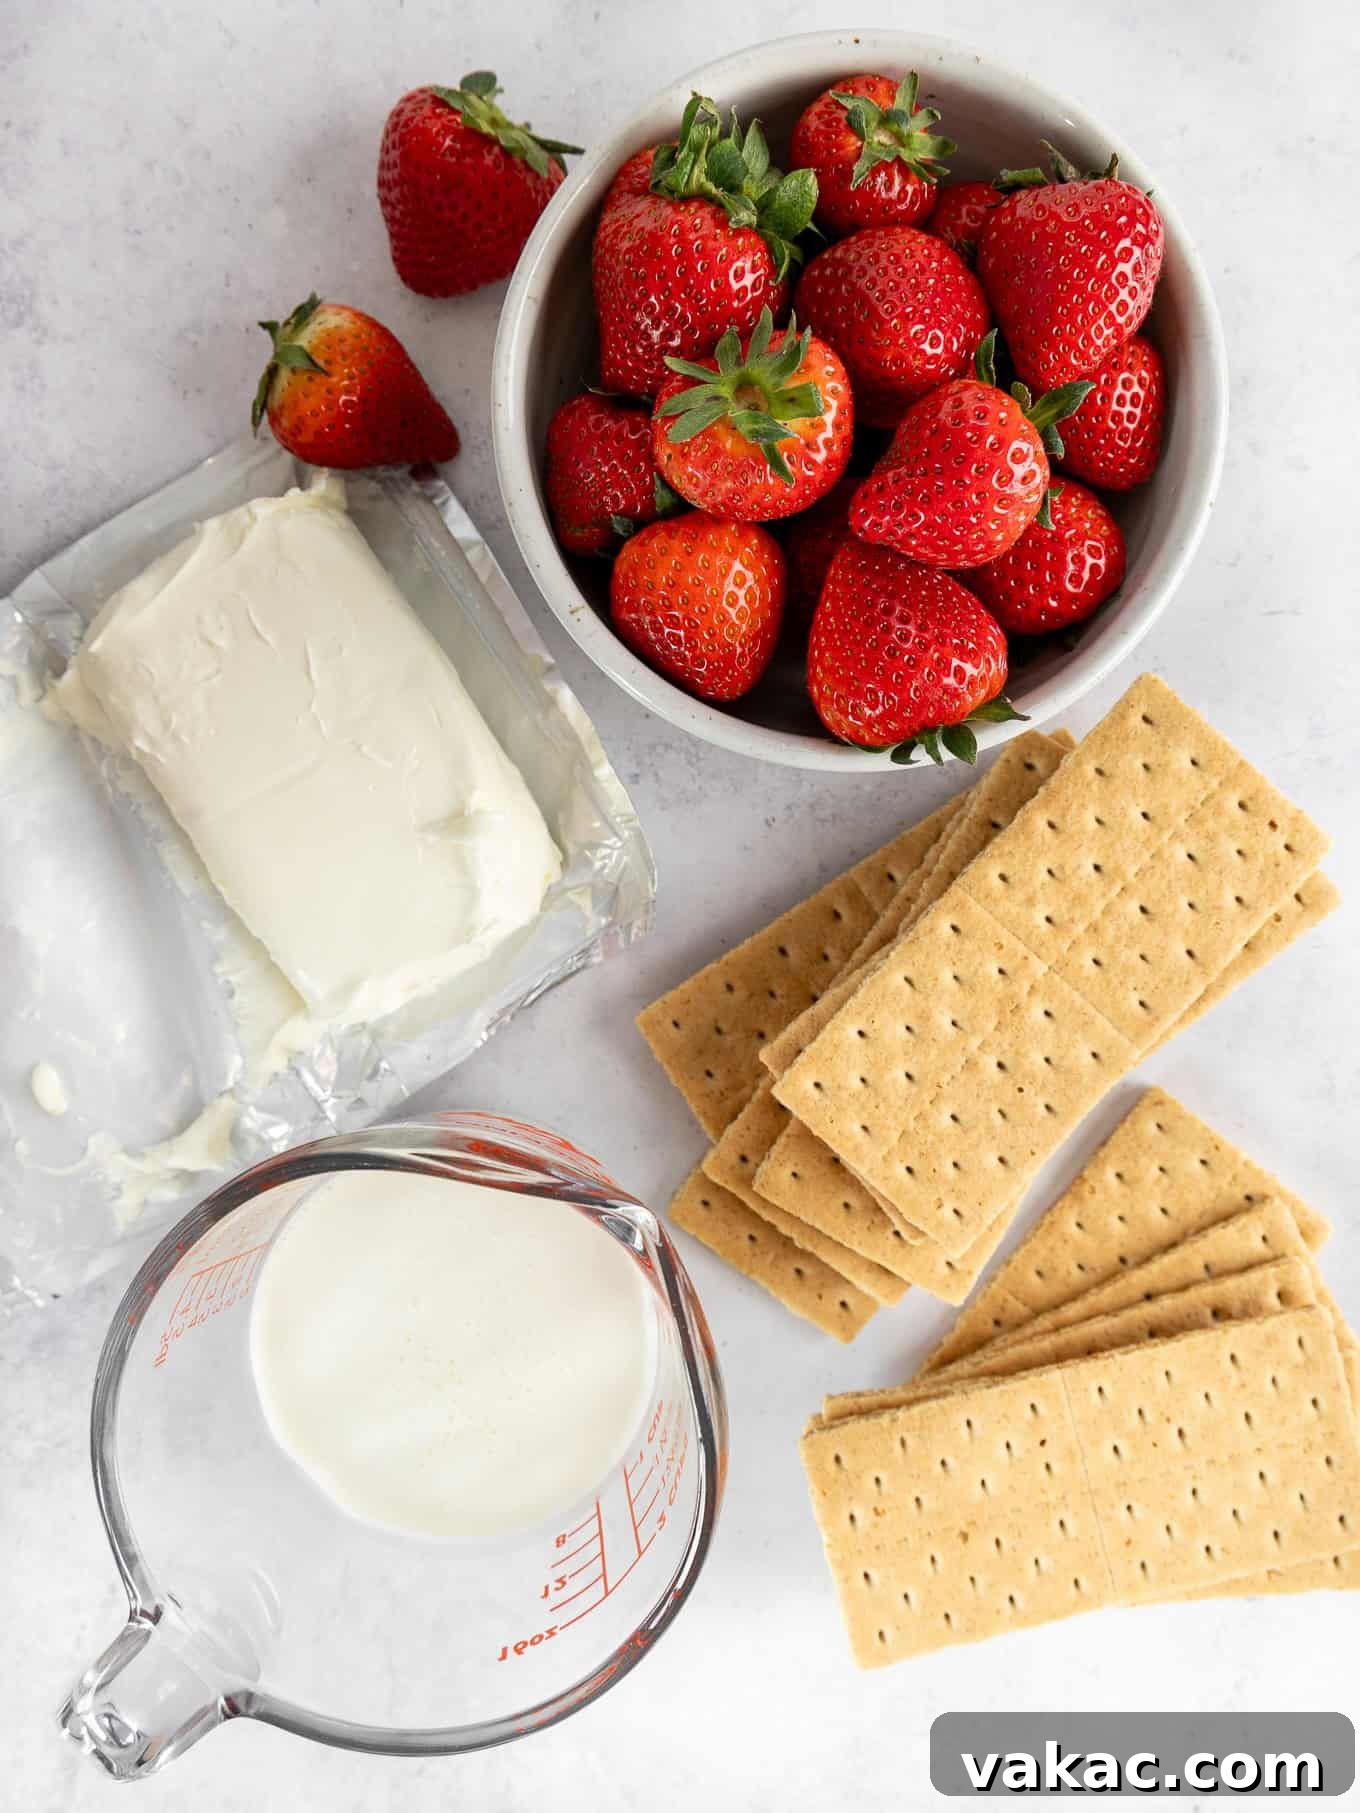
Crafting an exceptional Strawberry Cream Cheese Pie begins with selecting the right ingredients. Here’s a closer look at what you’ll need and some crucial tips for ensuring success:
Strawberries: The Heart of the Pie
For the most vibrant flavor and appealing appearance, always opt for fresh, in-season strawberries. When choosing your berries, look for those that are bright red from top to bottom, plump, and firm. Strawberries do not continue to ripen after being picked, so their color and aroma are excellent indicators of sweetness and ripeness. Avoid any with white or green spots, as these will be less flavorful. It’s crucial to wash your strawberries thoroughly and pat them dry before use to prevent excess moisture. We strongly advise against using frozen strawberries for this recipe, especially for the topping. Frozen berries release too much water when thawed, which can make your topping watery and compromise its texture, preventing it from thickening properly with the cornstarch. Fresh is unequivocally best here for that pure, sweet, and slightly tart strawberry essence.
Cream Cheese: The Foundation of Creaminess
The secret to a rich, stable, and perfectly sliceable cream cheese filling lies in using full-fat, brick-style cream cheese. Ensure it is softened to room temperature before you begin mixing. This is critical for achieving a smooth, lump-free filling that blends seamlessly with other ingredients. If your cream cheese is too cold, it will result in a clumpy texture, no matter how much you beat it. Avoid any products labeled as “low-fat,” “lite,” “whipped,” or “spreadable.” These varieties contain higher water content and stabilizers that will make your pie filling too soft, runny, and difficult to set, leading to a disappointing result. Stick to the classic, full-fat brick for that luxurious, creamy consistency.
Graham Crackers: The Buttery Base
The graham cracker crust provides a delightful contrast in texture and a sweet, buttery flavor. You have a couple of options here: you can purchase pre-made graham cracker crumbs for convenience, or you can crush full sheets of graham crackers yourself. Crushing them in a food processor or blender yields the finest, most consistent crumbs, which are essential for a firm, well-bound crust. You’ll need approximately 1 ½ cups of crushed crumbs, which usually equates to about 11 to 12 full sheets of graham crackers. For our readers outside the US, digestive biscuits are an excellent and widely available substitute that will provide a similar texture and flavor profile to a classic graham cracker crust. Ensure your crumbs are fine and uniform for the best results.
Other Key Ingredients
Beyond the main components, a few other ingredients play vital roles. **Unsalted Butter** is essential for the crust; melting it fully helps bind the crumbs. Using unsalted butter gives you control over the overall saltiness of the pie. **Granulated Sugar** sweetens both the topping and the crust, while **Powdered Sugar** (also known as confectioners’ sugar) is preferred for the cream cheese filling as it dissolves more easily and contributes to a smoother texture. **Cornstarch** acts as a natural thickening agent for the strawberry topping, providing stability without the need for gelatin. Lastly, **Fresh Lemon Juice** in the topping brightens the strawberry flavor and adds a touch of tanginess, balancing the sweetness. **Pure Vanilla Extract** enriches the cream cheese filling with its warm, aromatic notes.
Mastering the Homemade Strawberry Topping
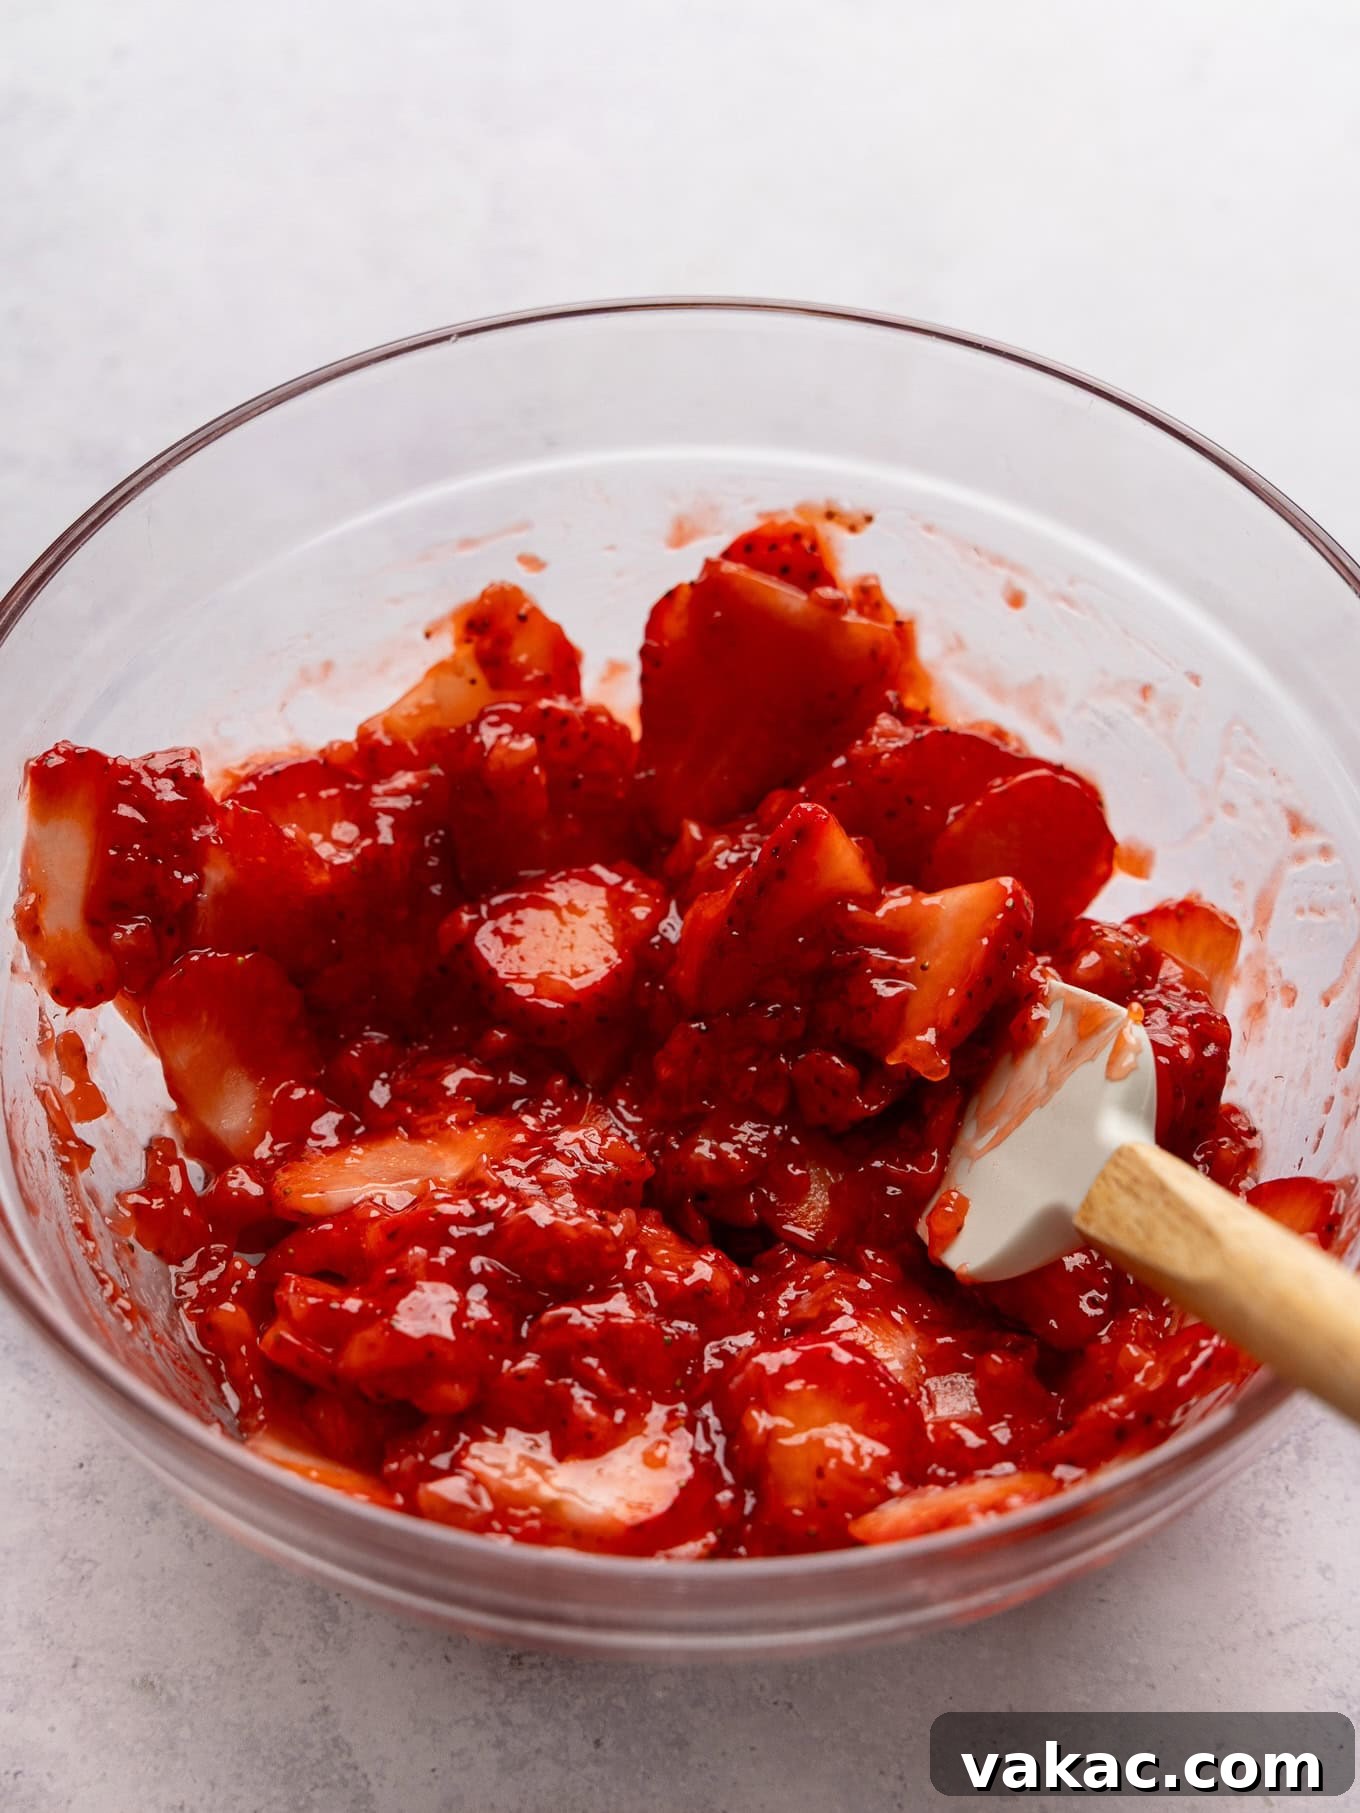
The vibrant, luscious strawberry topping is a defining feature of this no-bake pie. To ensure your pie assembly goes smoothly and the filling remains perfectly set, I highly recommend preparing the topping first. This allows ample time for it to cool completely before it’s spooned over the delicate cream cheese layer. Adding a warm topping would risk melting the filling, leading to a less stable and appealing dessert.
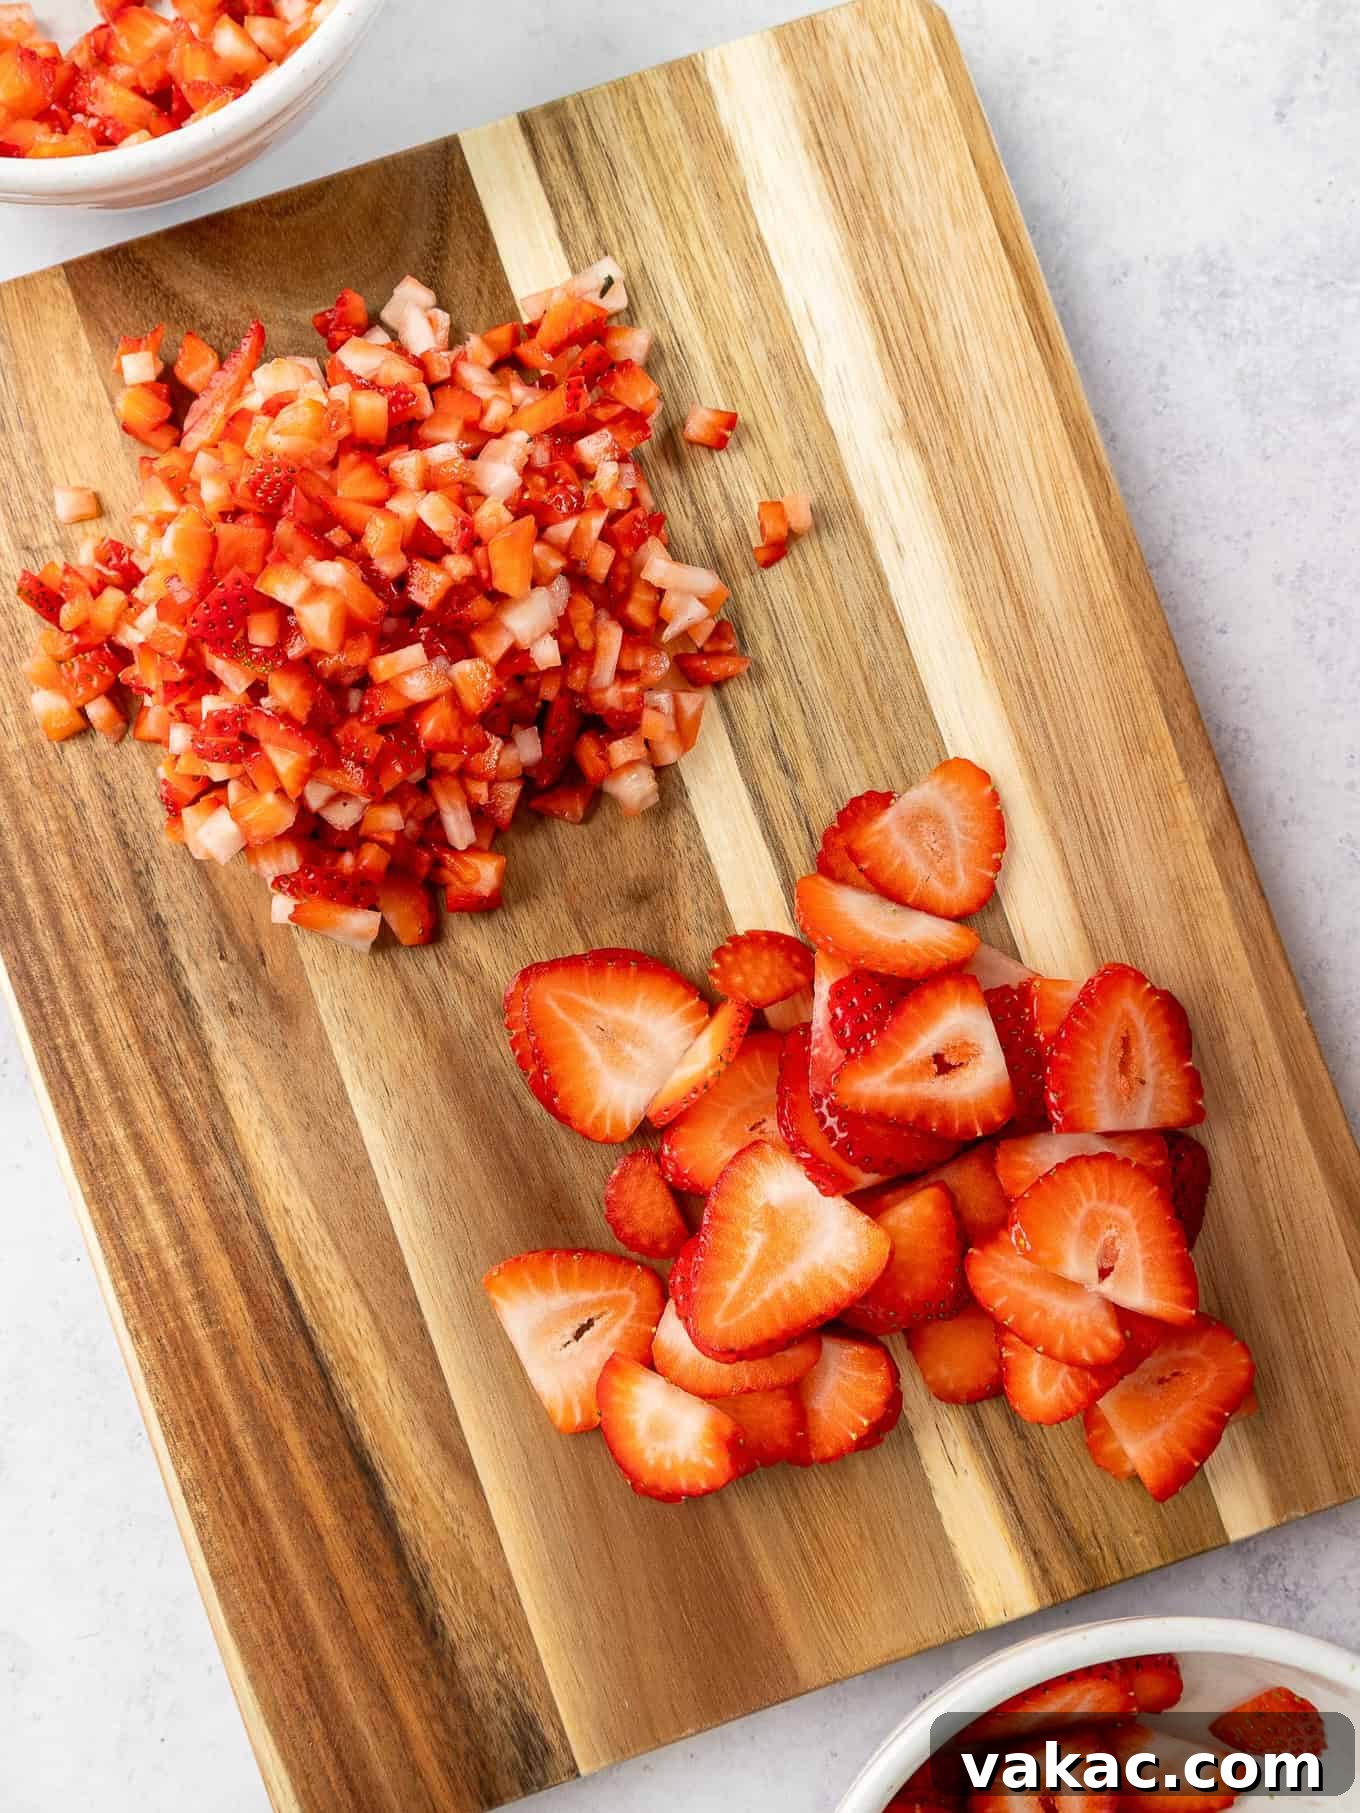
This topping recipe is a refined adaptation of my popular homemade strawberry sauce, with a key modification: the addition of cornstarch. This seemingly small change is monumental, as it provides the necessary thickness and stability for a pie topping that can be neatly sliced. Unlike a thinner sauce, a pie topping needs to hold its form. Another critical technique involves how we prepare the strawberries: half of the total berries are chopped into smaller pieces, while the other half are reserved as elegant slices. Through extensive recipe testing, I discovered this combination offers the best of both worlds – a thick, rich cooked berry base infused with flavor, complemented by beautiful, fresh strawberry slices for visual appeal and textural contrast.
The process begins by cooking the chopped strawberries with a precise blend of cornstarch, water, a hint of fresh lemon juice, and granulated sugar. As the berries gently simmer over medium heat, they soften and gradually release their natural juices, intensifying their flavor. This is your cue to gently mash them with a potato masher or a fork. The goal is to break down the cooked berries, creating a jam-like consistency while still allowing for some small chunks for texture. Continue cooking the mixture just long enough for it to visibly thicken; the cornstarch efficiently performs its role here, transforming the liquid into a glossy, spoonable topping. Once it reaches the desired consistency and brightens in color, remove it from the heat and transfer it to a heat-safe bowl. Allow it to cool entirely to room temperature. This cooling period is crucial. Only once the cooked base is cool can you gently fold in the remaining half of the fresh, sliced strawberries, ensuring they retain their fresh appearance and distinct texture, creating a truly spectacular topping.
Crafting the Flawless No-Bake Graham Cracker Crust
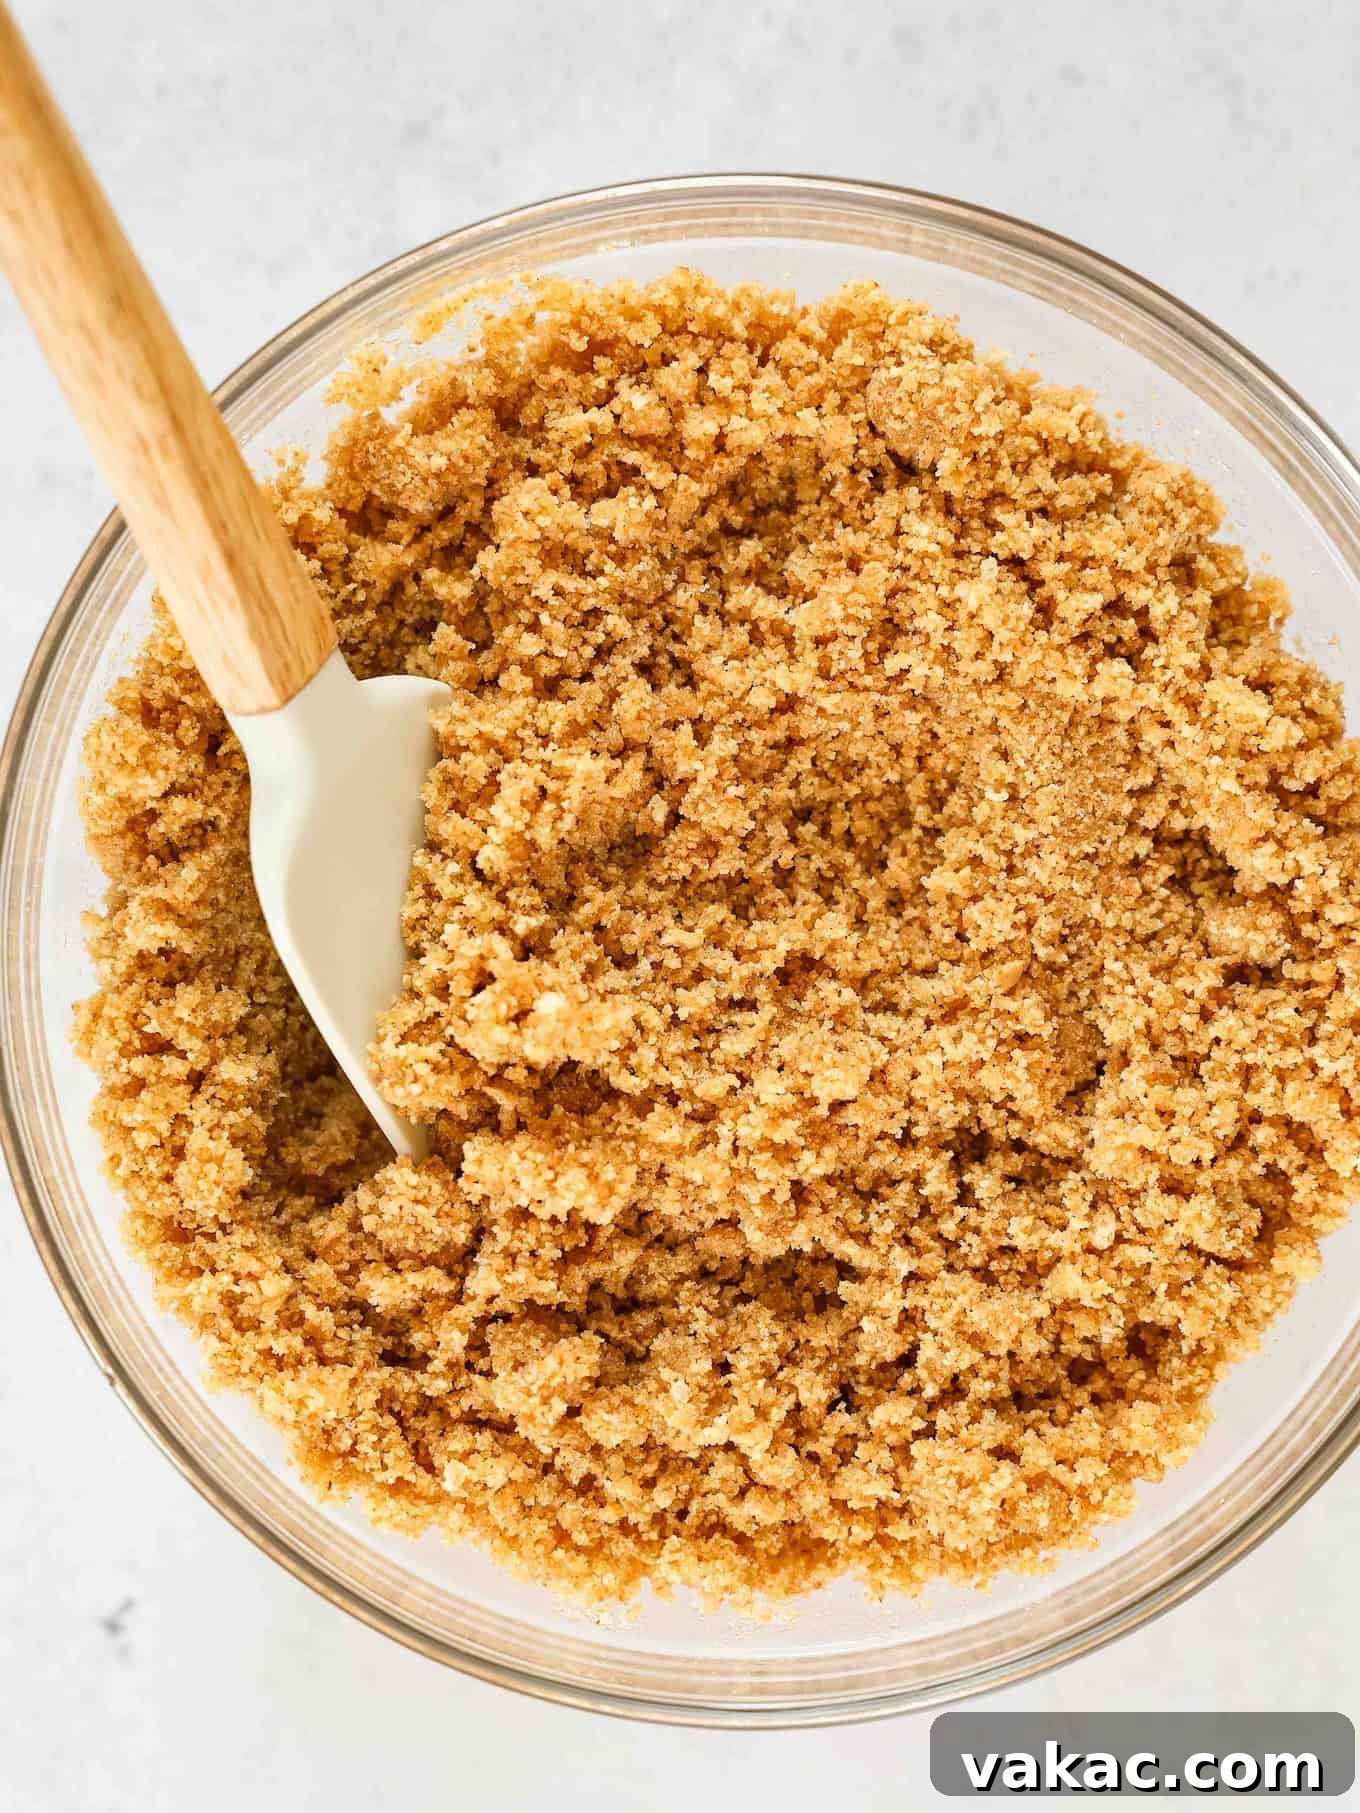
A truly great no-bake pie starts with an exceptional crust, and our graham cracker version is the epitome of simplicity and flavor. This crust is a straightforward blend of finely crushed graham crackers, a touch of granulated sugar, and rich melted butter. The key to a sturdy yet tender no-bake crust lies in the butter-to-crumb ratio. Since we won’t be baking it to set, a slightly more generous amount of melted butter is essential to bind the crumbs together firmly, ensuring the crust holds its shape beautifully when sliced. I found that 7 tablespoons of melted unsalted butter provides the perfect adhesion, allowing each slice to come out clean and intact, like a dream!
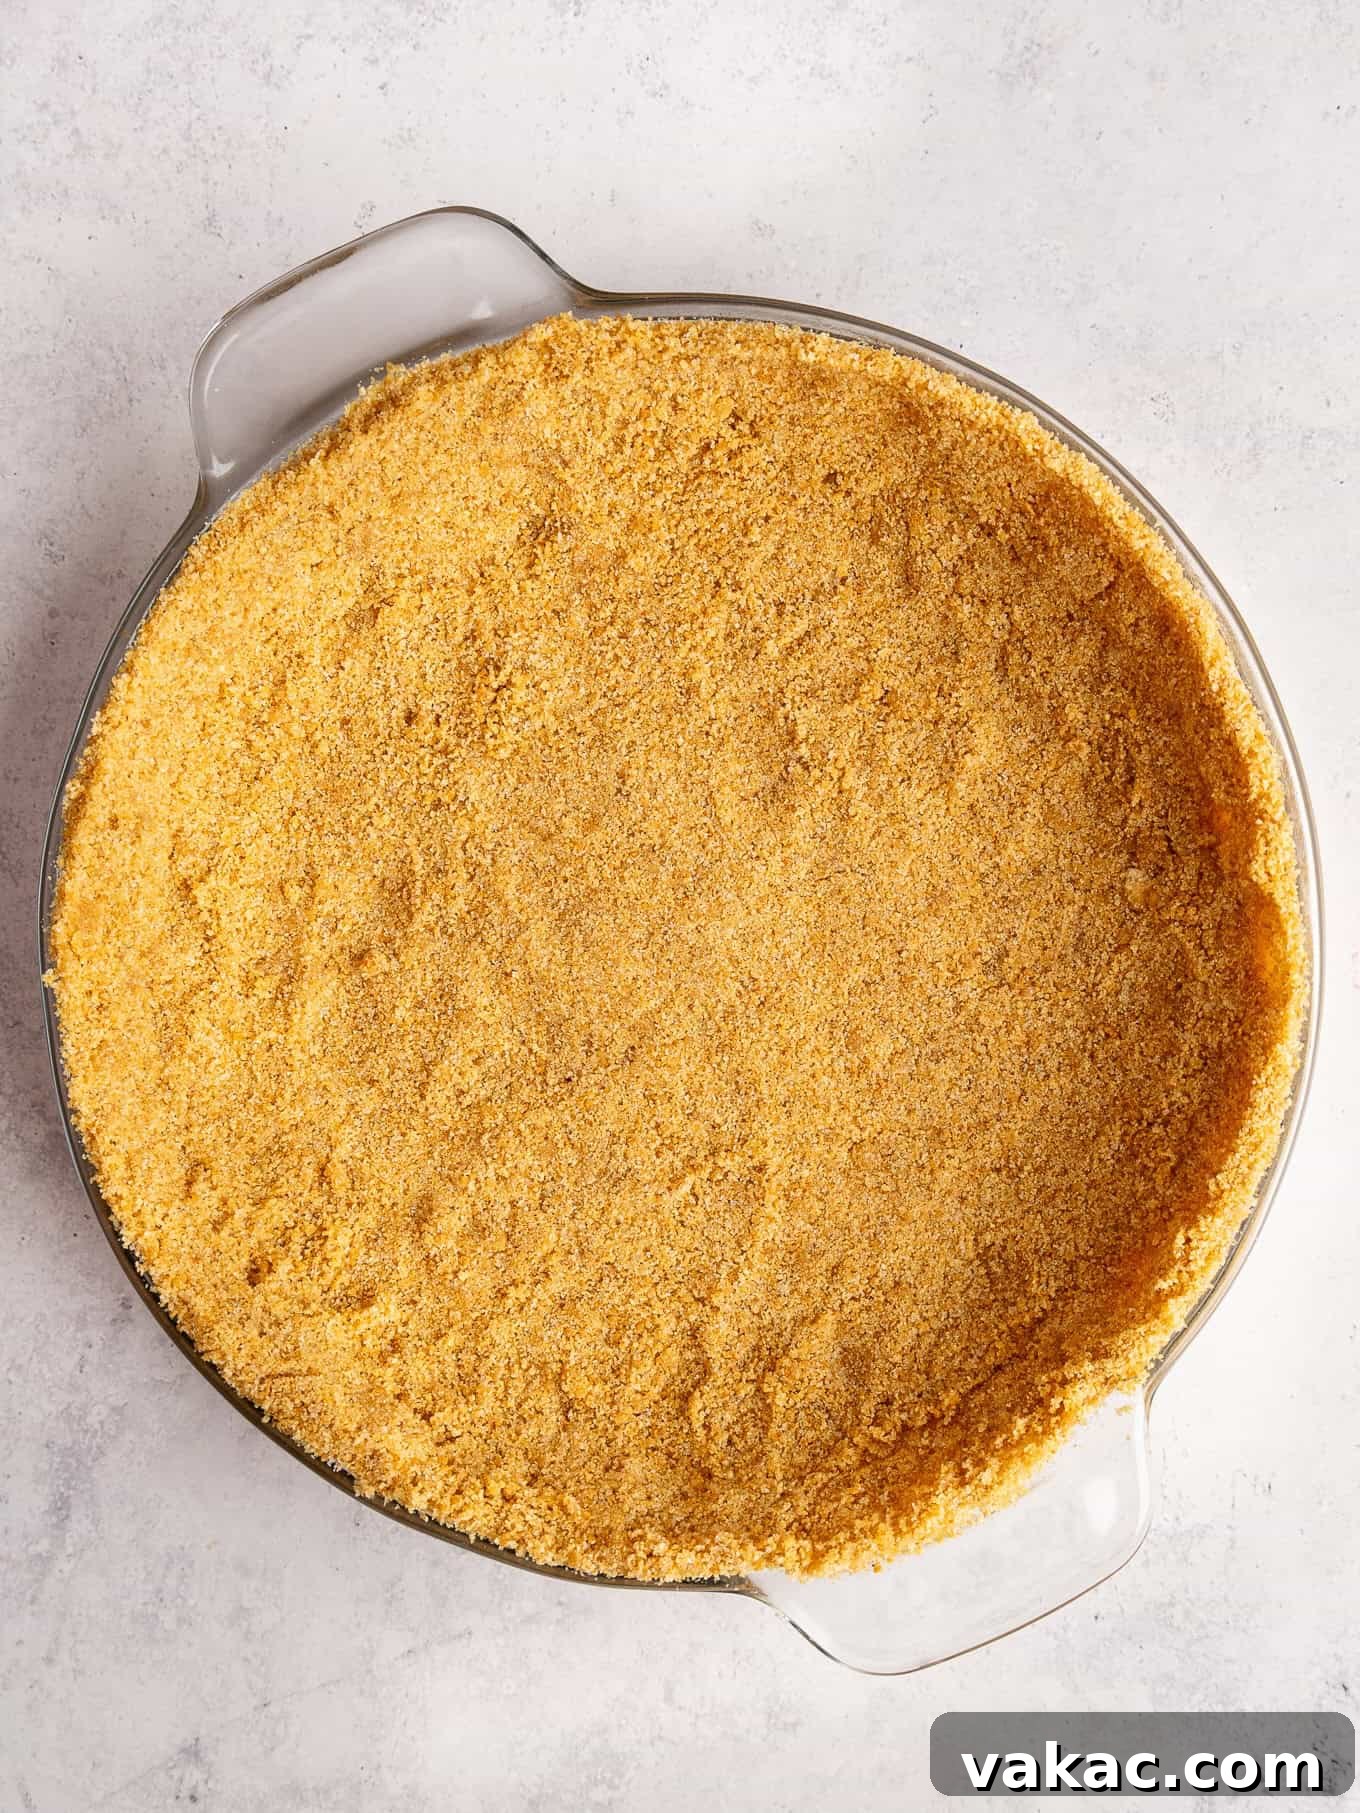
Once your graham cracker crumbs, sugar, and melted butter are thoroughly combined into a cohesive mixture, the next critical step is firmly pressing it into your pie plate. This isn’t a step to rush! Take your time to really pack the mixture down. I highly recommend using the flat bottom of a measuring cup or a straight-sided glass for this task. The even pressure applied by a flat surface helps to create a uniform, compact layer across the bottom and up the sides of the pie plate. This even compression is what prevents the crust from crumbling when you cut into your finished pie, giving it that professional, bakery-quality structure. A well-packed crust is the backbone of any excellent no-bake pie, providing a satisfying crunch and buttery flavor with every bite.
While you certainly have the option to pre-bake the crust for a slightly crisper texture, it’s genuinely not necessary for this particular recipe. In my tests, pre-baking added an extra step and required significant cooling time, which sometimes led to the filling not adhering as well to the crust. For a seamless no-bake experience, simply press the mixture into the pan and pop it into the refrigerator. Chilling the crust while you prepare the filling allows it to firm up beautifully, ready to receive the creamy goodness. This approach keeps the process entirely hands-off from the oven, maintaining the true spirit of a no-bake dessert.
If you’re new to making homemade pie crusts, or simply want to perfect your technique, I highly recommend exploring my comprehensive guide on how to make a graham cracker crust. You’ll discover it’s far simpler and more rewarding than you might imagine, setting you up for success with this and future recipes!
Tips for the Silkiest Filling & Flawless Pie Assembly
Creating the rich, velvety cream cheese filling and assembling your Strawberry Cream Cheese Pie perfectly are key to achieving a truly impressive dessert. Follow these essential tips for success:
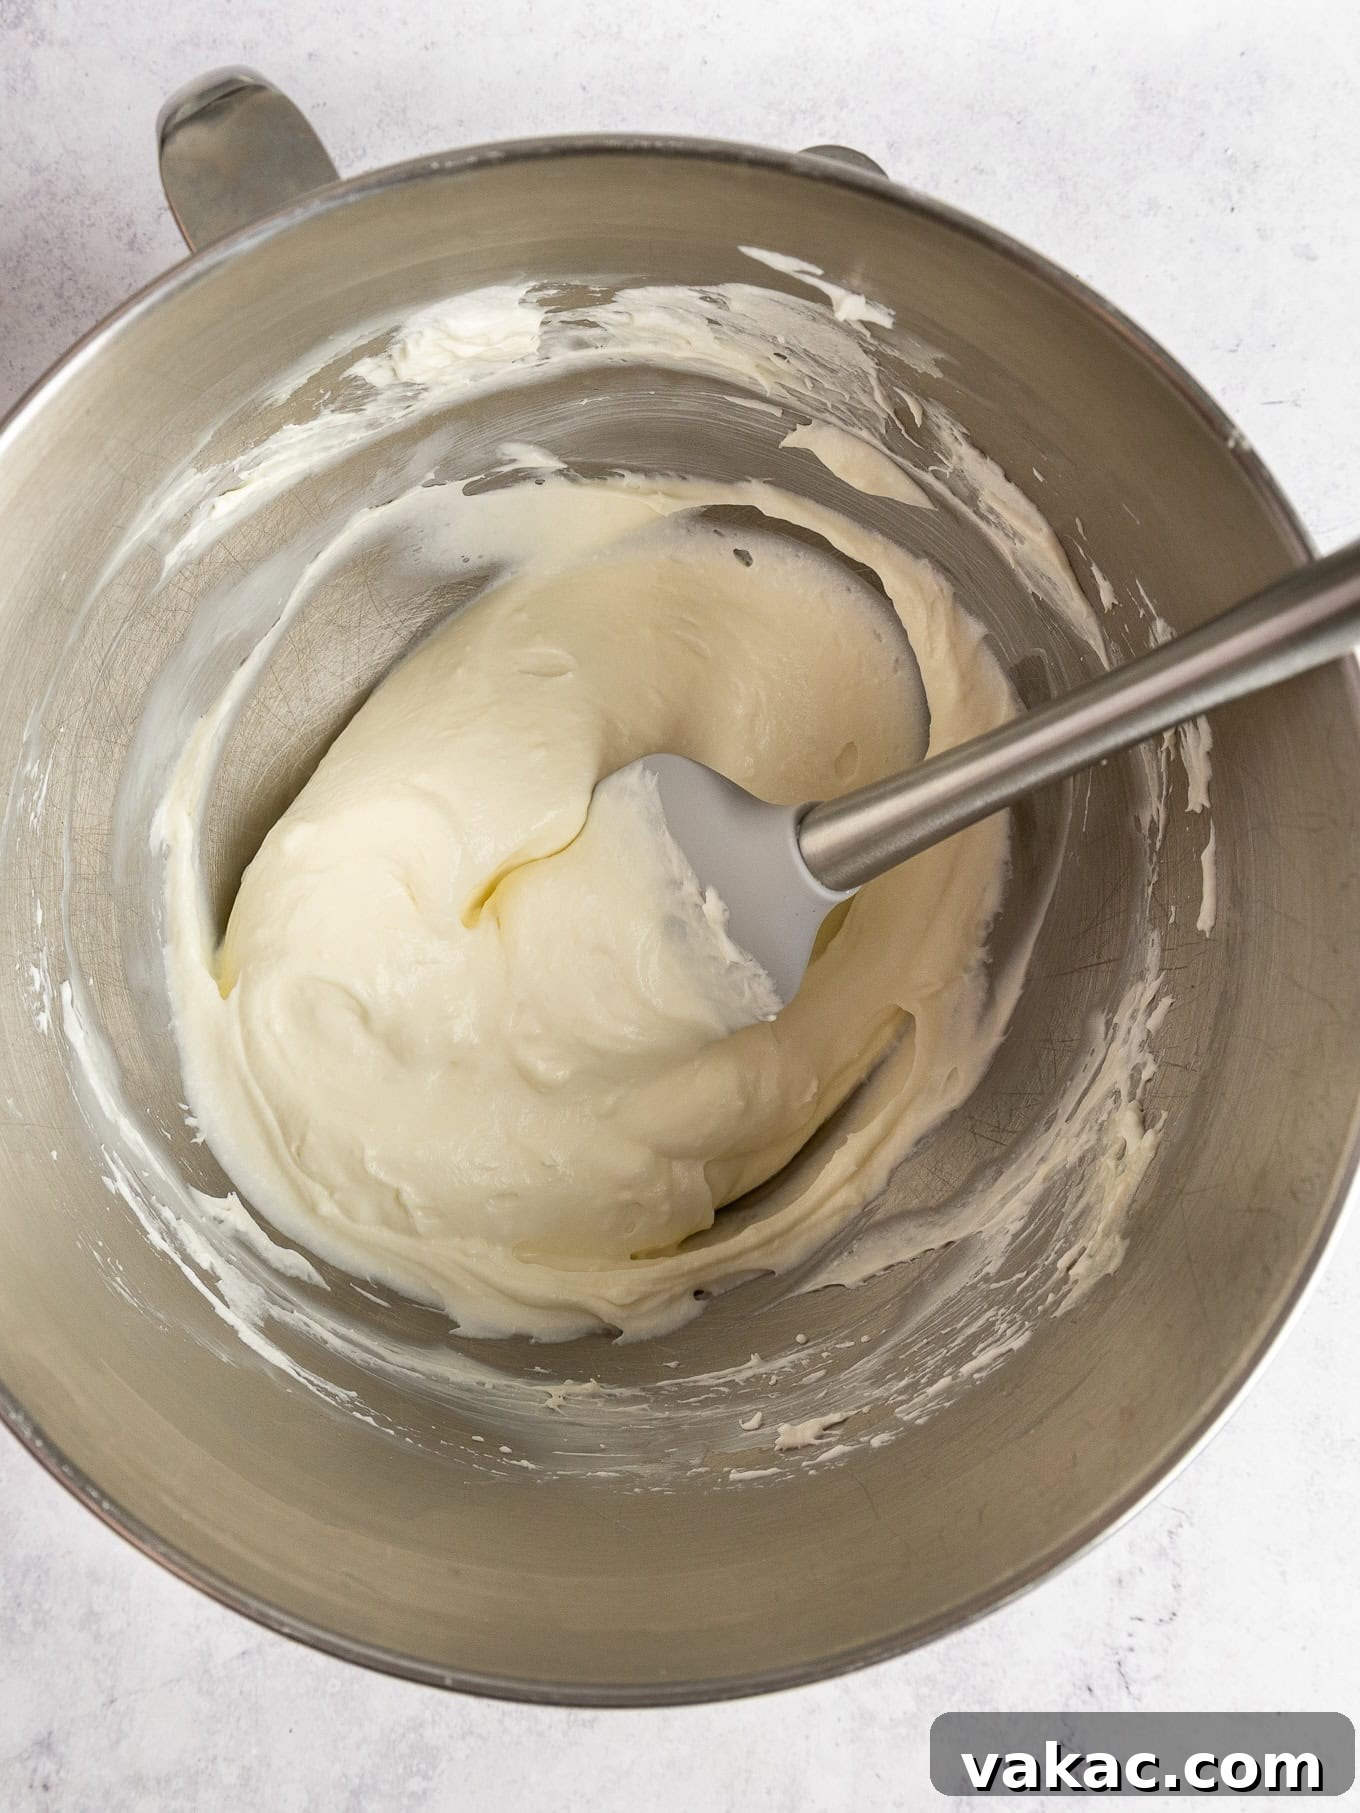
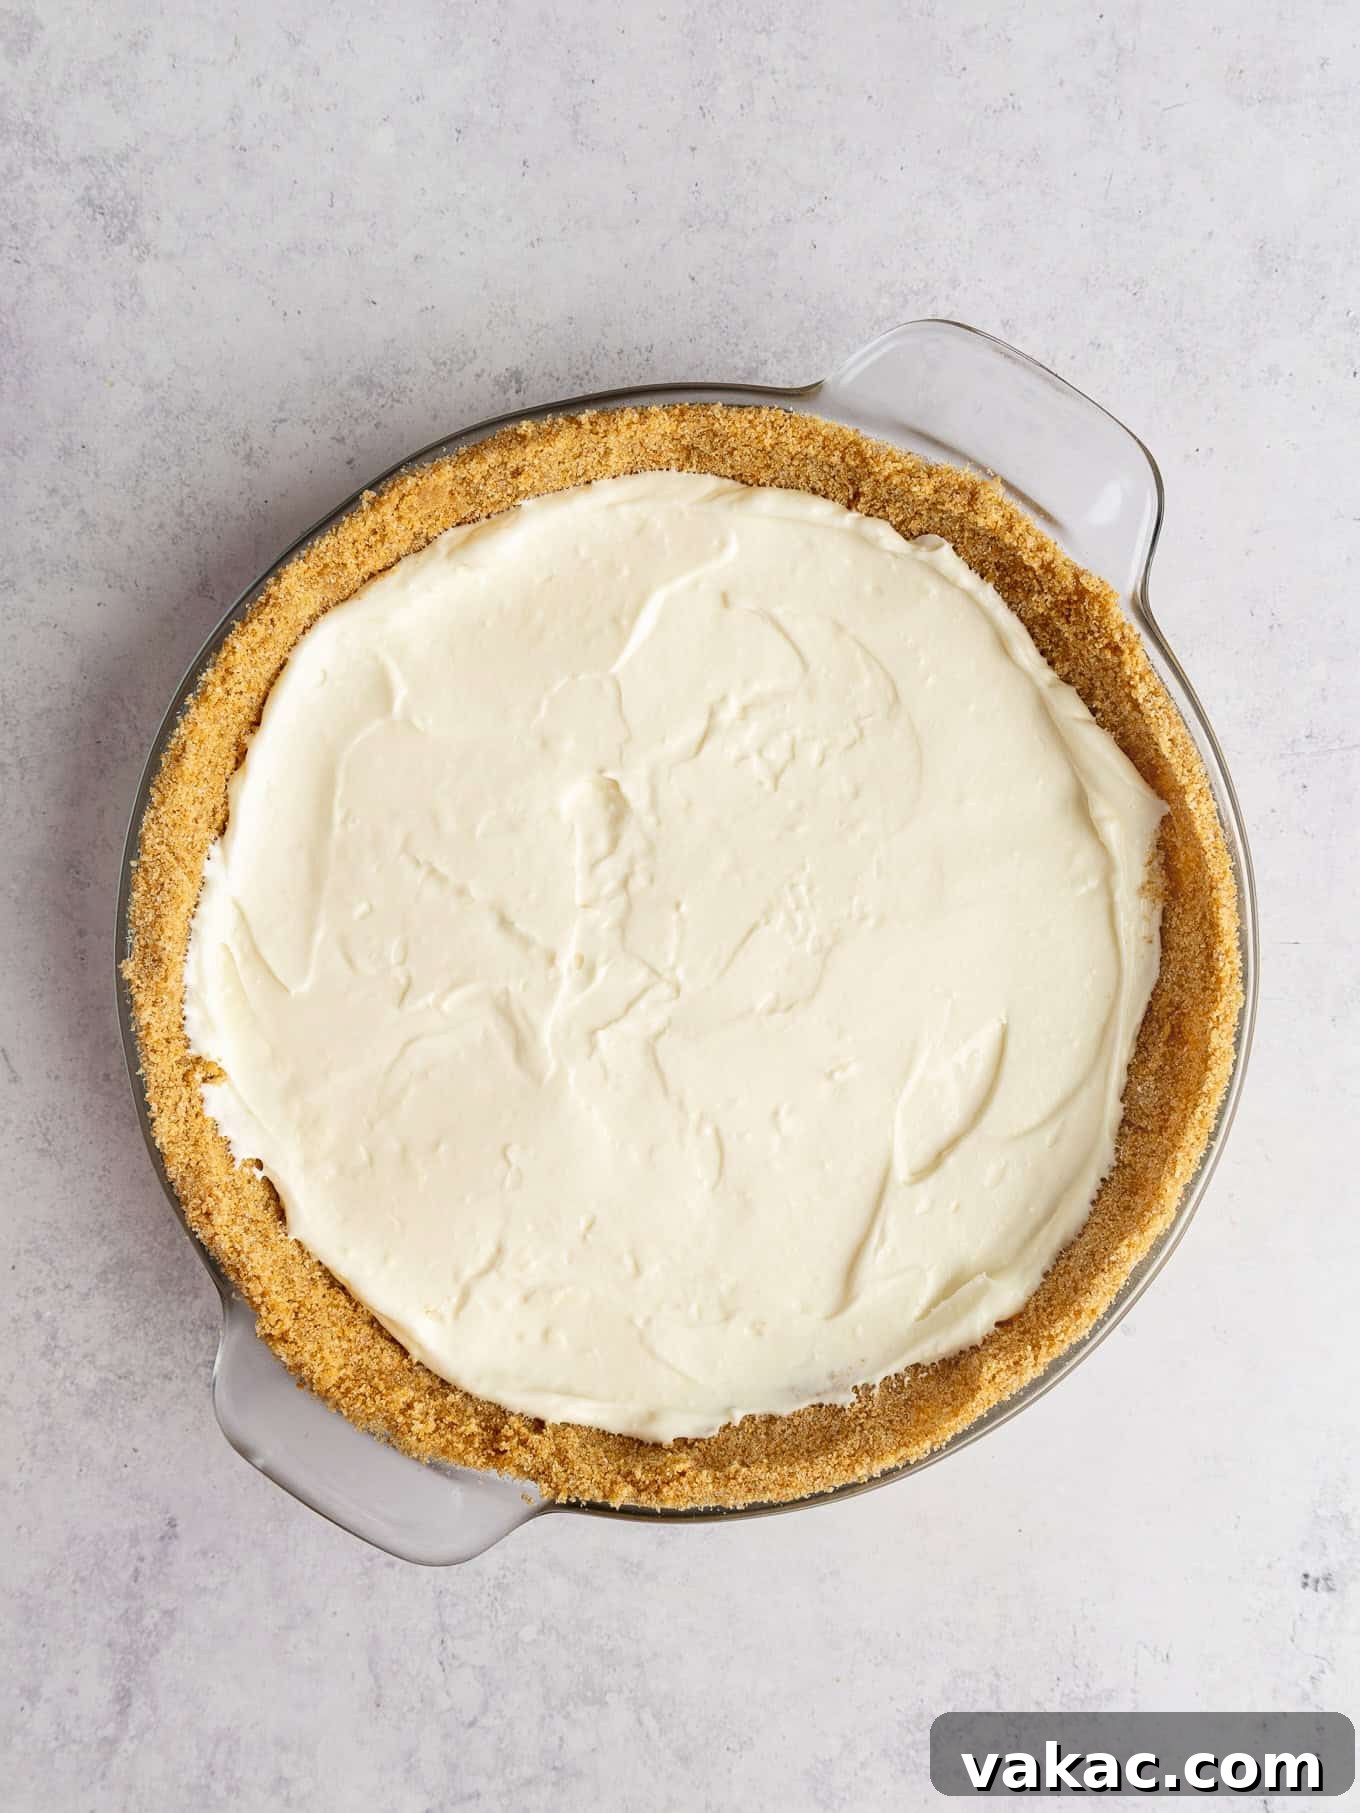
- Achieving a Velvety Smooth Cream Cheese Base: Begin by beating the softened full-fat cream cheese on its own until it’s completely smooth and free of any lumps. This initial step is non-negotiable for a creamy filling. Once smooth, incorporate the powdered sugar and pure vanilla extract, mixing until everything is fully combined and the mixture is light and fluffy. Don’t forget to scrape down the sides of your bowl periodically to ensure all ingredients are evenly mixed and no pockets of unmixed cream cheese remain. This technique guarantees a silky-smooth base for your pie.
- Gently Fold in the Whipped Cream for Airiness: The whipped cream is what gives this filling its incredible light and airy texture. For optimal results, add about one-third of the freshly whipped cream into the cream cheese mixture first. Gently fold it in until just combined. This crucial step “lightens” the denser cream cheese mixture, making it easier to incorporate the remaining whipped cream without deflating it. Once the base is lightened, gently fold in the rest of the whipped cream in two additions, using a light hand to preserve as much air as possible. Overmixing here can cause the whipped cream to lose its volume, resulting in a denser filling.
- Strategic Chilling for Stability: Once your creamy filling is ready, spread it evenly into the chilled graham cracker crust. Then, immediately return the pie plate to the refrigerator. Allow it to chill while your strawberry topping continues to cool completely. This initial chilling period gives the filling a head start in firming up, building a strong, stable foundation before the topping is added. It’s imperative that the strawberry topping is completely at room temperature or even slightly cool before it touches the cream cheese layer; a warm topping will cause the filling to soften and potentially melt, compromising the pie’s structure.
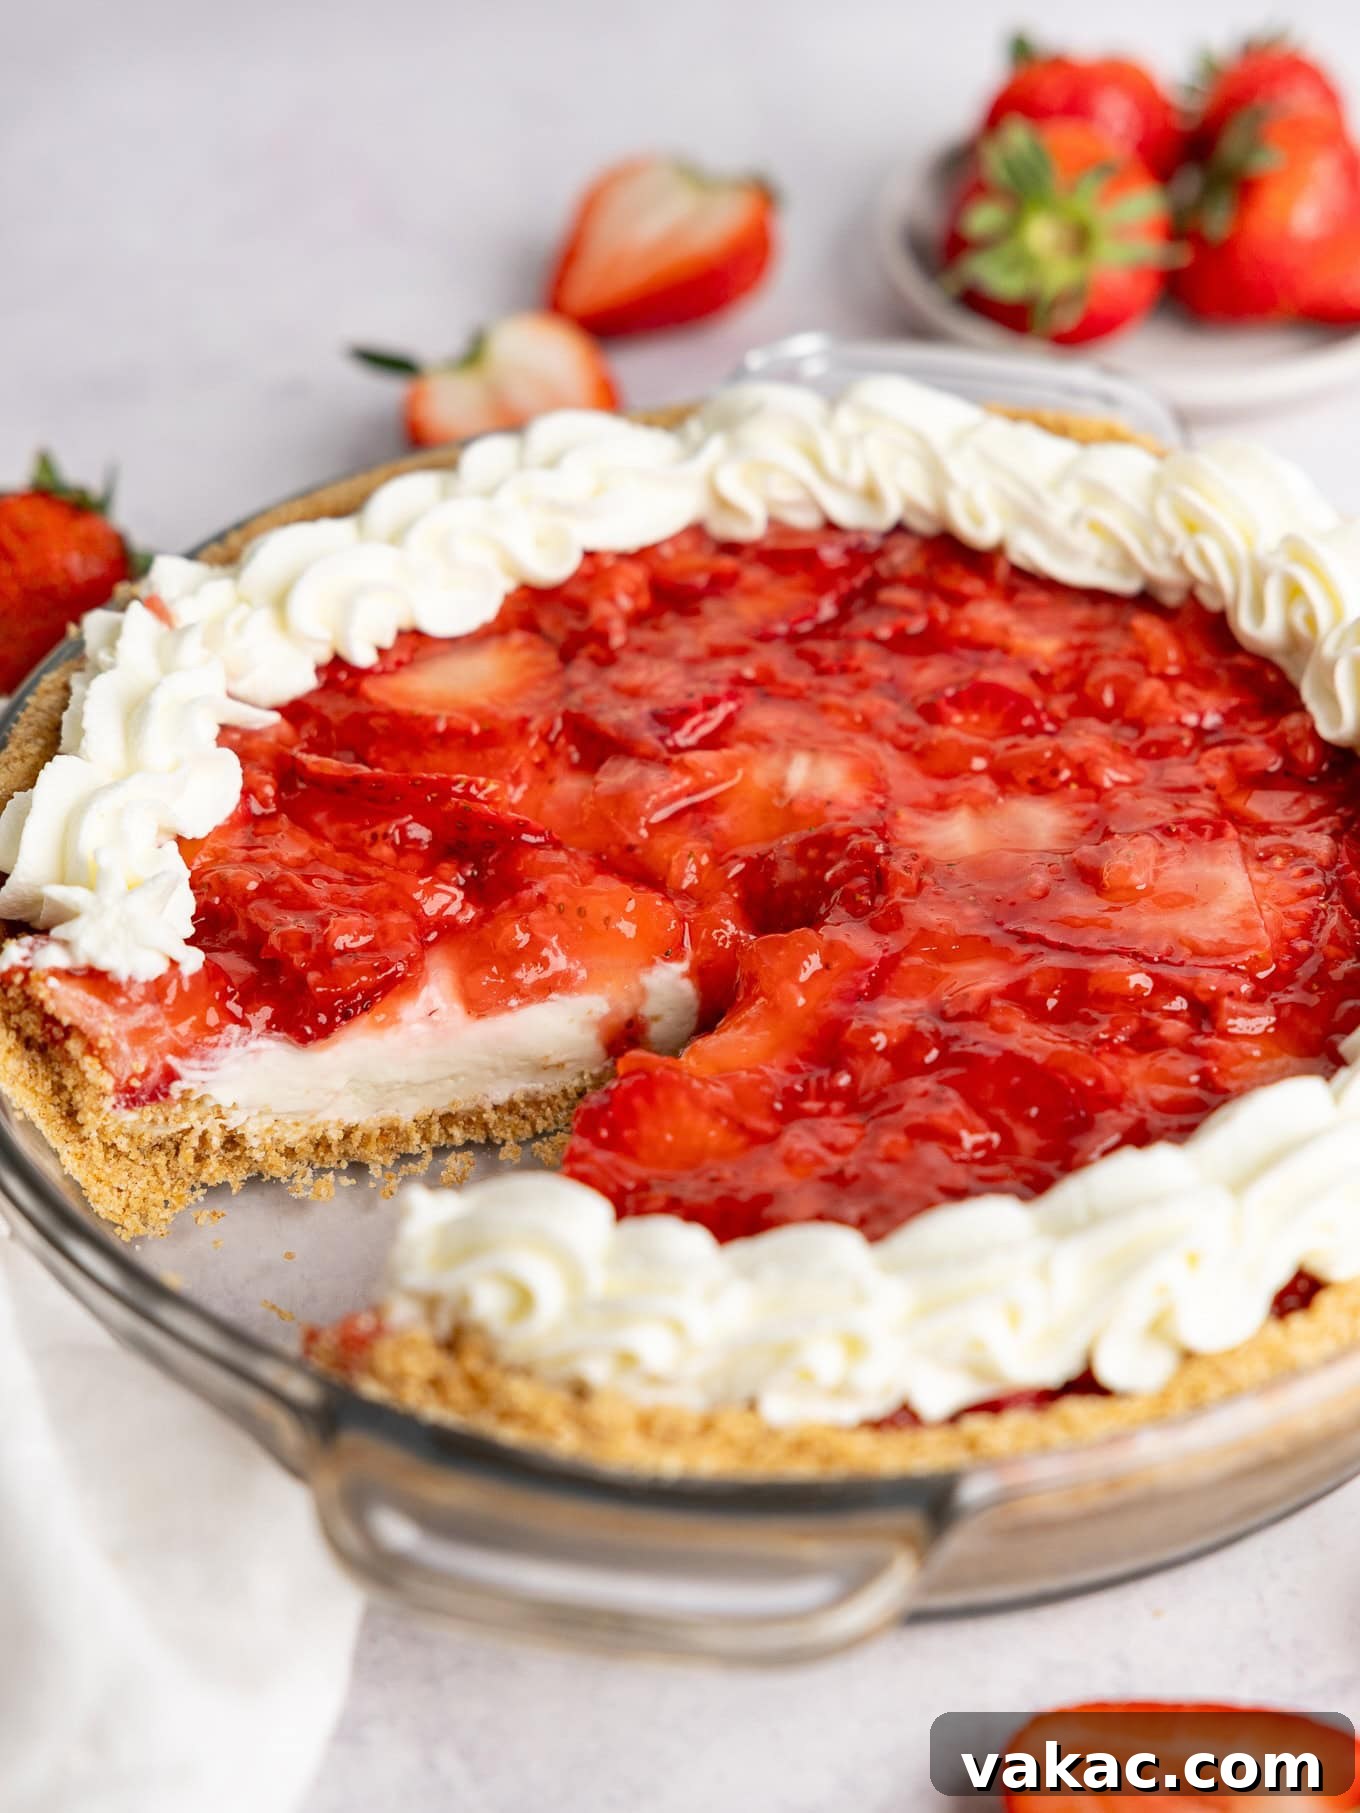
- The Essential Overnight Chill: Patience is a virtue when it comes to no-bake pies. This Strawberry Cream Cheese Pie absolutely requires a minimum of 6 hours of chilling in the refrigerator to set properly. However, for the best possible results – meaning a perfectly firm, easy-to-slice pie with well-defined layers – I strongly recommend making it the night before and allowing it to chill in the fridge overnight. This extended chilling time allows all the layers to fully set and the flavors to meld beautifully, ensuring every slice is nothing short of perfection.
Frequently Asked Questions & Serving Suggestions
Here are answers to some common questions and ideas to enhance your Strawberry Cream Cheese Pie experience:
Can I Use a 9×13 Inch Pan Instead of a Pie Plate?
Yes, absolutely! If you prefer a rectangular, shareable dessert for a larger crowd, a 9×13 inch baking pan works wonderfully. However, to ensure the pie adequately fills the larger surface area and offers substantial layers, I highly recommend increasing all the ingredients in the recipe by half. This adjustment will provide a generous crust and filling, creating a well-proportioned pie that’s perfect for serving more people.
Is a Springform Pan a Good Option for This Pie?
A springform pan is an excellent choice, especially if you love the dramatic presentation of a tall, freestanding pie or cheesecake. It allows for easy removal and beautiful, clean sides. If you opt for a springform pan and desire a thicker, more substantial filling, consider doubling the cream cheese filling portion of this recipe. Alternatively, you could use my dedicated no-bake cheesecake recipe as the base, which is already designed for a thicker filling, and then simply add the delicious homemade strawberry topping from this recipe on top. Either way, a springform pan will elevate the visual appeal of your Strawberry Cream Cheese Pie.
What are Some Serving and Garnish Ideas?
This pie is magnificent on its own, but a few simple garnishes can elevate it further. A dollop of extra whipped cream, a sprinkle of fresh mint leaves, or a few whole fresh strawberries arranged artfully on top can add a touch of elegance. For a truly decadent experience, serve slices with a light dusting of powdered sugar or a side of vanilla bean ice cream. This pie pairs wonderfully with a cup of coffee, a glass of iced tea, or even a sparkling rosé for a summer celebration.
Can I Make This Pie with Other Berries?
Certainly! The beauty of this recipe lies in its versatility. While strawberries are classic, you can easily adapt the topping to other fresh berries. Blueberries, raspberries, or a mixed berry blend would all be delicious. Simply follow the same cooking and thickening method for the topping, adjusting sugar to taste based on the sweetness of your chosen berries. The cornstarch will work just as effectively to thicken any berry sauce, allowing for endless flavor possibilities.
Troubleshooting: My Pie is Not Setting!
If your pie seems too soft or isn’t setting properly, there are a few common culprits. Ensure your cream cheese was full-fat and thoroughly softened. Also, make sure your heavy whipping cream was very cold before whipping and beaten to stiff peaks – under-whipped cream won’t provide the necessary structure. Most importantly, do not skimp on the chilling time! An absolute minimum of 6 hours, and preferably overnight, is essential for the pie to firm up completely. If the strawberry topping was warm when added, it could also contribute to a softer filling. If all else fails, pop it back in the fridge for a few more hours or even overnight. Patience is truly key for no-bake desserts!
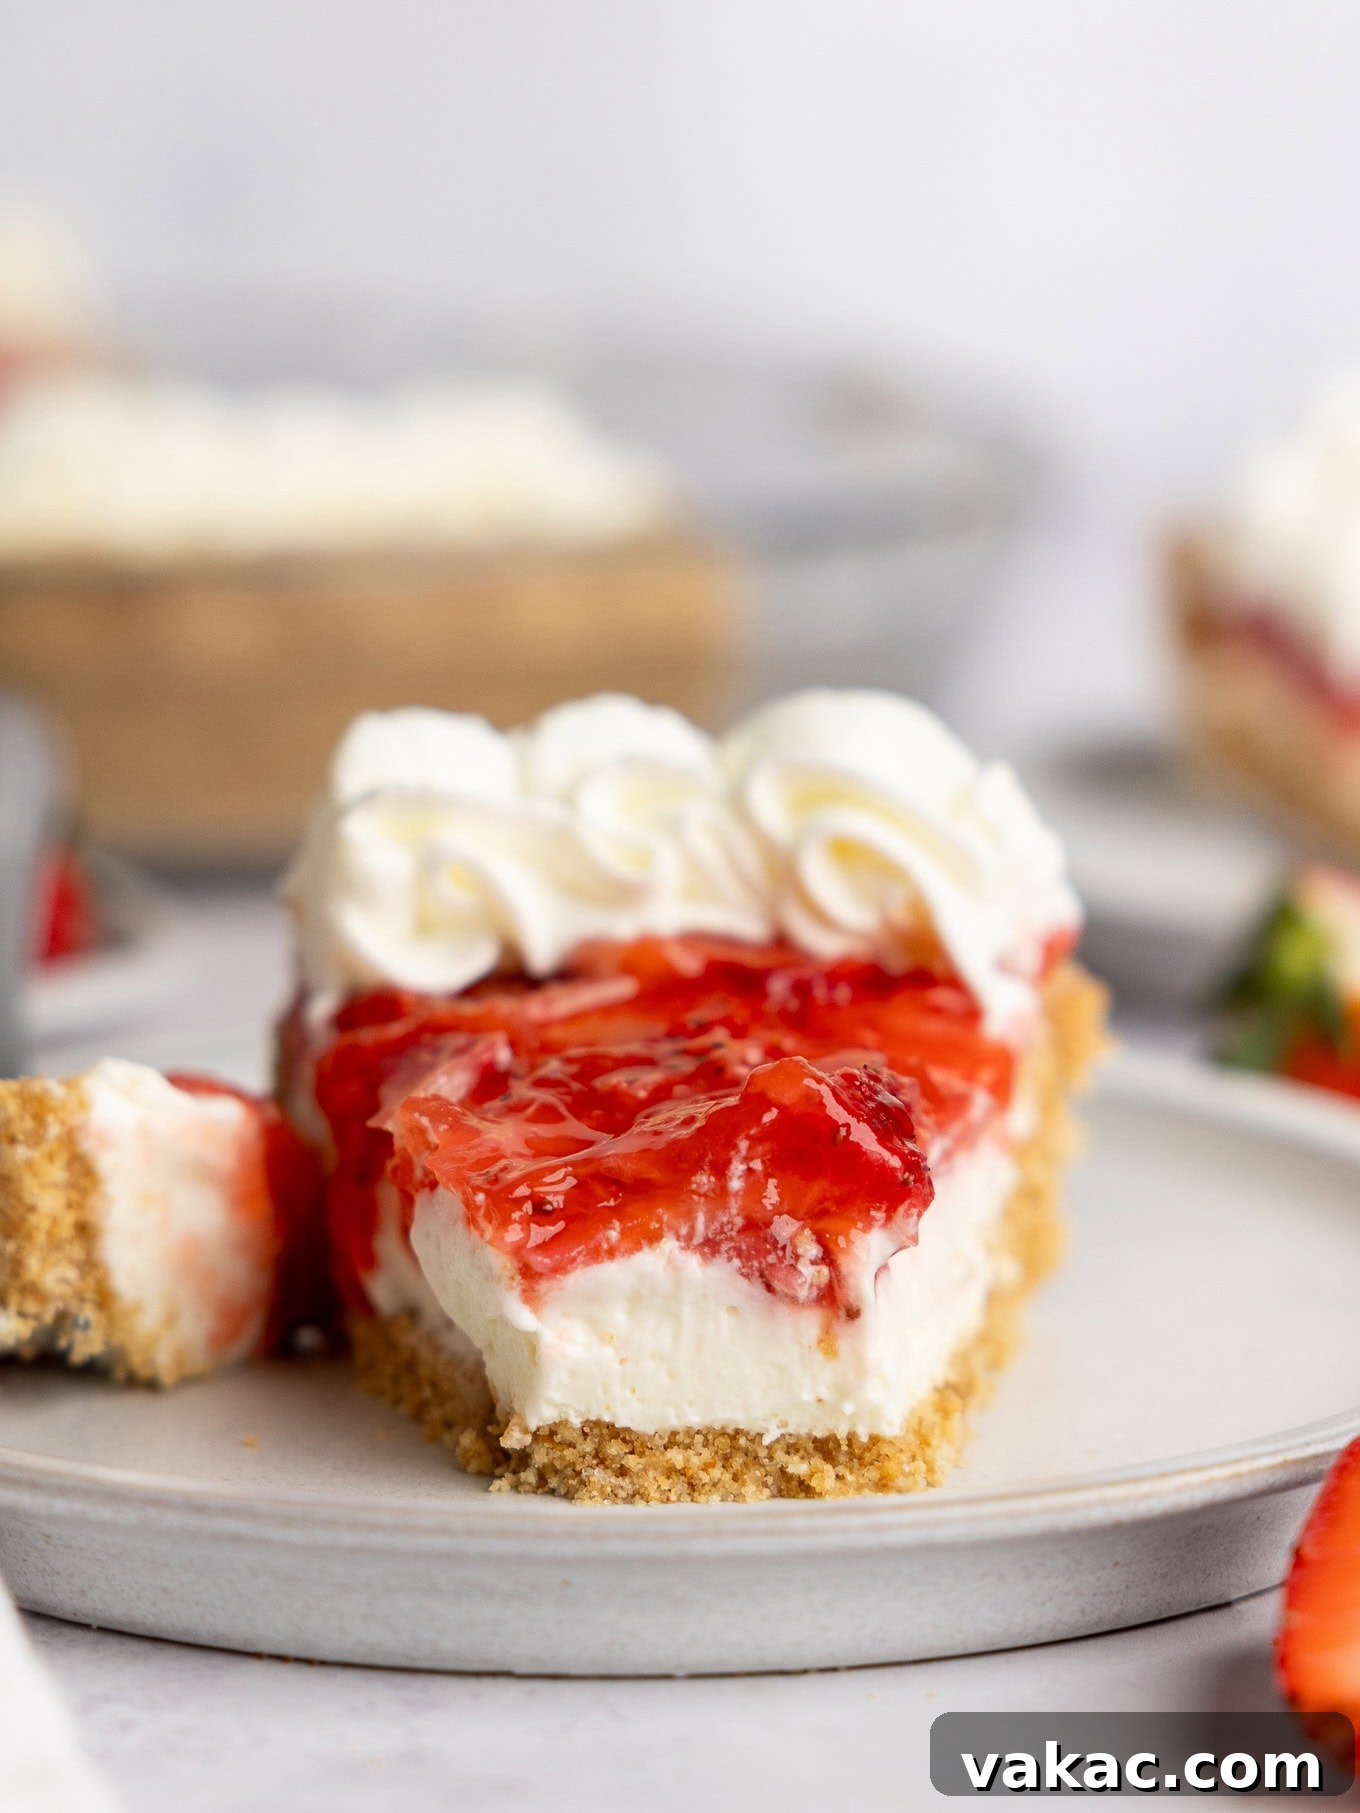
This simple yet profoundly delicious Strawberry Cream Cheese Pie is a testament to the fact that impressive results don’t always require complex techniques. It’s an effortless dessert that consistently delivers on flavor and presentation every single time! We encourage you to try this delightful recipe. If you do, please don’t hesitate to leave a comment below to share your experience and let us know how your pie turned out!
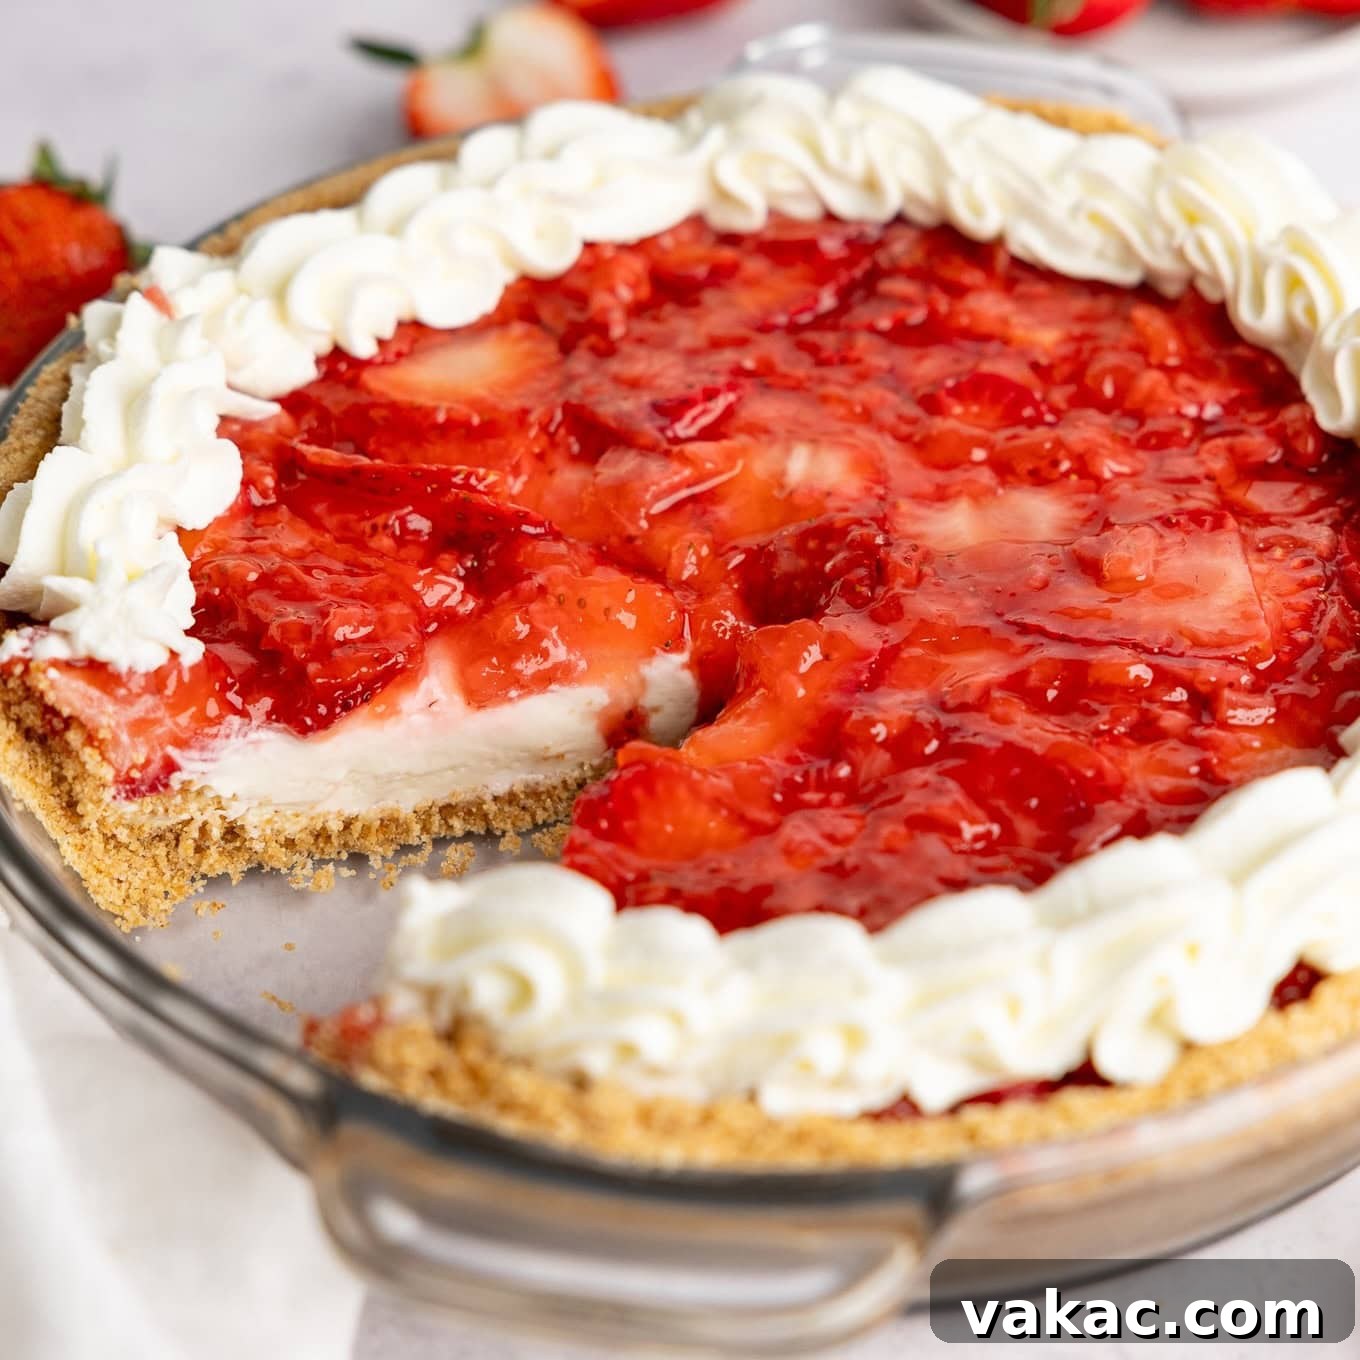
Strawberry Cream Cheese Pie Recipe
Pin Recipe
Leave a Review
Ingredients
Strawberry Topping
- 1 ½ pounds fresh strawberries washed, dried, and stems removed; divided
- 3 tablespoons water (45 ml)
- 1 ½ tablespoons cornstarch (12 grams)
- ⅓ cup granulated sugar (70 grams)
- 2 teaspoons fresh lemon juice (10 ml)
Graham Cracker Crust
- 1 ½ cups crushed graham cracker crumbs (175 grams)
- ⅓ cup granulated sugar (70 grams)
- 7 tablespoons unsalted butter melted (100 grams)
Cream Cheese Layer
- 8 ounces brick-style cream cheese softened (226 grams; 1 block)
- ½ cup powdered sugar (60 grams)
- 1 teaspoon pure vanilla extract
- ¾ cup cold heavy whipping cream (180 ml)
Instructions
-
To prepare the homemade strawberry topping: Carefully wash, dry, and remove the stems from all fresh strawberries. Chop half of these strawberries into small, even pieces. Slice the remaining half into thin, elegant slices. Set the sliced strawberries aside, preferably covered and chilled in the fridge, for later use.1 ½ pounds fresh strawberries
-
In a large saucepan, combine the water and cornstarch, stirring diligently until the cornstarch is completely dissolved and no lumps remain. Add the chopped strawberries (remember, not the sliced ones!), granulated sugar, and fresh lemon juice to the saucepan. Stir all ingredients together thoroughly to ensure they are well combined.3 tablespoons water,1 ½ tablespoons cornstarch,⅓ cup granulated sugar,2 teaspoons fresh lemon juice
-
Place the saucepan over medium heat. As the mixture begins to warm, the strawberries will start to soften and release their natural juices. Once they are noticeably tender, use a potato masher or a sturdy fork to gently mash the cooked strawberries, creating a thick, jam-like consistency with some small berry pieces remaining.
-
Continue cooking the strawberry mixture for a few more minutes, stirring frequently, until it visibly thickens to a spoonable consistency and develops a vibrant, brighter shade of red. During this time, if you prefer a smoother topping, you can continue to mash the strawberries further to eliminate any larger chunks.
-
Once thickened, remove the saucepan from the heat. Carefully pour the hot strawberry mixture into a clean, heat-safe bowl. Allow the topping to cool completely to room temperature before proceeding. This step is crucial to prevent the filling from melting.
-
To make the buttery graham cracker crust: In a medium-sized mixing bowl, combine the crushed graham cracker crumbs and granulated sugar. Stir them together until they are thoroughly mixed. Pour in the melted unsalted butter and continue to mix until all of the graham cracker crumbs are evenly moistened and resemble wet sand.1 ½ cups crushed graham cracker crumbs,⅓ cup granulated sugar,7 tablespoons unsalted butter
-
Transfer the graham cracker mixture into a 9 or 9.5-inch pie plate. Using your hands, or preferably the flat bottom of a measuring cup, firmly press the mixture down into an even, compact layer across the bottom and up around the sides of the dish. Ensure it is tightly packed to form a stable crust.
-
Place the pie plate with the prepared crust into the refrigerator to chill while you prepare the creamy filling. This helps the crust set and firm up.
-
To create the luscious cream cheese layer: In the bowl of a stand mixer fitted with the paddle attachment (or using a large mixing bowl with a handheld mixer), beat the softened brick-style cream cheese for approximately 20 to 30 seconds until it becomes exceptionally smooth and completely lump-free. Add the powdered sugar and pure vanilla extract, then mix again until fully combined and the mixture is light and fluffy. Remember to stop and scrape down the sides and bottom of the bowl as needed to ensure all ingredients are incorporated uniformly. Set this mixture aside.8 ounces brick-style cream cheese,½ cup powdered sugar,1 teaspoon pure vanilla extract
-
In a separate, very clean mixing bowl, pour the cold heavy whipping cream. Using a handheld mixer or a stand mixer fitted with the whisk attachment, begin mixing on low-medium speed for about 30 seconds to 1 minute. Gradually increase the speed to medium-high and continue mixing until stiff peaks form. The whipped cream should be firm enough to hold its shape when the whisk is lifted.¾ cup cold heavy whipping cream
-
Carefully fold about one-third of the freshly whipped cream into the cream cheese mixture. Use a gentle motion until it is just combined. This step lightens the cream cheese base. Then, gently fold in the remaining whipped cream in two additions until the entire mixture is fully combined and appears uniformly light and airy. It’s crucial not to overmix the whipped cream at this stage, as this can cause it to deflate, resulting in a denser filling.
-
Retrieve the chilled pie plate with the graham cracker crust from the refrigerator. Carefully scoop the prepared cream cheese filling on top of the crust. Using an offset spatula or the back of a spoon, spread the filling evenly across the crust, smoothing out the top for a polished finish.
-
Return the pie with the cream cheese filling to the refrigerator to chill further while the strawberry topping finishes cooling completely. This dual chilling process ensures optimal setting.
-
To finish the strawberry topping & assemble the pie: Once the cooked strawberry mixture has cooled completely to room temperature (this is critical!), add the reserved fresh sliced strawberries. Gently stir until all the sliced berries are fully coated in the thickened strawberry base.
-
Remove the pie, now with the set cream cheese filling, from the fridge. Spoon the finished strawberry topping evenly all over the top of the pie. Gently spread it out with the back of a spoon or an offset spatula to create an appealing, uniform layer.
-
Cover the entire pie tightly with plastic wrap, ensuring no air can get in to prevent drying. Transfer it back to the refrigerator to chill for a minimum of 6 hours, or ideally, overnight. This extensive chilling period is crucial for the pie to fully set, allowing for clean, beautiful slices.