
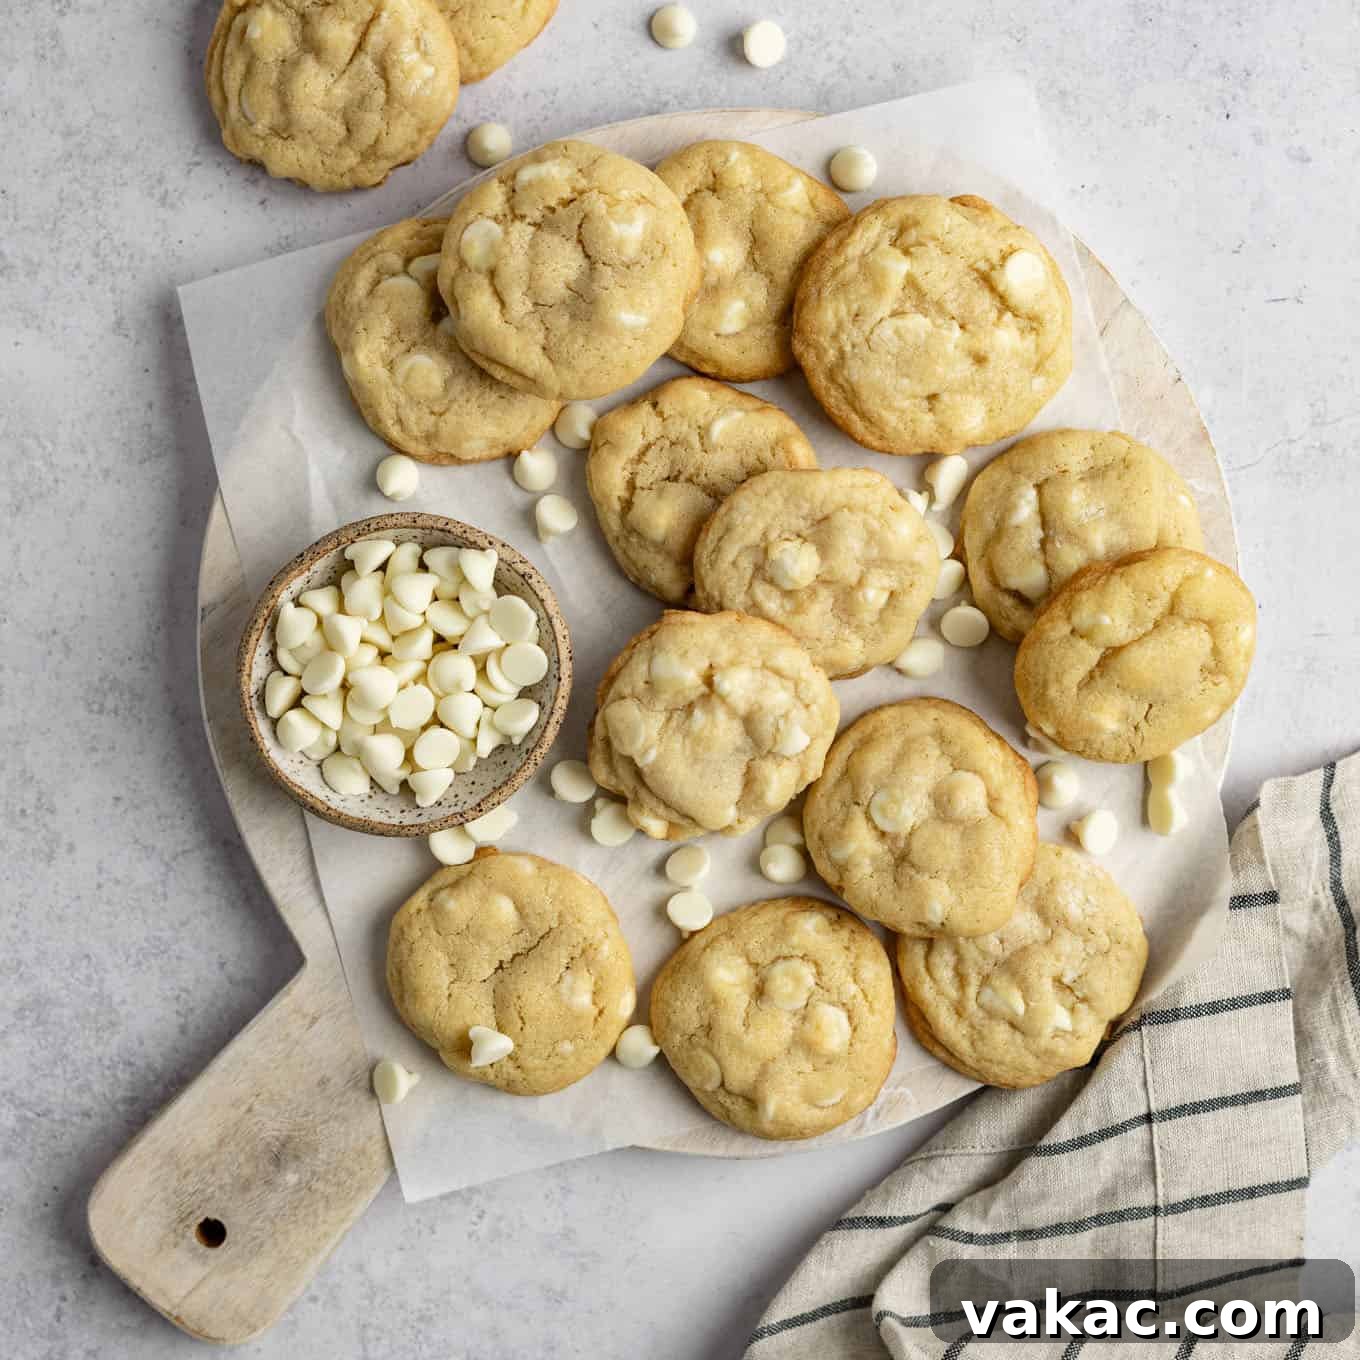
Prepare to fall head over heels for these utterly delightful white chocolate chip cookies. Crafted with a perfect blend of softened butter, rich brown sugar, and a special addition of an extra egg yolk, these cookies boast an ultra-chewy texture and incredible depth of flavor. But the true magic lies in a secret ingredient that ensures they remain remarkably soft and fresh for days, making them an instant favorite for any cookie enthusiast. Forget everything you thought you knew about white chocolate; this recipe is meticulously designed to convert even the most skeptical palates into loving this sweet, creamy treat.
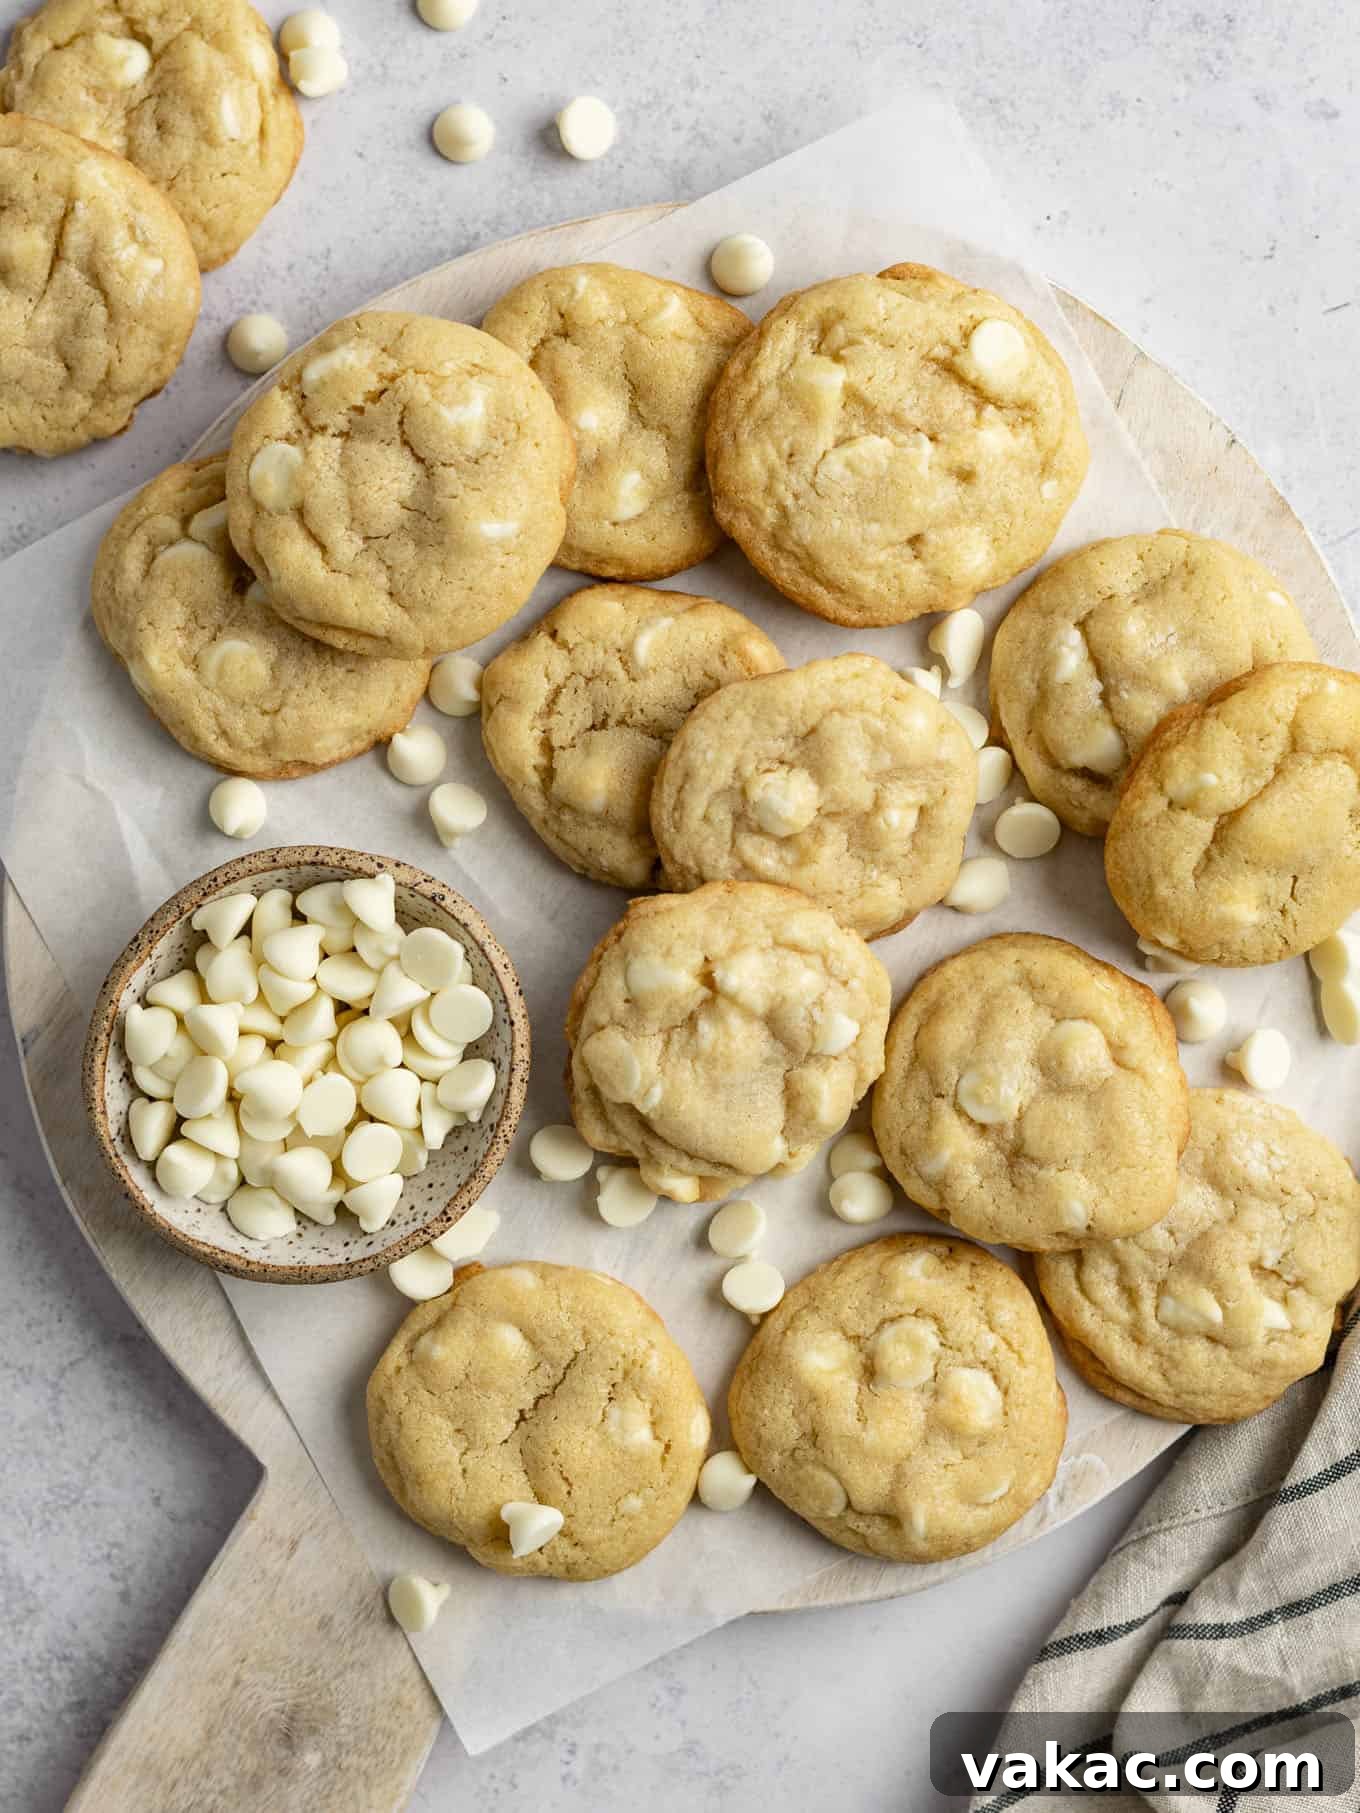
The Ultimate Soft and Chewy White Chocolate Chip Cookies
To be completely honest with you, I wasn’t always a huge fan of white chocolate myself. Often, white chocolate treats can lean towards being overly sweet or lack the complex flavor profile I typically seek in a dessert. However, after receiving numerous requests for a dedicated white chocolate chip cookie recipe, I knew I had to embark on a mission. My goal was to create a cookie that would not only satisfy existing cravings but truly elevate white chocolate, crafting a recipe so irresistibly delicious that it could convert anyone, myself included, into a true white chocolate aficionado.
My culinary journey began by adapting my tried-and-true classic chocolate chip cookie recipe, simply swapping out the traditional semi-sweet chips for white chocolate. While the initial results were good, they lacked that distinct “wow” factor. The cookies were missing a certain richness, a tender quality that would truly set them apart. This realization ignited a series of intensive recipe tests, involving countless batches and subtle tweaks to ingredient ratios and techniques. Finally, after much experimentation, I stumbled upon the absolute perfect formula. The key? A meticulously scaled-down version of my base cookie recipe, thoughtfully enhanced with a few carefully chosen extra ingredients designed to boost richness and ensure unparalleled softness, all while incorporating a truly generous abundance of high-quality white chocolate. Trust me, once you taste these cookies, you’ll find it utterly impossible to stop at just one.
Why This White Chocolate Chip Cookie Recipe Stands Apart
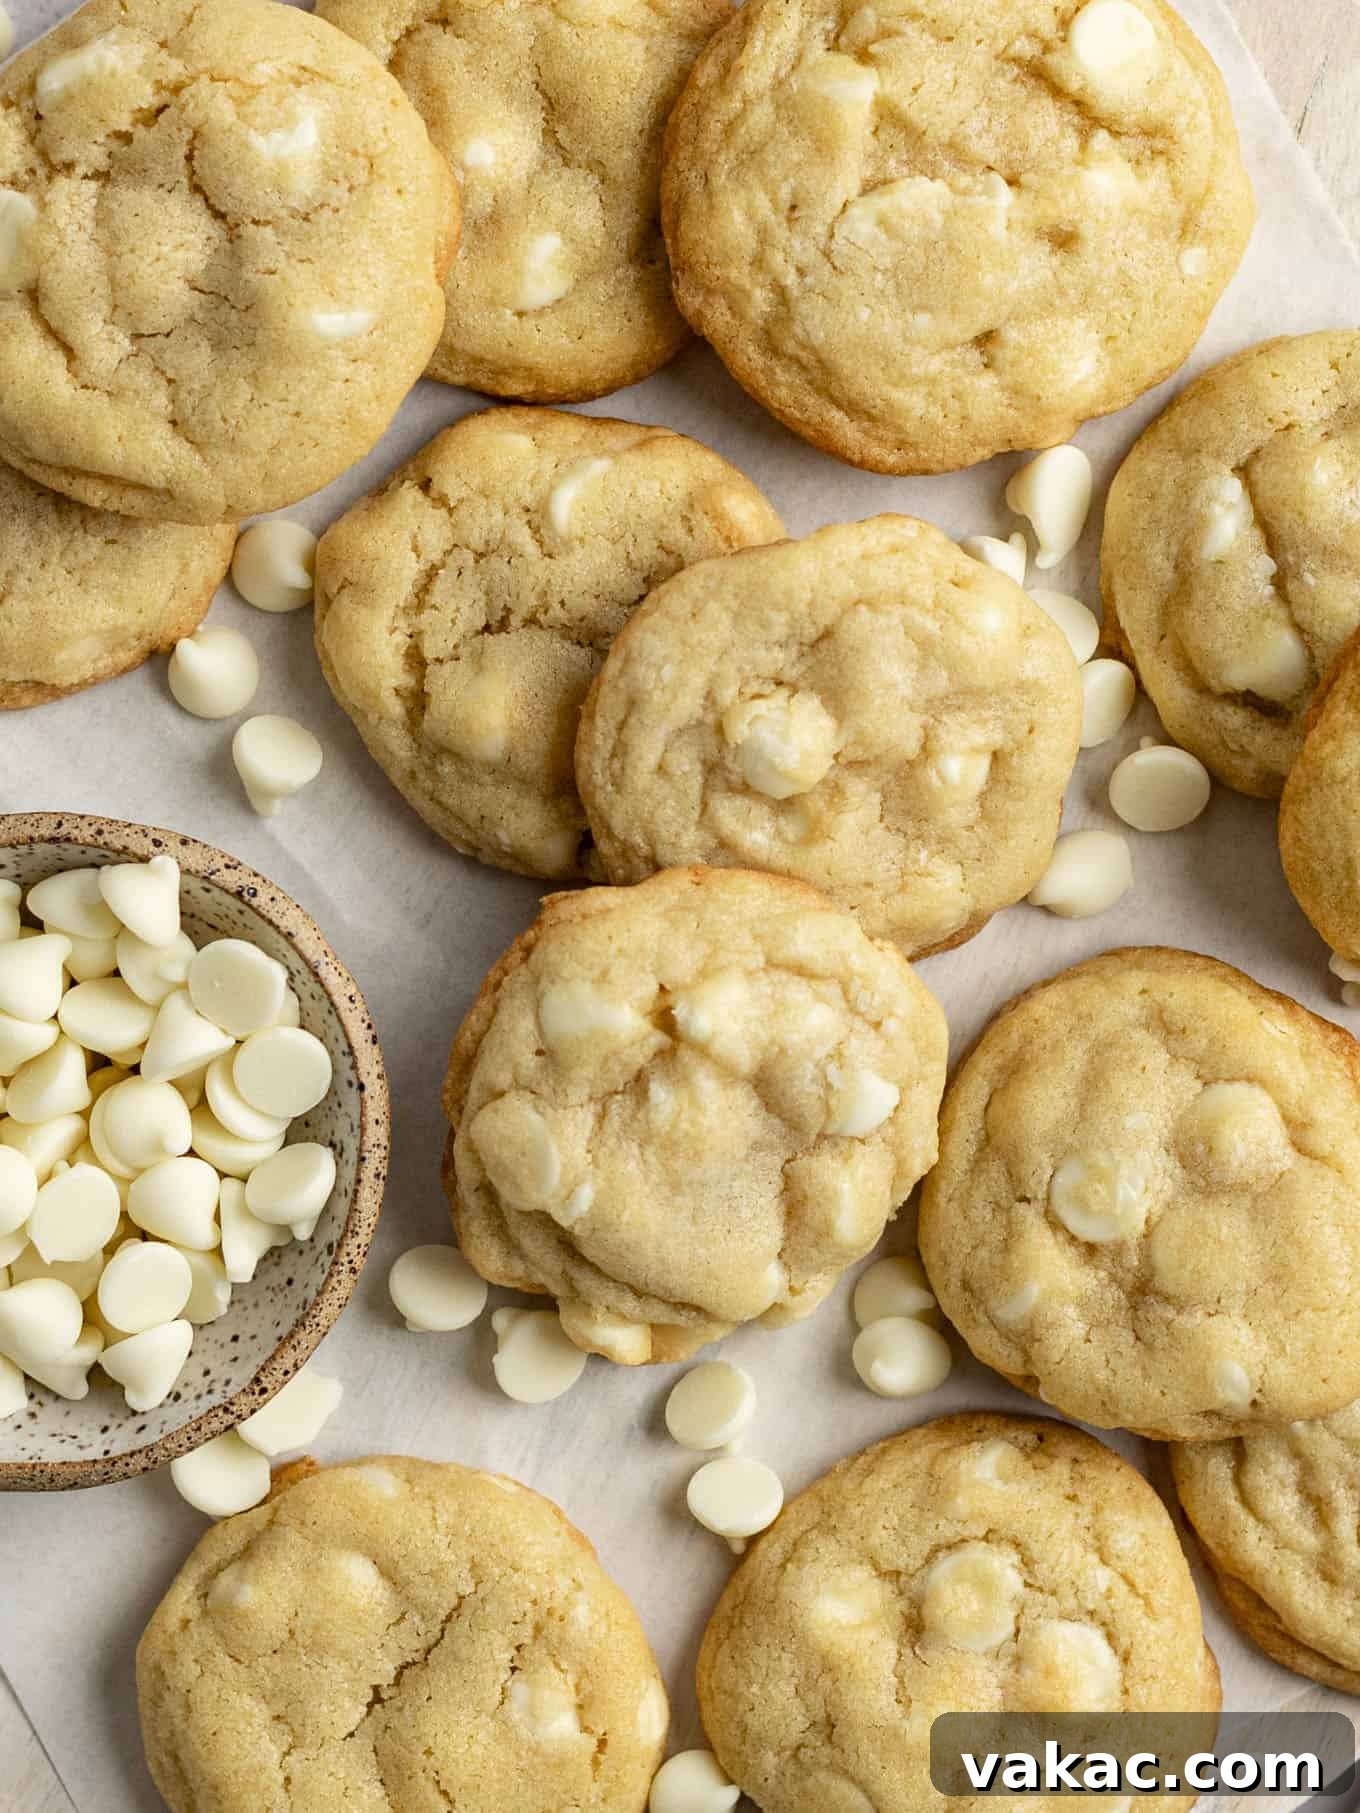
What makes this particular white chocolate chip cookie recipe so incredibly exceptional? It’s a harmonious blend of thoughtfully selected ingredients and precise baking techniques that collectively yield a cookie with an irresistible texture. Imagine perfectly crisp, golden edges that gracefully transition into an unbelievably soft, tender, and delightfully chewy center. These cookies boast a rich, buttery flavor profile that beautifully complements the sweet creaminess of the white chocolate without ever overwhelming it. But perhaps their most remarkable quality is their lasting freshness. Unlike many cookies that can quickly lose their softness, our unique secret ingredient ensures these remain wonderfully moist and enjoyable for days after baking. They are truly a cut above the rest, meticulously designed for maximum flavor, an unforgettable texture, and remarkable longevity.
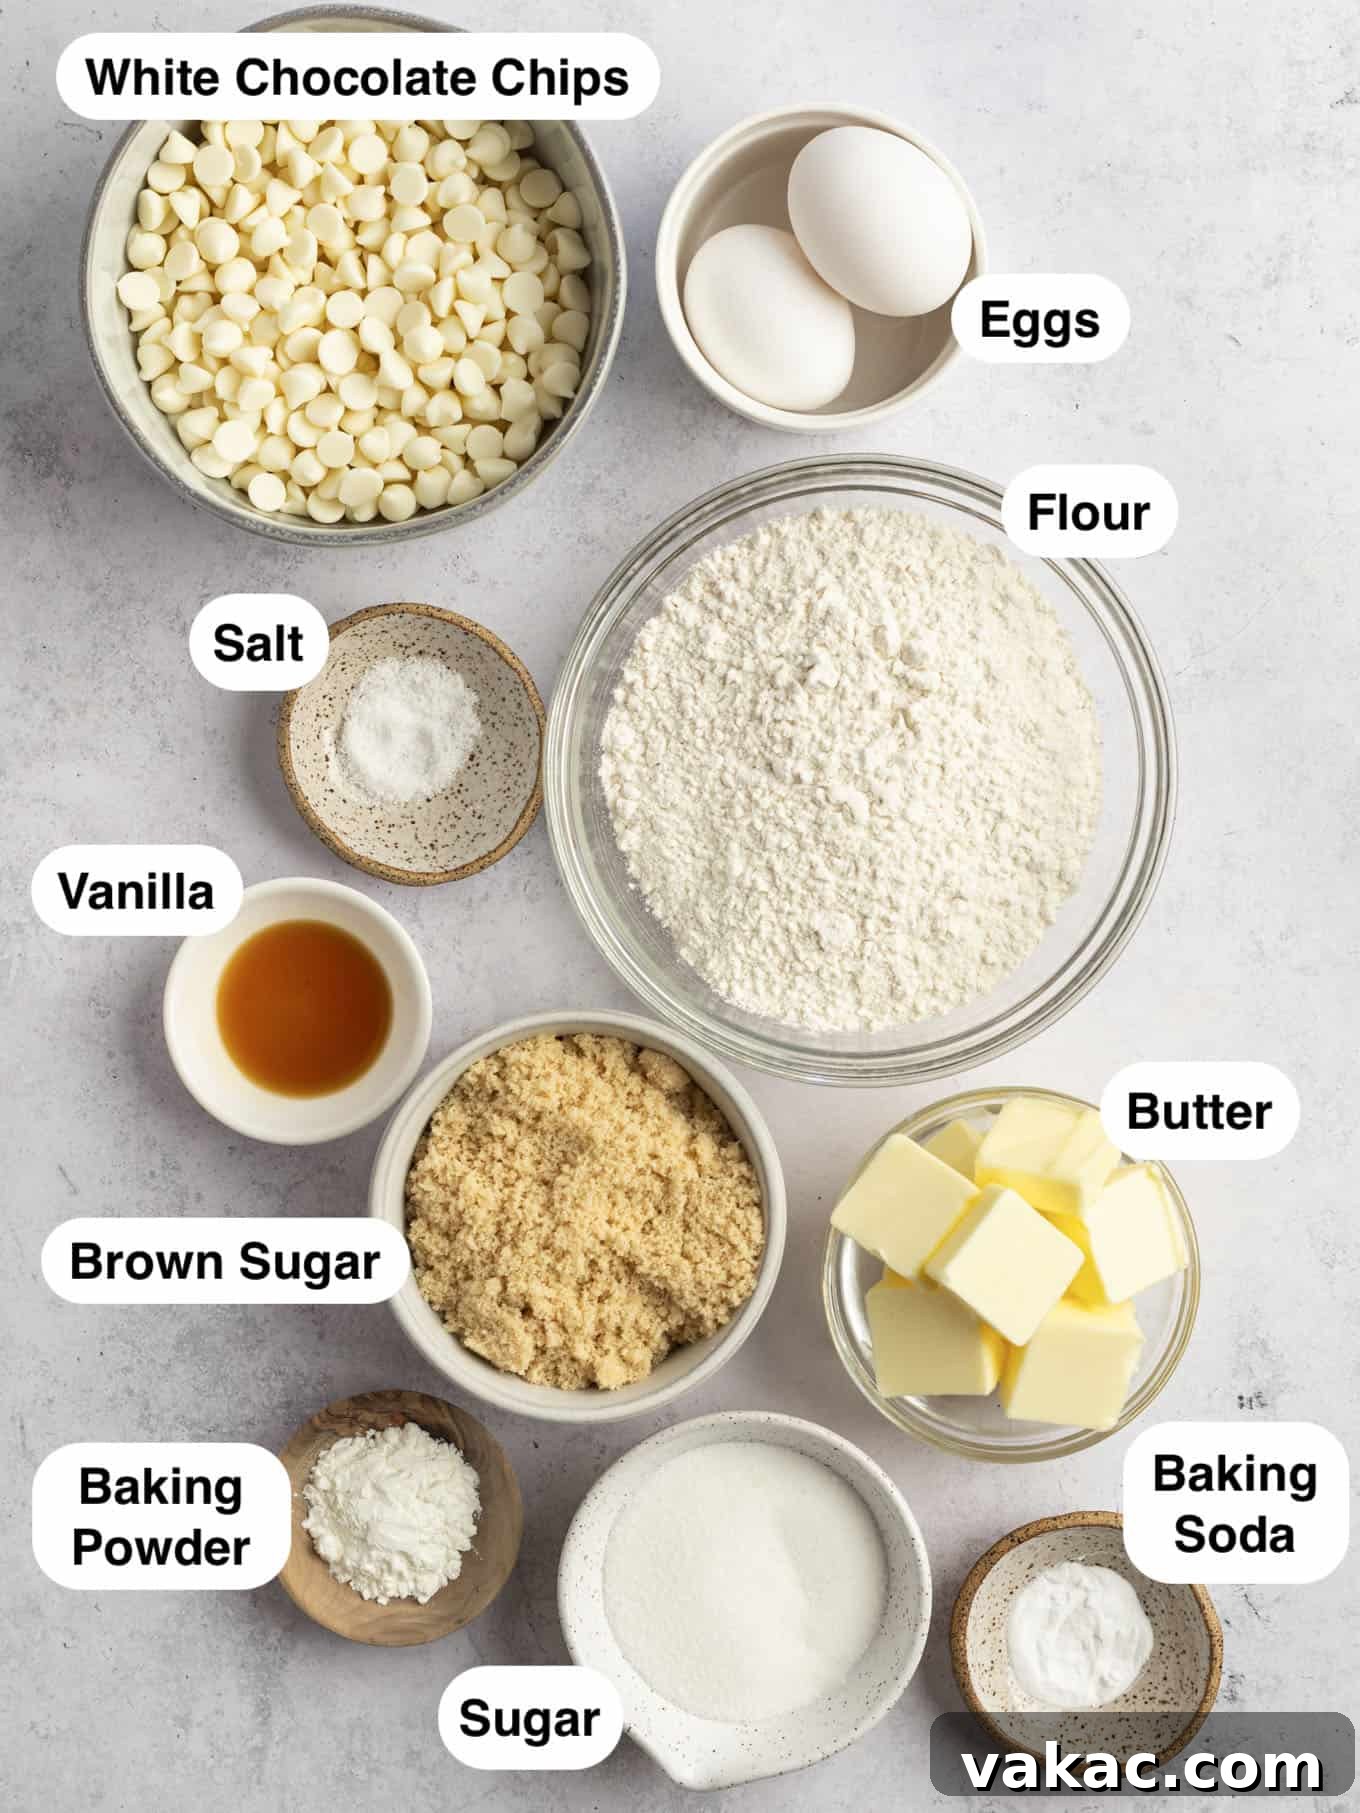
The Secret to Perfection: Don’t Skip These Key Ingredients
Every truly great recipe relies on the thoughtful selection and specific role of its ingredients. For these soft and chewy white chocolate chip cookies, certain elements are absolutely crucial for achieving their signature profile of richness, chewiness, and lasting softness. Pay close attention to these stars of the show, as they each play a vital role in the final perfection of your cookies:
High-Quality White Chocolate: Chips vs. Chunks
For optimal results and a superior eating experience, I highly recommend using good quality white chocolate chips. These chips are specifically engineered to contain stabilizers that are a baker’s best friend; they help them maintain their shape and distinct pockets of creamy goodness throughout the baking process. This prevents them from completely melting and disappearing into the dough, ensuring you get delightful bursts of rich white chocolate in every single bite. While you certainly have the option to chop up 12 ounces of a high-quality white chocolate bar as an alternative, be aware that chopped chocolate may melt a bit more, potentially creating more streaks of chocolate throughout the cookie rather than discrete pieces. Regardless of whether you choose chips or a bar, the sheer quantity—a full 12 ounces for this recipe—might seem excessive at first glance. However, through extensive testing, I discovered that this generous amount not only significantly enhances the deep, sweet flavor of the cookies but also profoundly contributes to their wonderfully thick, substantial, and incredibly satisfying texture. More chocolate truly means better cookies here!
Cornstarch: The Ultimate Softness Secret Weapon
Here it is, the little-known secret ingredient that transforms these cookies into ethereal pillows of lasting softness: cornstarch. For those baking outside of the United States, this ingredient is typically labeled as corn flour. Adding just a couple of teaspoons of cornstarch to your dry ingredients works absolute wonders by tenderizing the gluten in the flour. This action results in a cookie that stays incredibly soft, tender, and beautifully moist, maintaining its delightful texture for several days after baking. While you *can* technically omit it from the recipe, I strongly, strongly urge you to include it if you have some on hand. It is a true game-changer for both texture and the longevity of your cookies, and I’m confident that once you experience its magic, you’ll never make cookies without it again.
The Extra Egg Yolk: Unlocking Unparalleled Richness and Chewiness
My extensive recipe testing consistently demonstrated that incorporating an additional egg yolk is paramount for achieving the perfect balance of moisture, richness, and that coveted chewy texture in the cookie dough. The extra yolk, with its high fat content, adds a luxurious tenderness and a satisfying chewiness that a whole egg alone simply cannot provide. It contributes significantly to the dough’s overall structure and helps create that truly melt-in-your-mouth experience. And don’t fret about the leftover egg white! You can easily save it for a healthy breakfast omelet the next morning, or put it to excellent use in another delightful recipe, such as a batch of crunchy candied pecans.
Mastering the Mix: Essential Baking Tips for Perfect White Chocolate Chip Cookie Dough
Achieving the perfect cookie texture isn’t just about the right ingredients; it’s equally about how you handle them. These detailed mixing and measuring tips are absolutely crucial for ensuring your white chocolate chip cookies turn out beautifully, soft, and chewy every single time you bake.
- Embrace Room Temperature Ingredients: This is a non-negotiable fundamental for successful baking. Both your butter and eggs (including the extra egg yolk) must be at a cool room temperature. This crucial step ensures that the butter creams effortlessly and homogeneously with the sugars, creating a light and airy base that is vital for texture. It also guarantees that the eggs integrate smoothly into the wet ingredients without curdling, creating a uniform emulsion. For butter, “cool room temperature” means it should yield slightly to the touch when pressed with a finger, but still feel cool and firm, not greasy or melted. If you find yourself short on time, you can quickly soften butter by slicing it into tablespoon-sized pieces and letting it sit on the counter for 15-20 minutes. Similarly, eggs can be warmed by placing them in a bowl of warm (not hot) water for 5-10 minutes.
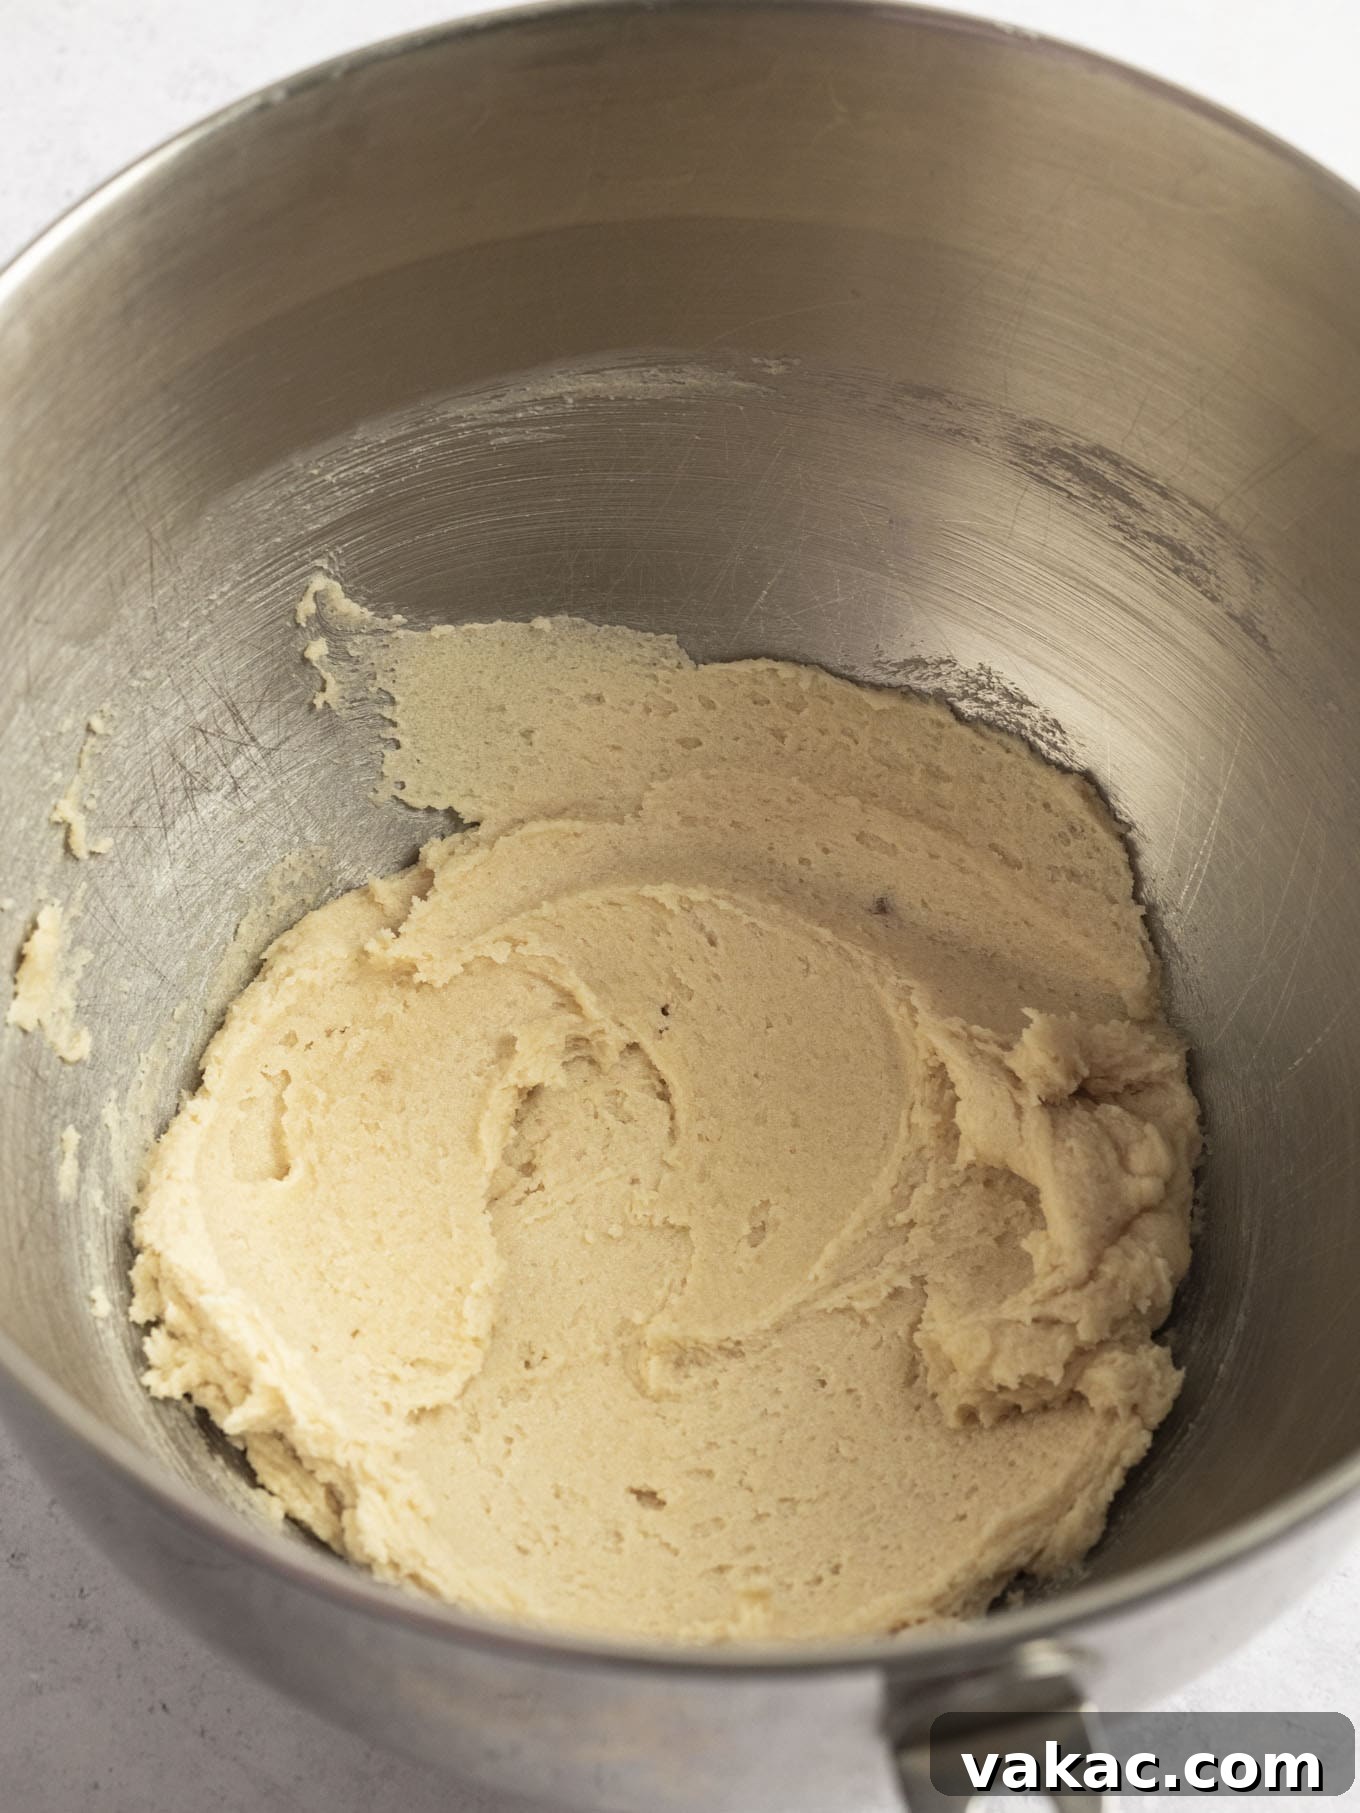
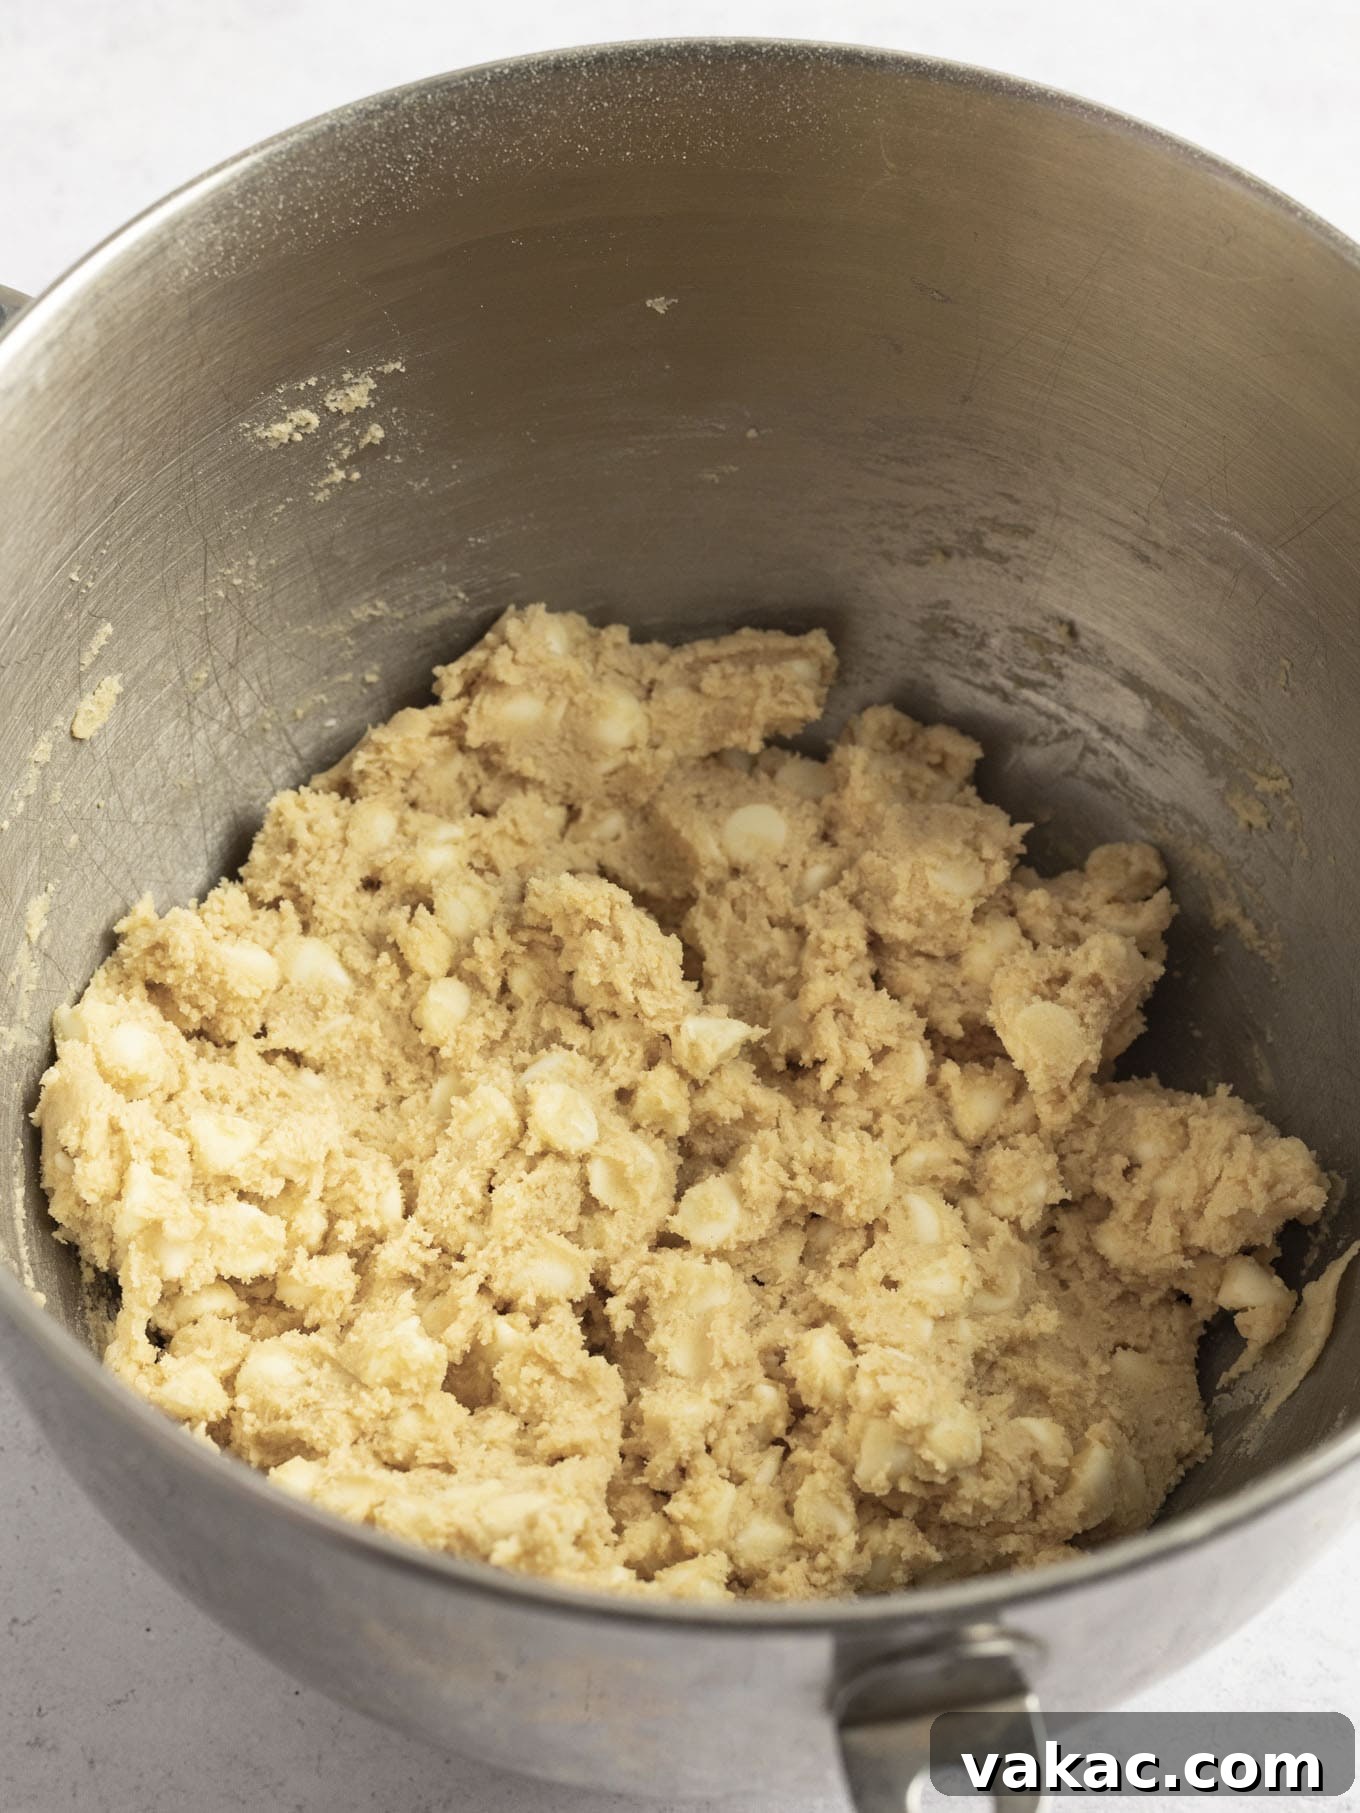
- Cream Butter and Sugar to Perfection: The initial creaming of the softened butter and both types of sugars is a fundamental stage in building the cookie’s structure and texture. Mix them together in your stand mixer or with a hand mixer for a precise one to two minutes, or until the mixture appears light, fluffy, and visibly well combined, much like the appealing consistency shown in the image above on the left. This thorough process incorporates essential air into the dough, which significantly contributes to the cookies’ light and chewy texture. However, exercise caution not to overmix at this stage; excessive mixing can generate too much heat, causing the butter to become overly warm and potentially leading to undesirable greasy, flat cookies that spread too much in the oven.
- Measure Your Flour with Unwavering Accuracy: Incorrect flour measurement is an astonishingly common pitfall in home baking that can dramatically alter your cookie’s outcome. Never, under any circumstances, scoop flour directly from its container using your measuring cup, as this compacts the flour, resulting in a significant excess by weight. The correct and highly recommended method is to gently spoon the flour into your measuring cup until it overflows, then carefully level it off with the flat side of a knife or a straight edge. Using too much flour will inevitably lead to cookies that are disappointingly thick, dry, crumbly, and possess a cake-like texture rather than the desired soft and chewy consistency. If you’re new to this precise technique, I strongly recommend reviewing this detailed guide on how to measure flour correctly for consistently perfect baking results.
- Avoid Overmixing the Dough: Once you’ve added the dry ingredients to the wet mixture, it’s crucial to mix only until they are just combined. The very moment you no longer see any visible streaks of dry flour, stop mixing immediately. Similarly, when incorporating the white chocolate chips, mix them in gently on a low speed until they are just evenly distributed throughout the dough, and no longer. Overmixing at this stage vigorously develops the gluten in the flour, which can lead to tough, dense, and disappointingly flat cookies that lack the delicate softness we are striving for.
The Indispensable Chill: Why Refrigerating Your Cookie Dough is a Game-Changer
Many home bakers often wonder if chilling cookie dough is truly a necessary step or merely an optional suggestion. The definitive short answer is a resounding yes, it is essential! This crucial step, while requiring a bit of patience, is absolutely paramount for achieving the best possible white chocolate chip cookies in terms of texture, flavor, and overall structural integrity. It’s not just a recommendation; it’s a fundamental part of the process that significantly impacts the final perfection of your baked goods.
Here’s why chilling your cookie dough is so critically important for superior results:
- Prevents Excessive Spreading: The primary and most practical reason to chill your cookie dough is to allow the butter within the dough to firm back up. When the butter is cold and firm, it melts much more slowly in the hot oven. This extended, gradual melting process is key; it helps the cookies retain their beautiful shape and desirable thickness, effectively preventing them from spreading too thin and becoming flat, brittle, or overly crispy. Instead, you’re rewarded with perfectly thick, gloriously chewy cookies with wonderfully structured edges.
- Hydrates the Flour Thoroughly: Chilling provides ample time for the flour to fully hydrate. This means the flour has a chance to thoroughly absorb moisture from the wet ingredients, which in turn helps to create a more tender, cohesive, and easier-to-handle dough. Proper flour hydration leads to a significantly softer, more uniform, and ultimately more enjoyable texture in the final baked cookie, contributing to that desirable melt-in-your-mouth quality.
- Develops and Intensifies Flavor: Perhaps one of the most often overlooked, yet equally vital, benefits of chilling is the profound flavor development that occurs. As the dough rests in the refrigerator, the various ingredients have an opportunity to mingle, meld, and marry. The sugars fully dissolve, and all the flavors—from the vanilla to the brown sugar and even the white chocolate—deepen and intensify. This maturation process results in a far more complex, richer, and exquisitely tasting cookie that simply cannot be achieved with unchilled dough. It’s the difference between good cookies and truly unforgettable ones.
Flexibility for Your Baking Schedule:
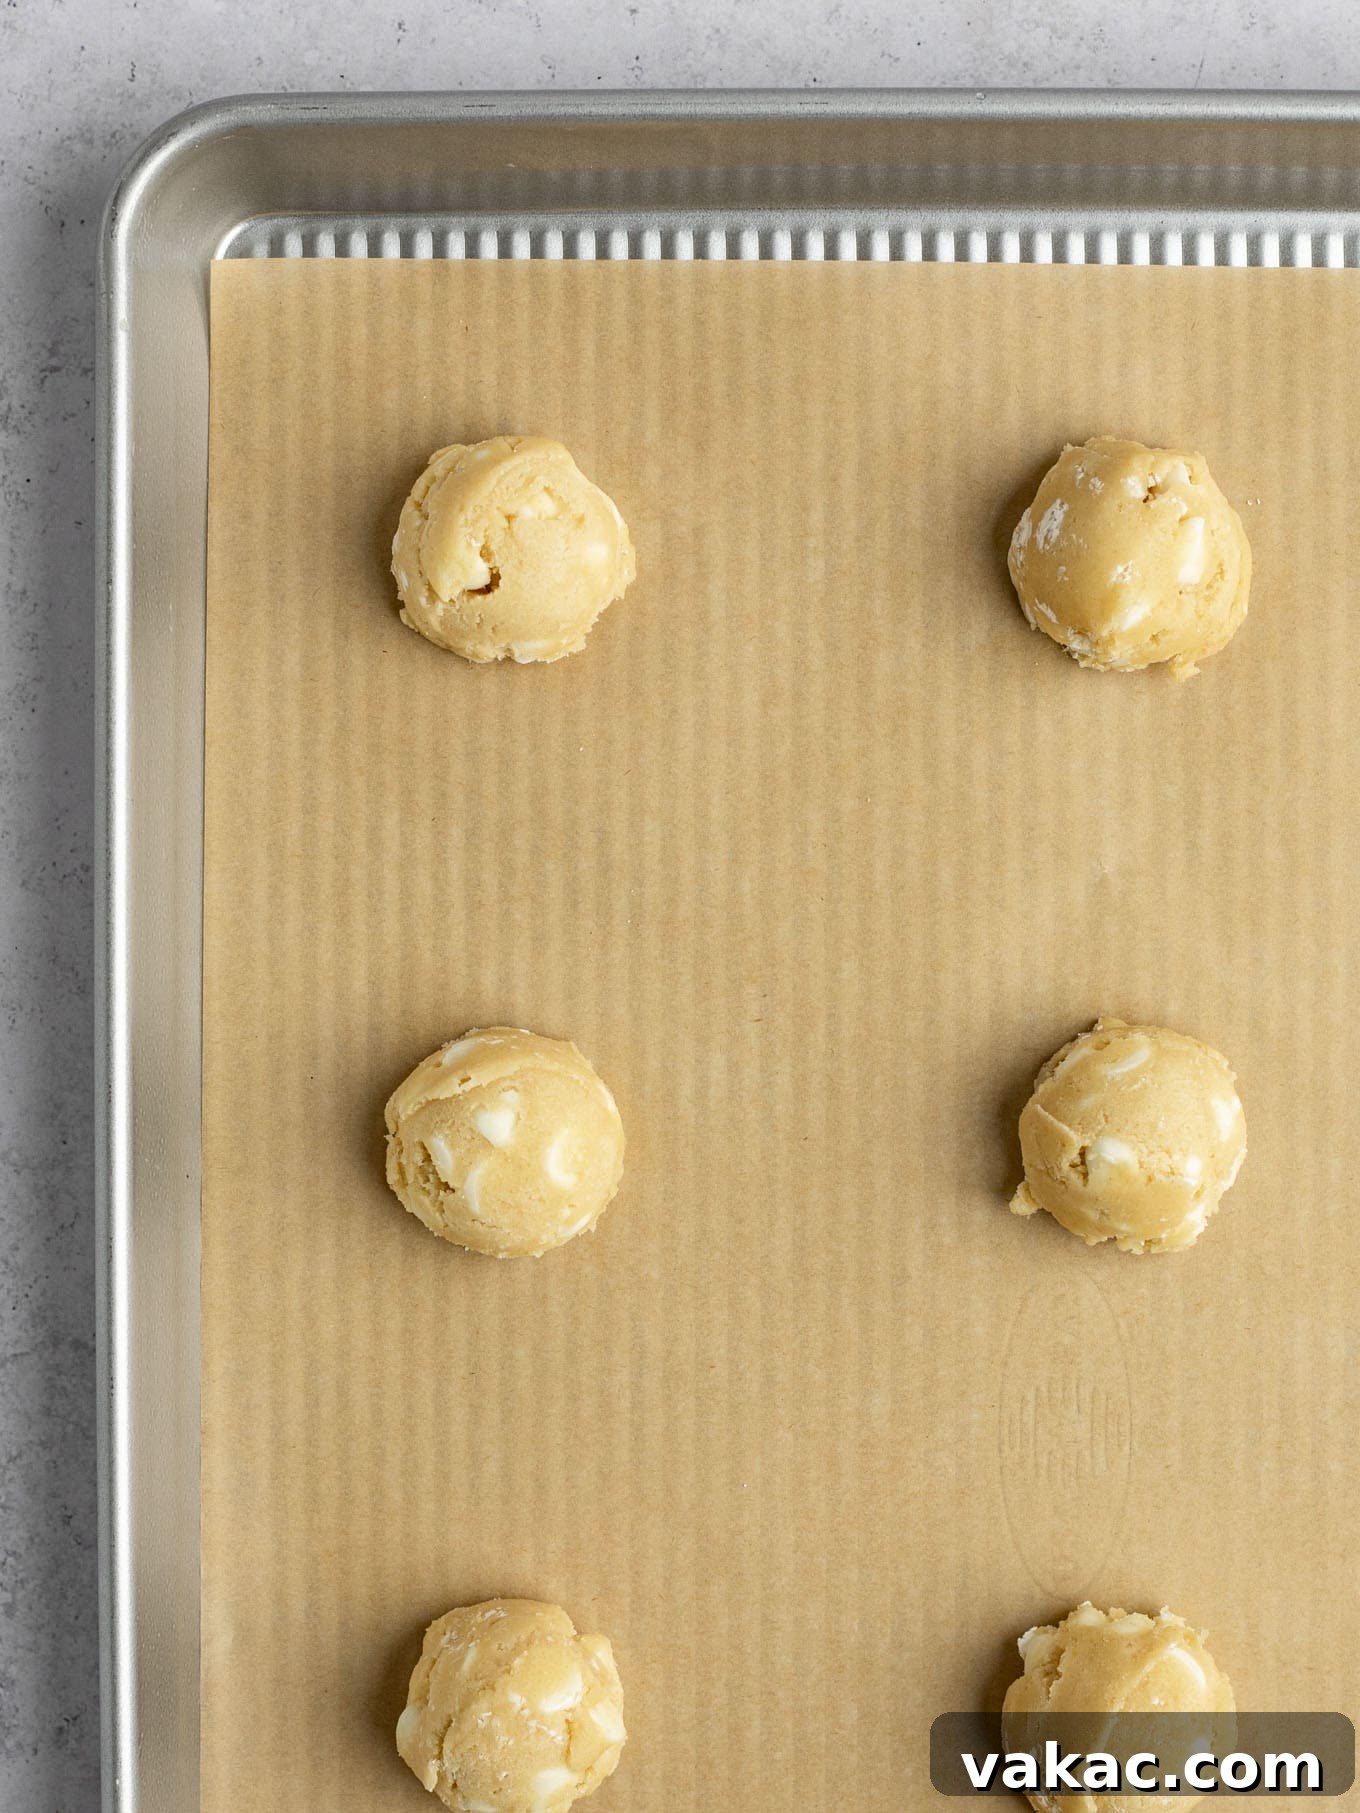
While a minimum of 2 hours is highly recommended for optimal chilling, this recipe offers flexibility to suit your busy schedule. For maximum flavor development and structural integrity, you can conveniently prepare the cookie dough ahead of time and refrigerate it for up to 3 days. This method is perfect for meal prepping your desserts or when you desire fresh-baked cookies on demand throughout the week. If you find yourself short on time but still want to reap the significant benefits of chilling, simply scoop the cookie dough onto your prepared baking sheets first. Then, chill these portioned dough balls in the fridge for a minimum of 30 minutes. This quick chill will effectively help the butter firm up enough to significantly reduce spreading, allowing you to bake as directed with surprisingly great results and a much improved texture compared to baking unchilled dough.
Unleash Your Creativity: How to Customize Your White Chocolate Chip Cookies
While this white chocolate chip cookie recipe is meticulously crafted to deliver perfection exactly as written (if I do say so myself!), it also serves as an incredibly versatile and fantastic base for customization. Feel entirely free to unleash your inner baker and tailor these delightful cookies to your unique tastes, dietary preferences, or for specific festive occasions.
- Supersize Your Sweet Treat: Our recipe traditionally calls for a 1.5 tablespoon cookie scoop, which yields perfectly sized individual cookies. However, if you prefer a larger, more indulgent, bakery-style cookie, simply use a larger scoop, perhaps a 3-tablespoon or ¼-cup measure! Just remember to adjust the baking time accordingly; bigger cookies will naturally need a few extra minutes in the oven to bake through evenly without burning the edges. Keep a close eye on them for those tell-tale golden edges and a deliciously set yet still slightly soft center.
- Mix-In Marvels and Flavor Adventures: White chocolate pairs wonderfully with an astonishing variety of other flavors and textures. Consider replacing some of the white chocolate chips with chopped nuts like creamy macadamias (a truly classic and exquisite pairing!), crunchy pecans, or earthy almonds for an added layer of crunch and depth of flavor. Dried fruits such as tangy cranberries, sweet dried cherries, or even finely diced dried pineapple can introduce a delightful tartness, vibrant color, and pleasant chewiness. Or, if you’re a true chocoholic, feel absolutely free to introduce a different kind of baking chip, like rich milk chocolate or intense dark chocolate, for a delectable “double chip” sensation!
- Add a Splash of Color with Festive Sprinkles: For any festive occasion or just to add a whimsical touch, a few tablespoons of colorful sprinkles can magically transform these cookies into a celebratory treat. Use classic rainbow sprinkles for birthdays, vibrant red, white, and blue for patriotic holidays, or seasonal colors for Christmas, Halloween, or Easter gatherings. Gently fold them into the dough during the last stages of mixing to prevent the colors from bleeding too much into the dough, preserving their vibrant appearance.
- Transform into Bars or a Magnificent Cookie Cake: This incredibly versatile cookie dough isn’t limited to individual cookies. For an easy-to-serve dessert perfect for larger gatherings or potlucks, simply press the entire batch of dough evenly into a greased and lightly floured 9-inch square or round baking pan. Bake it until the top is beautifully set and lightly golden brown, which will naturally take longer than individual cookies (start checking around 25-30 minutes, adding more time as needed, usually up to 40 minutes). Allow it to cool completely in the pan before slicing into convenient bars or decorating it as a show-stopping cookie cake. This adaptation is a fantastic option when you need a crowd-pleasing dessert with minimal fuss.
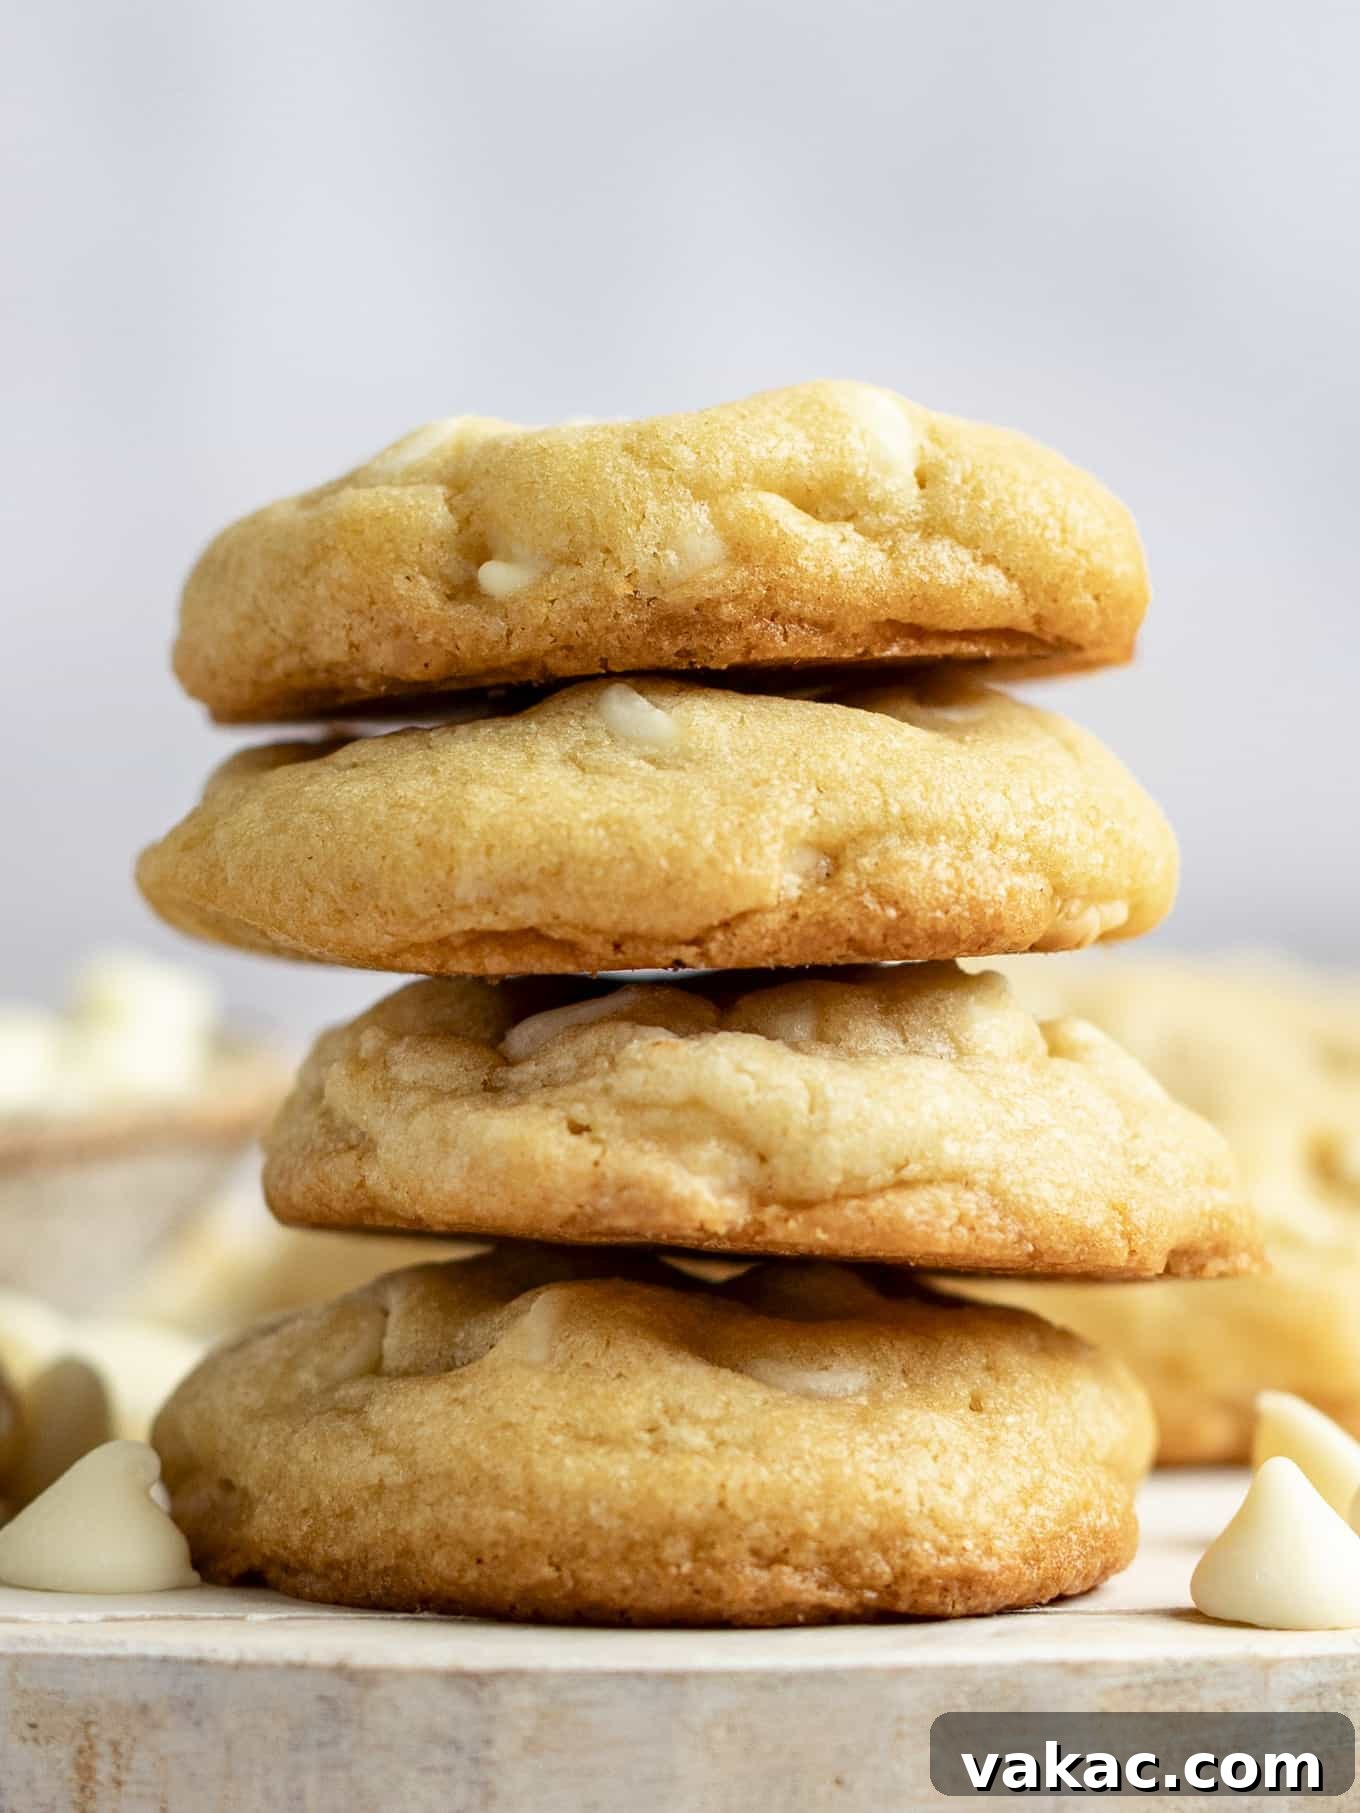
Truly, these white chocolate chip cookies are a revelation. My husband and I couldn’t get enough of them, and I am incredibly confident they will quickly become a beloved and frequently requested staple in your baking repertoire as well. If you embark on this delicious baking adventure, please don’t hesitate to leave a comment below. I’d absolutely love to hear how your cookies turned out and gather your thoughts and experiences with this recipe!
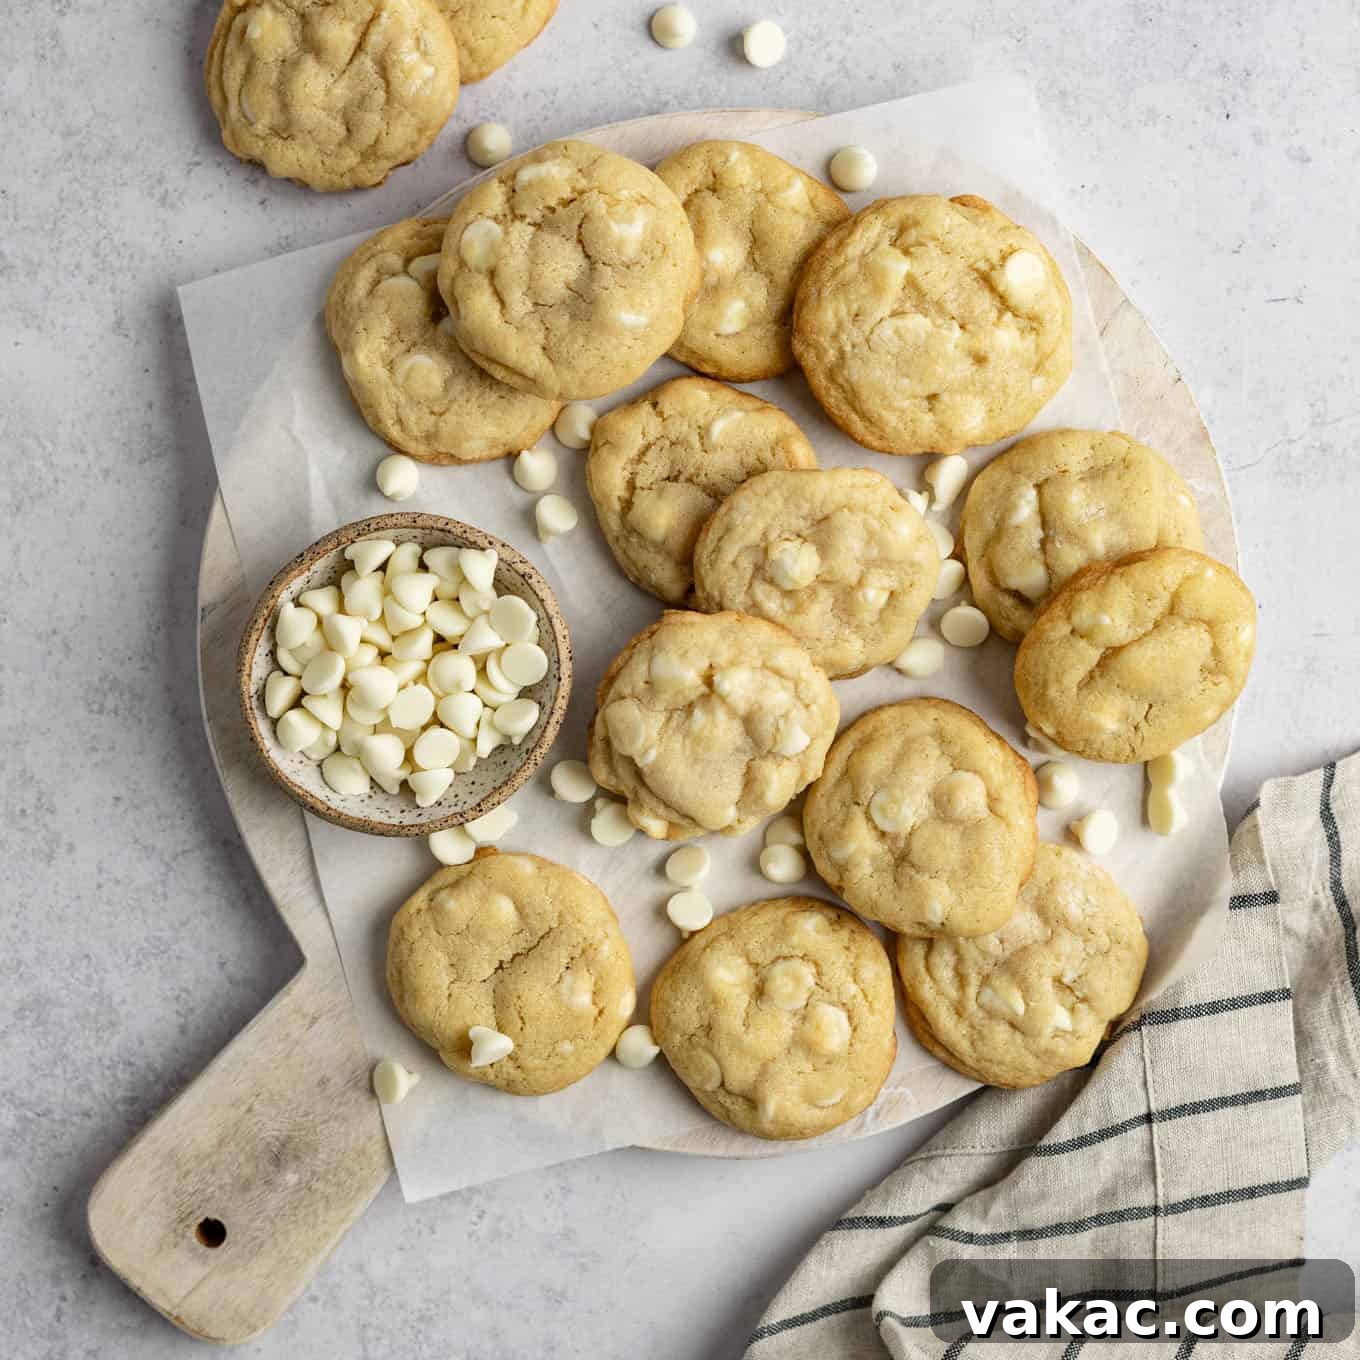
White Chocolate Chip Cookie Recipe
These white chocolate chip cookies are incredibly soft in the middle and delightfully chewy around the edges. Prepare a batch for any upcoming potlucks, baby showers, or cookie exchanges, and watch them disappear in record time!
Prep Time: 20 mins
Cook Time: 12 mins
Chilling Time: 2 hrs
Total Time: 2 hrs 32 mins
Servings: 34 cookies
Print Recipe | Pin Recipe
Ingredients
- 2 cups plus 2 tablespoons all-purpose flour (spooned and leveled – 265 grams)
- 2 teaspoons cornstarch (6 grams)
- ¾ teaspoon baking soda
- ¾ teaspoon salt
- ¾ cup unsalted butter, softened (170 grams; 1.5 sticks)
- ¾ cup packed light brown sugar (150 grams)
- ⅓ cup granulated sugar (67 grams)
- 1 large egg, at room temperature
- 1 large egg yolk, at room temperature
- 1 ½ teaspoons pure vanilla extract
- 1 (12-ounce) package white chocolate chips (340 grams; 1 ¾ cups)
Instructions
- In a large mixing bowl, whisk together the flour, cornstarch, baking soda, and salt. Ensure they are well combined, then set this dry mixture aside.
- In the bowl of a stand mixer fitted with the paddle attachment, or in a large mixing bowl using a handheld mixer, cream the softened butter, packed light brown sugar, and granulated sugar together. Mix for 1 to 2 minutes on medium speed until the mixture is light, fluffy, and well combined.
- Add the large egg, extra egg yolk, and pure vanilla extract to the creamed butter and sugar. Continue mixing until everything is thoroughly incorporated, stopping as needed to scrape down the sides of the bowl to ensure no ingredients are left unmixed.
- Gradually add the reserved dry ingredients to the wet ingredients, mixing on low speed until just combined. Be very careful not to overmix; stop as soon as no streaks of flour remain. Once the dry ingredients are mostly incorporated, gently fold in the white chocolate chips on low speed until they are evenly distributed throughout the cookie dough.
- Cover the cookie dough tightly with plastic wrap and refrigerate for a minimum of 2 hours. This chilling process is crucial for preventing the cookies from spreading too much and for developing richer flavors. If you’re pressed for time, you can scoop the dough onto a baking sheet first and chill for at least 30 minutes.
- Once the dough is almost chilled, preheat your oven to 350°F (177°C). Line three large baking sheets with parchment paper or silicone baking mats to prevent sticking and ensure even baking. Set them aside.
- Remove the cookie dough from the refrigerator. Using a 1.5 tablespoon cookie scoop, portion the dough and drop balls onto the prepared baking sheets. Make sure to leave about 2 inches of space between each ball of cookie dough, as they will spread some as they bake in the oven.
- Bake for 10 to 12 minutes, or until the edges of the cookies are lightly golden brown and the centers appear set but still slightly soft. Avoid overbaking, as this can make the cookies dry.
- Remove the baking sheets from the oven and allow the cookies to cool on the sheets for 5 to 10 minutes. This allows them to set up further and prevents them from breaking. After this initial cooling, carefully transfer the warm cookies to a wire rack to cool completely. Enjoy your perfect white chocolate chip cookies!
Notes
Storage Instructions: Baked white chocolate chip cookies may be stored in an airtight container at room temperature for up to one week. They will retain their delightful softness and chewiness.
Freezing Instructions: The unbaked cookie dough freezes exceptionally well for up to 3 months. To bake from frozen, simply thaw the dough overnight in the refrigerator and then bake as directed. Baked cookies will also freeze well for 2 to 3 months; for best results, thaw them to room temperature before serving.
Cuisine: American
Course: Dessert
Author: Danielle Rye
Did you make this recipe?
Mention @livewellbakeoften on Instagram or tag #livewellbakeoften to share your delicious creations with our community!
More Decadent Desserts Featuring White Chocolate!