
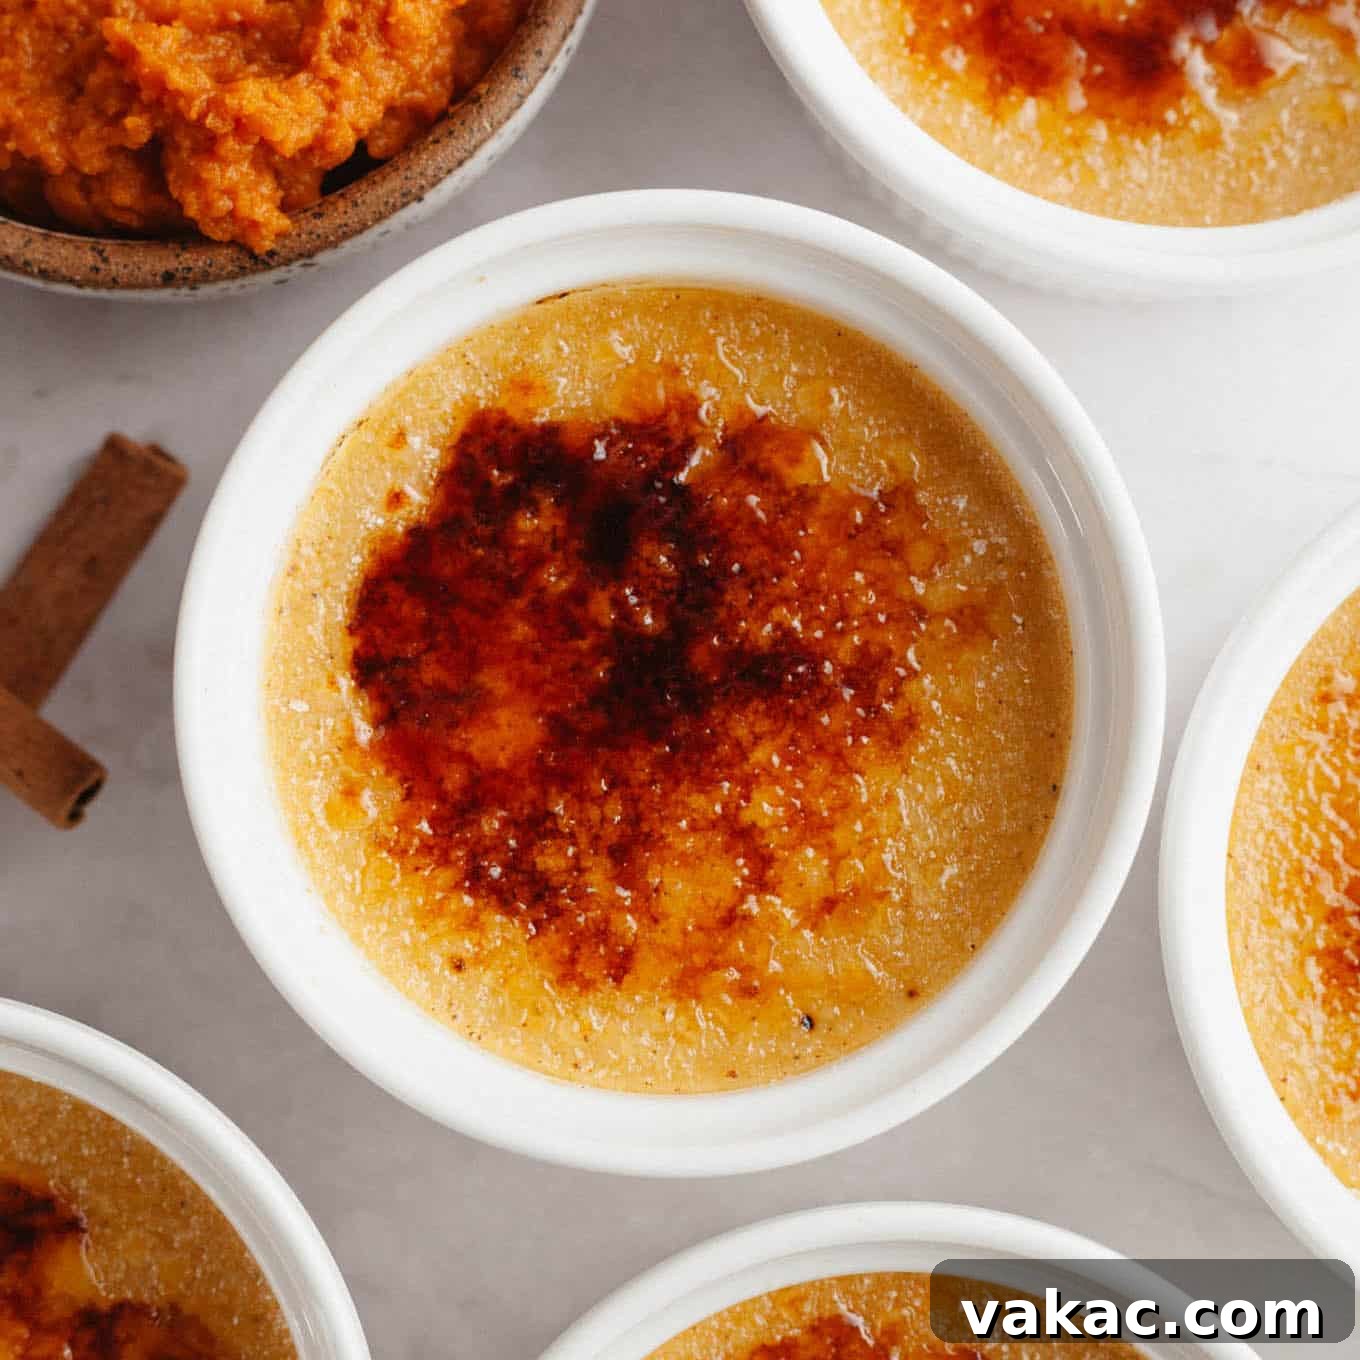
As the leaves begin to turn and the air grows crisp, our cravings naturally shift towards warm, comforting flavors. This season, elevate your dessert repertoire with a stunning yet remarkably simple pumpkin crème brûlée. Infused with the cozy essence of fall, this luxurious custard offers a sophisticated twist on a beloved classic. Made with just six essential ingredients, it’s not only a show-stopping dessert but also a fantastic make-ahead option, perfect for effortless entertaining at dinner parties or holiday gatherings. Prepare to delight your guests with its velvety texture and satisfyingly crisp caramelized sugar topping.
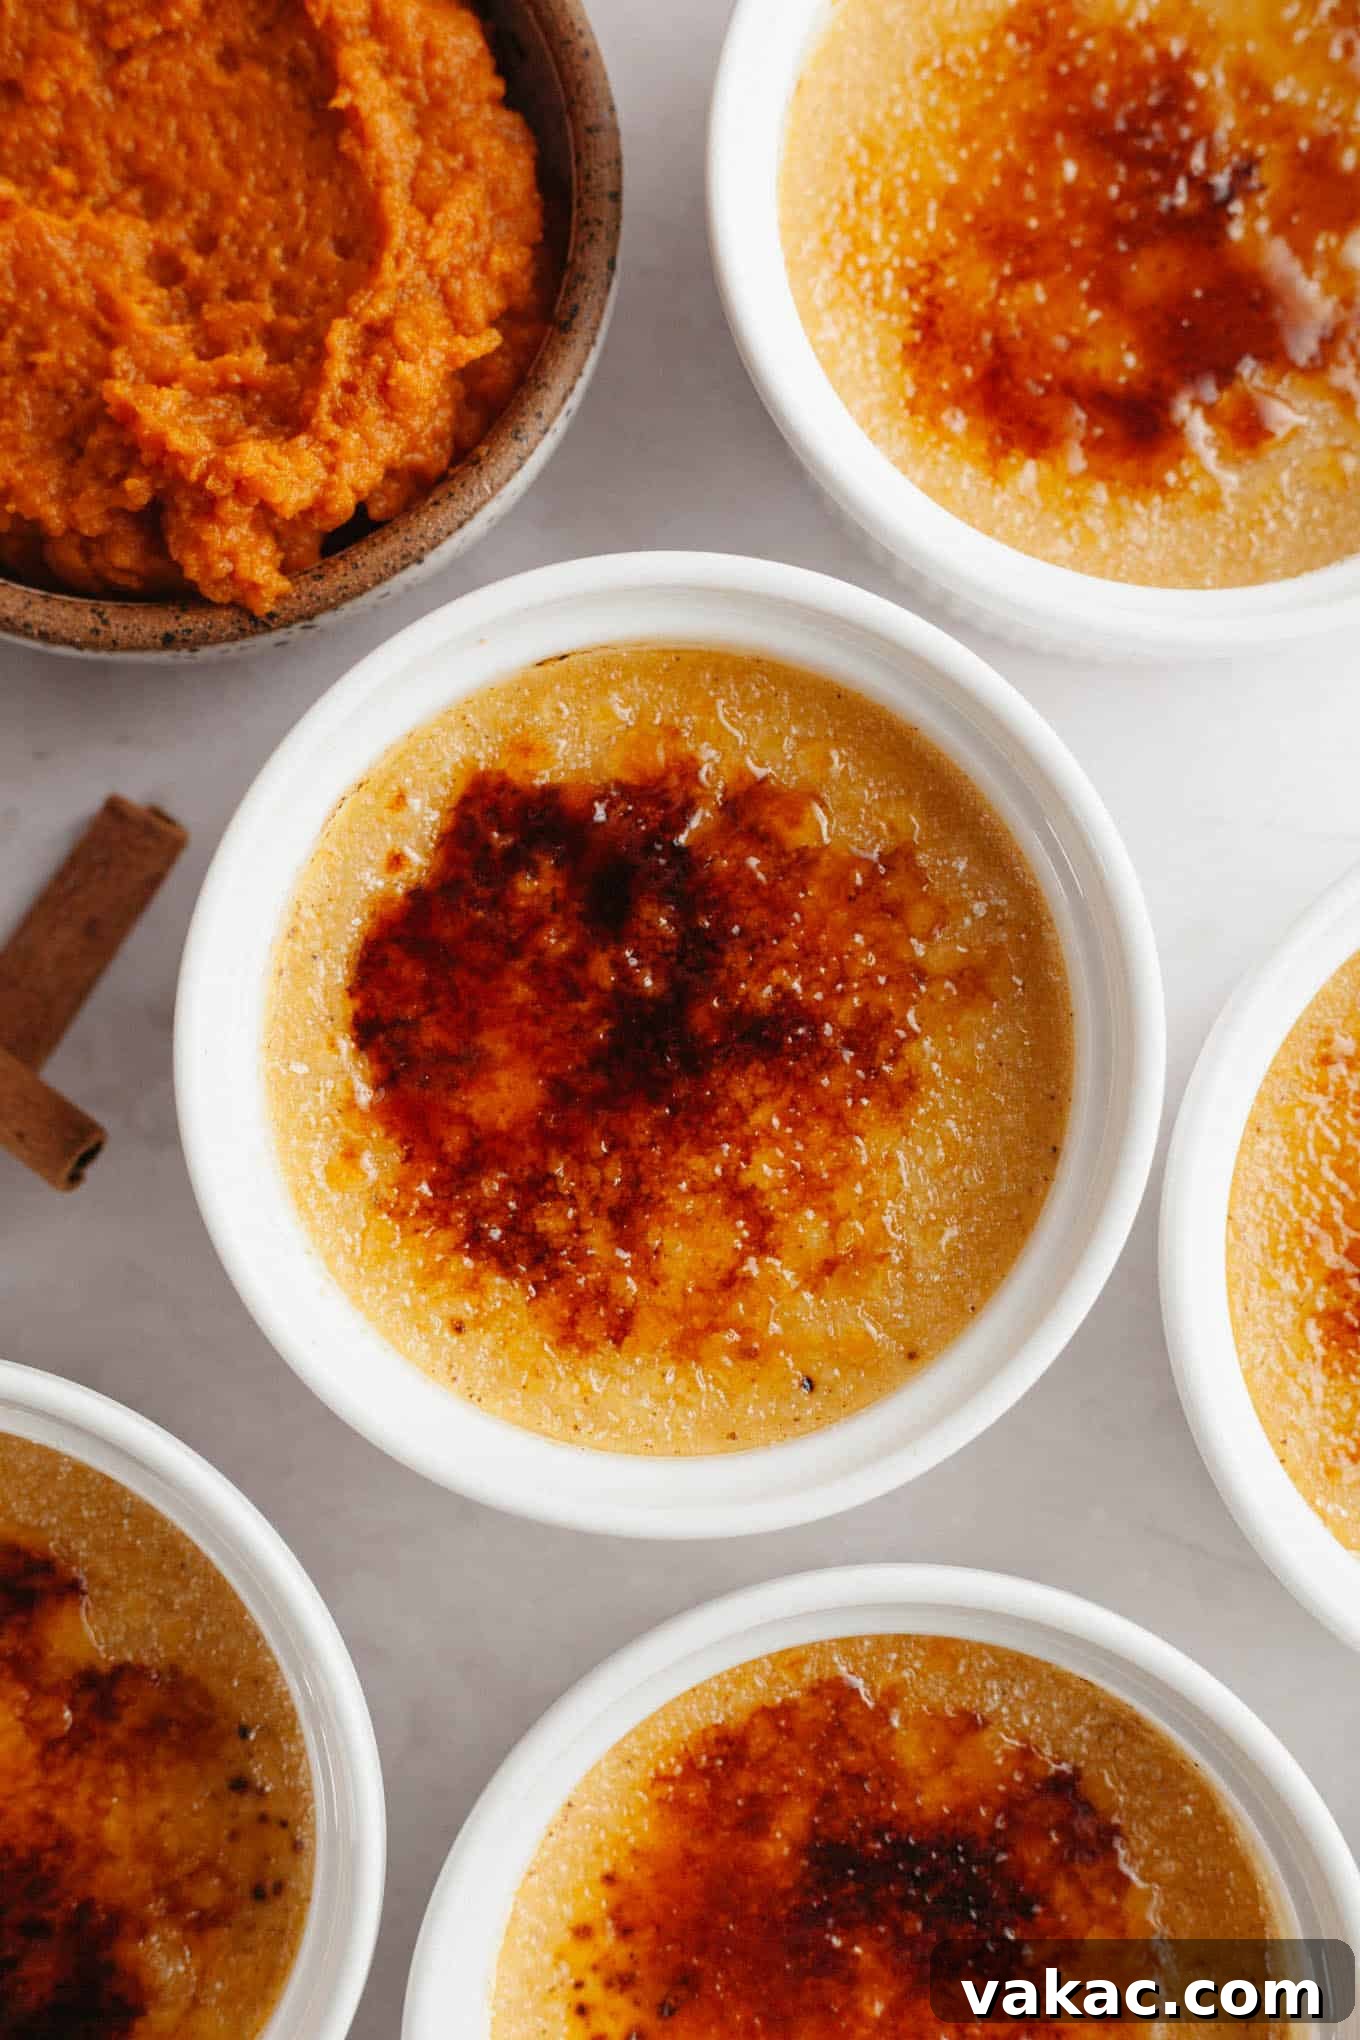
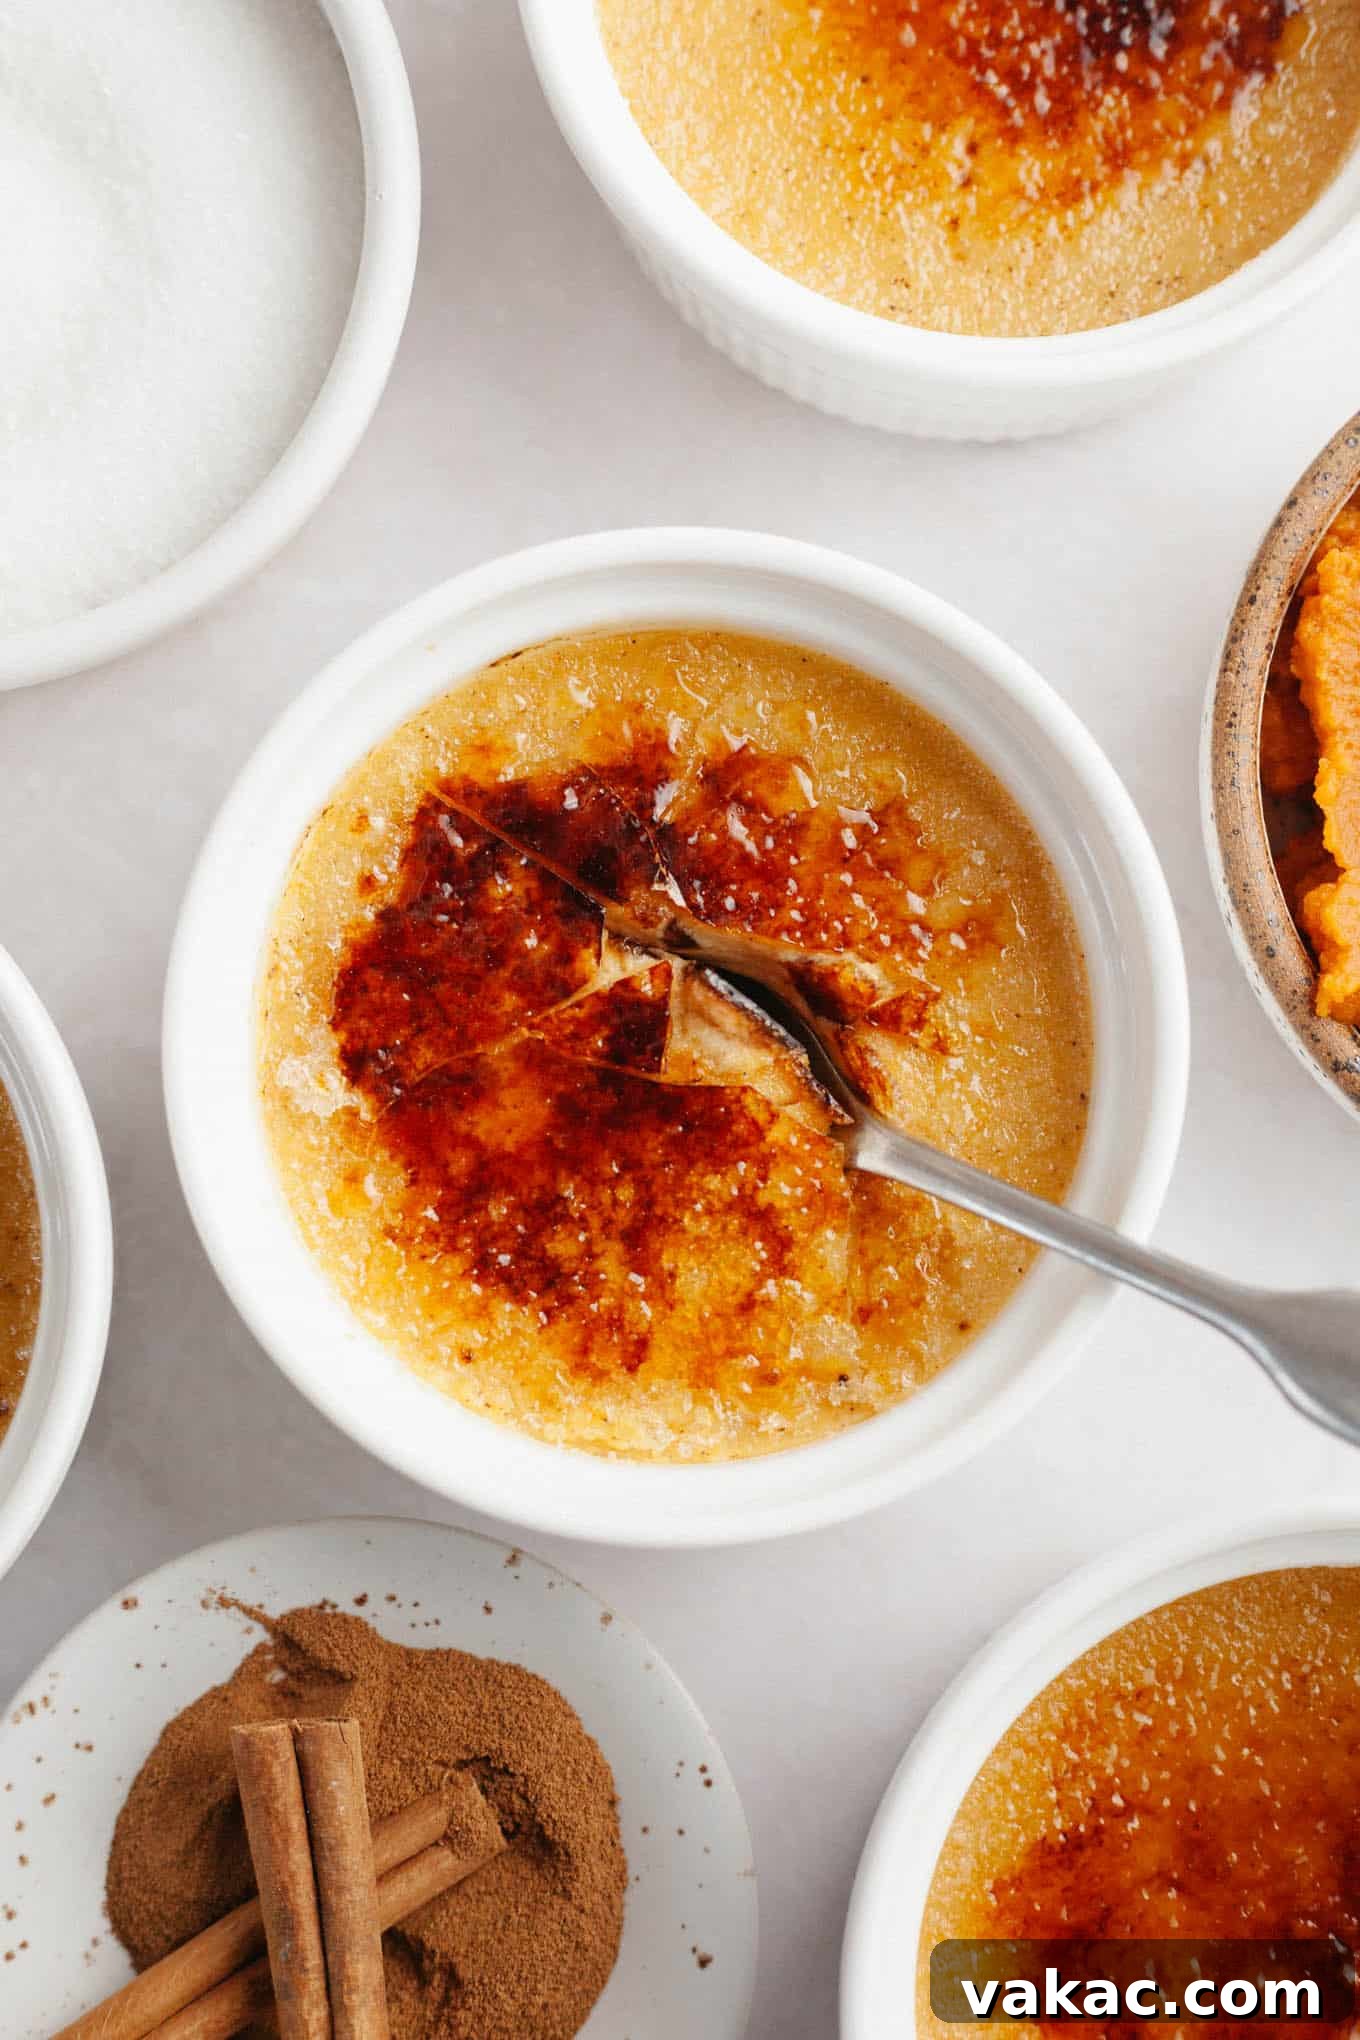
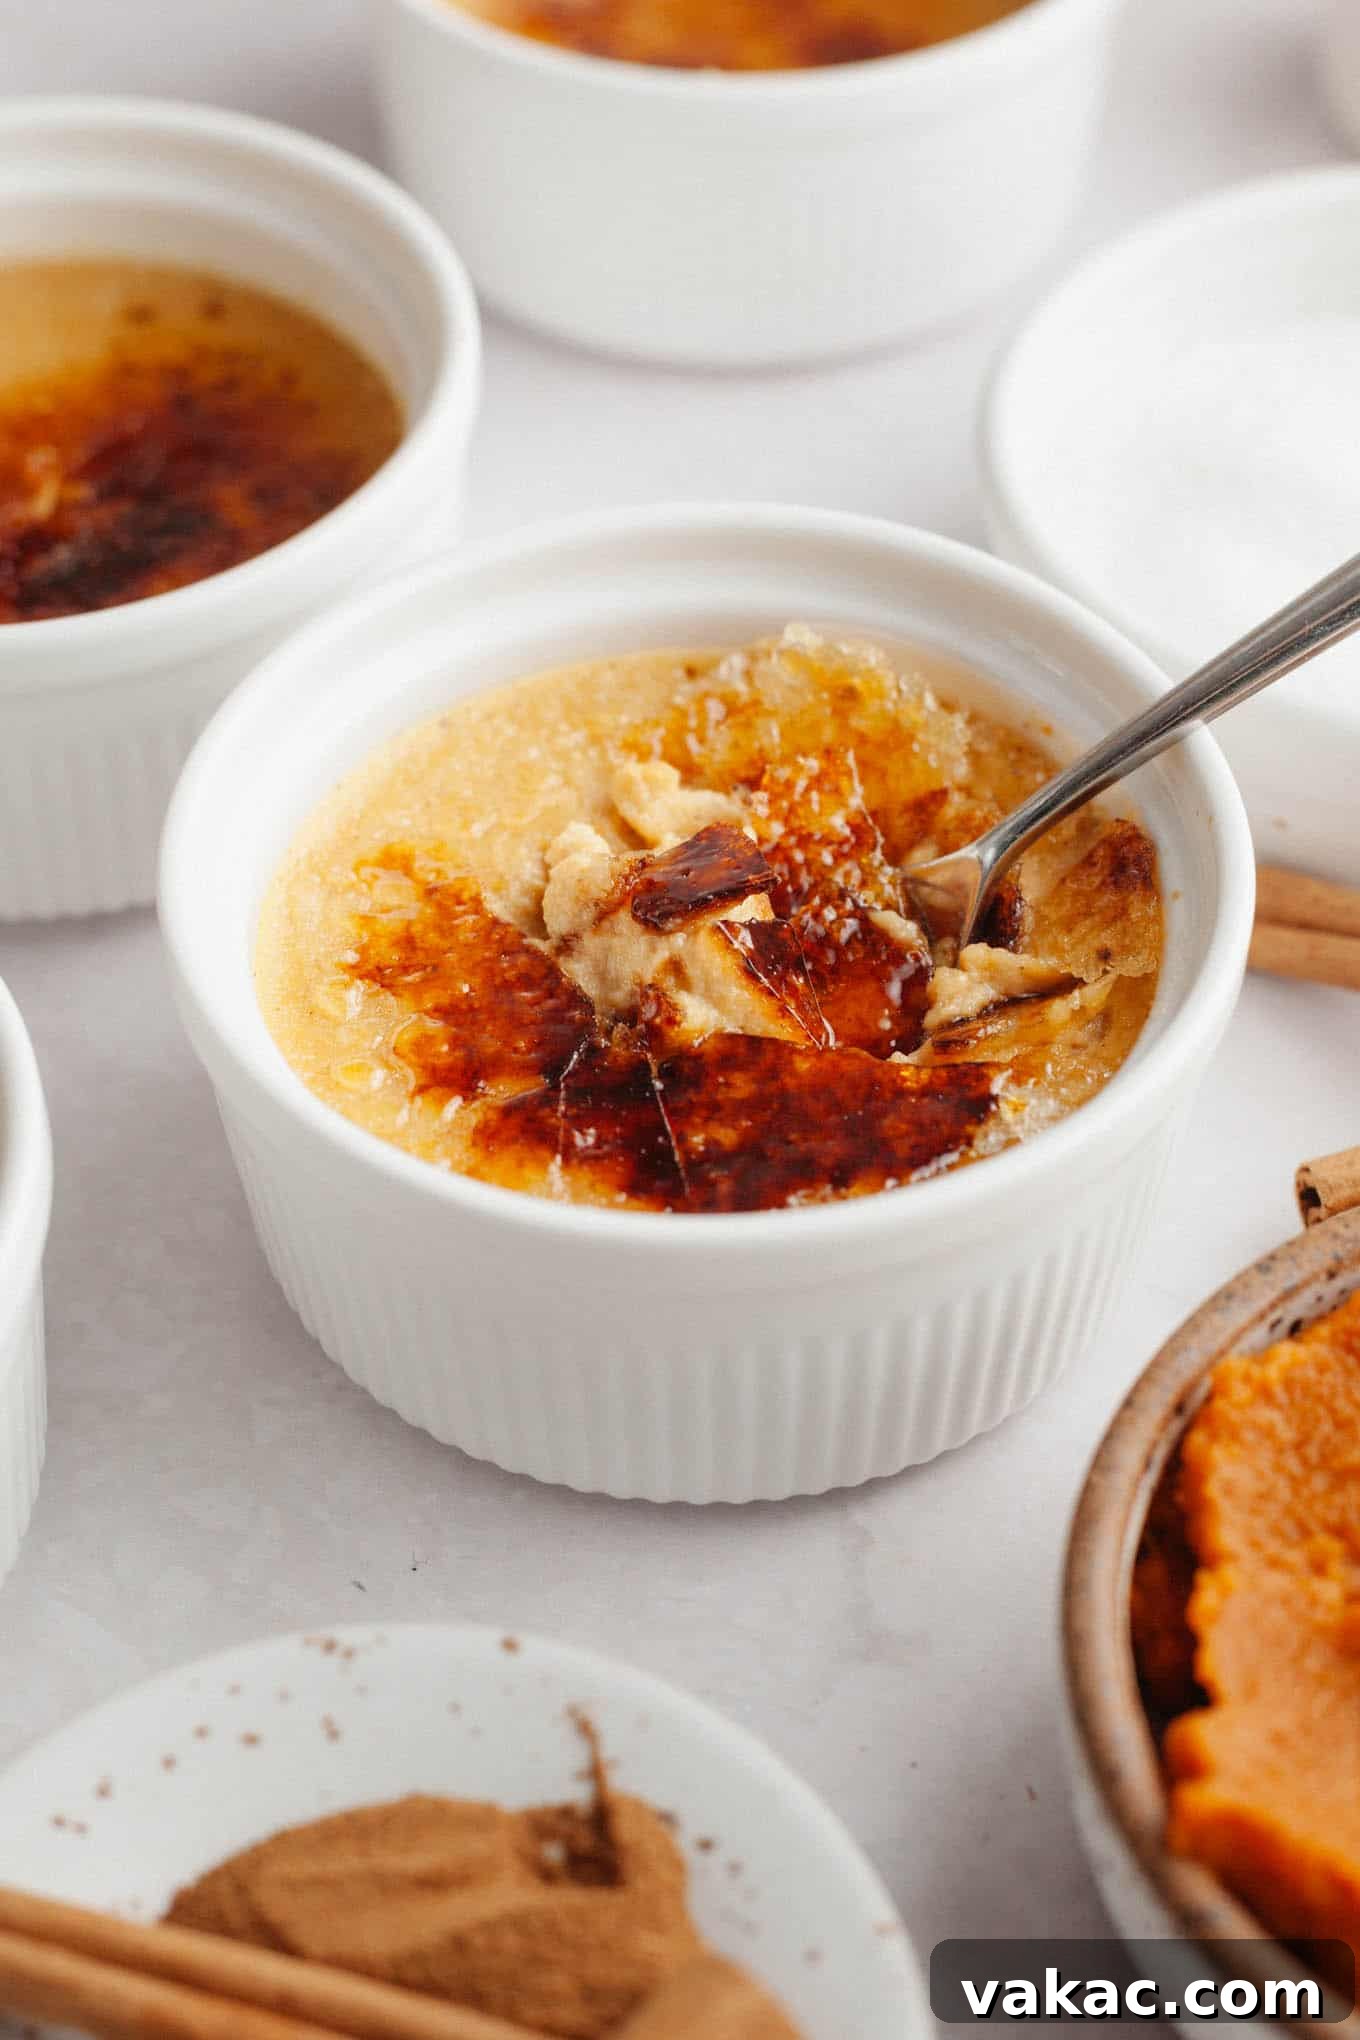
The allure of a classic crème brûlée lies in its exquisite simplicity: a rich, smooth vanilla custard patiently baked to perfection, then crowned with a delicate layer of granulated sugar. This sugar is expertly torched, transforming into a brittle, golden-brown caramel shell. The magic happens when you gently tap the top with the back of a spoon, creating an immensely satisfying “crack” as it breaks open, revealing the luscious custard beneath. It’s a symphony of textures and flavors that has captivated dessert lovers for centuries.
Given its classic perfection, one might wonder how such an iconic dessert could possibly be improved. Yet, we believe we’ve found the answer with this seasonal pumpkin spice rendition. By introducing the warm, earthy notes of pumpkin puree and aromatic pumpkin pie spice, this recipe transcends the traditional, offering a depth of flavor that is truly irresistible. It evokes all the comforting sensations of a classic pumpkin pie, but in an unexpectedly elegant and incredibly creamy crème brûlée form.
This recipe builds upon the foundation of our favorite easy crème brûlée, incorporating autumnal elements to create a dessert that is both familiar and exciting. The addition of pumpkin puree not only imparts a beautiful orange hue but also contributes to the custard’s incredible silkiness, while the pumpkin pie spice weaves in complex layers of cinnamon, nutmeg, ginger, and cloves. The result is a dessert that tastes like the essence of autumn itself, a perfect marriage of creamy indulgence and festive spice.
One of the most appealing aspects of this pumpkin crème brûlée, especially for those who love to host, is its exceptional make-ahead potential. The entire dessert, from assembly to baking and chilling, can be completed one to two days in advance. This frees up precious time on the day of your event, allowing you to focus on other preparations or simply enjoy your guests. The crucial step of torching the sugar is reserved for just before serving. This ensures that the caramelized topping remains wonderfully crisp and shatteringly delicate, providing that signature crack that makes crème brûlée such a memorable experience.
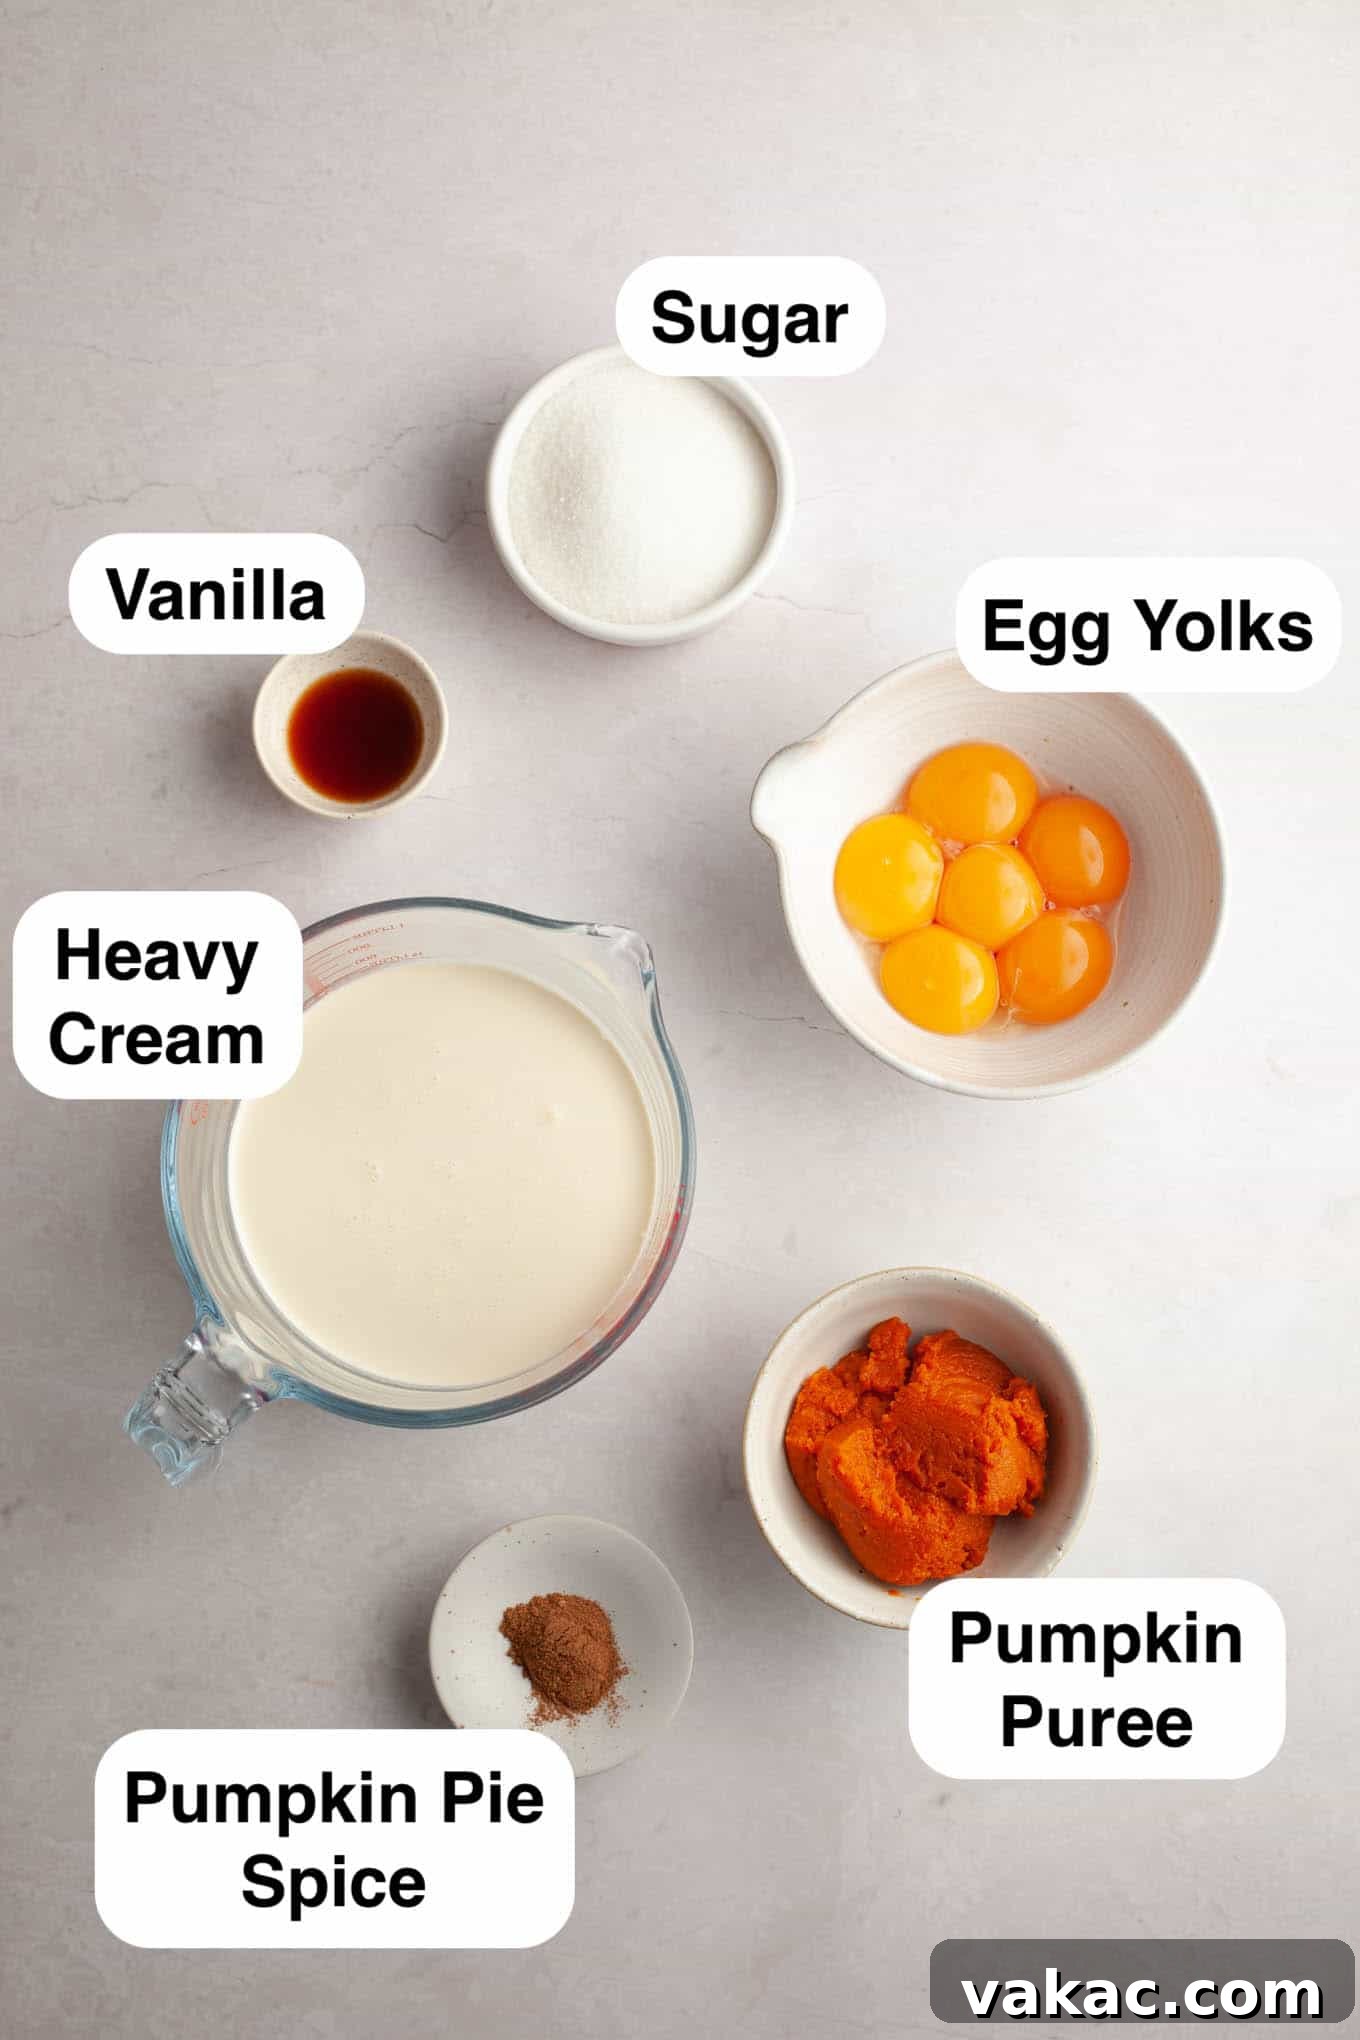
Essential Ingredients for Pumpkin Crème Brûlée
Crafting this delightful pumpkin crème brûlée requires only a handful of readily available ingredients. Each component plays a vital role in achieving the perfect texture and flavor profile. Here’s a detailed look at what you’ll need:
- Pumpkin Puree: This is the star of our fall-inspired crème brûlée. It’s crucial to use pure pumpkin puree, not pumpkin pie filling. Pie filling contains added sugars and spices that will alter the flavor balance of this recipe. Always check the ingredient list on the back of the can to ensure it says “100% pumpkin” or “pure pumpkin.” This ensures you’re getting the natural pumpkin flavor and texture needed for a truly authentic taste.
- Pumpkin Pie Spice: To simplify the flavoring process and achieve that classic autumnal taste, we opt for a pre-mixed pumpkin pie spice blend. This convenient spice mix typically includes cinnamon, nutmeg, ginger, and cloves, providing a harmonious balance of warm, fragrant notes. If you don’t have any on hand, or prefer a homemade touch, you can easily create your own blend using our homemade pumpkin pie spice recipe. Making a batch to keep on hand is a fantastic idea for all your fall baking needs!
- Egg Yolks: These are the backbone of any crème brûlée, acting as the primary thickening agent for the custard. Egg yolks are essential for creating that incredibly velvety, smooth, and rich texture that defines a perfect custard. For best results, ensure your egg yolks are at room temperature, as this helps them incorporate more smoothly into the mixture. Don’t discard the leftover egg whites! They can be refrigerated and used for a healthy egg white omelet, or in other baking projects like our light and airy white cake or delicate angel food cake.
- Granulated Sugar: Sugar serves a dual purpose in this recipe. First, it sweetens the custard base, balancing the richness of the cream and the earthy notes of the pumpkin. Second, and perhaps most famously, it’s generously sprinkled on top of the chilled custards before being torched. This caramelization process creates the signature crisp, sugary crust that provides an exciting contrast to the creamy interior.
- Pure Vanilla Extract: A touch of high-quality vanilla extract enhances and deepens the overall flavor profile of the custard. It doesn’t just add vanilla flavor; it helps to round out and accentuate the pumpkin and spice notes, making for a more nuanced and complex dessert experience. Opt for pure vanilla extract over imitation for the best taste.
- Heavy Whipping Cream: For a truly luxurious and decadent custard, heavy whipping cream is non-negotiable. Look for cream with a minimum of 36% milk fat. This high fat content is crucial for achieving the incredibly rich, smooth, and full-bodied texture that defines a superior crème brûlée. Do not substitute with lighter creams or milk, as they will result in a less satisfying, thinner custard.
How to Master Pumpkin Crème Brûlée: A Step-by-Step Guide
Creating this stunning pumpkin crème brûlée is simpler than you might imagine, especially when following these clear, detailed steps. Patience and careful attention to technique will ensure a perfectly creamy custard every time.
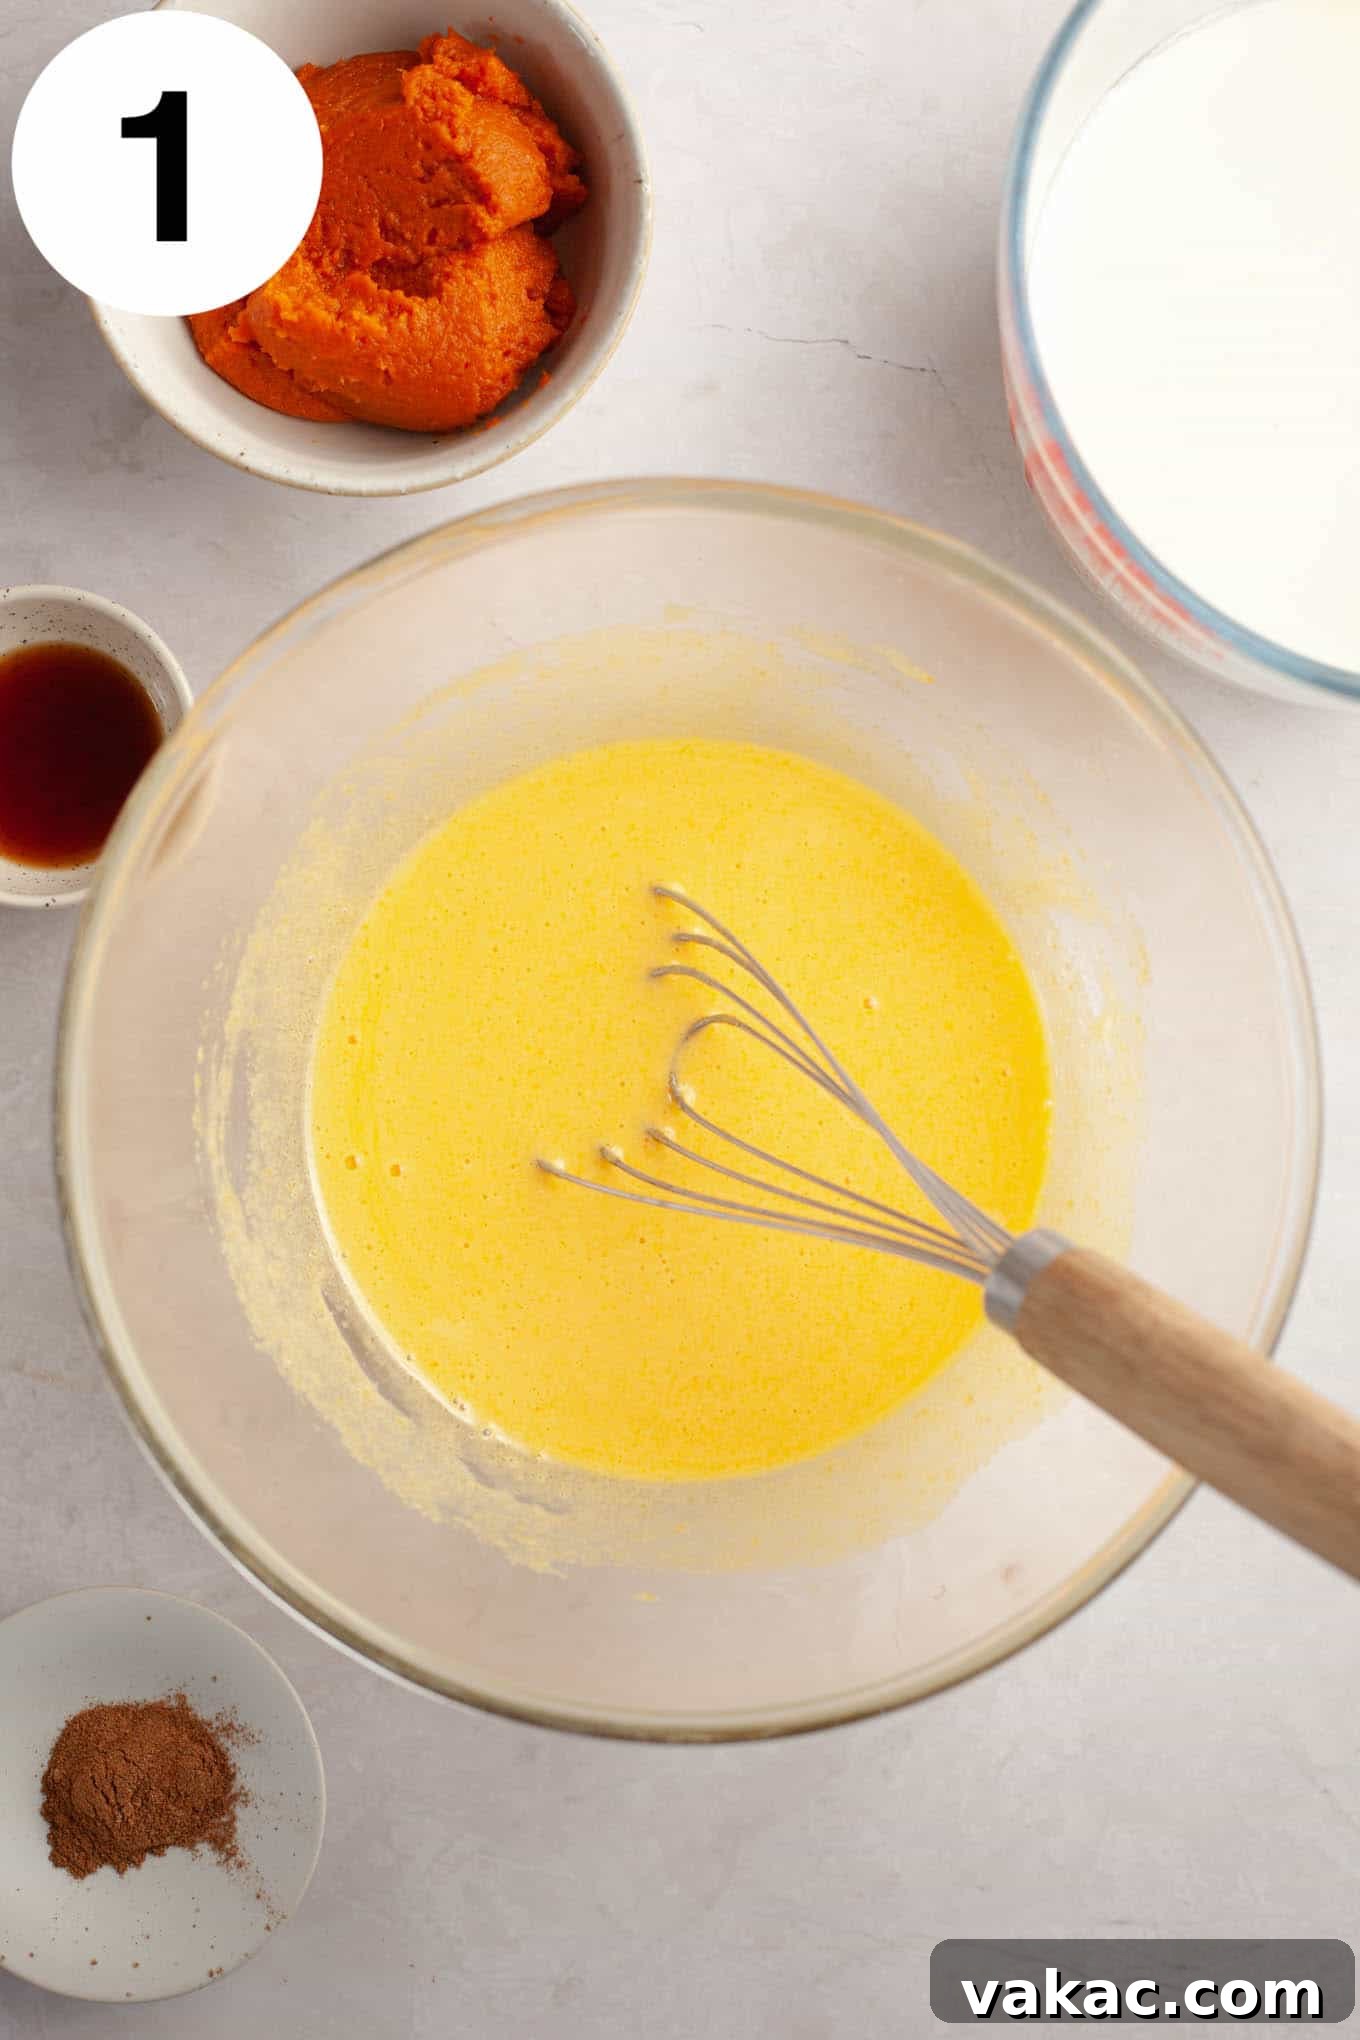
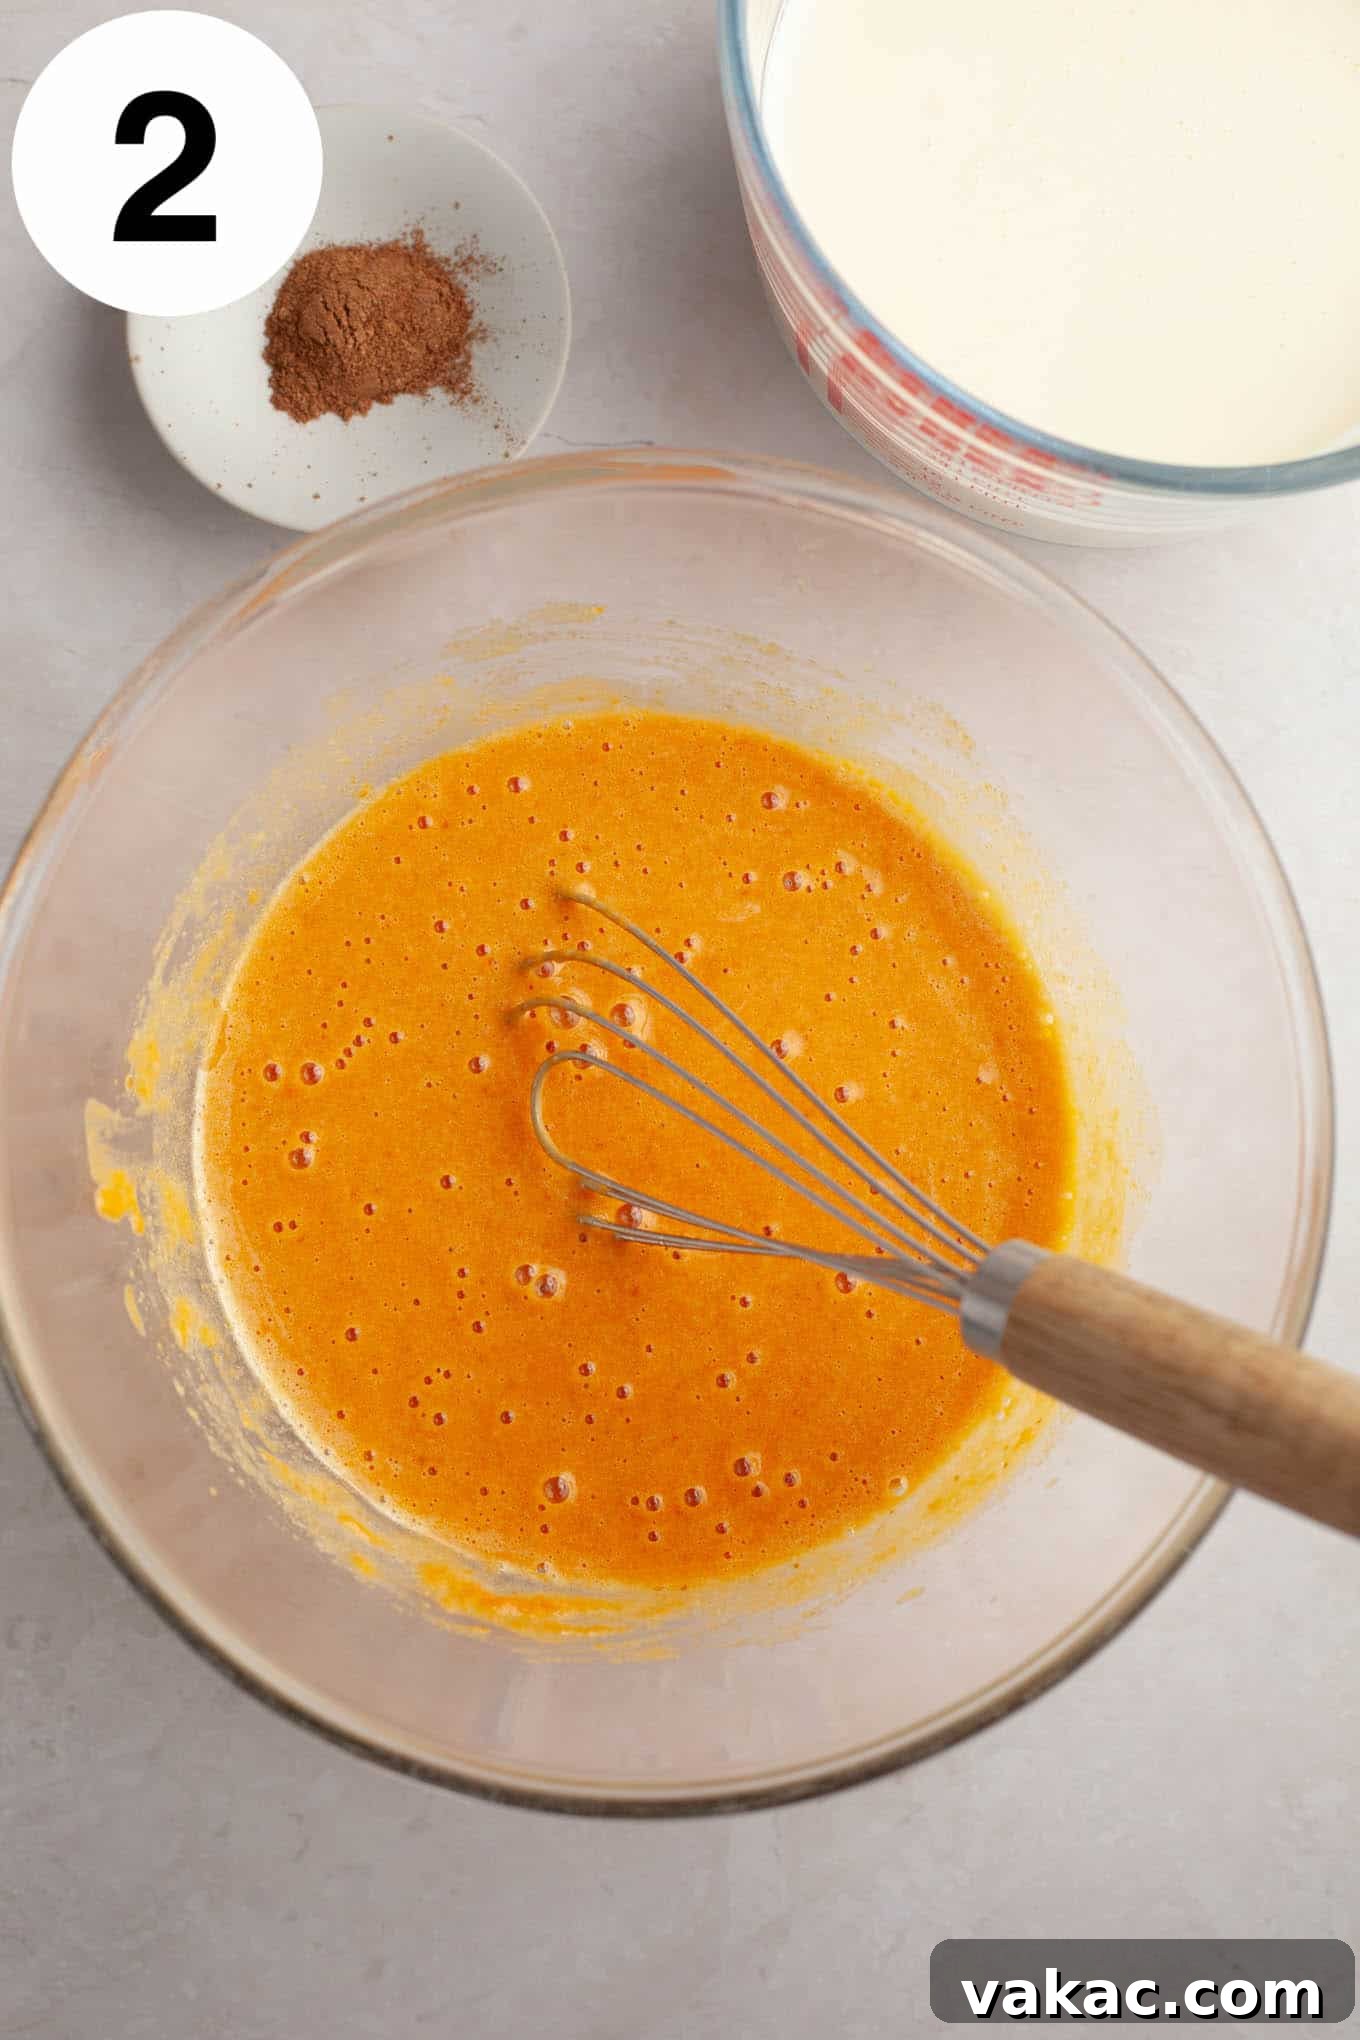
- Prepare Your Egg and Sugar Base: Begin by combining the room temperature egg yolks and granulated sugar in a large mixing bowl. Whisk these two ingredients together vigorously for a few minutes. This isn’t just about combining them; you’re aiming to incorporate air and dissolve the sugar, resulting in a mixture that is well blended, lighter in color, and slightly thickened. This aeration contributes to the custard’s final texture.
- Infuse with Pumpkin and Vanilla: Once your egg and sugar mixture is light and creamy, gently whisk in the pumpkin puree and pure vanilla extract. Continue whisking until these ingredients are fully combined and the mixture is smooth and uniformly colored. Set this flavorful pumpkin egg mixture aside while you prepare the cream.
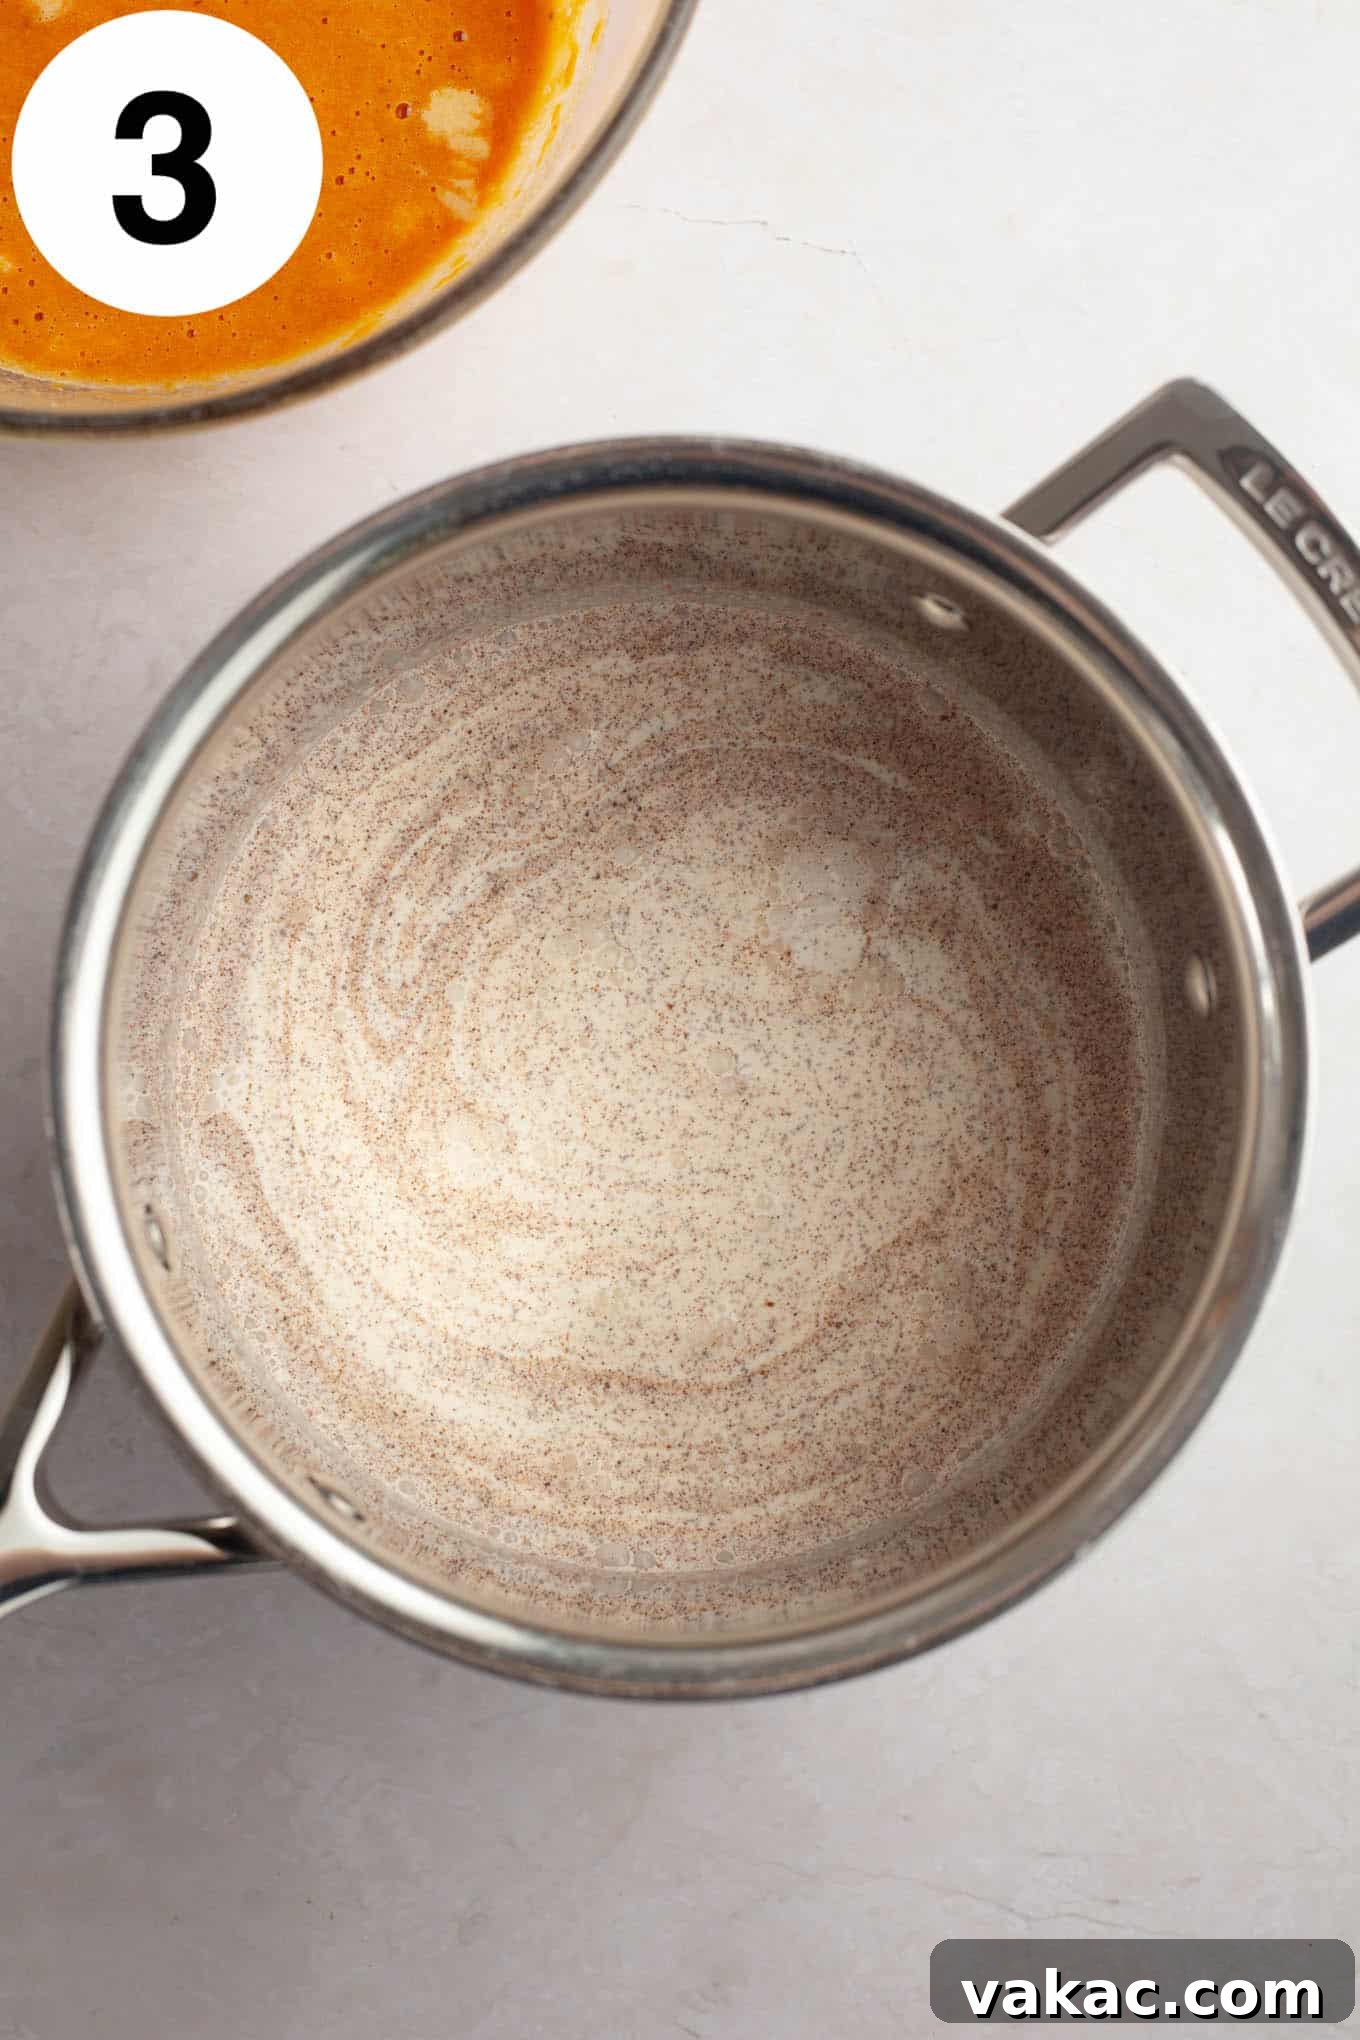
- Gently Warm the Heavy Cream and Spice: Pour the heavy whipping cream into a medium-sized saucepan. Add the pumpkin pie spice directly to the cream. Place the saucepan over medium heat and warm the cream, stirring occasionally, just until you see small bubbles gently forming around the edges of the pan. It’s important not to bring the cream to a rolling boil. This gentle warming allows the pumpkin pie spice to steep in the cream, infusing it with maximum flavor. Do not skip this crucial step, as it significantly enhances the spice notes in your finished custard. Remove the saucepan from the heat as soon as it begins to bubble gently.
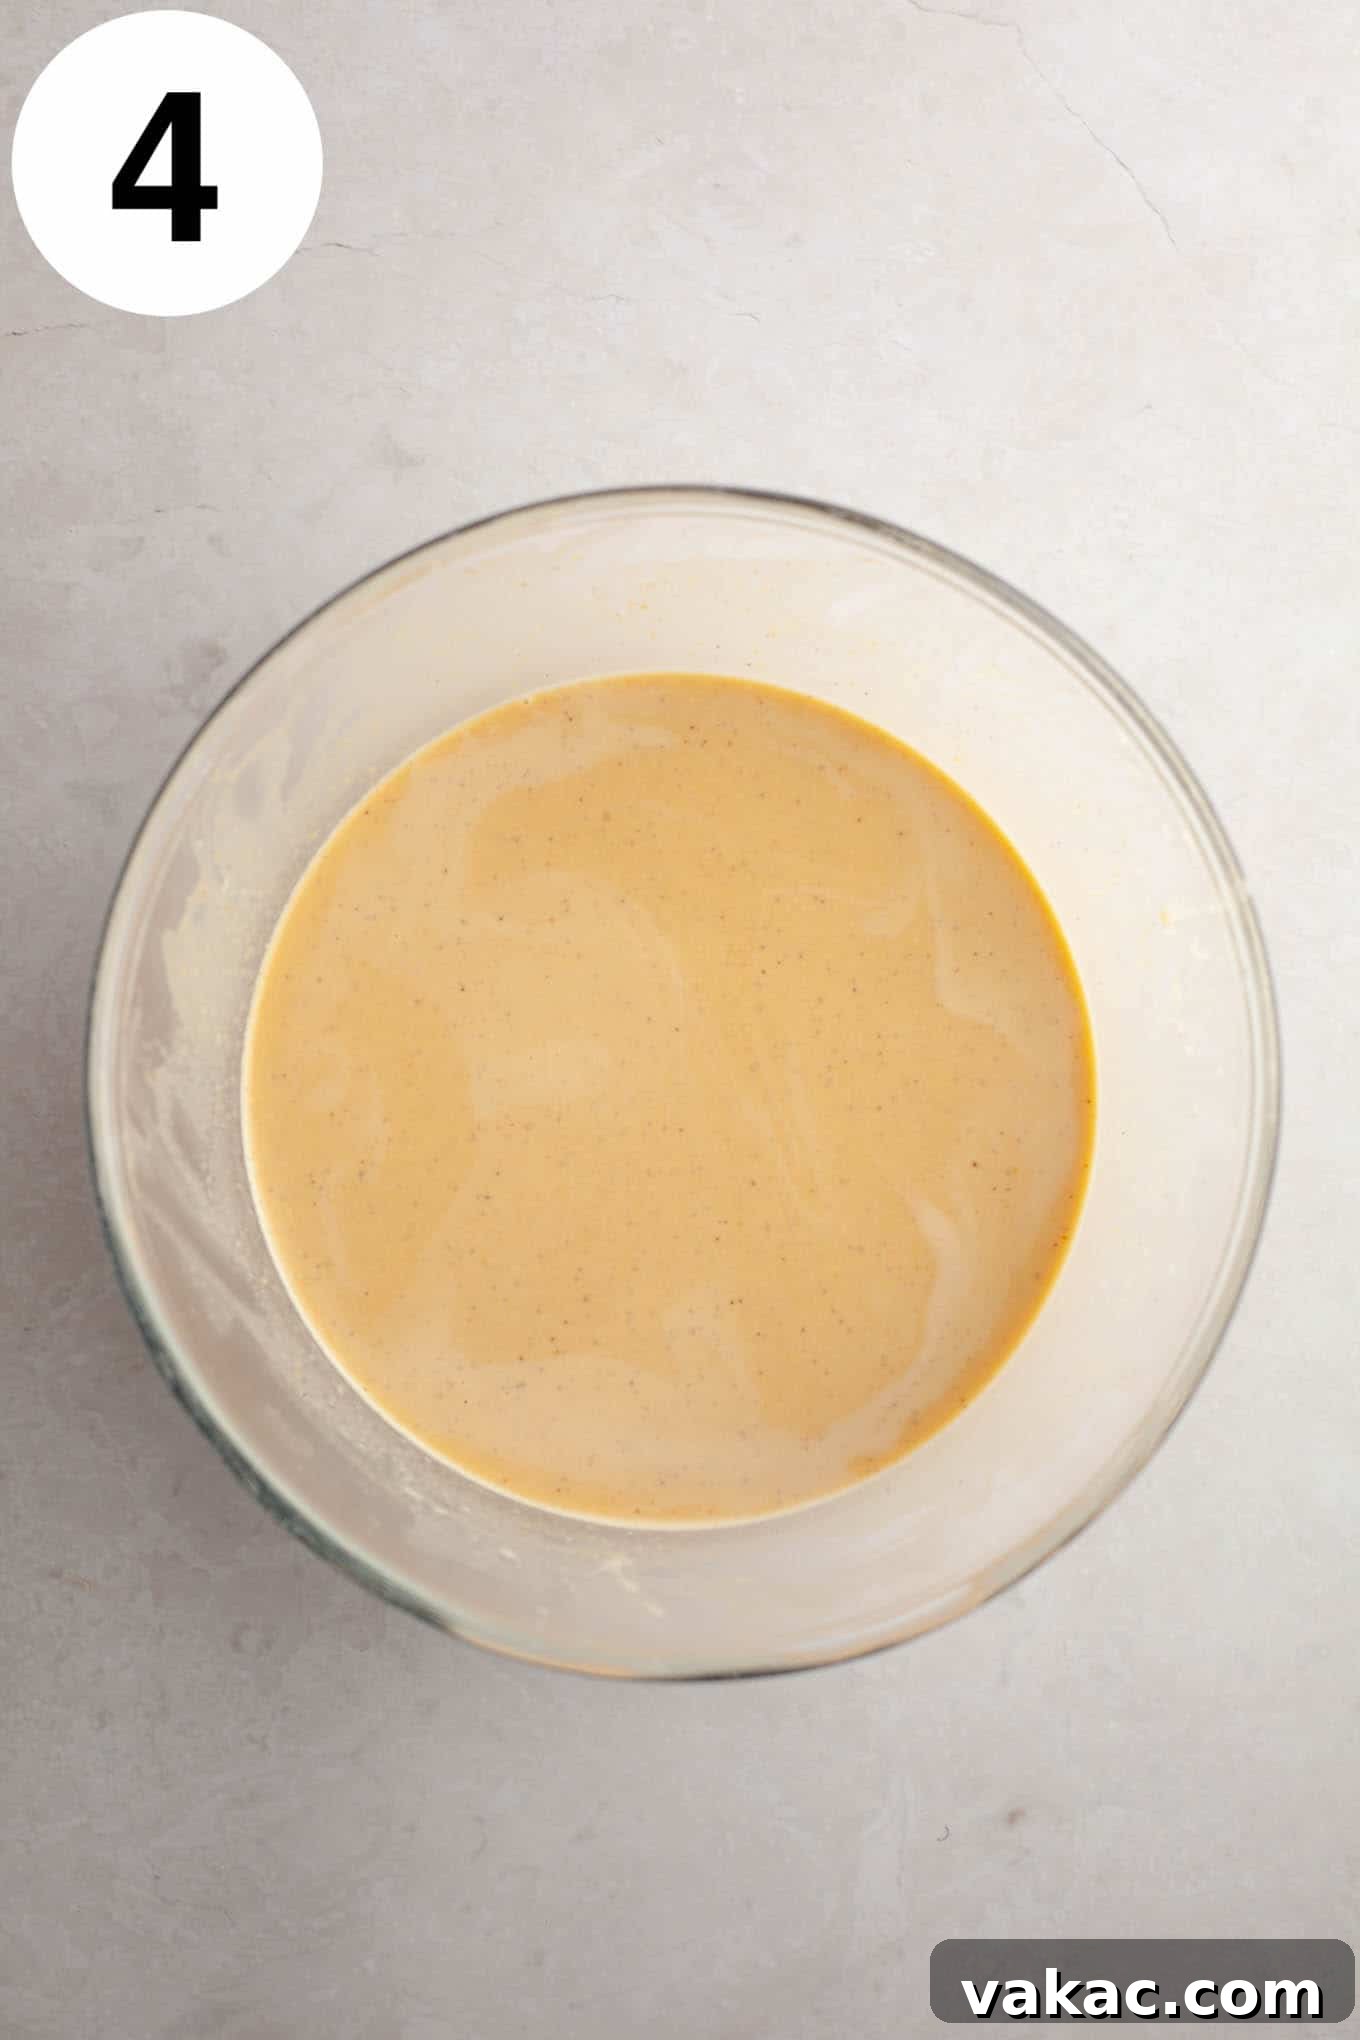
- Temper the Eggs with Warm Cream: This step is vital to prevent the eggs from scrambling. Slowly pour about ½ cup of the warm, spiced cream into your pumpkin egg yolk mixture, whisking constantly and vigorously as you pour. This gradual addition slowly raises the temperature of the egg yolks without cooking them. Once this small amount is incorporated, slowly pour in the remaining warm cream, continuing to whisk the entire time until the mixture is completely smooth and homogeneous. If any foam forms on the surface of your custard mixture, gently skim it off with a spoon before proceeding; this helps ensure a perfectly smooth top on your baked crème brûlée.
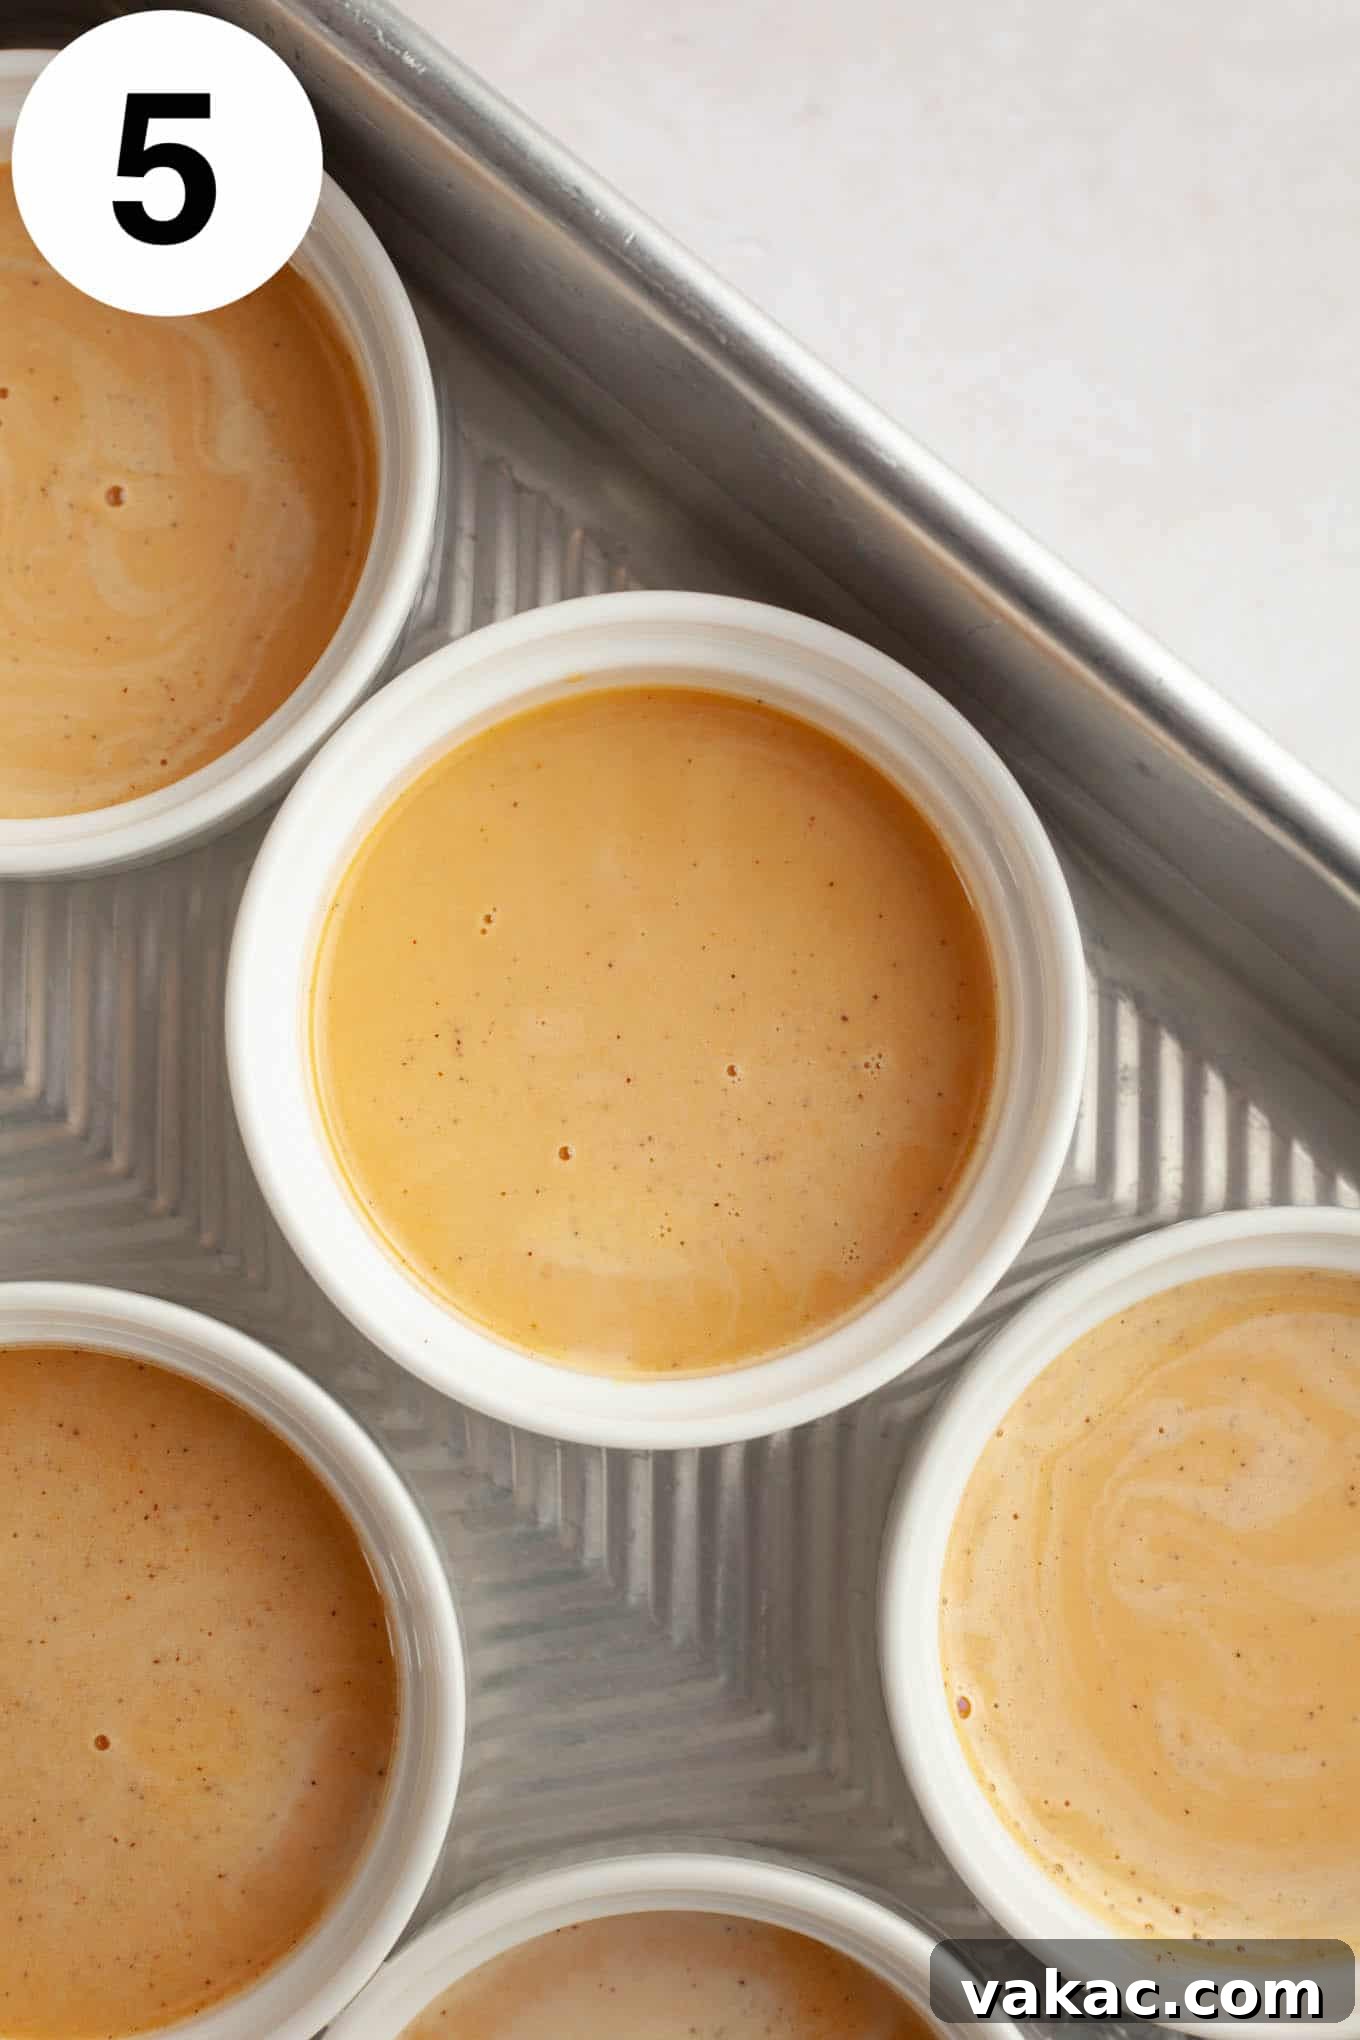
- Prepare for Baking and Divide Mixture: Preheat your oven to 325°F (163°C). Place a large pot of water on the stove to boil; this will be used for your water bath. For the smoothest custard, it’s highly recommended to strain the prepared pumpkin crème brûlée mixture through a fine-mesh sieve into a large measuring cup. This removes any potential lumps or stray egg bits, ensuring a silky-smooth final product. From the measuring cup, evenly divide the strained mixture among six 6-ounce ramekins, filling each a little over halfway (approximately ½ cup per ramekin).
- Bake in a Water Bath, Then Chill: Carefully arrange the filled ramekins within a 9×13 inch baking pan (or a similar roasting pan). Pour the boiling water from your stovetop into the larger baking pan, around the ramekins, until the water comes about one-third to halfway up the sides of the ramekins. This water bath (bain-marie) is essential for even cooking and preventing the custard from curdling or cracking. Carefully transfer the baking pan with the ramekins and hot water into the preheated oven. Bake for approximately 40 to 50 minutes, or until the edges of the custards are set, but the centers still have a slight jiggle. Once baked, carefully remove the entire baking pan from the oven. Using tongs or oven mitts, carefully lift each ramekin out of the hot water bath and transfer them to a wire cooling rack to cool completely at room temperature. Once entirely cooled, cover each ramekin tightly with plastic wrap and refrigerate for at least 4 hours, or ideally, overnight, to allow the custards to fully set and chill.
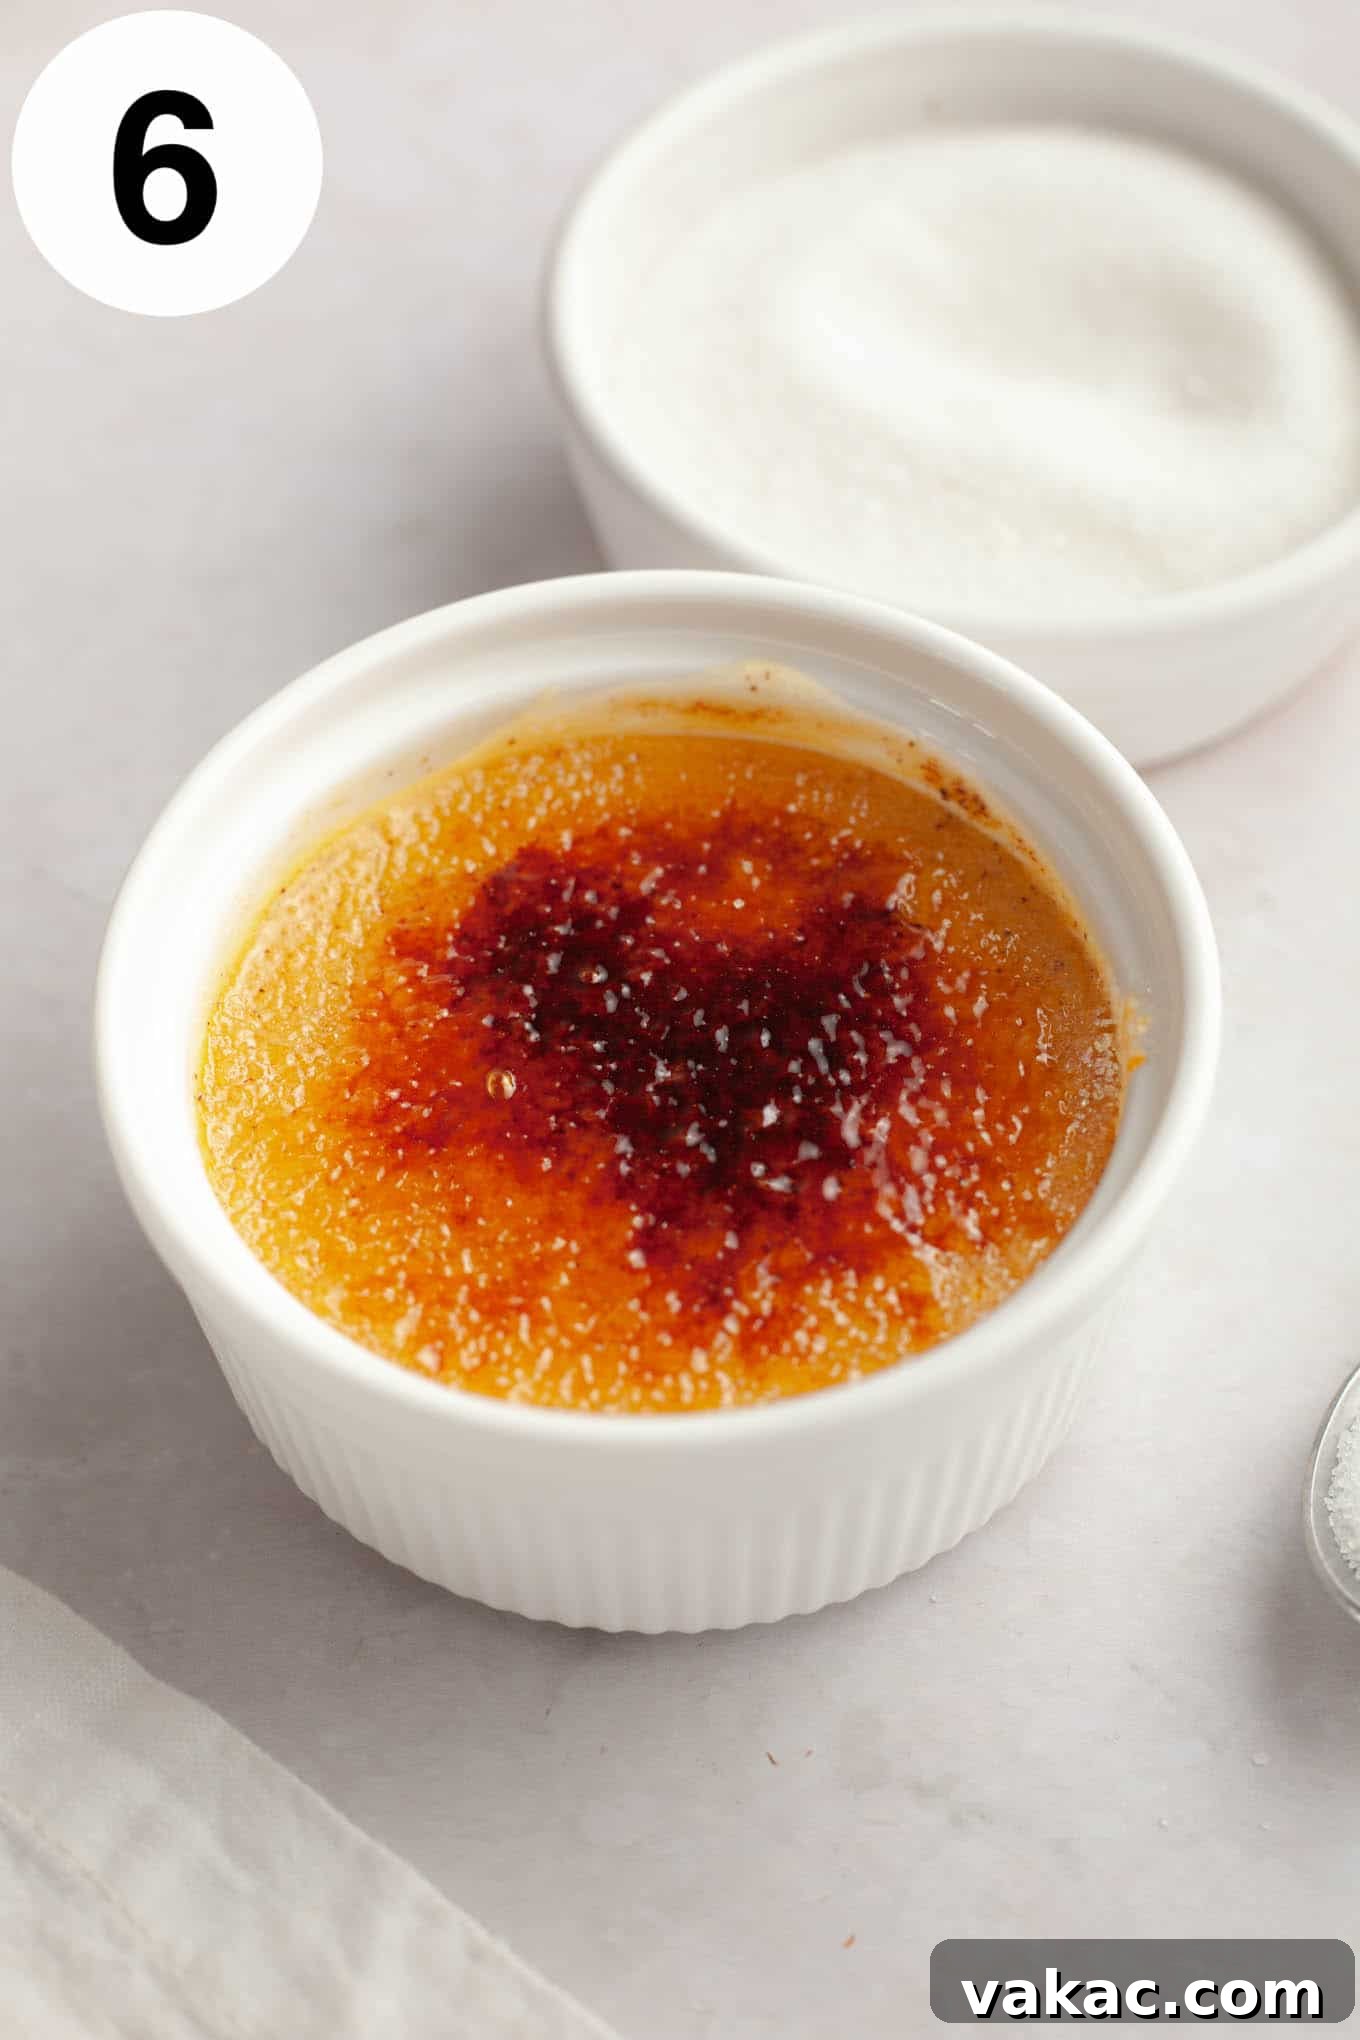
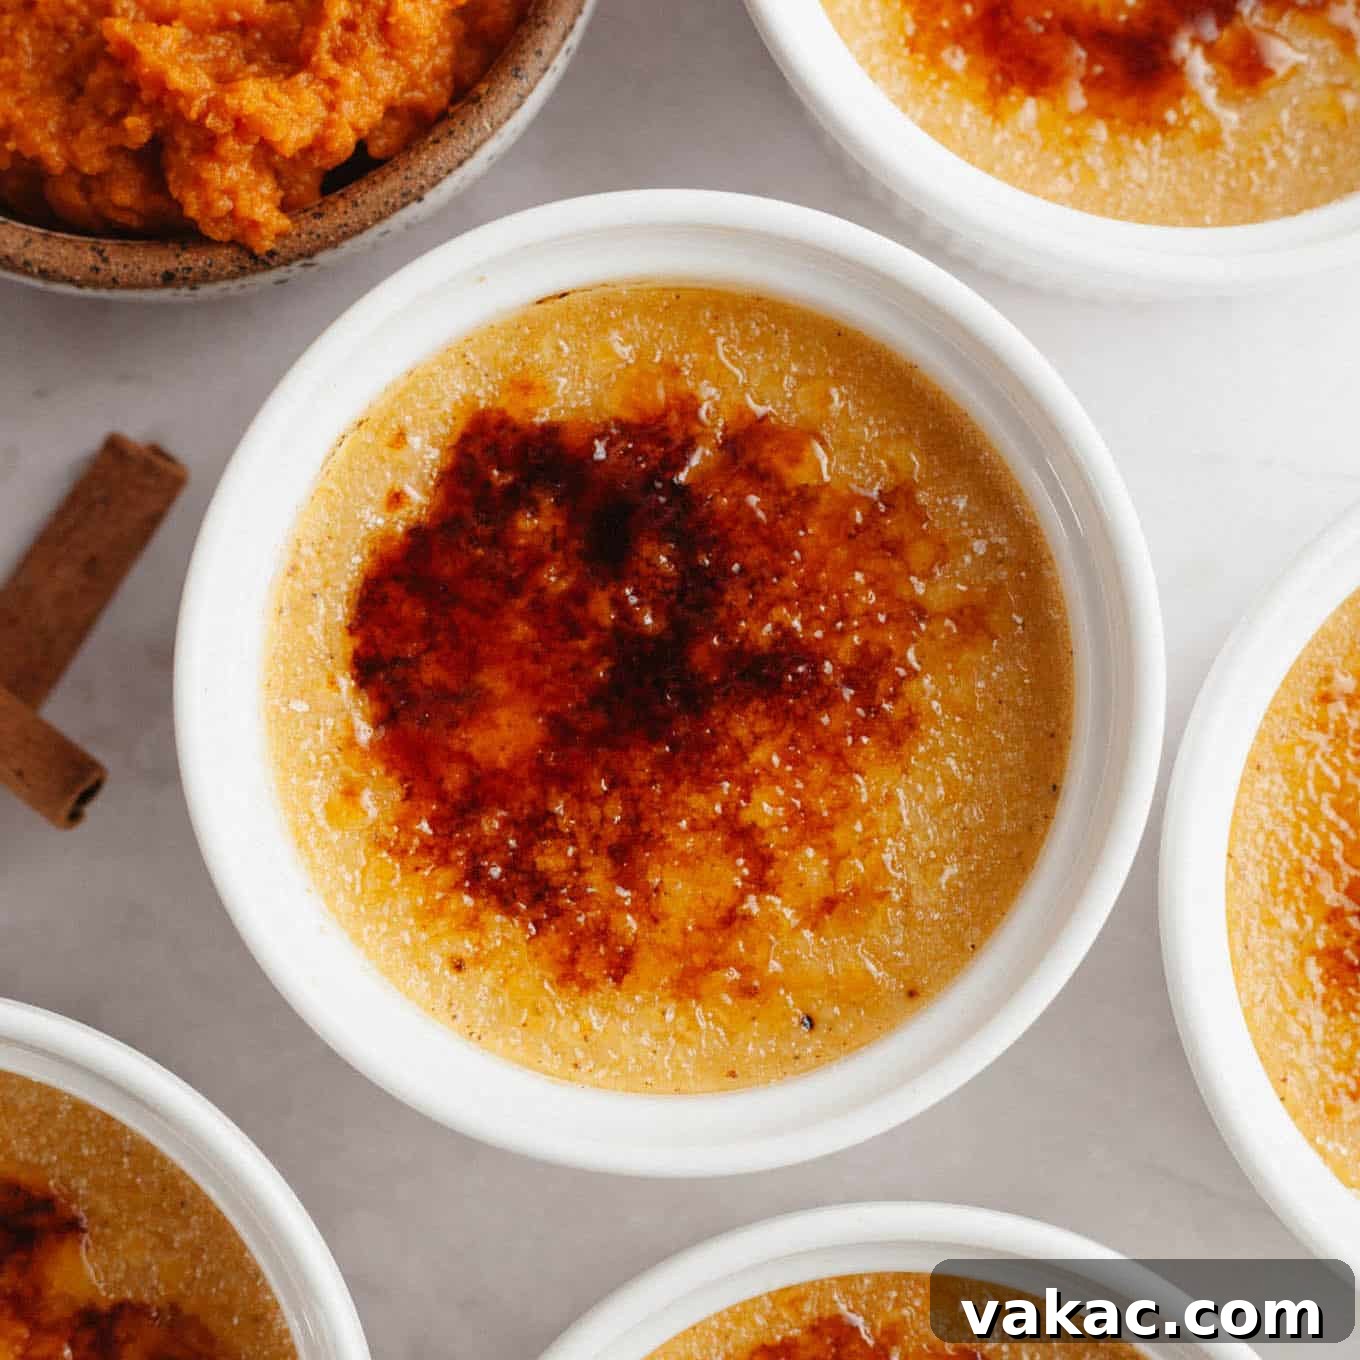
- Caramelize and Serve: When you’re ready to serve, remove the chilled crème brûlées from the refrigerator. Gently blot the tops of each custard with a paper towel to remove any condensation; this step is key for achieving a crisp caramel topping. Evenly sprinkle 1 ½ to 2 teaspoons of granulated sugar over the top of each crème brûlée, tilting and rotating the ramekin to ensure an even, thin layer. Using a kitchen torch, carefully caramelize the sugar until it melts, bubbles, and turns a beautiful golden amber color. Work quickly and evenly to prevent burning. Allow the caramelized sugar to harden for a few minutes before serving. The sugar will become a brittle, shatter-able crust. Enjoy immediately for the best textural contrast, or refrigerate for a few more hours if not serving right away.
Frequently Asked Questions About Pumpkin Crème Brûlée
The crème brûlée typically bakes for about 40 to 50 minutes in a 325°F (163°C) oven. You’ll know they are finished baking when the edges appear set and firm, but the very center of the custard still has a slight jiggle to it when you gently shake the ramekin. Don’t worry if the center seems a bit soft; the custard will continue to set and firm up considerably as it cools down to room temperature and then chills fully in the refrigerator.
Absolutely, yes! Baking crème brûlée in a water bath is a non-negotiable step for achieving the perfect texture. Much like baking a delicate classic cheesecake, the water bath ensures that the custard cooks gently and evenly. The hot water surrounding the ramekins creates a humid, consistent cooking environment, preventing the custard from cooking too quickly, curdling, or developing unsightly cracks on its surface. It results in an incredibly smooth, silky, and uniform texture throughout the custard.
Yes, you certainly can! If you don’t own a kitchen torch, your oven’s broiler function is an excellent alternative. Once your custard is fully chilled and ready to serve, arrange the ramekins on a sturdy baking sheet. Place the baking sheet on the top rack of your oven, directly under a preheated broiler. Keep a very close eye on them, as the sugar can go from perfectly caramelized to burnt in mere seconds. Broil just until the sugar melts and achieves your desired golden-brown color. Once caramelized, immediately remove the ramekins from the oven and let them cool completely before returning them to the fridge for at least 30 minutes. This allows the caramelized sugar to harden and become brittle again before serving.
Absolutely! This is one of the greatest advantages of crème brûlée, making it a dream dessert for entertaining. You can fully assemble, bake, and chill the custard base one to two days before your event. Once the custards are completely chilled, cover them tightly with plastic wrap to prevent a skin from forming and store them in the refrigerator. On the day of serving, simply remove them from the fridge, sprinkle with sugar, and caramelize the tops using either a kitchen torch or the broiler method. This flexibility allows for stress-free hosting!
This recipe is designed for six 6-ounce (approximately ¾ cup capacity) ramekins. Using the correct size ensures proper baking time and portioning. If your ramekins are significantly larger or smaller, you may need to adjust the baking time accordingly. Ensure they are oven-safe and can withstand the heat of the water bath.
Expert Baking Tips for Perfect Pumpkin Crème Brûlée
Achieving crème brûlée perfection is easier with a few insider tips. Follow these guidelines to ensure your pumpkin custards are flawlessly smooth, creamy, and topped with that irresistible crunch:
- Consider Batch Size: If you’re baking for a smaller gathering or just for yourself, this recipe is easily halved. Simply divide all ingredient quantities by two. Remember that reducing the batch size might slightly decrease the baking time, so keep a closer eye on the custards towards the end of their baking cycle.
- Pre-boil Water for the Water Bath: Before you even begin mixing ingredients, set a large pot of water on the stove to boil. Having boiling water ready when it’s time to set up the water bath will streamline your process and ensure a consistent temperature for baking.
- Temper Eggs Slowly and Steadily: The most crucial step to avoid scrambled eggs in your custard is tempering. When slowly pouring the warm cream mixture into the egg yolk mixture, whisk constantly and thoroughly. This gradual introduction of heat is essential for gently raising the temperature of the eggs without cooking them, leading to a smooth, lump-free custard.
- Choose the Right Baking Pan: While a 9×13 inch baking pan is ideal for holding six ramekins and creating the water bath, don’t worry if you don’t have one. A roasting pan or any other oven-safe dish of similar size that can comfortably accommodate all six ramekins and hold water will work perfectly. Ensure the sides are high enough to contain the water bath securely.
- Handle Hot Ramekins with Care: After baking, the ramekins and the water in the baking pan will be extremely hot. Use a sturdy set of tongs or heat-resistant oven mitts to carefully lift each individual ramekin out of the water bath. Transfer them directly to a wire cooling rack, allowing air to circulate around them for even cooling.
- Pat Dry for a Crispy Topping: Before sprinkling with sugar and torching, it’s a critical step to gently pat the tops of your chilled custards dry with a paper towel. Any residual moisture can prevent the sugar from caramelizing properly, resulting in a less-than-crispy topping. A dry surface ensures that beautiful, super crispy caramelized sugar crust.
- Even Sugar Layer for Torching: When sprinkling granulated sugar for the topping, aim for an even, thin layer. Too much sugar can result in a thick, hard crust, while an uneven layer can lead to burnt spots or under-caramelized areas. Shake and tilt the ramekin gently to distribute the sugar uniformly.
- Chill Thoroughly: Do not rush the chilling process. Crème brûlée benefits immensely from several hours, or even overnight, in the refrigerator. This allows the custard to fully set, develop its rich flavor, and become perfectly cold, providing a wonderful temperature contrast with the warm, freshly torched topping.
Pumpkin Crème Brûlée
25 mins
50 mins
6 hrs
7 hrs 15 mins
Pin Recipe
Ingredients
6 servings
- 6 large egg yolks at room temperature
- ½ cup granulated sugar (100 grams – plus extra for the tops)
- ½ cup pumpkin puree (120 grams)
- 1 ½ teaspoons pure vanilla extract
- 2 cups heavy whipping cream (480 ml)
- 1 teaspoon pumpkin pie spice
Instructions
-
Preheat the oven to 325°F (163°C). Place a large pot of water on the stove to boil for the water bath.
-
In a large mixing bowl, whisk together the egg yolks and granulated sugar until well blended and lightened in color (this will take a couple of minutes). Whisk in the pumpkin puree and pure vanilla extract until completely combined. Set this mixture aside.
-
Add the heavy whipping cream and pumpkin pie spice to a medium-sized saucepan. Place the saucepan over medium heat and stir occasionally until the cream is warm and just begins to bubble gently around the edges. Do not bring to a rolling boil. Remove the cream from the heat.
-
To temper the egg mixture, slowly pour about ½ cup of the warm heavy whipping cream into the pumpkin egg mixture, whisking constantly and vigorously as you pour. This prevents the eggs from scrambling. Then, slowly pour in the remaining warm cream, continuing to whisk until the entire mixture is fully combined and smooth. If any foam appears on top, gently skim it off with a spoon.
-
For the silkiest custard, strain the entire mixture through a fine-mesh sieve into a large liquid measuring cup. This makes pouring easier and ensures a smooth consistency.
-
Evenly distribute the strained custard mixture between six 6-ounce oven-safe ramekins, filling each a little over ½ cup.
-
Place the filled ramekins into a large 9×13 inch baking pan (or similar roasting pan). Carefully pour the boiling water into the baking pan around the ramekins, ensuring the water comes about ⅓ to ½ of the way up the sides of the ramekins. Be careful not to splash water into the custards.
-
Carefully transfer the baking pan (with ramekins and water) to the preheated oven. Bake for 40 to 50 minutes, or until the edges of the custards are set, but the centers still jiggle slightly when gently shaken.
-
Remove the baking pan from the oven. Using tongs or pot holders, carefully lift each ramekin out of the hot water bath and transfer them to a wire cooling rack. Allow them to cool completely at room temperature. Once cooled, cover each ramekin tightly with plastic wrap and refrigerate for at least 4 hours, or ideally, overnight, to fully chill and set.
-
When ready to serve, remove the chilled custards from the fridge. Gently blot the tops of each one with a paper towel to remove any excess moisture. Sprinkle 1 ½ to 2 teaspoons of granulated sugar evenly over the top of each crème brûlée. Use a small kitchen torch to carefully caramelize the sugar until it melts, bubbles, and turns a golden amber color. Allow the caramelized sugar to harden for a few minutes before serving. Enjoy the satisfying crack and creamy pumpkin flavor!
Notes
American
Dessert
Danielle Rye
Did you make this recipe?
Mention @livewellbakeoften on Instagram or tag #livewellbakeoften.